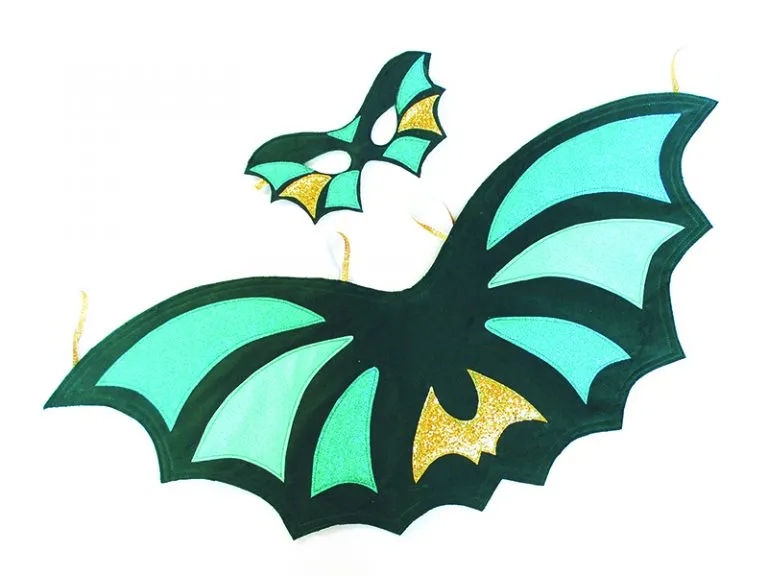
This easy-to-make dragon costume made up of wings and mask makes a perfect addition for your little one’s dressing up box.
It’s ideal for Halloween – add glitter fabric panels to your kids dragon costume for instant drama. It’s also a great way to let them add glitter to their face without the mess!
You can also play around with contrasting colours such as yellow and orange. Ideally, felt works best for the main cape, as it is easy to work with, but any fabric will do. Make sure the interfacing is heavy enough to add rigidity to the wings.
You will need...
For the dragon costume wings and mask
- Heavy weight cotton fabric or felt in two contrasting colours: 50x120cm (20x48in) of each
- Contrast fabric for the panels: glitter, see instructions for details
- Heavy weight iron on interfacing: 50x120cm (20x48in)
- Elastic: gold, 1cm (3⁄8in) width x 2.5m (23⁄4yds)
- Basic sewing kit
Notes
- Download our Simply Sewing Patterns issue 22 sewing patterns for the wings and mask sewing patterns
- The finished wings have a 90cm (35in) wingspan, and are 40cm (16in) deep. Our model is 8 years old, so adjust the pattern size depending on your child’s size if necessary.
- Use a 1cm (3⁄8in) seam allowance unless otherwise specified
- Finish all raw edges with a machine zigzag or by overlocking.

Petrifying face paint!
Ran out of time to craft a Halloween costume? Don't worry, just check out our list of easy Halloween face paint ideas.

How to make the dragon costume wings
Preparing the wings
Step one: Trace around and cut out the outer line of the wings pattern from our Simply Sewing Patterns issue 22
Step two: Place the pattern onto one of the coloured felt fabrics and draw around it 5mm (1⁄4in) outside the pattern using tailor’s chalk or a pencil. Cut out along the drawn lines.
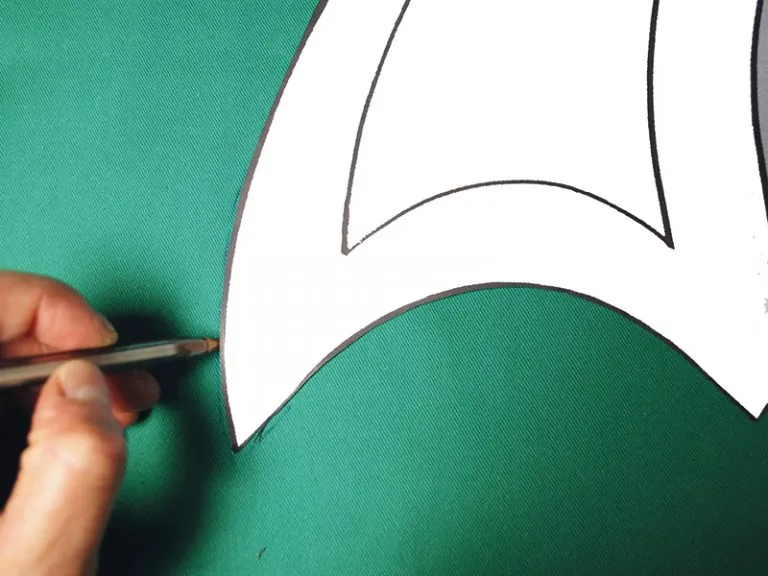
Step three: Repeat this to cut out the other piece of felt in the same way.
Step four: Cut out two pieces of interfacing to the same size as the pattern piece.
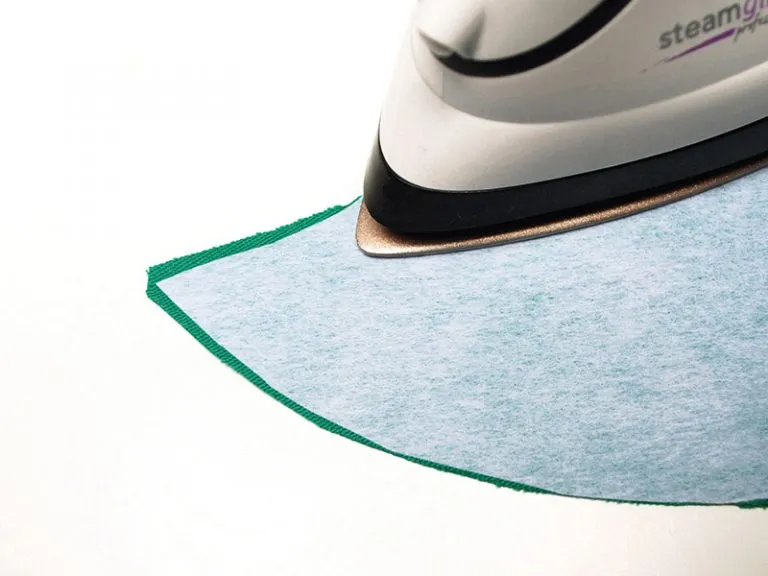
Step five: Press the interfacing onto the wrong side (WS) of each wing, covering it with a soft pressing cloth if necessary. The interfacing is slightly smaller so that it doesn’t show at the very edge of the wings.
Making the contrast panels
Step one: Trace around each of the inner panels from the wings pattern and cut them out.
Step two: Use a mixture of glitter or metallic fabrics, measuring the panels on the pattern piece for the exact sizes.
Step three Pin each of the panels to your chosen contrast fabric and cut them out. Number the pattern pieces if necessary to correctly position them later.

Step four: Pin the panels into place onto the outer wing, referring to the template.
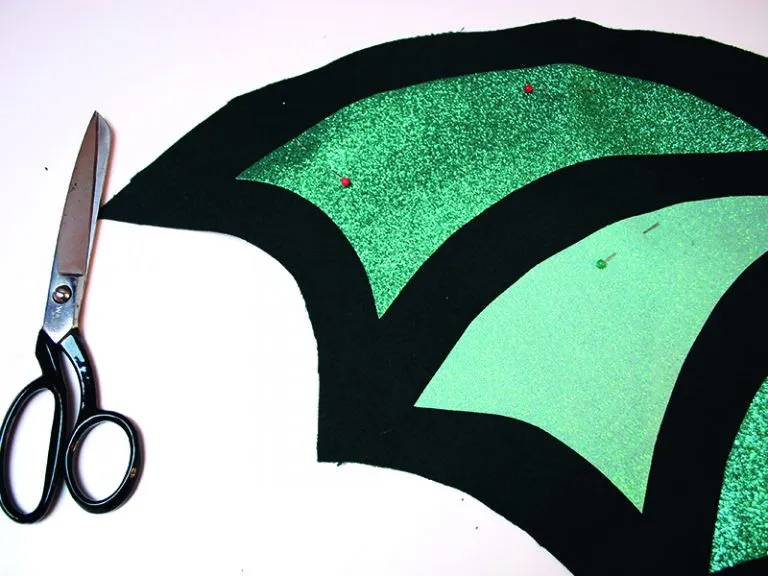
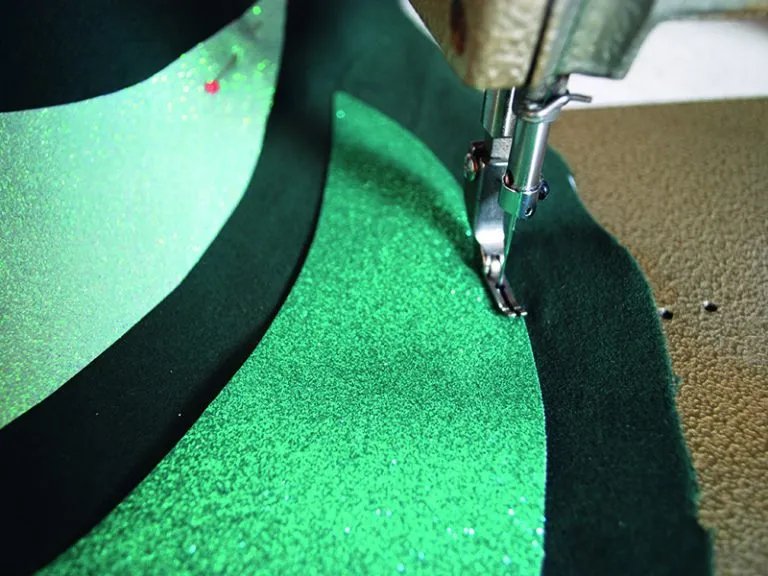
Step five: Topstitch each contrast panel into place 3mm (1⁄8in) from the edge to secure.
Adding the elastic straps
Step one: Cut two 50cm (20in) lengths of elastic.
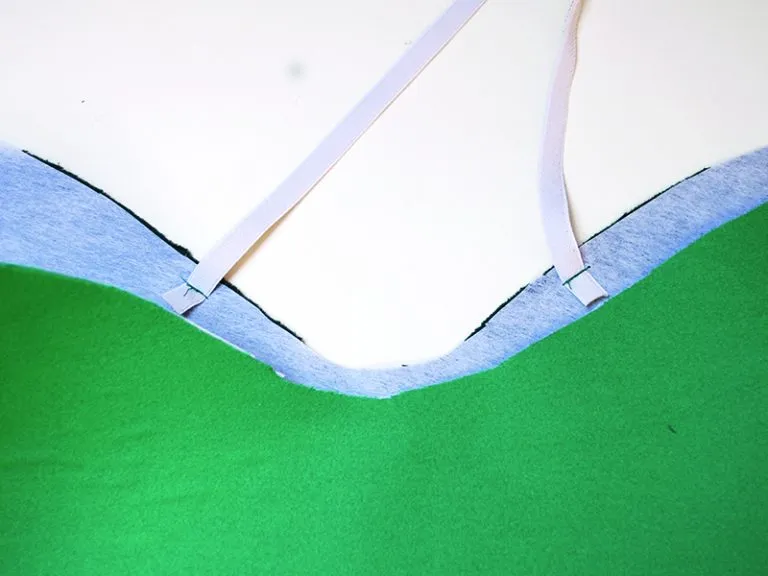
Step two: Place the end of one piece on one shoulder of the WS of the outer wing as marked on the template and sew into place. Stitch a couple of lines then backstitch to secure.
Step three: Repeat this to sew the end of the other piece of elastic on the other shoulder position of the WS of the outer wing.
Assembling the wings
Step one: Place the outer wing on top of the inner wing with the interfacing sides facing and pin together.
Step two: Stitch the outer and inner wings together by stitching a line 3mm (1⁄8in) from the outer edge, then another line 1cm (3⁄8in) inside this first one.
Step three: Topstitch over the stitching you’ve already worked on the contrast panels to create interest on the inside of the cape.
Step four: Trim around the edges of the wings, if necessary, so the outer and inner wings line up exactly to achieve a neat finish.
Finishing off
Step one: Sew the loose ends of the elastic into place on the inner wing in the positions marked on the template to create a shoulder loop.
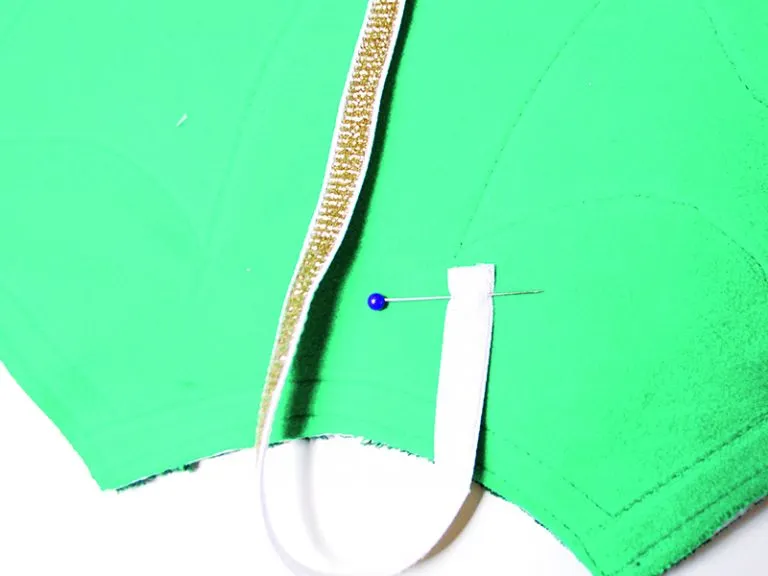
Step two: Cut two 24cm (91⁄2in) lengths of elastic.
Step three: Overlap the two ends of one length by 1cm (3⁄8in) to create a loop then sew them into place on the inner wing edge to make a wrist loop.
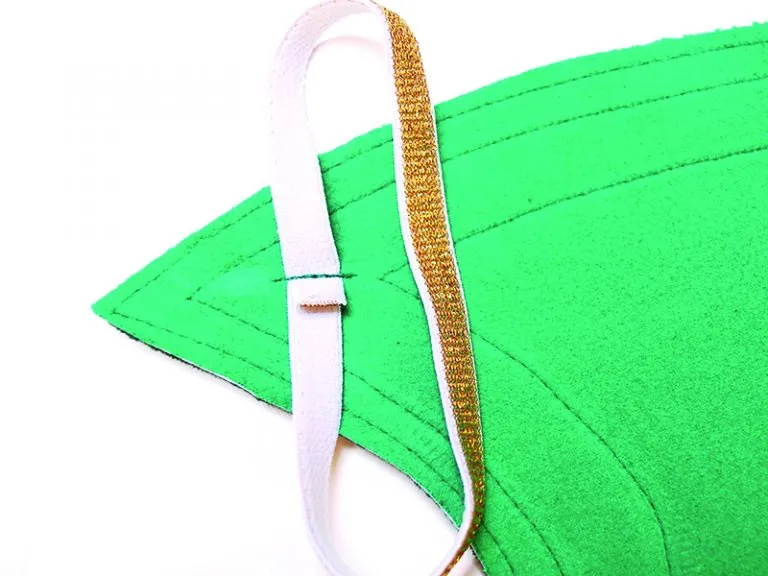
Step four: Repeat this to make a wrist loop with the other length of elastic on the other side of the wing.

Fun for the whole family!
Why let the kids have all the fun? Find plenty of dress-up inspiration in our roundup of family Halloween costume ideas.
How to make the dragon costume mask
Assembling the mask
Step one: Trace around the mask pattern template and cut out the outer and inner fabrics and interfacing in the same way as for the wings.
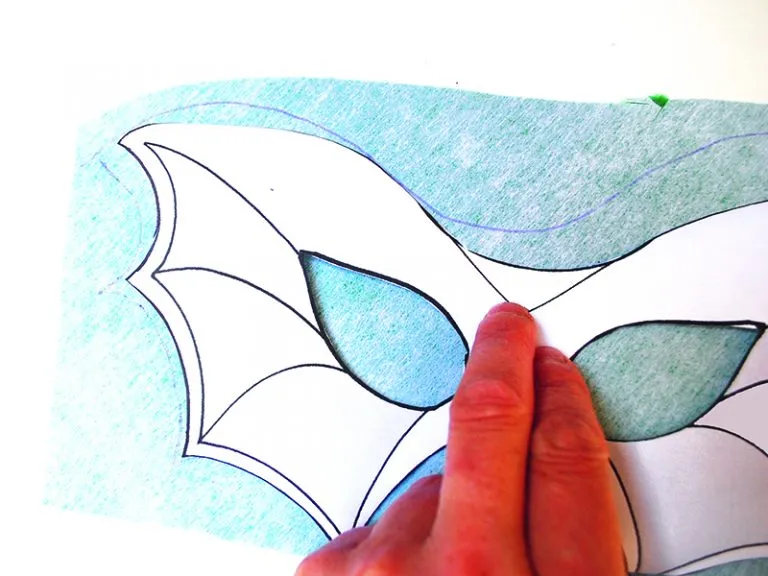
Step two: Cut out the contrast panels and stitch them into place, using the template as a guide.
Step three: Place the outer mask on top of the inner mask with the interfacing sides facing inside and pin then stitch together in the same way as for the wings.
Step four: Topstitch over the stitching you’ve already worked on the contrast panels to create interest on the inside.
Making the eyes
Step one: Trace the eye positions onto the outer fabric and then sew around these outlines.
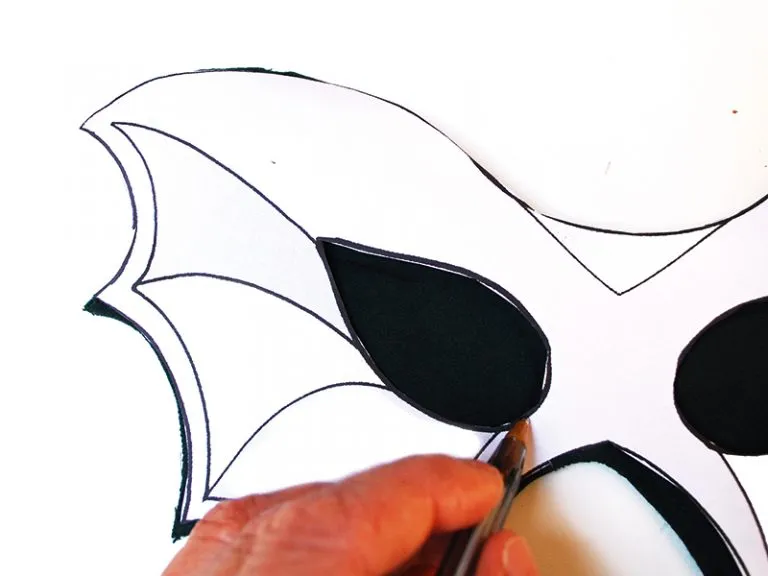
Step two: Cut out the eyes using small, sharp scissors inside the sewn lines, being careful not to cut your stitches.
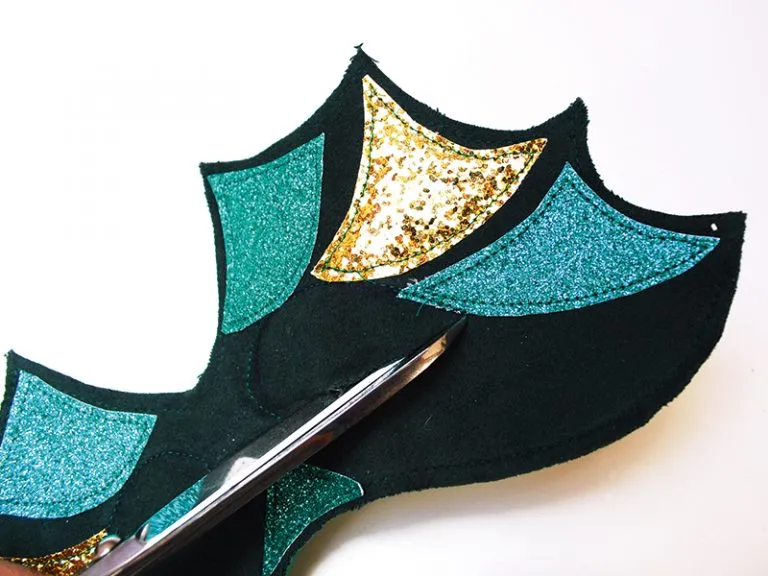
Step three: Cut a 30cm (12in) length of elastic, and sew into place at each side of the mask in the positions shown on the template.
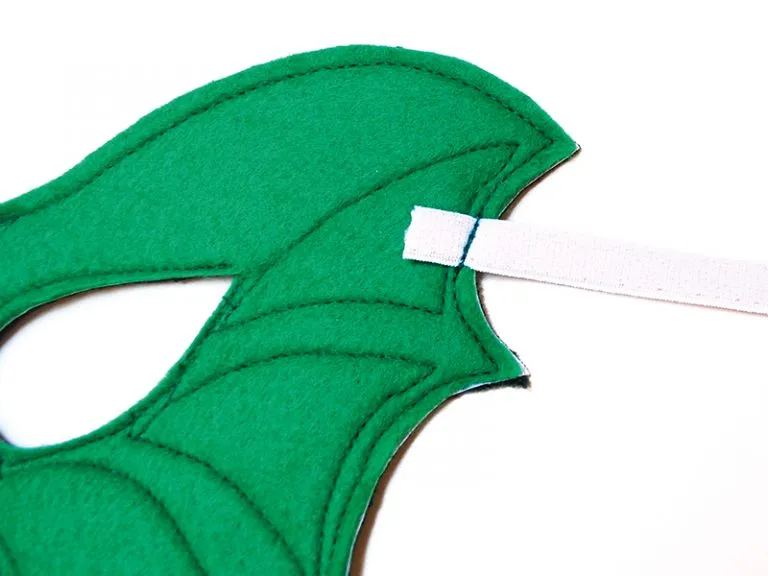
Ta da! You've finished your home-sewn cape and mask. Now all you need to do is show it off! Whether you're making for trick or treating or an upcoming fancy dress party, remember to share a pic of your mini dragons with us using the hashtag #simplysewingmag
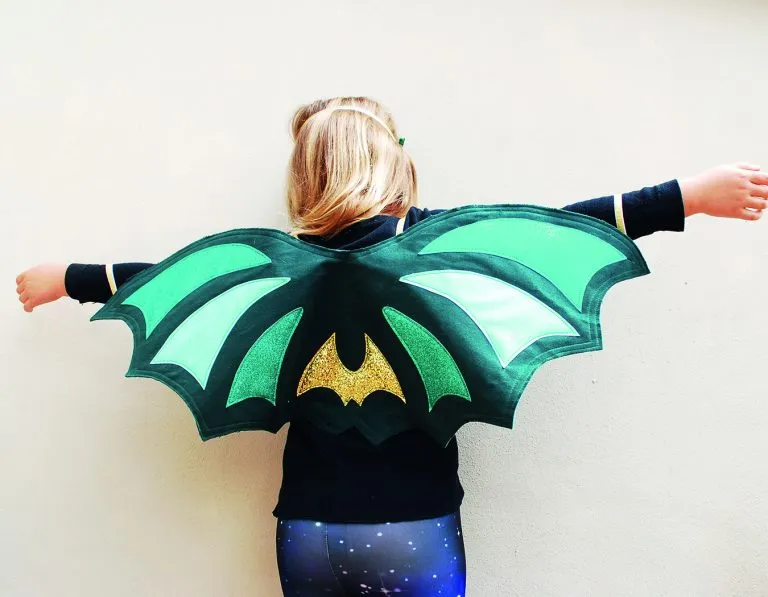
Don't be scared to customise your dragon costume
Kids will love running around and flapping their wings with this fun dragon costume. But if your younger children find dragons a bit scary, it's easy to make changes. Try switching for bright patterned fabric or pinks and purples to turn it into a beautiful butterfly costume!
Craft even more Halloween costumes for your kids
Whether you're got multiple children, or just one that really loves to dress up, you'll find loads more fun ideas in our roundup of fun Halloween costumes for kids.

