Cutting out
Step 1
Download, print and cut out the templates for the pineapple body, pineapple base, large leaf, medium leaf and small leaf.
Step 2
From Fabric A cut:
- Pineapple body: 25x40cm (10x16in)
- Pineapple base: one from the base template
Step 3
From Fabric C cut:
- Large leaves outer: 24x45cm (9½x18in)
- Medium leaves outer: 40x40cm (16x16in)
- Small leaves outer: 32x45cm (13x18in)
Step 4
From Fabric D cut:
- Large leaves lining: 24x45cm (9½x18in)
- Medium leaves lining: 40x40cm (16x16in)
- Small leaves lining: 32x45cm (13x18in)
- Rim: two pieces 5x40cm (2x16in)
Step 5
From the wadding cut:
- Pineapple base: one from the base template
- Large leaves: 24x45cm (9½x18in)
- Medium leaves: 40x40cm (16x16in)
- Small leaves: 32x45cm (13x18in)
Making the pineapple body
Step 1
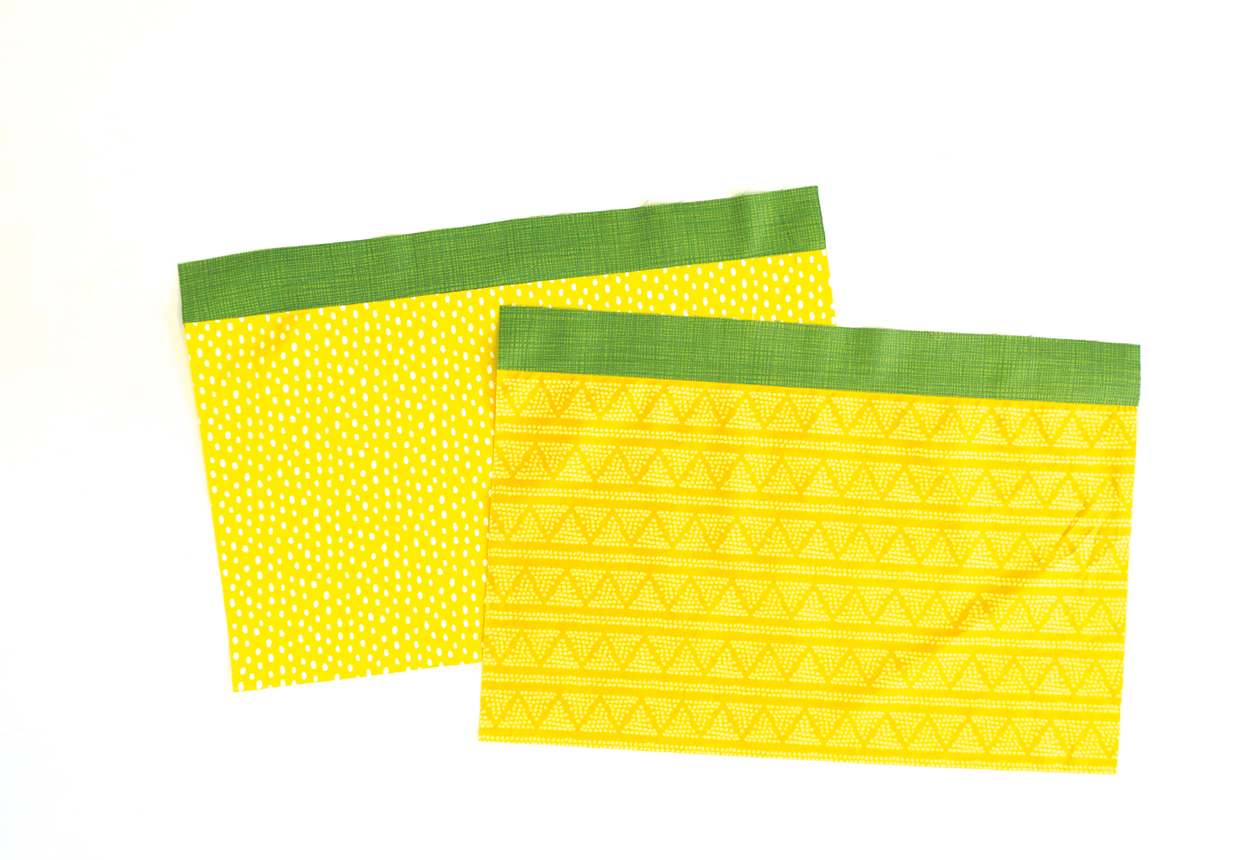
Place one Fabric A pineapple body piece right sides (RS) together with one rim strip, lining up the long top edge and matching raw edges. Stitch together then press the seam upwards towards the rim fabric.
Step 2
Repeat this with the Fabric B pineapple body and other rim strip.
Step 3
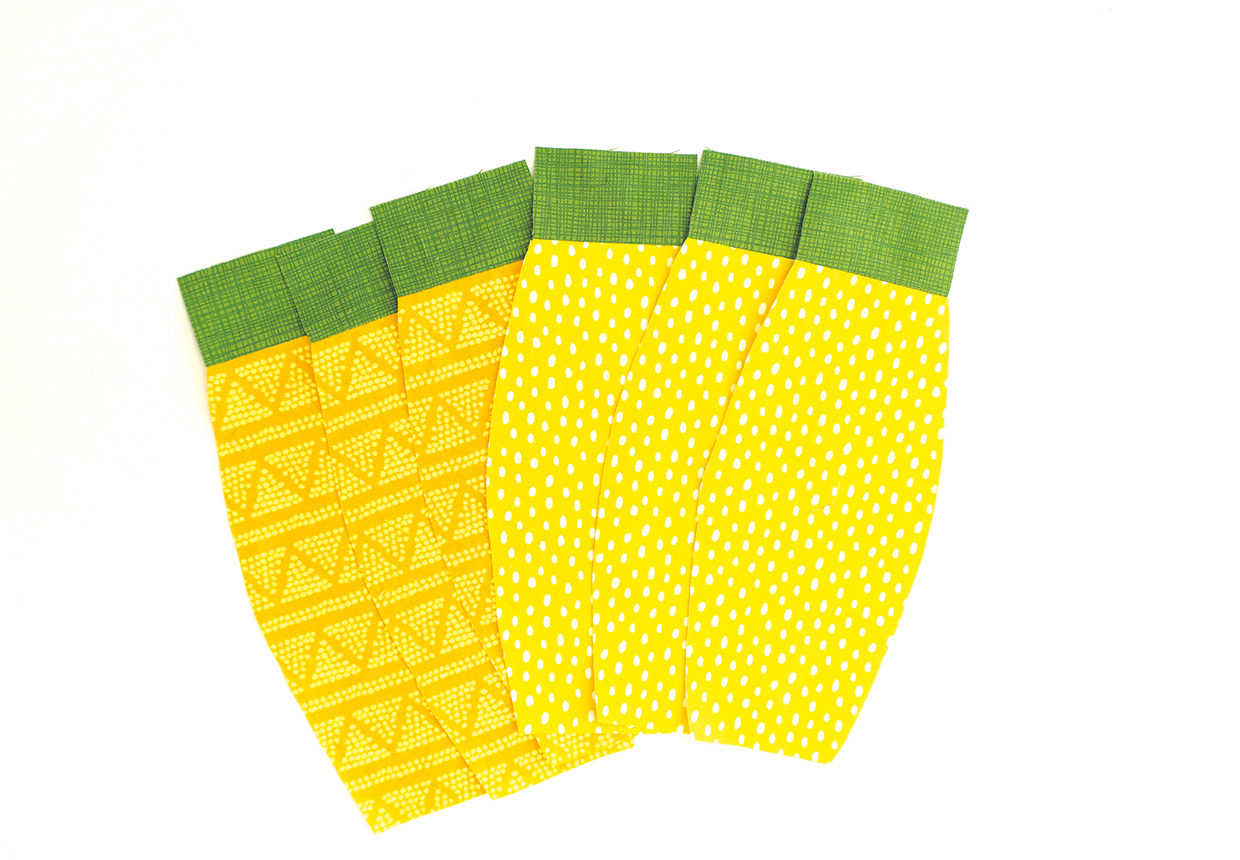
Place the pineapple body template on top of the Fabric A joined fabric piece, lining up the marked seam line on the template with the seam line of the fabrics. You need to cut three of the pineapple body pieces from this, so position it so you can draw around the template three times.
Step 4
Cut three pineapple body pieces from the Fabric B joined piece to make six pineapple body pieces in total.
Step 5
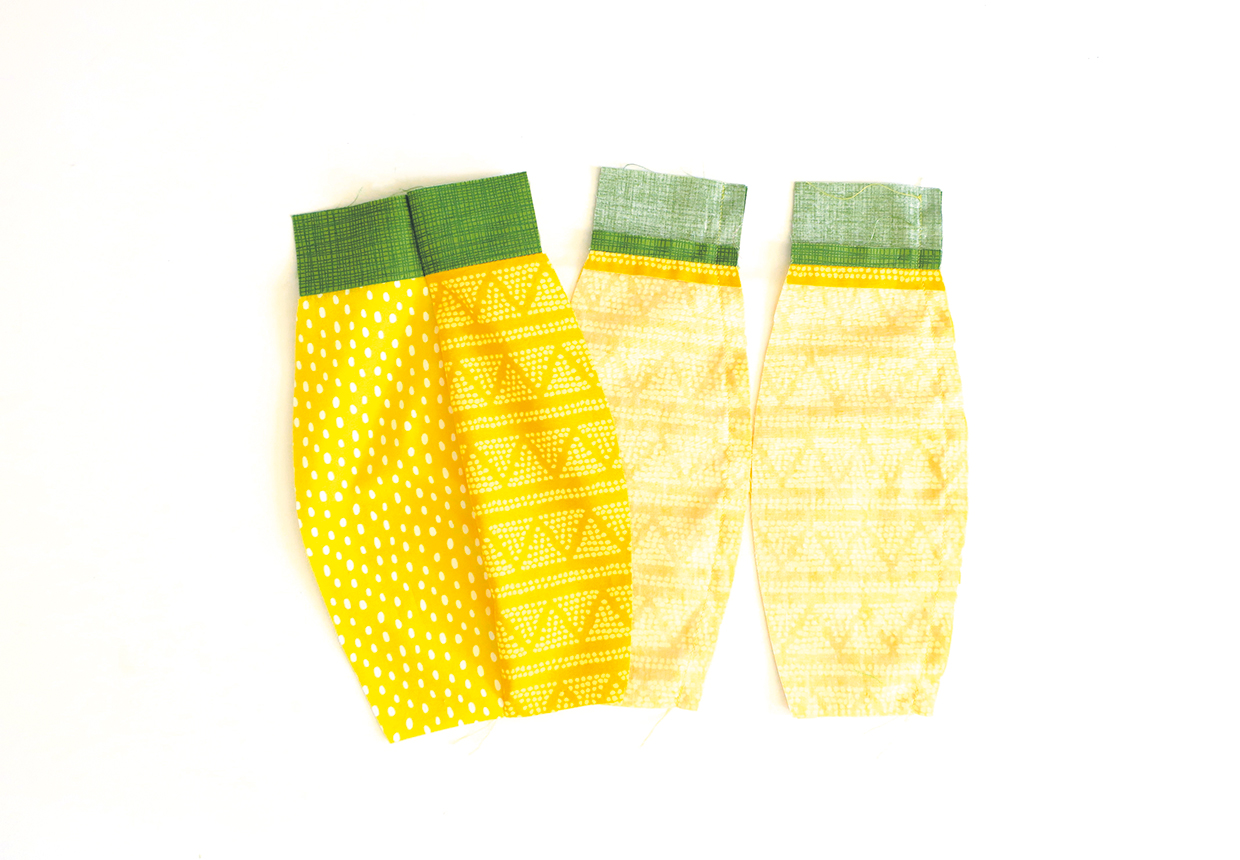
Place one Fabric A body RS together with one Fabric B body and stitch together down one side, matching the rim strip seams.
Step 6
Stitch the other pineapple body pieces in pairs to make three pairs.
Step 7
Stitch the pairs together to make a ring of alternating pineapple body pieces.
Attaching the base
Step 1
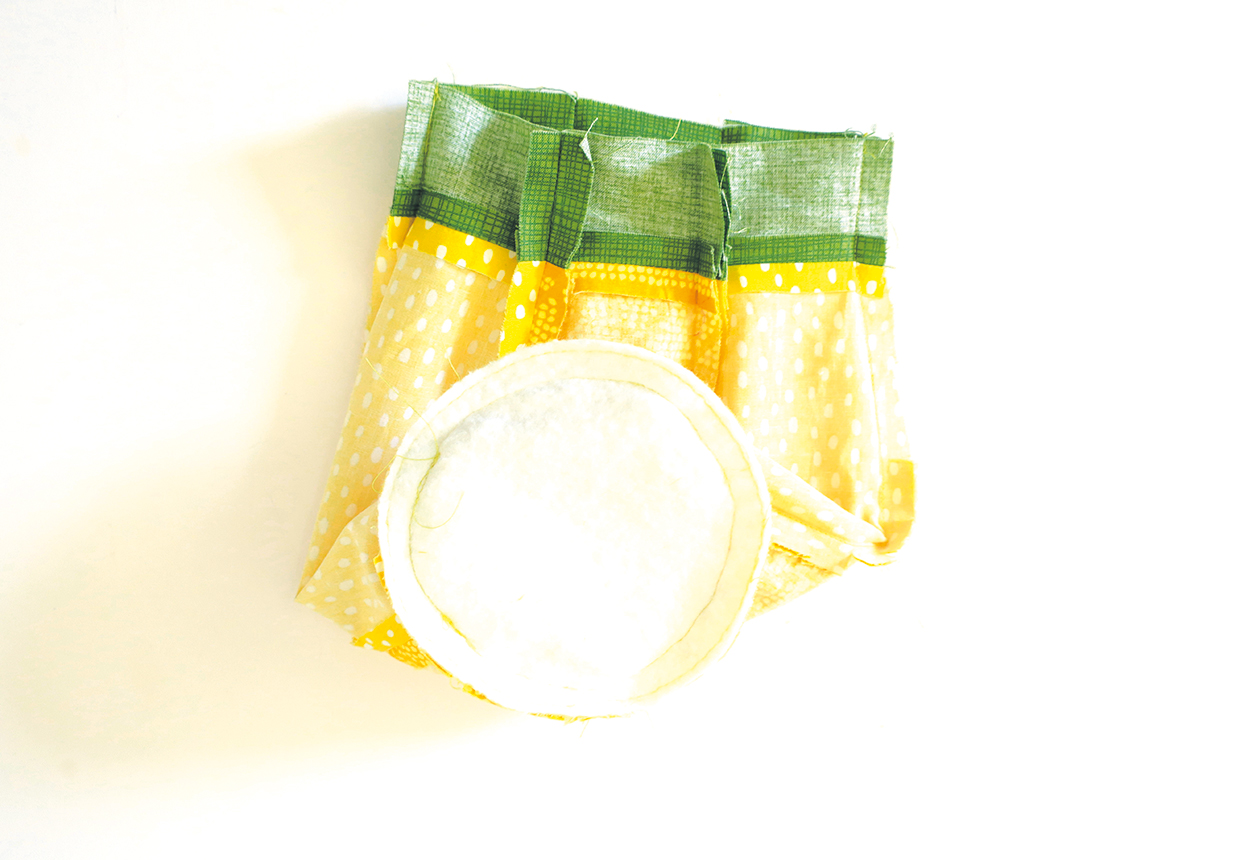
Staystitch around the bottom edge of the pineapple body just inside the seam allowance then clip up to the staystitching. This will make the base easier to attach.

Step 2
Place the base fabric RS up on top of the base wadding and stitch together all the way around within the seam allowance.
Step 3
Fold to mark the quarter points of the bottom edge of the body and the quarter points of the base.
Step 4
Pin the base RS together around the bottom edge of the body, matching the quarter points pieces, then stitch together.
Finishing the rim
Step 1
Turn the top raw edge of the rim under by 1cm (3⁄8in) to the wrong side (WS) and press.
Step 2
Fold it under again to meet up with the seam and encase the raw edges of the rim and pineapple body pieces.
Step 3
Stitch the rim into place.
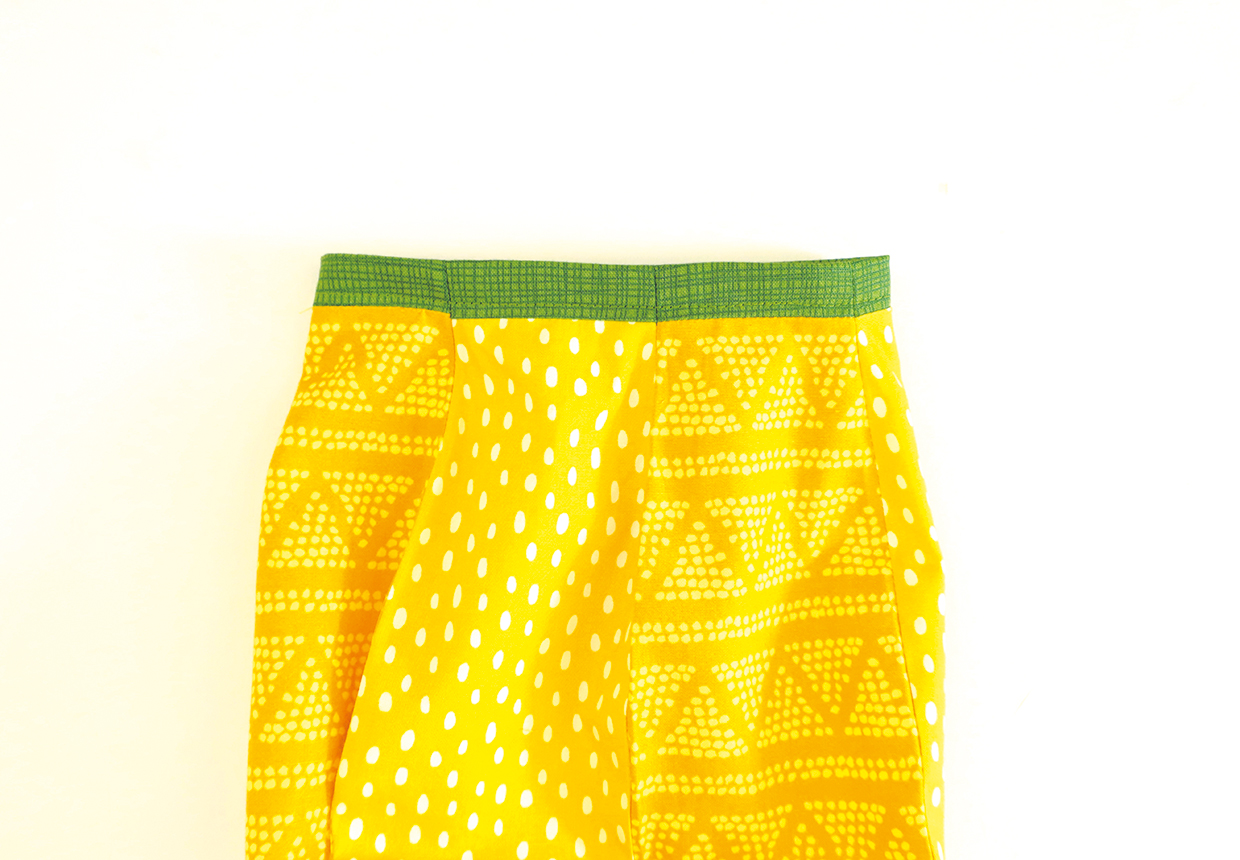
Stuffing the pineapple
Step 1
Fill the pineapple with plastic pellets. It’s best to pour these into a plastic bag or fabric bag first and knot the top to secure.
Step 2
Add polyester fibrefill on top of and around the heavy filling to keep its rounded shape, filling it right to the top.
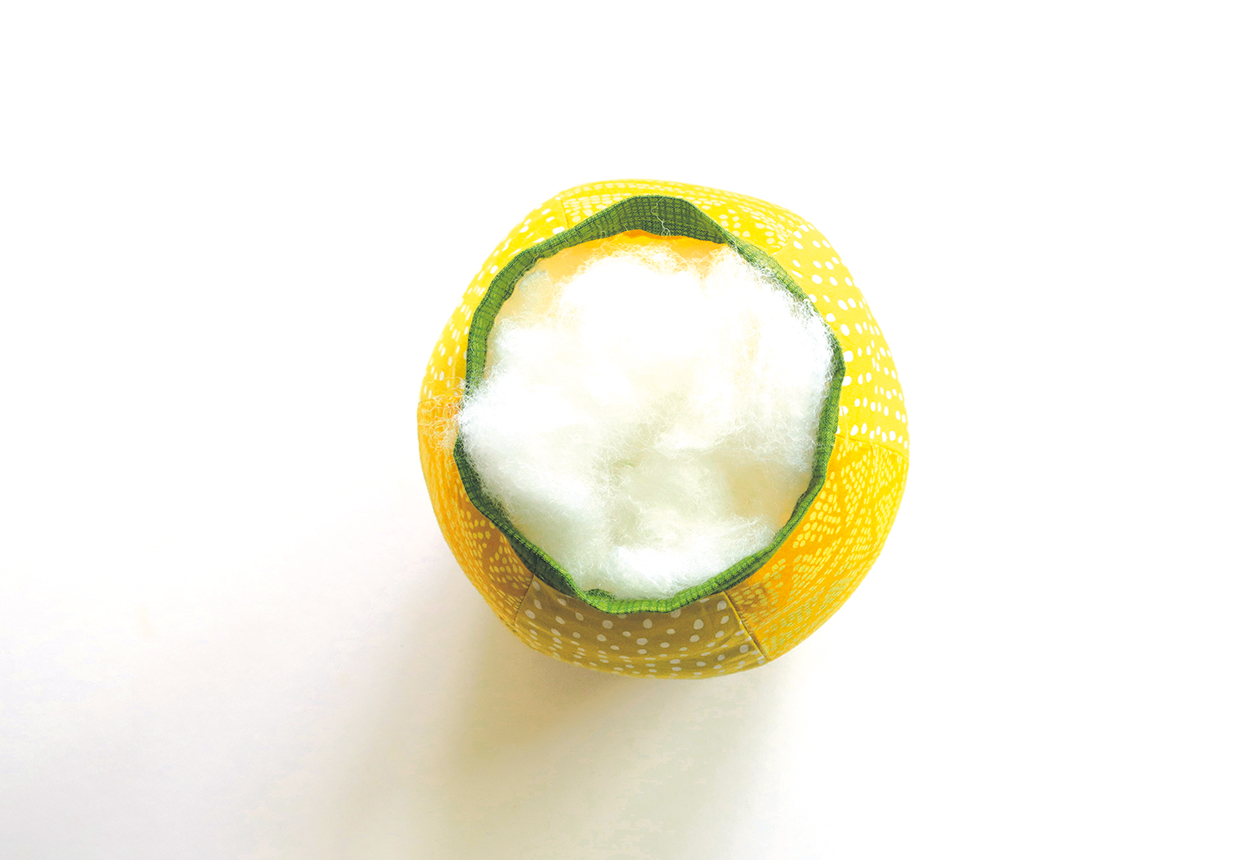
Making the leaves
Step 1
Take the large leaf template and the Fabric C large leaf piece. Draw around the template on the WS of the fabric five times, leaving a gap of at least 2cm (¾in) between each drawn leaf.
Step 2
Place the marked Fabric C piece RS together with the Fabric D large leaf piece. Place these on top of the large leaf wadding and pin.
Step 3
Stitch the three layers together around each of the drawn leaf outlines, but leaving the bottom straight edges unstitched.
Step 4
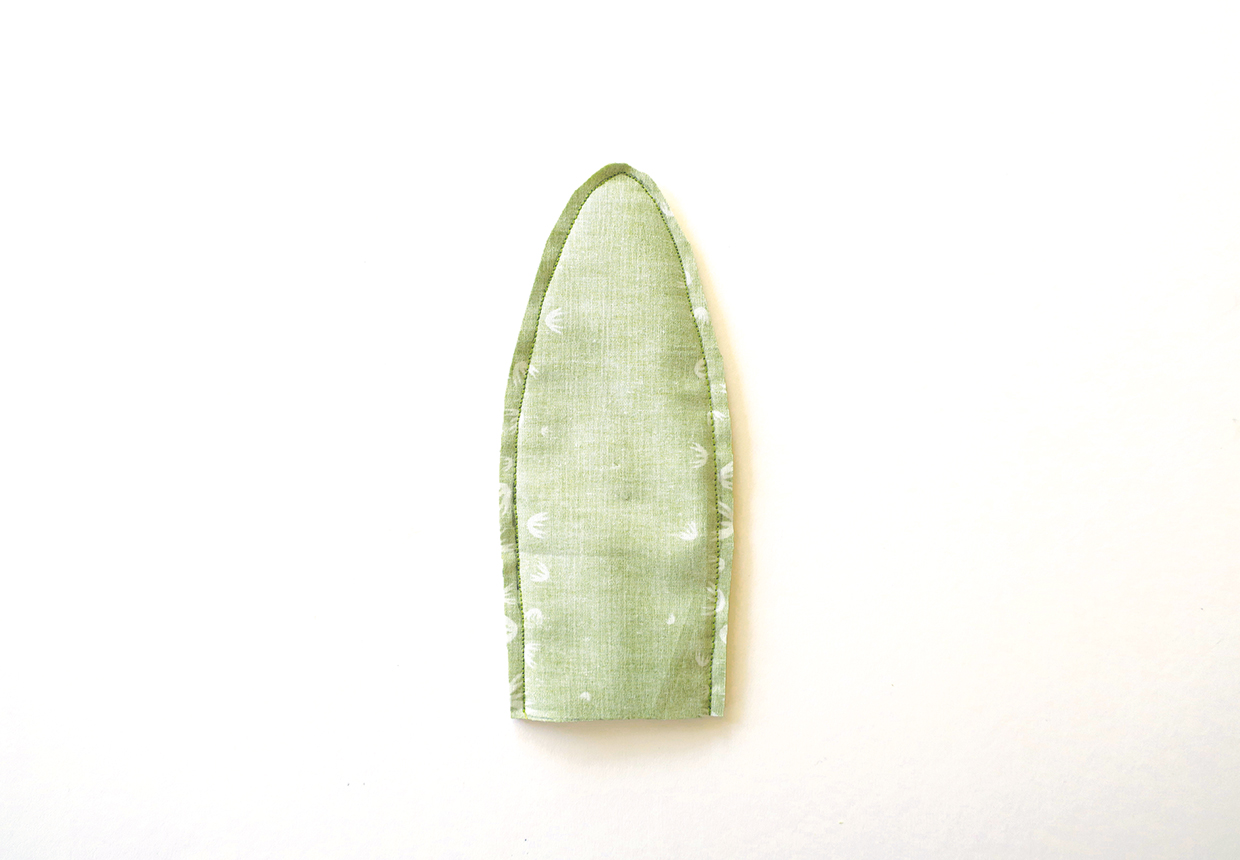
Cut out each leaf 5mm (¼in) outside the stitching and across the drawn bottom straight edge.
Step 5
Turn a leaf RS out through the gap in the bottom and press flat.
Step 6
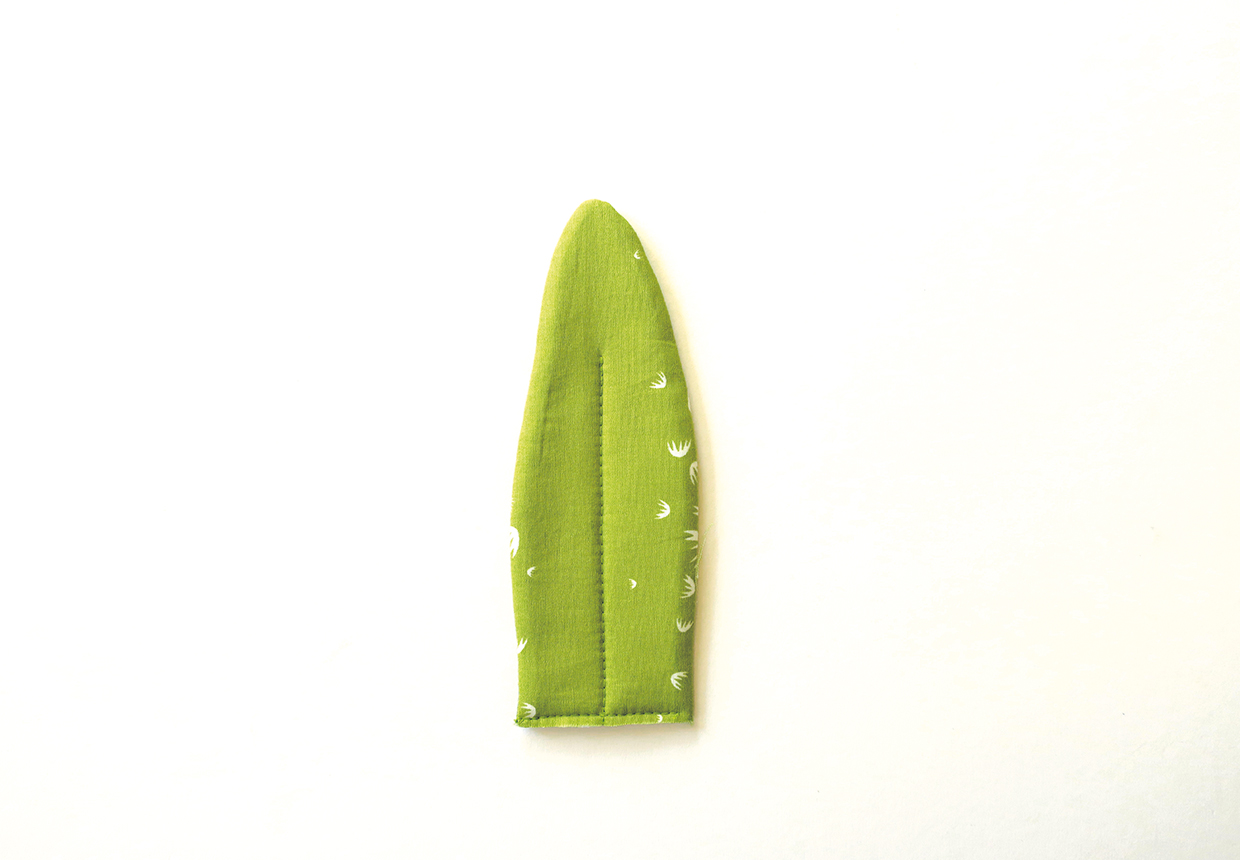
Topstitch a vein centrally up the leaf, finishing two thirds of the way up then stitch across the bottom edge to hold together.
Step 7
Repeat this to make all the leaves using the relevant pieces of fabric and wadding. You need to make eight medium leaves and ten small leaves.
Joining the leaves
Step 1
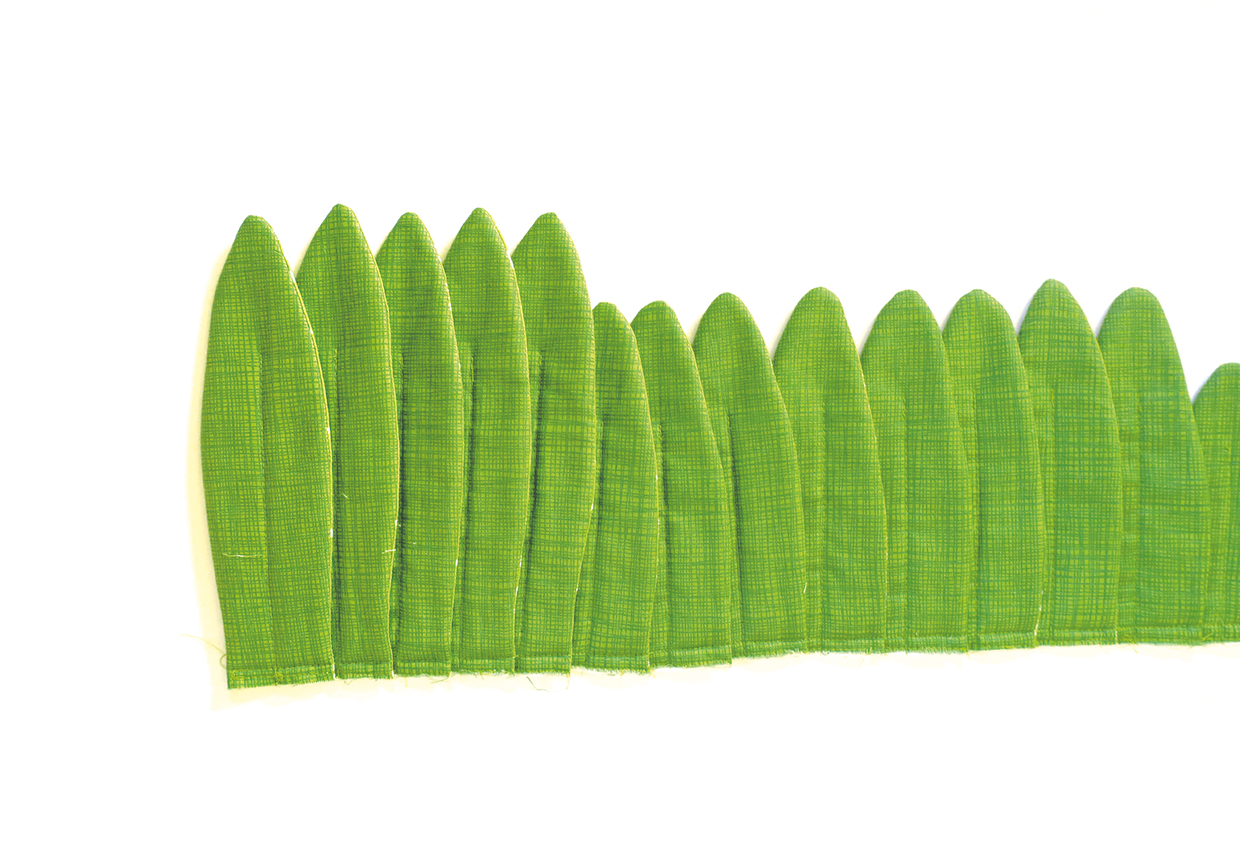
Place all the leaves out flat, with the Fabric D lining side facing up. The large leaves should be on the left, then the medium leaves and finally the small leaves.
Step 2
Overlap the bottom edges of the leaves by 2cm (¾in) then pin and stitch together to make one long row of joined leaves.
Step 3
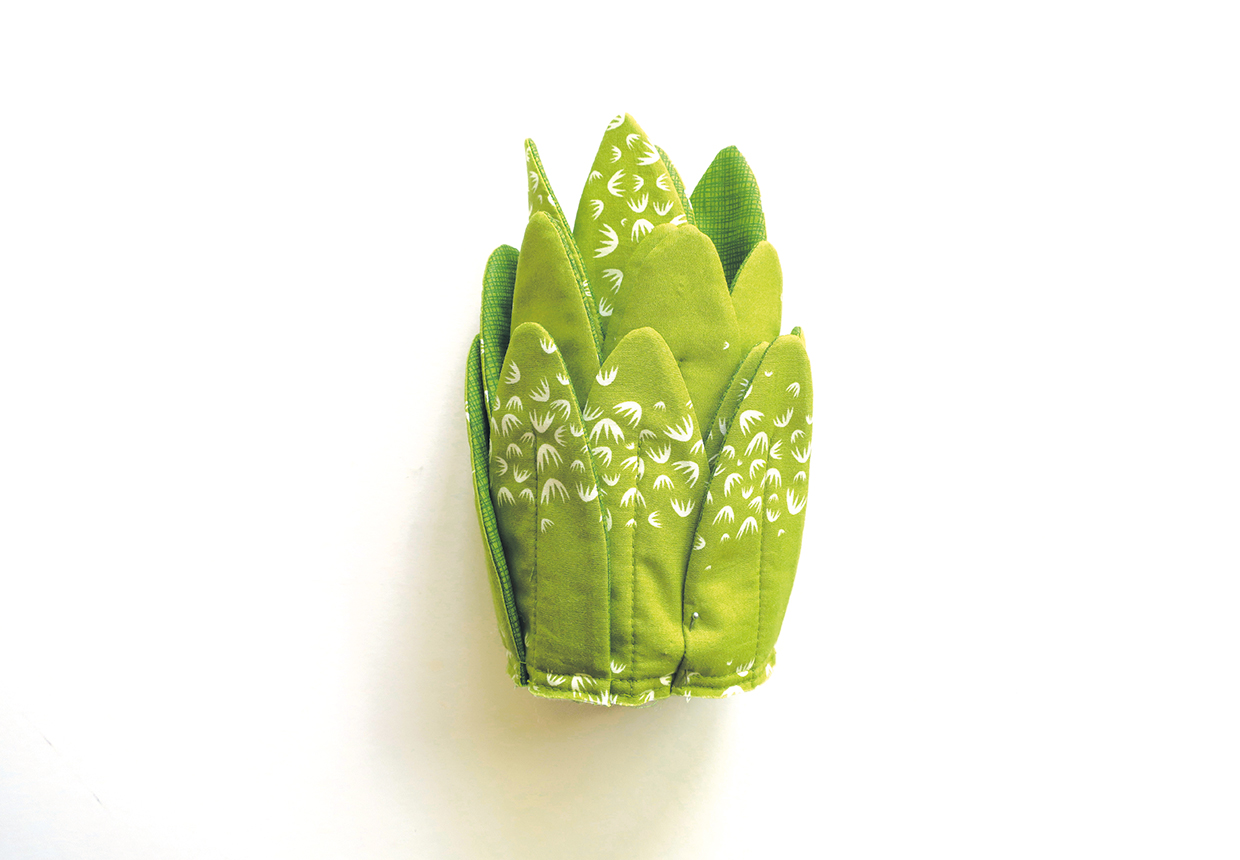
Starting with the long leaves, roll up the row of joined leaves along the bottom edges and pin together.
Step 4
The leaves need to fit exactly into the top rim of the pineapple so put the roll inside to check it’s correct and adjust by rolling it tighter or looser if needs be.
Step 5
To hold the row of leaves together, oversew by hand around the bottom edges so they are securely held together in a roll.
Finishing off
Step 1
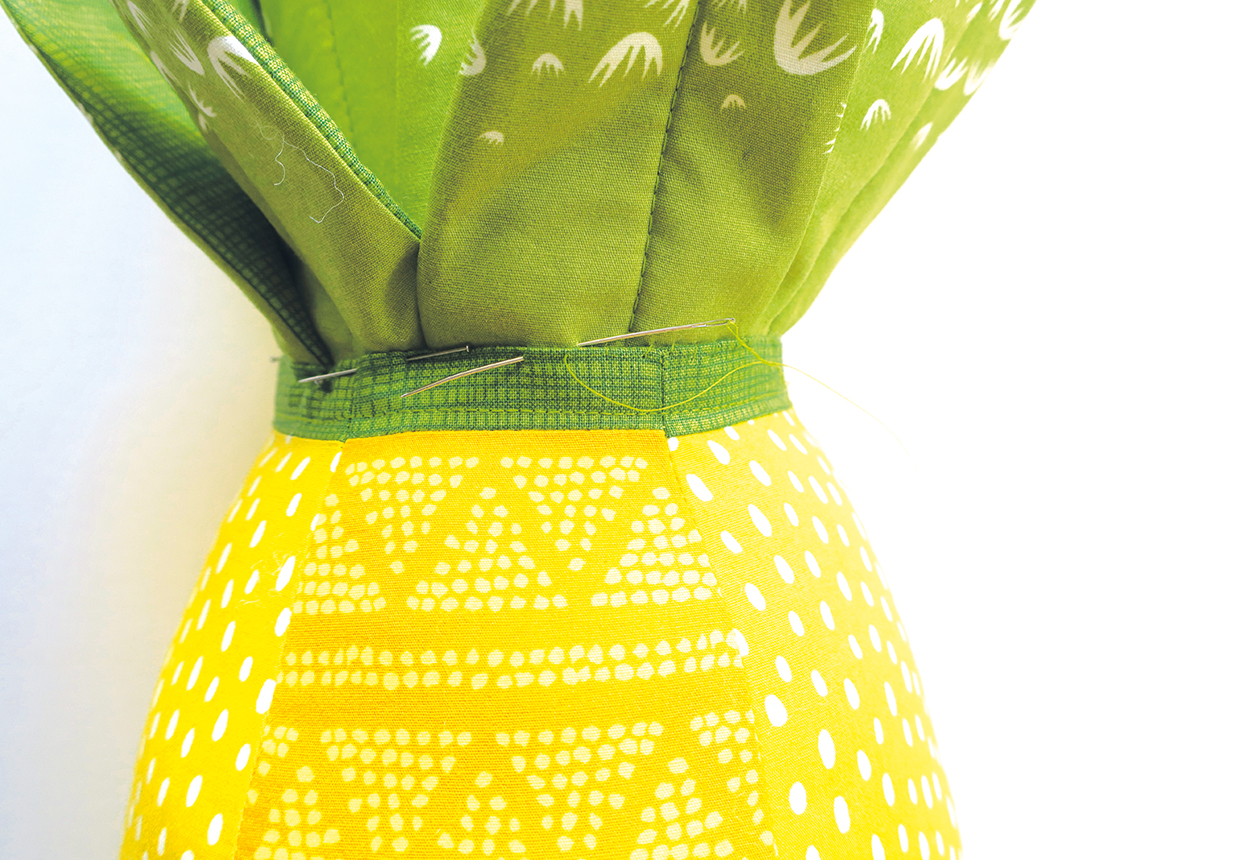
Insert the roll of leaves into the top rim of the pineapple so the top edge of the rim comes 2cm (¾in) above the bottom raw edge of the leaves and pin into place.
Step 2
Slipstitch the leaves to the rim. Work around them twice so the leaves are firmly secured into place.
Step 3
For added strength, work some hand stitches through the leaves from one side to the other, using a long needle and making sure you keep the stitches neat so they can’t be seen.


