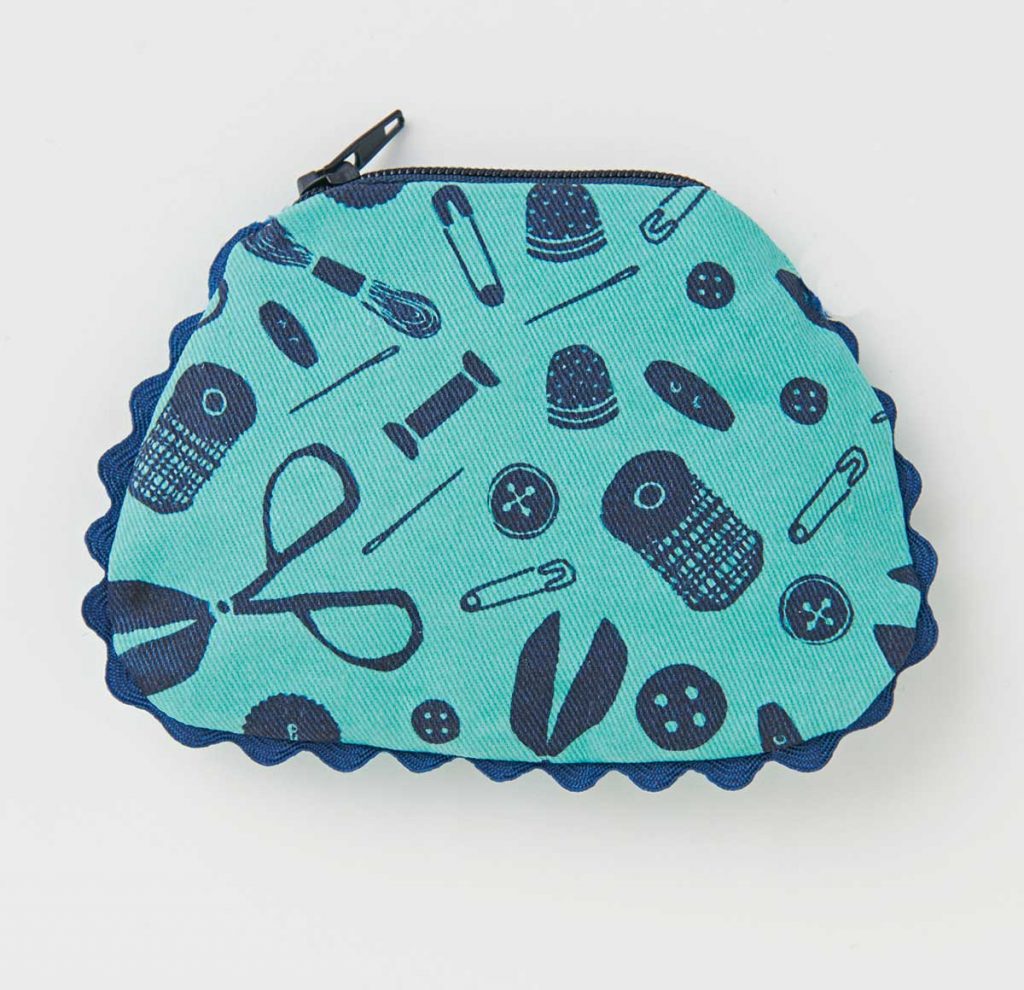
Free coin purse sewing pattern
If you enjoyed our how to make a coin purse tutorial and fancy making yours extra fancy, we have an adorable mini coin purse sewing pattern by Angela Lee’s Penny available for you to make for free below!
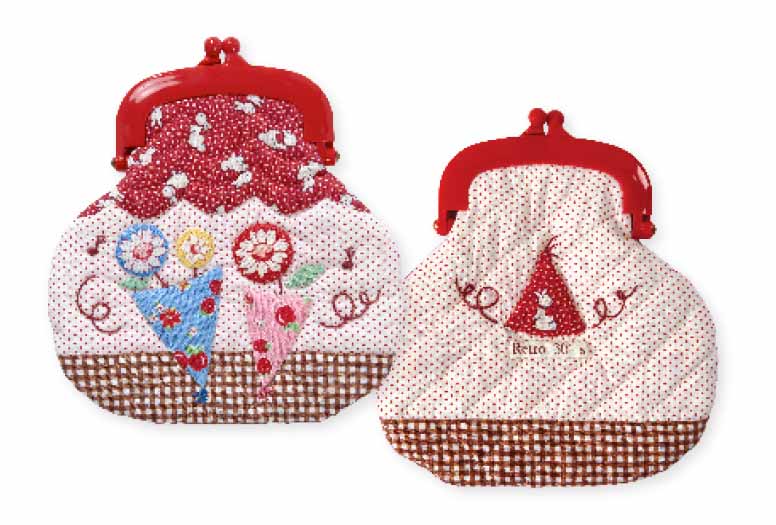
You will need
- Purse body fabric: 18cm x 30cm
- Contrast fabric: 18cm square
- Top fabric: 18cm x 8cm
- Scrap fabric for decoration: seven (7) 8cm squares
- Batting: two (2) 18cm squares
- 10cm purse frame
- Textile glue
- Embroidery thread
- Download our Free coin purse sewing pattern
Finished size
16cm x 17cm approx
Notes
- Seam allowances are 1cm.
- Templates do not include seam allowance.
- RST = right side together.
Fabrics used
- Print fabrics are from the Retro 30s 2016 Collection by Lecien.
- For the purse frame we used an 10cm red Jelly Clip from Lecien.
Cutting Out
Step 1
From contrast fabric, cut two (2) 18cm x 8cm rectangles.
Step 2
From purse body fabric, cut two (2) 18cm x 15cm rectangles.
Step 3
From lining fabric, cut two (2) purse body templates.
Make the Purse body
Step 1
Sew one contrast strip to the bottom of each purse body fabric and press the seam open. Cut out one purse body piece from each piece of fabric, aligning the guideline with the seamline. These will be your purse back and purse front.
Step 2
Trace the Top template onto the right side of your top fabric using a removable fabric pen. Cut out adding a 0.5cm seam allowance around the outer edges and pin to your purse front.
Step 3
Applique the top piece to the top to your purse body, turning under the seam allowance to your drawn line as you stitch. You will need to clip into the seam allowance at the points as you go.
Note – you only need to appliqué the curved edges of the top pieces. After they are stitched down, trim the outer edges even with the raw edges of the purse front.
Step 4
Using the Front Decoration template as a guide, trace the triangles, circles and leaves and cut out using a 0.7cm seam allowance. Appliqué in place, then embroider the remaining details to the front of the purse.
Step 5
Repeat this process to add appliqué and embroidery to the back purse piece, using the back decoration template and photo as a guide.
Step 6
Baste your purse front to a piece of batting and quilt as desired. Angela hand quilted a cross-hatch along the contrast strip and scallops across the top. Repeat with the back purse piece.
Assemble the purse
Step 1
Pin the purse front and back pieces RST. Starting and finishing at the two side notches, sew together along the bottom of the purse, using a 0.7cm seam allowance. Backstitch at the beginning and end of the seam. Trim the seam allowance along the sewn portion.
Step 2
Place the two lining pieces RST, and sew together as before, leaving a 6cm turning gap in the bottom of the lining. Turn the lining right side out and place inside the purse out, with the fabrics RST.
Step 3
Align the top edges of the purse and lining and pin in place. Sew around the top edge on each side of the purse.
Step 4
Turn the purse right side out through the turning gap in the lining. Hand sew the gap closed and push the lining down inside the purse.
Step 5
Press the two purse flaps. Topstitch along the flaps. This will help flatten them and make inserting into the purse frame easier.
Attach the frame
Step 1
Apply a small amount of glue on one side of your frame, gently squeezing into the channel.
Step 2
Aligning the centre top of your purse with the centre top of the frame, insert the front flap into the frame. Push the flap all the way into the frame using a pointed tool or small ruler. Work from the centre down one side, and then go back and push in the other side.
Step 3
Leave your purse to dry for ten minutes. Repeat the process to insert the other flap in the other half of the frame.
