Making a pattern
Step 1
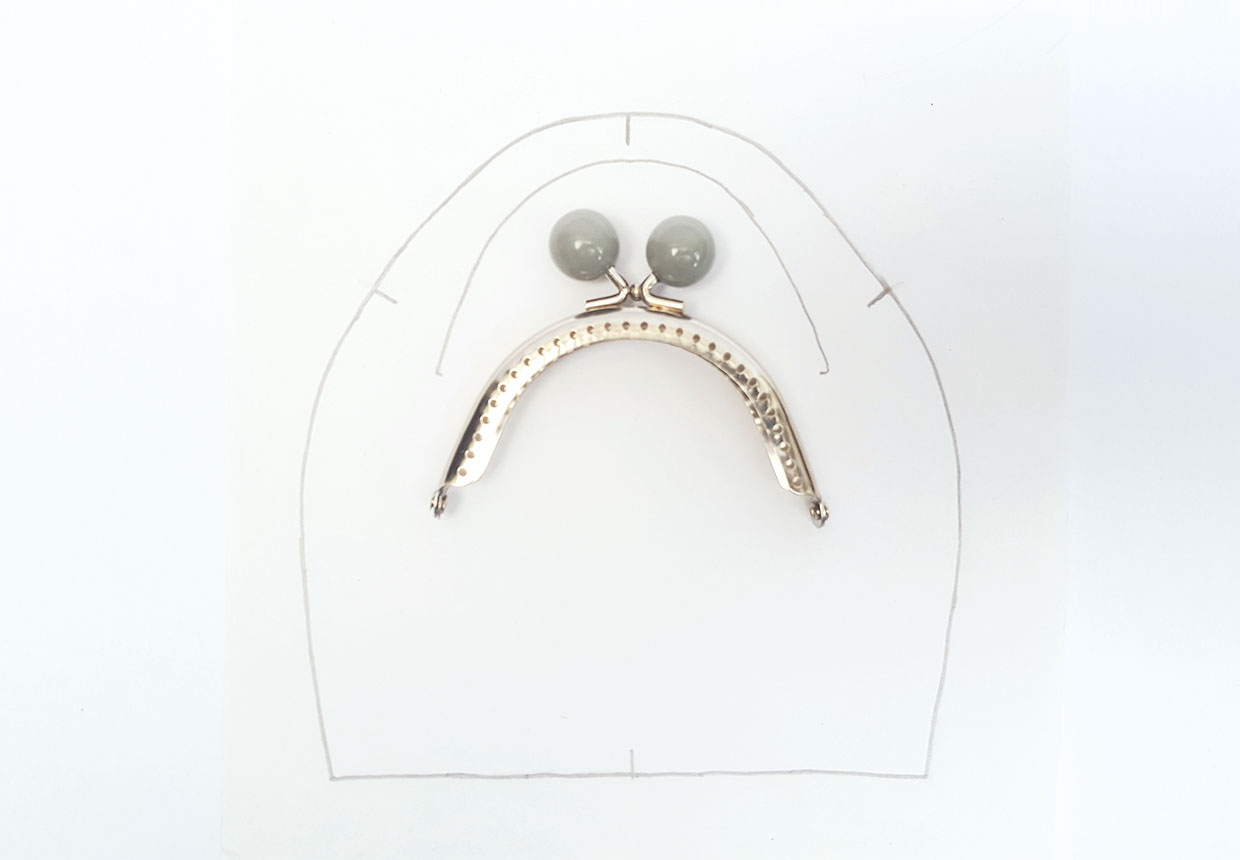
Draw around the outside top edge of the purse clasp frame from clasp end to end onto a sheet of paper.
Step 2
Mark a 1cm (3⁄8in) seam allowance outside your drawn frame top, then extend this away from the purse frame edge to your desired size and shape.
Step 3
Mark where the bag hinges need to go by placing the purse clasp on top of the pattern line, aligning the top of the clasp to the pattern top. Mark 1cm (3⁄8in) down from where the clasp ends.
Step 4
Mark the centre points at the top and bottom of your pattern.
Making the outer and lining
Step 1
Using your purse template, cut two pieces from the main fabric, lining fabric and the interfacing.
Step 2
Press the interfacing onto the wrong side (WS) of the main fabric pieces.
Step 3
Transfer all the pattern marks onto the WS of the fabrics.
Step 4
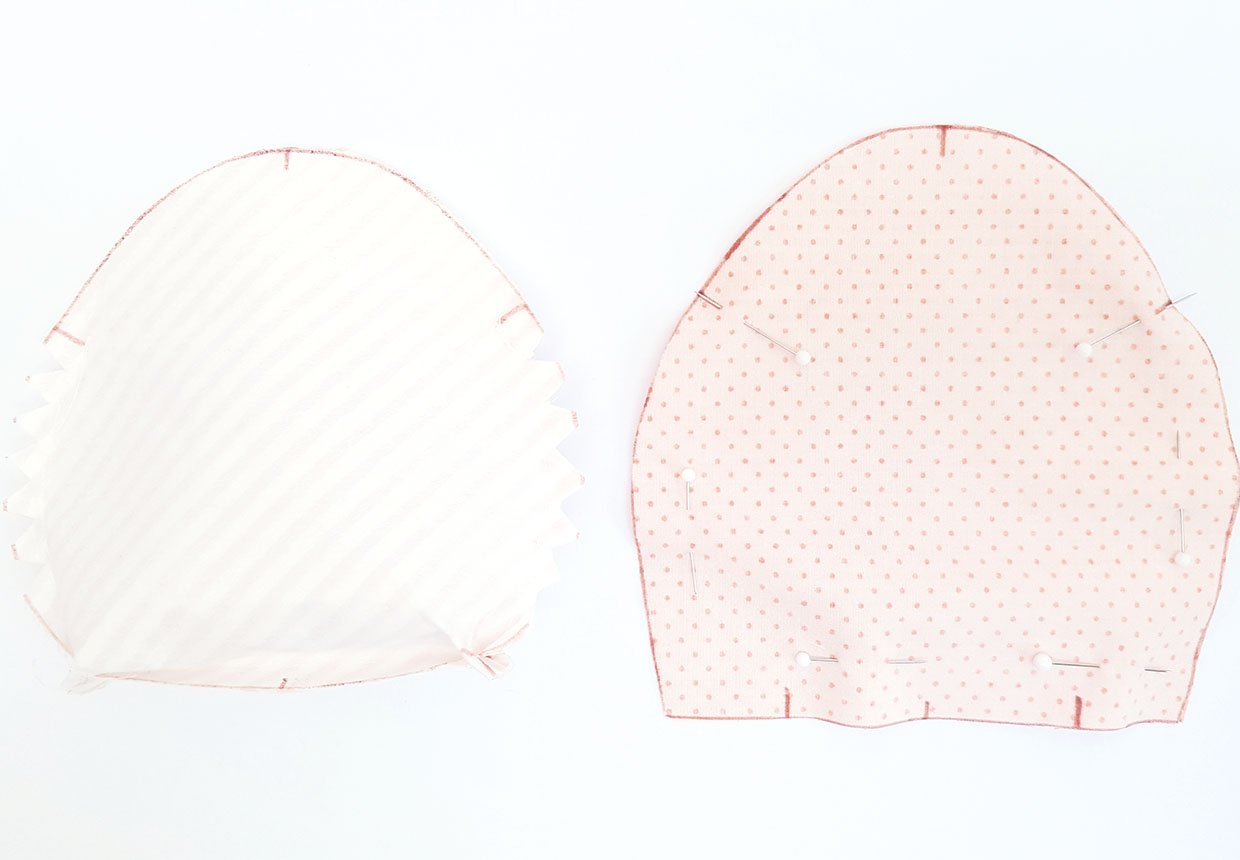
Take the two main fabric/interfacing pieces and pin them right sides (RS) together, matching the marks. Sew from clasp point to clasp point all the way around the bottom, leaving the top edge open.
Step 5
Repeat this for the two lining pieces, but leaving a turning gap in the centre of the bottom edge.
Step 6
Box the bottom corners of the main and lining purse sections by refolding to align the side and bottom seams and sewing across them, 1.5cm (5⁄8in) up from the corners. Trim off the excess fabric.
Sewing the purse together
Step 1
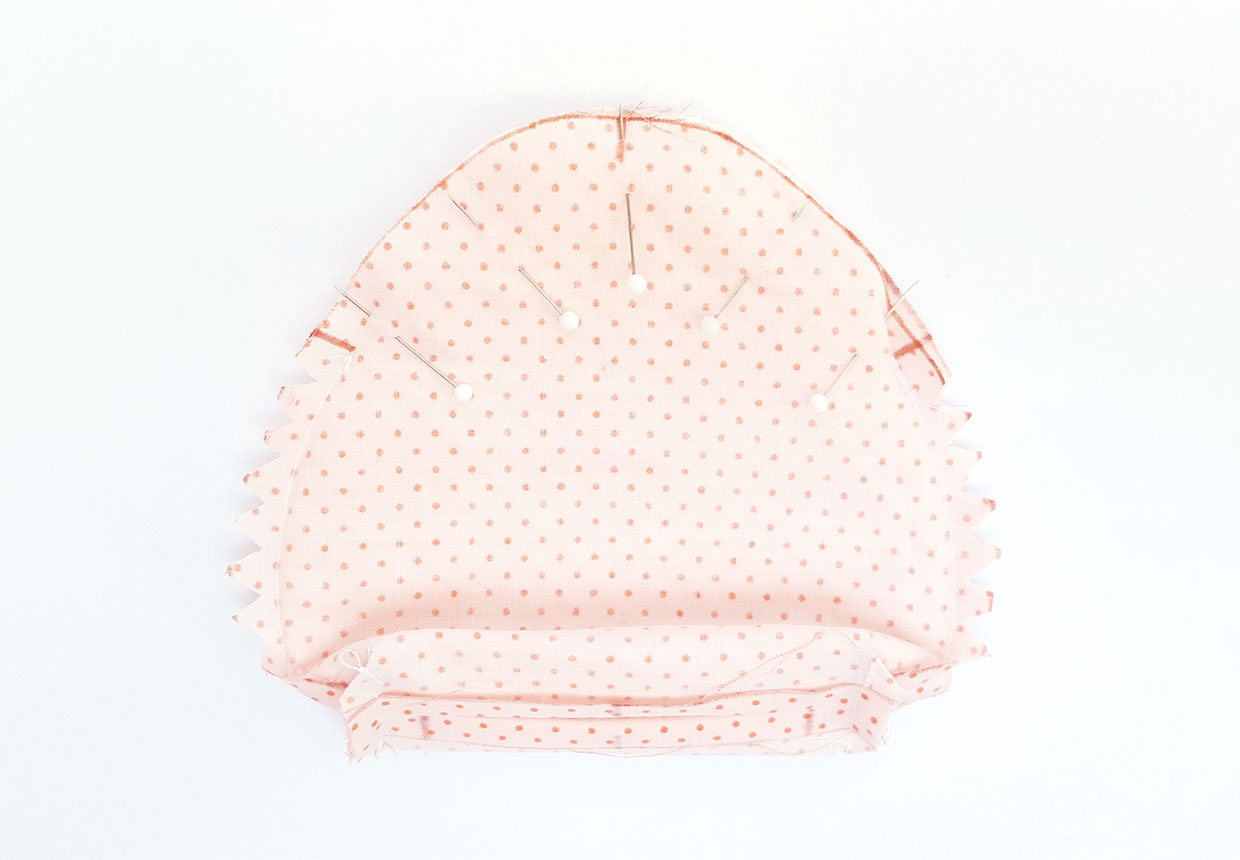
Turn the purse outer RS out and place it inside the lining so they are RS together, matching the clasp points. Pin into place.
Step 2
Sew together carefully around the top of the purse.
Step 3
Clip corners and turn RS out through the turning gap. Slip stitch the gap closed.
Attaching to the frame
Step 1
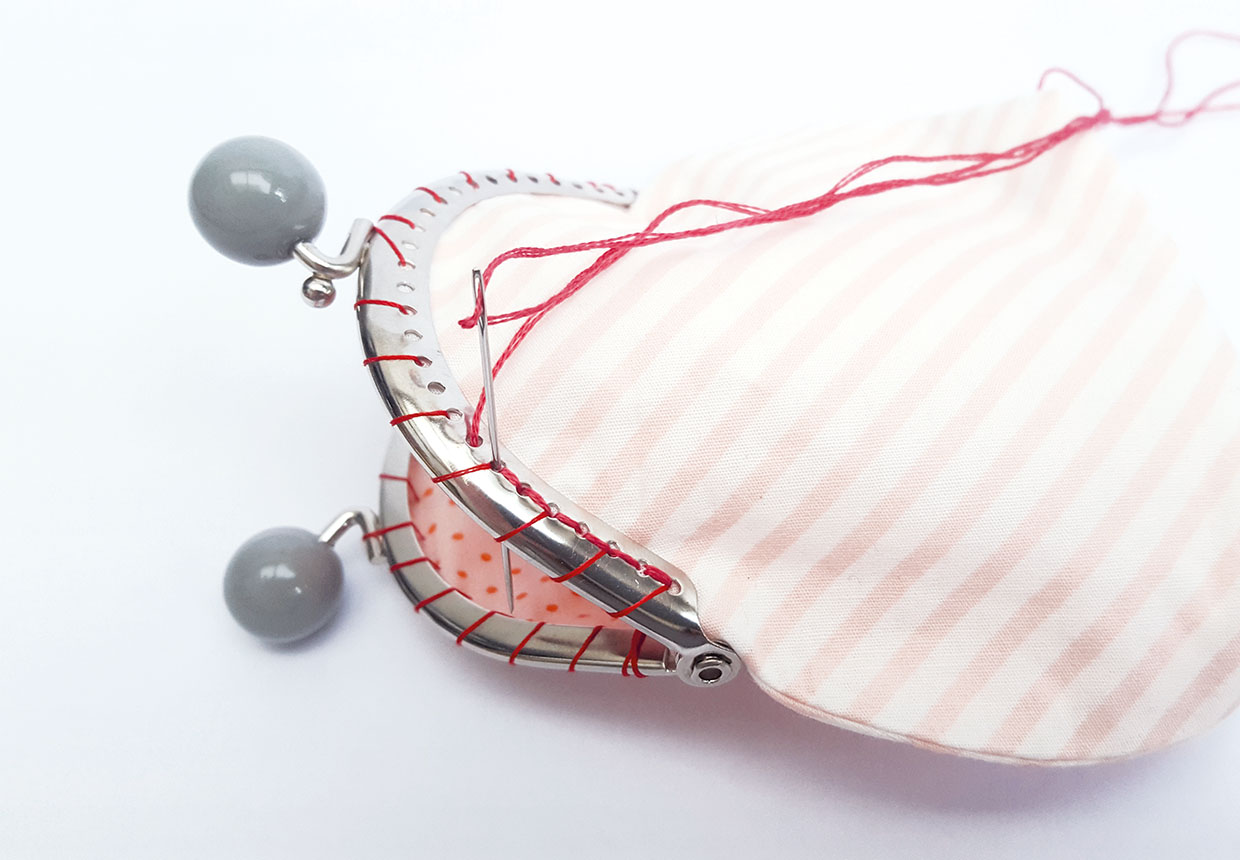
Using a small pair of closed scissors, carefully push one side of the purse top into one side of the frame, making sure the clasp points align and the bag is pushed in thoroughly. Push pins through the purse fabric and the holes in the frame to hold. Tack into place. Repeat for the other side of the purse.
Step 2
Backstitch the purse to the frame through the holes using stranded cotton.
Step 3
Remove the tacking threads.


