Cutting out
Step 1
Trace around and cut out the template for the backpack.
Step 2
Repeat this to trace the pocket template pattern. The top of this is shown as a curved line on the backpack template and the sides and bottom follow the same lines as for the backpack.
Step 3
Cut the fabric as follows:
Main fabric:
- Front and back: two pieces using the backpack pattern
- Pocket: one piece using the pocket pattern
- Zip pieces: two strips 6.5x53cm (25⁄8x207⁄8in)
- Side panel: 12x82cm (43⁄4x323⁄8in)
Lining fabric:
- Front and back lining: two pieces using the backpack pattern
- Pocket lining: one piece using the pocket pattern
- Zip pieces lining: two strips 6.5x53cm (25⁄8x207⁄8in)
- Side panel lining: 12x82cm (43⁄4x323⁄8in)
- Hanging loop: 14x8cm (51⁄2x31⁄8in)
- Pocket binding: 4x50cm (15⁄8x20in)
- Top strap covers: two strips 8x44cm (31⁄8x173⁄8in)
- Bottom strap covers: two strips 8x24cm (31⁄8x9½in)
Make the zip and side panel
Step 1
Turn one long edge of one zip piece under by 1cm (5⁄8in). Repeat with the other piece.
Step 2
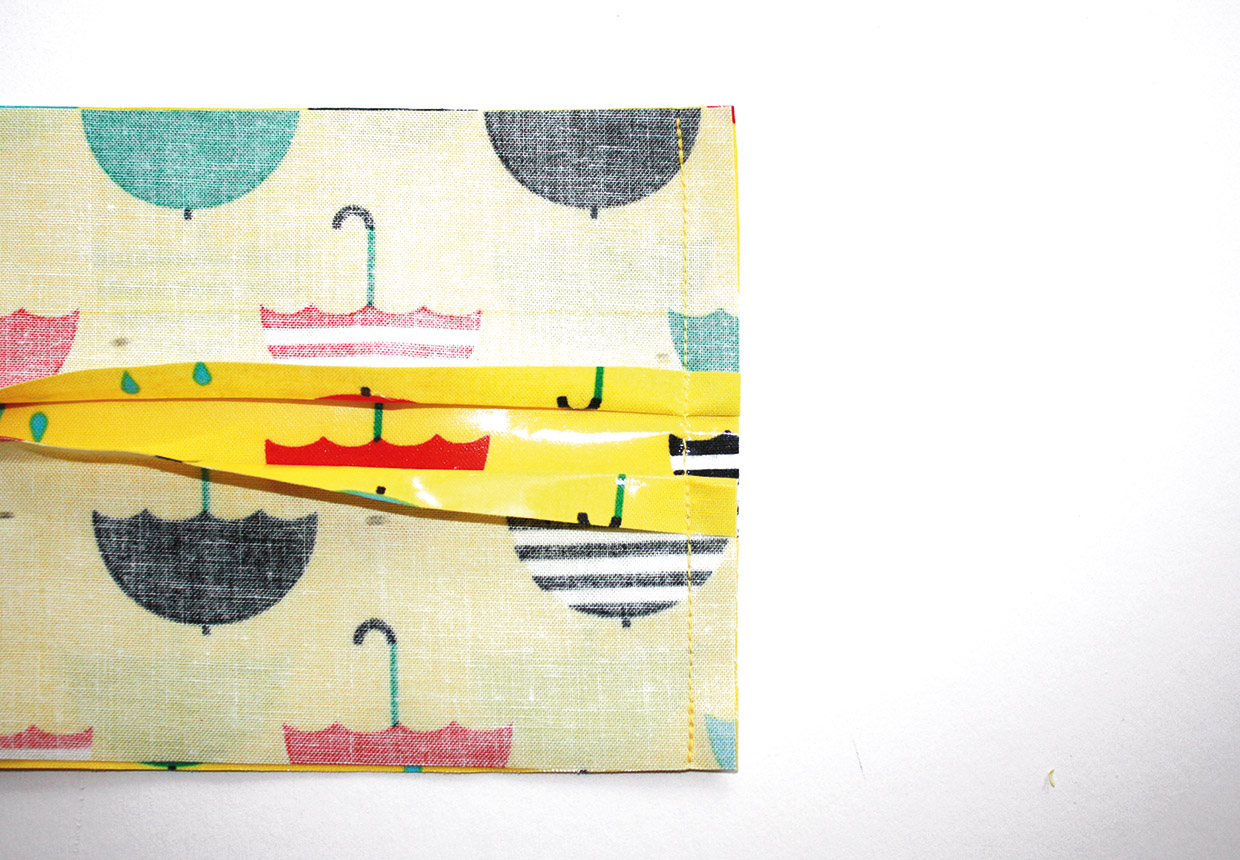
Place the short ends of the two zip pieces right sides (RS) together with the short end of the side panel piece, matching the raw long edges. The turned-under edges will face the centre with a gap between them for the zip.
Step 3
Stitch the zip pieces in place.
Step 4
Repeat this to stitch the other end of the zip pieces to the other end of the side panel.
Inserting the zip
Step 1
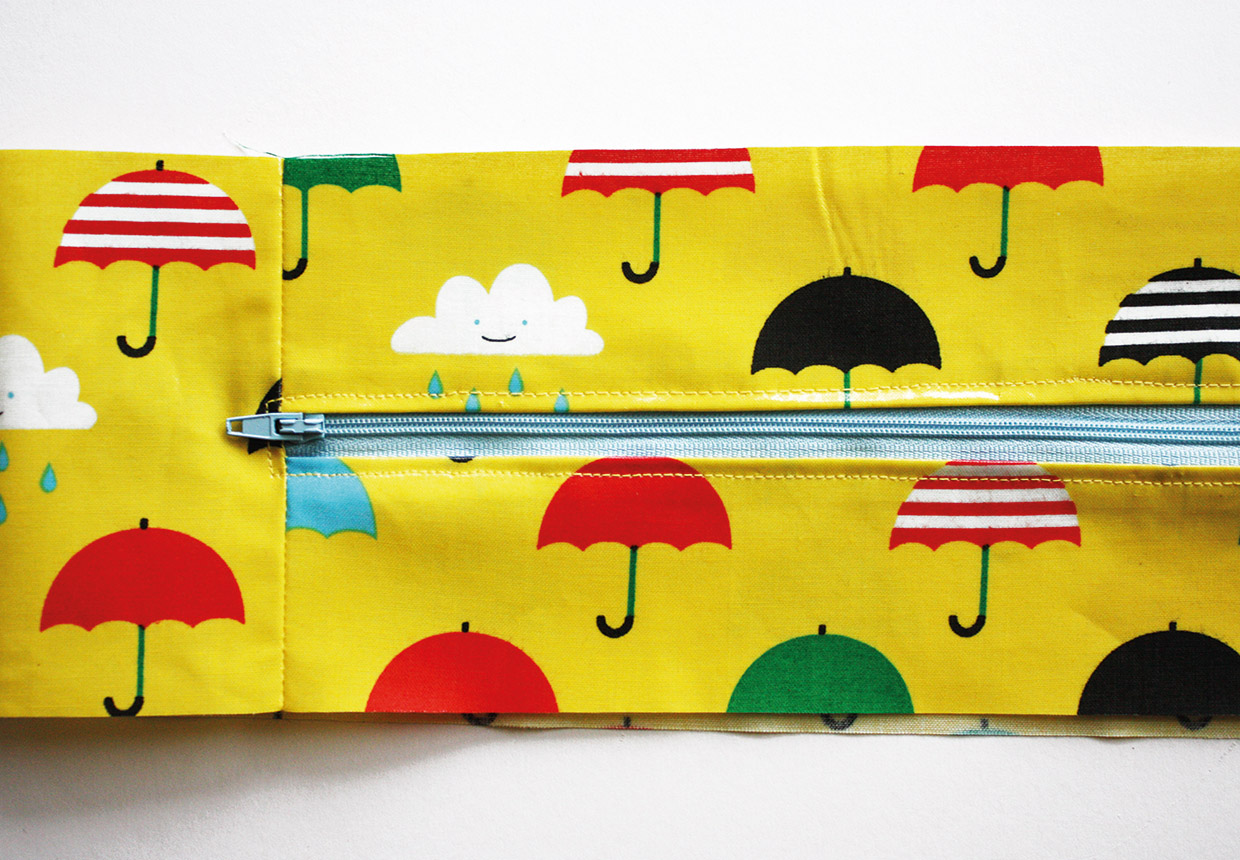
Place the joined zip and side panel RS up then place the closed zip beneath it so the teeth show in the gap.
Step 2
Topstitch the zip into place.
Attaching the pocket
Step 1
Stitch the main pocket and lining pocket wrong sides (WS) together within the seam allowance.
Step 2
Place the long edge of the pocket binding strip RS together centrally along the top of the pocket and stitch into place. Trim the ends to meet the edges of the pocket.
Step 3
Fold the binding over to the WS of the pocket. Turn the long edge under to meet up with the line of machine stitching and topstitch into place from the RS.
Step 4
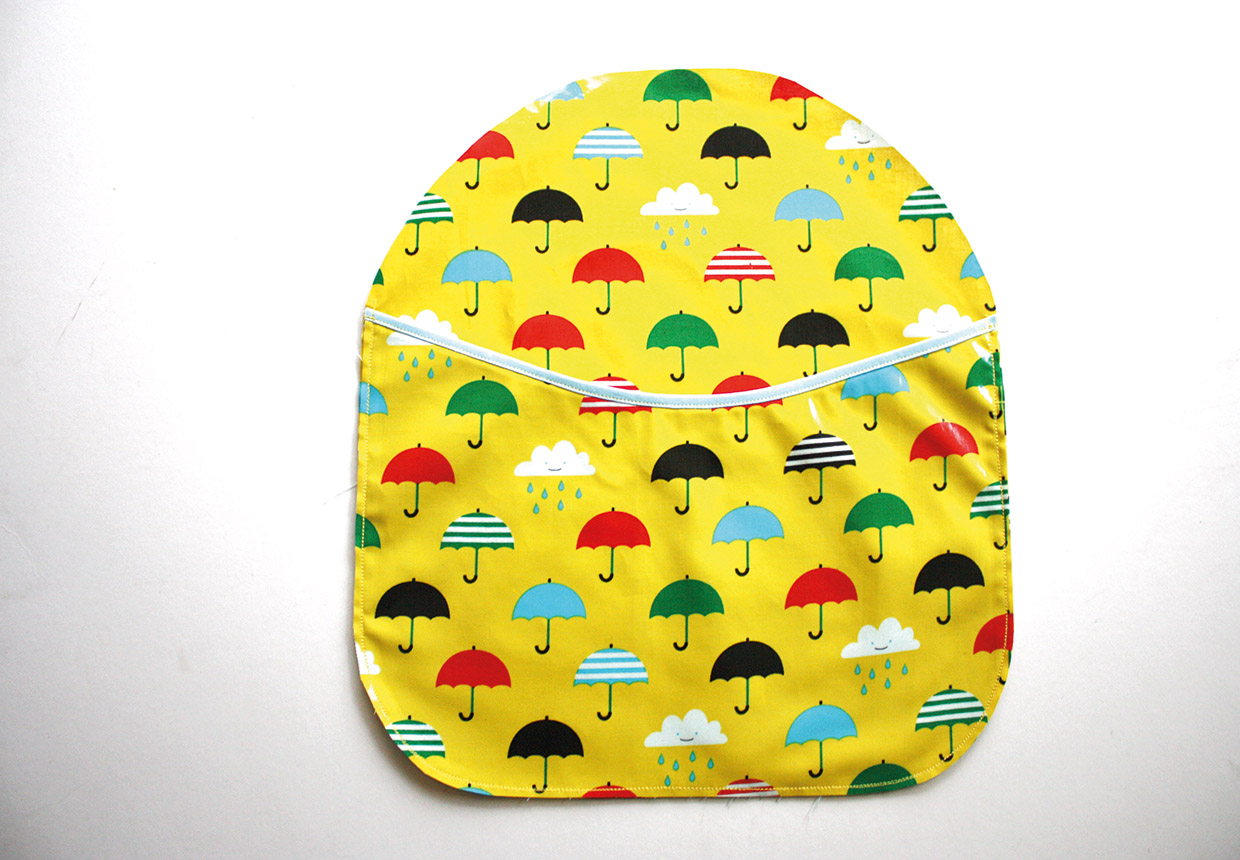
Clip the pocket to the lower edge of the main fabric front and stitch around the unbound sides within the seam allowance.
Step 5
Stitch one half of a press fastener to the inside of the centre of the pocket, then the other half in its corresponding position on the inside of the backpack front. Stitch a button on the pocket to hide the press fastener stitching.
Making the straps and loop
Step 1
Fold one of the top strap covers in half lengthways RS together. Stitch together then turn RS out and press with the seam running down the centre back.
Step 2
Thread the webbing through the fabric tube then trim off the end so it’s the same length as the fabric.
Step 3
Turn one short end of the fabric tube to the inside by 1cm (3⁄8in), pulling the webbing down so this turned-under edge covers the end of the webbing. Stitch across this turned-under end then centrally down the length to hold the webbing firmly in place. Trim off the extra webbing beyond the raw edge of the fabric.
Step 4
Repeat this to make the other top strap cover and the two bottom strap covers.
Step 5
Fold the hanging loop in half lengthways with RS facing then stitch together down the length. Turn RS out and press with the seam running down the centre back.
Attaching the straps and loop
Step 1
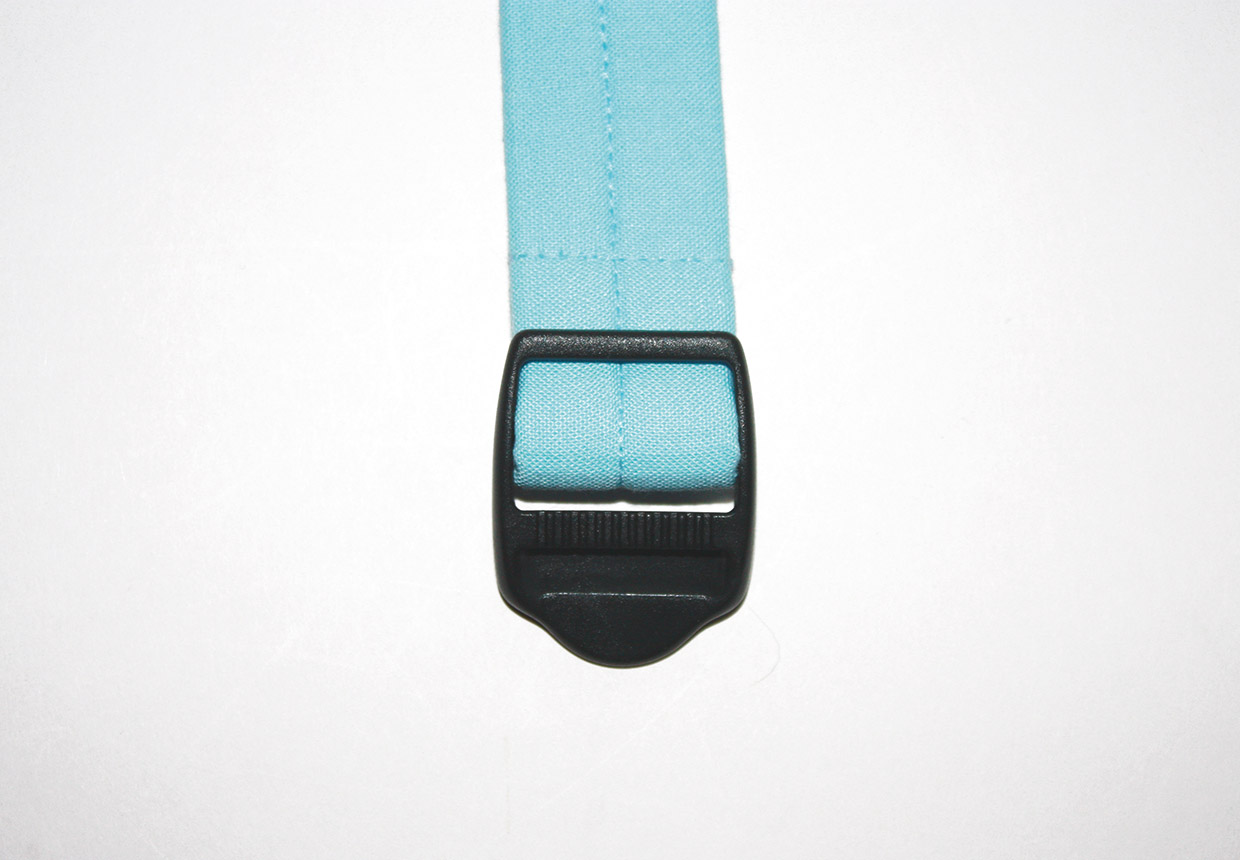
Loop one top strap piece through the top bar of one slider. Overlap the end by 2.5cm (1in) and stitch across the short end to hold.
Step 2
Repeat this to attach the other top strap to the other slider.
Step 3
Place the main fabric back piece RS up. Measure and mark the mid point of the top. Clip the raw ends of the straps so they are RS up and the inner edge of each is 3cm (1¼in) away from this centre mark.
Step 4
Clip the two raw ends of the hanging loop inside the top of the two straps.
Step 5
Stitch the straps and hanging loop in place within the seam allowance.

Step 6
Take one bottom strap piece and thread the hemmed short end up through the middle of the two bars of one slider, which already has one top strap attached, and over the bottom bar then back down. Repeat with the other bottom strap piece and the other slider.
Step 7
Clip the raw ends of the bottom straps to the bottom of the main fabric back piece so the straps run in a straight line down the backpack back then stitch into place.

Assembling the backpack outer
Step 1
Undo the zip then clip the backpack front with pocket attached RS together with the joined zip and side panel piece so the zip is positioned centrally across the top.
Step 2
Stitch into place all the way around.
Step 3
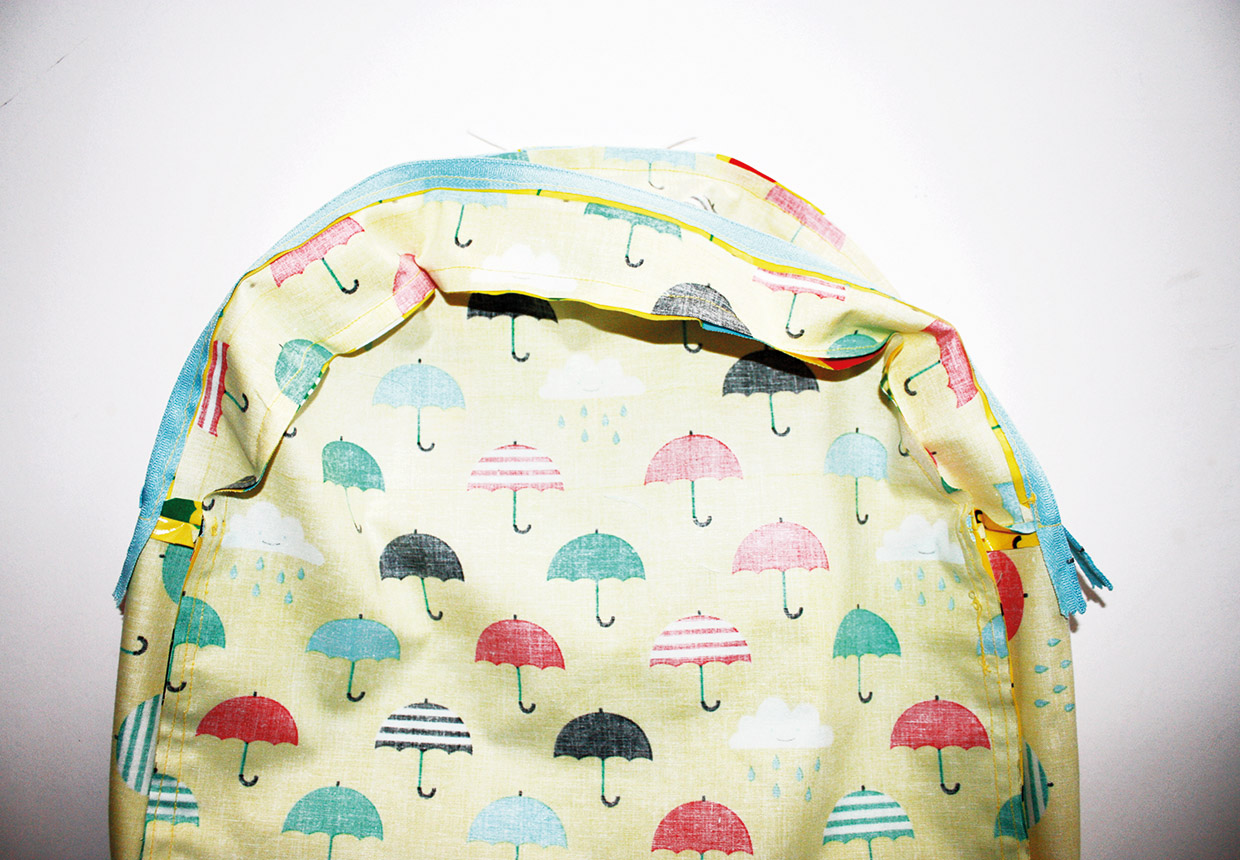
Clip the backpack back with straps attached RS together to the other raw edge of the zip and side panel strip and stitch together all the way around, encasing the ends of the straps as you go.
Step 4
Turn your backpack RS out.
Lining your backpack
Step 1
The backpack lining is made in the same way as the outer, except after you have joined together the zip and side panels you need to topstitch the inner edges of the zip pieces in place instead of inserting the zip.
Step 2
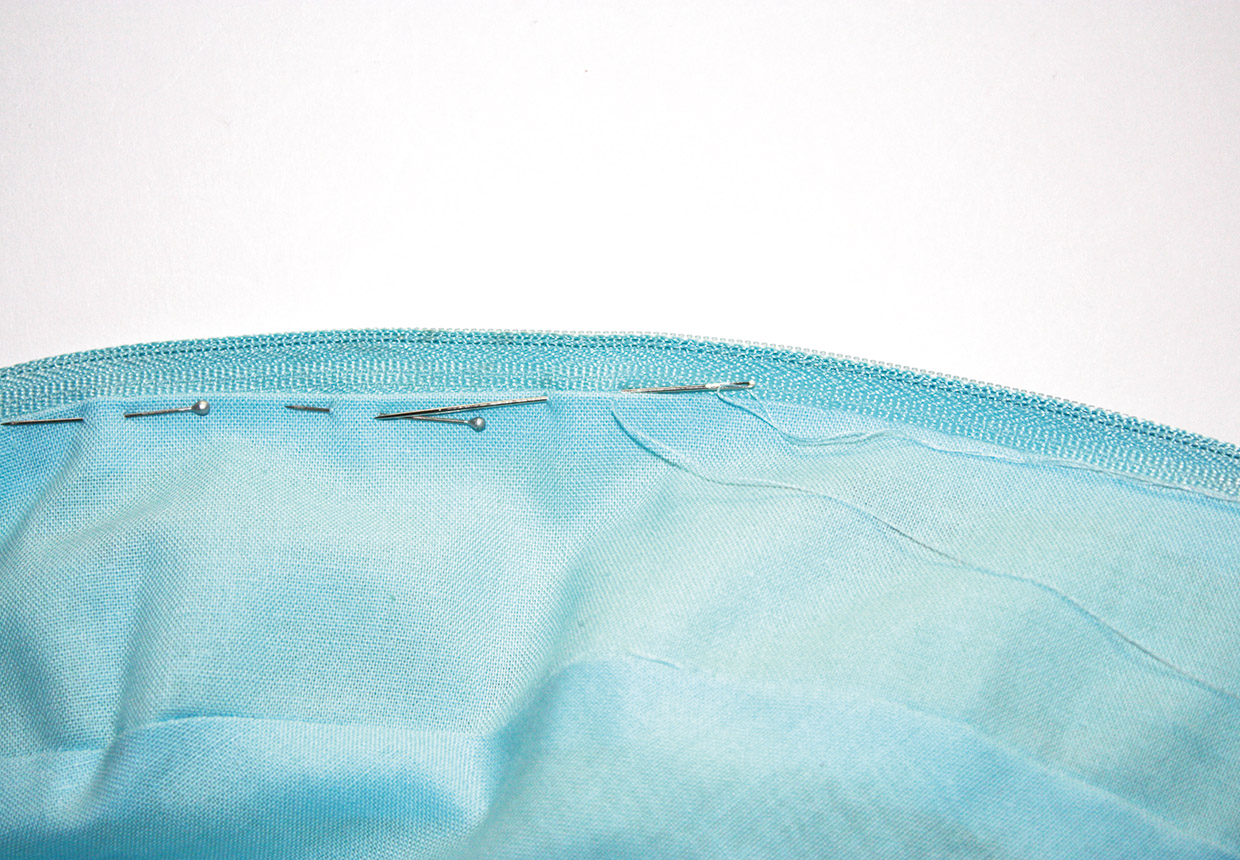
Place the backpack outer and lining so that the WS are touching and seams matching. Line up the turned-under edges of the zip pieces in the lining to the zip pieces in the outer.
Step 3
With the zip open, slip stitch the lining to the zip tape to complete.
