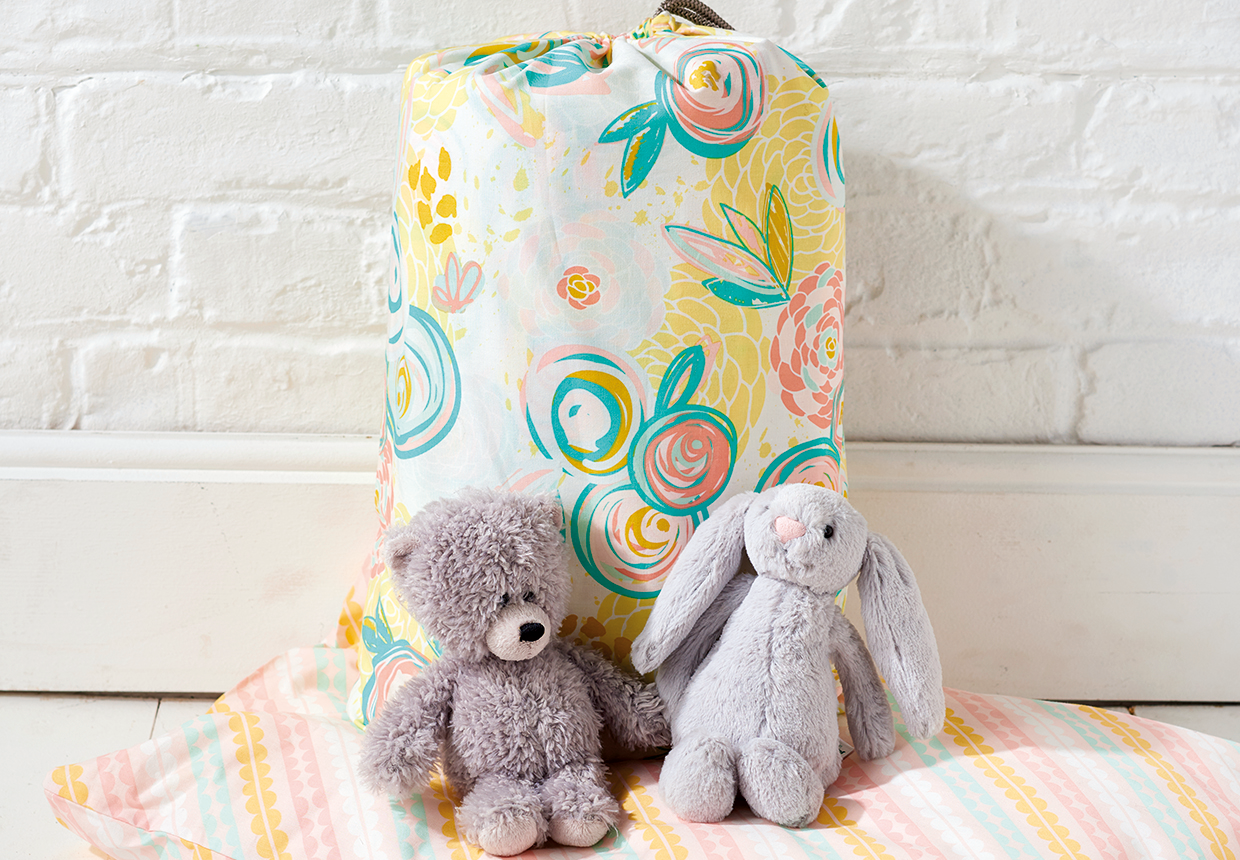
Cutting out
Step 1
Cut the main fabric as follows:
- Sleeping bag outer: cut one piece 143x111cm (56x44in), cut one piece 143x34cm (56×12¾in)
- Sack: 54x72cm (21x28in)
Cut the contrast fabric as follows:
- Sleeping bag lining: cut one piece 143x111cm (56x44in), cut one piece 143x34cm (56×12¾in)
- Pillowcase front: 30x50cm (12x20in)
- Pillowcase back: 30x40cm (12x16in)
Preparing the fabric
Step 1
Place the two sleeping bag outer pieces right sides (RS) facing and stitch together down the length then press the seam open.
Step 2
Draw around a cup on each corner and cut along the curve to round them off.
Step 3
Join the two pieces of fabric for the sleeping bag lining and round off the corners in the same way.
Inserting the zip
Step 1
Measure and mark the centre point of the bottom edge of the outer fabric square.
Step 2
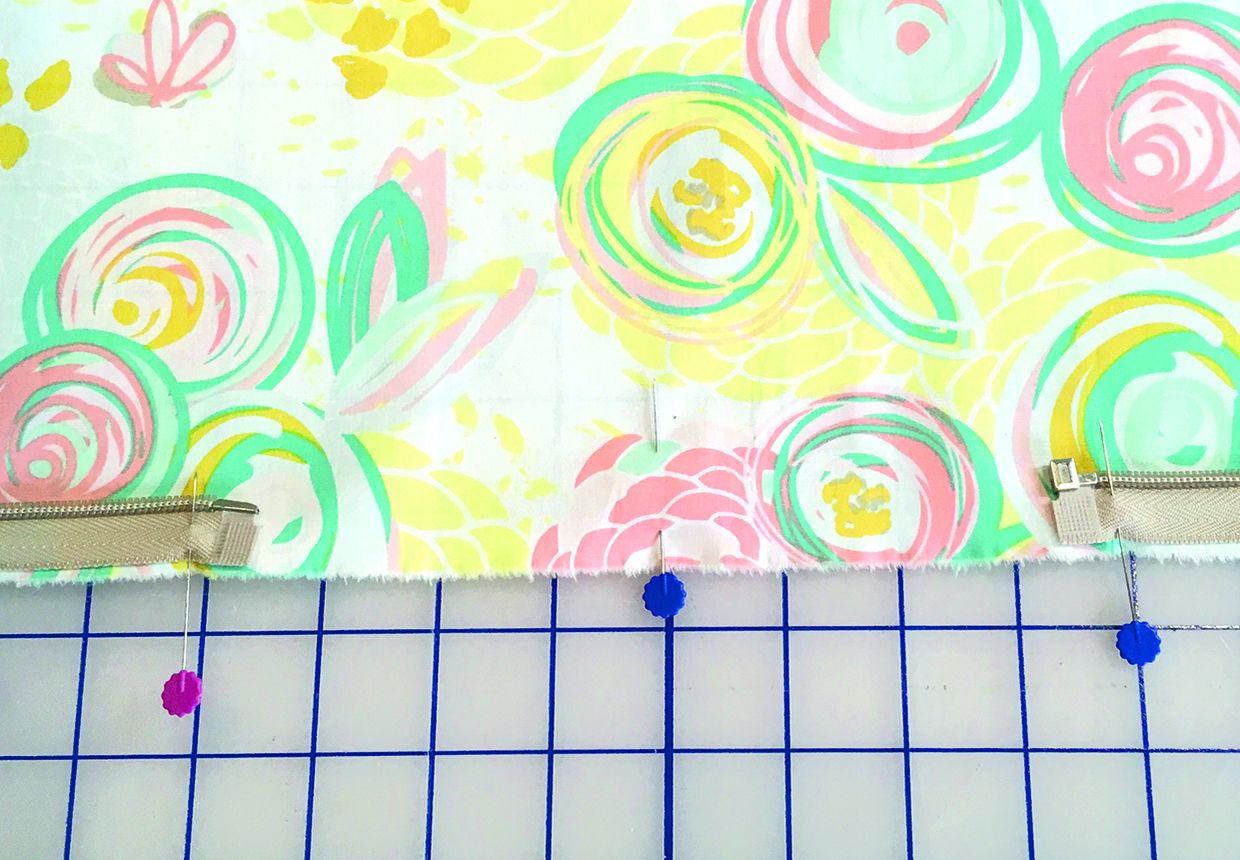
Open the zip and pin each of the lower ends of the zip 6cm (23⁄8in) either side of the marked centre point. The zip tape should be RS together with the fabric.
Step 3
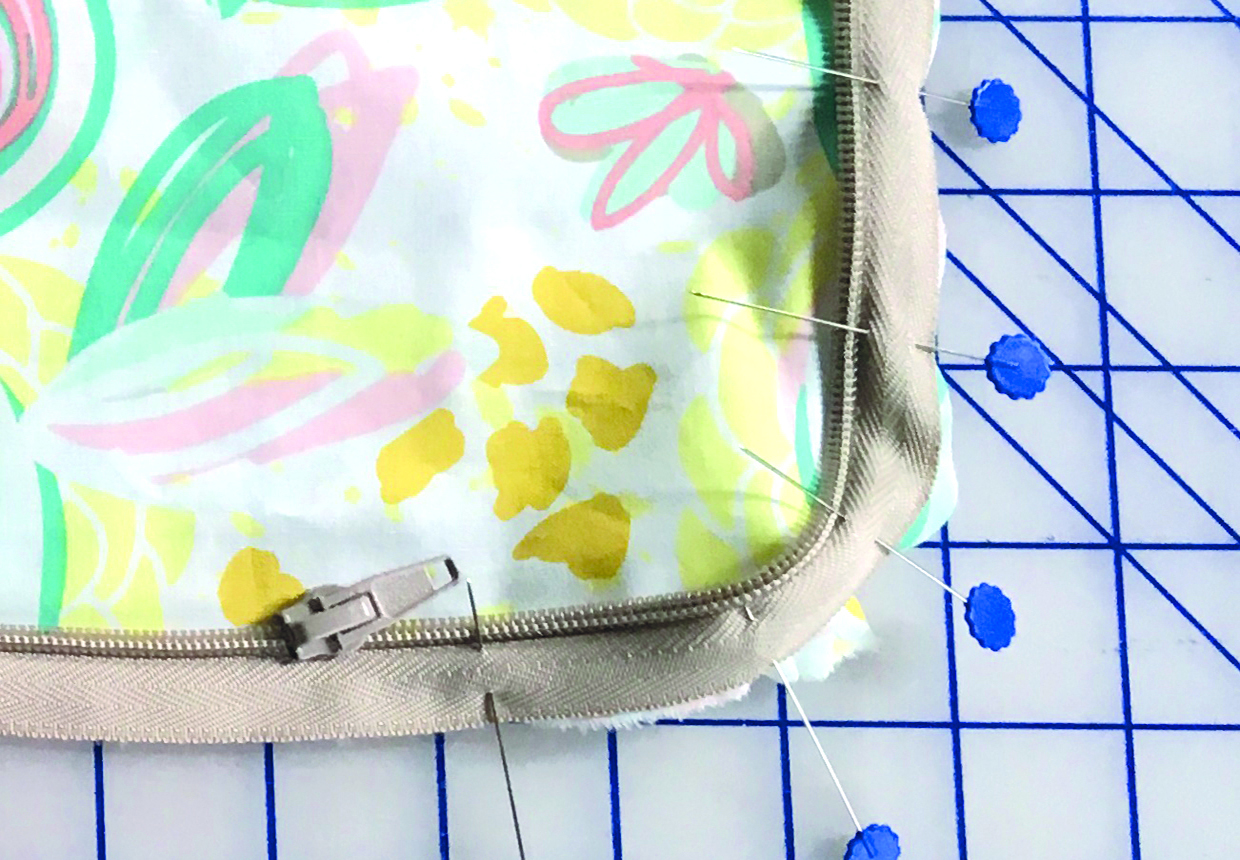
Pin the zip tape into place one side at a time. Start from the lower end of the zip, curving it around the corner of the fabric and up the long edge to finish part way down from the top. Make sure that the top edges of each side of the zip are at exactly the same position on either side so the zip does up evenly.
Step 4
Using a zip foot, stitch the zip into place on either side within the seam allowance.
Joining the wadding
Step 1
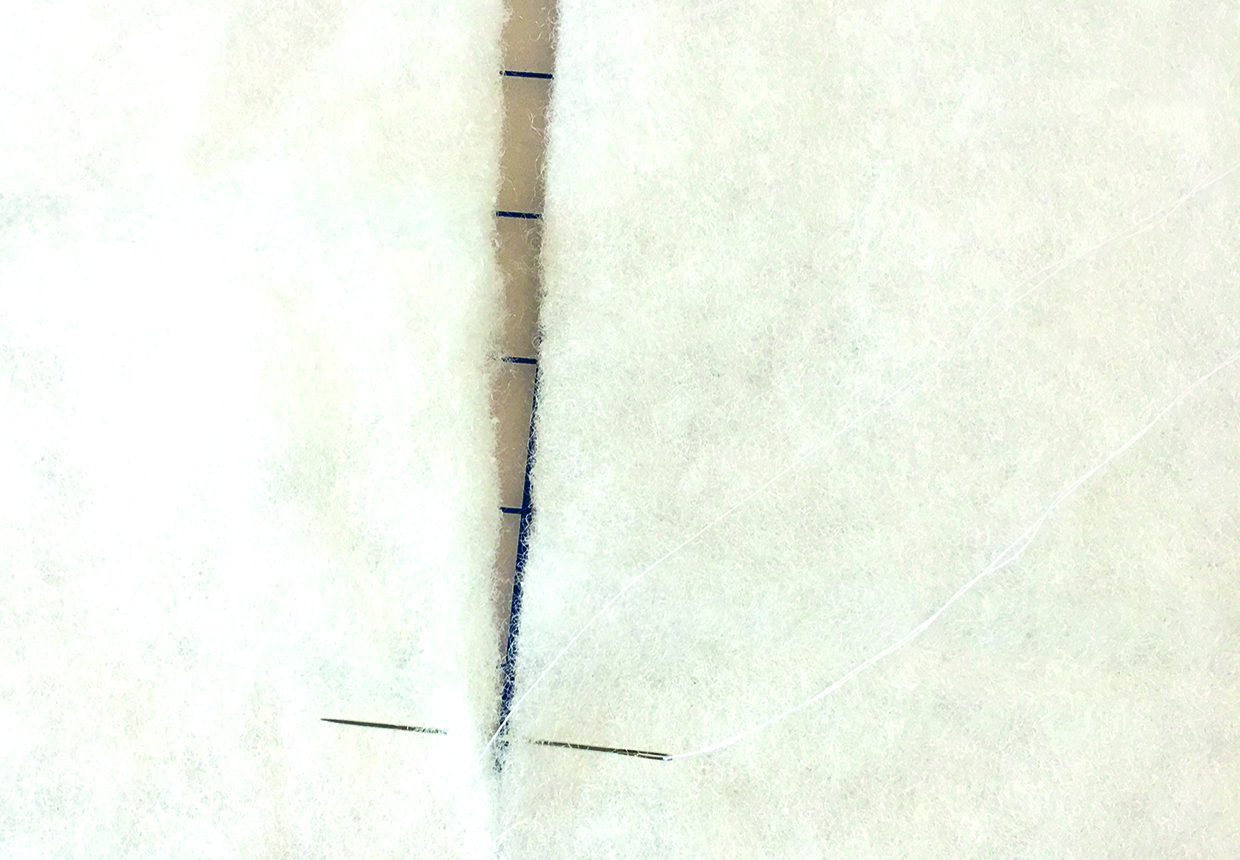
Cut the wadding in half across the width then lay the two pieces side by side so the long edges butt up against each other.
Step 2
Stitch the edges together by hand by working a stitch into one piece then across into the other, making sure they don't overlap.
Assembling the bag
Step 1
Lay the outer and lining fabric pieces RS together, sandwiching the zip between them on the sides and bottom edge.
Step 2
Lay the wadding on top and pin together carefully around all four edges.

Step 3
Sew together all the way around, leaving an 45cm (18in) turning gap on the top edge without the zip. Turn the bag RS out.
Step 4
Fold the edges of the turning gap to the inside and press then slipstitch closed.
Quilting the bag
Step 1
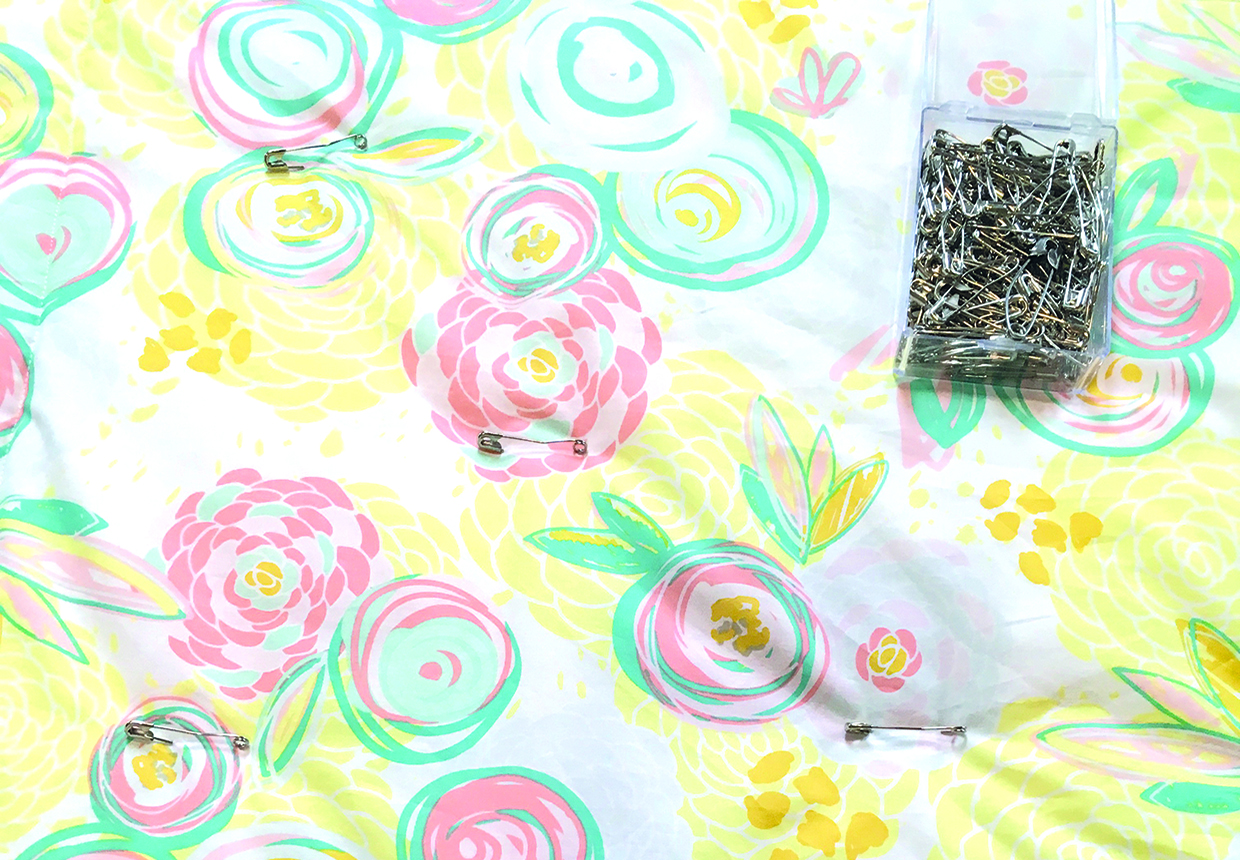
Safety pin or tack the three layers together all over.
Step 2
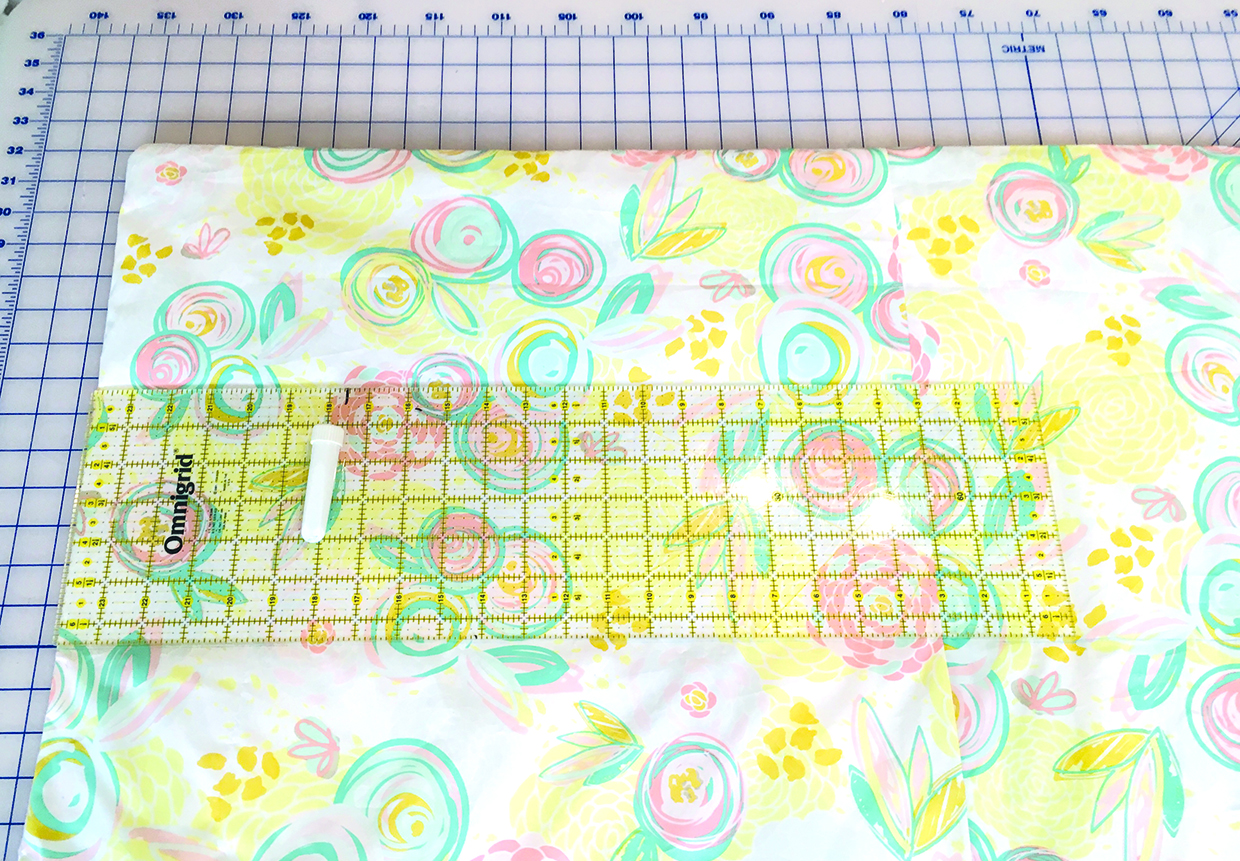
Quilt together in whatever pattern you choose. Use a ruler and tailors chalk, working from the centre outwards.
Step 3
Start quilting from the centre of the quilt, following your marked lines and using a walking foot on your machine if you have one. Keep the quilt slightly taut while you sew by holding each side of the fabric.
Step 4
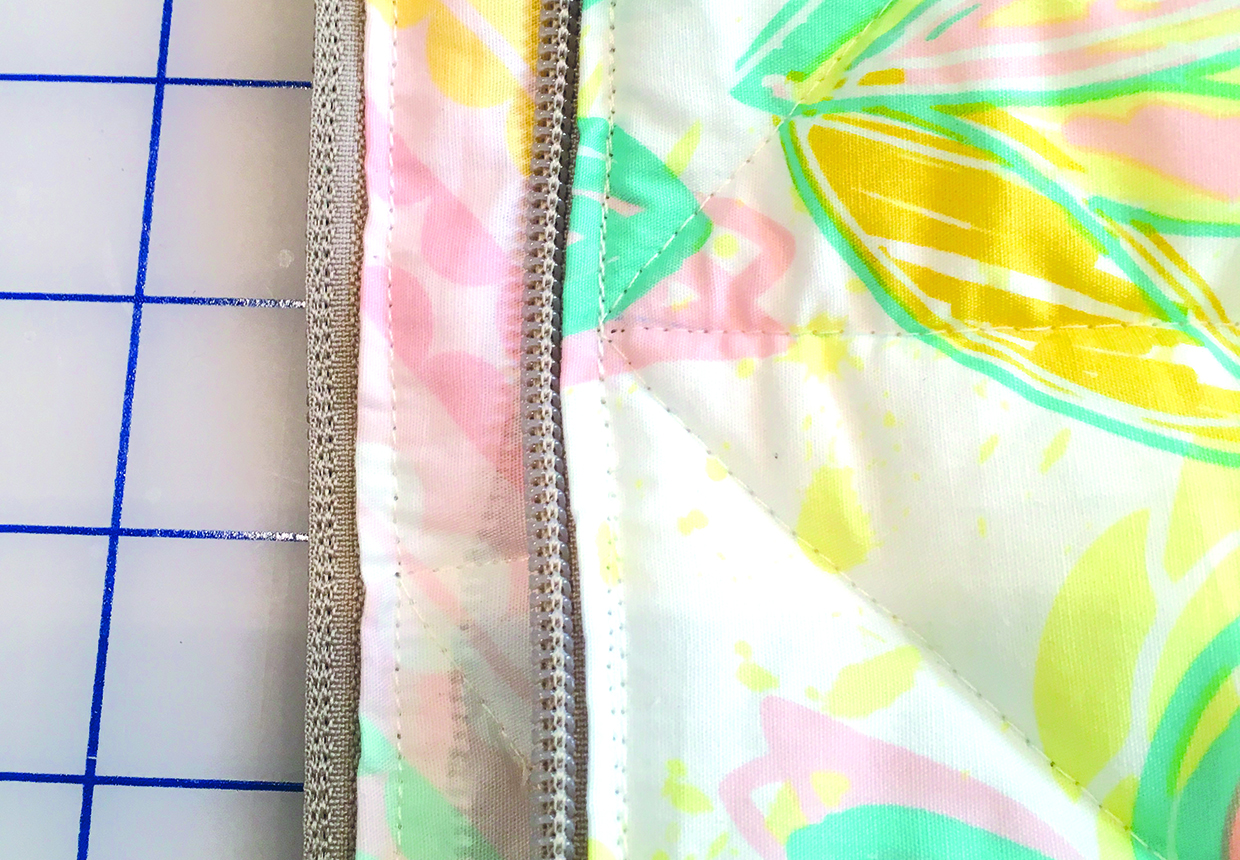
When you have finished quilting, topstitch around the edge of the fabric close to the zip to hold the layers together.
Making the pillowcase
Step 1
Turn one short end of the pillowcase front under by 1cm (3⁄8in) to the wrong side (WS) then the same again and press. Stitch this double fold into place to hem. Repeat this with the pillowcase back.
Step 2
Put the pillowcase front and back RS together, matching the raw short edges.
Step 3
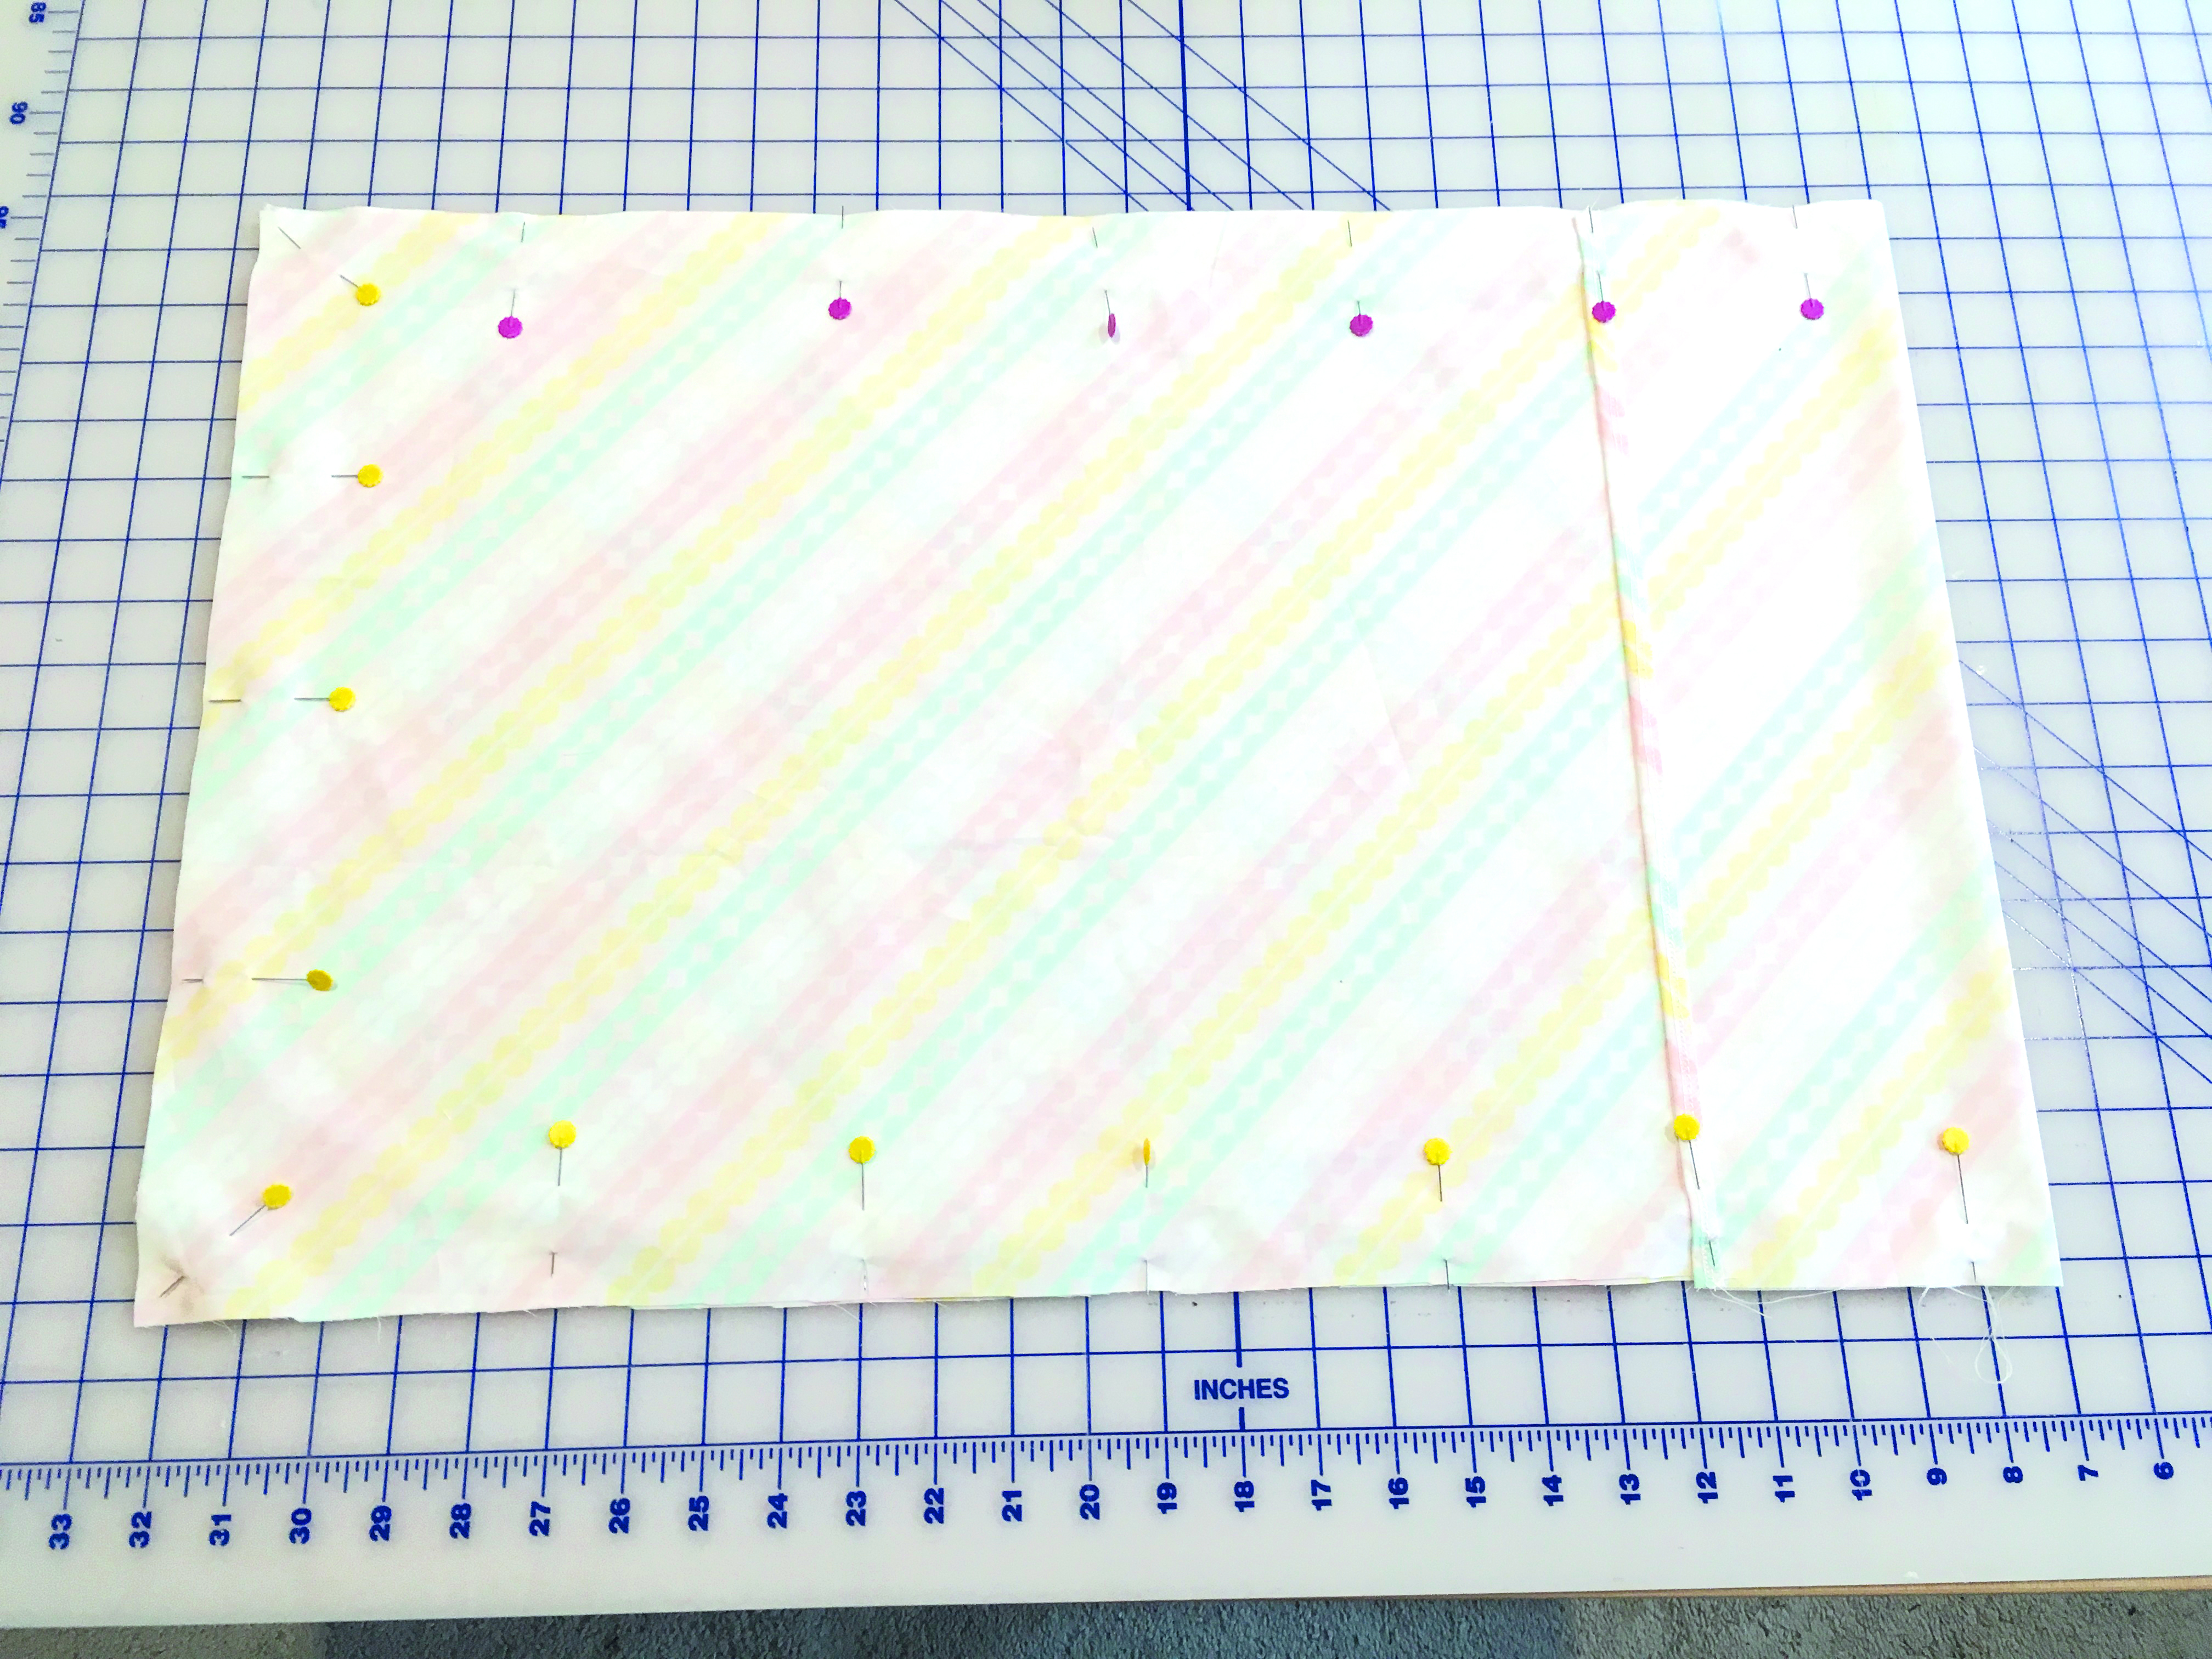
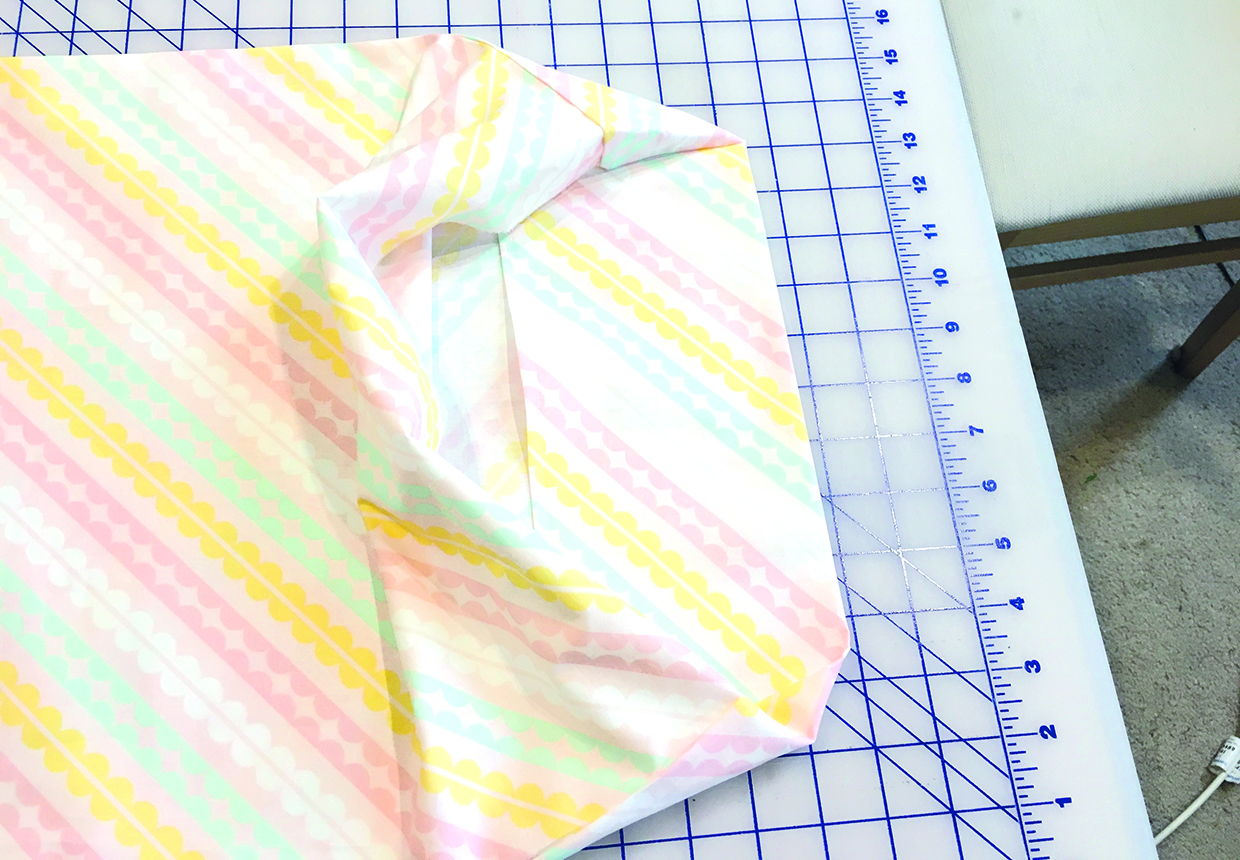
Fold the hemmed edge of the pillowcase front over the pillowcase back so the back hemmed edge is inside and goes right up to the fold and pin together.
Step 4
Stitch the three open sides together, leaving the top fold unstitched.
Step 5
Turn RS out and press.
Assembling the sack
Step 1
Fold the sack fabric in half widthways, matching raw edges, and pin together.
Step 2
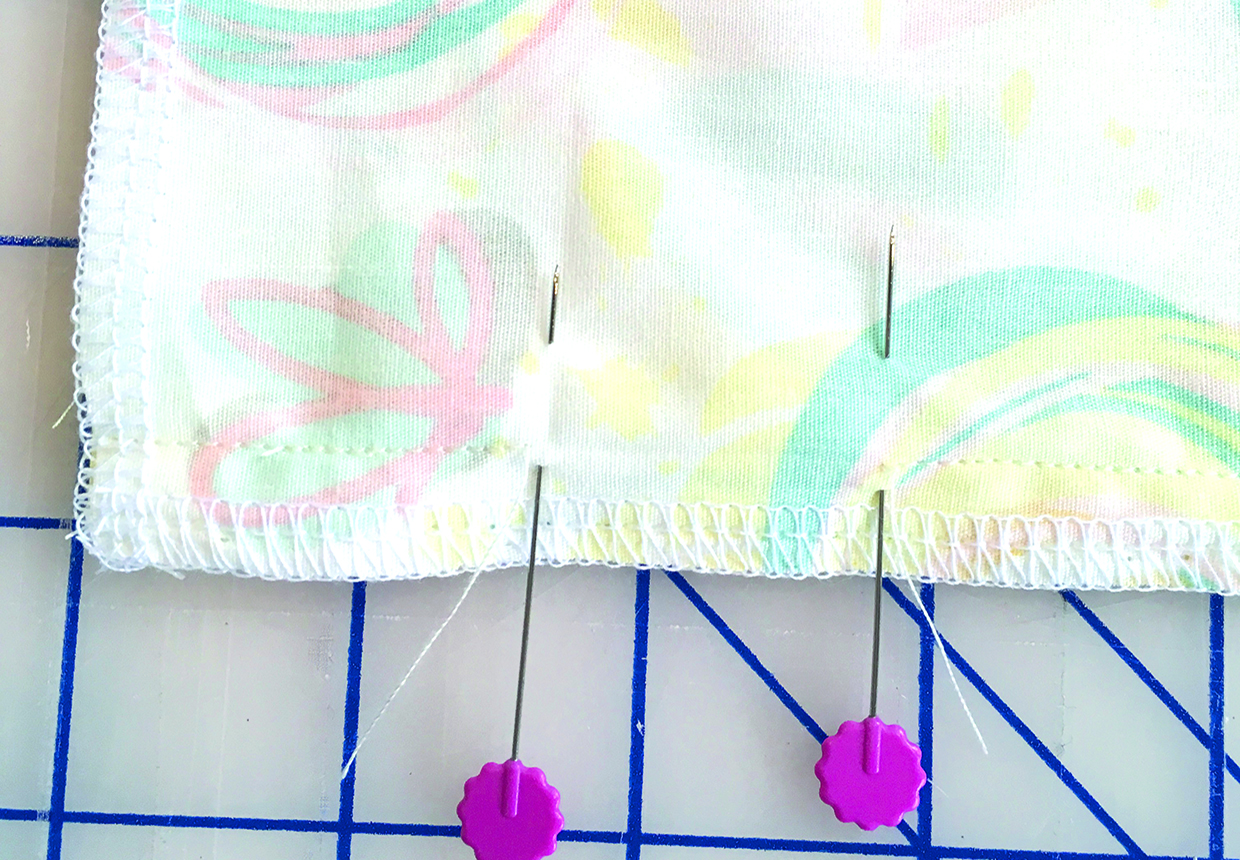
Starting at the top of the side edge, stitch the seam for 4cm (15⁄8in), then backstitch and cut the thread.
Step 3
Start stitching again 3cm (1¼in) below this to leave a gap for the draw cord and continue down the side and across the bottom.
Step 4
Turn the top raw edges over by 1cm (3⁄8in) to the WS then over by 3cm (1¼in).
Step 5
Stitch the casing in place along the bottom edge.

Boxing the corners
Step 1
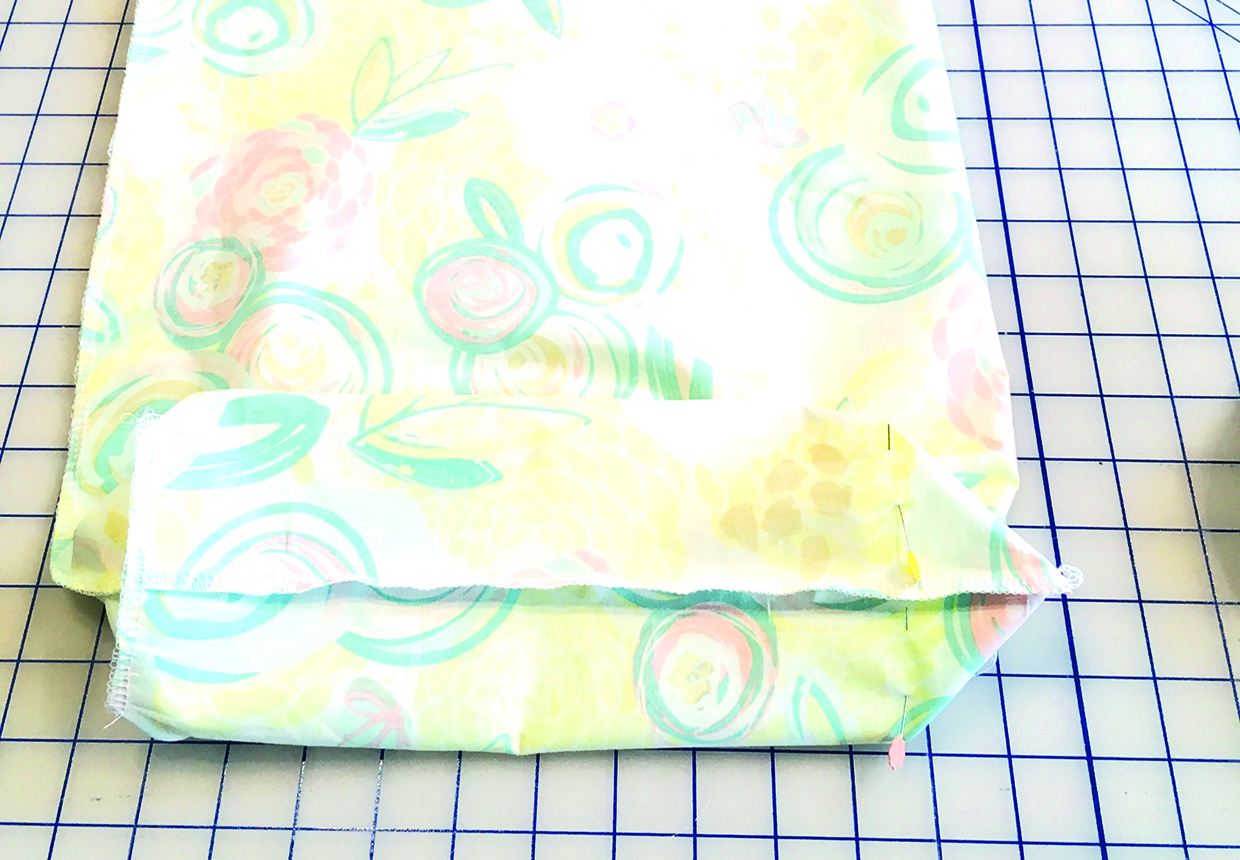
With the sack WS out, pinch the bottom of one side between each thumb and finger, gently pull the sides apart and flatten the corner so that the bottom seam is exactly on top of the side seam.
Step 2
Finger-press the seams open and pin well to secure. Measure 5cm (2in) down from the point and mark a line across the corner.
Step 3
Stitch along the marked line, backstitching at each end to secure the seam.
Step 4
Trim the seam, neaten the raw edges then repeat this on the opposite corner.
Step 5
Turn the sack RS out and press.
Finishing off
Step 1
Thread the cord through the casing and tie the ends in a knot.
Step 2
Fold the sleeping bag in half, roll it up and stuff into the sack. You can fit the pillow in too, then pull up the drawstring to close.


