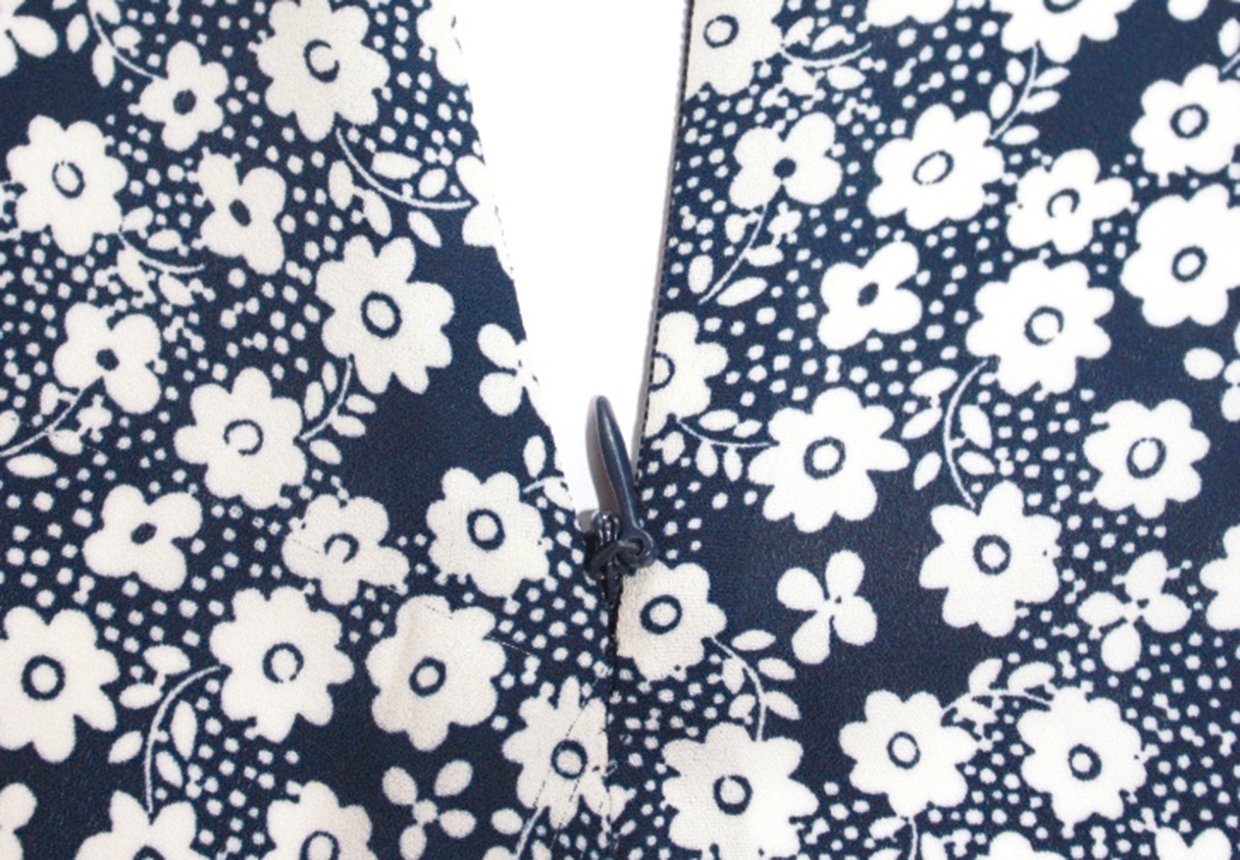
When a zip breaks, it’s often because the slider has come off one side of the teeth, fallen off the bottom or broken away. If this happens, you don’t need to replace the whole zip, but instead simply put the original slider back on. If the slider itself is broken, you can easily replace it with a new one as they can be bought individually. Phew!
How to fix a broken zip
A broken zip needn’t mean the end for a favourite dress when you follow our zip-fix tutorial. It’s easy when you know how!
Published: July 29, 2020 at 8:00 am
Unpicking the zip
Step 1
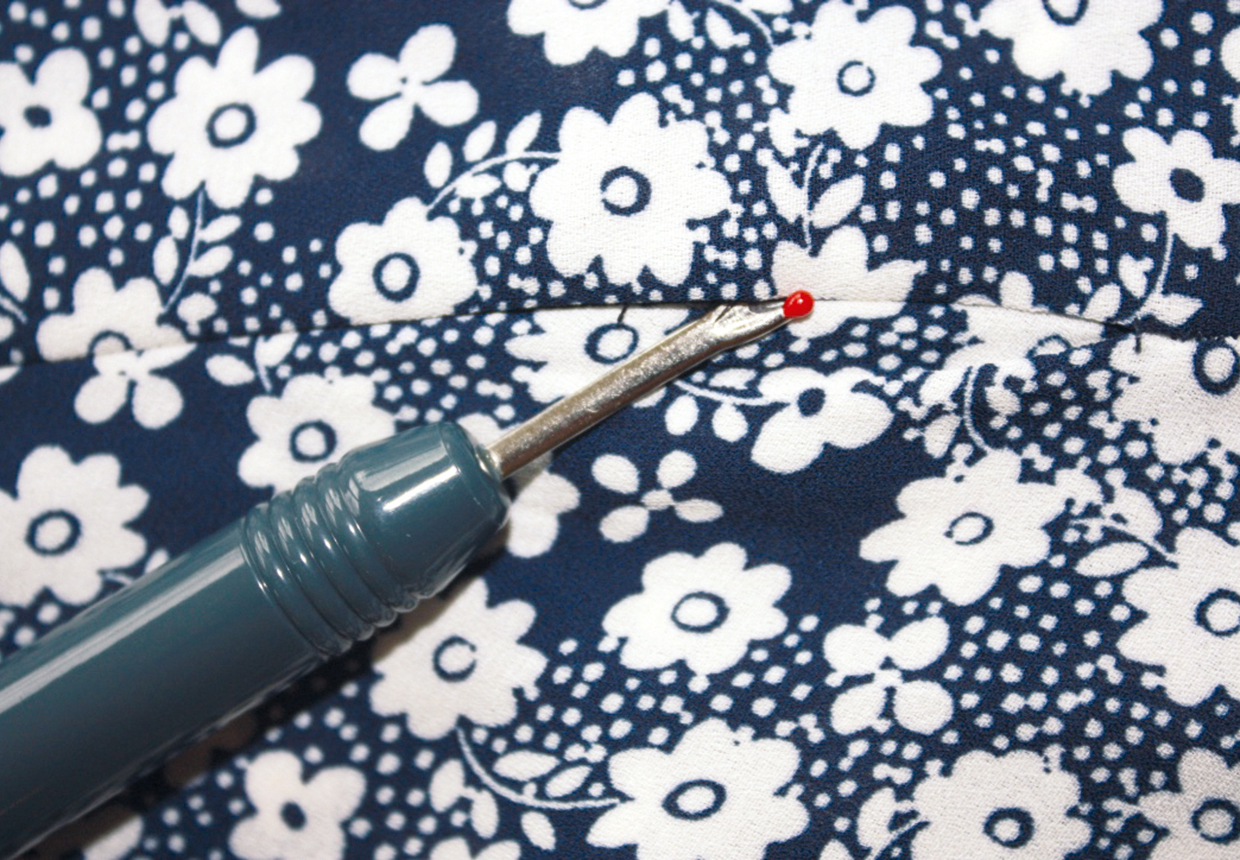
Undo the stitches around the seam from the very bottom of the zip, about 2cm (¾in) down the sides and across the bottom is about right. Slide a seam ripper through each one carefully so you only cut the stitches and not the fabric. If you have an invisible zip, carefully undo the stitches down either side of the zip.
Step 2
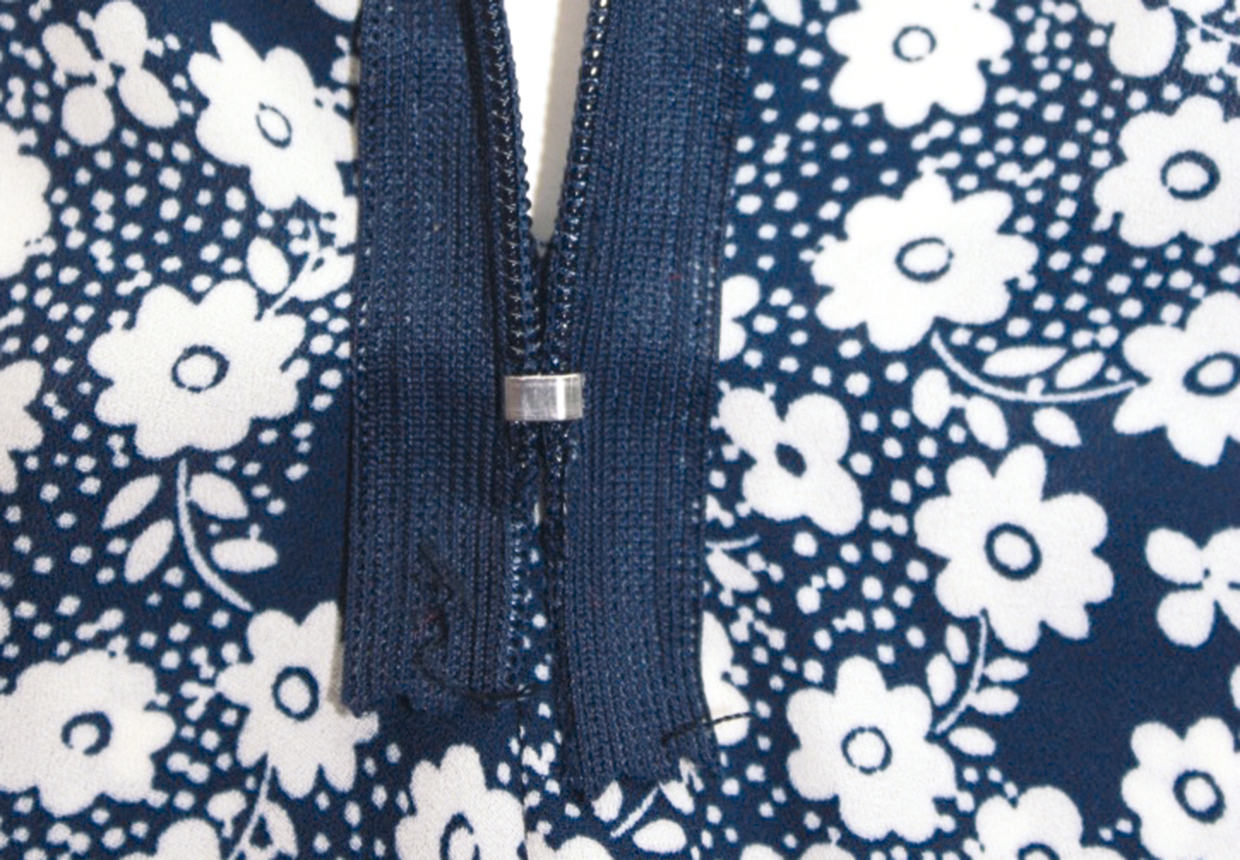
Now take the bottom end of the zip out from under the seams and bring it through to the front.
Step 3
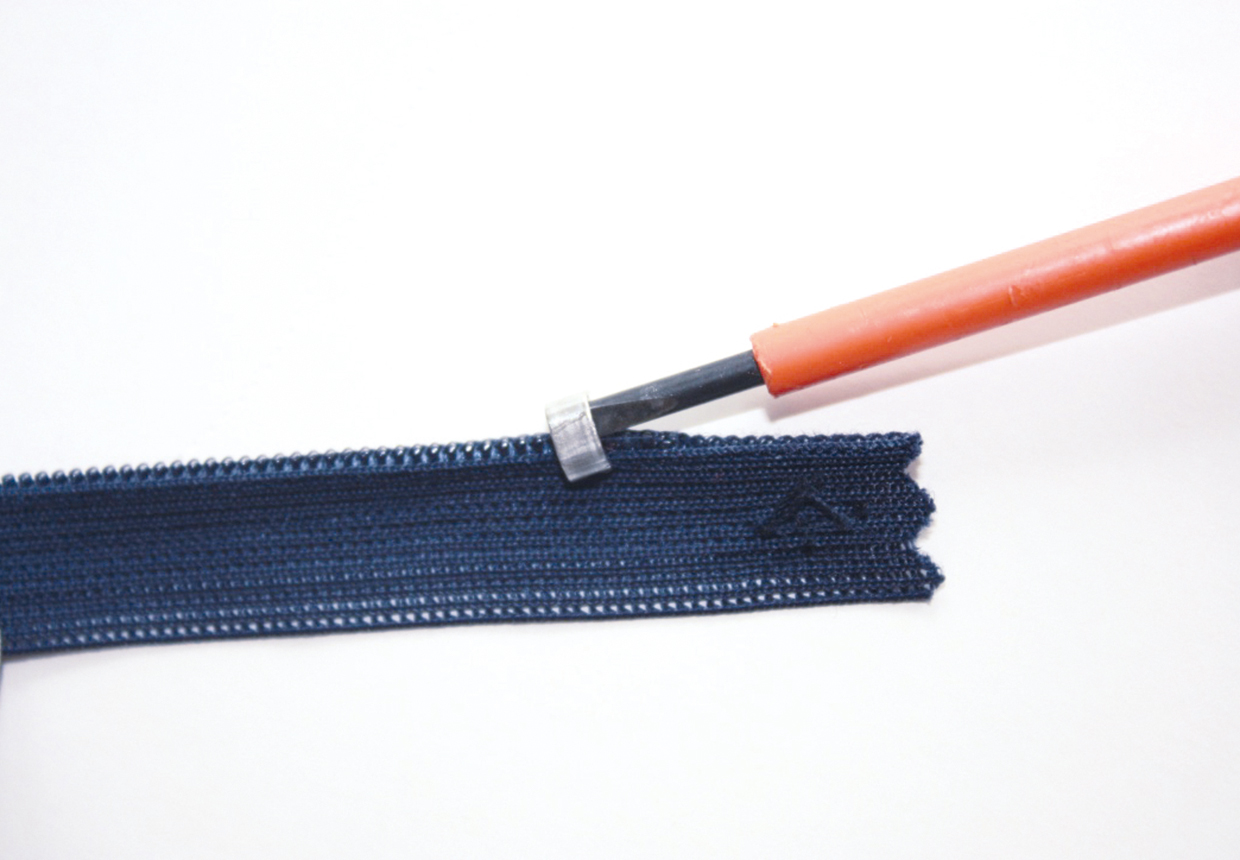
Use a small screwdriver to bend back the metal prongs on the bottom stop then pull it out gently from the zip tape, making sure you don’t disturb the teeth. Put it to one side in a safe place as you’ll need to put it back on later. If your zip doesn’t have a bottom stop but the zip is heat sealed then cut through the sealing up to the teeth.
Step 4
Pull the slider completely off the zip then have a good look at it to see if it needs replacing. If the space between the bottom and top of the slider is uneven then it will stop the slider from engaging with the teeth which will make them come apart. (If the slider looks fine then you will be able to fix it by putting it straight back onto the zip).
The size of the slider should be embossed on the back of it. If it isn’t, measure across the teeth from side-to-side in millimetres. For example, if the teeth measure 5mm wide then you will need a size 5 slider. Sliders can be bought online or in haberdashery shops.
Mending the slider
Step 1
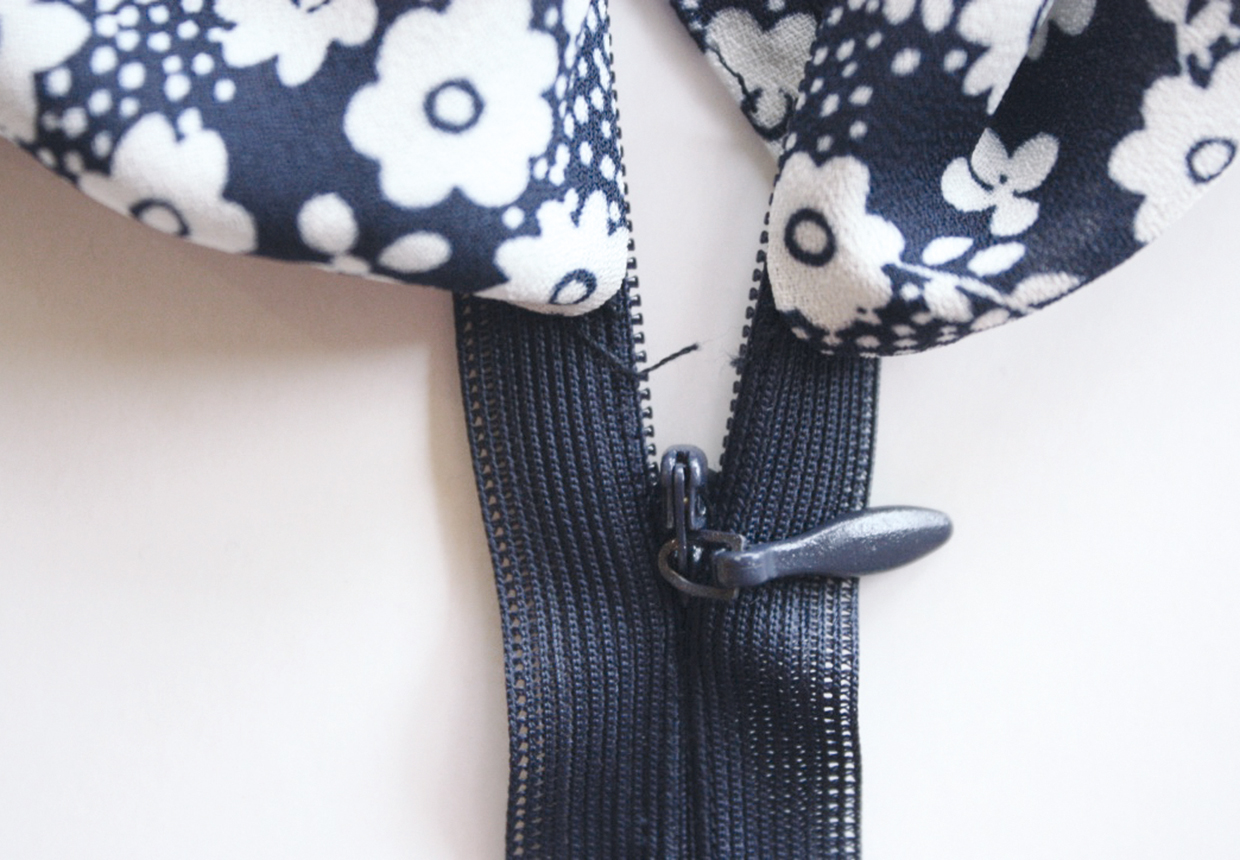
With the wide mouth end of the slider facing upwards, slide the end of the tape into one side of the slider. Push the other side of the tape into the slider and pull it up, making sure that the bottom of the teeth are even and line up. You’ll need a little patience here to gently wiggle the slider up until it engages on the teeth on both sides.
Step 2
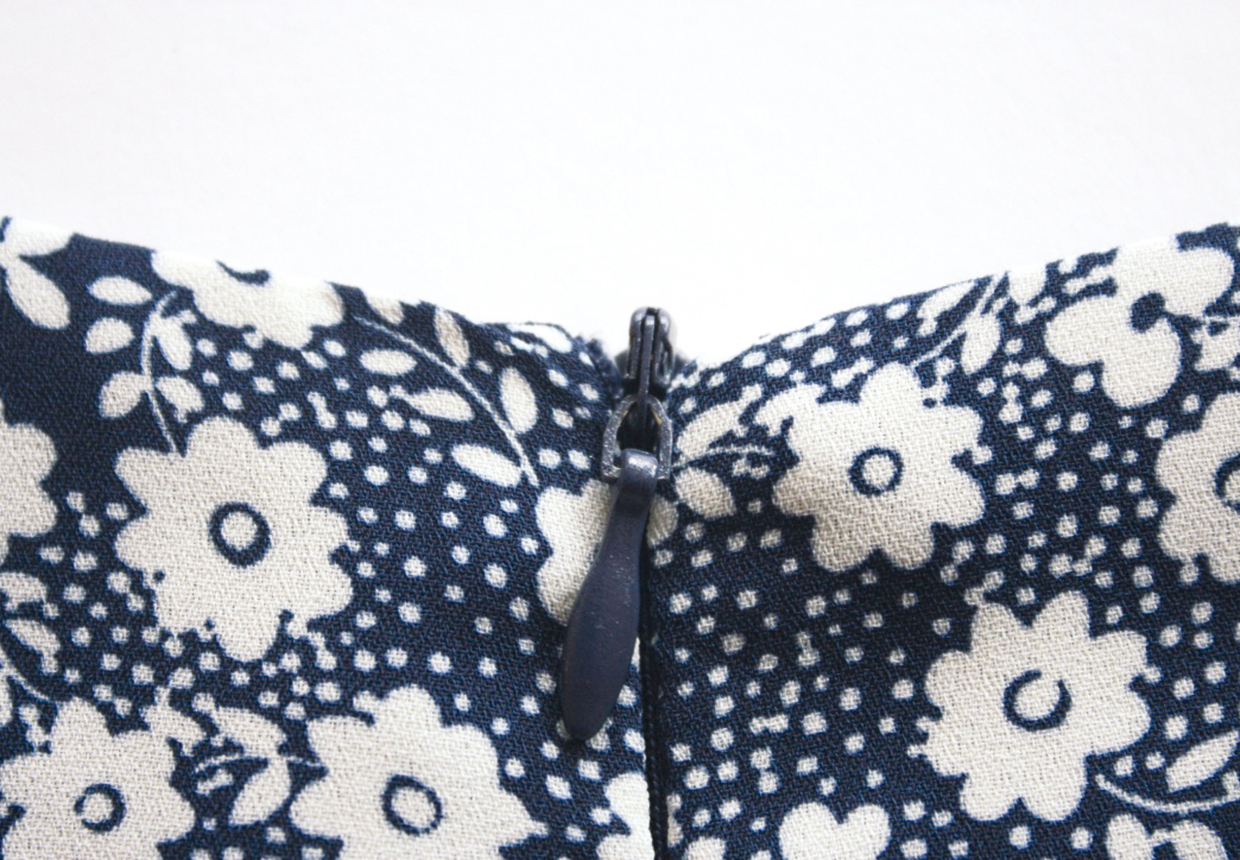
Pull the slider up to the top and if you find it’s not level on both sides, just take the slider off and start again until the teeth engage evenly and it is level when zipped to the top.
Step 3
Keeping the zip done up to the top, push the prongs on the bottom stop back through the zip tape in its original position. Use your screwdriver to bend them back over the back of the zip tape to secure.
Step 4
Push the mended zip back through the gap at the bottom of the seam and pin it into place. Restitch in exactly the same position as the stitches you removed. If you’re reinserting an invisible zip, remember that the stitching is worked from the inside.
