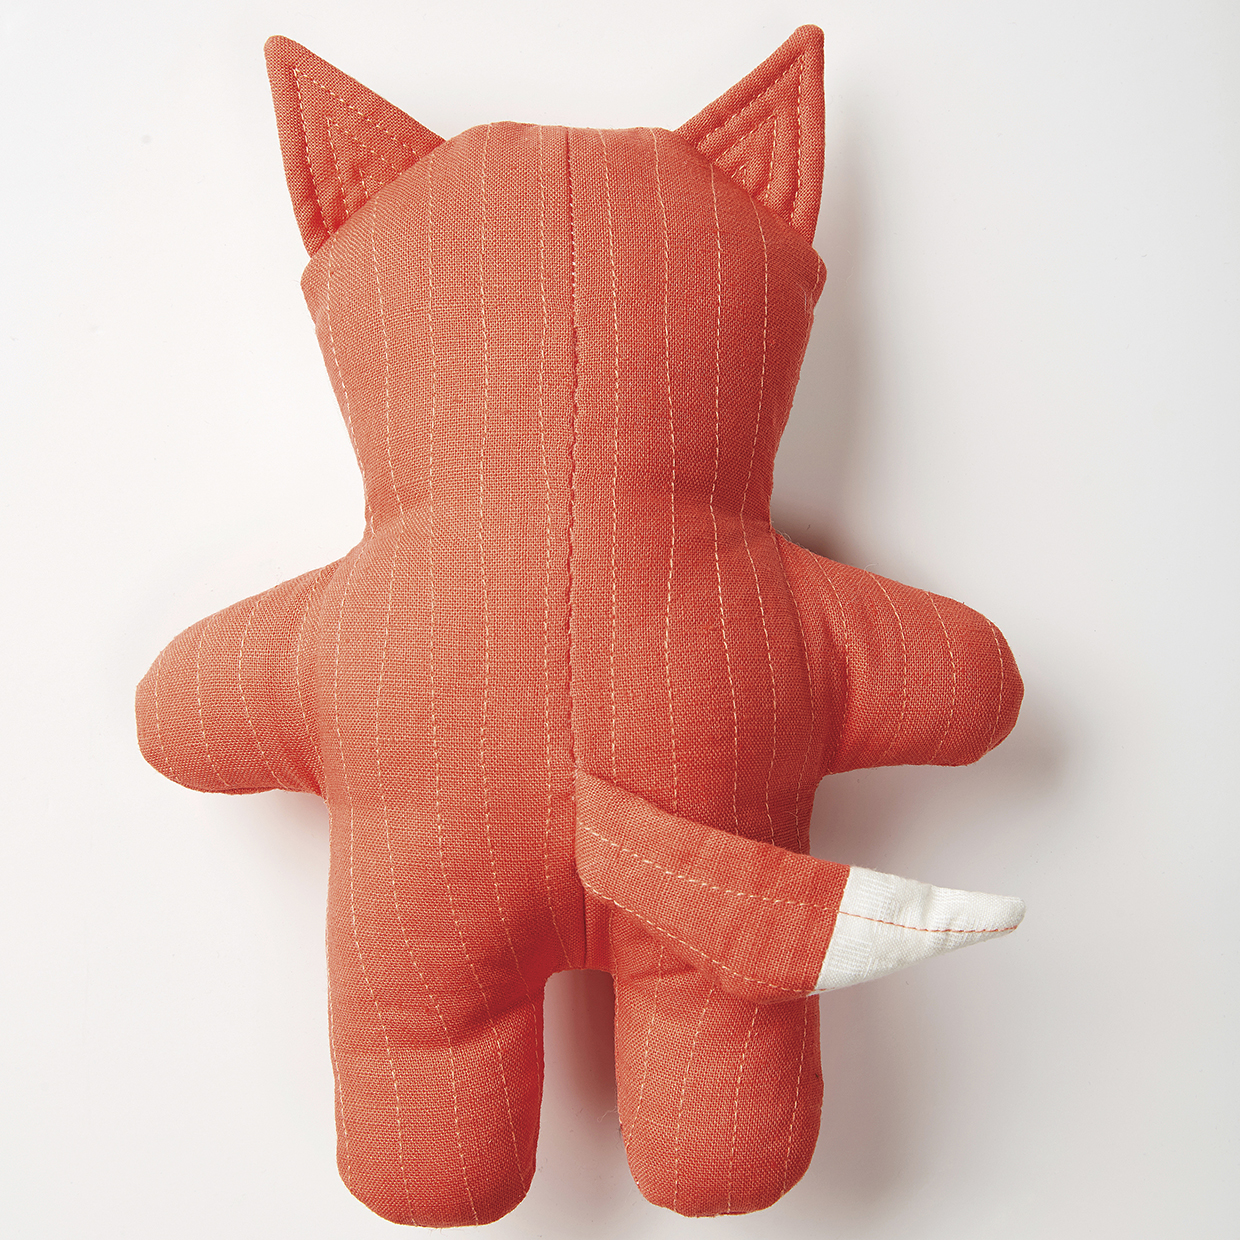
Free fox sewing pattern – How to sew a fox plush toy
All products were chosen independently by our editorial team. This review contains affiliate links and we may receive a commission for purchases made. Please read our affiliates FAQ page to find out more.
Free fox sewing pattern – How to sew a fox plush toy
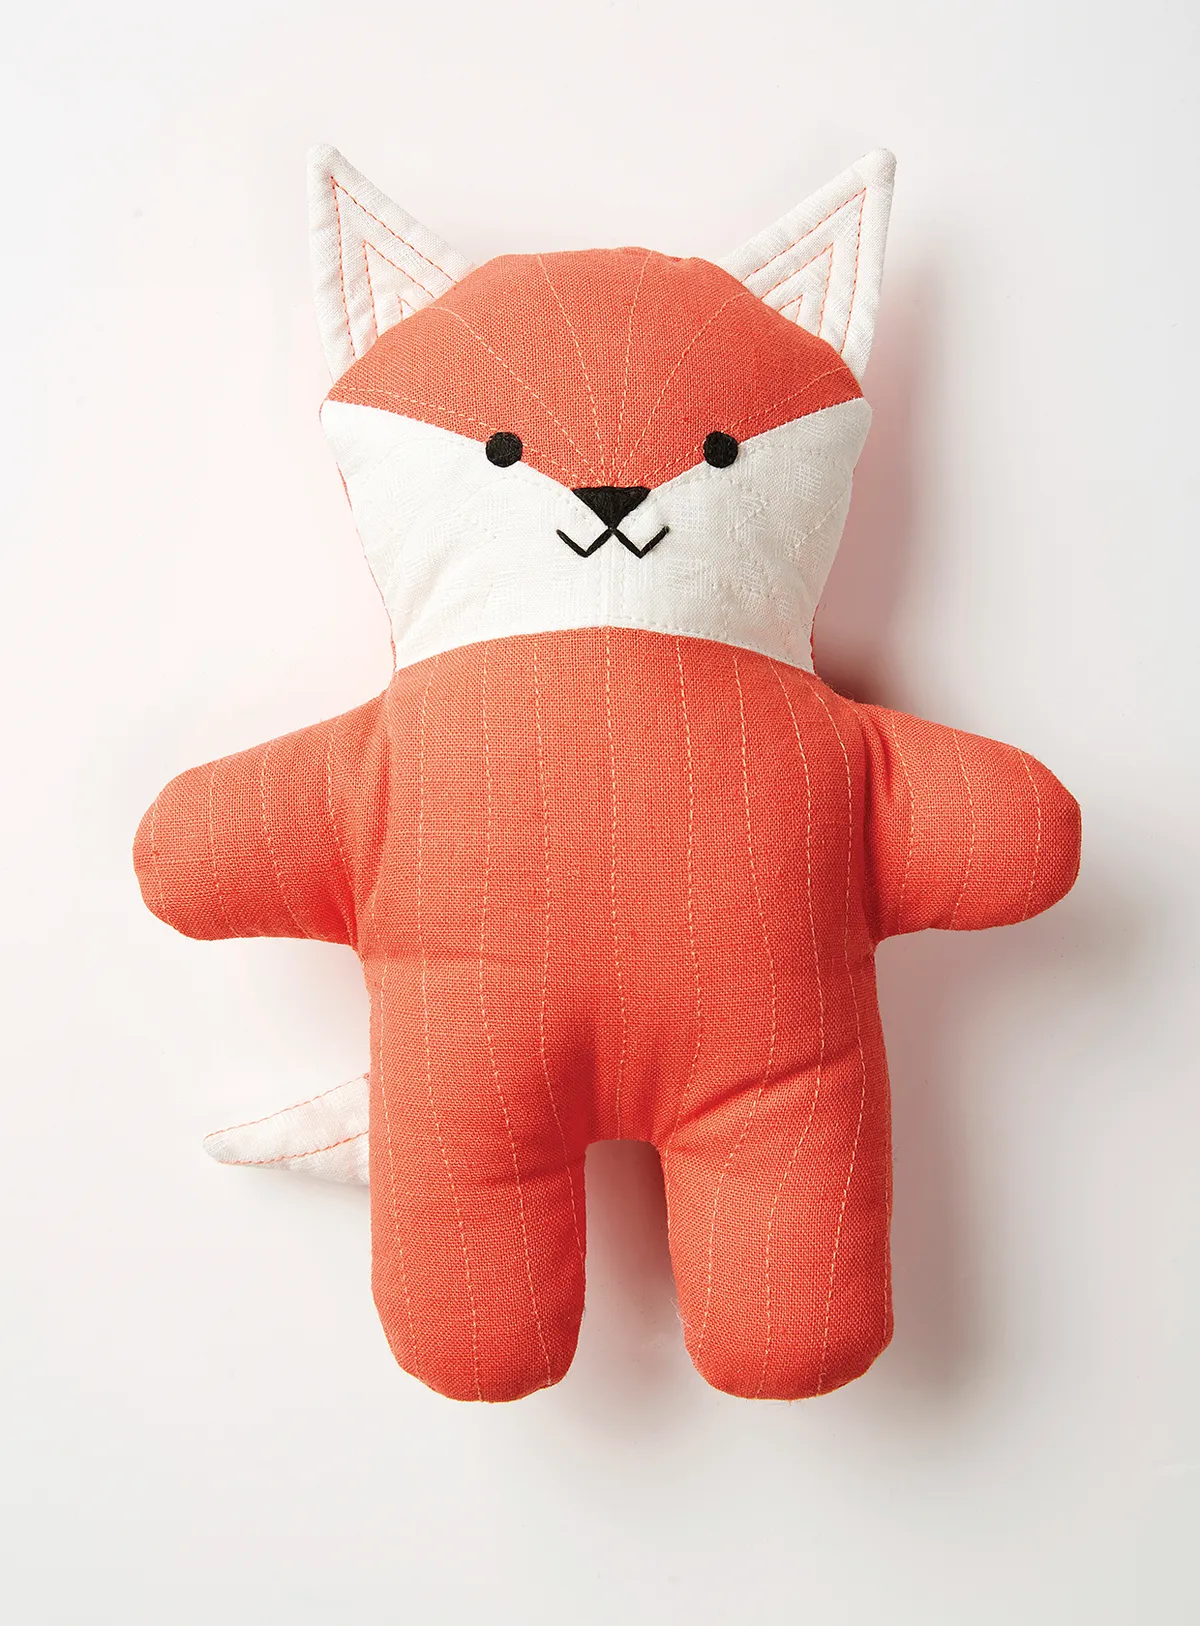
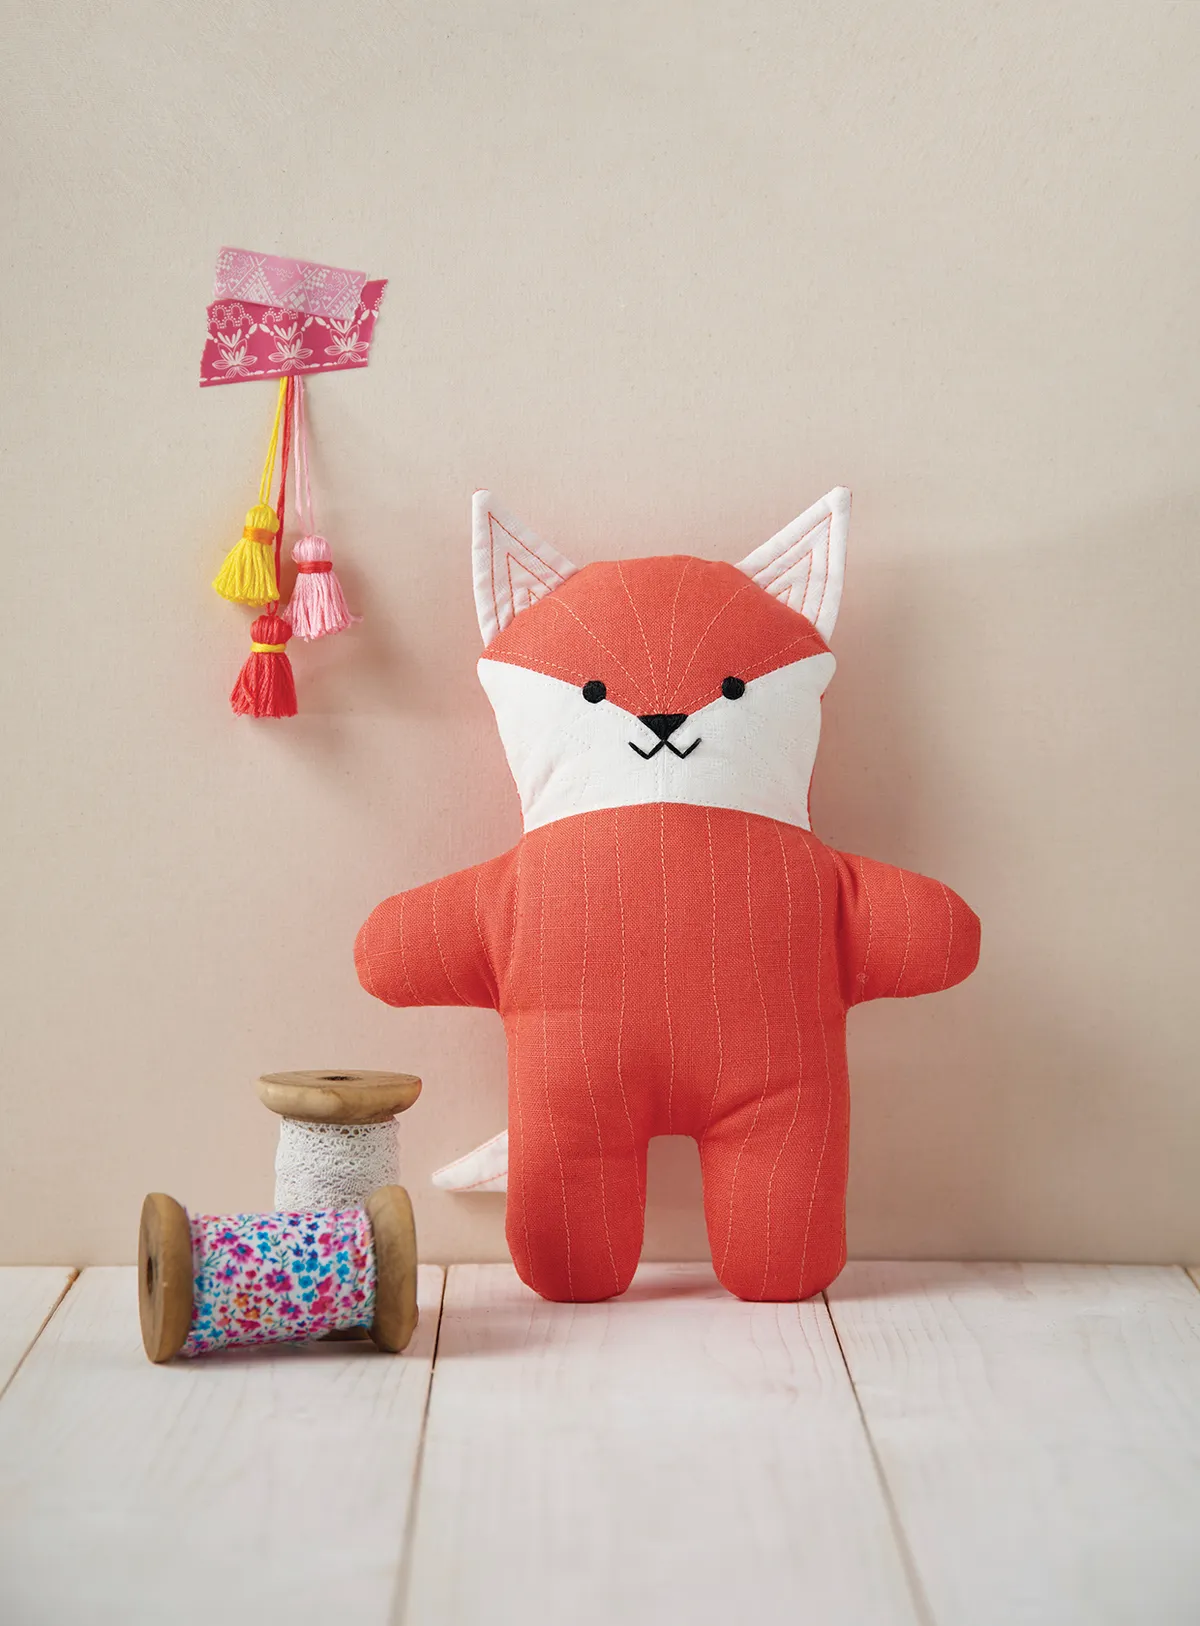
Quick, quilted and totally huggable – make your own fox plush toy from fabric with our step by step guide
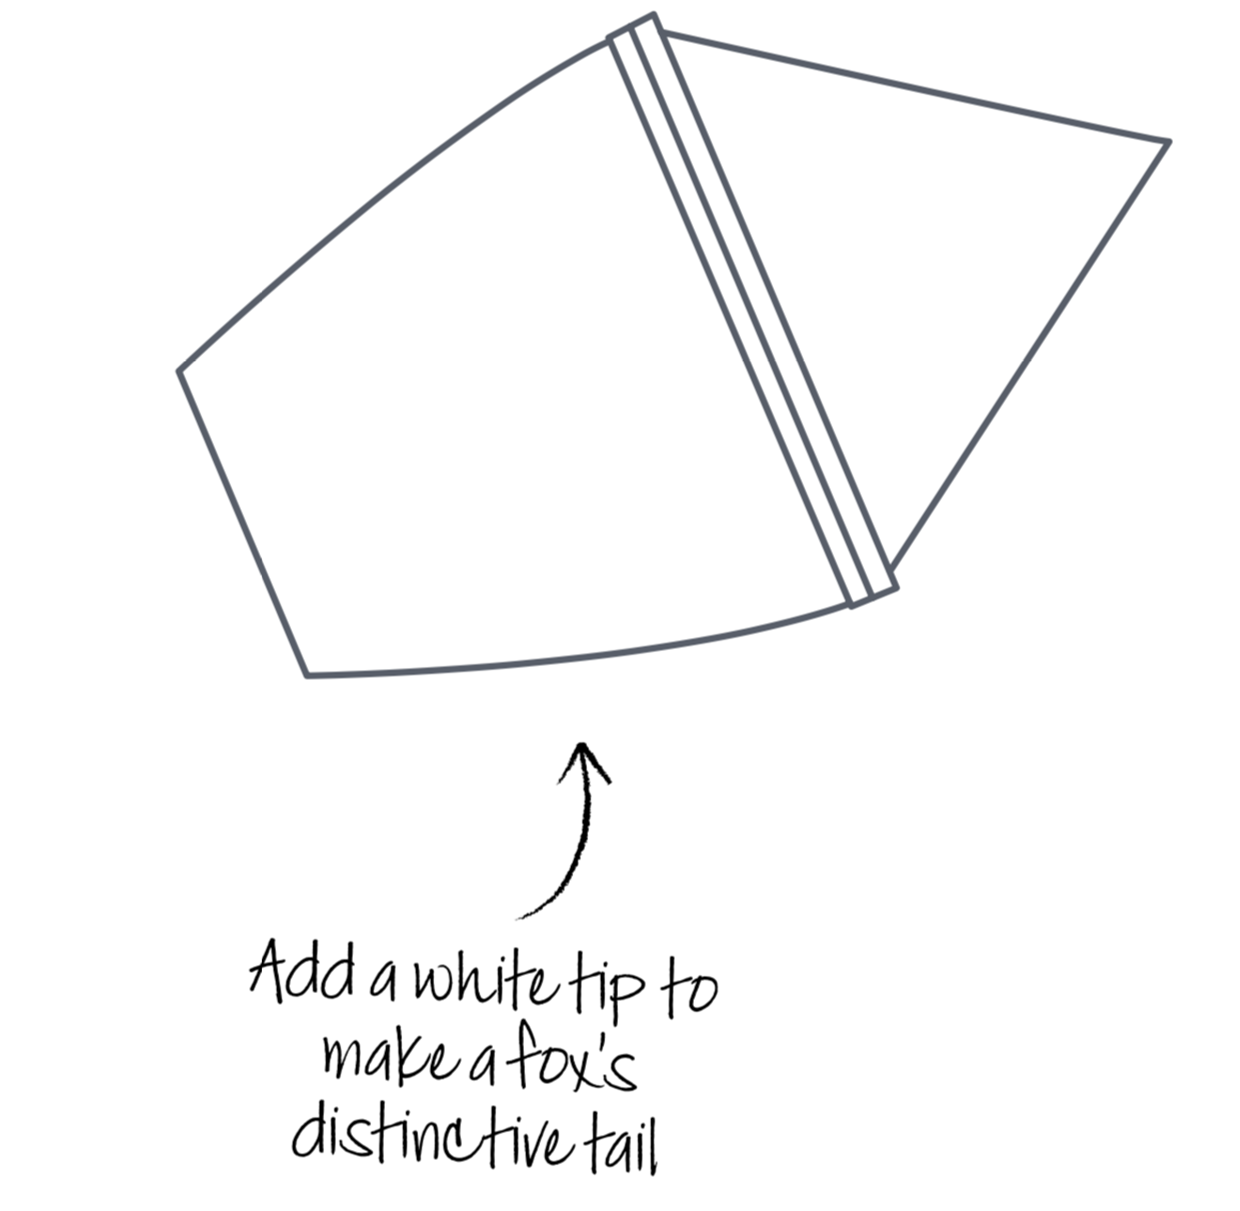
Make your very own fox plush toy with our free sewing pattern – complete with a sweet embroidered face and quilted finish. It's the perfect Autumnal woodland craft project to curl up with and sew –make him as a gift, to decorate a nursery or play room, or just because he's cute. Add a white tip to make a fox's distinctive tail. The ears and tail are attached by being sewn into the seams – to limit the chances of them being pulled out, it's important to over-sew the joins as you do this bit.
We've got together with Love Patchwork & Quilting magazine to bring you this fab fox sewing pattern. This DIY fox plush toy was designed by Jo Carter – see more of Jo's brilliant toy designs on her website twoowlsdesign.co.uk. If you're new to sewing, you might find some of our starter guides useful – head over to our sewing for beginners article or step by step tutorial – how to use a sewing machine.
Before you begin, download our free fox sewing pattern templates (PDF) – note these were first published in our sister magazine, Love Patchwork & Quilting. You'll need to use all the templates for the fox but please ignore the stray bear ear! You won't need that here, but if you'd like to sew a bear, you might like our free teddy bear sewing pattern!
Finished size
9in tall x 9in wide approx
How to make a DIY Fox Plush
You will need:
Fabric ((orange and white))
Wadding
Polyester toy stuffing
Embroidery Thread ((black))
Needle
Sewing machine
Thread
Scissors
Cutting out
Step 1
From the orange fabric cut:
One (1) Fox Front Body.
Two (2) Back Body – you will need to cut one as the template and one mirrored piece.
One (1) Fox Upper Face.
Two (2) Fox Ear – you will need to cut one as the template and one mirrored piece.
One (1) Fox Lower Tail.
Step 2
From the white fabric cut:
Two (2) Fox Lower Face – you will need to cut one as the template and one mirrored piece.
Two (2) Fox Ear – you will need to cut one as the template and one mirrored piece.
One (1) Fox Tail Tip.
Making the fox's head
Step 1
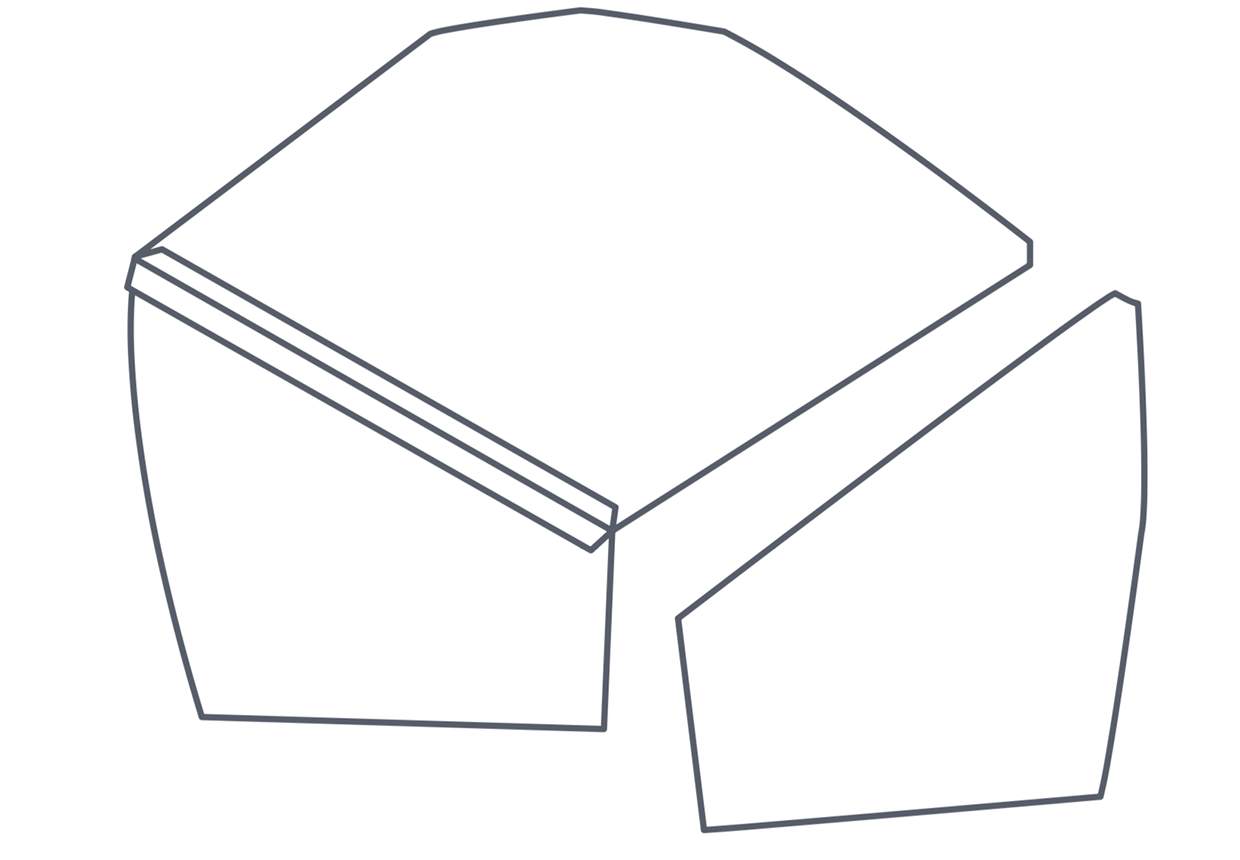
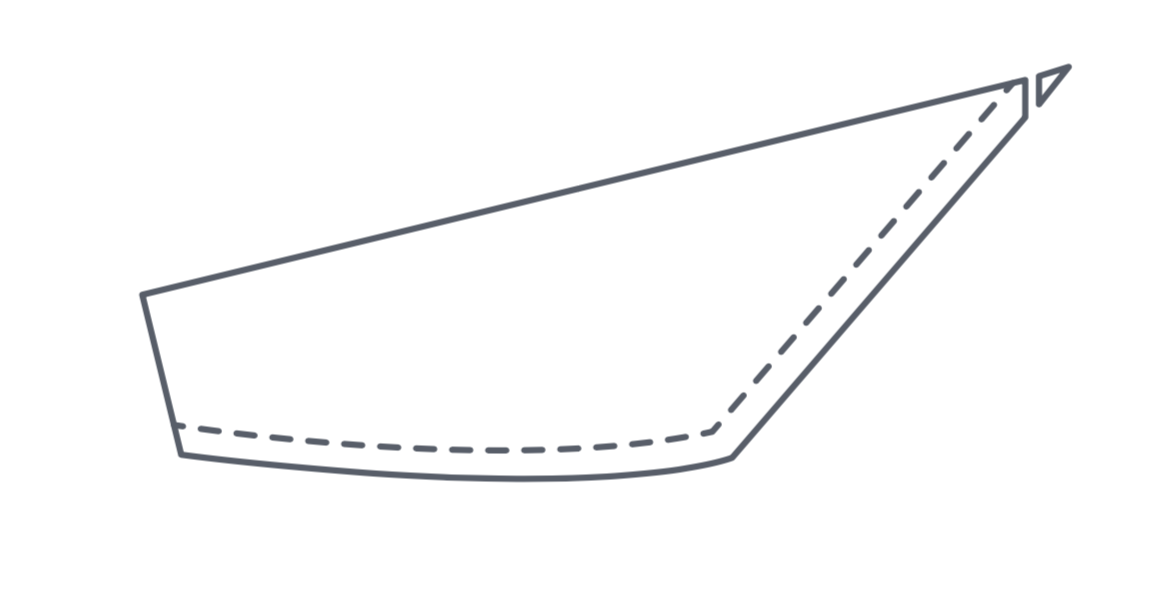
Right sides together, sew a lower face piece to the corresponding side of the upper face (Fig 1).
Repeat for the other side. Sew the two lower face pieces together where they meet in the middle of the face and then finger press this seam open.
Step 2
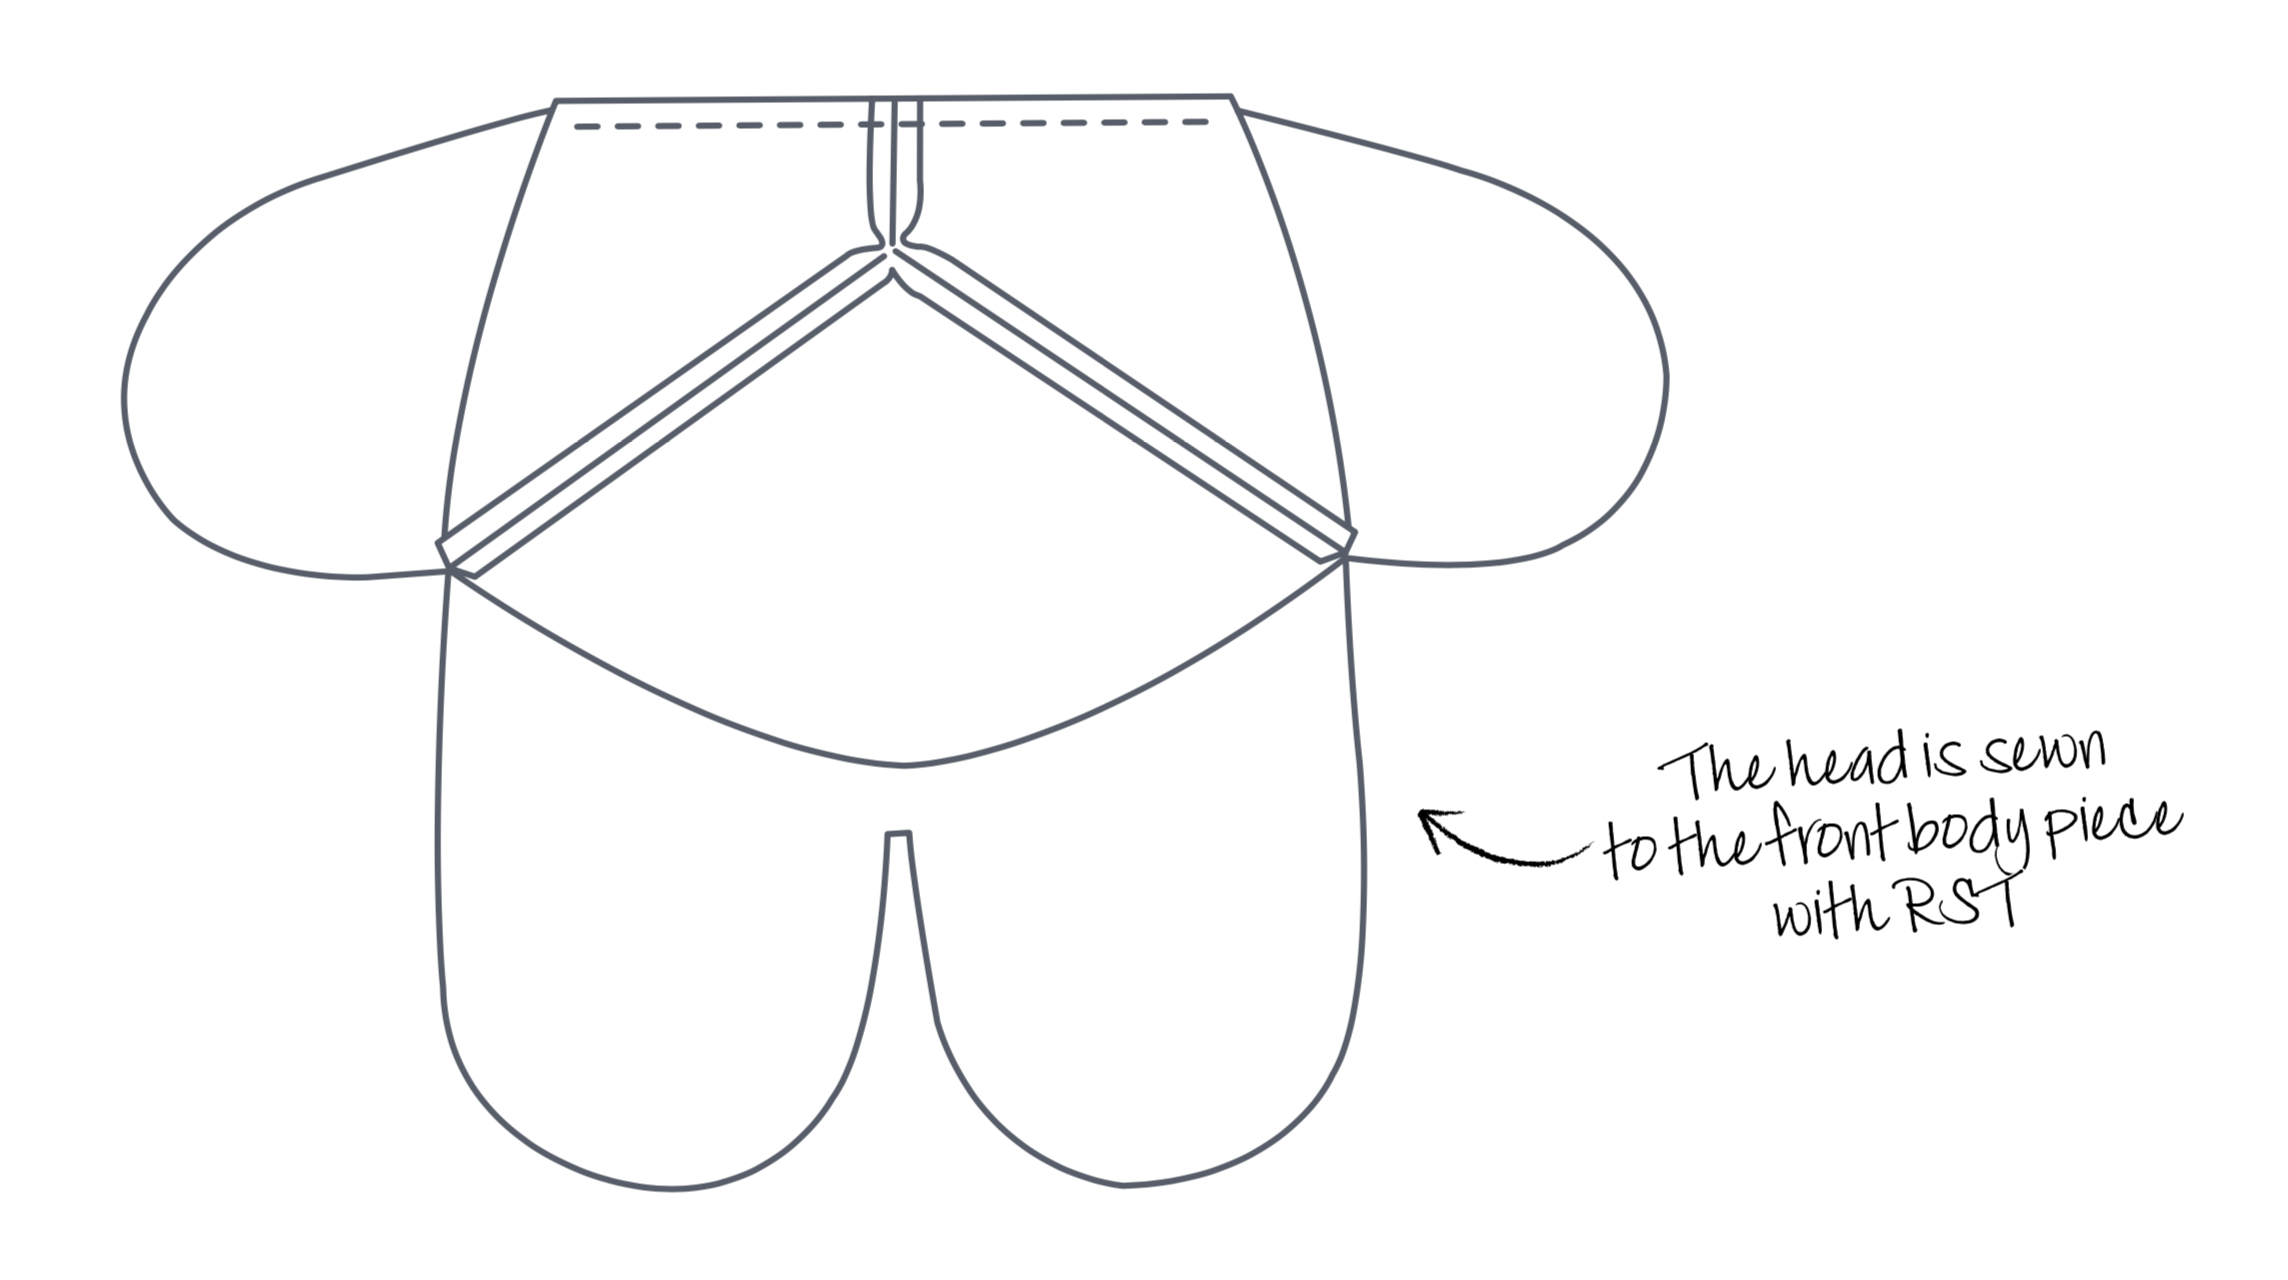
Sew the face to the top of the front body RST and press the seam open (Fig 2).
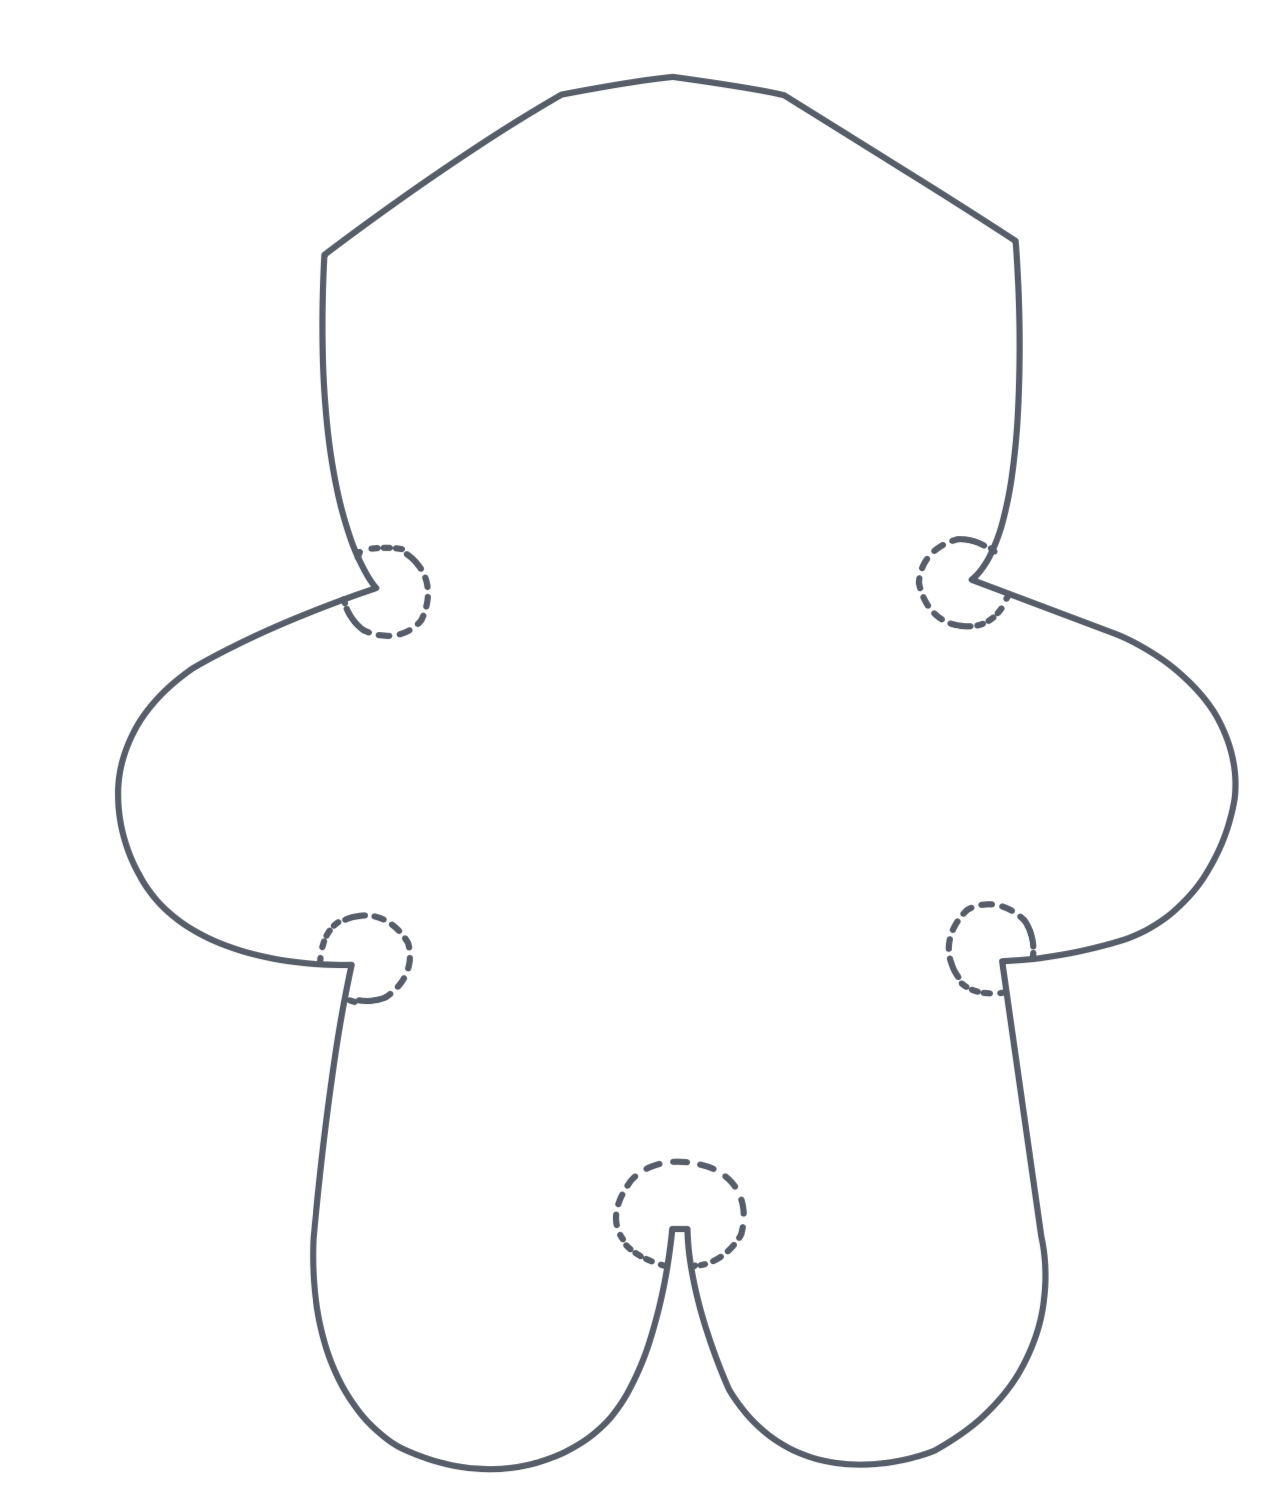
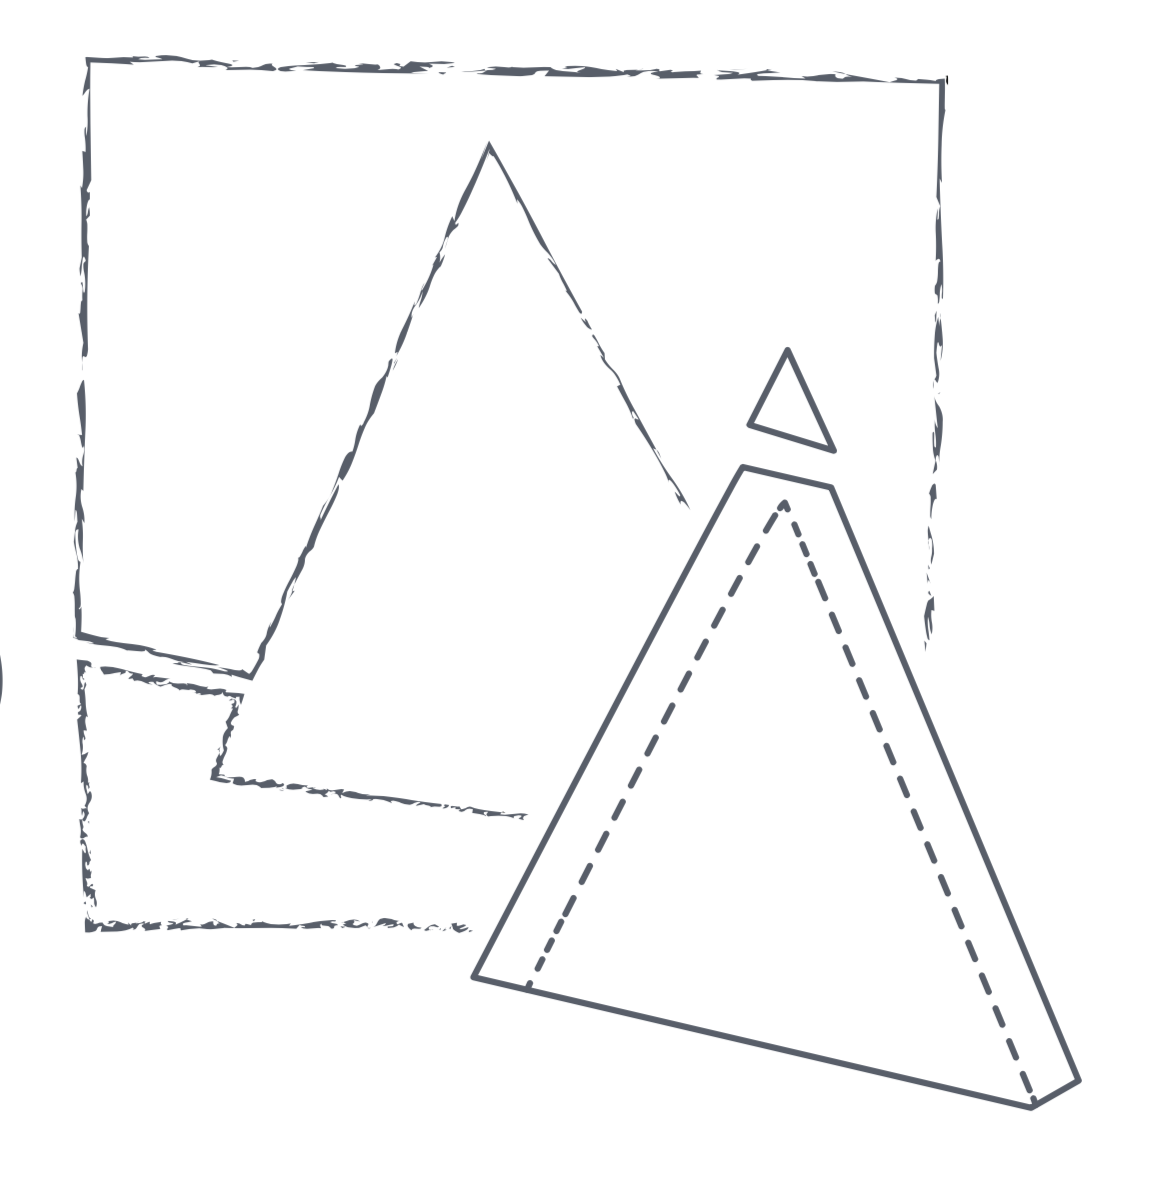
Quilt the body pieces together as follows: Right side up, place the front body on top of a piece of wadding that is larger on all sides. Quilt as desired to join the layers together, avoiding the areas indicated (Fig 3) – clipping at a later stage may damage any quilting stitches made there. Trim away the excess wadding. Quilt the two back body pieces in the same way
Step 3
Select an orange ear piece for the back and a white one for the front, ready to make the ears. Place two mirror-image ear pieces one on top of the other (right sides together) and then place both on top of a piece of wadding that is larger on all sides. Sew all three layers together around the sides and then trim away the excess wadding.
Clip the seam allowance at the tip of the ear, taking care not to clip any stitching (Fig 4).
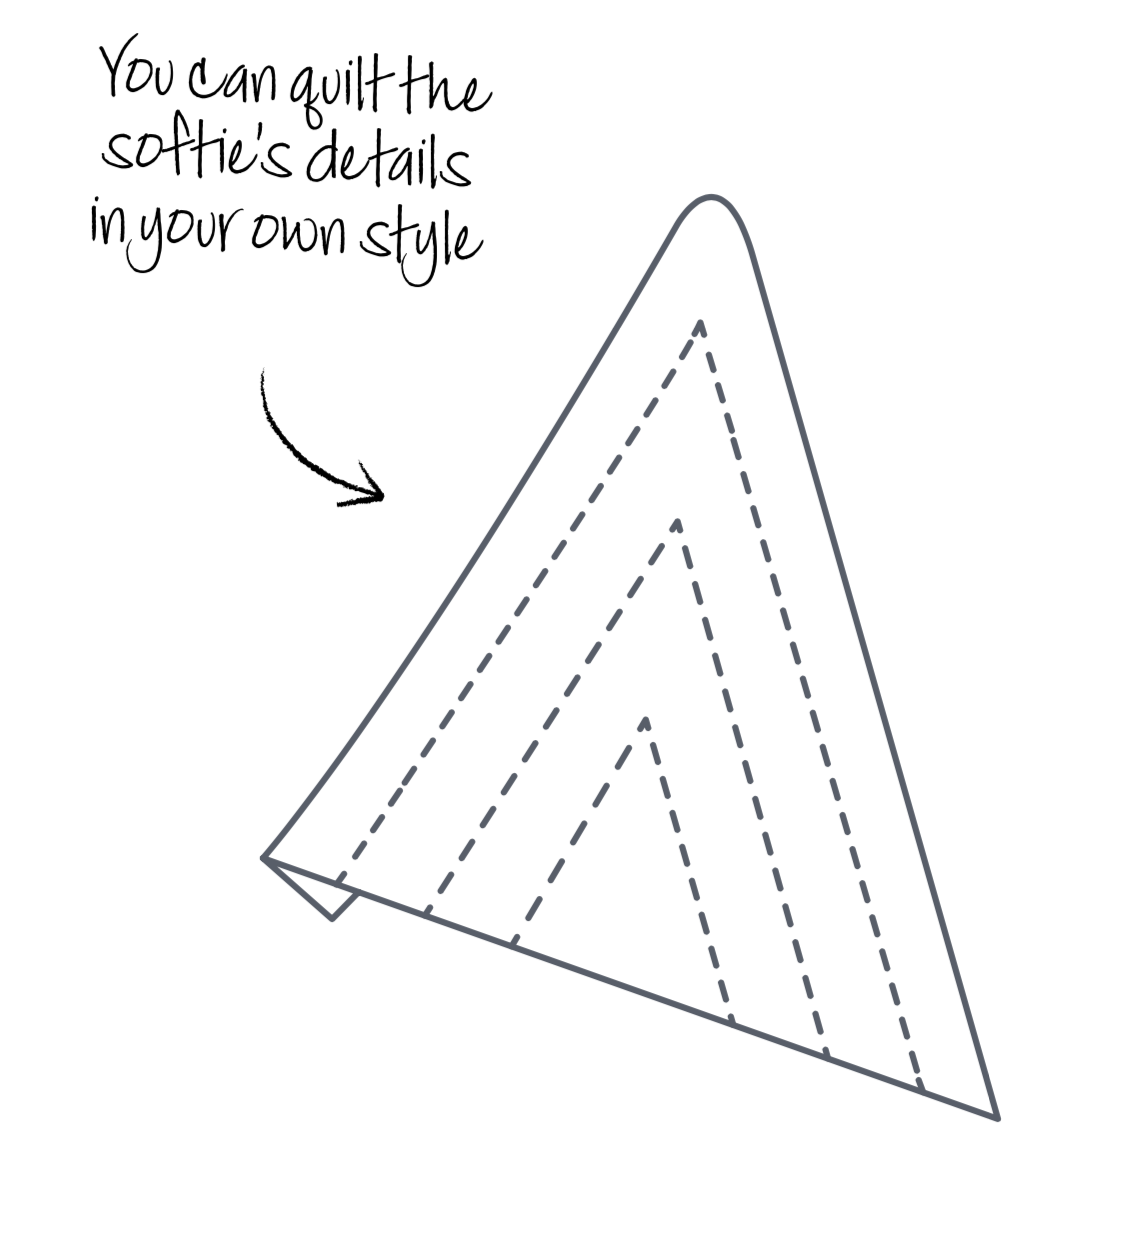
Turn the right way out and quilt the ear as desired (Fig 5). Repeat to make the remaining ear.
Make the tail
Step 1
Right sides together, sew the tail tip to the lower tail (Fig 6)
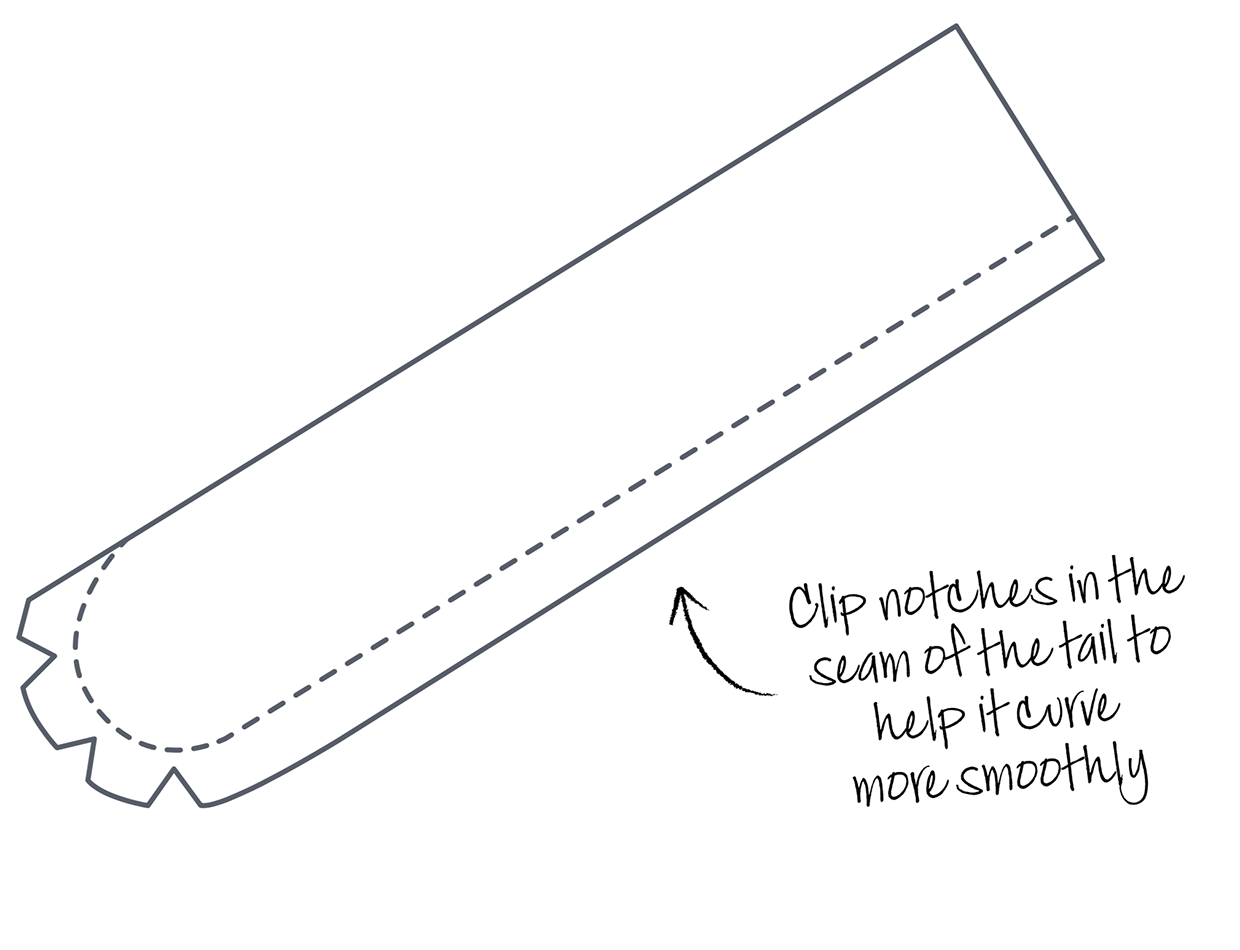
Right side up, place the tail on top of a piece of wadding that is larger on all sides. Quilt as desired and then trim away the excess wadding. Fold the tail in half, RST, and sew together leaving the bottom end open (Fig 7).
Clip ‘V’ shape notches around the curve and then turn the right way out. clipping the seam allowance at the tip of the tail before turning the right way out (Fig 8).
Make the face
Step 1
Using a removable fabric marker, draw out the eyes, nose and mouth as a guide on to your fox's face and use this as a guide to embroider the facial features, using black embroidery thread.
Assemble your fox plush toy
Step 1
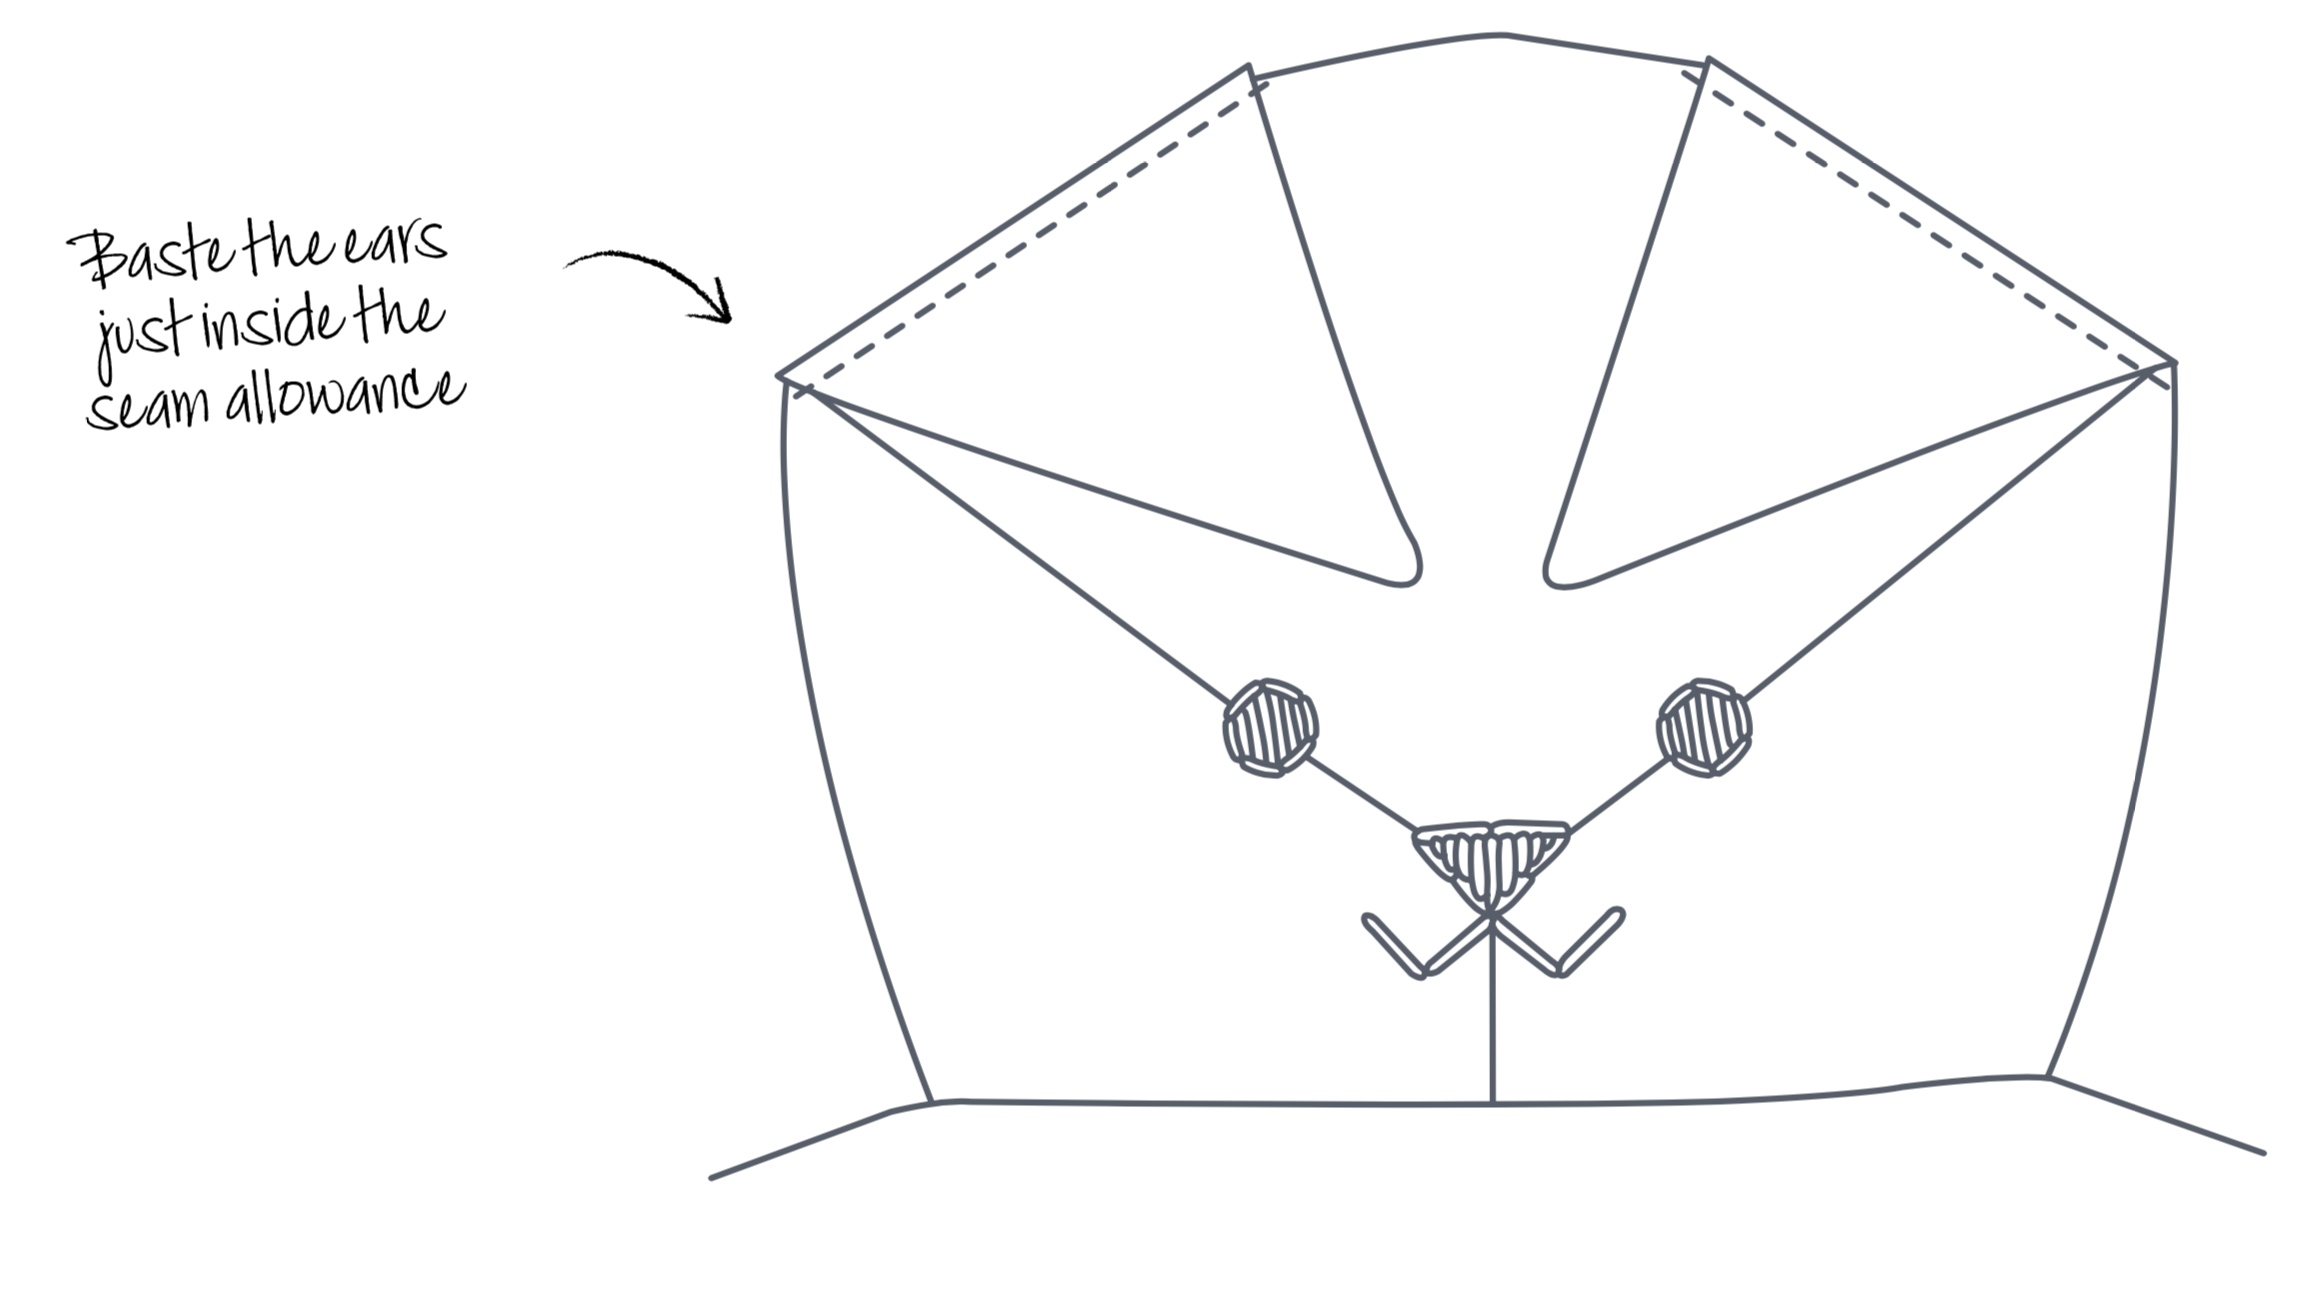
With the white fronts of the ears against the right side of the upper face, baste the ears in place between the marker and the side corner of the upper face just inside the seam allowance (Fig 9).
Step 2
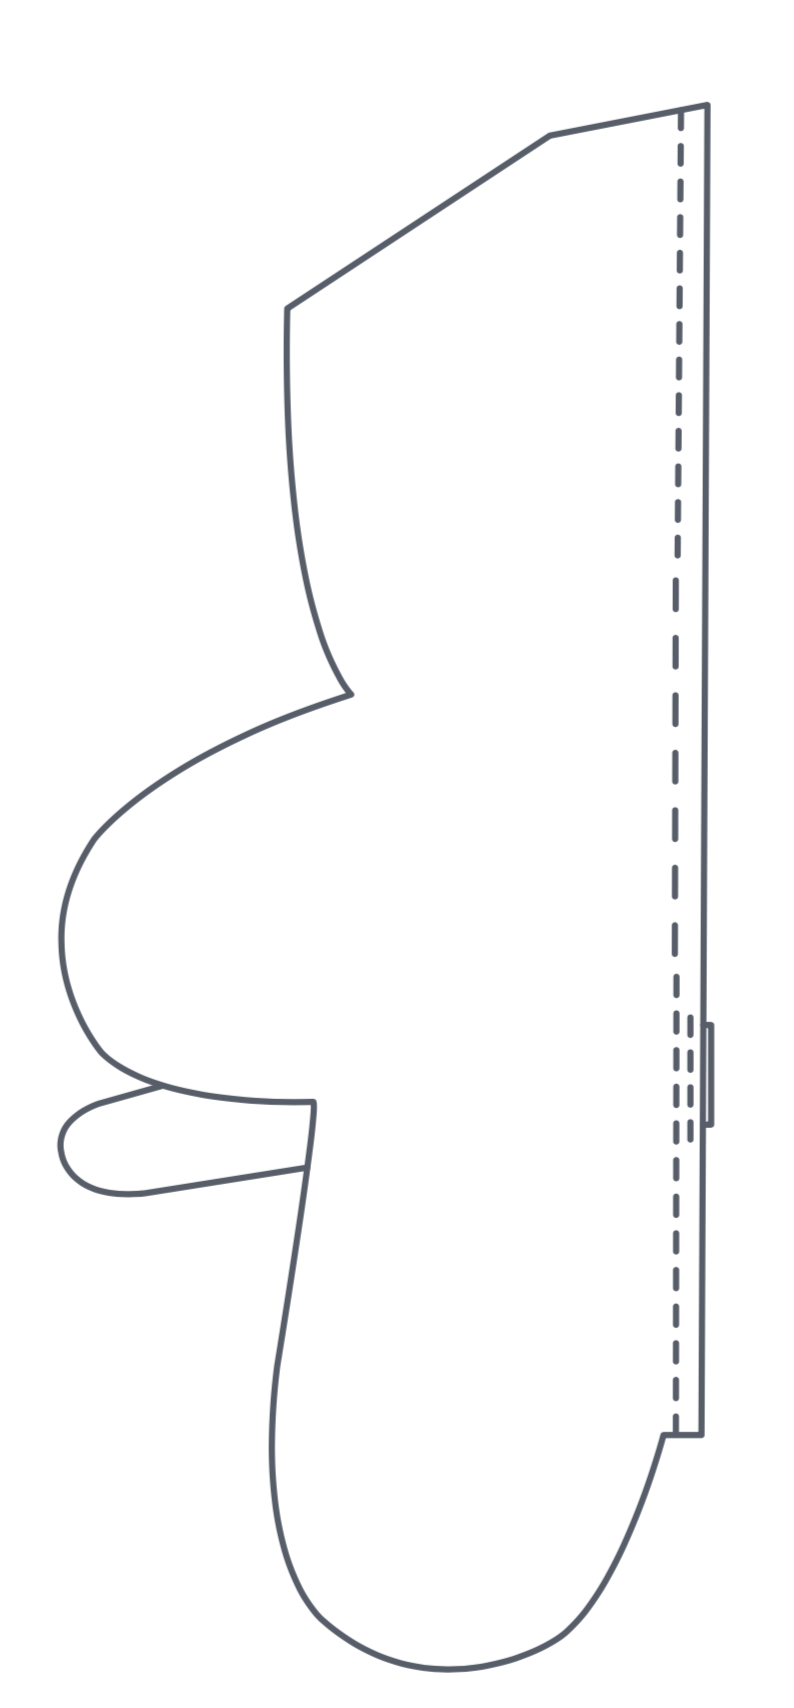
Baste the tail to the right side of one of the back body pieces in between the corresponding markers. Place one back body piece on top of the other RST and starting at the top, sew together along the straight edge for approximately 3in, pause to increase the stitch length to the longest setting and then continue for a further 2in before returning to the normal stitch length to complete the rest of the seam (Fig 10).
Step 3
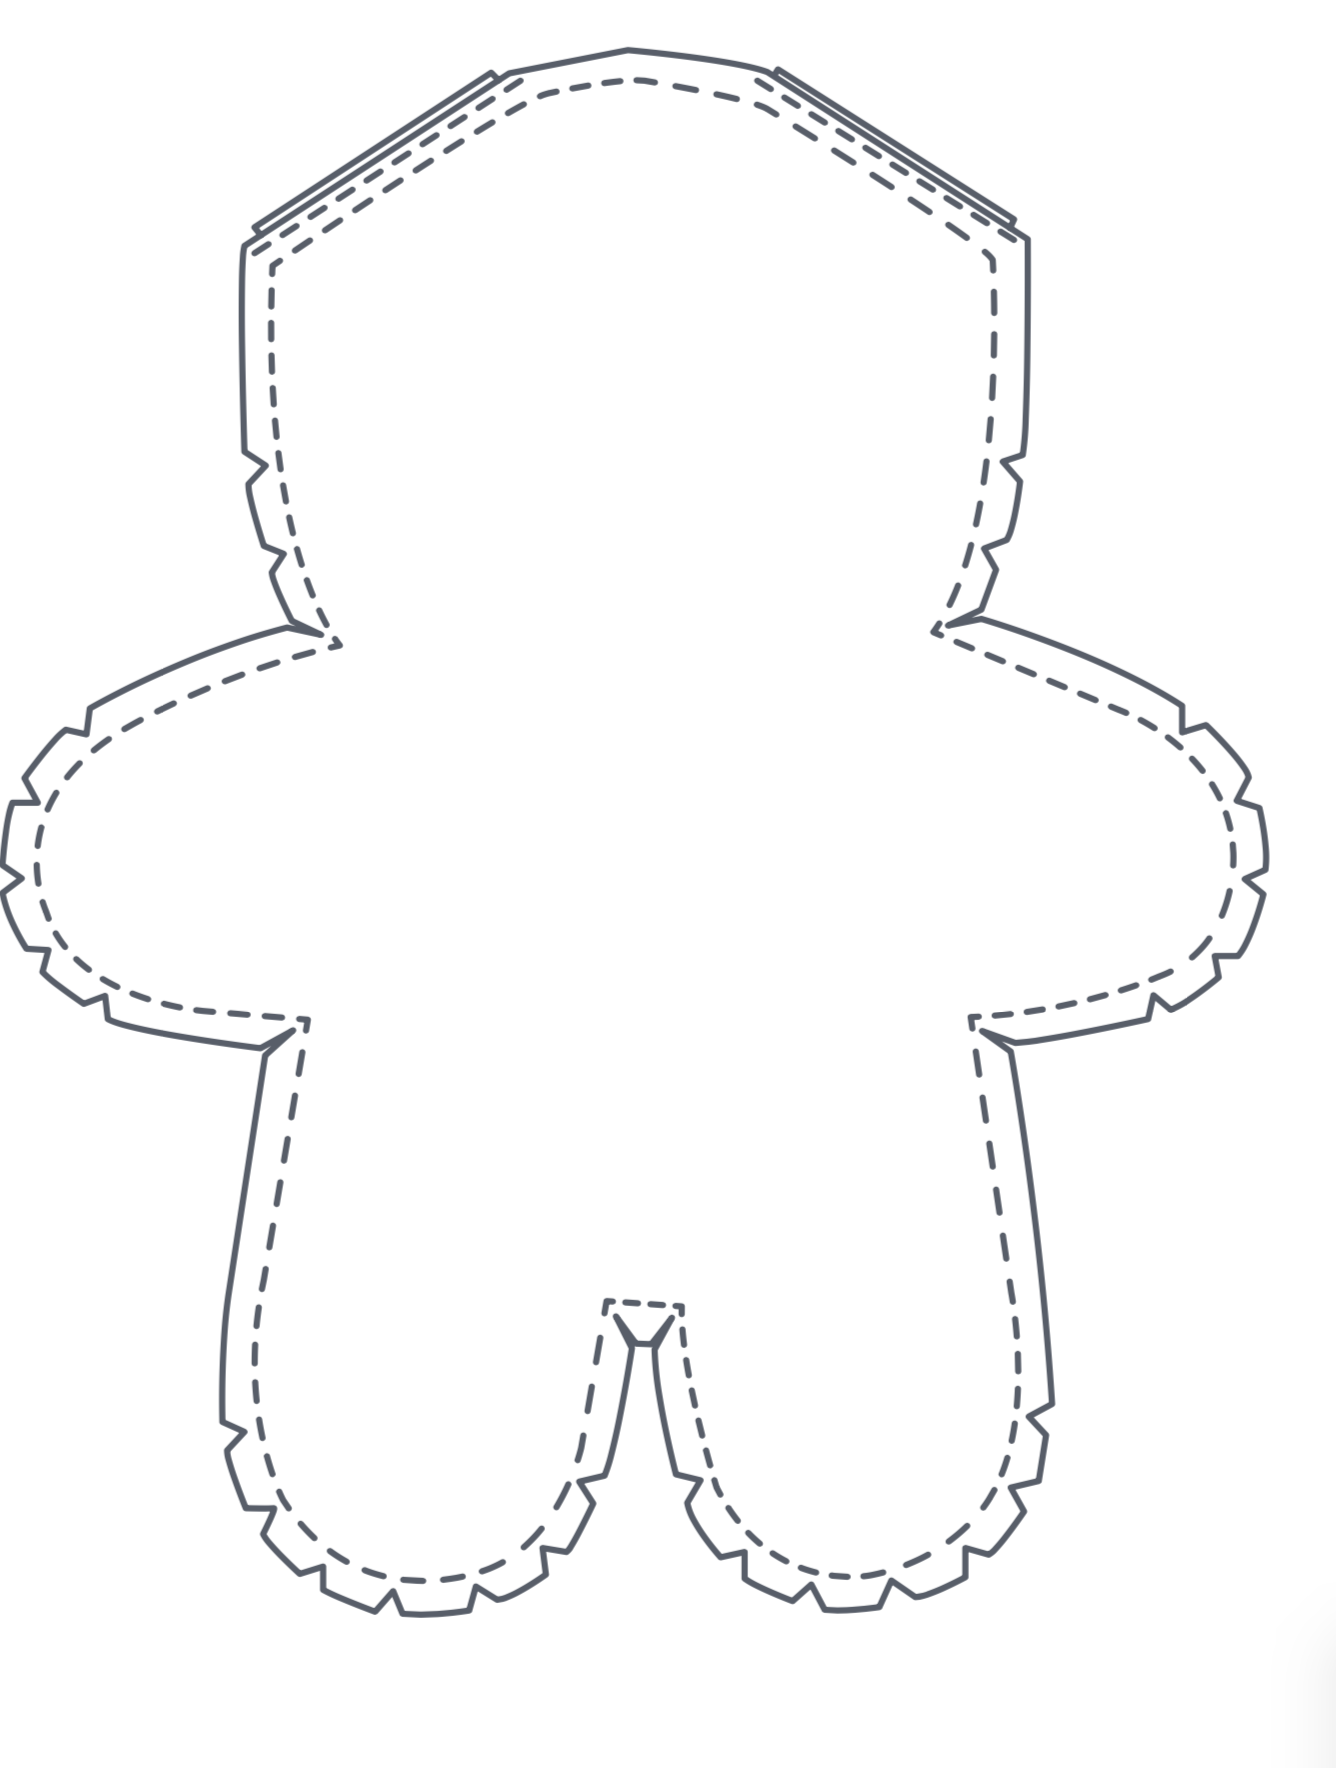
Right sides together, sew the front and back body together taking care to move the tail out of the way of the seam. Clip the seam allowance at the internal corners and clip ‘V’ shaped notches in the curves taking care to avoid the stitching (Fig 11).
Step 4
Open the longer stitches in the back body to allow for turning and then turn the right way out and stuff. Close the opening in the back using ladder stitch or similar.
Jo worked for ten years as a soft toy designer turning company characters into soft toys ready for factory production. Whilst taking time out with her two sons she rediscovered her love of all sewing, and especially toy-making. She drinks tea by the litre and her work has been fearured in Simply Sewing and Love Patchwork and Quilting magazines. Her soft toy designs have won her an army of fans and she’s also appeared on Sewing Quarter TV. She sells a collection of her toy designs and kits in her Folksy store. Find her on Instagram @jo2owls.
This website is owned and published by Our Media Ltd. www.ourmedia.co.uk