Preparing the wooden base
Step 1
Measure and mark the centre of the wooden cube with a pencil.
Step 2
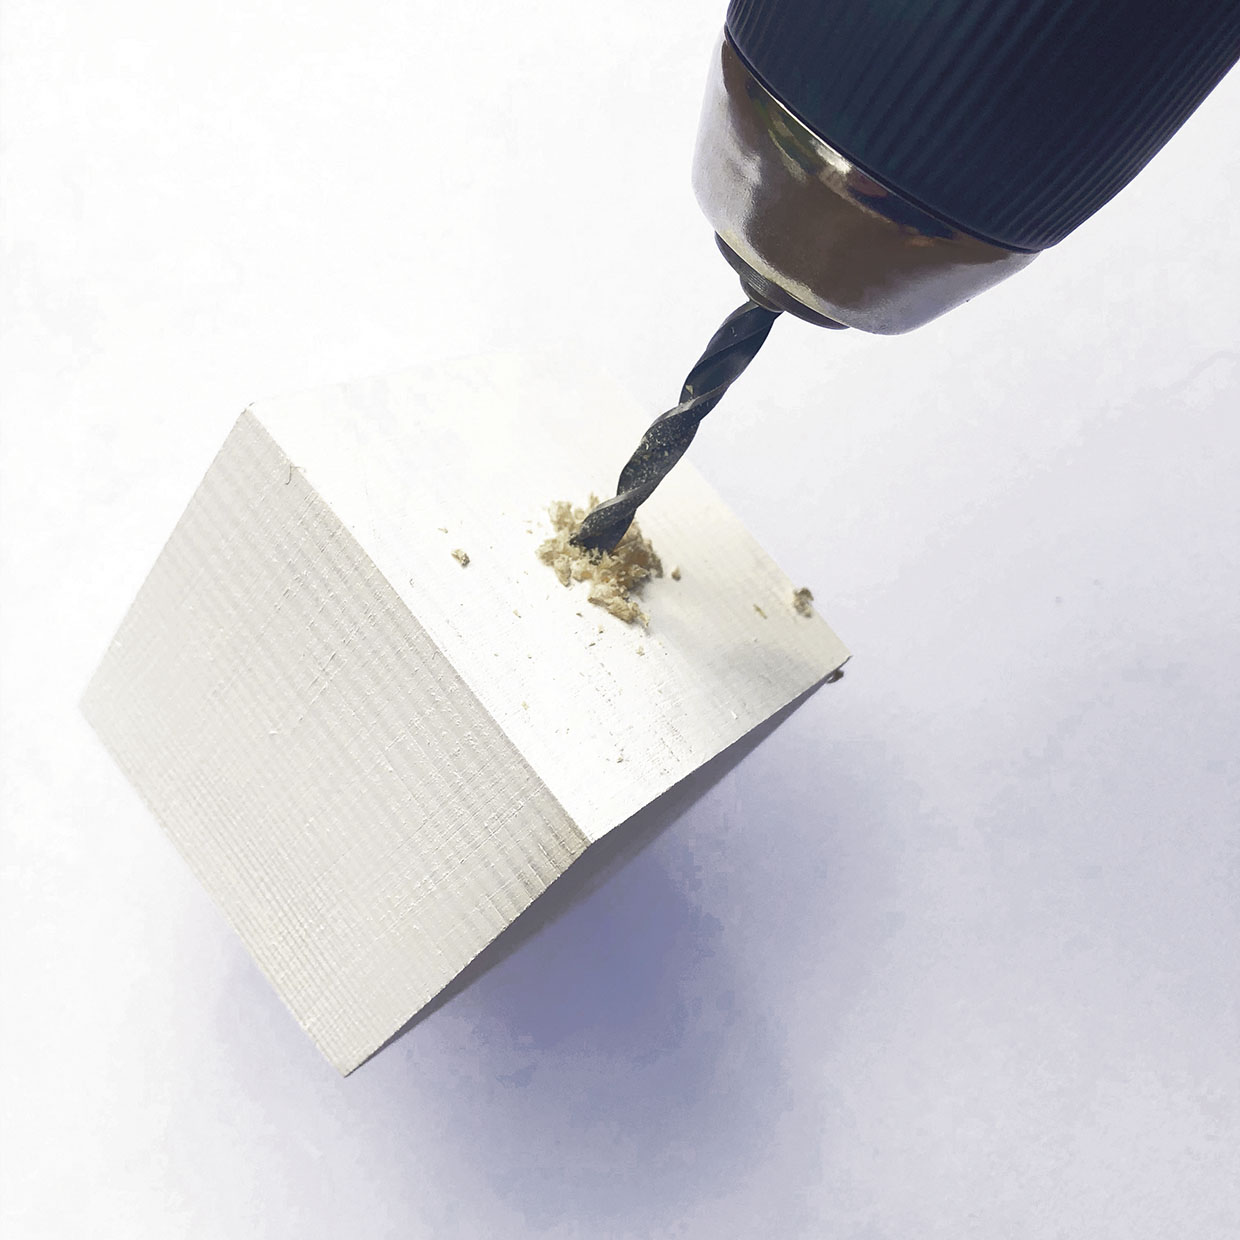
Drill a 5mm (¼in) wide and approx. 4cm (15⁄8in) deep hole in the centre of the wooden block.
Step 3
Spray paint the wooden cube and bamboo skewer white. Leave to dry.
Cutting out
Step 1
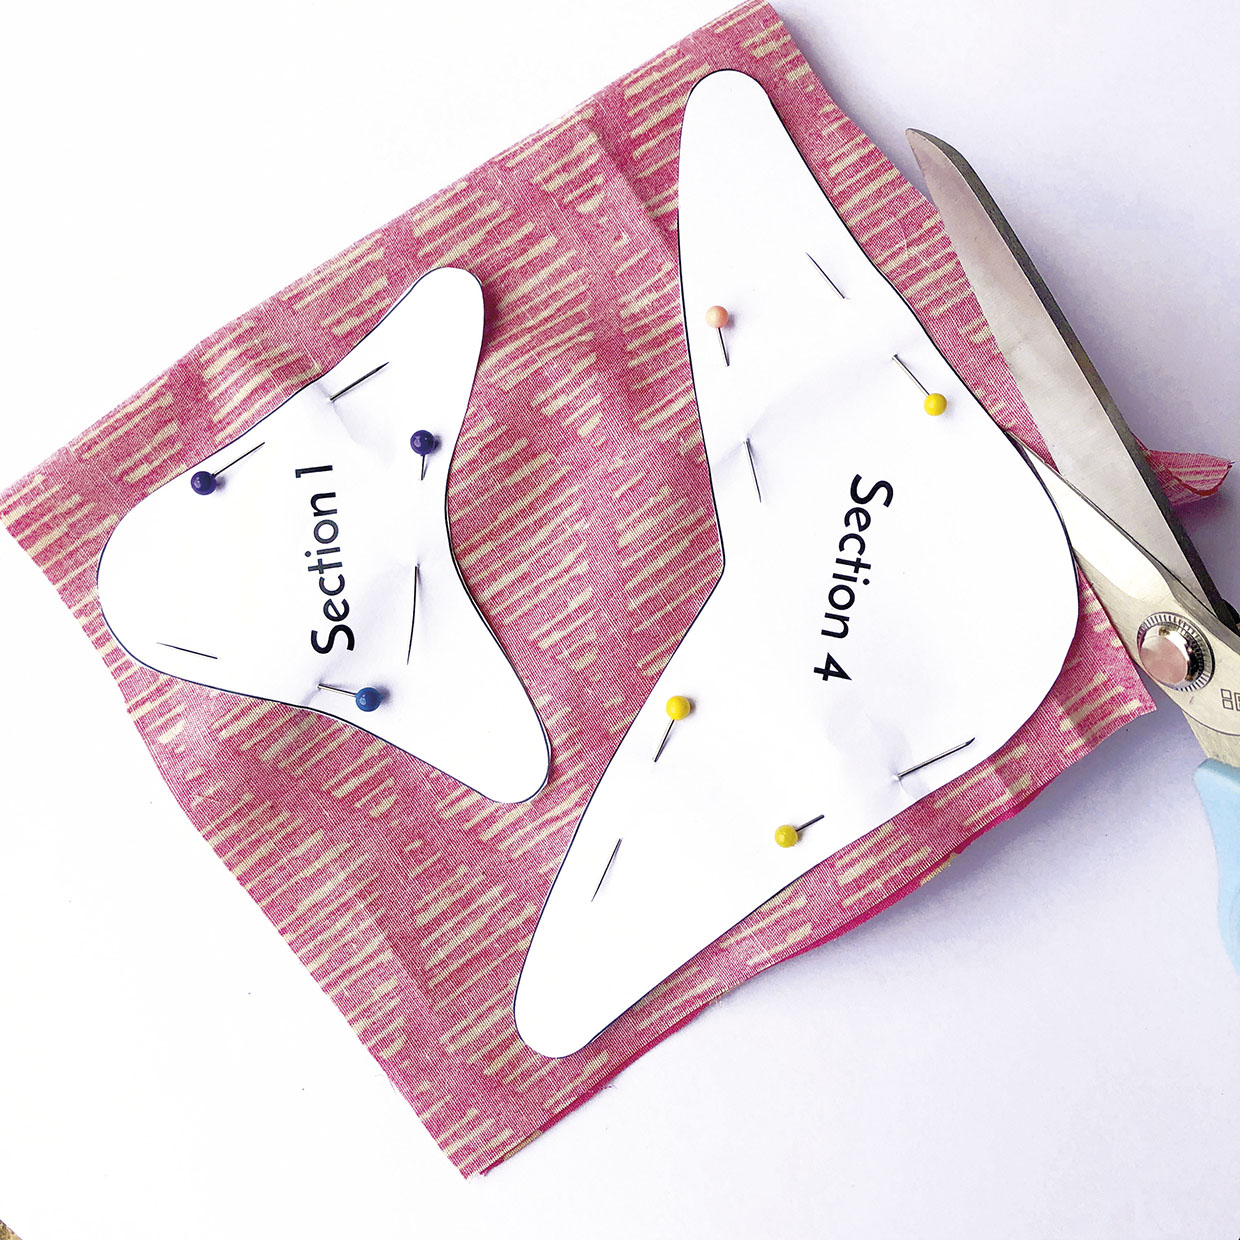
Download and print the five tree template sections then cut them out.
Step 2
From Fabric A cut: 2 using template 1 and 2 using template 4.
Step 3
From Fabric B cut: 2 using template 2 and 2 using template 5.
Step 4
From Fabric C: Cut 2 using template 3.
Sewing the shapes together
Step 1
Pin two of each matching fabric shapes right sides (RS) together.
Step 2
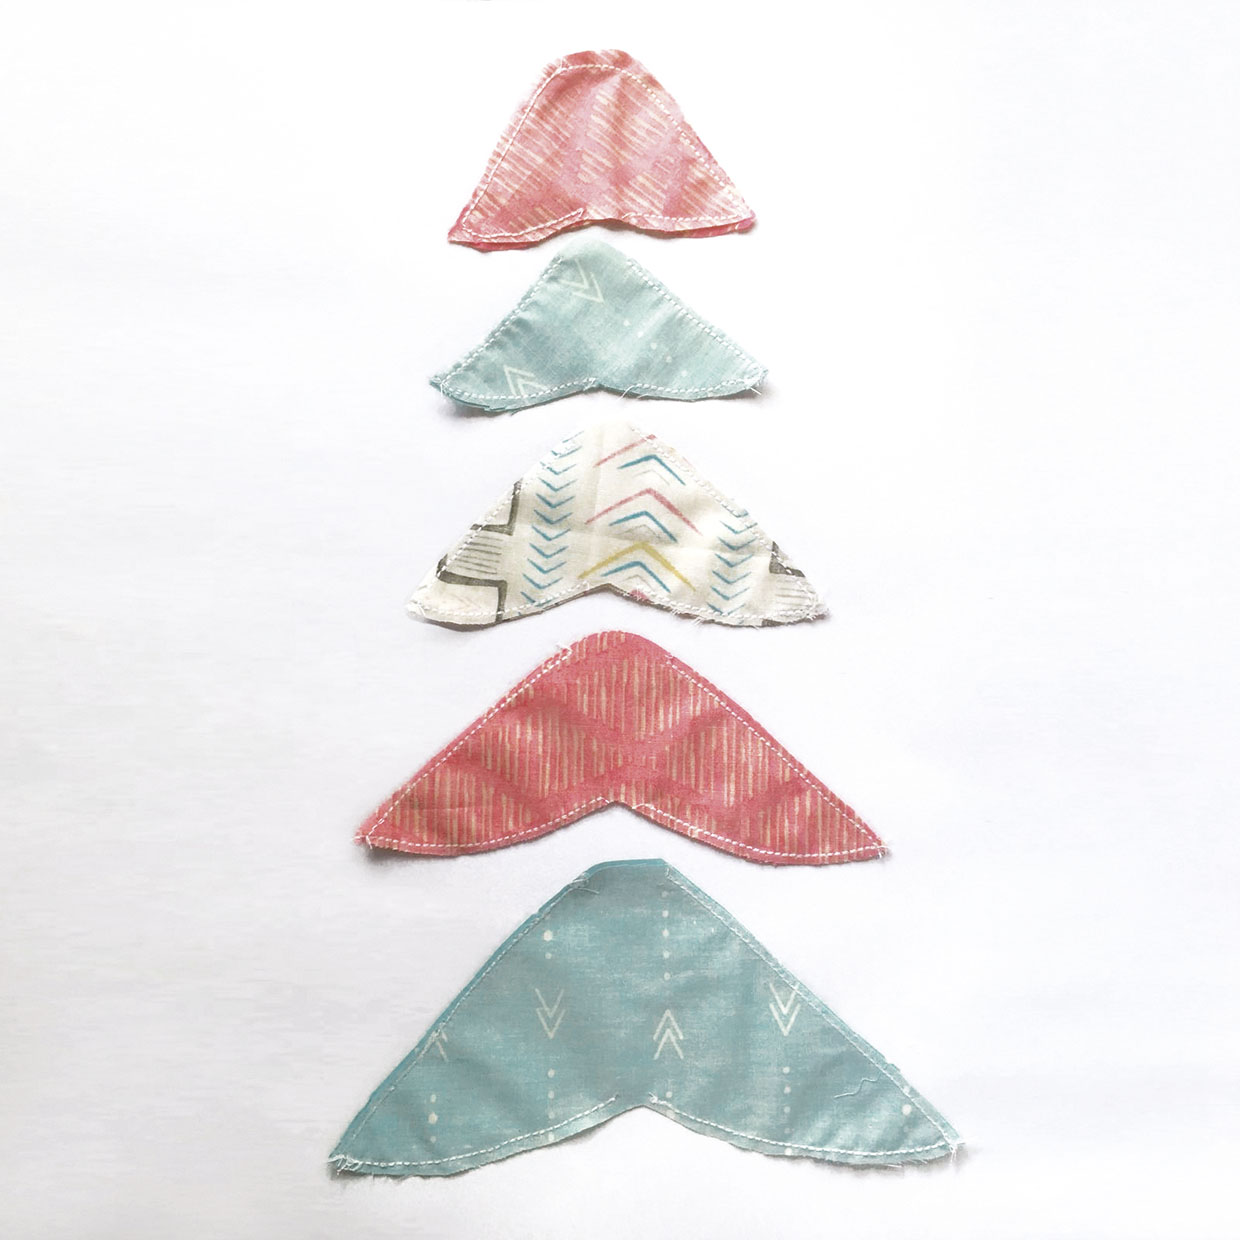
Sew around each pair, leaving a seam allowance of 5mm (¼in) all the way around. Leave a 1.5cm (5⁄8in) gap at the top of each section, except for section 1. Leave a 5mm (¼in) gap at the bottom of all sections.
Stuffing the tree
Step 1
Turn each shape inside out and press.
Step 2
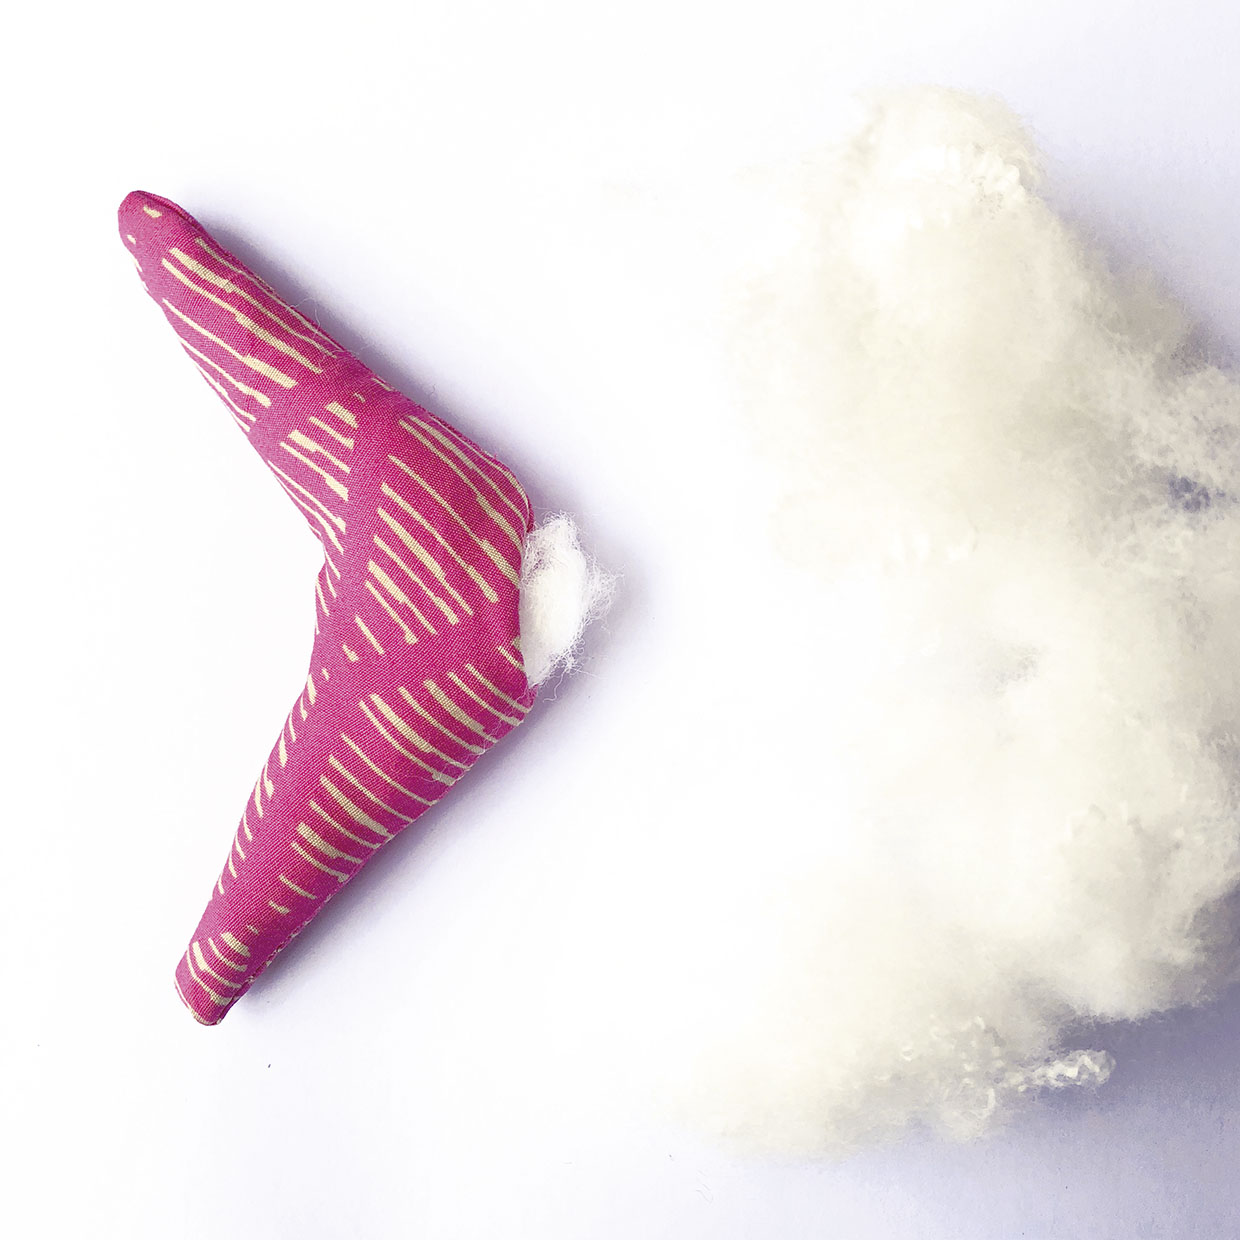
Stuff each shape with polyester fibrefill. Use a pencil or knitting needle to poke the stuffing carefully into each section so they are firmly and evenly filled. Don’t worry if there is a little poking out the top and bottom.
Assembling the tree
Step 1
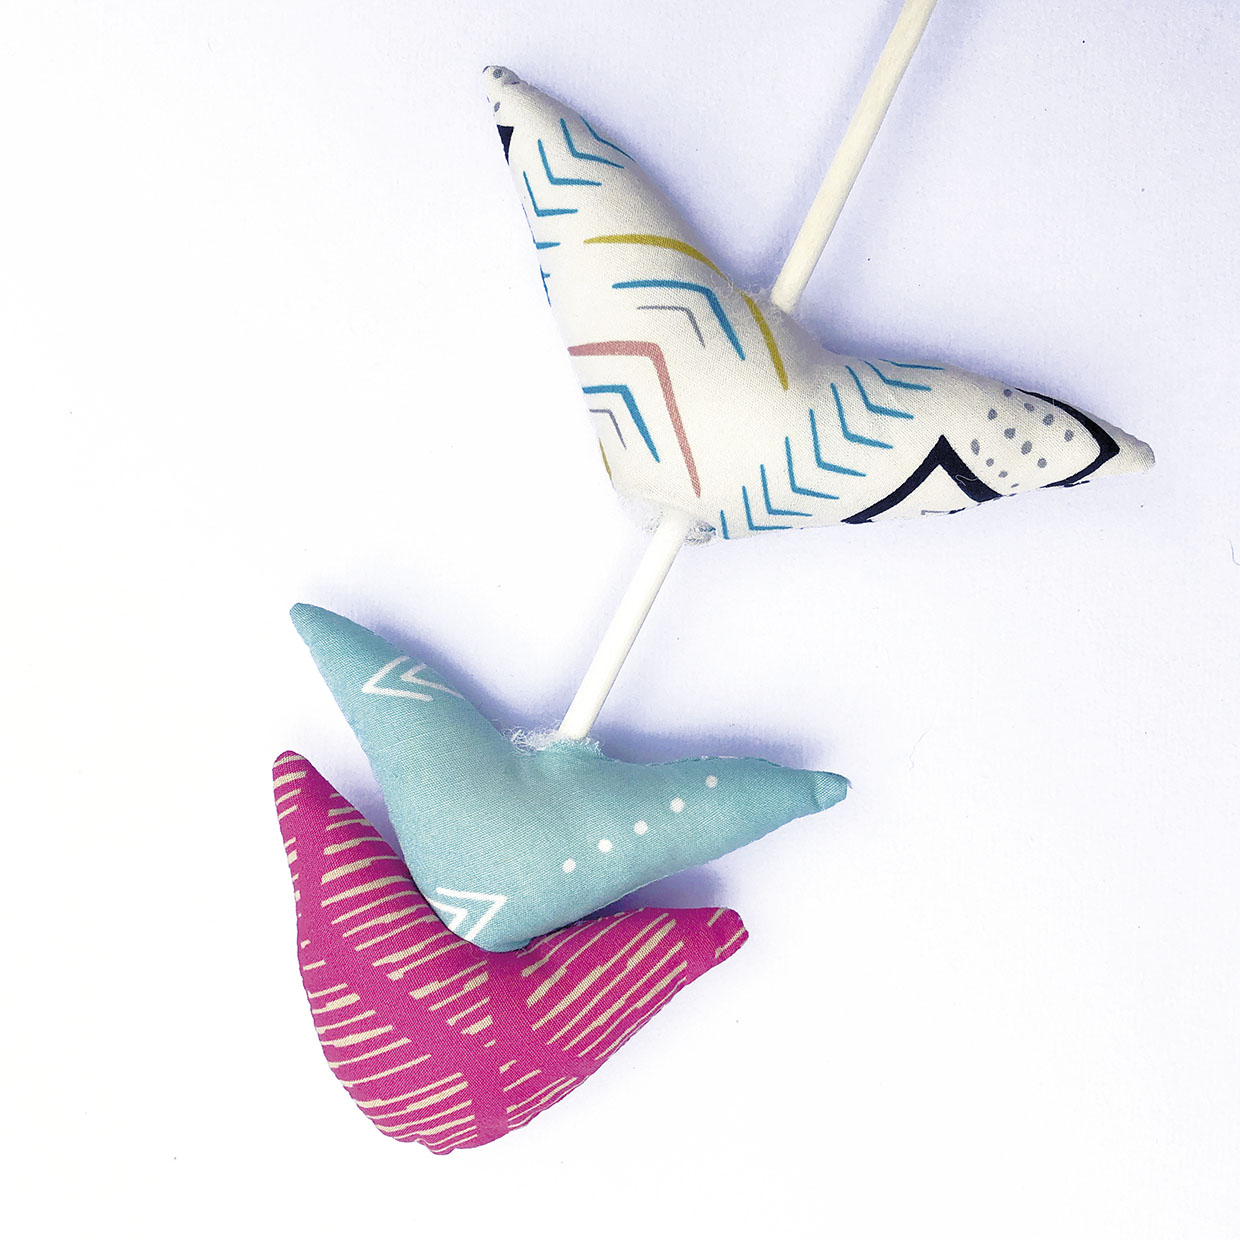
Slide sections one and two onto the skewer. Section one should be balanced at the top of the skewer and section two just below.
Step 2
If needed, poke more stuffing into both sections to make sure they are full.
Step 3
Turn the skewer so section one points down. Use the glue gun to apply glue around the skewer on the bottom of section one. Don’t use too much or it will ooze out.
Step 4
Slide section two downwards to join it to section one. Hold firmly until the glue dries.
Step 5
Slide each remaining section onto the skewer in size order. As in steps three and four, glue section two to three, section three to four and section four to five.
Step 6
Once all the sections are securely glued together, hand-sew the bottom of section five closed around the skewer using a ladder stitch.
Finishing off
Step 1
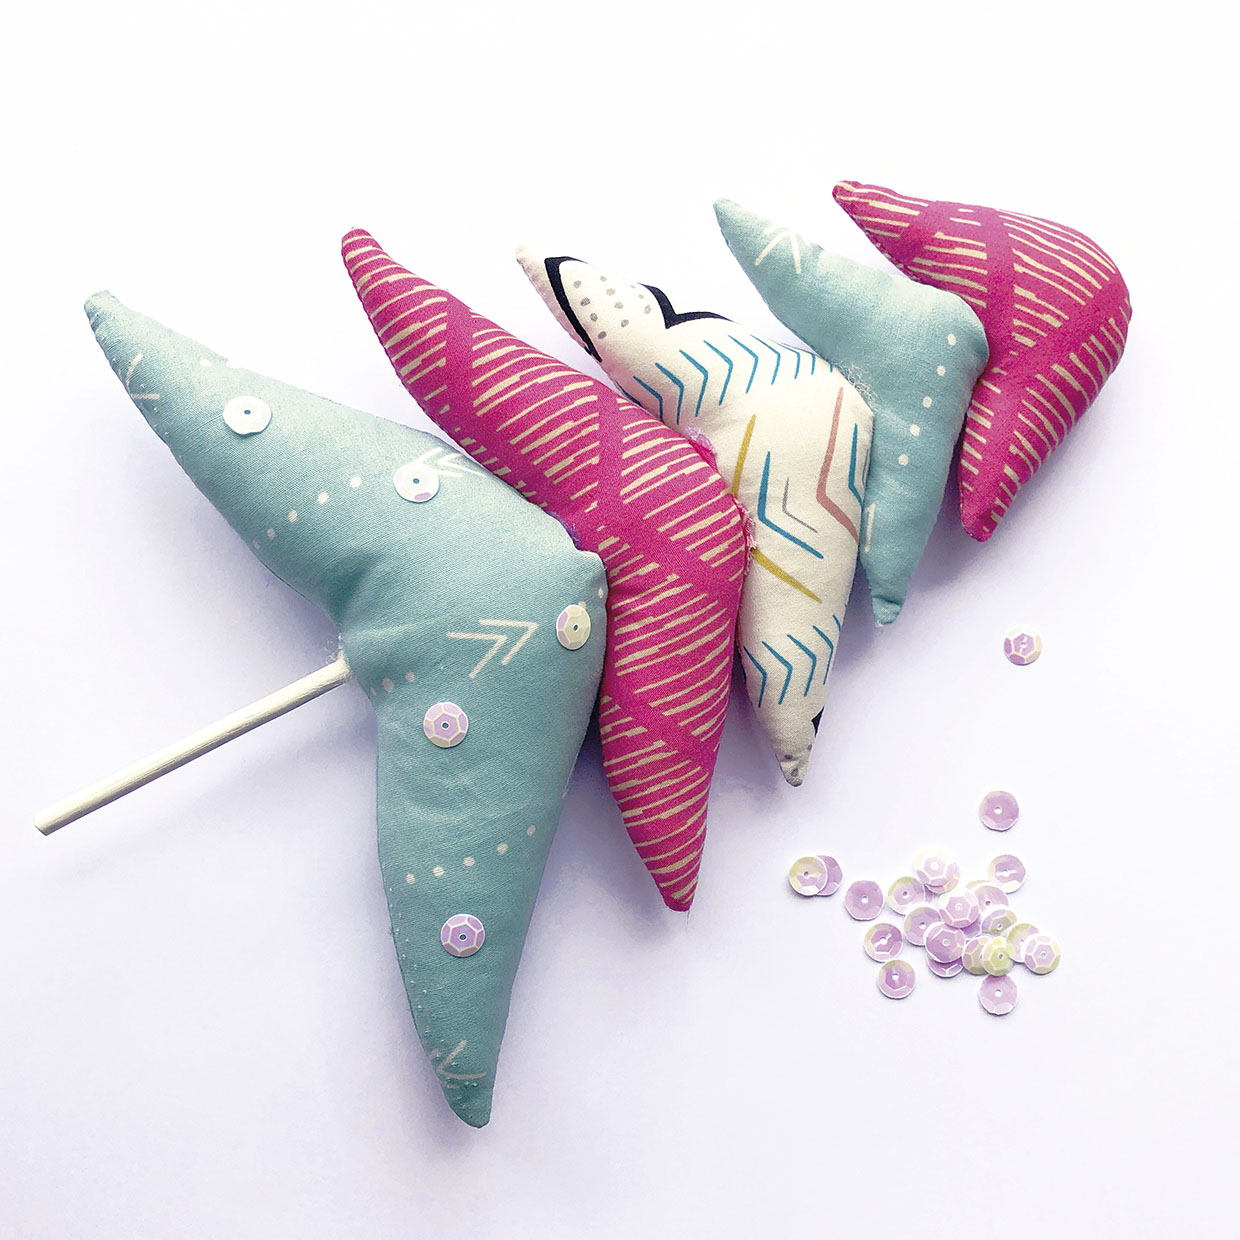
Attach the sequins onto the tree as baubles by hand-sewing or using a glue gun.
Step 2
Insert the bottom of the bamboo skewer into the hole in the wooden base. Push it in firmly to ensure the tree is stable.


