You will need
- Men’s dress shirt
- Elastic: 2.5cm (1in) width x 1 metre (1 yard)
- Basic sewing kit
Cutting out
Step 1
Lay your shirt down flat with the front side up and press it so that it lies flat and the side seams are right on the edges.
Step 2
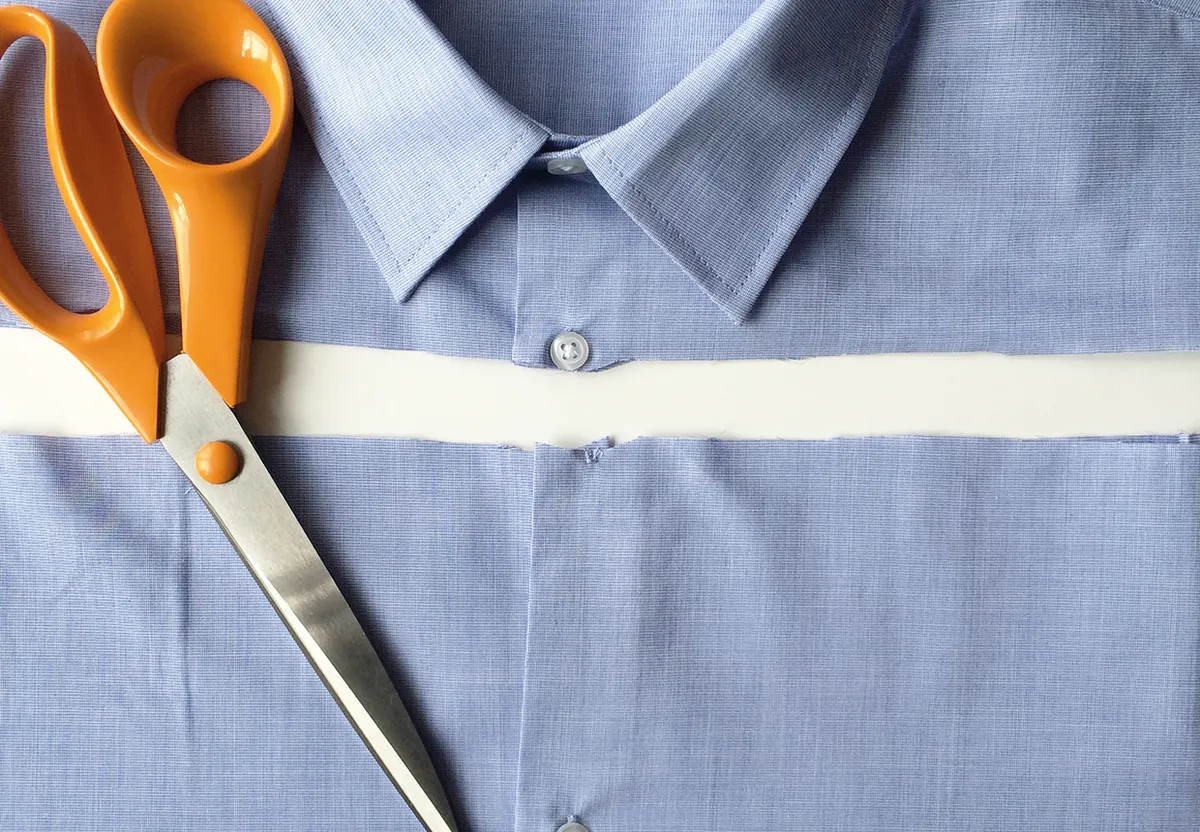
Measure and mark a straight line just under the collar of the shirt that reaches from shoulder to shoulder.
Step 3
Pin either side of this line just to keep the shirt front and back held together in the same position while you cut.
Step 4
Cut along the marked line then discard the collar and shoulder tops.

Making the casing
Step 5
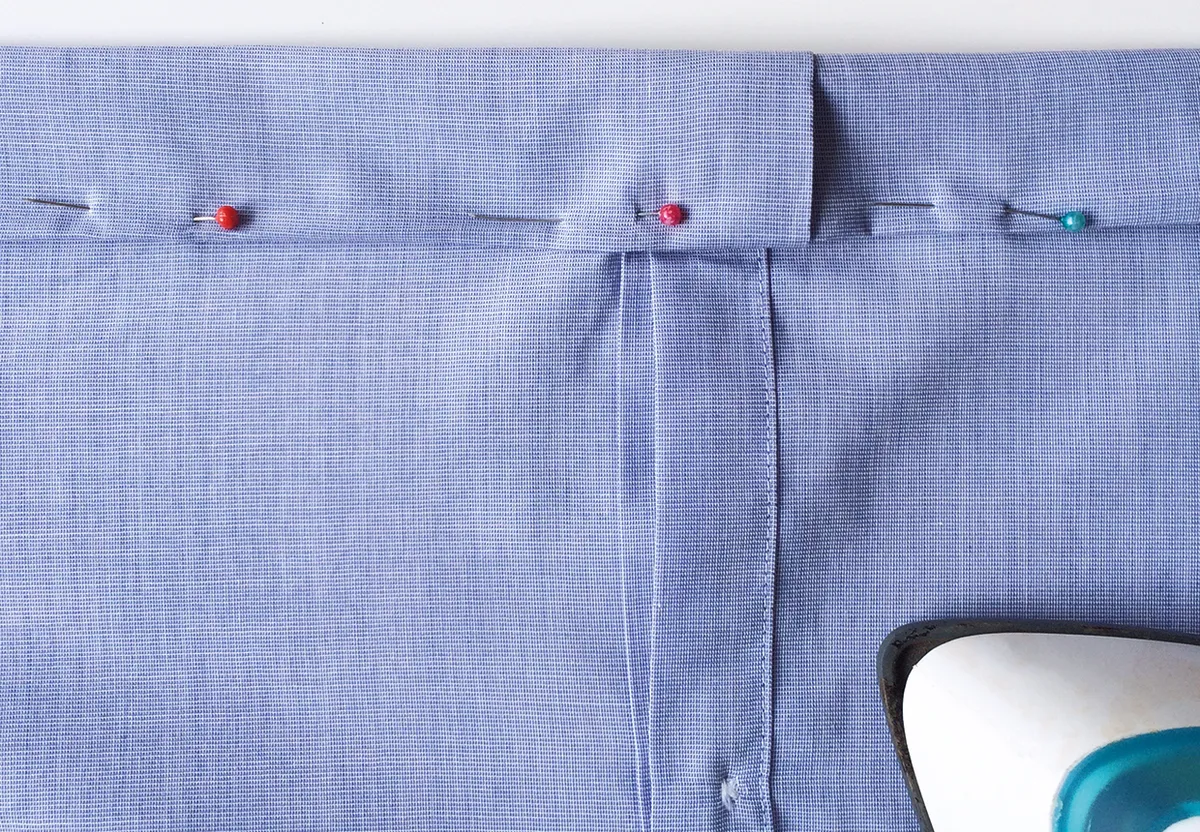
Fold the cut raw edge over by 2.5cm (1in) to the wrong side (WS) then 2.5cm (1in) again to make a double hem. This also forms the casing for the elastic.
Step 6
Pin then press the casing into place.

Step 7
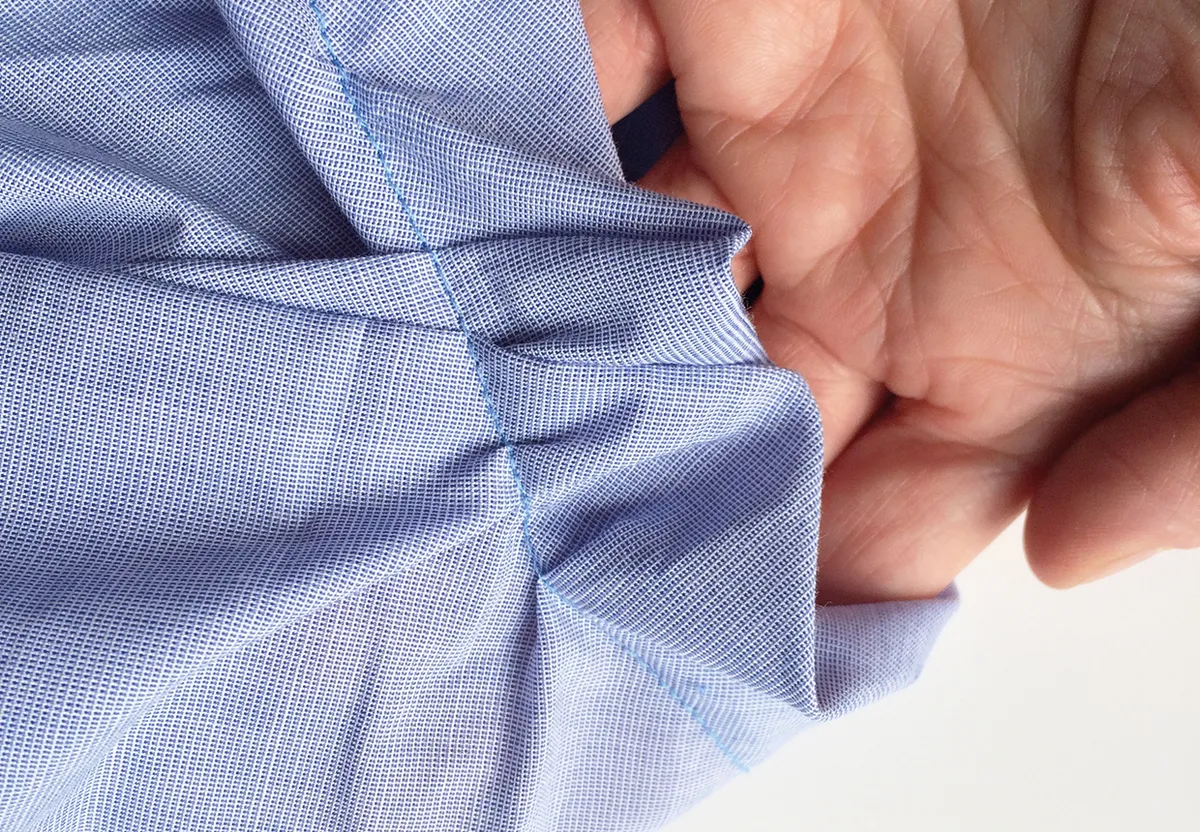
When you press the casing under the sleeve and shoulder area where the angles are sharp, gather the fabric rather than try to match it up perfectly. Once the elastic is inserted you won’t notice the gathering.
Step 8
Stitch the casing in place close to the bottom edge but starting and finishing in the centre at the back of the shirt. You need to leave a 5cm (2in) opening at the back to feed the elastic through.

Adding the elastic
Step 9
Place the elastic around your shoulders to measure the length you need. You want it to be quite tight – tight enough to hold the top up – but comfortable, too. Add 2.5cm (1in) extra to this for joining the elastic.
Step 10
Attach a safety pin to the end of the elastic. Feed it through the opening in the casing and all the way around until it comes out the other side then remove the safety pin.
Step 11
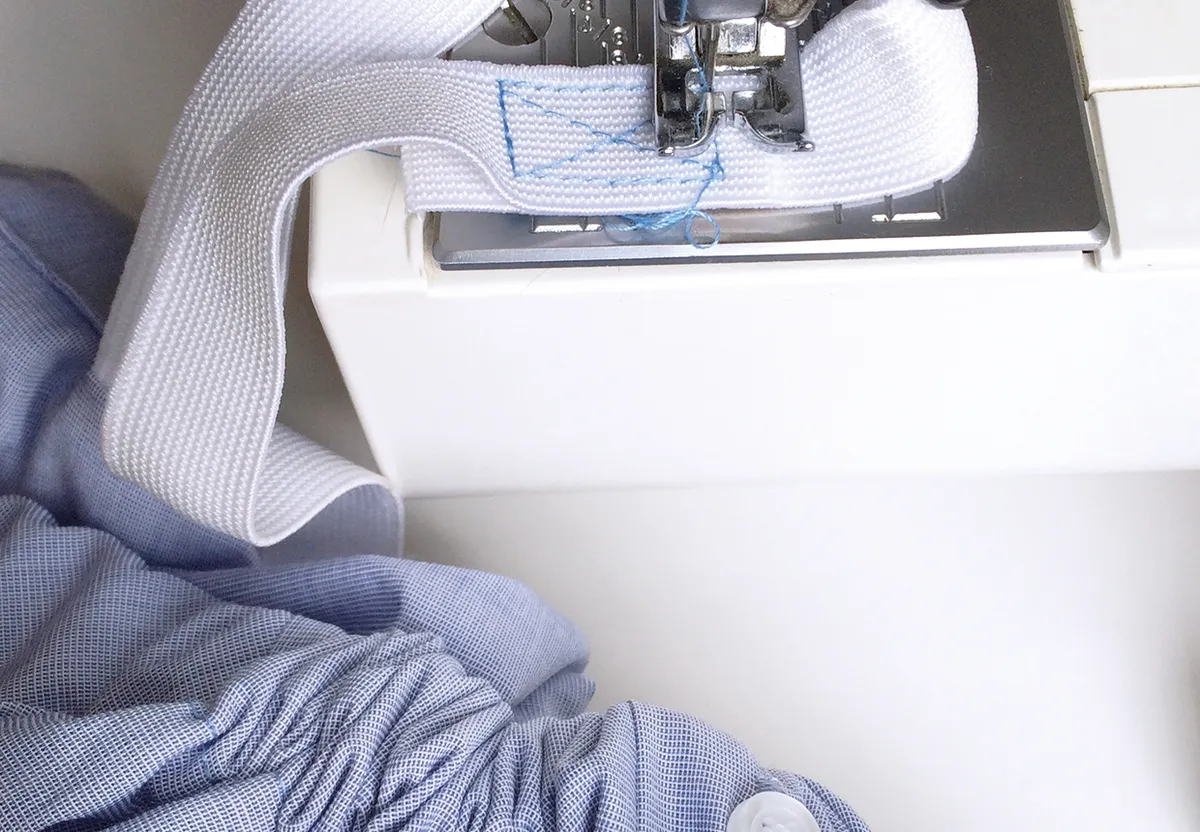
Overlap the ends of the elastic by 2.5cm (1in) and stitch them together by working a square with a cross inside to hold them securely.

Step 12
Push the ends of the elastic back into the gap in the casing.
Step 13
Pin the opening closed then slip stitch it by hand to finish.

