Stitch our dog coat pattern for your four-legged friend!

Stitch our dog coat pattern for your four-legged friend!

Keep your dog warm on winter walks with Debbie Humphreys' cosy reversible dog coat pattern, with a secure webbing strap to keep your pup snug. They’ll be the most stylish pooch in the park!

Try 3 issues of Simply Sewing magazine for £10!

Published: October 11, 2021 at 6:00 am

Does your dog feel the cold? This dog coat sewing pattern will help them to keep toasty all winter long! In this sewing tutorial, we'll show you how to make dog coat step by step.

If you don't have a dog of your own, this free dog coat pattern would make a wonderful gift – especially for a new dog owner! Why not make it for Christmas?

You'll need to measure the dog's tummy to get the perfect fit! Look for cosy fabrics to help your precious pooch stay warm throughout the colder months.

This pattern designed by Debbie Humphreys was originally created for Simply Sewing Magazine. Simply Sewing Magazine is filled with creative projects to sew for sewers of all abilities, plus lots of sewing expertise to help you develop your skills. Debbie Humphreys is a keen sewer who started making dog coats after becoming frustrated that she was unable to find one to fit her whippet.

Looking for more patterns to sew for your dog? Have a go at making our DIY dog bed or try our dog doorstop pattern.

If you're new to sewing, we'd recommend taking a look at our expert guides for lots of tips and inspiration. Check out our sewing for beginners, how to use a sewing machine and the best sewing machines for beginners guides. Plus you can explore our sewing kits for beginners to find the sewing supplies you need.

Read on to learn how to make a dog coat with our free dog coat pattern…

How to make a dog coat

Notes

Sizing

  • Small: Neck 38cms (15in). Chest 38-41cm (15-16in). Length from neck to top of tail 33cm (13in).
  • Medium: Neck 42cm (16½in). Chest 46-50cm (18-20in).
  • Length from neck to top of tail 40cm (15½in).
You will need:

  • Main fabric (50x90cm (20x35in))
  • Lining fabric (25x150cm (10x60in))
  • Webbing (measure your dog’s tummy, and add 10cm (4in) for overlap) (60-100cm (24-39in))
  • Bias binding (180-250cm (71-98in))
  • Basic sewing kit

Cutting out

Step 1

Measure your dog then trace around and cut out the pattern to the required size (As a guide: ‘Small’ should fit a dog the size of a Border terrier and ‘Medium’ should fit a larger Boston terrier.)

Step 2

Fold the main fabric in half right sides (RS) together. Pin the pattern to it and cut around it to make one pair of pieces.

Step 3

Repeat this to cut one pair of pieces from the lining fabric.

Step 4

Cut two 4.5cmx11cm (1×358in) strips from both the main fabric and the lining fabric for the webbing strap loop.

Assembling the coat

Step 1

Stitch the two main pieces RS together along the centre back seam.

Step 2

Working from the RS, topstitch 1cm (38in) either side of the seam.

Step 3

Repeat this to join the two lining pieces together and topstitch.

Step 4

Place the main fabric and lining fabric wrong sides (WS) together, matching at the seams. Sew all the way around just 5mm (¼in) from the edge to hold them in place before you attach the binding.

Binding the edges

Step 1

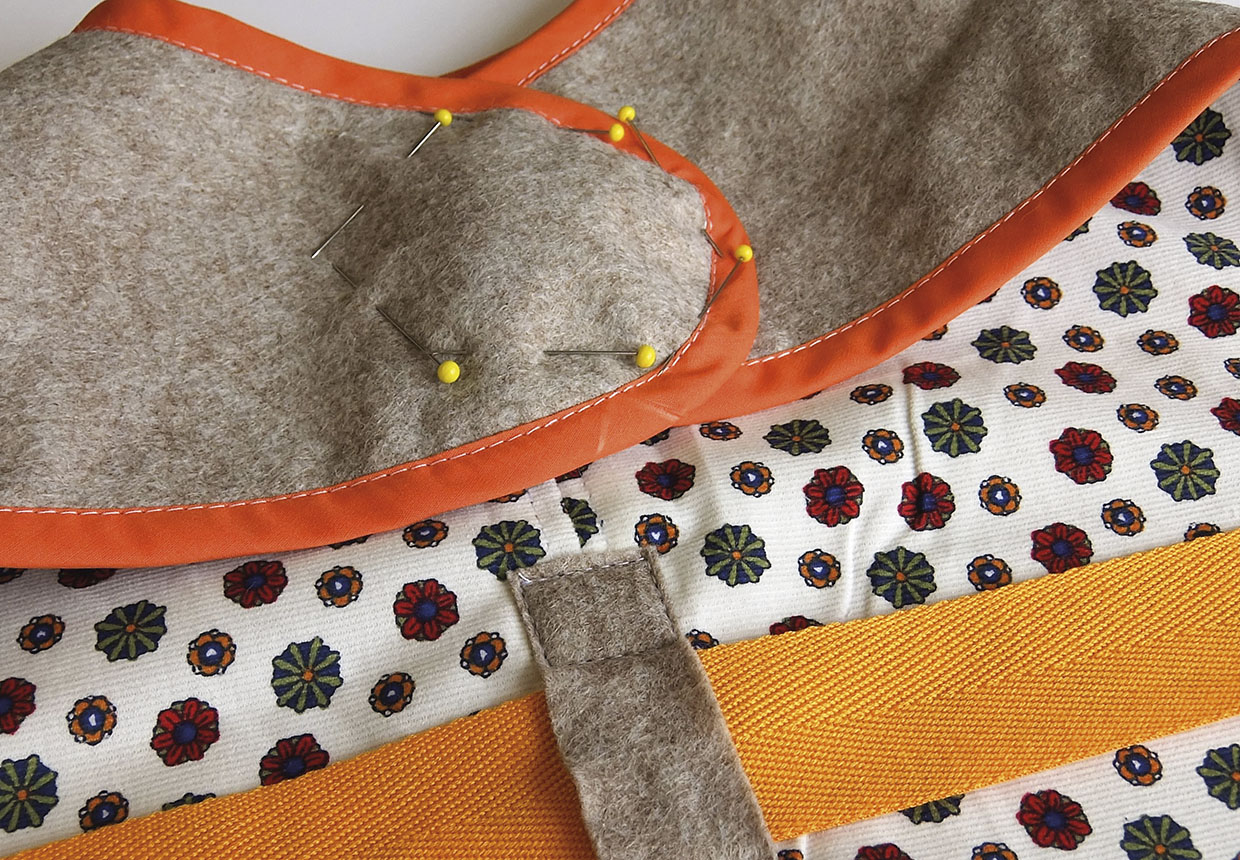
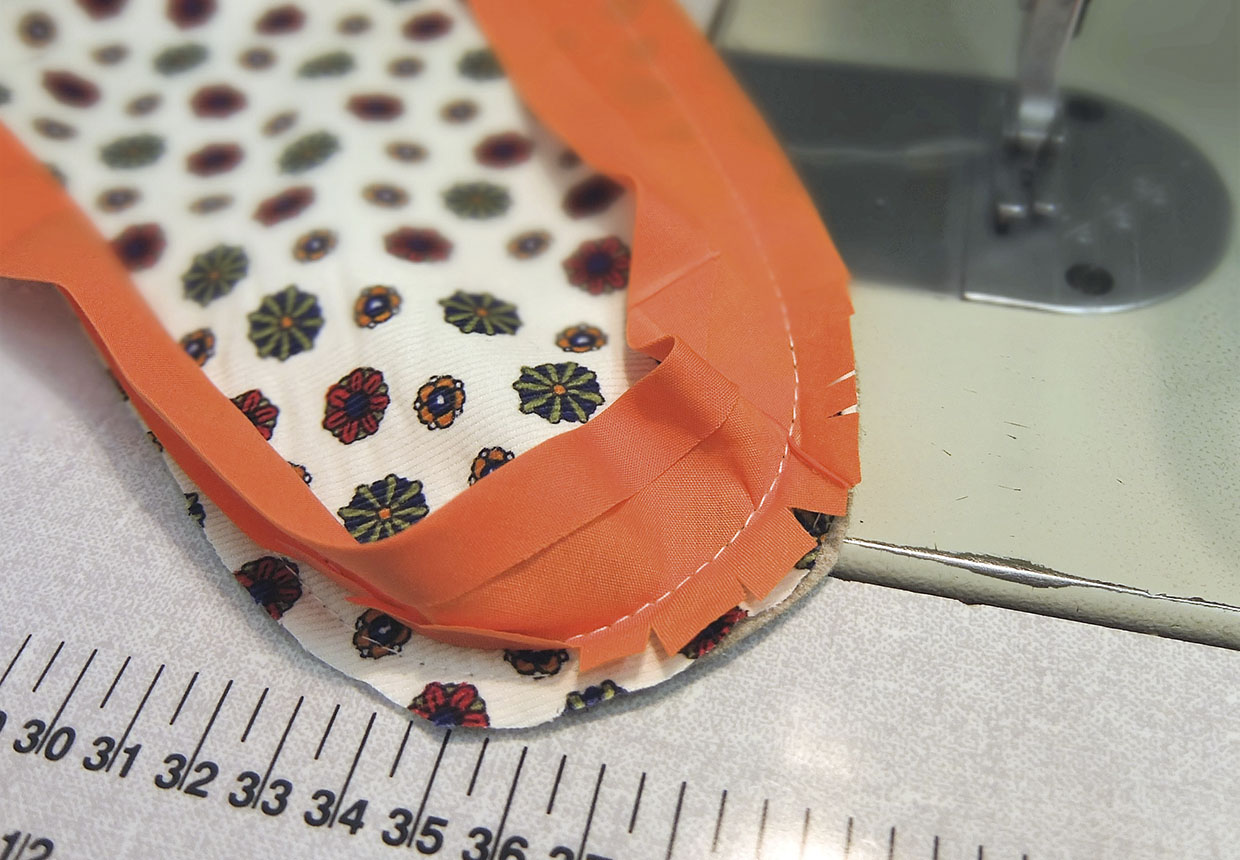
Open out one folded long edge of the binding then place it RS together with the lining fabric side, starting at the centre back seam. Pin in place all the way around and snip the binding around the curves so it lays flat.

Step 2

Start stitching 5cm (2in) from the short end and stitch the binding in place all the way around along the opened out fold of the binding.

Dog coat pattern step 1

Step 3

Stop stitching when you get to 5cm (2in) from where you began.

Step 4

Join both ends of the bias RS together, measuring and trimming so that it will fit exactly across the gap.

Step 5

Repin this section of the binding to the edge of the coat and stitch in place.

Step 6

Fold the binding over to to the main fabric side with the long edge folded under.

Step 7

Neatly topstitch the binding in place close to the edge.

Attaching the strap loop

Step 1

Try the coat on your dog and overlap then pin the centre fronts together so that it will easily slip over your dog’s head. Also mark the centre on the coat central seam where the strap will best fit around the tummy.

Step 2

Take the two strips you cut from the main fabric and place them RS together. Stitch all the way around, leaving a turning gap.

Step 3

Turn the strips RS out, turn the edges of the turning gap to the inside and press then slip stitch the gap closed to make the strap loop.

Step 4

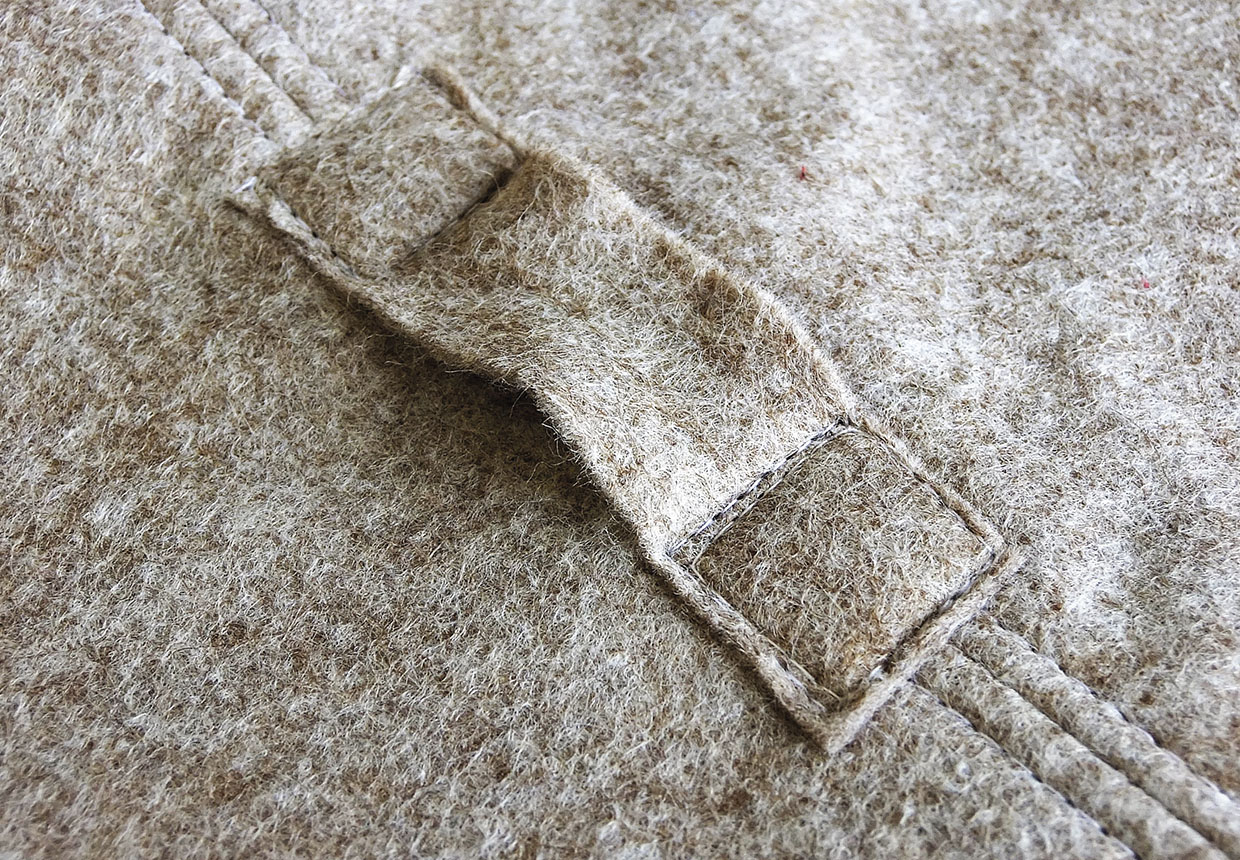
Pin the strap loop to the centre of the main fabric seam in the position you marked so that it runs lengthways. Stitch this into place with a square with a cross in it at either end, leaving a gap between the ends for the webbing to slip through.

Dog coat pattern step 2

Step 5

Repeat this to make a strap loop from the lining fabric strips then attach them to the lining side of the coat in the same way so that you can reverse the coat.

Joining the front

Step 1

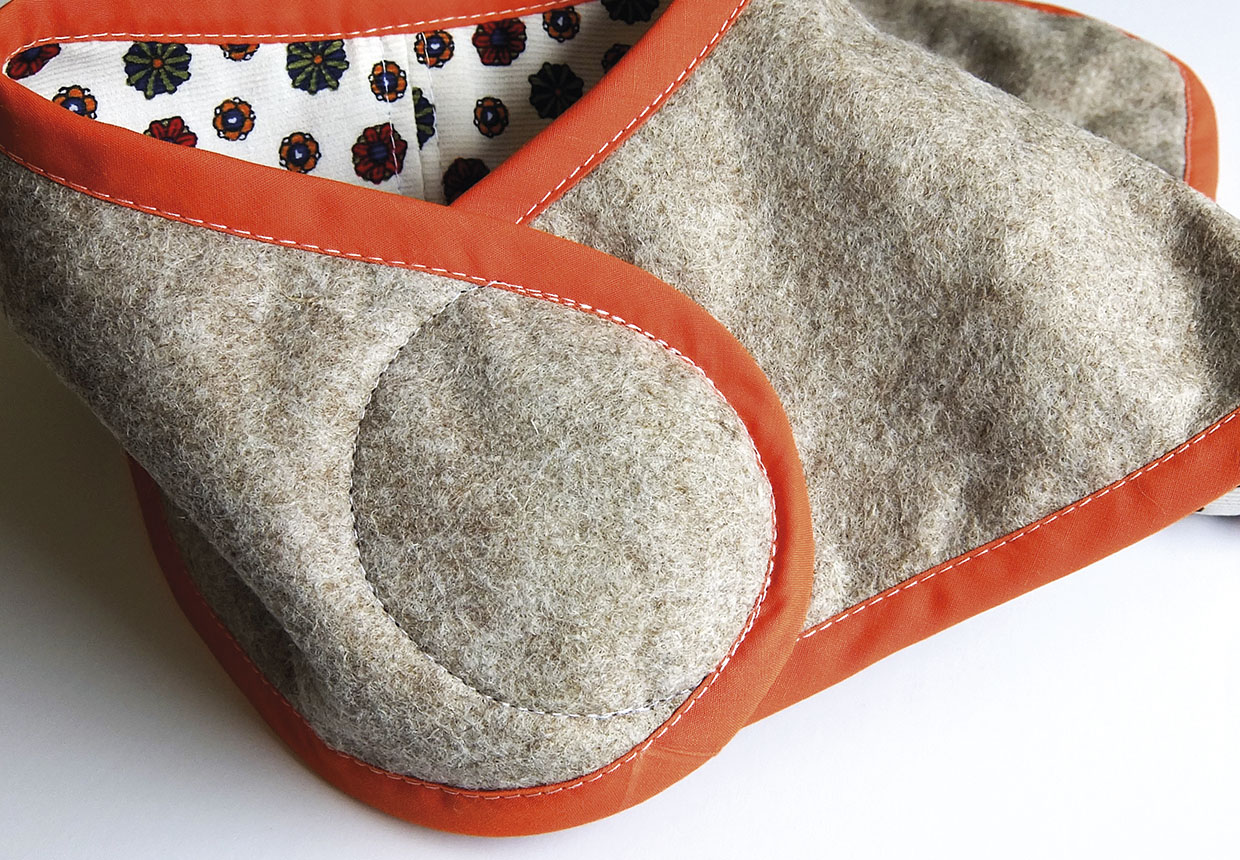
Pin then tack the centre front panels so they overlap in place.

Dog coat pattern step 3

Step 2

Topstitch these panels together.

Dog coat pattern step 4

Attaching the strap

Step 1

Try the coat on your dog. Thread the webbing for the strap through the strip in the centre seam and around your dog’s tummy.

Step 2

Pin the webbing together where it fits comfortably, with a 3cm (1¼in) overlap.

Step 3

Take the coat off your dog and finish the strap by sewing the loop side of the Velcro to one side, and the hook side to the other so that it will fit securely.

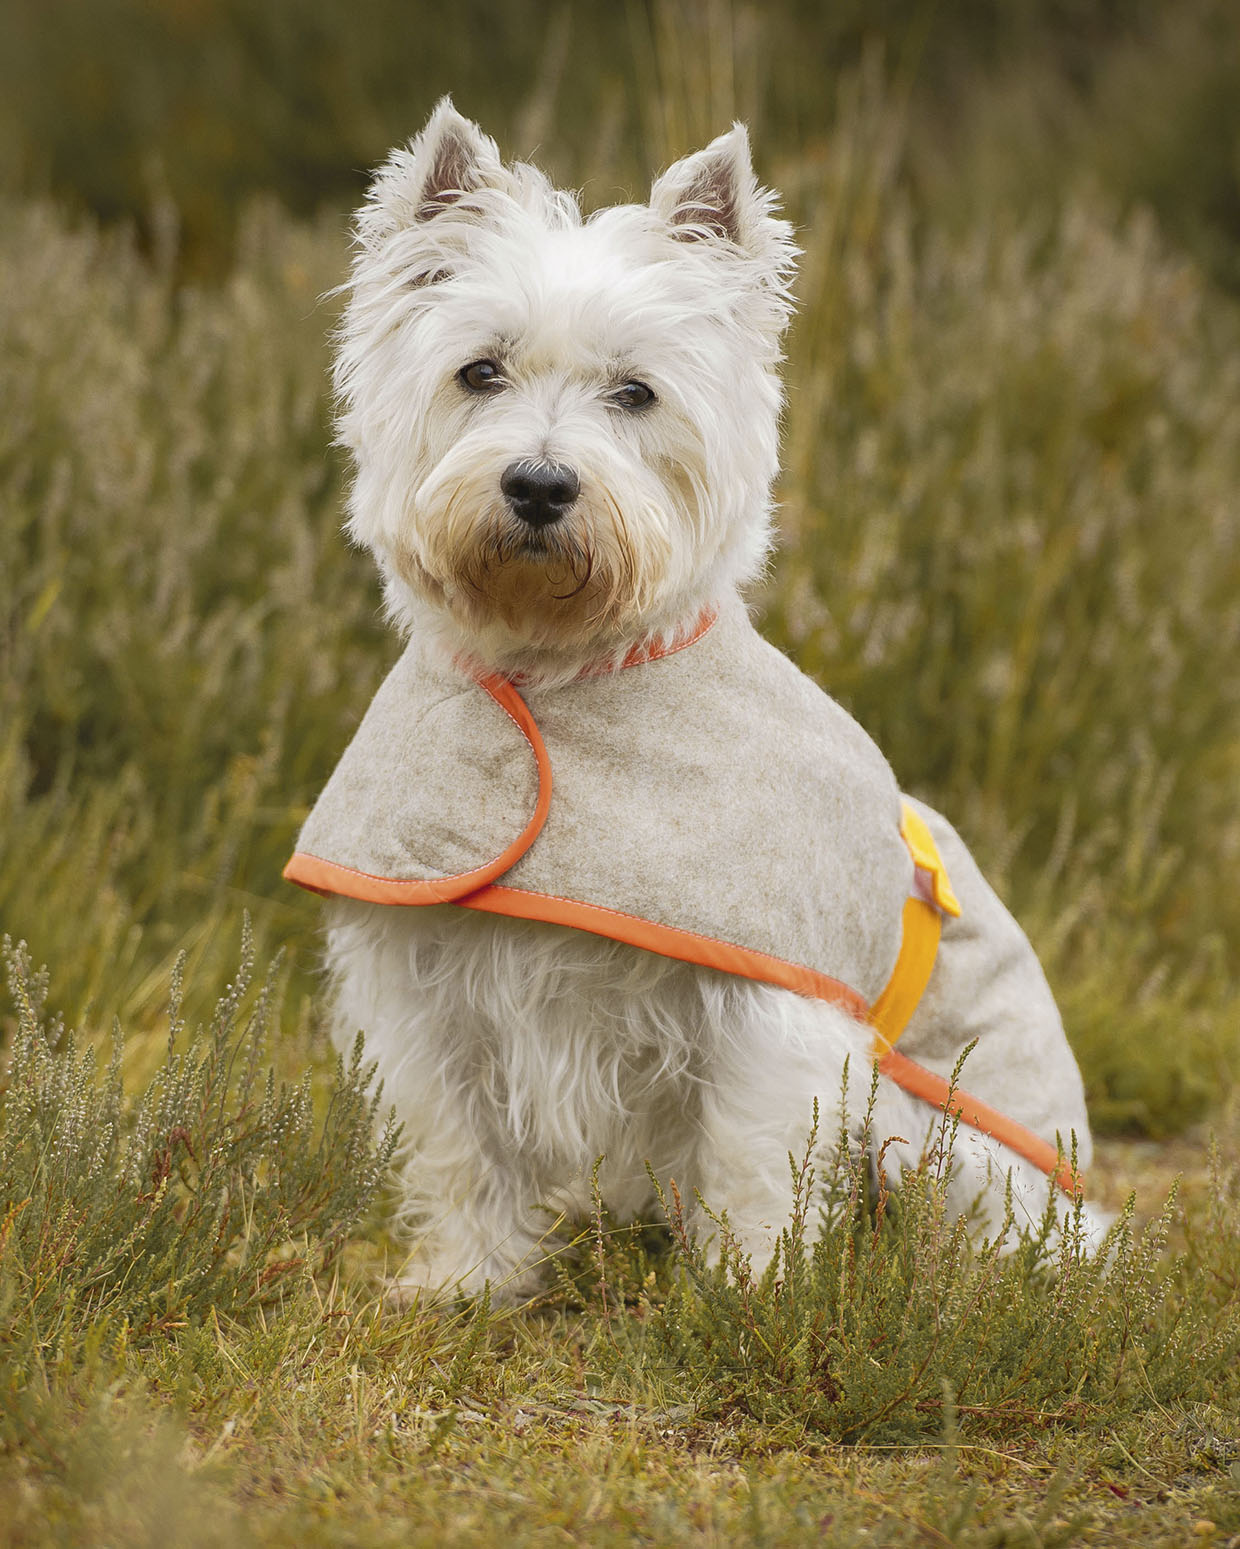
You’re all done! Use this cool dog coat pattern to help your canine pal stay warm all winter!

Dog coat pattern