Cutting out
Step 1
Cut out a 23cm (91⁄8in) diameter circle from paper to make the base template.
Step 2
Cut the main fabric as follows:
- Outer base: one circle using the template.
- Outer body: 36x72cm (141⁄8x283⁄8in).
- Strap binding: 7x7cm (2¾x2¾in).
Step 3
Cut the contrast fabric as follows:
- Outer eyelet band: 10x72cm (4×283⁄8in).
- Lining base: one circle using the template.
- Lining body: 43x72cm (17×283⁄8in).
- Strap loop: 9x9cm (35⁄8x35⁄8in).
Step 4
Cut the curtain lining as follows:
- Base: one circle using the template.
- Body: 43x72cm (17×283⁄8in).
Making the bag outer
Step 1
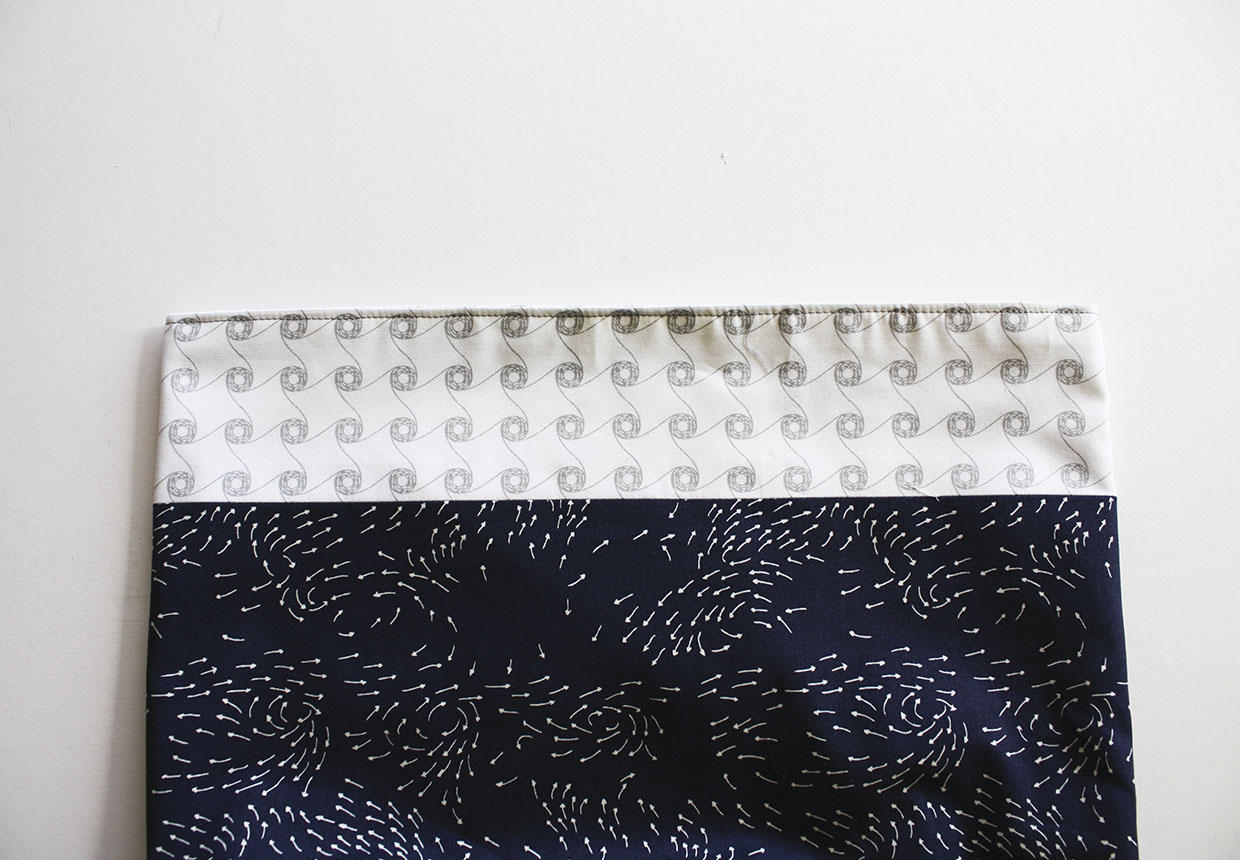
Place the bottom long edge of the outer eyelet band right sides (RS) together with the top long edge of the outer body and stitch together. Press the seam open.
Step 2
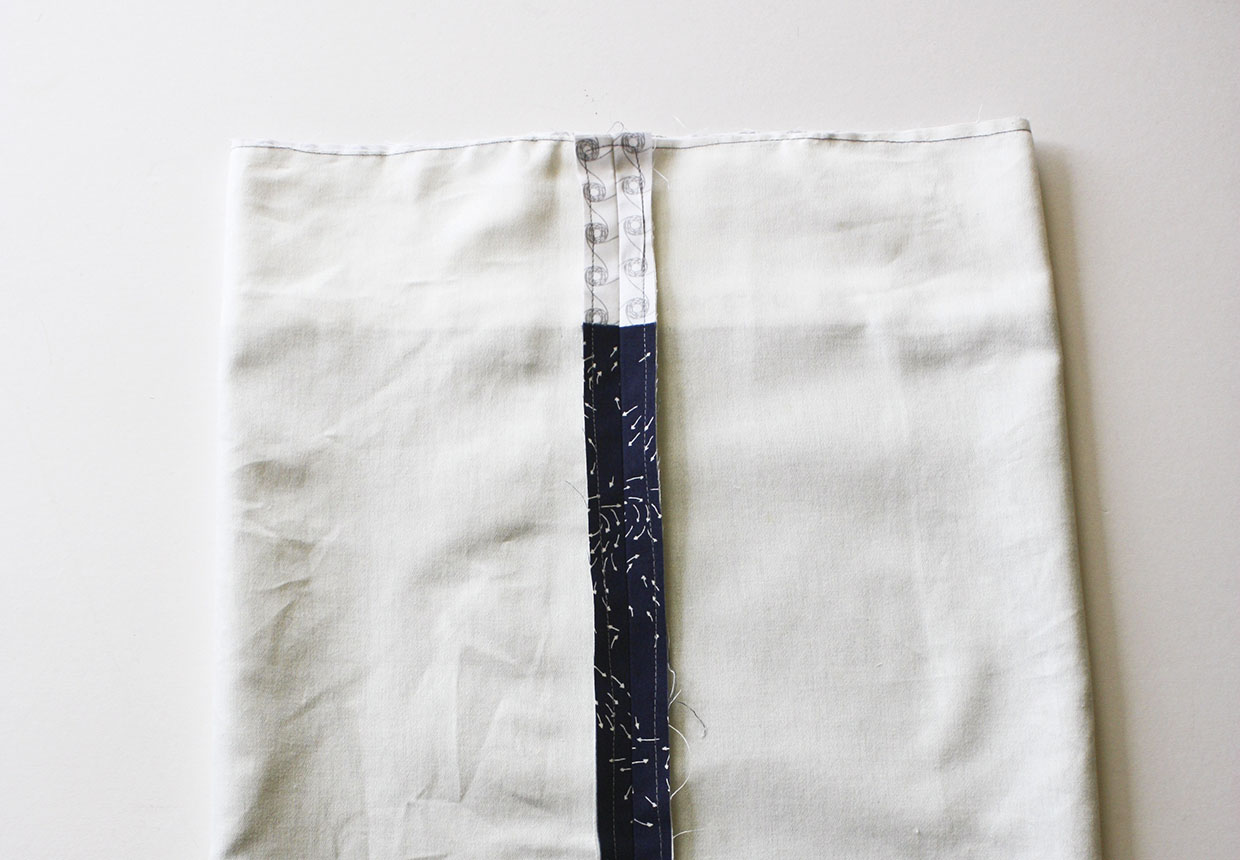
Place the joined outer body wrong sides (WS) together with the curtain lining body and stitch together all the way around the edge just 5mm (¼in) from the raw edges so this stitching won’t be seen later.
Step 3
Fold this joined piece in half widthways then stitch together down the side to make a tube. Press the seam open.
Attaching the strap loop and base
Step 1
Fold the strap loop in half RS together and stitch down the length. Turn RS out, press and fold in half widthways, pinning the raw edges together.
Step 2
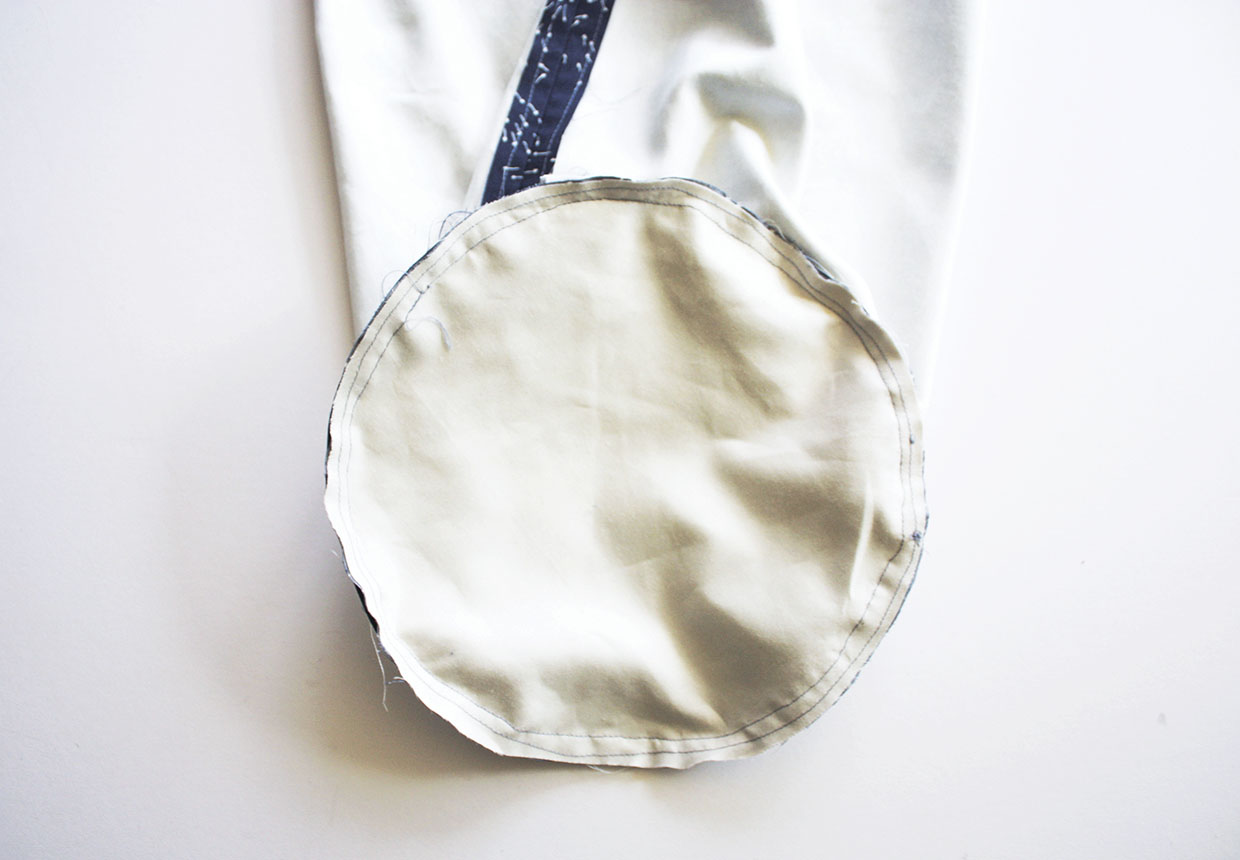
Place the base outer and curtain lining base WS facing and stitch together all the way around.
Step 3
Fold to mark the quarter points of the bottom edge of the outer body with pins.
Step 4
Fold to mark the quarter points of the outer base circle with pins.
Step 5
Matching the quarter points of the bag outer and bag base, pin the two RS together all the way around.
Step 6
Place the strap loop between the body and base, centred on the side seam and matching raw edges, then pin into place.
Step 7
Stitch the outer body and outer base together, enclosing the strap loop.
Lining the bag
Step 1
Make the bag lining in exactly the same way as the bag outer but leave a 10cm (4in) turning gap in the centre.
Step 2
Place the lining inside the outer RS together and match up the side seams. Stitch together all the way around the top edge.
Step 3
Turn the bag outer RS out through the gap in the lining then slip stitch closed.
Step 4
Push the lining inside the bag and topstitch around the top edge.
Adding the eyelets and rope
Step 1
The eyelets are inserted into the centre of the eyelet band and through the lining and spaced evenly apart. Make sure the bag’s side seam is placed centrally between two of the eyelets. Measure carefully and insert pins at the positions you want them.
Step 2
Follow the instructions on the packet of eyelets to cut the fabric and hammer them into place.
Step 3
Thread the length of rope in and out of the eyelets, starting and finishing on either side of the side seam.
Step 4
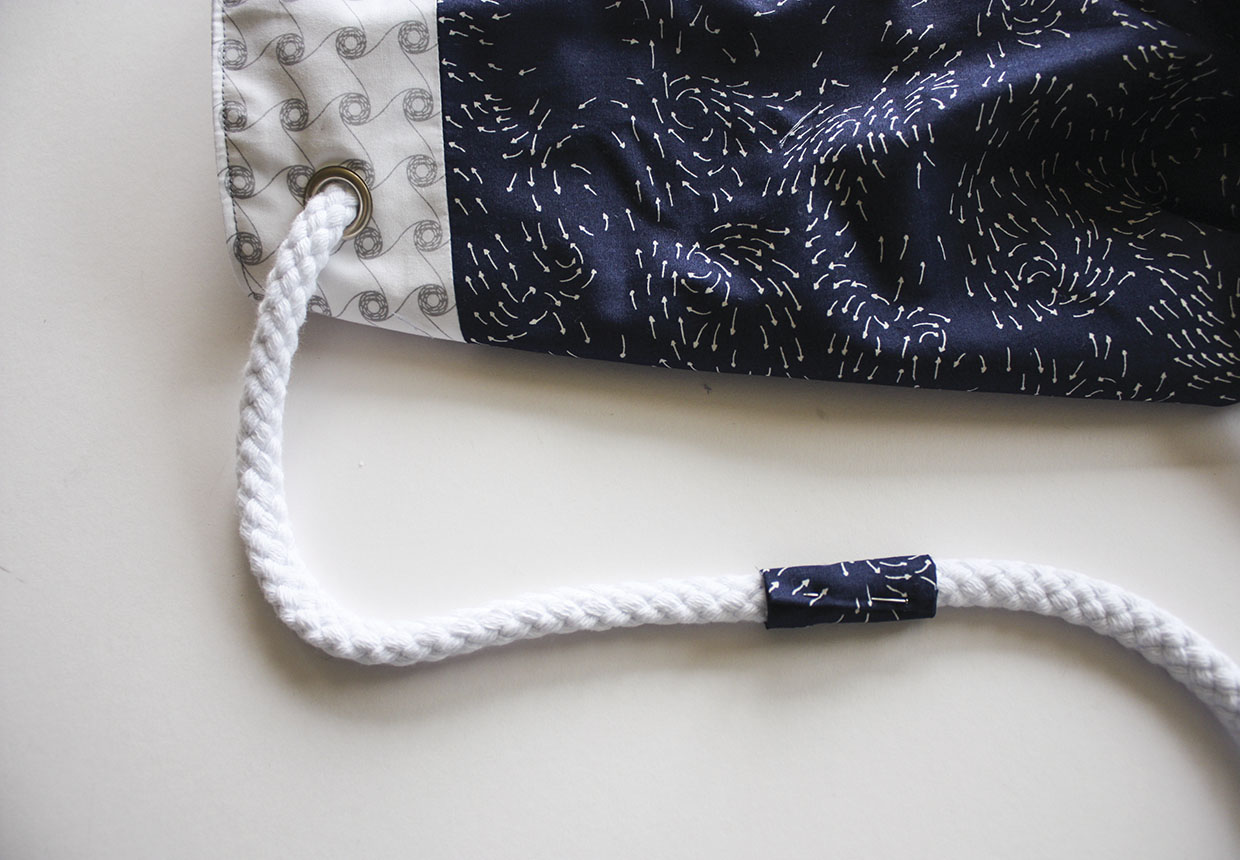
Take one end of the rope down through the strap loop at the base of the bag. Overlap the two rope ends by 4cm (15⁄8in) and stitch securely together by oversewing.
Step 5
Turn three edges of the strap binding under by 1cm (3⁄8in) to the WS and press. Fold this around the overlapped rope ends with the turned-under end on top of the raw ends. Slip stitch into place to secure and hold the rope ends neatly together.
