Step 1
When cutting out the templates, you may prefer to fold over the felt and cut two at once, as felt is much easier to cut on the double.
Step 2
Sew little dashes over the red semi-circle using the pale yellow thread to create the seeds.
Step 3
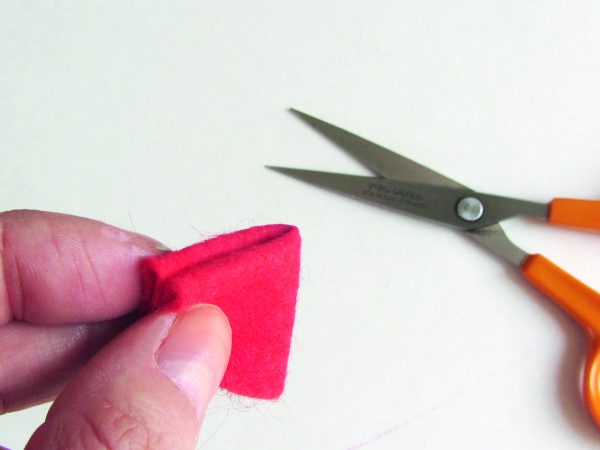
Next, fold the semi-circle in half along the straight edge, right sides (RS) together, to make a pizza wedge shape. Machine or hand sew the straight edge to make a cone shape. Turn RS out.
Step 4
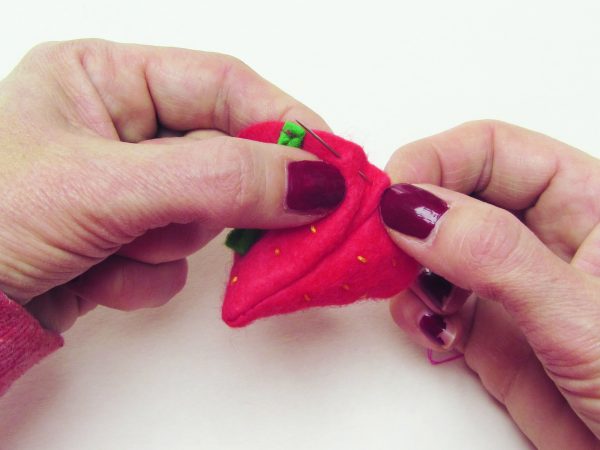
Sew a line of running stitch along the top of your strawberry shape using red thread. Do not fasten off. Stuff your shape while leaving it threaded up, being sure to get right into the pointed tip of the strawberry.
Step 5
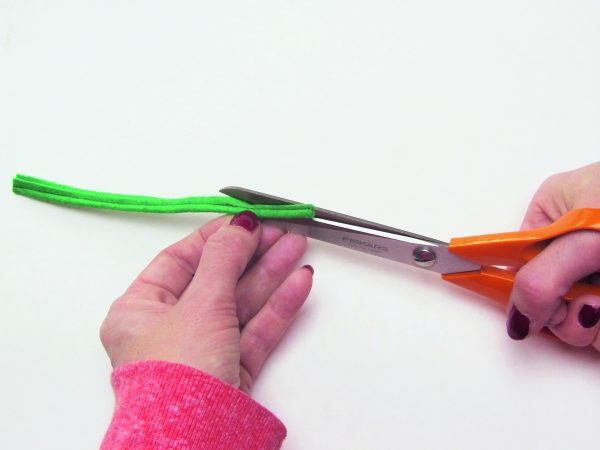
Set this aside to make the stem. Fold the green felt along the length and, using green thread, machine or hand sew a line down as close to the fold as possible. Sewing a long line in one single go is easier than sewing each stem piece individually.
Step 6
Trim along the green line of stitching to make a thinner piece for the stems. Cut a piece off around 4cm (15/8“) long and dab a little fabric glue on one end. Pop this end into the middle of the strawberry shape and stuffing. Leave to dry for a few minutes.
Step 7
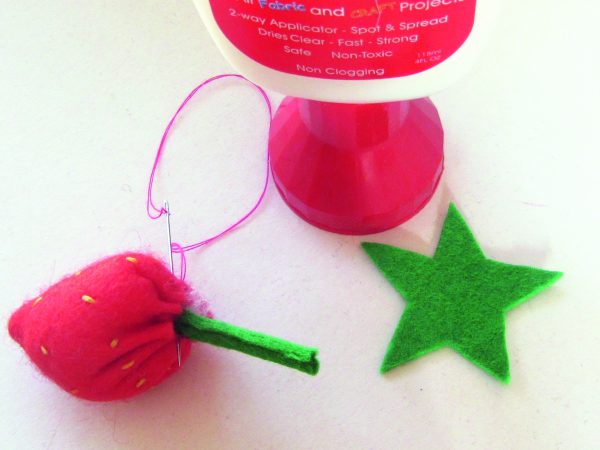
Once dry, gather the top of the strawberry together tightly, shaping it as you go. Fasten off the threads, then sew back and forth through the stem and gathers to ensure a good closure. Take your little green felt ‘star’ shape and make a small nick in the centre with a sharp pair of scissors. Push the stem through this hole and secure the cap with a few stitches or fabric glue.


