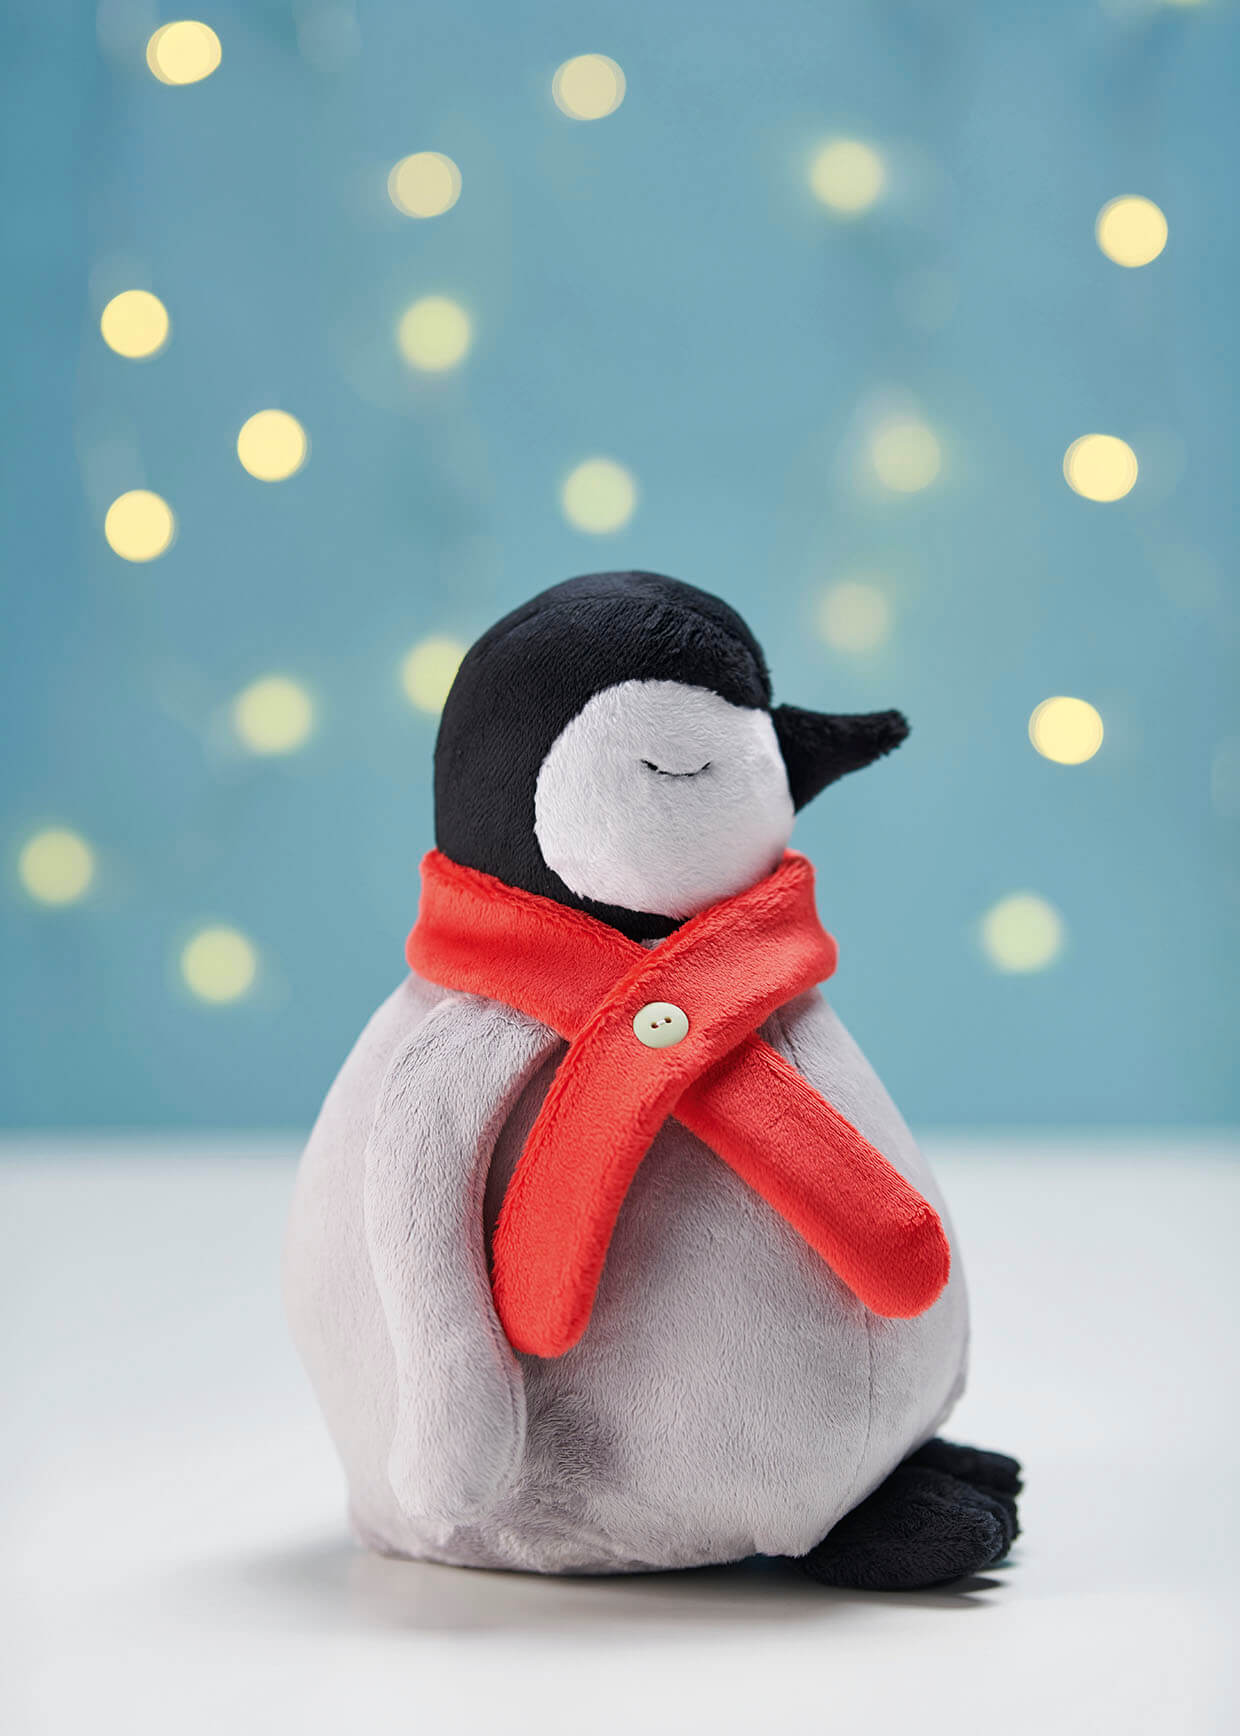
Cutting out your penguin shapes
Step 1
Download the penguin templates, then print and cut them out.
Step 2
Place and pin the pattern pieces onto the WS (wrong side) of the fabrics and draw around them. Cut out as follows and transfer all markings as indicated on the pattern templates.
Step 3
From the grey plush, cut:
- Side Body: one pair
- Front Body: one
- Base: one Wing: two pairs
Step 4
From the black plush, cut:
- Head Gusset: one
- Side Head: one pair
- Foot: two pairs
- Beak: one pair
Step 5
From the white plush, cut:
Step 6
From the red plush, cut:
Bring joy into your home
Is there anything more satisfying than making your own handmade Christmas ornaments? Start your festive crafting with our pick of the best Christmas decorations to sew.
Stitching your penguin’s body together
Step 1
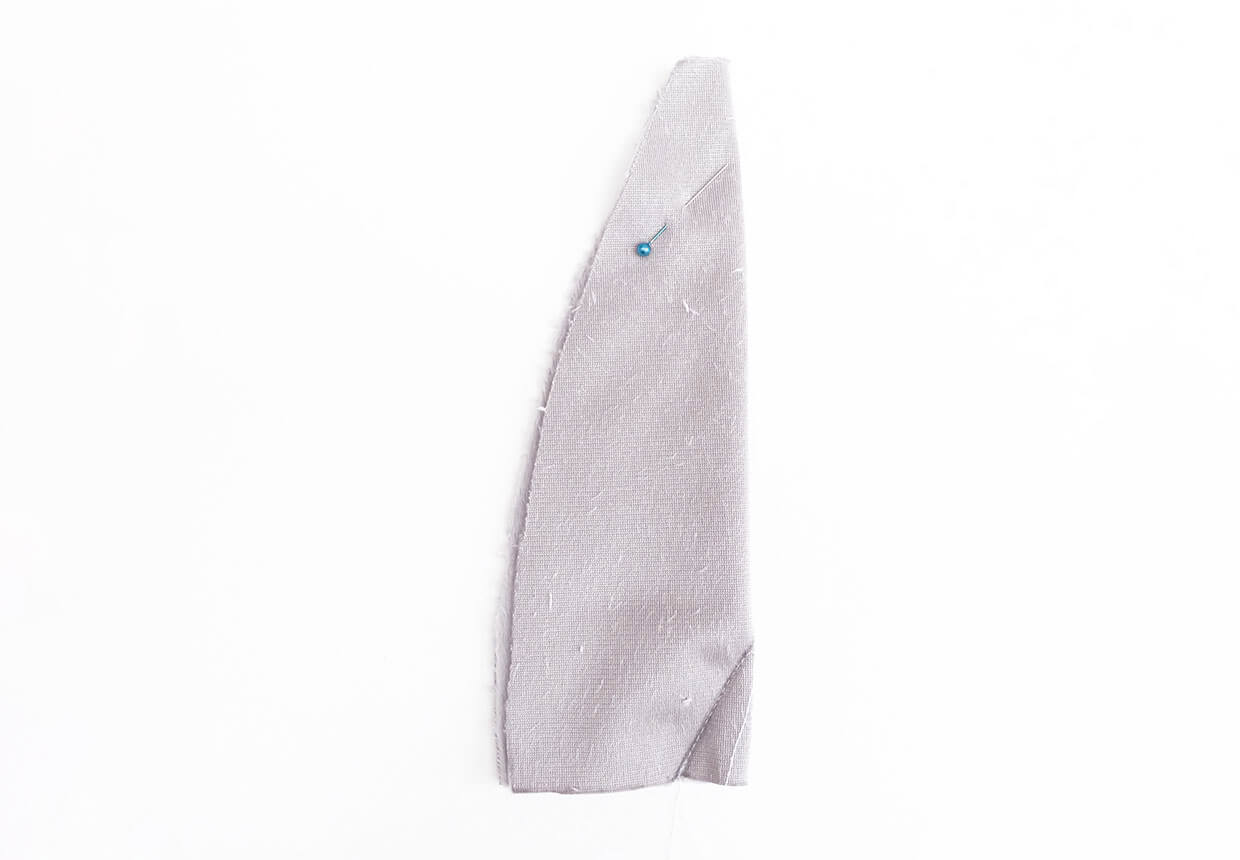
Pin and sew the Front Body dart.
Step 2
Trim the excess fabric from the dart.
Step 3
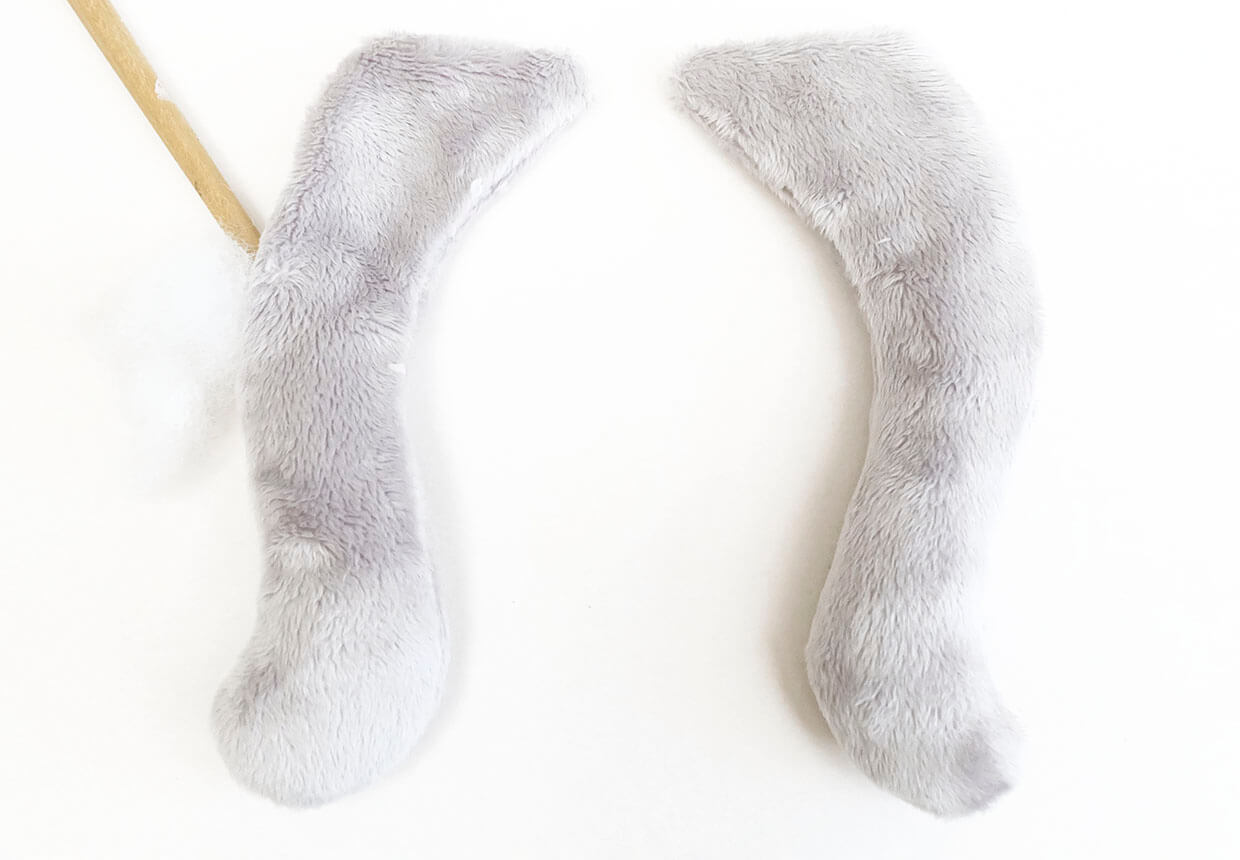
Pin a pair of Wing pieces right side (RS) together and tack. Sew all around, leaving a gap in the outer side for turning. Trim the seams and turn RS out. Repeat for the second wing. Then stuff both wings firmly towards the bottom ends and more lightly in the middle.
Leave around one-third unstuffed towards the top of the wing, so it can flap when sewn on to the body.
Step 4
Ladder stitch the openings closed. Set both aside.
Step 5
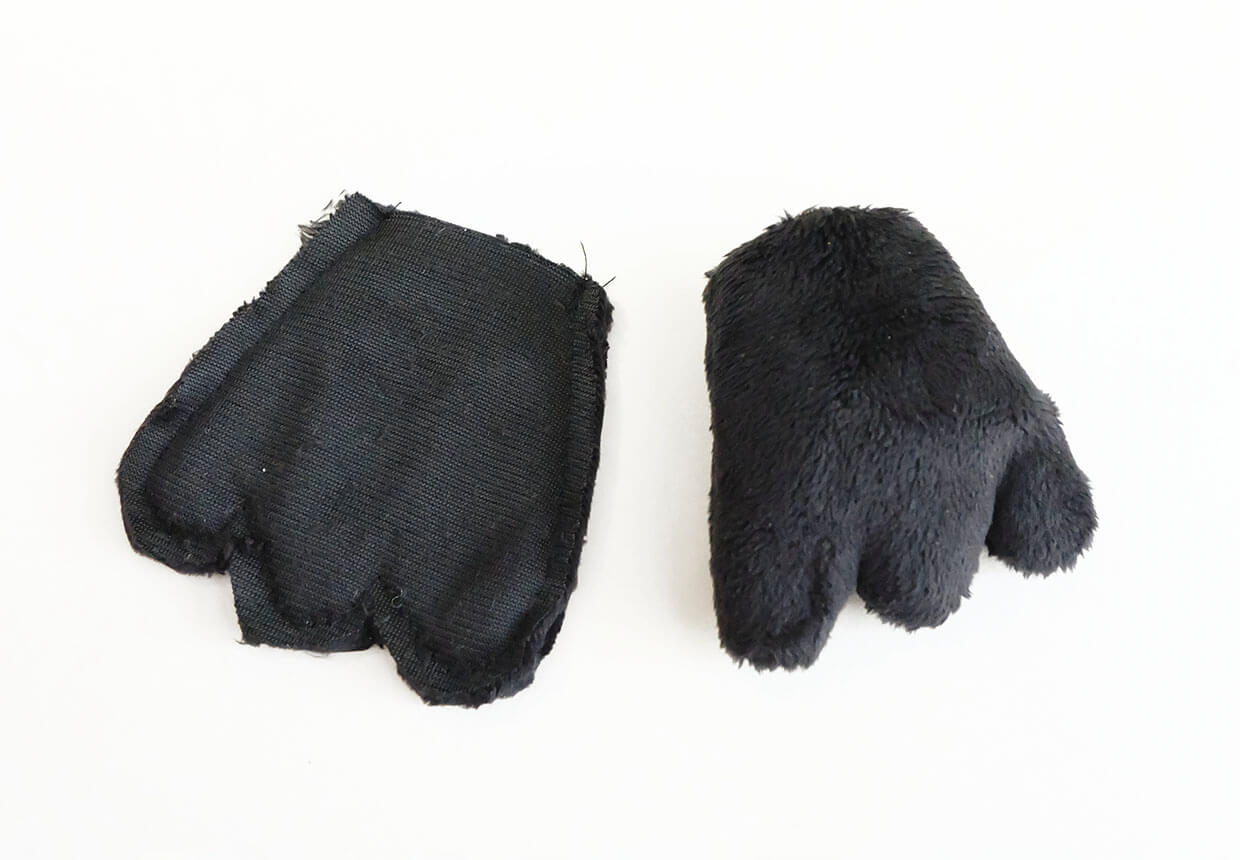
Pin a pair of Foot pieces RS facing, tack and sew. Clip notches in the seam between the toes and turn RS out. Repeat for the other foot. Stuff each foot using a small stick, leaving an area of 1.5cm (⅝in) unstuffed at the open end.
Sew over the open edge quickly to close up the opening and keep the stuffing in place.
Step 6
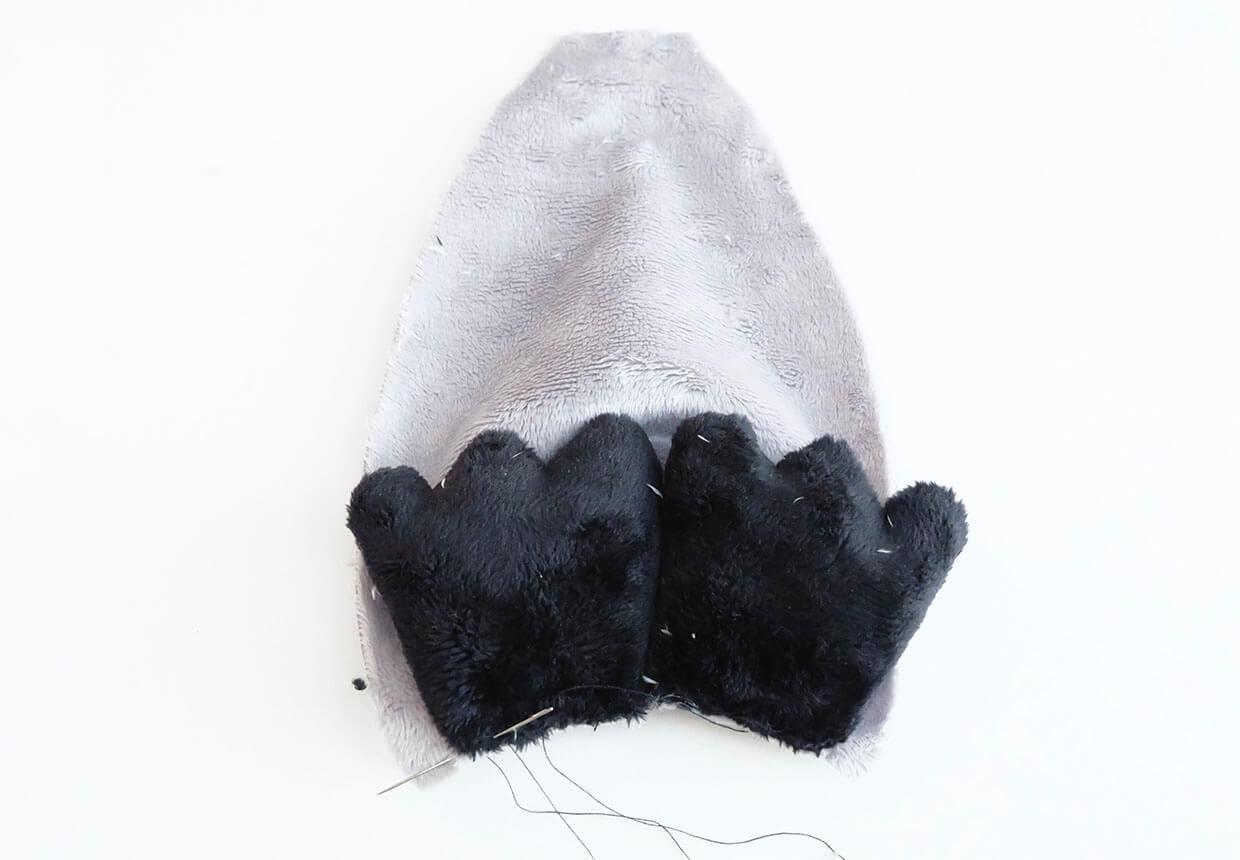
Pin and tack the feet onto the RS of the Front Body piece, laying them next to one another on either side of the dart and facing in towards the body. Use a 3mm (⅛in) seam allowance here, so the stitches won't show later when the body is sewn up.
Step 7
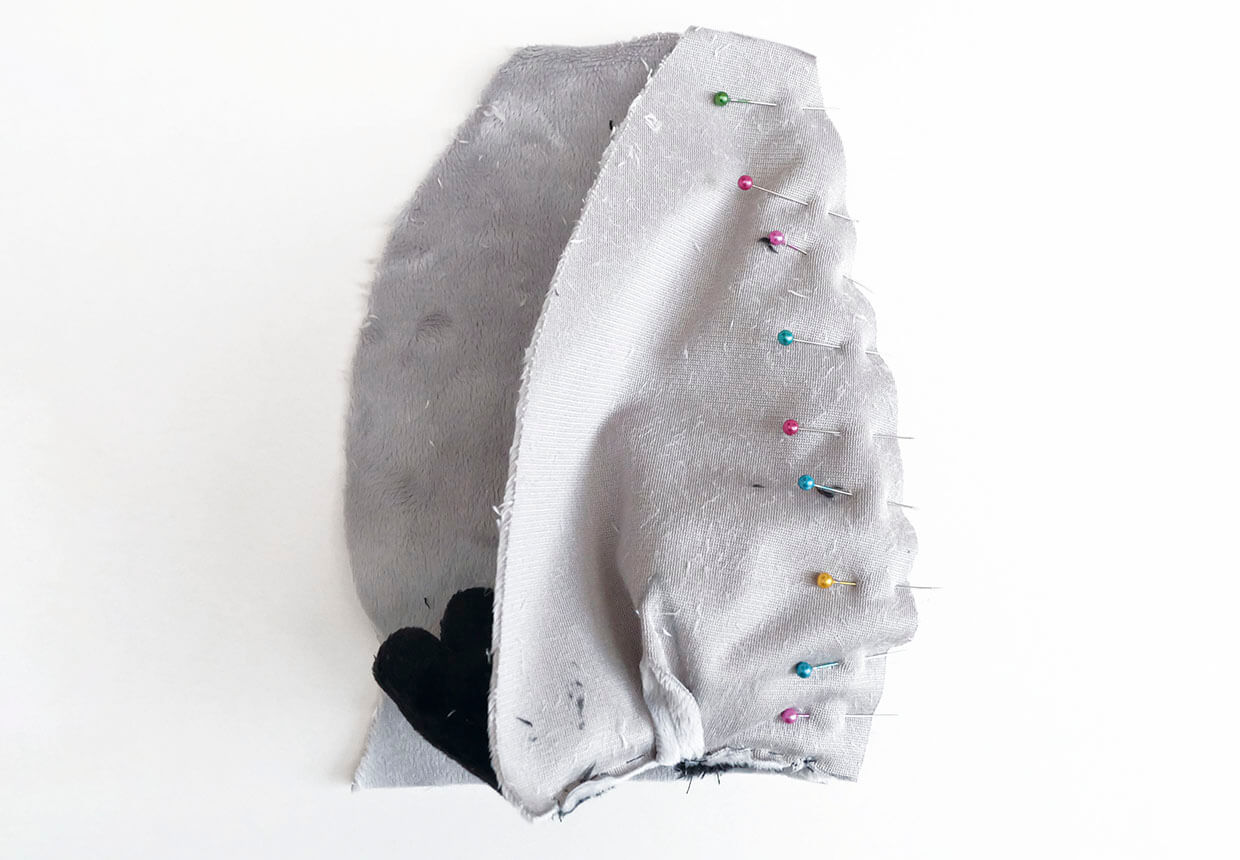
Pin, tack, and sew the Front Body piece to one of the Side Body pieces, RS together, joining points A to B. Ease the fabric so the pieces lie flat against one another.
Step 8
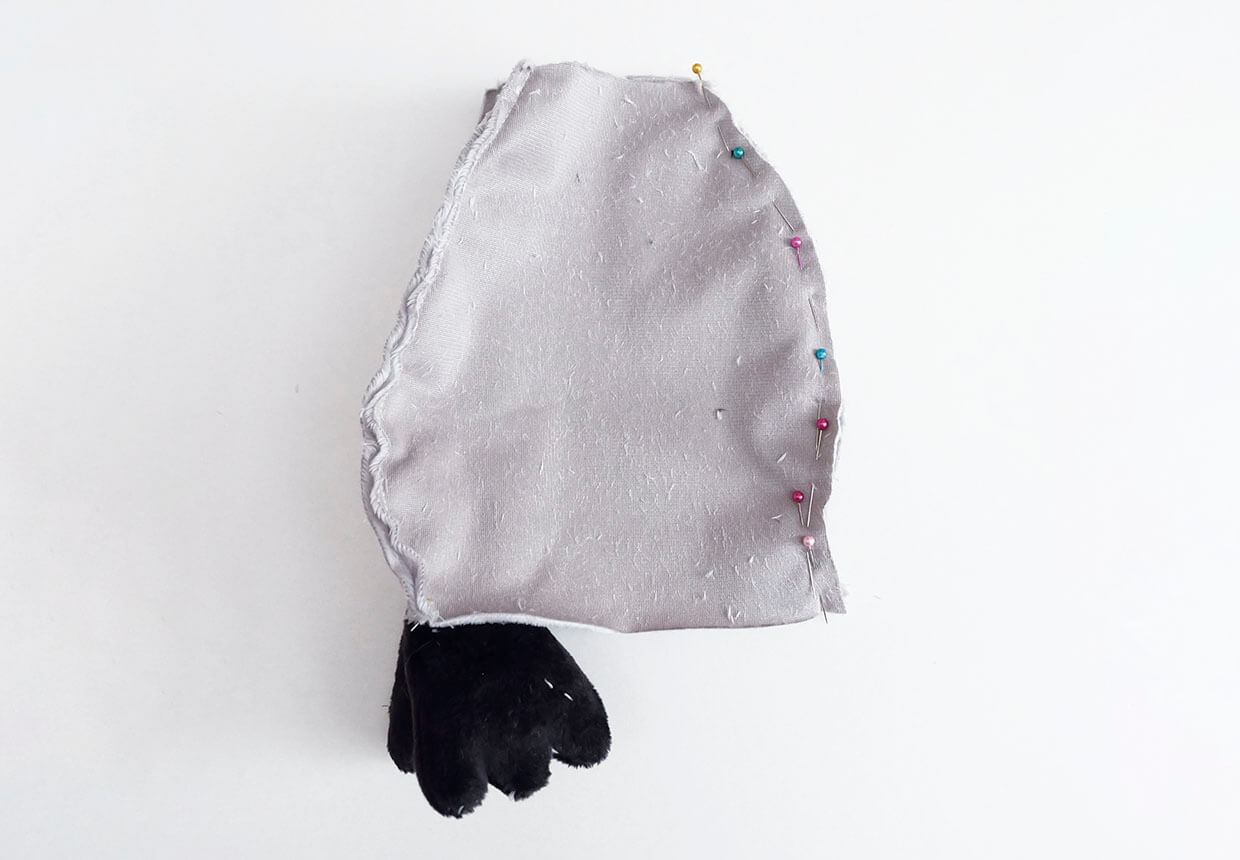
Repeat using the other Side Body. Then sew up the back of the body, from point C on the template to point D.
Step 9
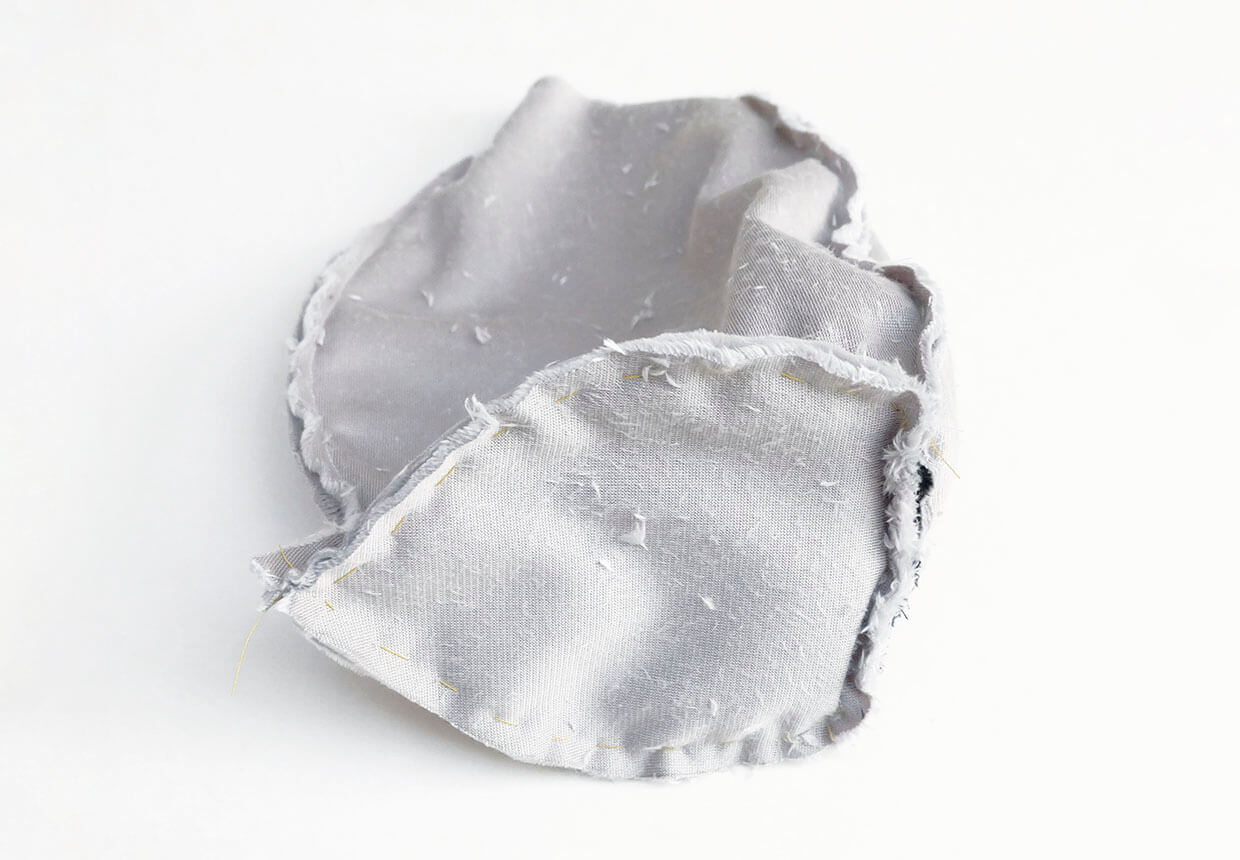
Pin and tack the Base piece onto the body, RS facing. Start at point D at the back and pin and ease the fabric until the base edges lie smoothly with the side and front pieces.
Step 10
Sew in three separate sections, along each side first and then across the front, making sure not to catch the fabric of the body upper sides in the seams. Sewing from above is easiest. Sew slowly.
Step 11
Turn the body RS out. Stuff firmly using your fingers and a wooden stick to poke out the corners and push out the seams.
Once stuffed, slightly roll over the top raw edges and make a running stitch around the top, close to the edge, and gather up. Add more stuffing if required, before fastening off.
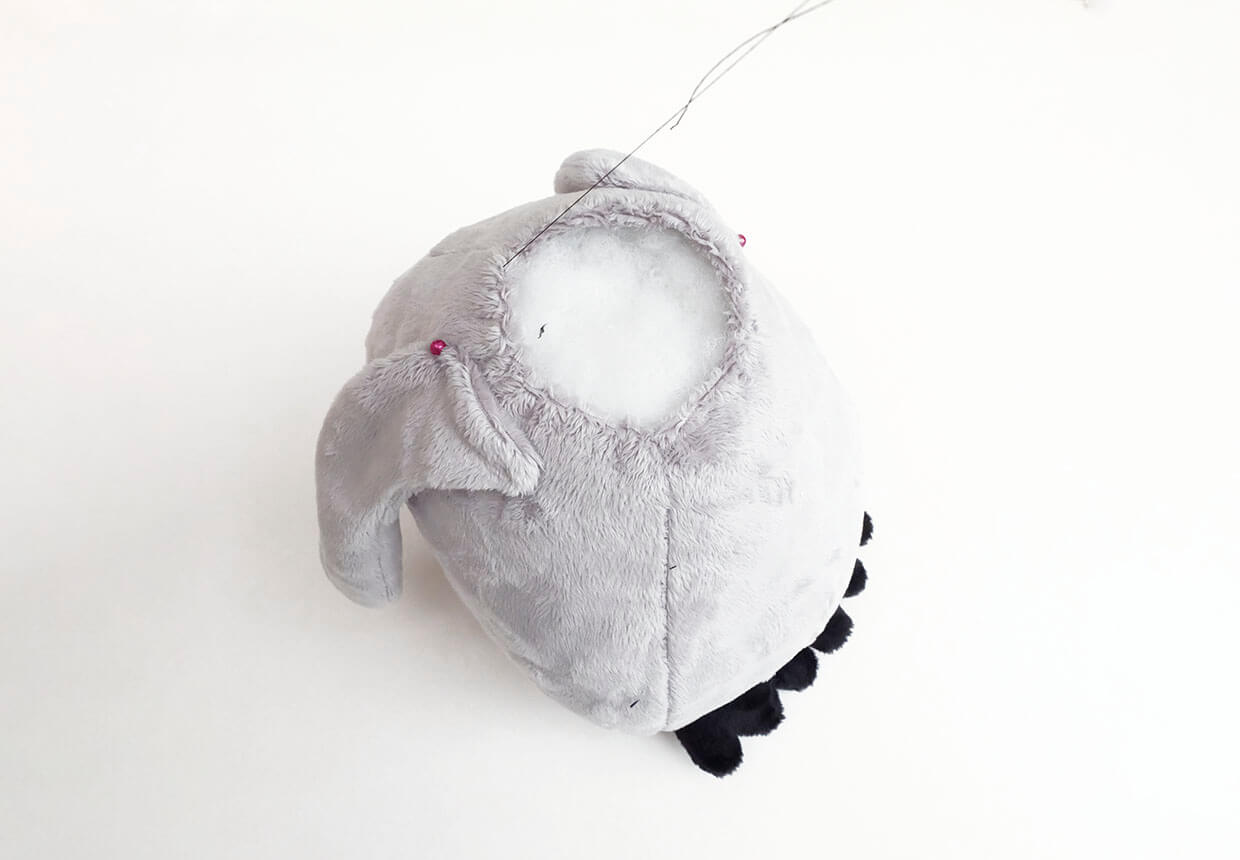
Step 12
Pin the wings in position on each side of the body. The top edges of each wing should be horizontal to the floor. Ladder stitch in place. Stitch around twice, to secure.
Stitching the penguin’s head
Step 1
Pin one Face piece to one Side Head piece, RS together, from point E to point G. The pieces here are opposing curves, so begin by pinning each end first, then gradually add pins and ease the fabrics so they lie flat together. Be sure to tack first to make sewing much easier. Repeat for the other side of the head.
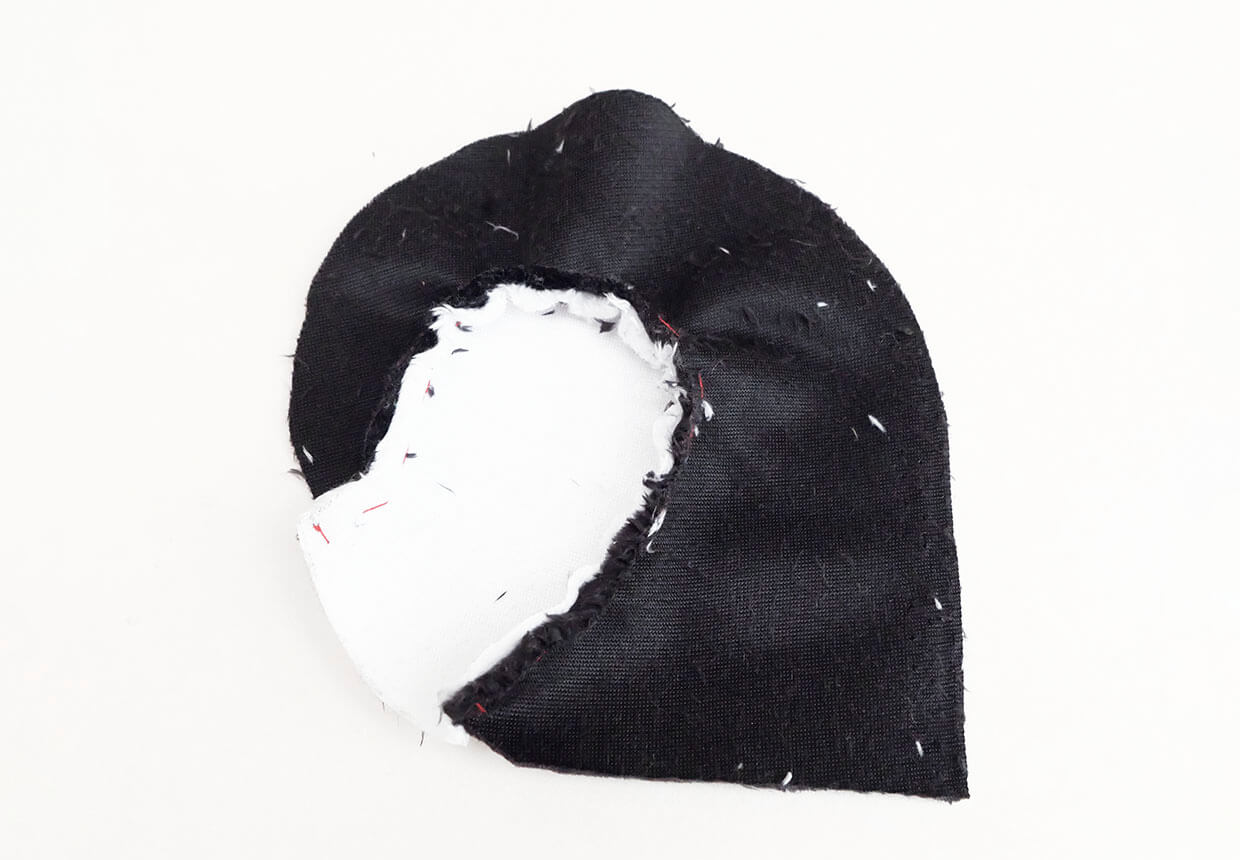
Step 2
Pin then tack the Head Gusset piece to the top edge of one Side Head piece, from point E to point F, with RS facing. Ease the fabric as you work, making sure the two layers lie flat together and that the edges match.
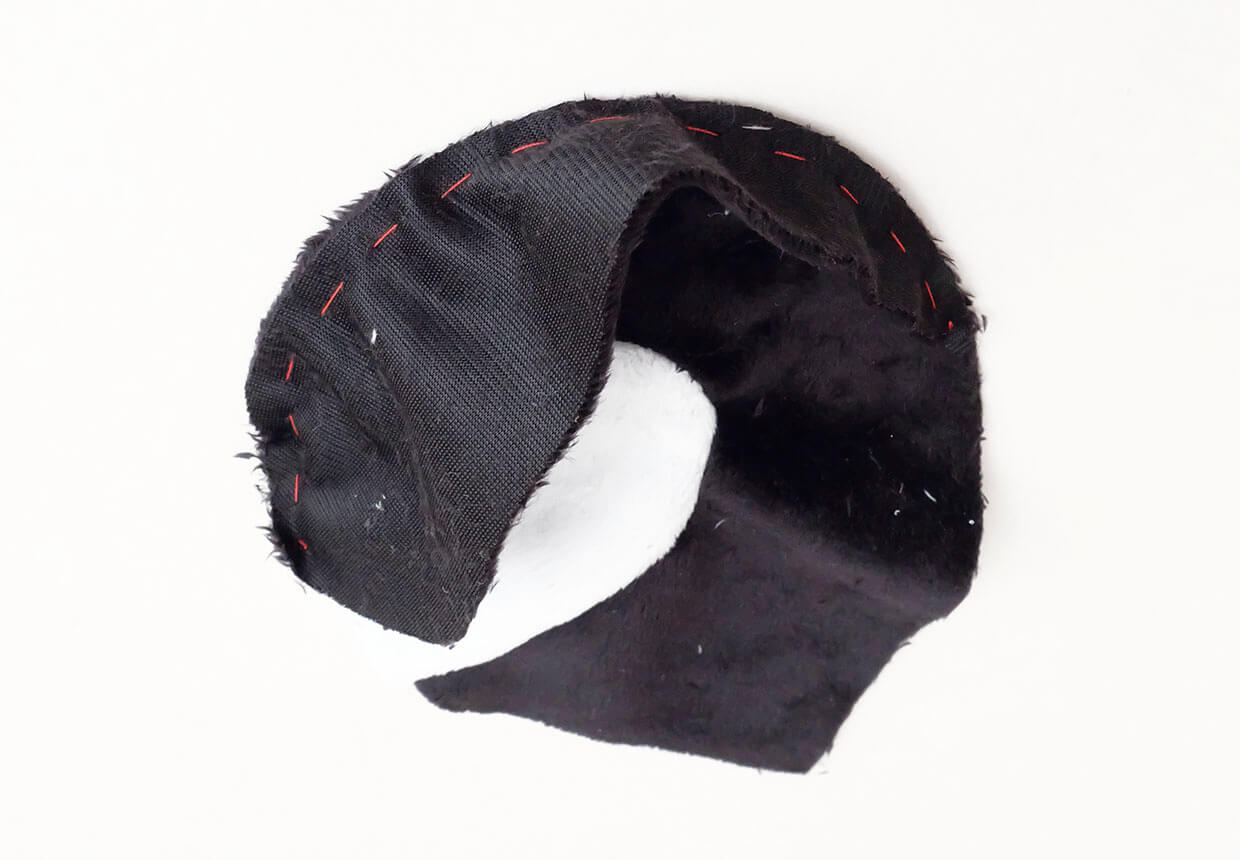
Step 3
Stitch in place, being careful not to pucker the fabric underneath as you sew. Remove the tacking stitches and then pin the other side of the Head Gusset to the opposite Side Head piece. Tack and sew as with the first side. This seam should meet the previously sewn seam to form neat points.
Step 4
Pin, tack, and sew the Beak pieces, RS together. Trim the seams and turn RS out before adding a little stuffing into the end, leaving a gap of 1cm (⅜in) unstuffed at the open end. Tack the end to help keep the stuffing in place.
Lay the head pieces RS facing, sandwiching the beak in the layers, positioning it at the very top of the face pieces where they meet the black side head pieces. Tack in place.
Step 5
Pin, tack and sew up the remainder of the head, leaving the bottom end open.
Step 6
Stuff the head firmly. Then fold the raw edge under by 10mm (⅜in) and run a gathering stitch around the folded edge. Pull taut. Add more stuffing if required to round out the head before fastening off. Then pin the head to the body using extra long pins.
Ladder stitch it to the body, using double or extra strong thread. Sew around an extra time or two to firmly secure the head.
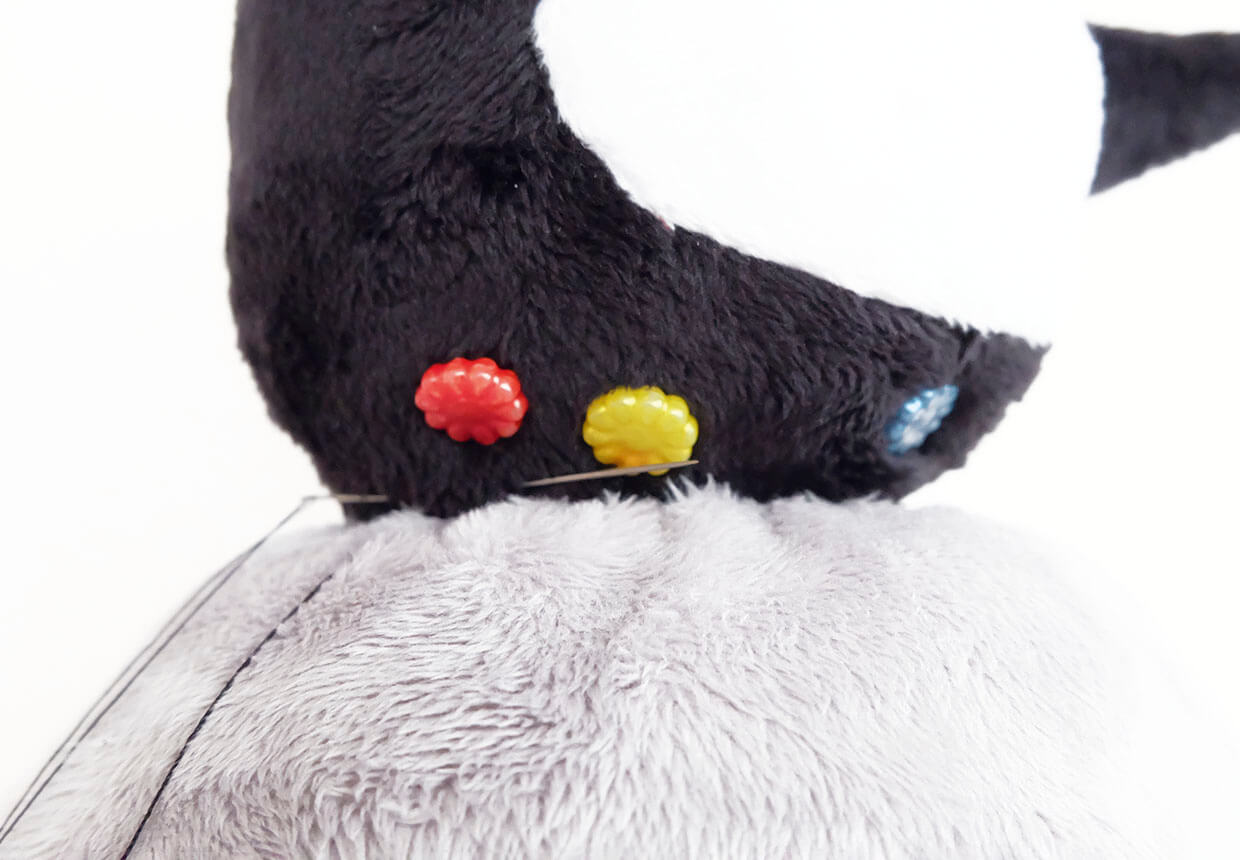
Step 7
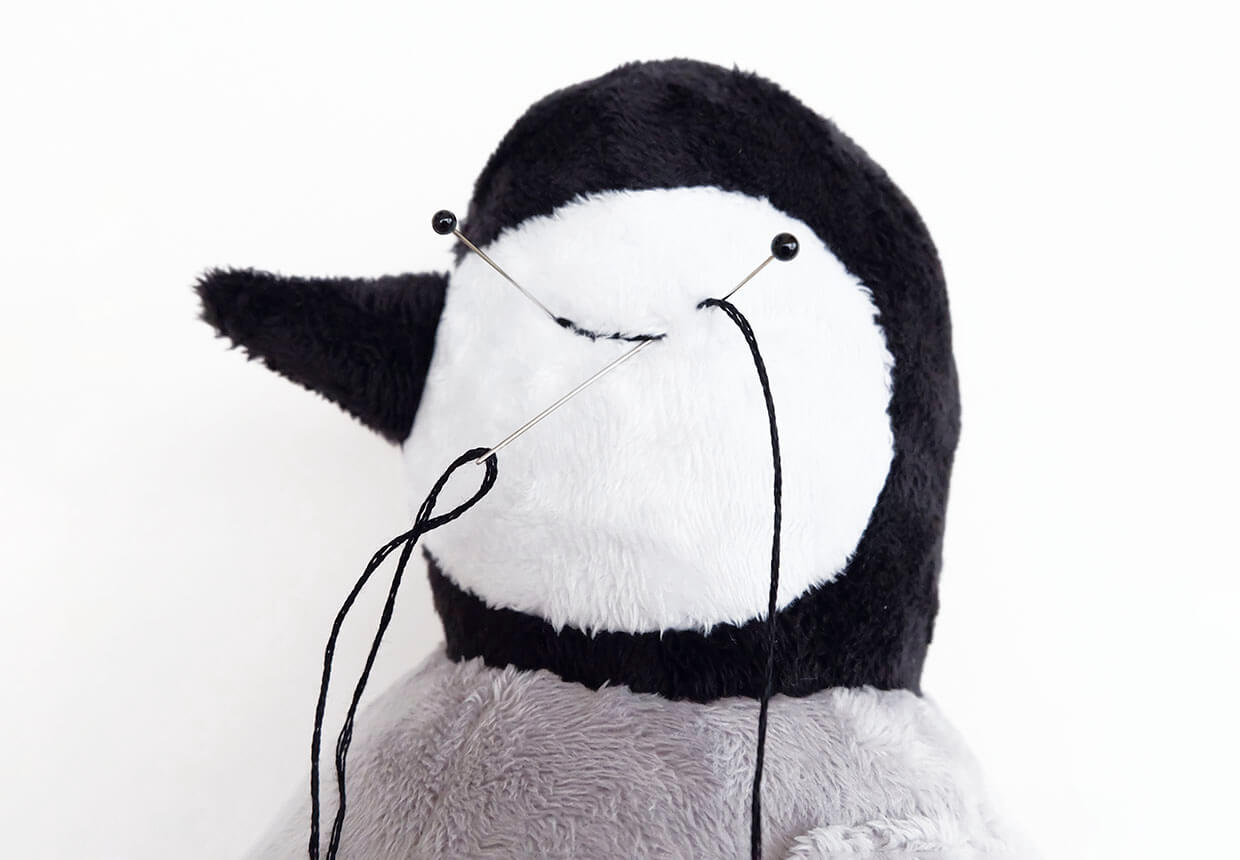
Use pins to mark out the position where the eyes should sit. Leave the pins in place or draw the curve of the eye with a soft pencil. Make sure the eyes are correctly placed by checking their position from all angles. Backstitch the eye using four strands of the black stranded cotton.
Making a cosy scarf
Step 1
Fold the Scarf in half RS together along its length. Pin and sew, leaving a 3cm (1¼in) gap in the middle of the long side. Sew the short ends of the scarf in a curve, to give a nice, soft edge when turned RS out. Turn the scarf RS out and push out the seams. Sew up the turning gap using ladder stitch.
Step 2
Wrap the scarf around the penguin's neck, and place a pin where you would like the button to be positioned.
Step 3
Sew on the button, through the layers of fabric, so the scarf is fastened together.


