Step 1
Use our DIY Pencil Case Pattern and mark the shape on your outer fabric, lining fabric and interfacing.
Step 2
Cut all three pieces out.
Step 3
Use the template to make and cut two pockets from your lining fabric.
Step 4
Sew bias binding along the top of the two pockets and fold over the straight edge.
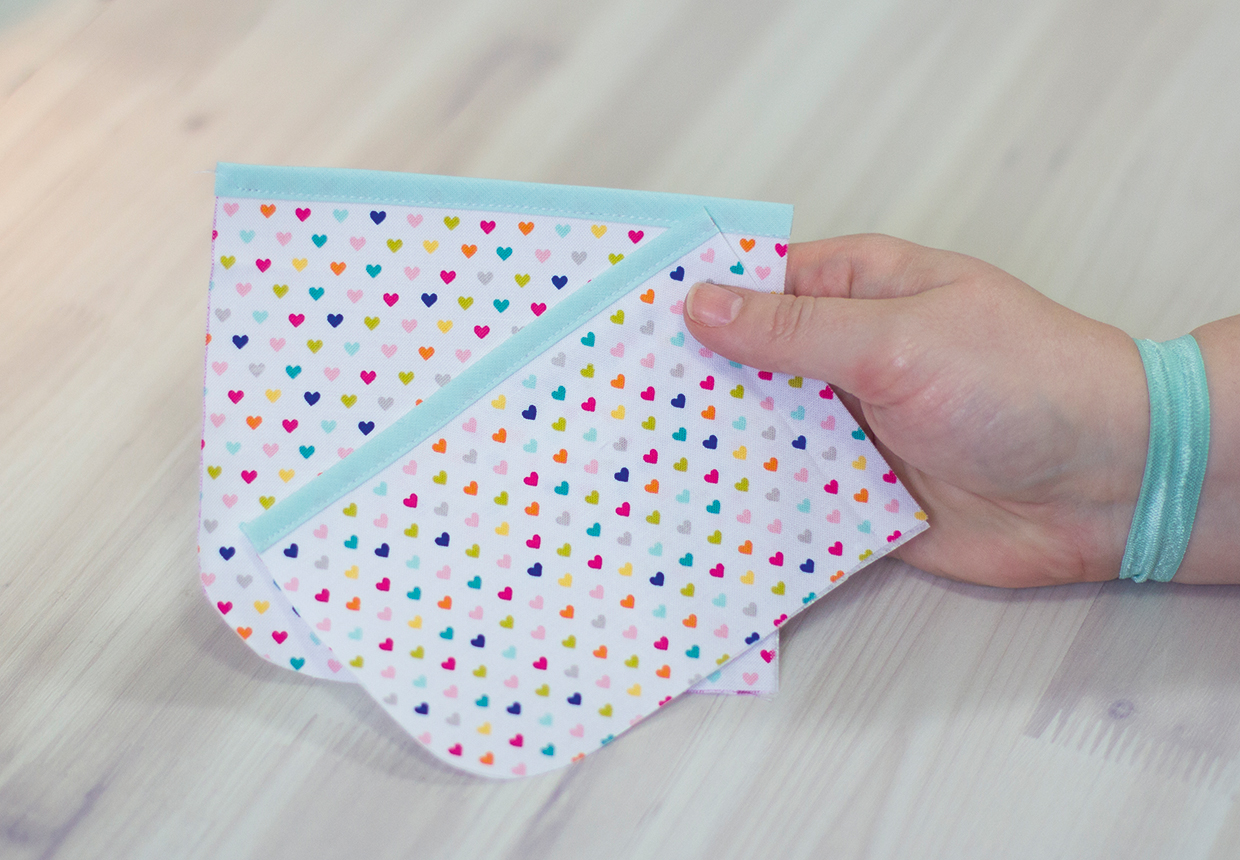
Step 5
Clip or pin the pockets and elastic to the lining and interfacing, making sure you include some looser loops in the elastic to hold larger pens.
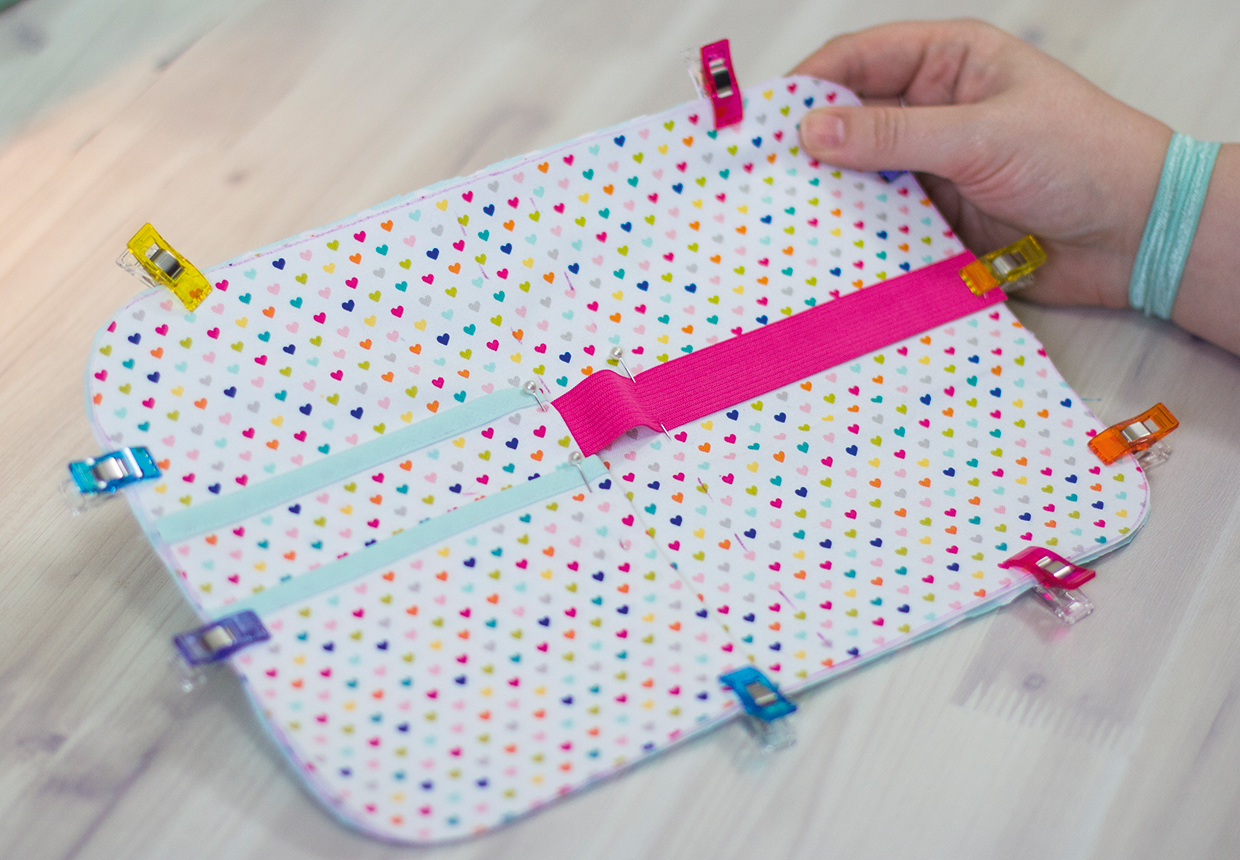
Step 6
Sew the elastic in place and create the pen loops. Sew down both sides of the pockets 2mm (1⁄16in) from the edge.
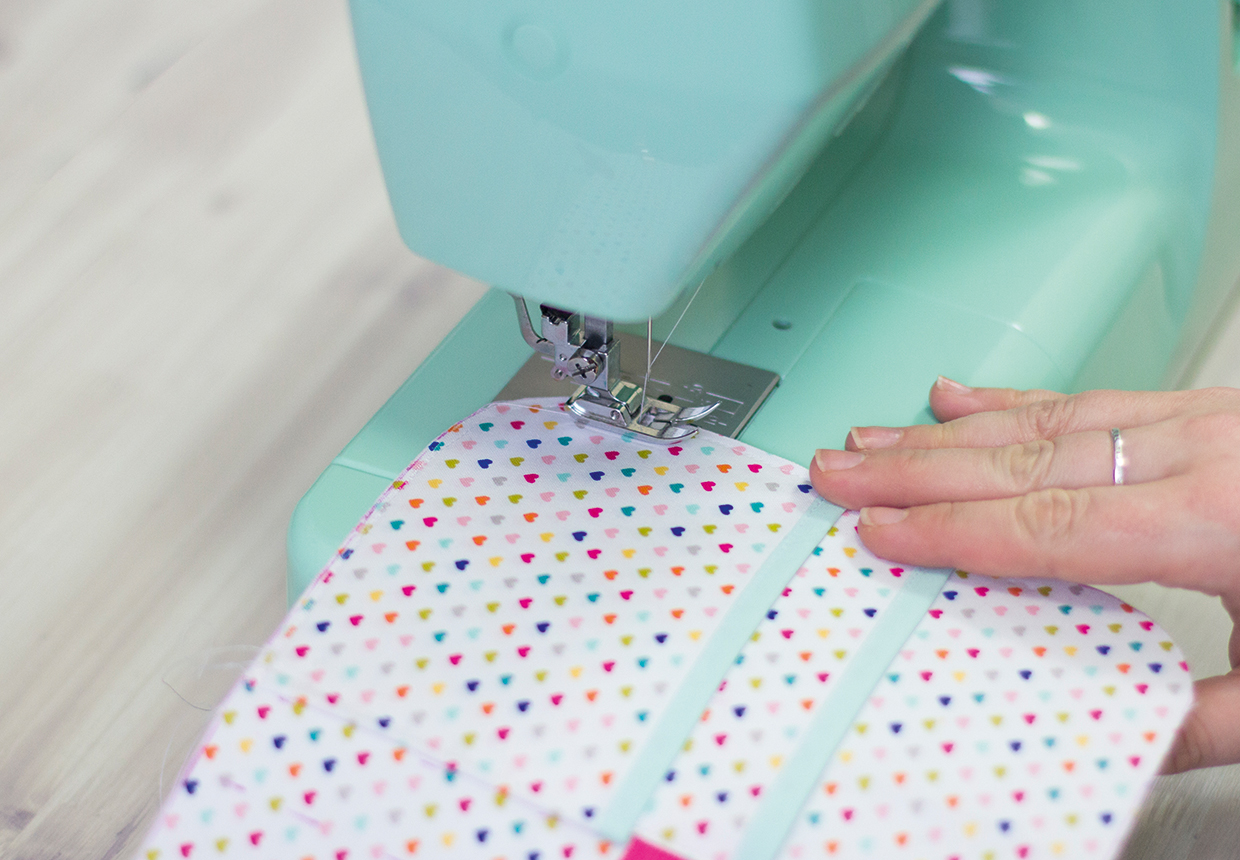
Step 7
Place the outer fabric wrong sides together with the interfacing and pin or clip it all together.
Step 8
Topstitch together all the way around, 2mm (1⁄16in) from the outer edge.
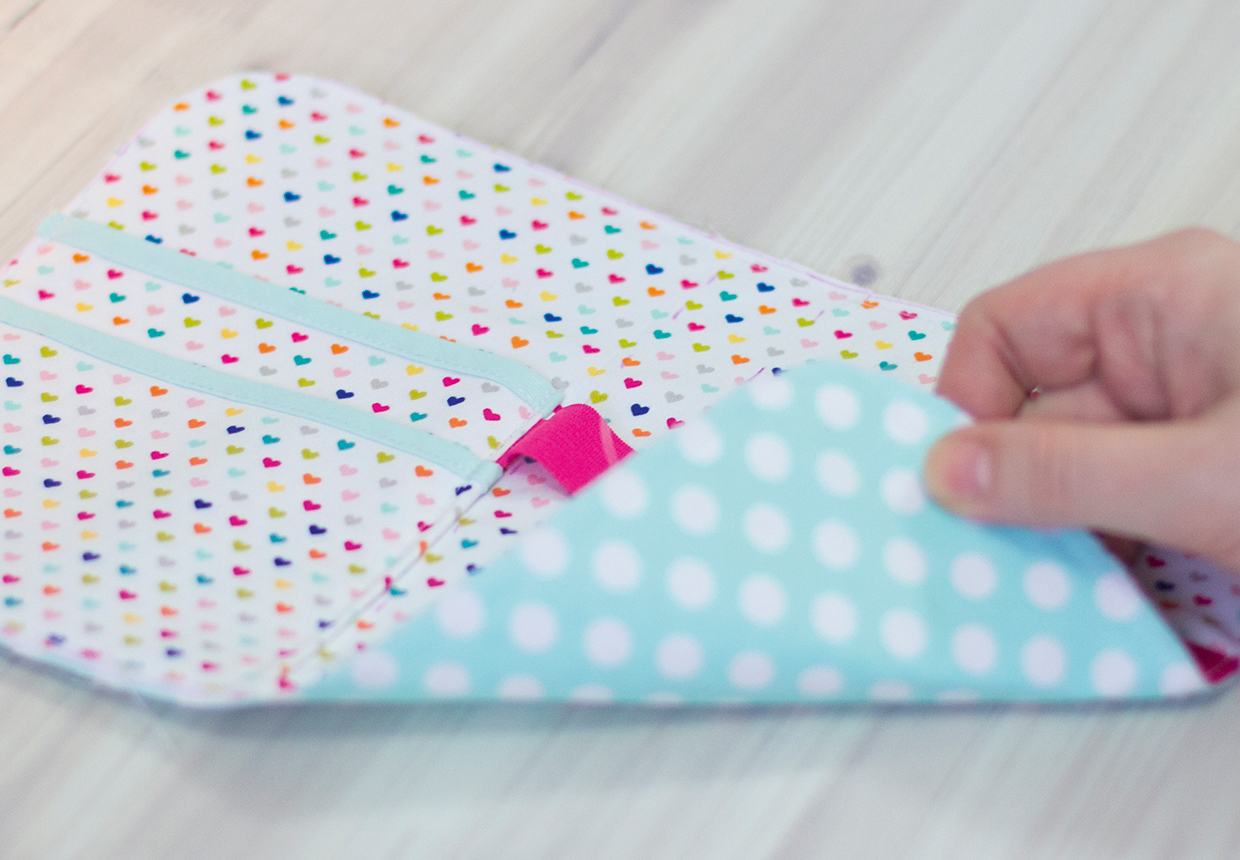
Step 9
Create the fold lines by sewing down the centre lines marked on the template.
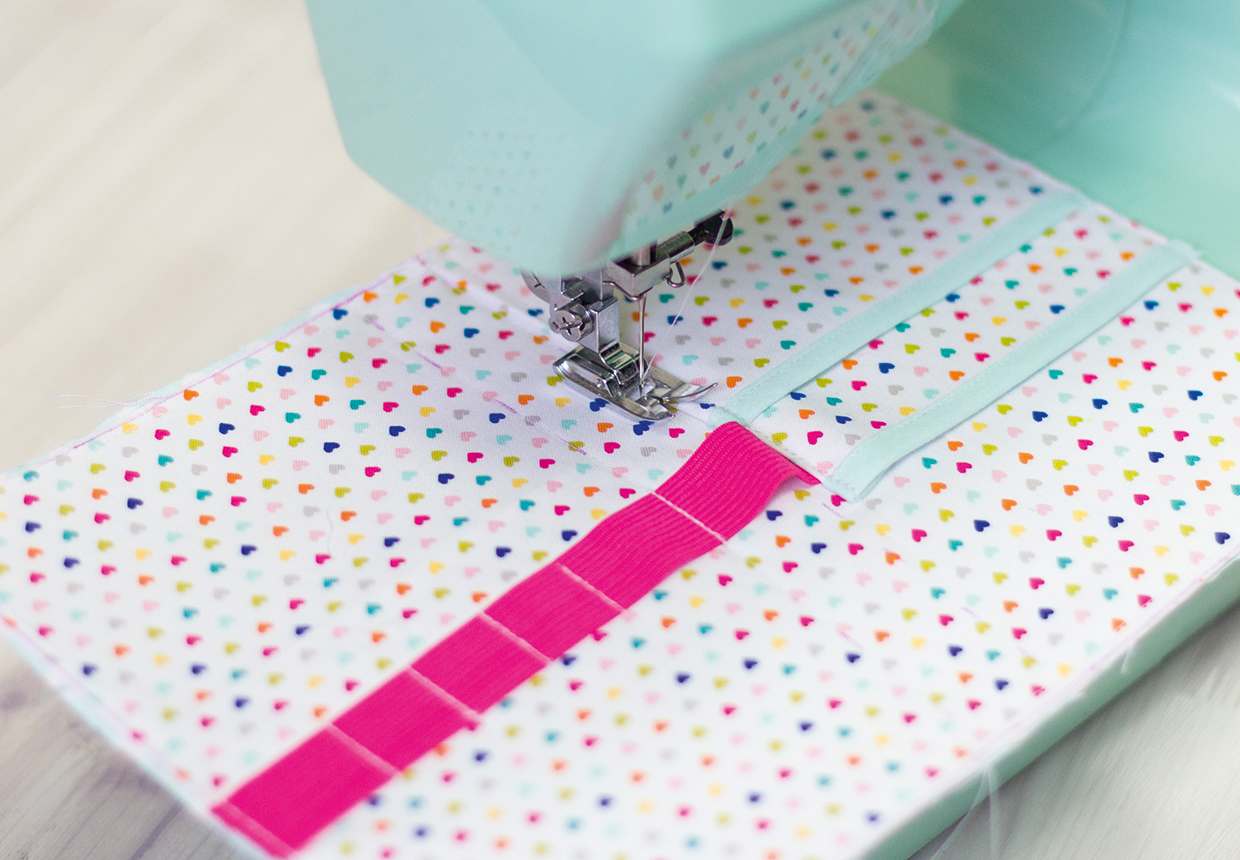
Step 10
Undo your zip and starting at the centre bottom, pin or clip the zip (coil facing inwards) around the edge of the case, you may need to snip in to the zip at the corners to get it to lie smoothly around the curve. Sew it in place. Fold the head of the zipper to the inside of the case.
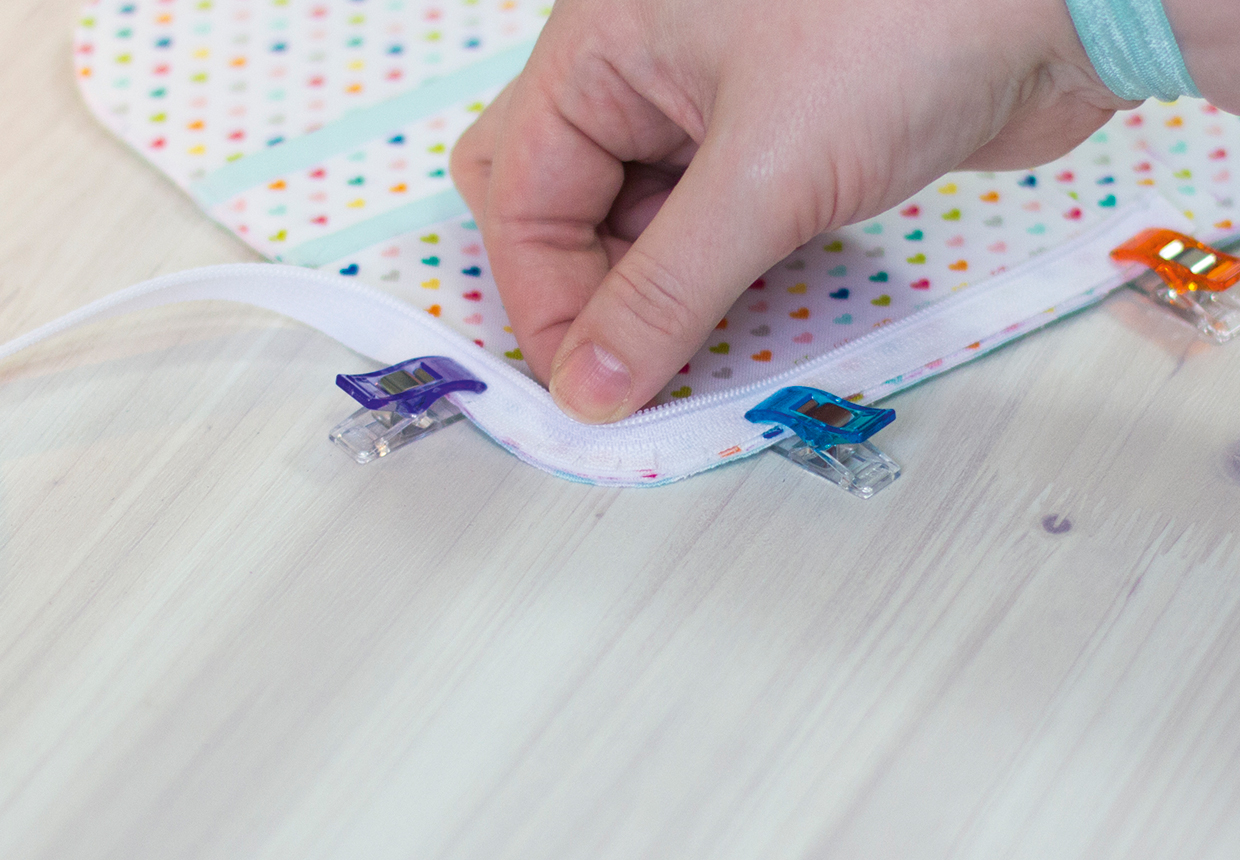
Step 11
Make a small end stop with a scrap of fabric and slip it over the head of the zip.
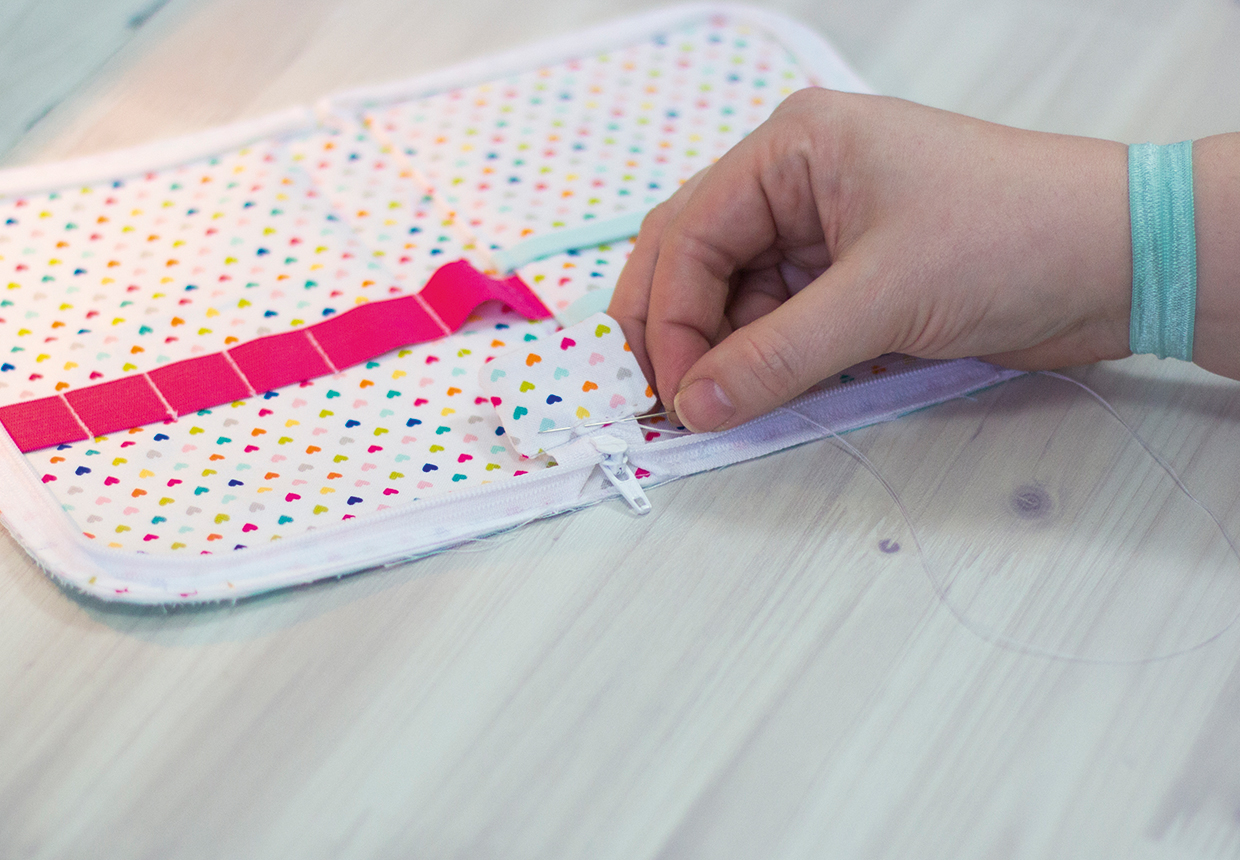
Step 12
Pin then stitch bias binding all the way around, encasing all the raw edges.
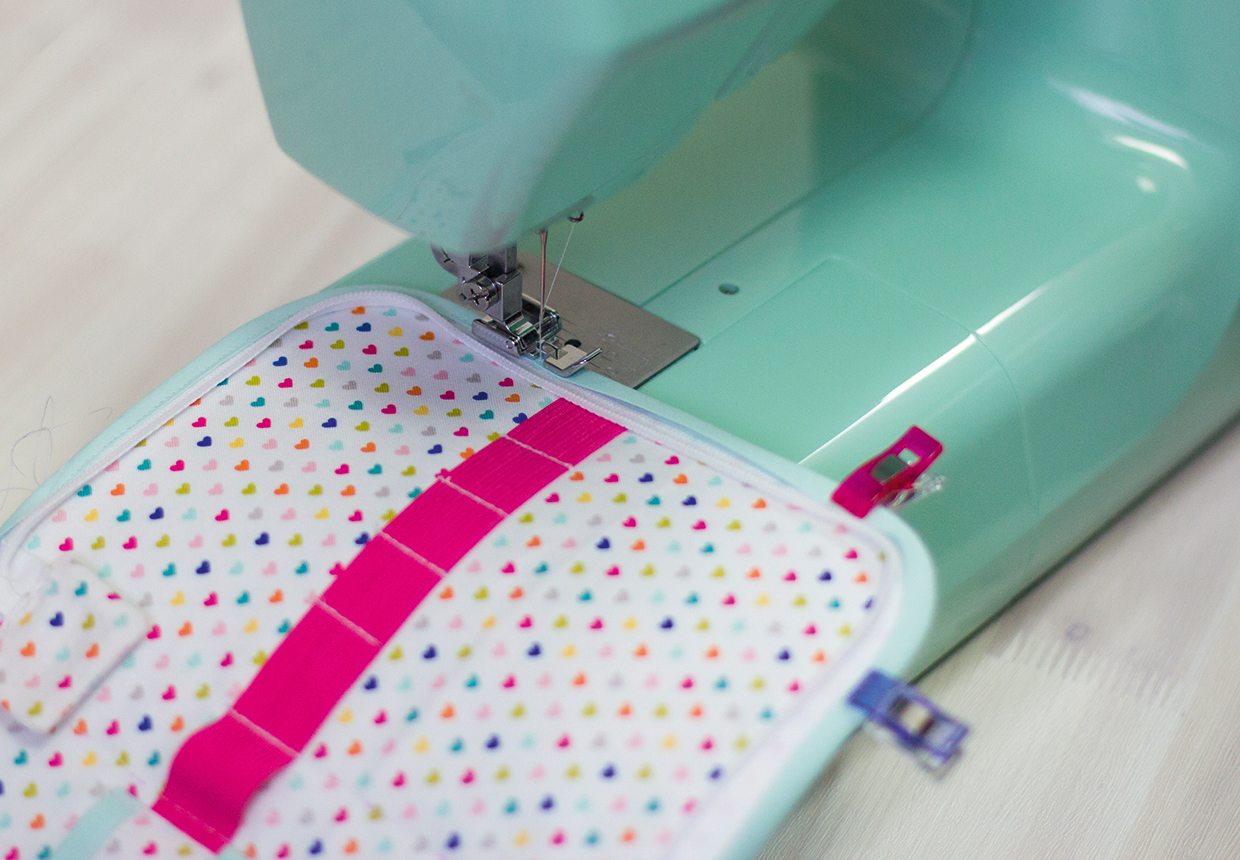
Step 13
Flip the zipper head to the outside so that you can close the zip.


