Measuring up
Step 1
Measure and take a note of your waist measurement – this is described as W.
Step 2
Decide and measure what you want the finished length of your skirt to be and write it down – this is described as L.
Cutting out
Step 1
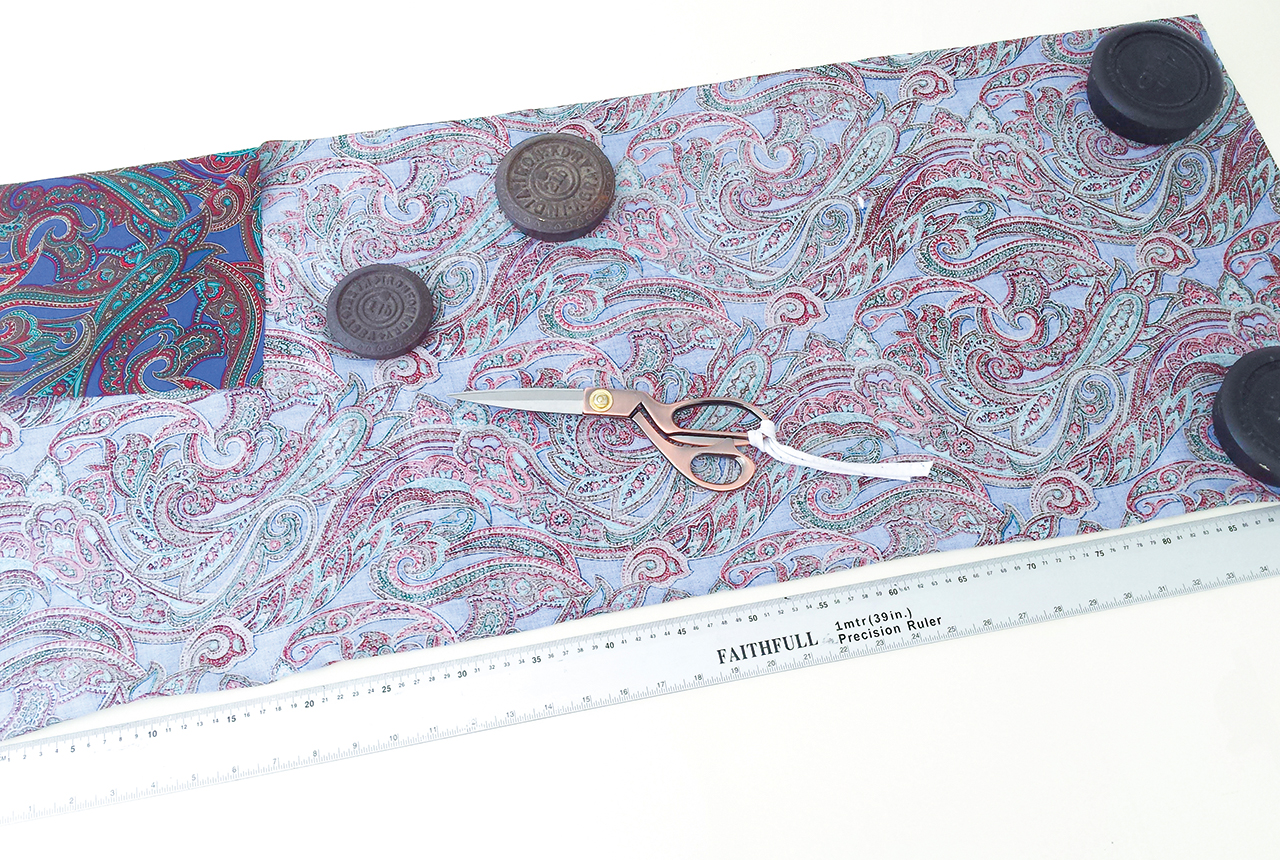
Begin by cutting a rectangle from your fabric that is the same width as W + 3cm (1¼in) which gives a 1.5cm (5⁄8in) seam allowance either side.The length is the same as L plus your preferred hemming allowance. This will be the front of your skirt.
Step 2
Cut a second rectangle 3cm (1¼in) wider than the first but the same length.
Step 3
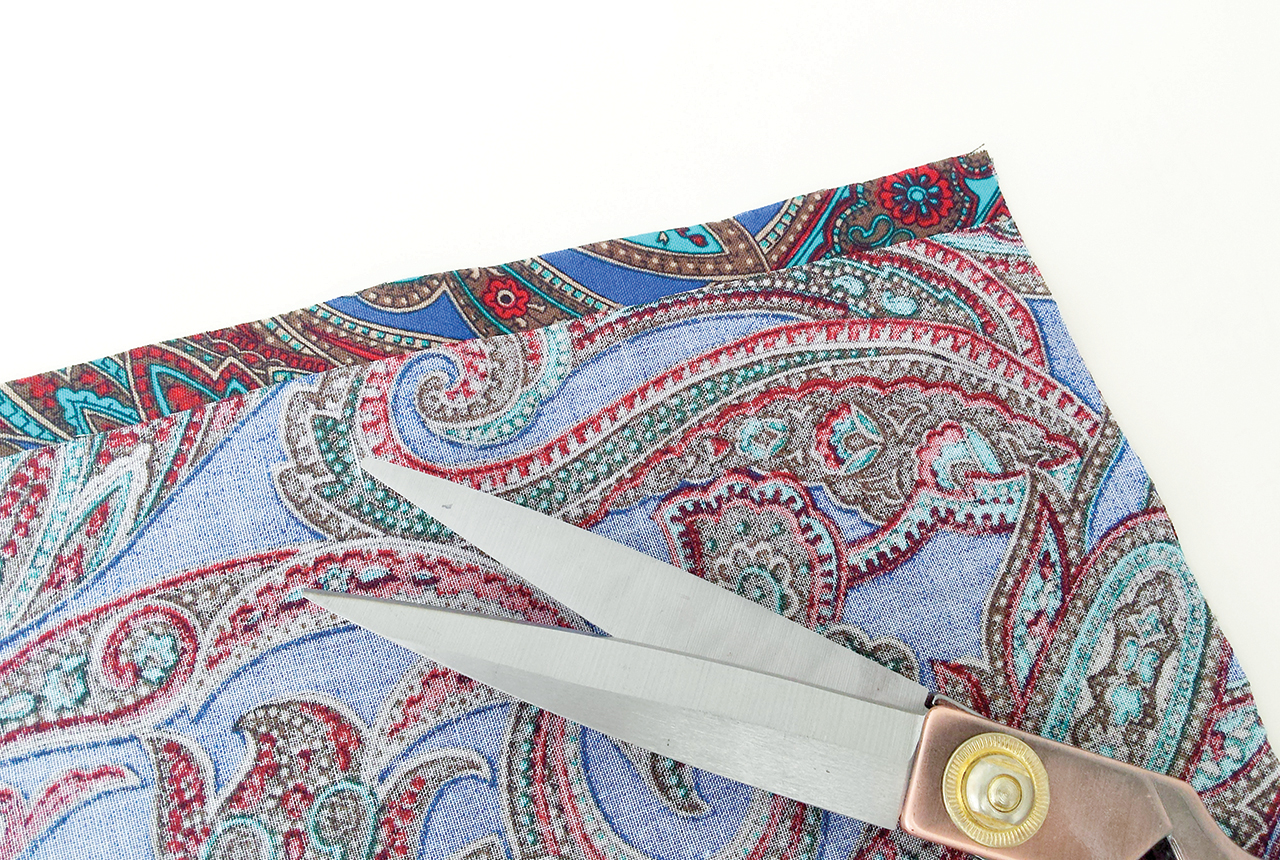
Cut straight up the middle of this rectangle to create two narrower rectangles. These will become the back of your skirt. The additional 3cm (1¼in) width you added will give you a 1.5cm (5⁄8in) seam allowance on each piece, for a centre back seam.
Step 4
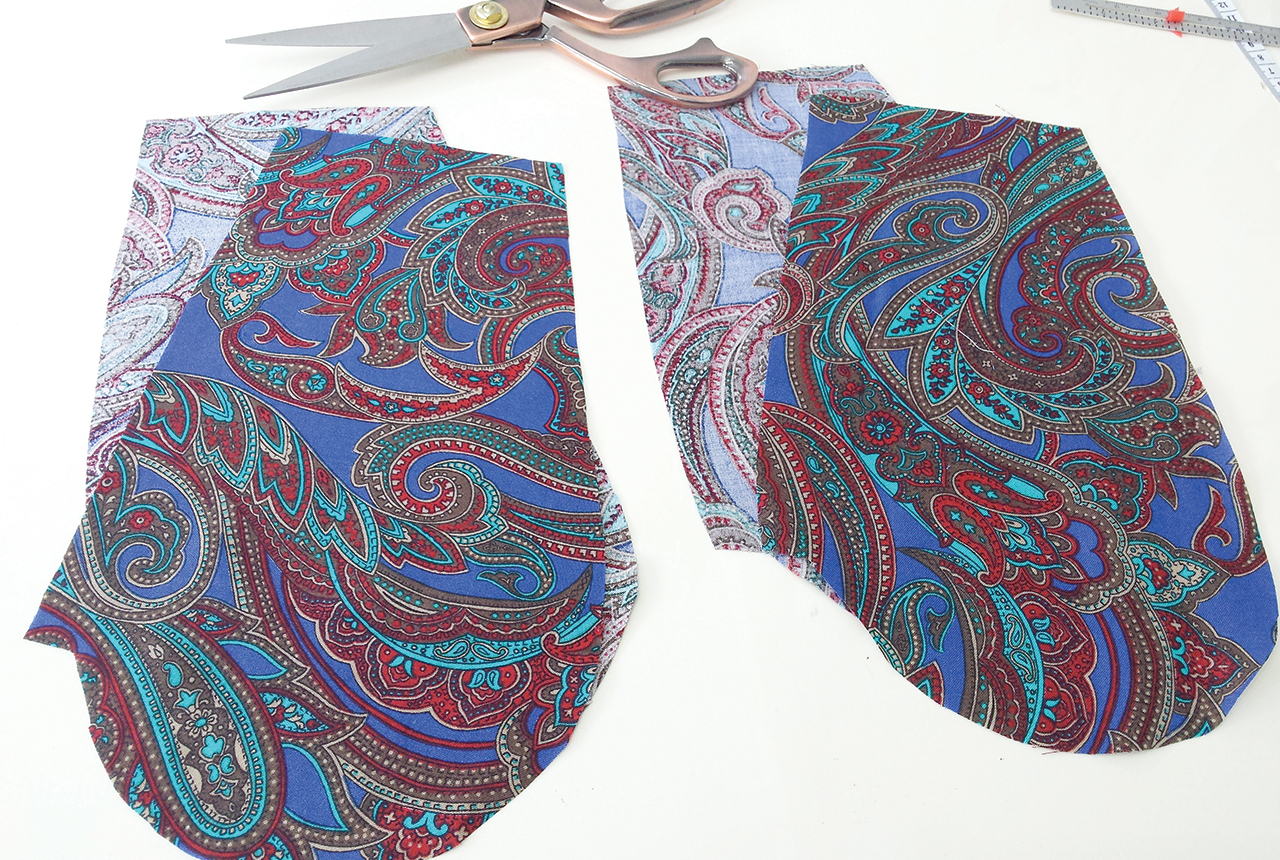
Cut two pairs of pockets. You can draw your own or copy them from an existing pattern. Either way, ensure that there is a 1cm (3⁄8in) lip along the long edge and that the two straight edges are at right angles to each other.
Step 5
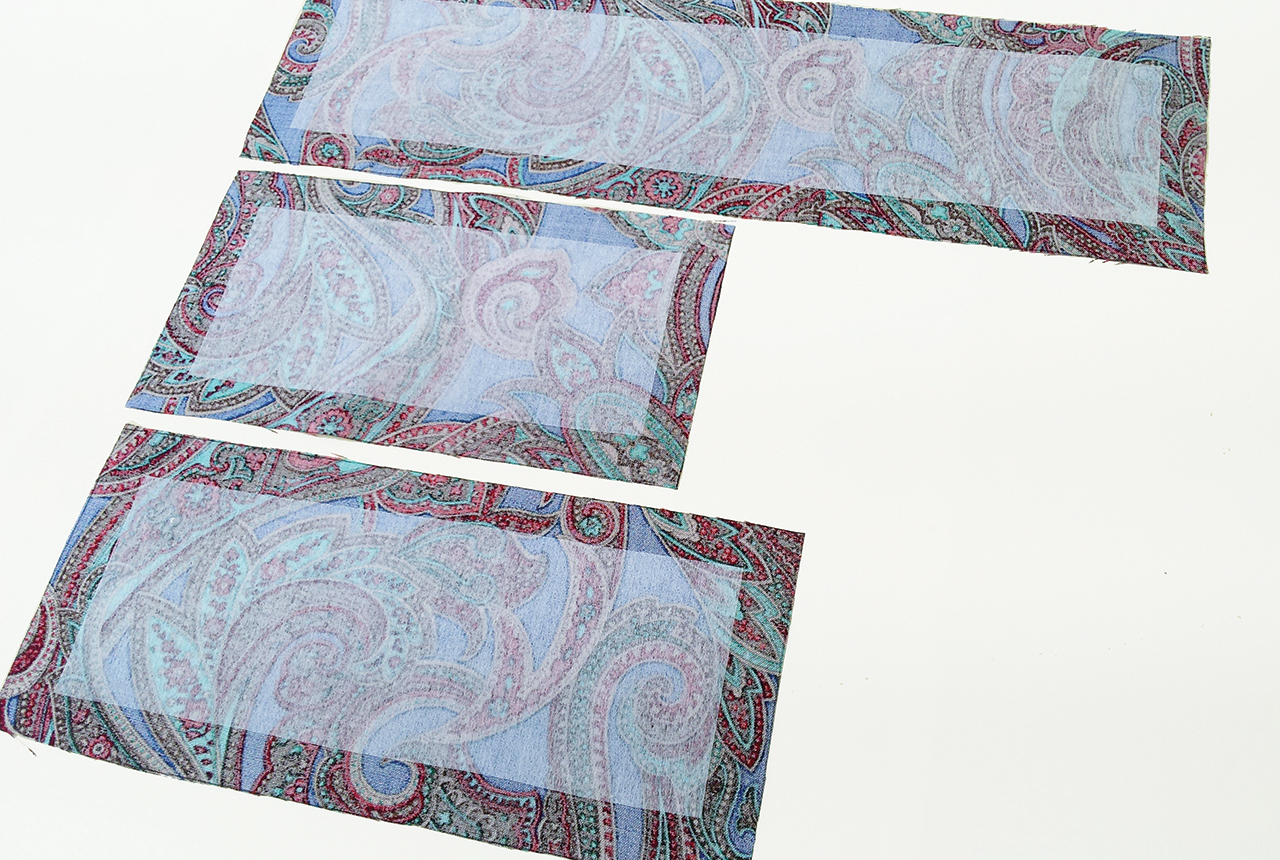
Cut three pieces for your waistband:
- Front piece: 8cm (3in) wide x half of W + 3cm (1¼in) seam allowance.
- Back piece A: 8cm (3in) wide x quarter of W + 3cm (1¼in) seam allowance.
- Back piece B: The same as back piece A but 4cm (1½in) longer as this extra piece will form the button extension/overlap of your waistband.
Step 6
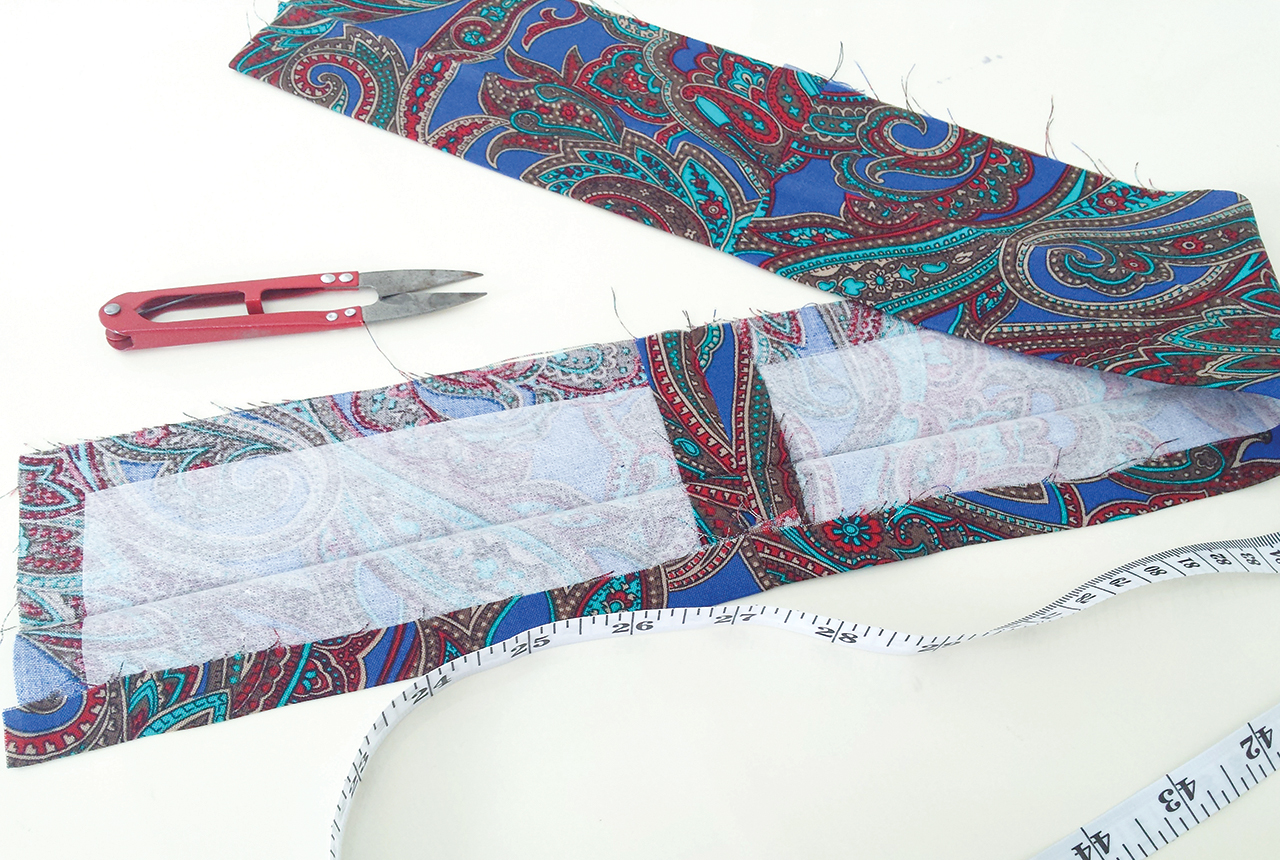
Cut three pieces of interfacing 3cm (1¼in) shorter on the length and width as the three waistband pieces. Press them centrally to the wrong side (WS) of each waistband piece.
Constructing the skirt
Step 1
Finish the raw edges of all the long edges of the skirt pieces and the long straight edge of the pocket pieces by working machine zigzag stitches or overlocking.
Step 2
Join the two back pieces right sides (RS) together at the centre back seam, and insert a zip using your preferred method, either invisible or standard. Make sure that the top of the zip extends 5-8cm (2-3in) above the edge of the fabric once stitched in. The base of the zip needs to sit at or just below hip level.
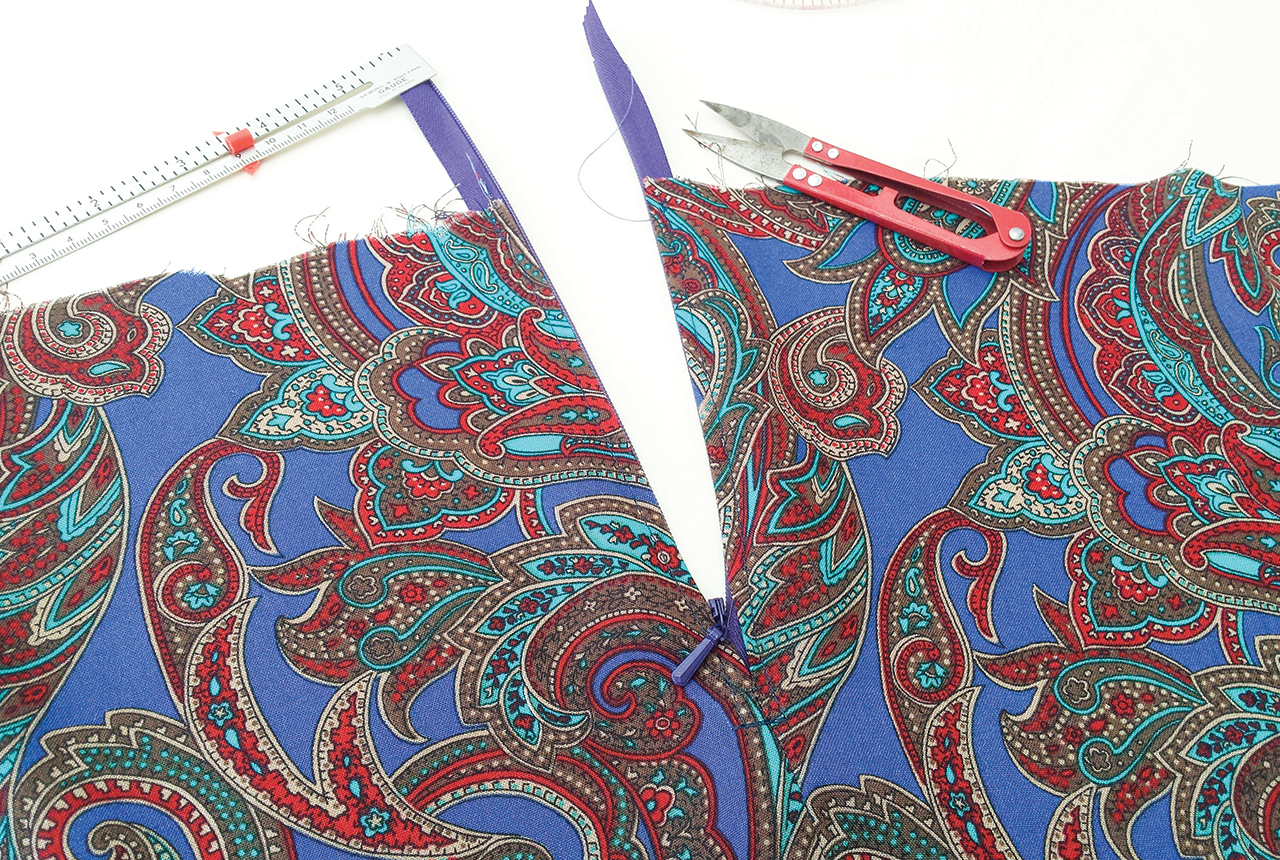
Step 3
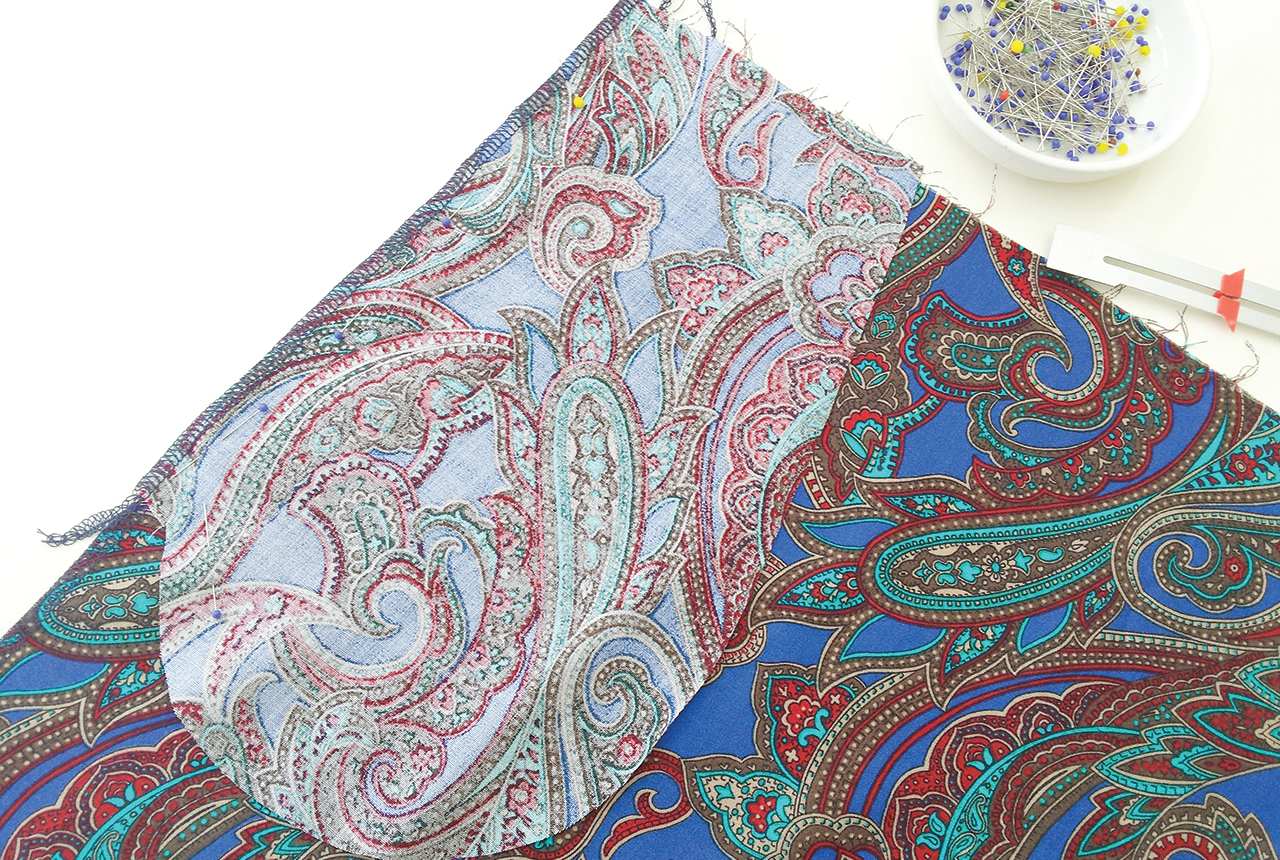
Pin and sew your pocket pieces to the front and back sections of your skirt, RS together and using a 1cm (3⁄8in) seam allowance. Press the pockets outwards.
Step 4
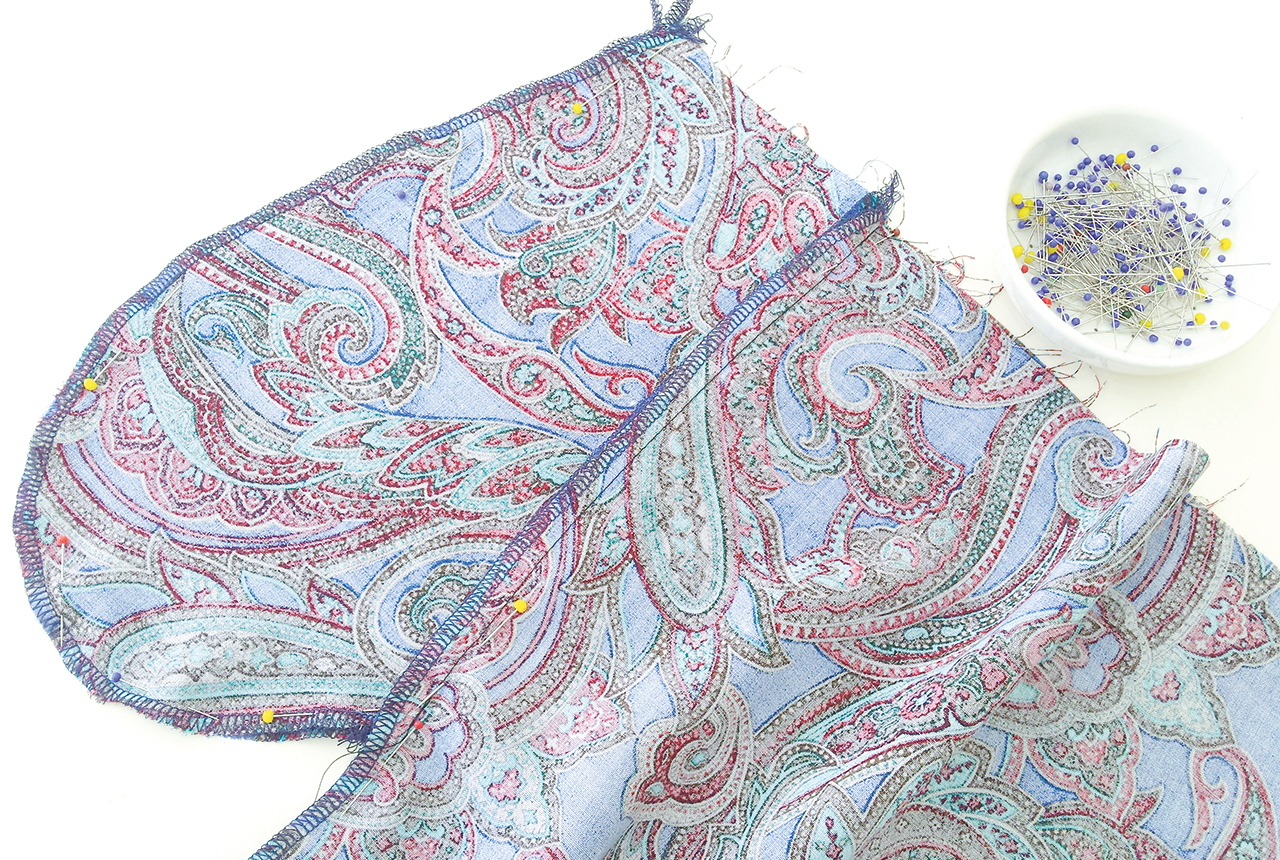
Place the skirt front and back pieces RS together, aligning pockets and side seams. Sew the side seams, leaving a gap in the stitching for the pocket opening. Then sew around the curved edge of the pockets, continuing the stitching line to meet with the side seam stitching of the skirt
Step 5
Press the side seams and pockets forwards, then tack the pockets to the waistband along the top edge.
Step 6
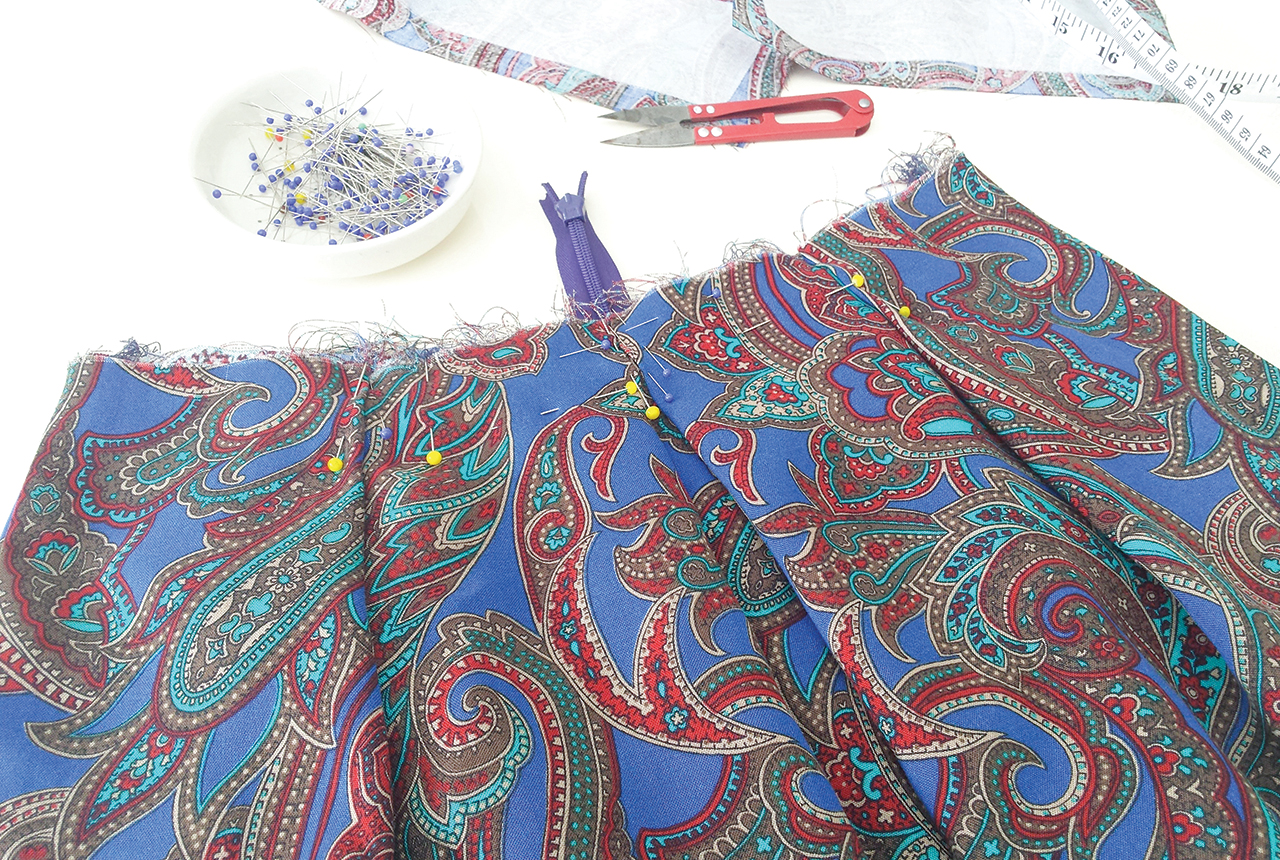
Gather or pleat the front and back of the skirt so it is the same size as your waistband measurement. Tack the pleats in place.
Making the waistband
Step 1
Join all the waistband pieces together with a 1.5cm (5⁄8in) seam allowance, with the front piece between the two back pieces.
Step 2
Press the entire waistband in half lengthways, WS together. Then press one of the long edges 1.5cm (5⁄8in) to the inside.
Attaching the waistband
Step 1
Pin the unpressed edge of the waistband to the skirt with RS together and matching side seams and raw edges and sew in place using a 1.5cm (5⁄8in) seam allowance.
Step 2
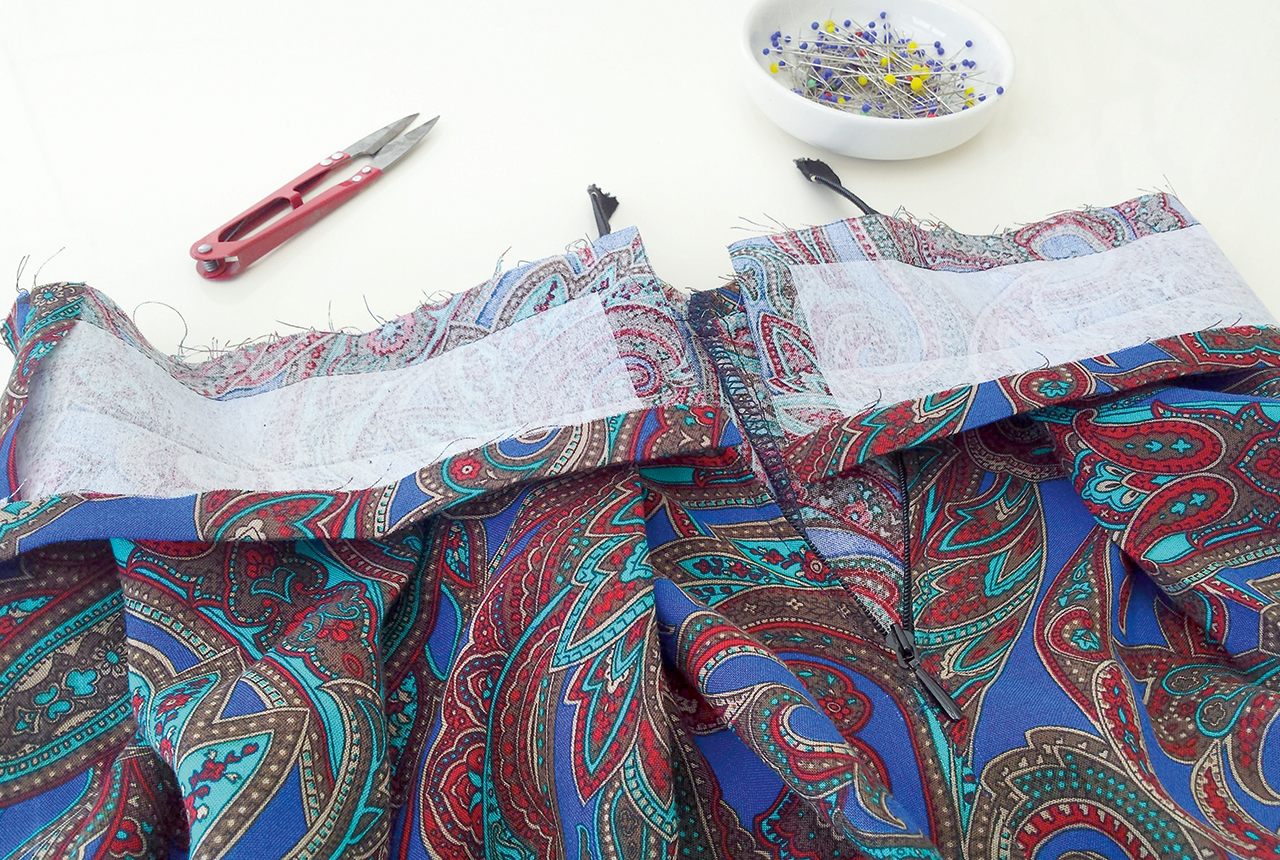
Press the waistband upwards and remove any tacking stitches at this stage. Cut any excess zip up to the fold line of the waistband. A word of warning: Do not attempt to close up the zip until you have completed the waistband, as the zip pull will come straight off the top of your zip at this stage! (Go on….ask me why I mentioned that!)
Step 3
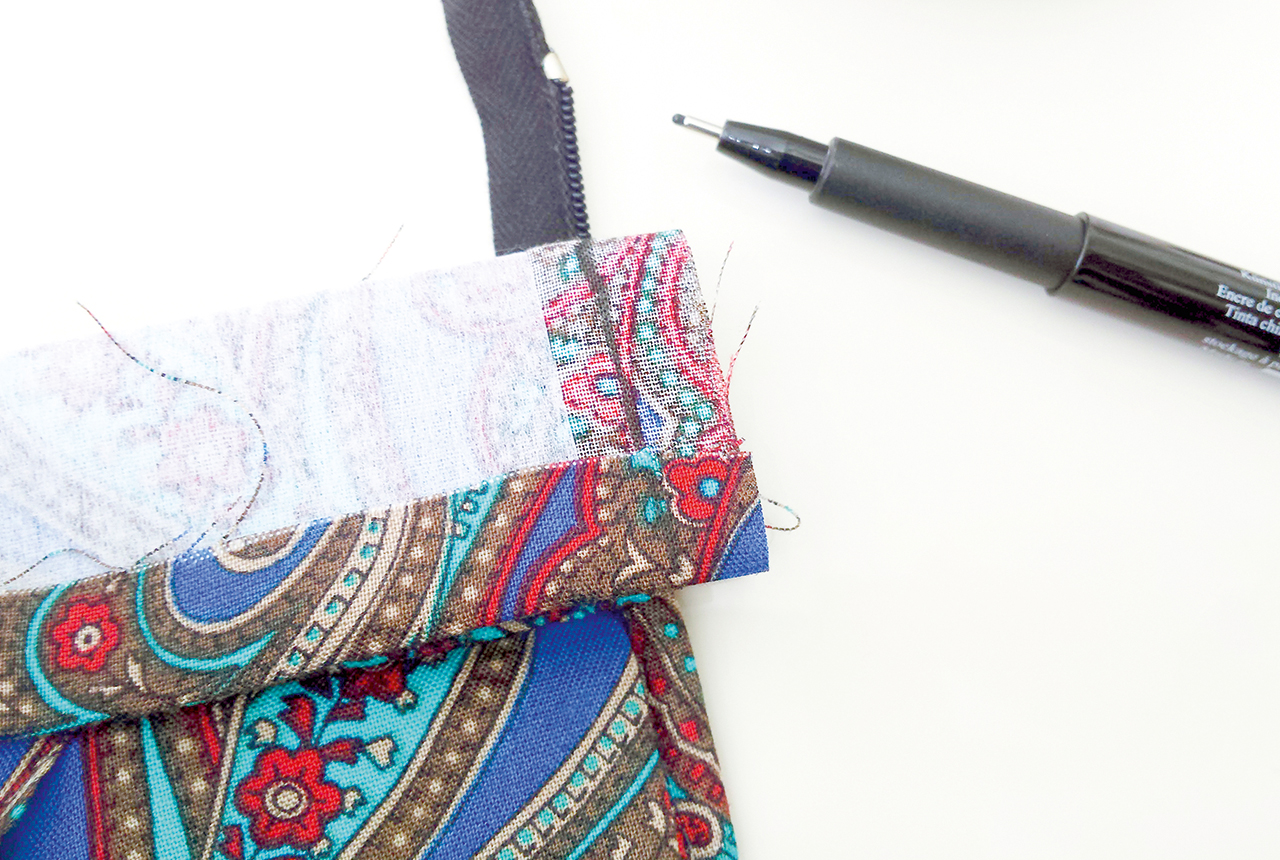
For both ends of the waistband, repeat the following steps. Fold the waistband end in half, RS together. Stitch together down the short edge, then trim the excess seam allowance to within 1cm (3⁄8in) of the stitching line and across at an angle at the corner. Make sure you cut close to, but not actually through, the stitching. For the side with the zip, mark the sewing line on top of where the zip is, then move the zip out of the way before sewing.
Step 4
Turn the waistband RS out and poke out the corners. Pin the folded edge of the waistband to the inside of the skirt.

Step 5
Topstitch the entire length of the waistband from the outside, catching the underside of the waistband as you sew.
Finishing off
Step 1
Add hook and eyes or a button to close your skirt.
Step 2
Hem your skirt by turning under the hem allowance you added when you cut out the skirt, and your maxi skirt is ready to wear!


