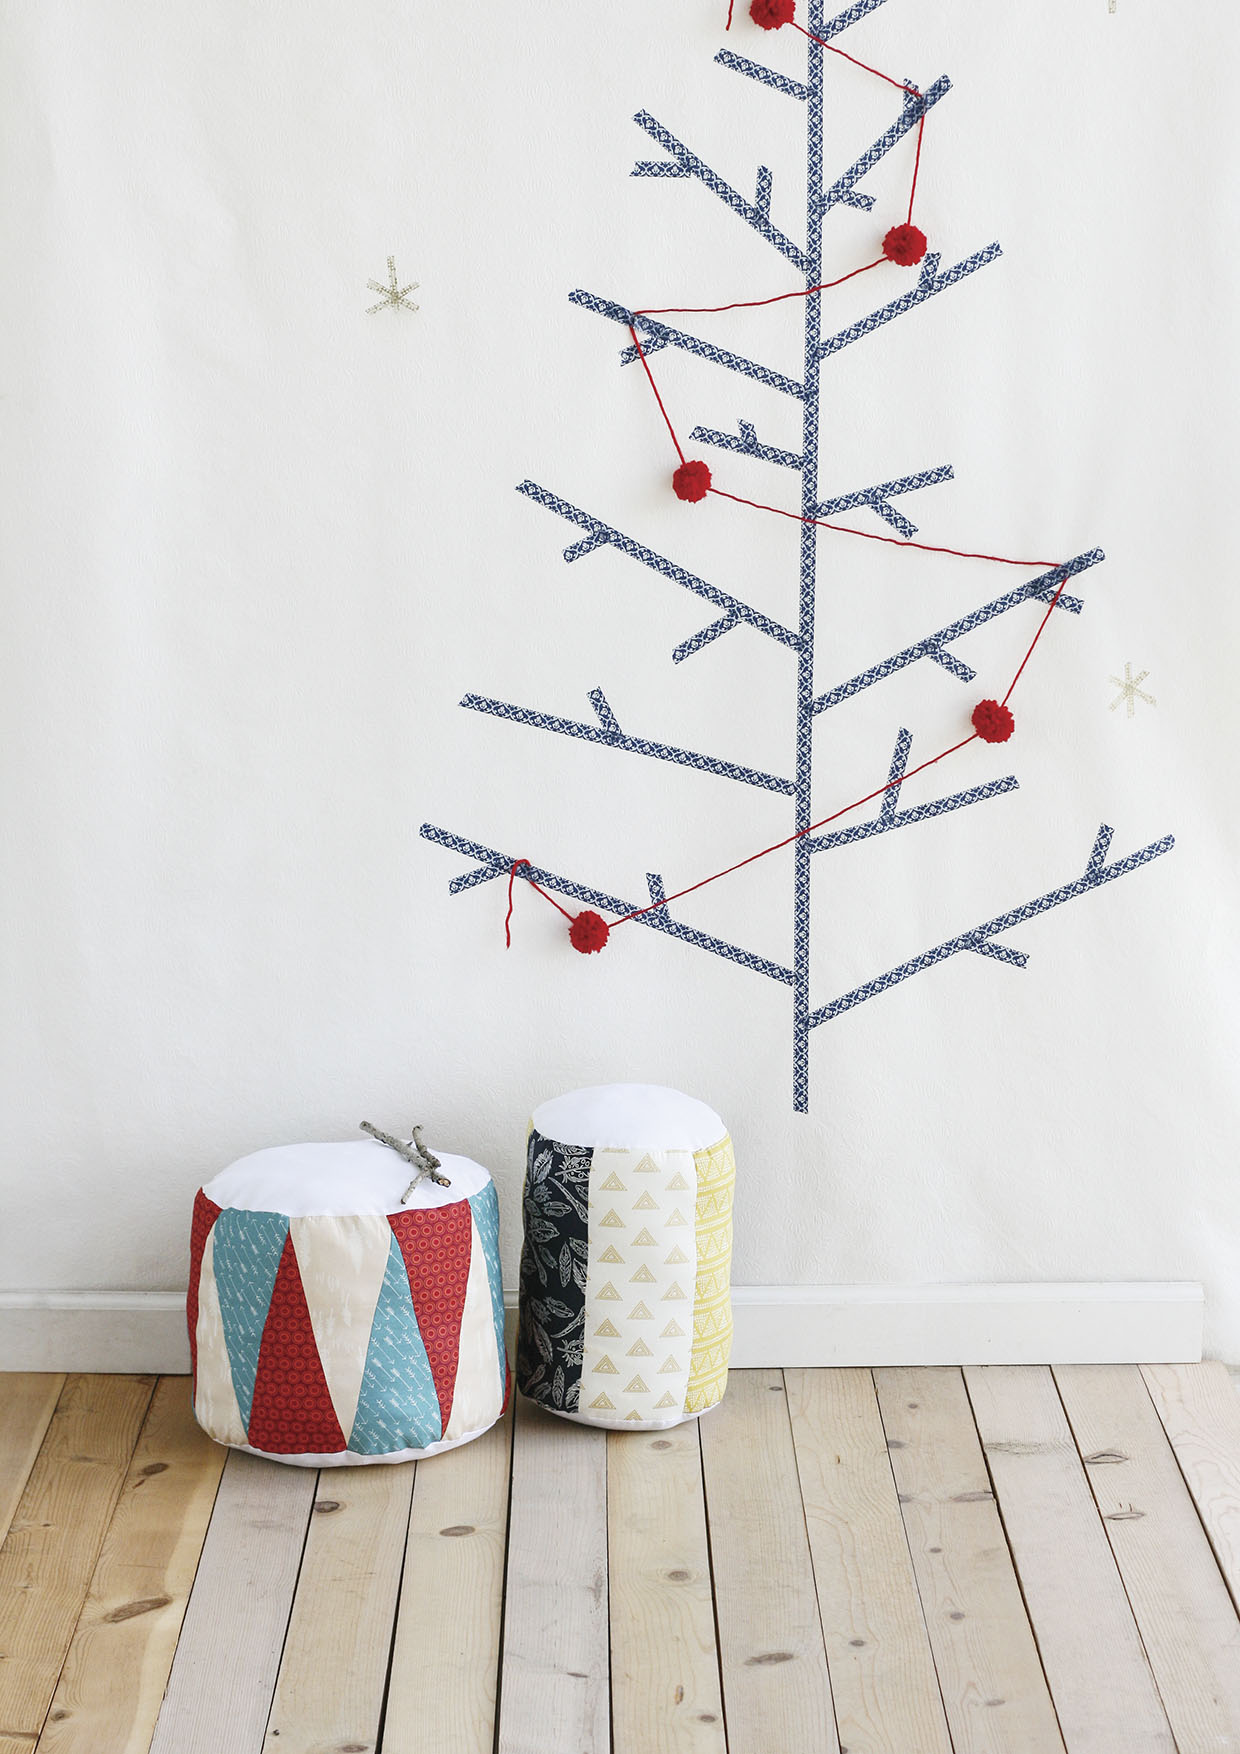
Making the rectangle-sided drum
Step 1
Trace the templates from the pattern sheet and cut them out.
Step 2
From the white fabric cut out two smaller circles.
Step 3
Cut six rectangles – two each of three different colours.
Step 4
With right sides (RS) together stitch the long edge of the rectangles for the sides, one at a time, alternating the three colours to make a row. You need to start and finish your line of stitching 5mm (¼in) away from the ends.
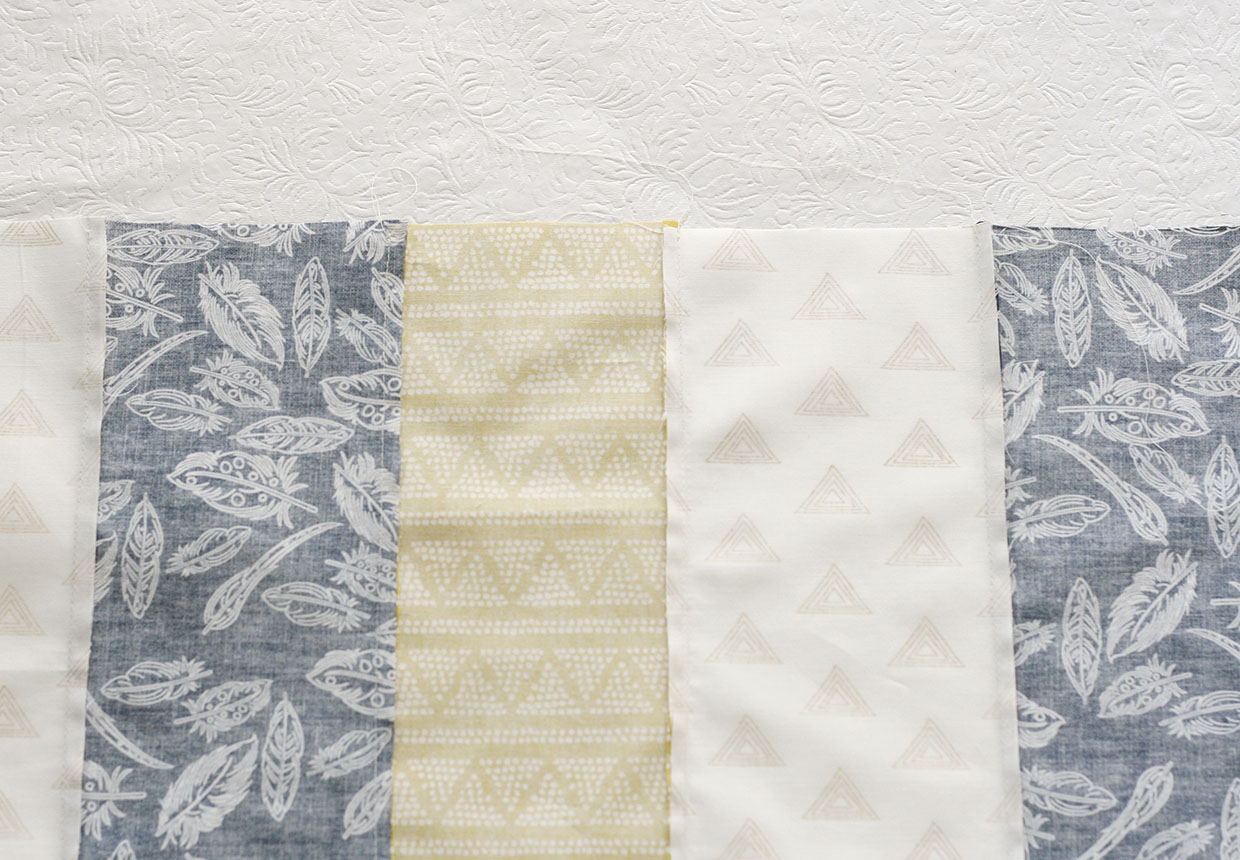
Step 5
Once the rectangles have been sewn together, match the edges of the first and last rectangles and stitch RS together to form a fabric tube.
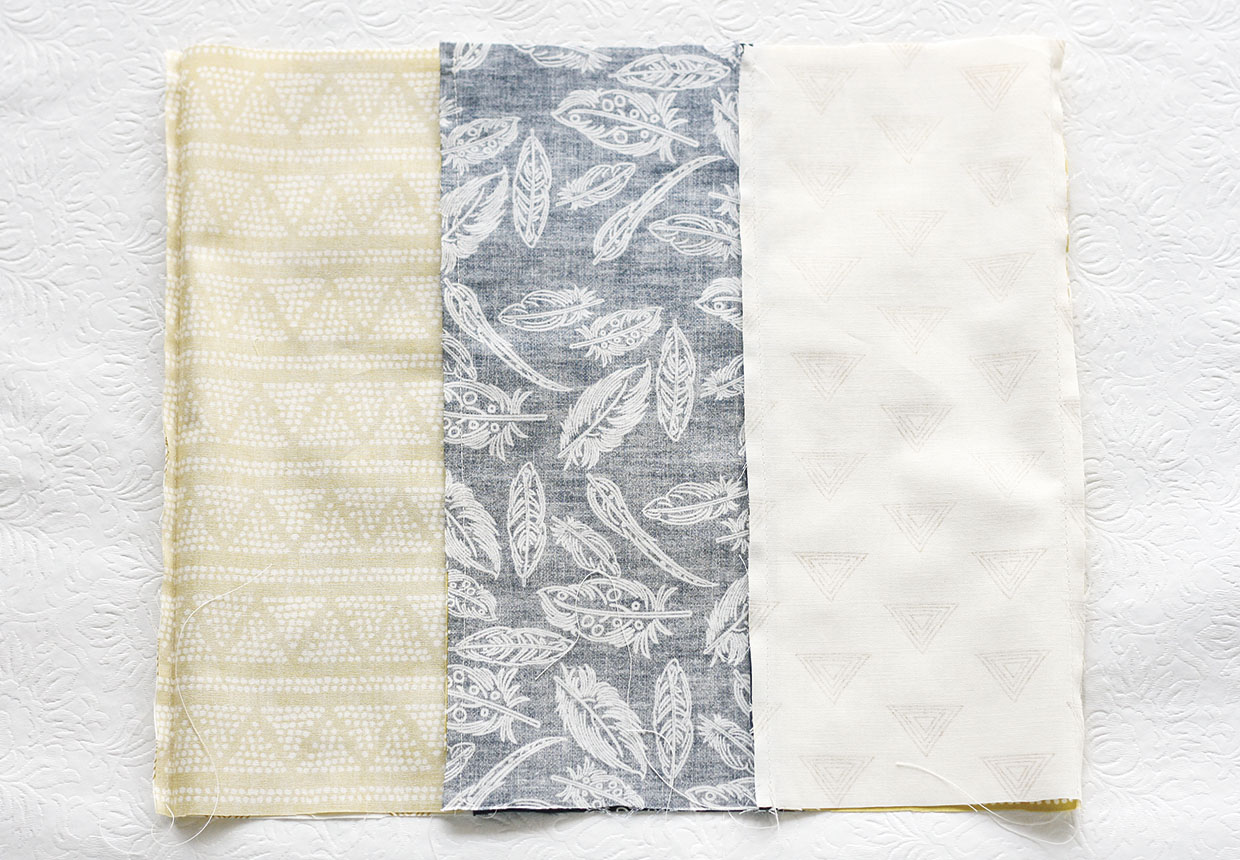
Step 6
Pin one end of the tube to one of the smaller white circles RS together. The tiny bit of seam you left open will help ease the two pieces together. Stitch together all the way round.
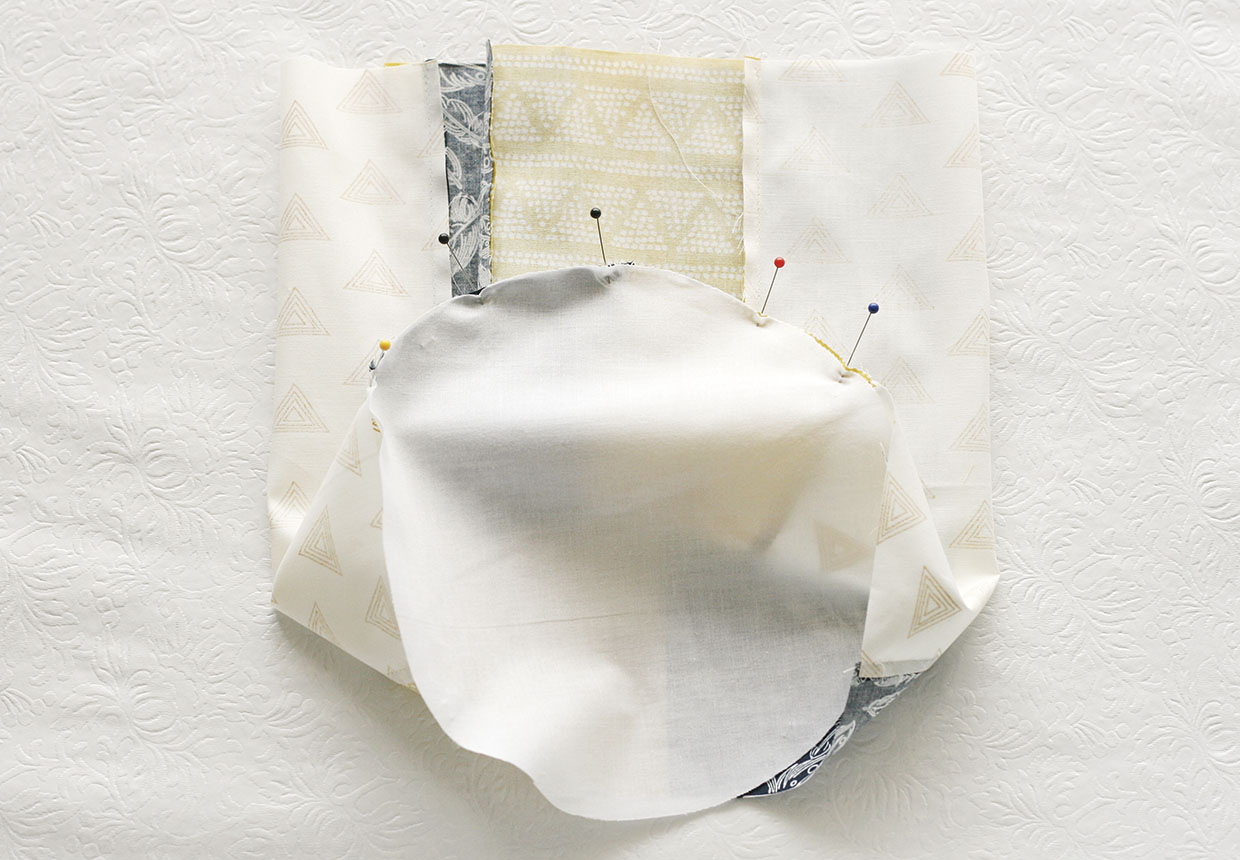
Step 7
Clip the fabric in the seam allowance all the way around to help it lie flat, making sure you don’t cut through any of the stitches.
Step 8
Repeat this process to attach the other white circle to the other end of the tube. Leave a 10cm (4in) gap for turning.
Step 9
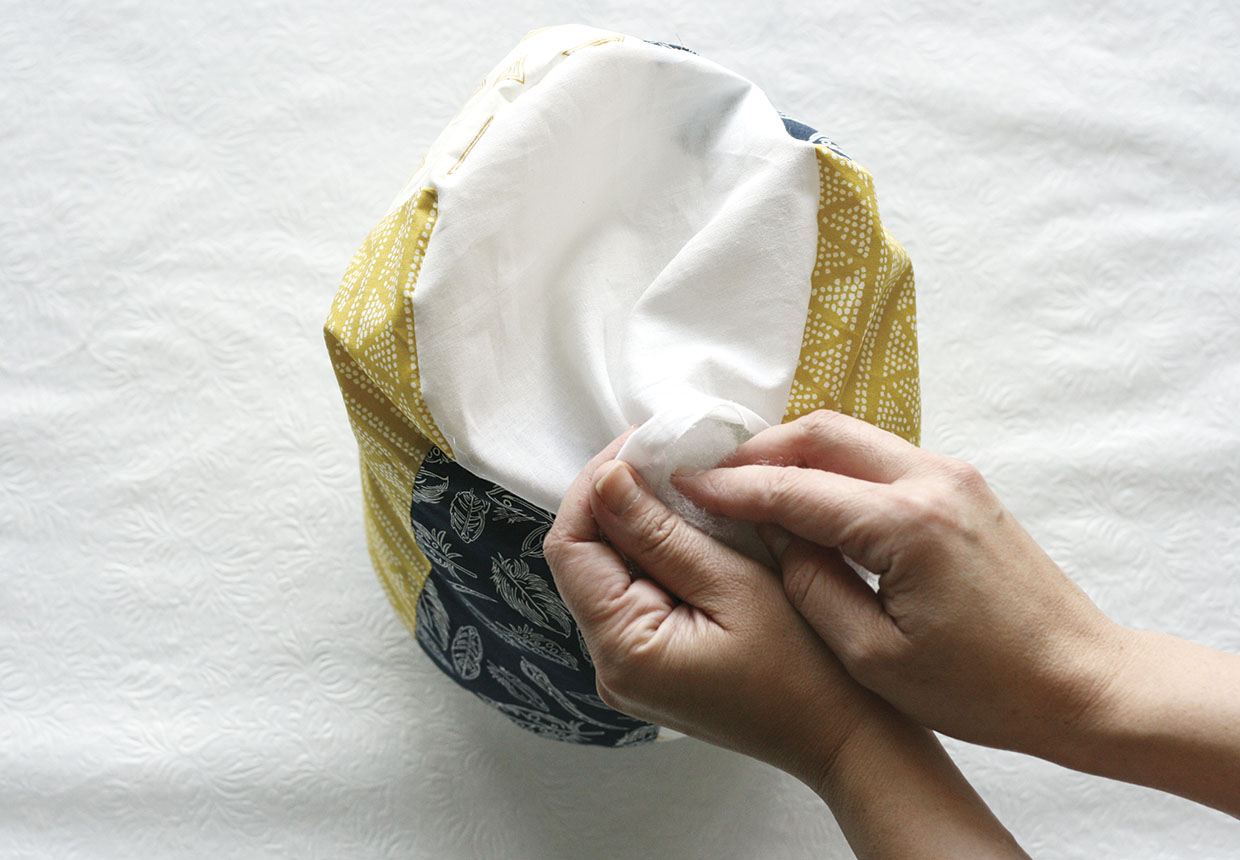
Turn RS out and press, turning the edges of the gap under. Stuff firmly.
Step 10
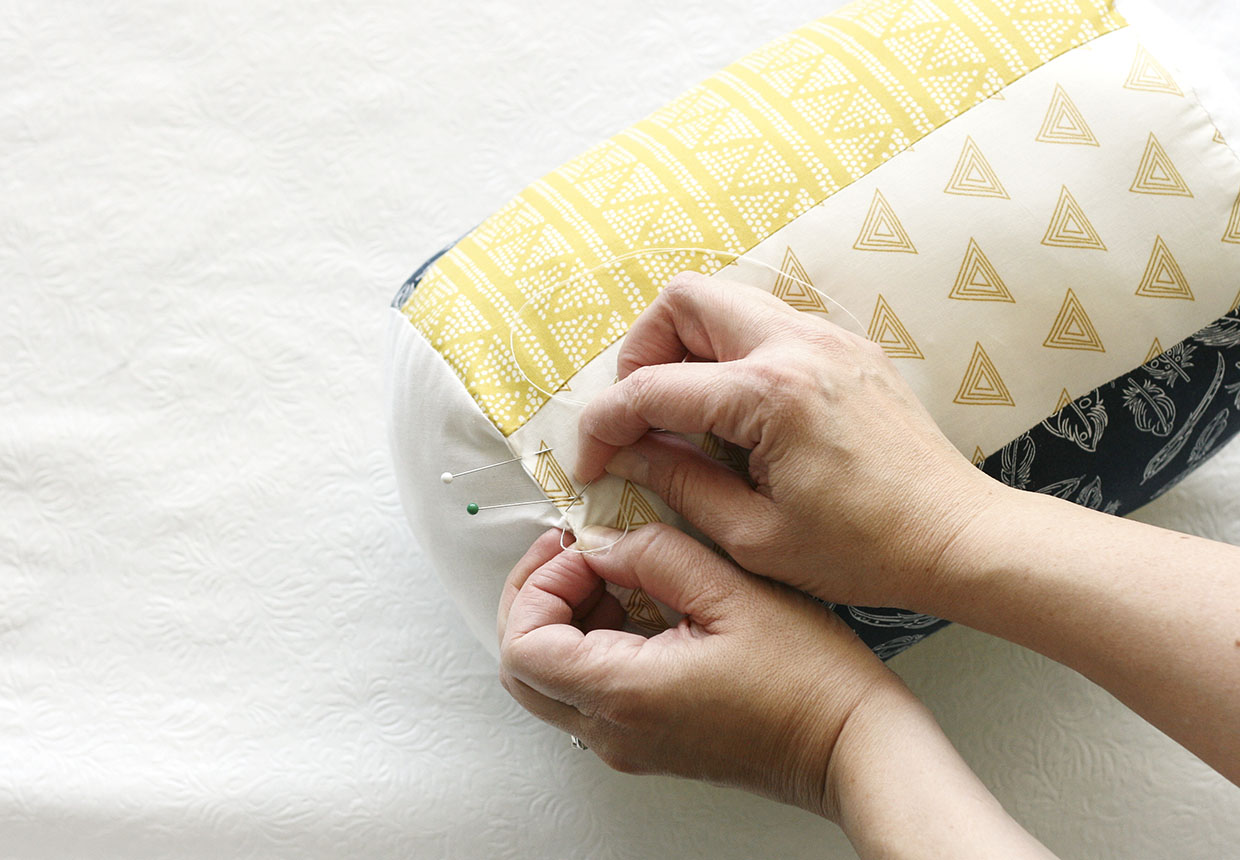
Hand stitch the opening closed using a whip stitch to complete.
Making the triangle-sided drum
Step 1
From the white fabric cut out two large circles.
Step 2
Cut eighteen triangles – six each of three different colours.
Step 3
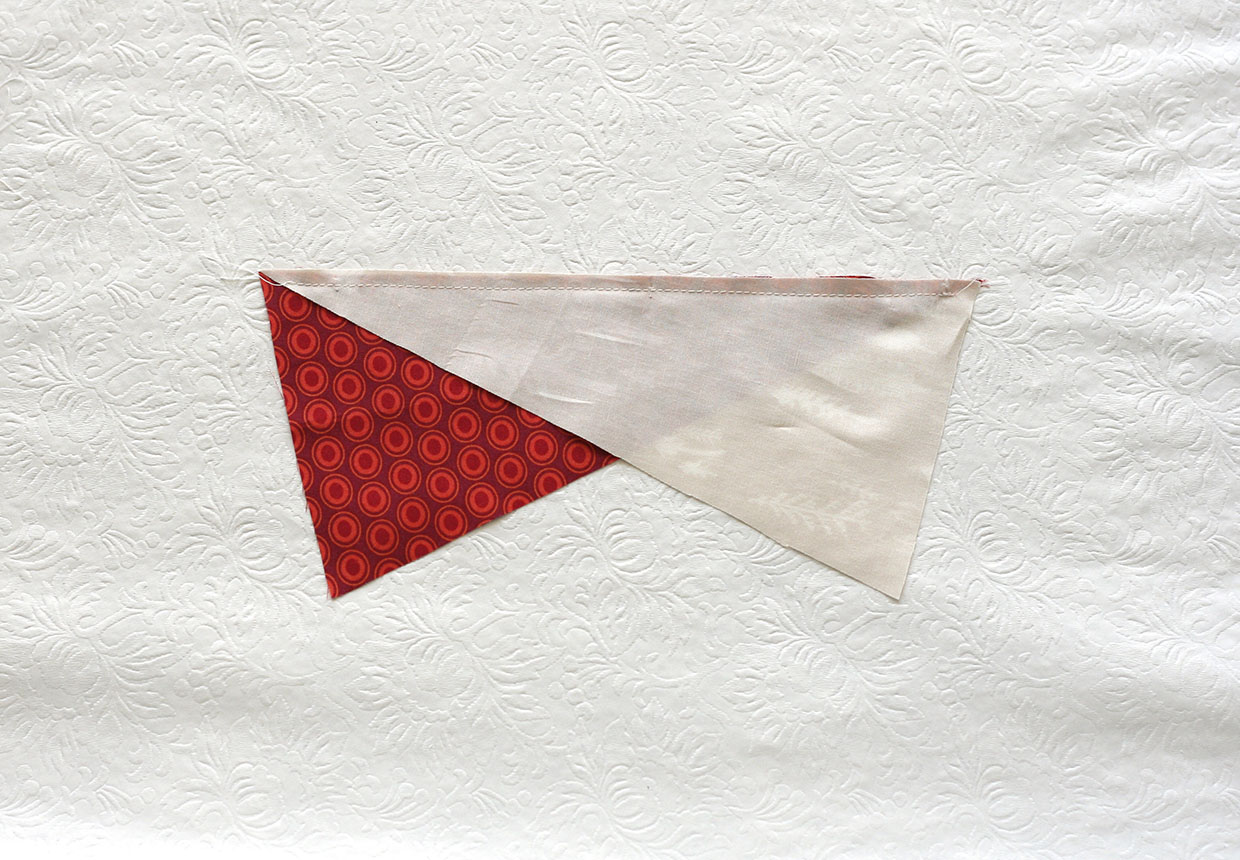
Place the long edge of one triangle RS together (wide to narrow) with another triangle, and stitch, leaving 5mm (¼in) open on each end.
Step 4
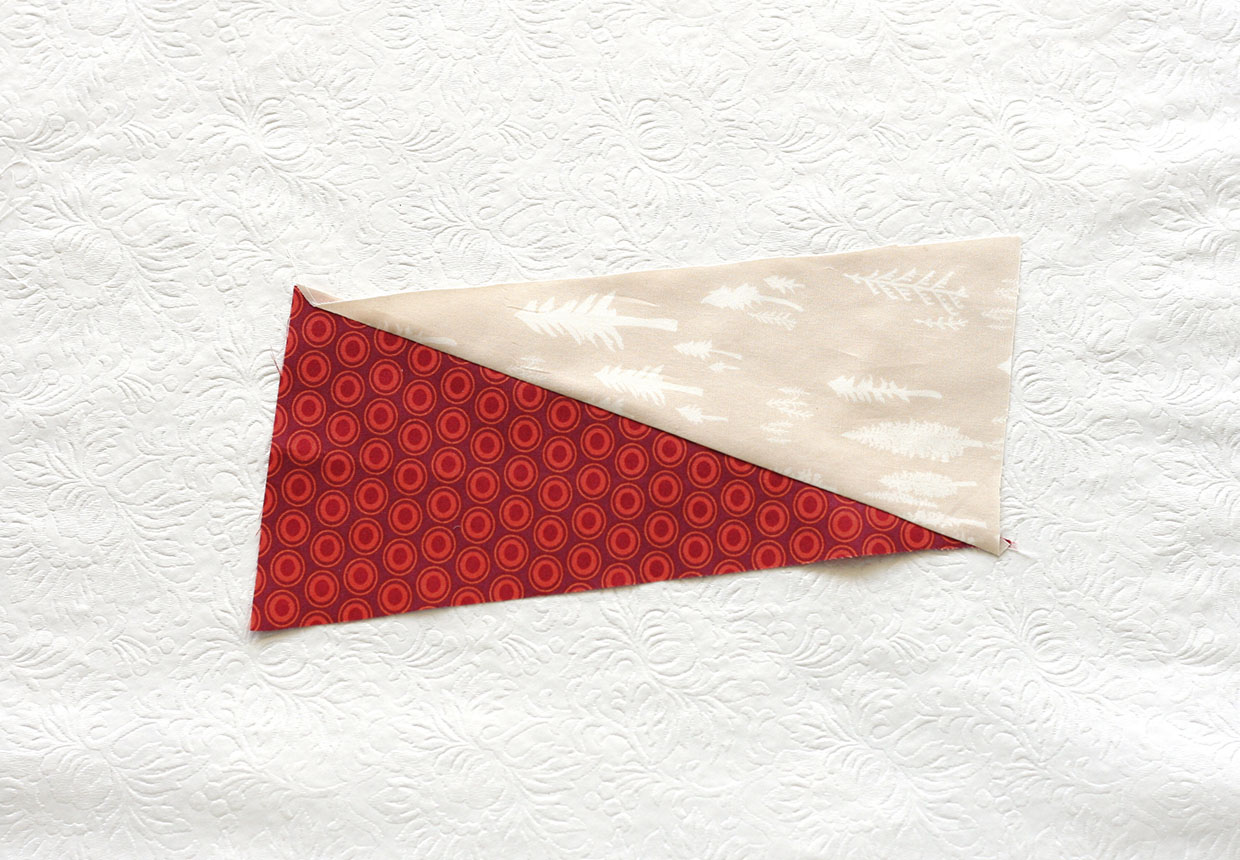
Turn the joined triangles so that both are facing RS up and press.
Step 5
Add the next triangle RS together along one side of a joined one, alternating directions and colours each time.
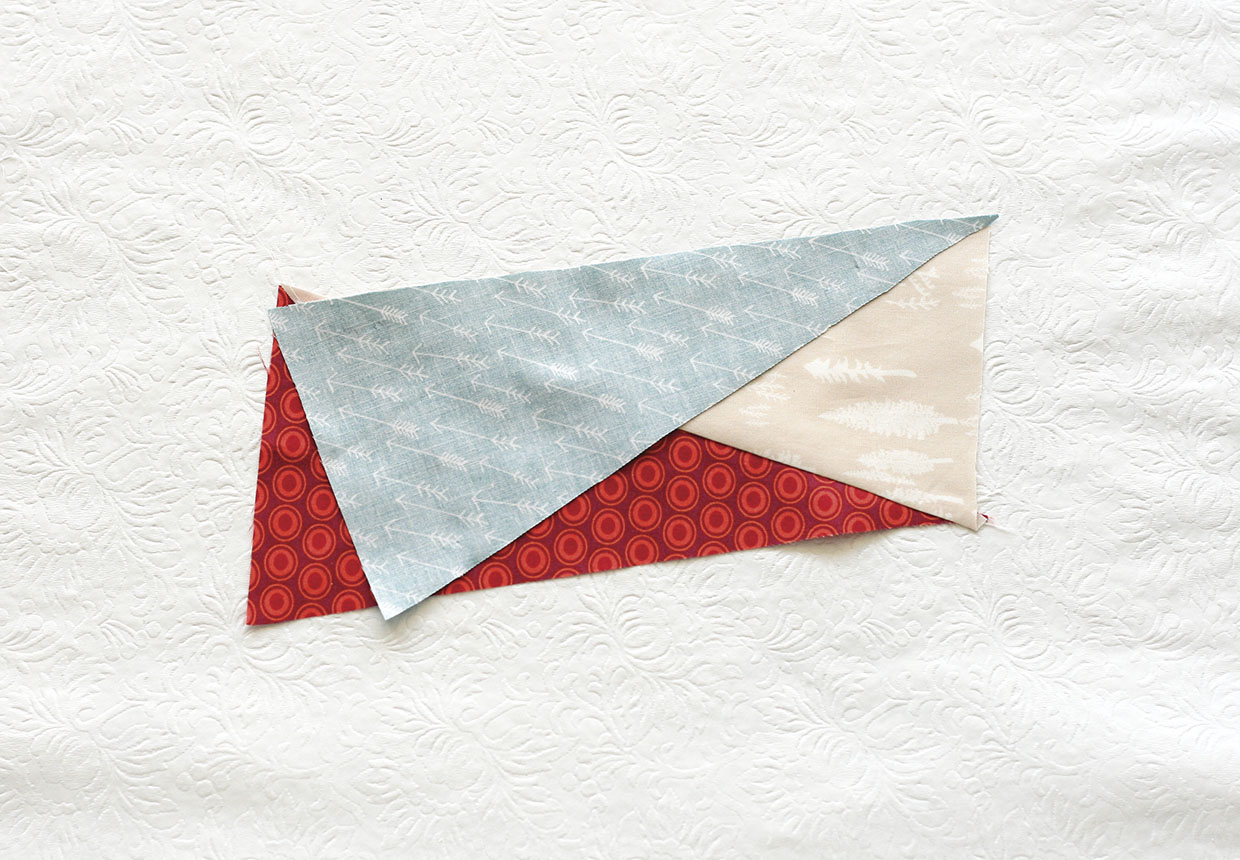
Step 6
One you have finished joining all the triangles together, match the edges of the first and last triangle and stitch RS together to form a fabric tube.
Step 7
Attach the large circle at the top and bottom, then stuff and sew up the gap in the same way as for the rectangular drum.


