Culottes pattern
All products were chosen independently by our editorial team. This review contains affiliate links and we may receive a commission for purchases made. Please read our affiliates FAQ page to find out more.

Culottes pattern

These beautiful cord culottes would make a stylish addition to your wardrobe! Learn how to make them with our step-by-step culottes pattern

6 issues of Simply Sewing magazine for £14.99|Save 78%!

Published: July 13, 2022 at 7:00 am

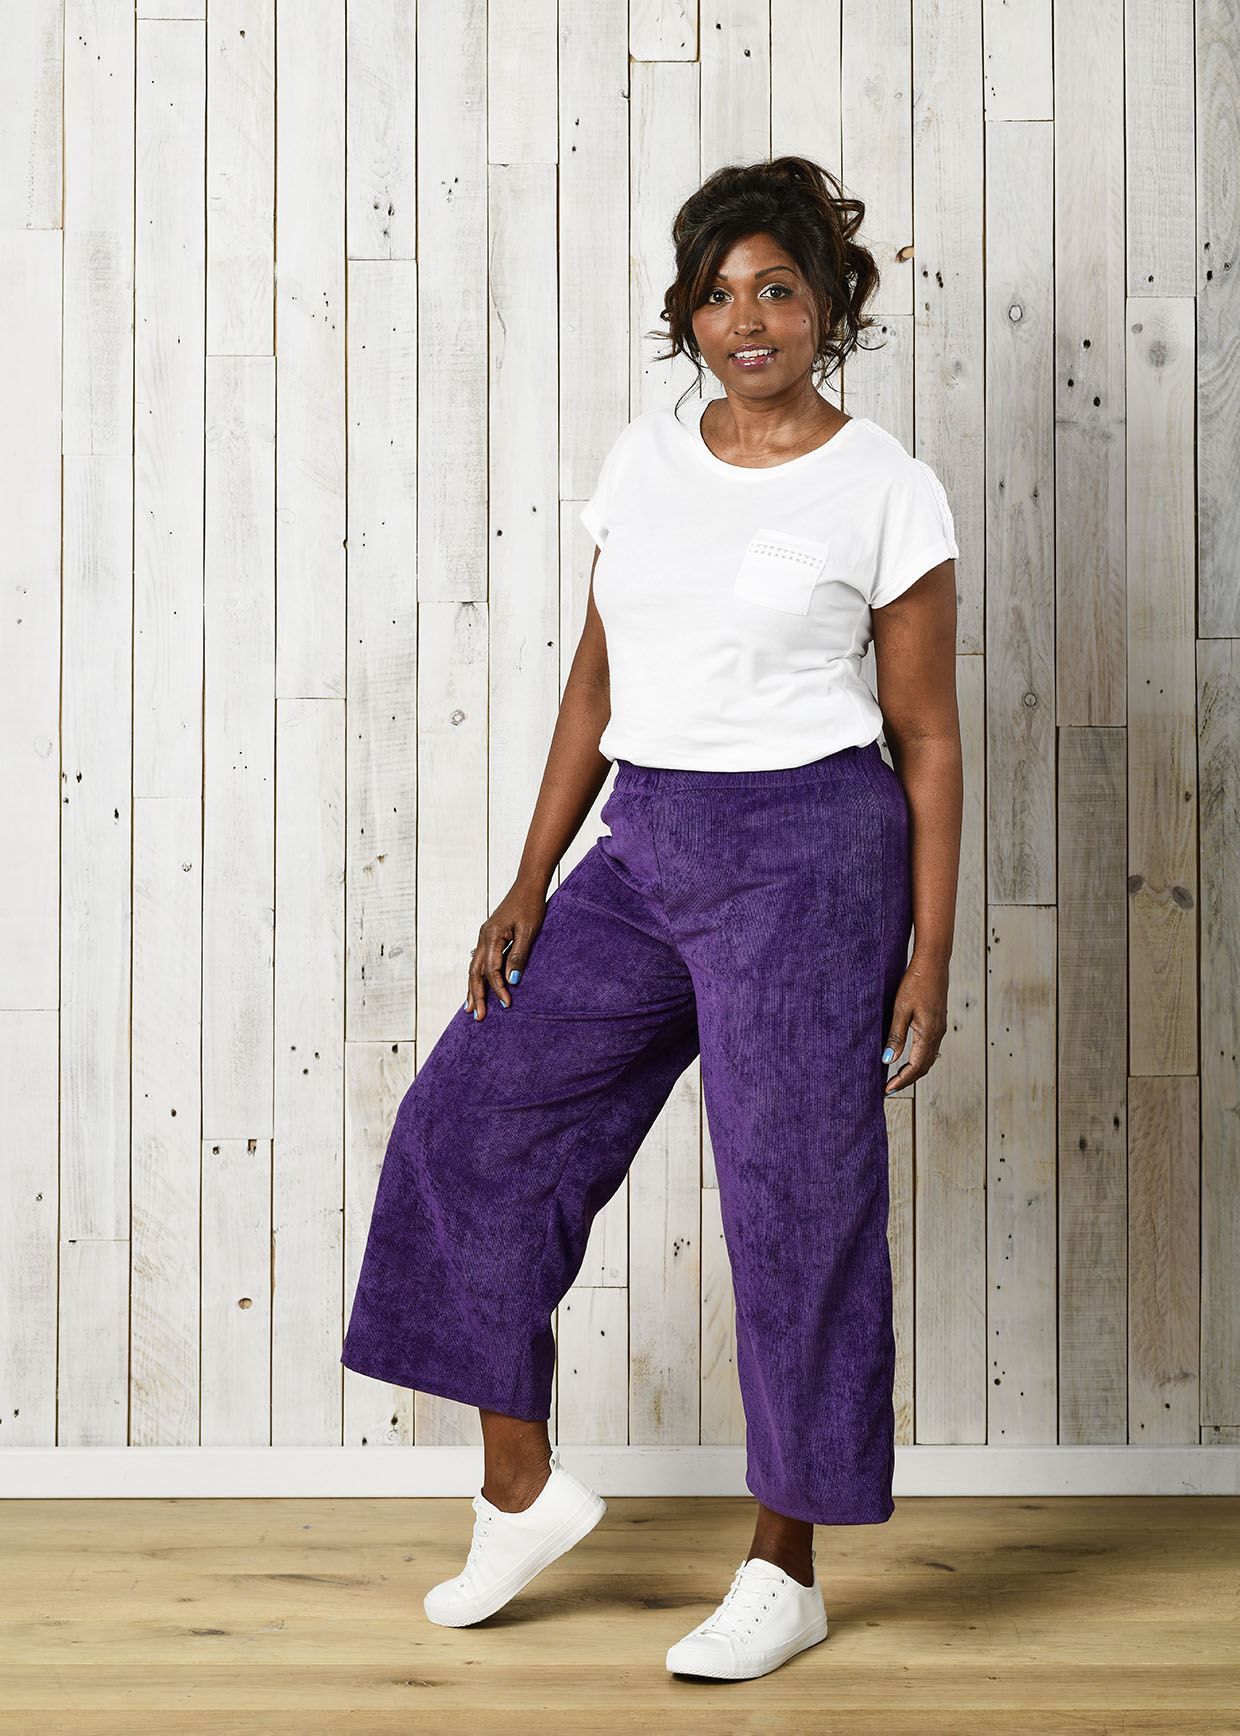
Don't you love these cute culottes? They're made from comfortable cord fabric and look great in any colour.

This culottes pattern is ideal for anyone who is bored of wearing jeans all the time and wants to update their style. With their cropped length and thick fabric, they're perfect for spring and autumn days when the weather isn't too cold.

Debbie's culottes sewing pattern has a really fresh and modern feel. You'll want to make them in every colour! In this guide, we'll talk you through this culottes pattern step-by-step.

This pattern is published courtesy of Simply Sewing Magazine. Simply Sewing is a practical magazine for sewers of all abilities. It's packed with beautiful projects to sew and expert tutorials to boost your sewing skills.

Looking for more trousers to sew? Take a look at our classic how to sew pants tutorial, our comfy harem pants pattern or keep things casual with our easy how to make leggings guide.

If you're new to sewing, we'd recommend reading some of our sewing guides before you get started. Take a look at our sewing for beginners and how to use a sewing machine guides. You can also stock up on sewing supplies with our best sewing machines for beginners and sewing kits for beginners guides.

More ideas to try

This culotte pattern is really versatile! Here are some great ways to adapt the pattern:

  1. Make your culottes in a soft drapey viscose for a spring/summer essential.
  2. For a looser, more flared pair of culottes, angle the seams out from the crotch and the waistband.
  3. Sew a trim to the leg hems to add a boho vibe to your culottes.
  4. Add a tie belt and stitch simple belt loops to the waistband for an added detail.
  5. Add side seam or patch pockets to the culottes for a bag-free day out – everyone loves a pocket or two!
  6. For a glam look, use a silky, pleated or metallic fabric for your culottes. A plain pair would be great for daytime office wear and then you can wear your party pair out in the evenings!
  7. Alter the length depending on your height and your desired finished length. Make shorts or full-length trousers!

Culottes sewing pattern

Notes

  • Use a 1cm seam allowance.
  • We advise making your pattern before you purchase your fabric so you know how much to buy.
  • You can use paper to create a pattern you can keep and re-use or simply draw your measurements straight onto the fabric.
  • Be careful when pressing/ironing corduroy fabric. Iron it on the wrong side of the fabric only. Use a medium heat setting and iron in the direction of the pile – ensuring you don’t leave the iron in one place for too long. Do not press the iron down too hard as this can crush the velvet pile.
Fabric used

You will need:

  • Fabric (1.5–2.5mx140cm (depending on your measurements))
  • Elastic, 50mm (roughly 1m)
  • Paper to draw out your pattern
  • Ruler
  • Matching thread
  • Basic sewing kit

Making the pattern

Step 1

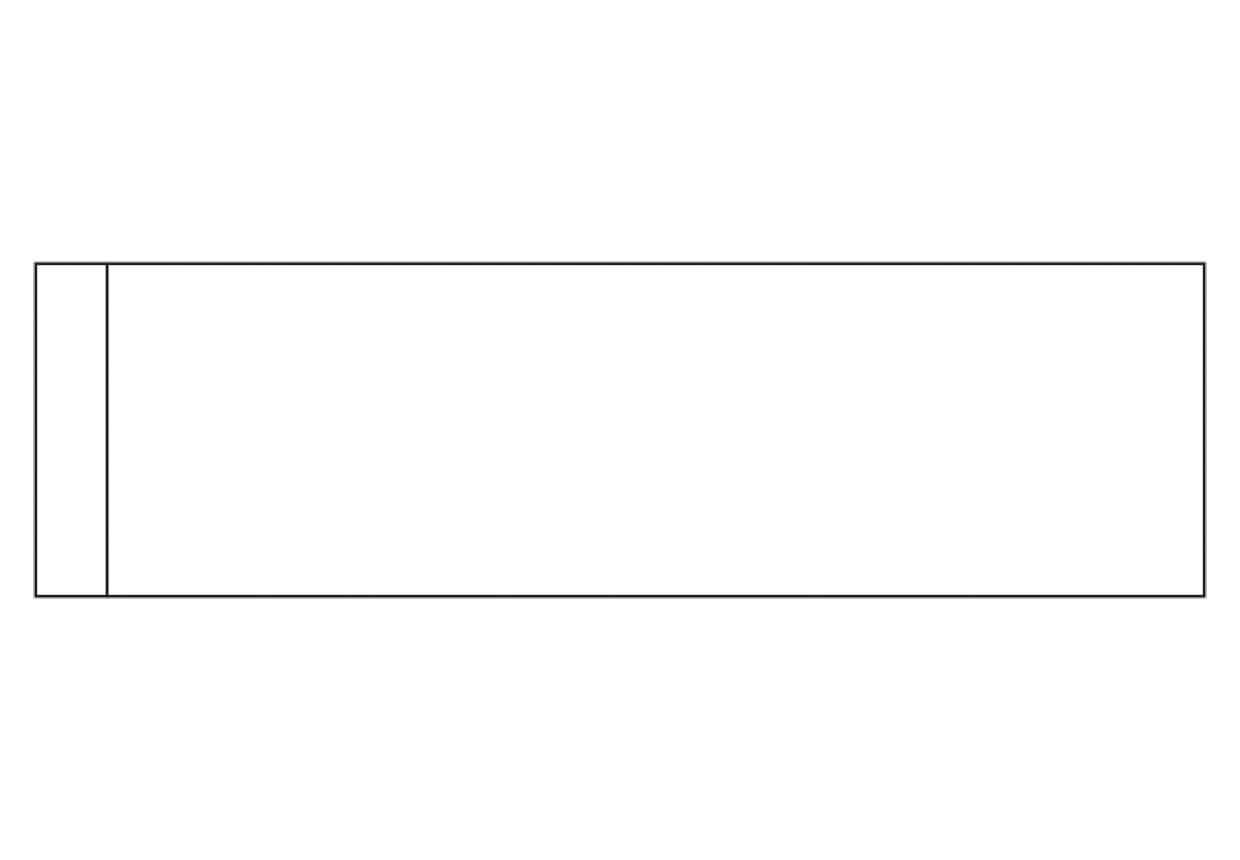
Measure around the widest part of your hips, divide by four and then add 5cm to this measurement. For example a size 10: 98cm divided by 4 = 24.5cm + 5cm =29.5cm. This gives you the width of the top of your trousers.

Step 2

Now measure from your waist to calf and add 2cm for hemming, this gives you the length. You should now have a rectangle. Add 10cm to the top end of the rectangle, this part is for your waistband.

Culottes pattern step 1

Step 3

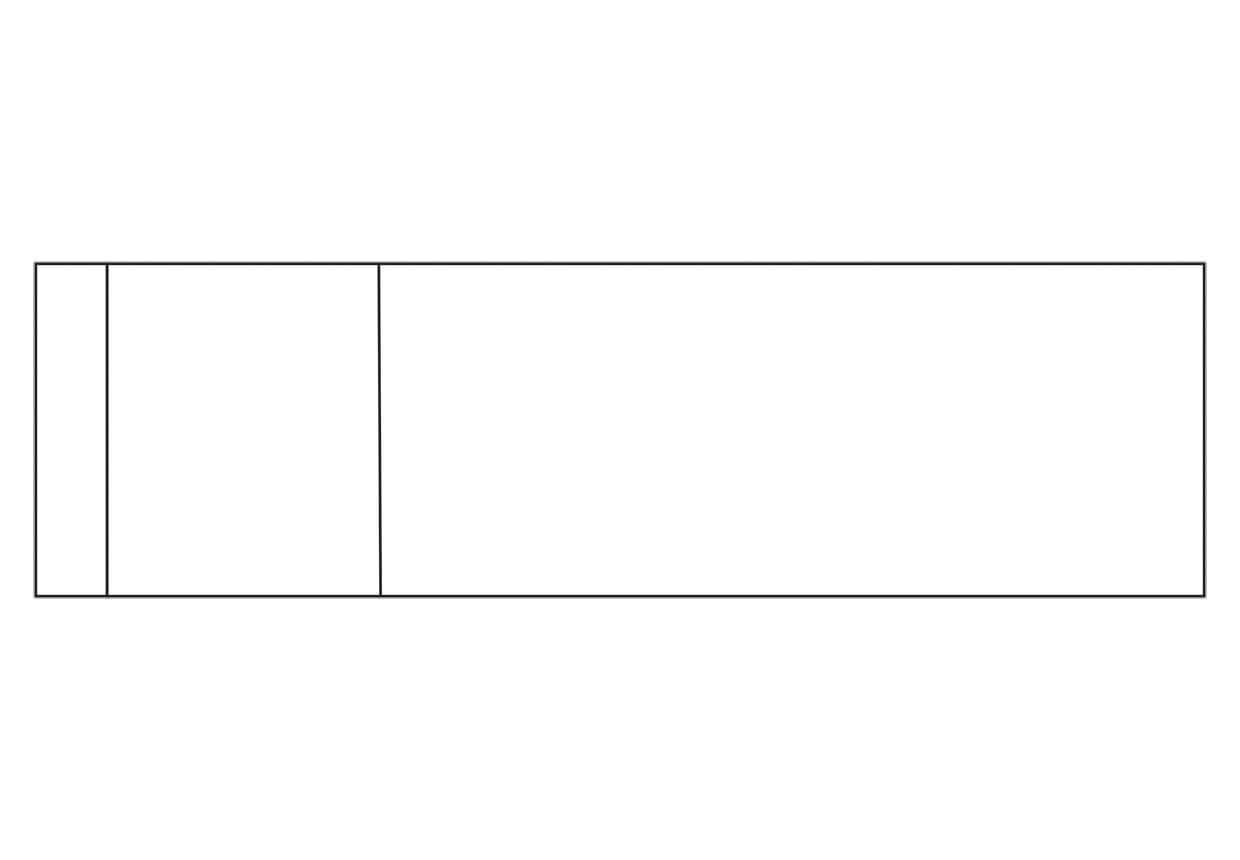
Measure 35.5cm down from the top (waistband) to give you your crotch line.

Culottes pattern step 2

Step 4

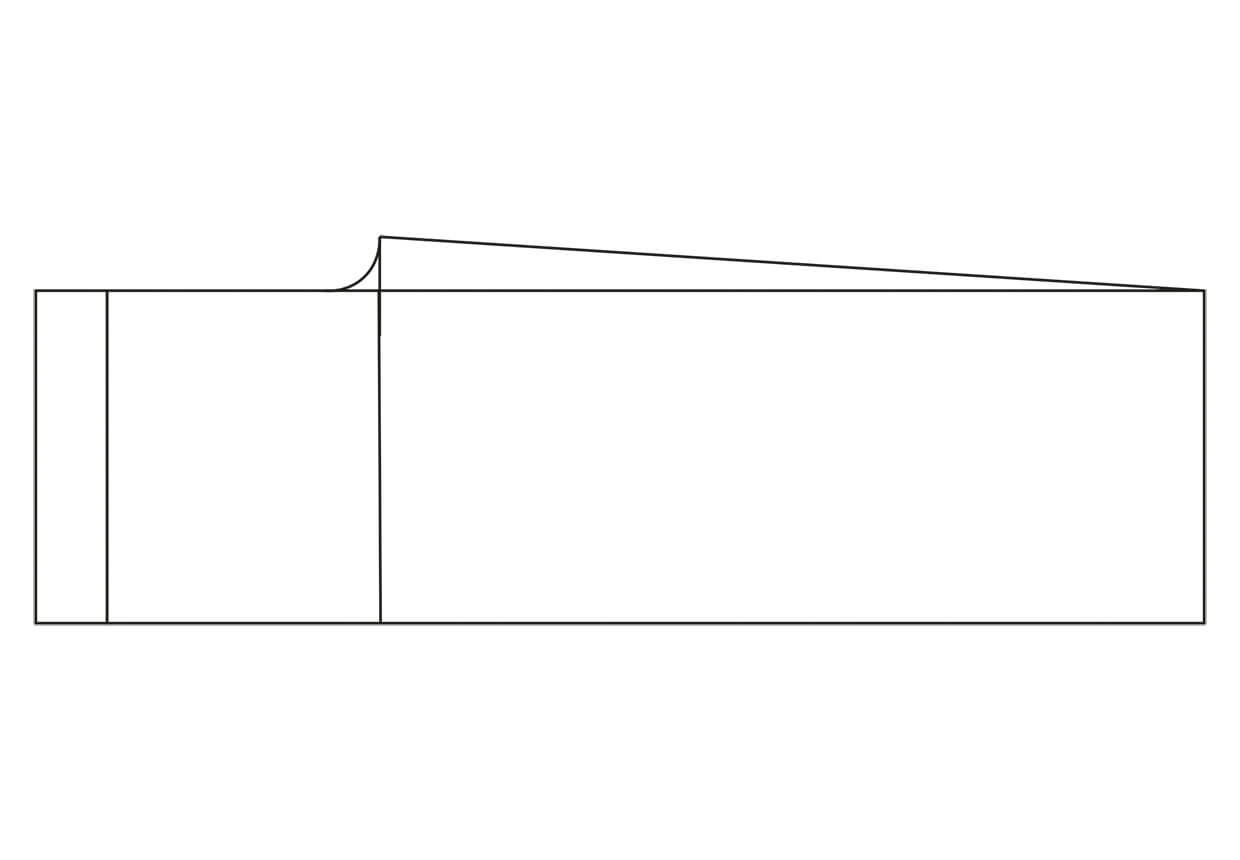
Extend the crotch line out 5cm and up 5cm from this line, draw a curve to join the two points. Then extend the crotch line straight down to the rectangle corner to give a wide leg but with a slightly tapered bottom.

Culottes pattern step 3

Step 5

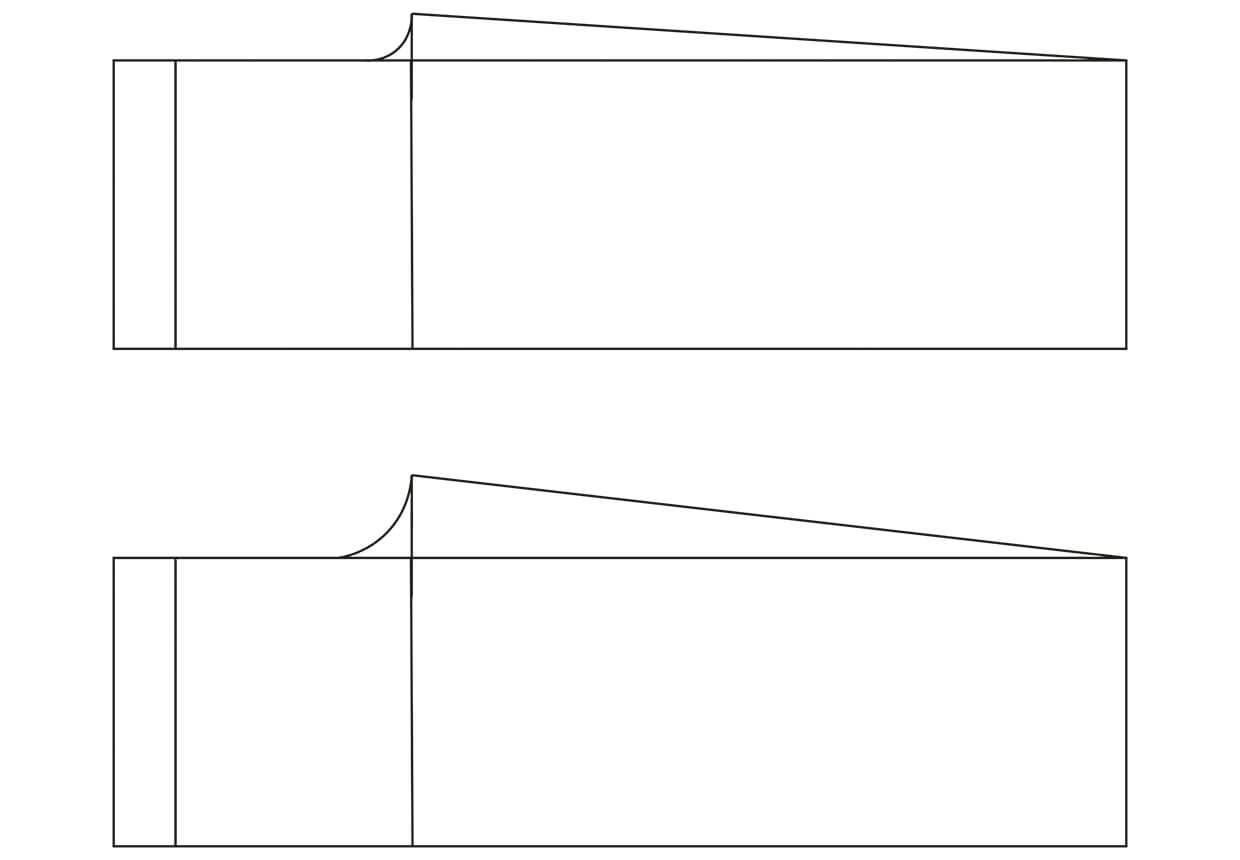
Label this pattern piece ‘Front’. Repeat the above steps to make a back leg pattern, but when you get to step four extend the crotch lines up and out 10cm.

Culottes pattern steps 4 and 5

Step 6

Use these pattern pieces to cut out your front and back trouser legs. Lay your fabric out folded in half lengthways with selvedge edges meeting. Lay your pattern pieces on top and pin in place. Cut a front and a back, and because you have pinned your pattern pieces on the folded fabric you will end up with two mirror image front legs and two mirror image back legs.

Constructing the culottes

Step 1

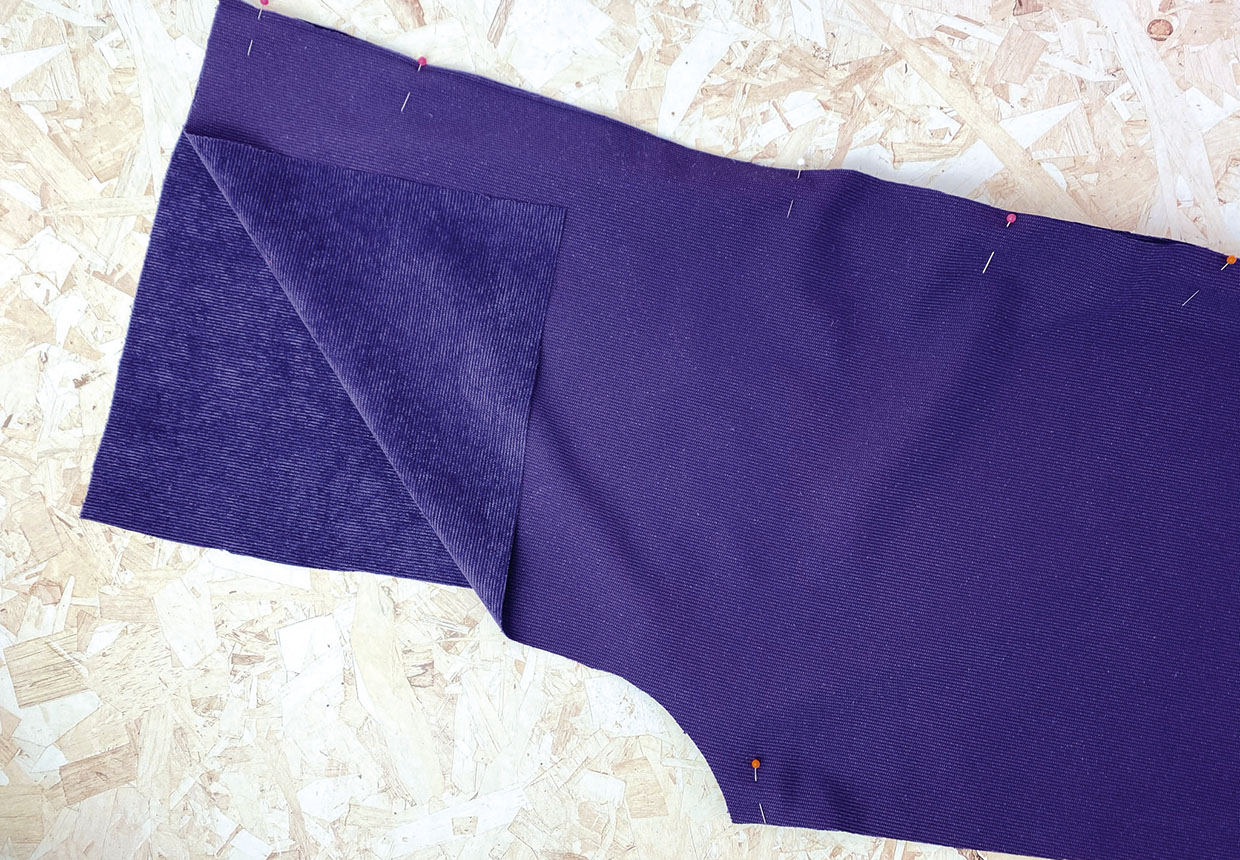
Take one leg front and one leg back and with right sides (RS) facing pin together along the inner and outer leg seams ignoring the crotch area. Pin and stitch together (pressing after stitching) and repeat for the other leg. You can finish the seams with an overlocker or zigzag stitch. Repeat for the other leg.

Culottes pattern step 6

Step 2

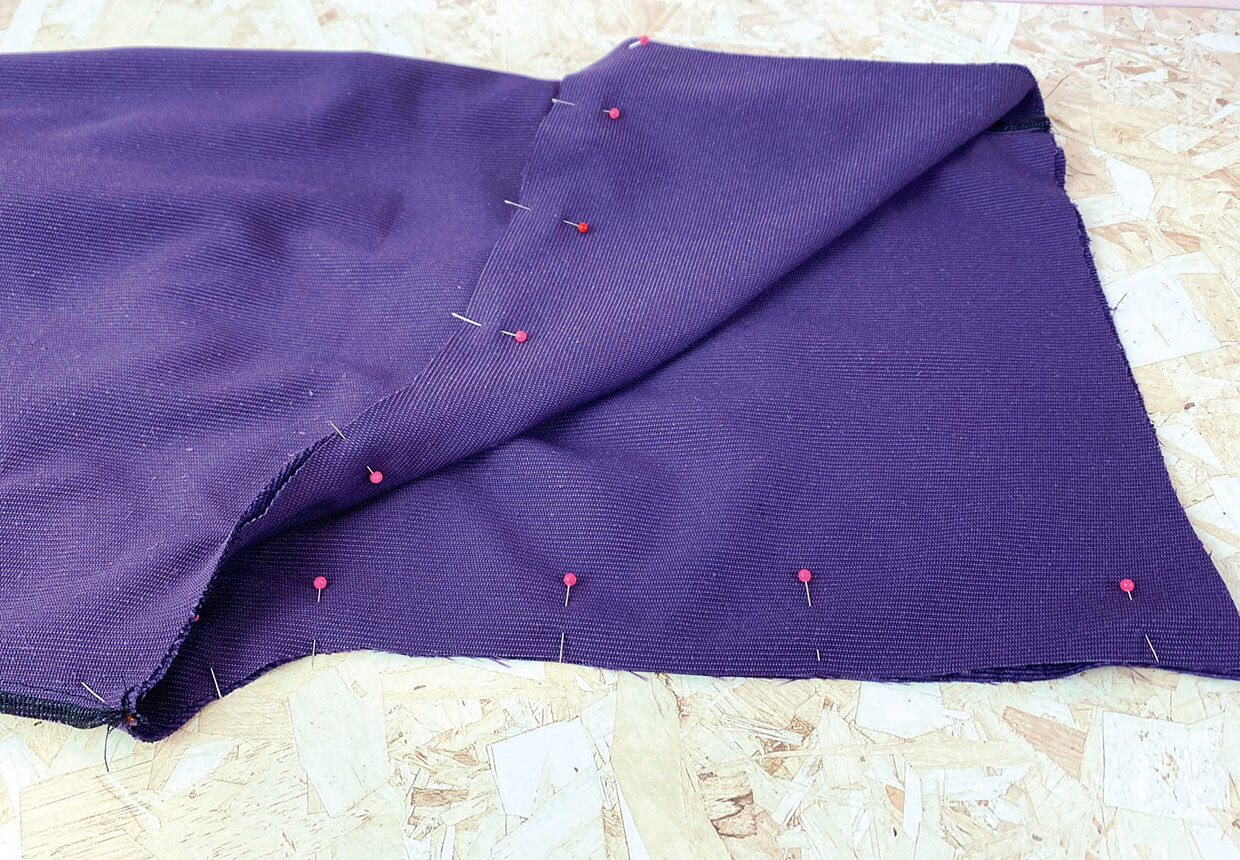
Turn one leg RS out and put it inside the other leg so RS are facing and pin together at the crotch matching inner crotch seam.

Culottes pattern step 7

Step 3

SStitch the legs together around the crotch seam from front to back. Finish the seam.

Step 4

Fold the top edge of the waistband down by 1cm and press to the inside of the trousers. Fold again by 10.5cm, press. Stitch in place 5mm from the folded edge, leaving a gap of 15cm to thread your elastic through.

Step 5

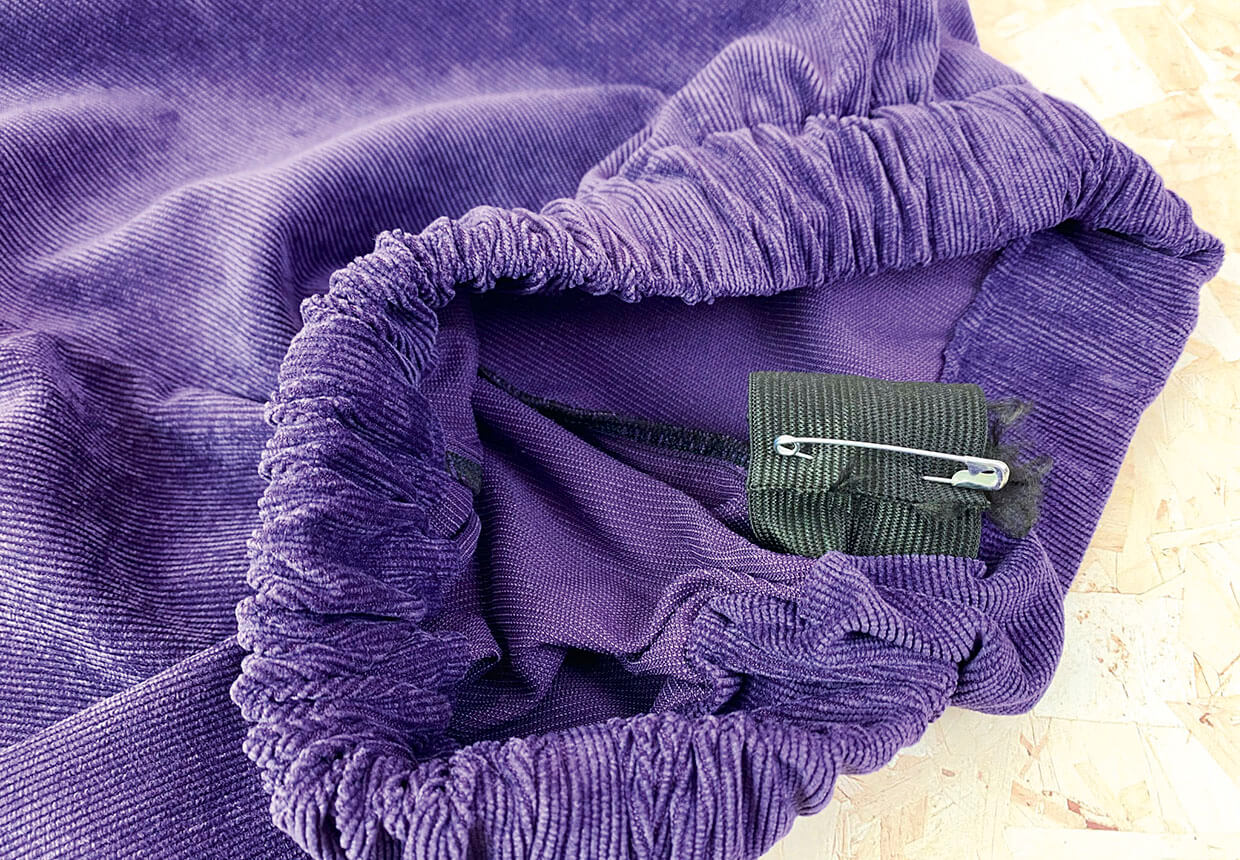
Cut a length of elastic that fits comfortably around your waist. Attach a safety pin and thread the elastic through the waistband channel. Stitch the ends of the elastic together using a zigzag stitch.

Culottes pattern step 8

Step 6

Close the gap in the waistband. To prevent the waistband elastic twisting, sew a line of zigzag stitches through the centre of the elastic all the way around the waistband, stretching the elastic as you go.

Step 7

Try the culottes on to check the length. Hem by overlocking the raw edge then pressing up a hem to your chosen length.

Congratulations! You’ve finished making this culottes sewing pattern. We hope you enjoyed making them.

Culottes pattern