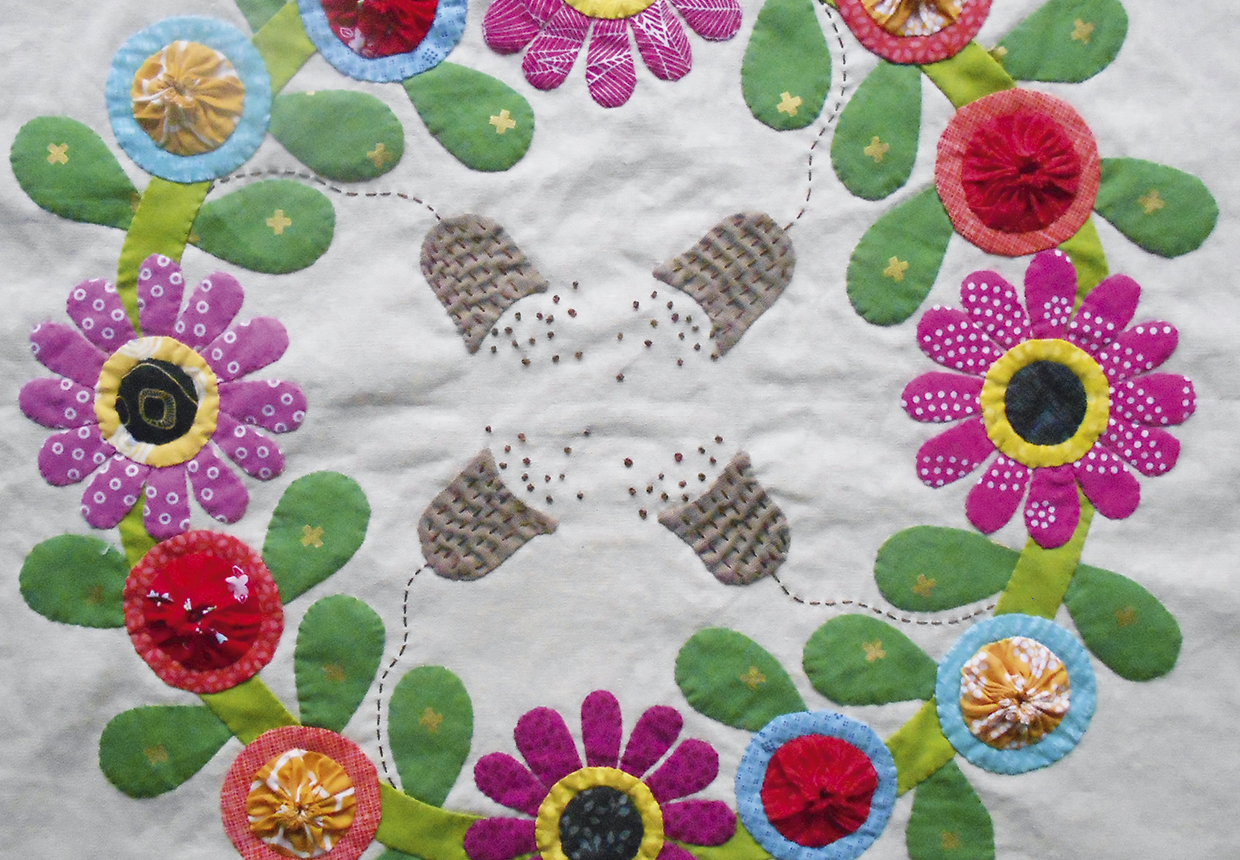
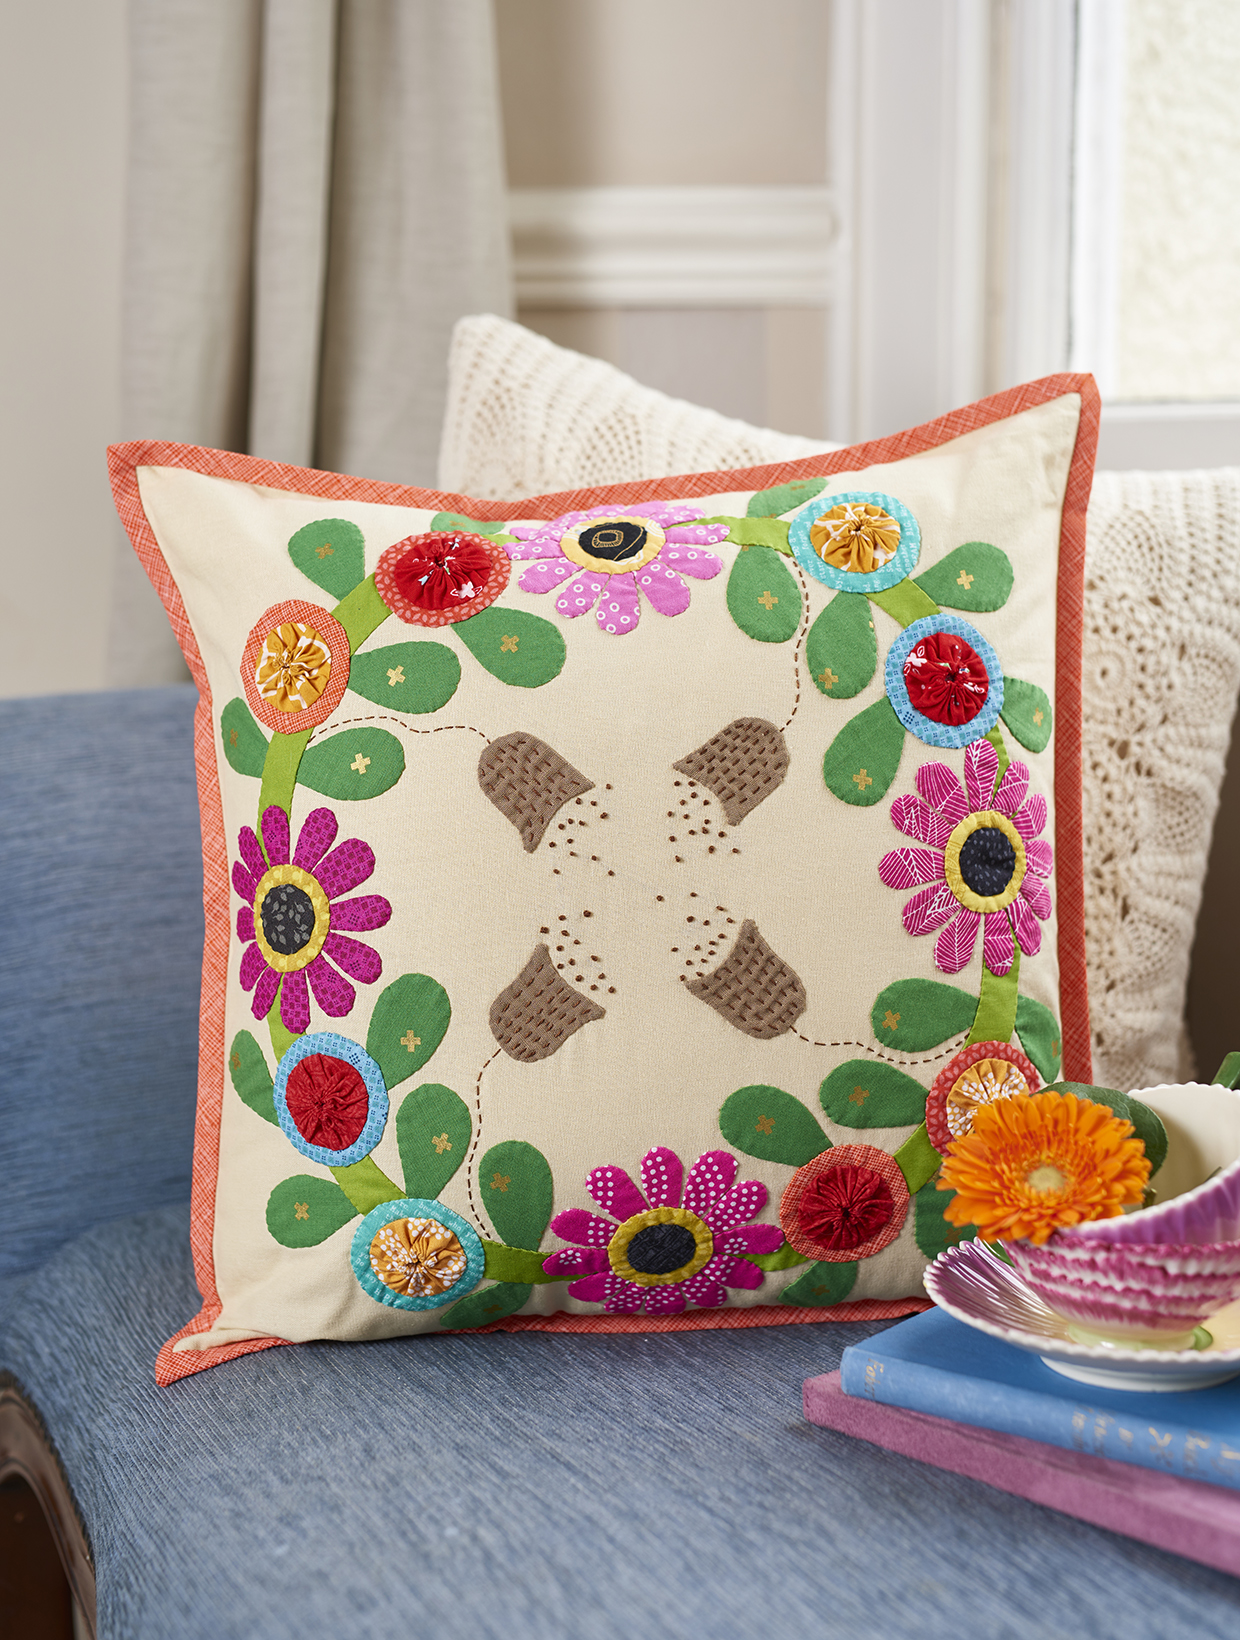
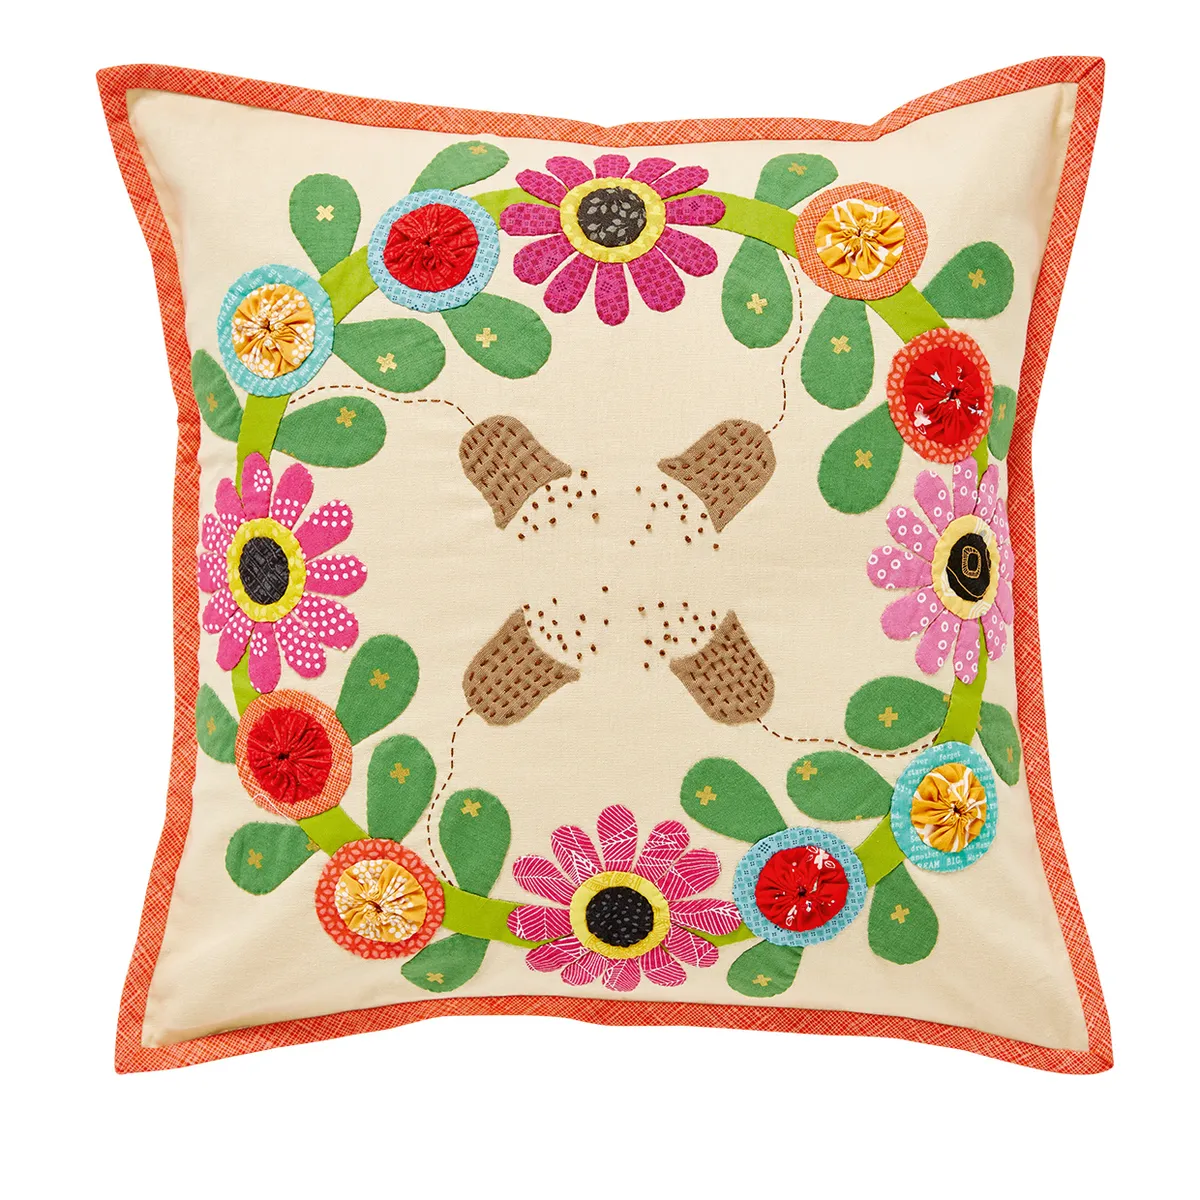
Applique is one of the most satisfying stitching techniques to try, and this summer flower appliqué project is the perfect DIY to use up fabric scraps and turn them into a garden-full of home-sewn blooms.
"I wanted to emphasise the variety of bright colours available in so many of our garden favourites," says designer Jo Avery, "such as aster, gerbera, zinnia and cosmos, along with the gorgeous green of summer foliage. I would have loved to include a poppy, but the shape was a little beyond the limitations of needle-turn appliqué! So, instead I included a poppy seed pod. As well as being a very pleasing shape in themselves, these miniature ‘pepper pots’ hold not only a reminder that summer is short but, also the promise of the next one to come!"
If you're new to appliqué, head over to our full guide to how to applique for beginners. If you're new to quilting and patchwork, you might also like our guides to quilting for beginners and the best quilt kits for beginners.
This project was designed by Jo Avery and was first featured in Today's Quilter magazine issue 10.
Summer flowers appliqué cushion – supplies list
- Assorted green fabrics, both solid and prints – 1 FQ in total
- Assorted bright pink fabrics for petals – 8in x 14in piece in total
- Assorted orange and turquoise fabrics for flowers – 8in square in total
- Assorted orange and red fabrics for yo-yos – 11in square in total
- Scraps of charcoal, yellow and brown fabrics for inner flower circles and seed pods
- Pencil/removable pen
- A small amount of brown perle cotton 8
- Binding fabric – 5in x WOF
- Sewing machine (see our best sewing machines for quilting)
- Thread
- Basic quilting kit
- A few pieces of aluminium foil measuring 4in square
- A piece of thin card measuring 4in square
- 16in cushion pad
Free summer flower appliqué templates
Free flower applique templates (PDF)
Finished size
16in square
Notes
- We used Essex Linen in Sand by Robert Kaufman for the background and backing.
- Depending on size and shape the pattern pieces have either ¼in or 3⁄16in seam allowances. Assume all are ¼in unless stated otherwise.
Before we begin... tips for appliqué
There are many ways to tackle needle-turn appliqué, but here is a method for sewing slightly larger circles.
Making large circles
Make a template by glueing the inner (broken line) circle from one of the circle patterns on to the thin card and cutting carefully out.
- Place your fabric circle wrong side up on to a square of aluminium foil.
- Place your card template on top and carefully enclose it in the foil, pressing tightly all the way round (Fig 1).
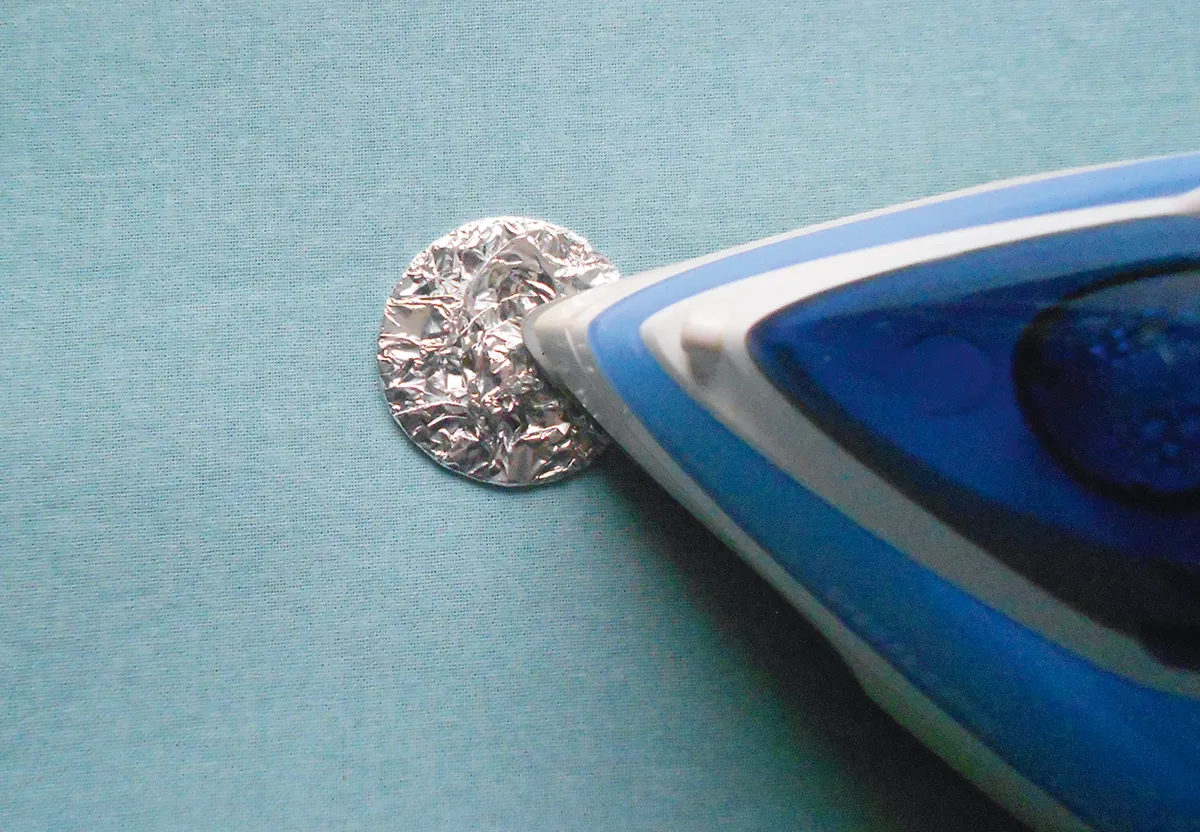
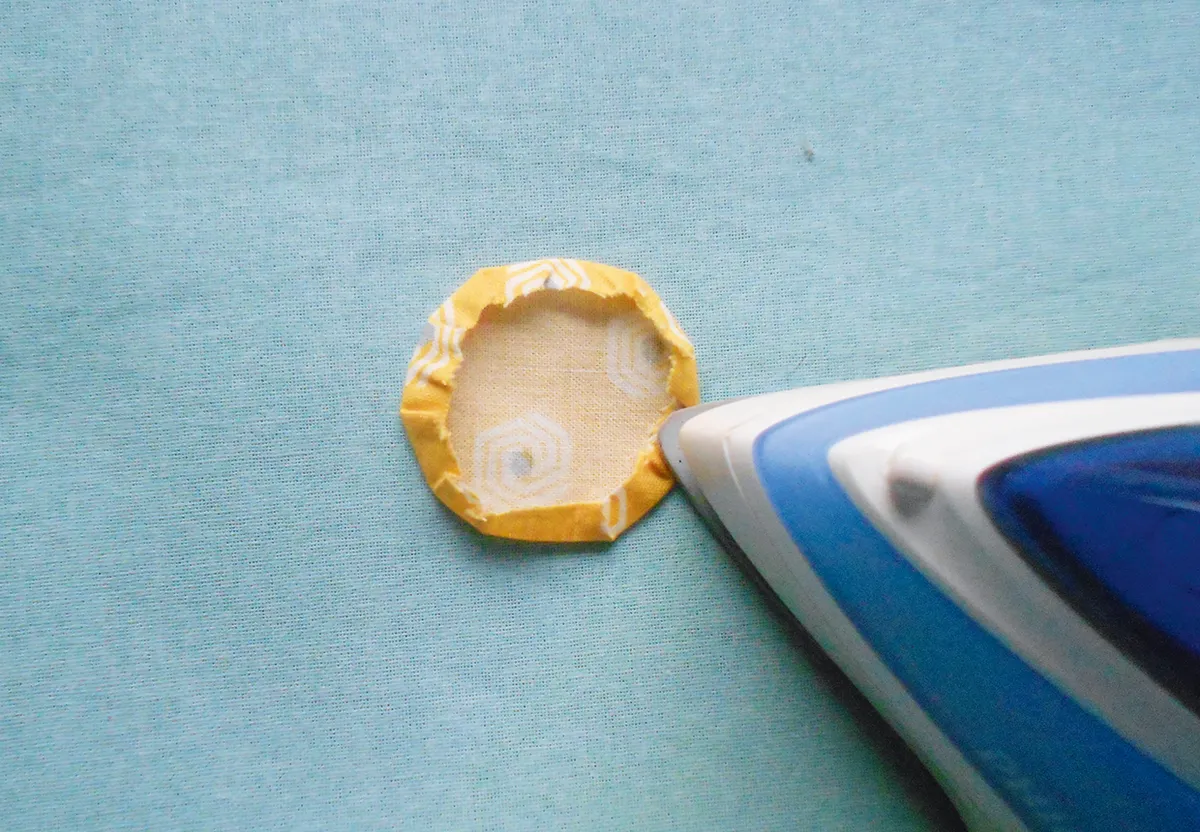
- Press very well on both sides of this foil packet, using your iron on its highest setting.
Carefully (it will be hot!) unwrap your foil and take out your fabric circle. If required you can carefully give your folded edges another press (Fig 2). It is now ready to appliqué.
Making a yo-yo
- Using your yo-yo template G (see our downloadable summer applique flower templates) cut out a fabric circle.
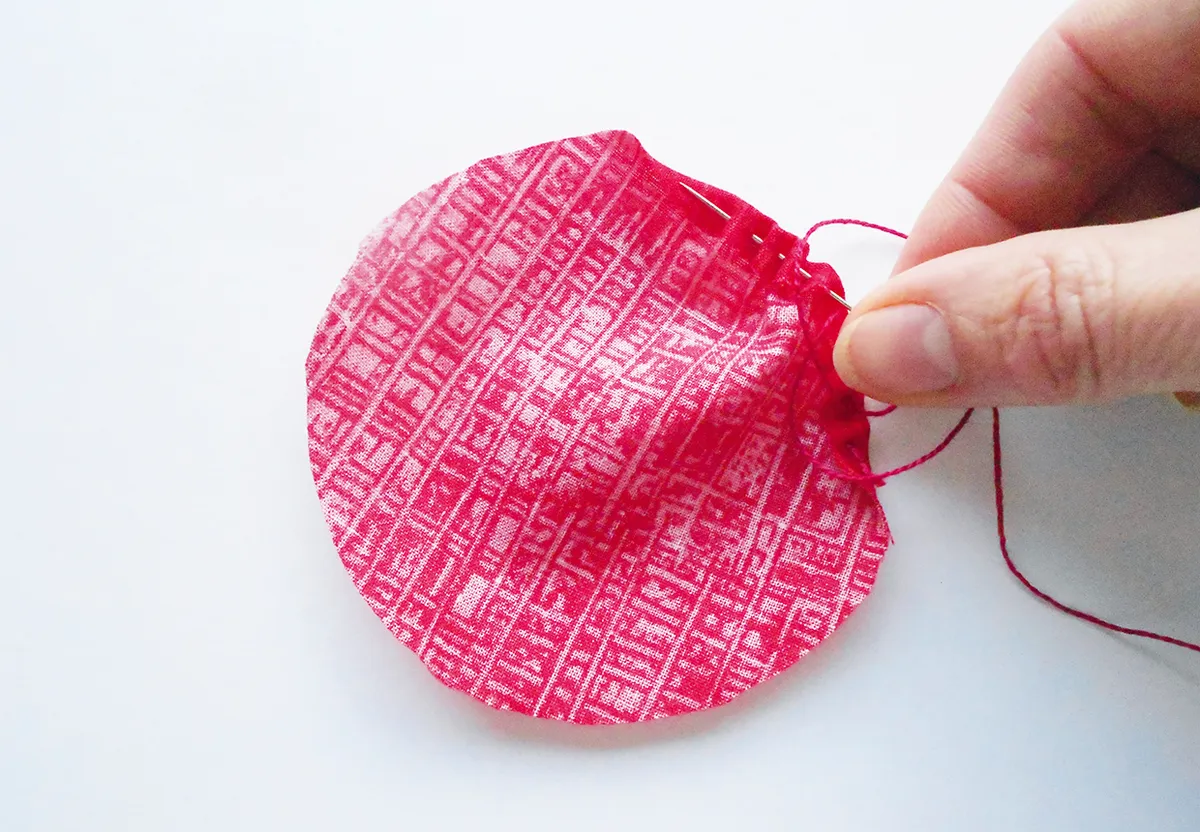
- Knot one end of a piece of strong thread. With the wrong side of the fabric circle towards you turn over a seam allowance of approx. ¼in from the right side. Insert your needle into this seam with the knot sitting on the wrong side of the circle. Using an even running stitch and turning the seam over as you go, sew all the way around your circle (Fig 3).
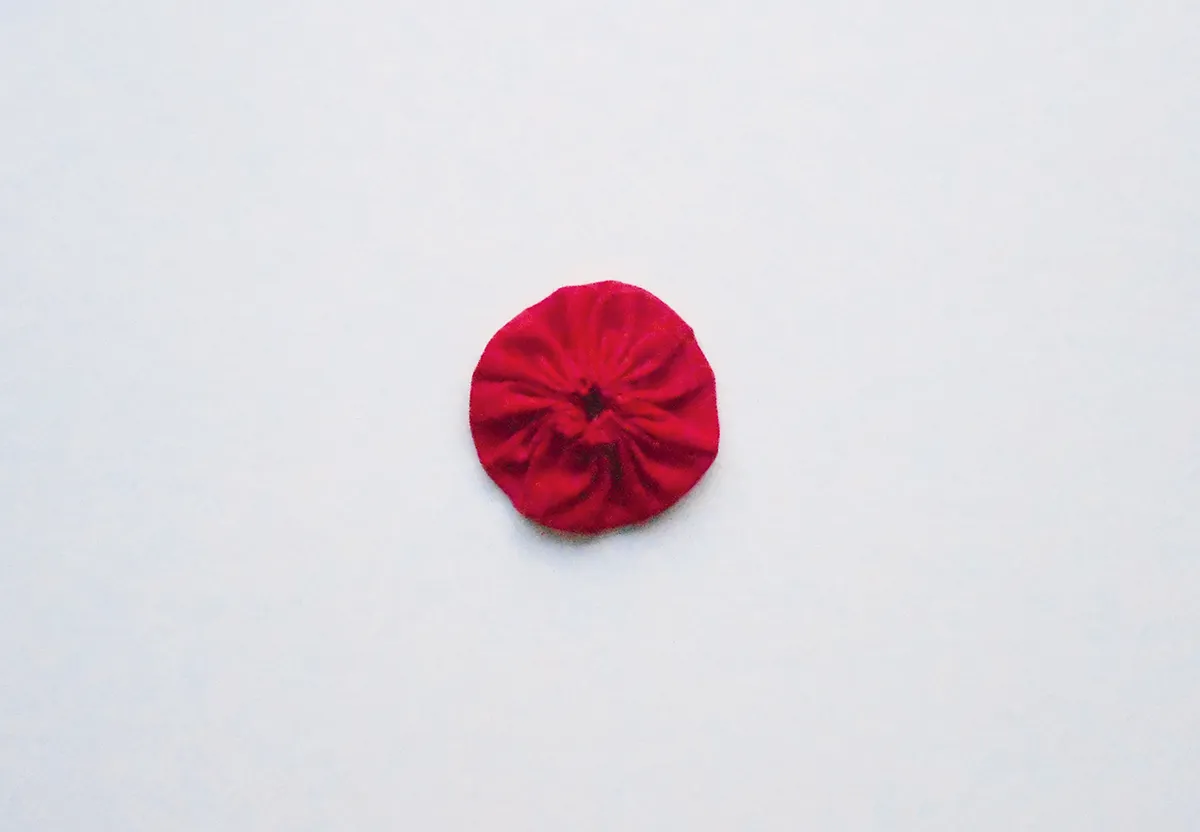
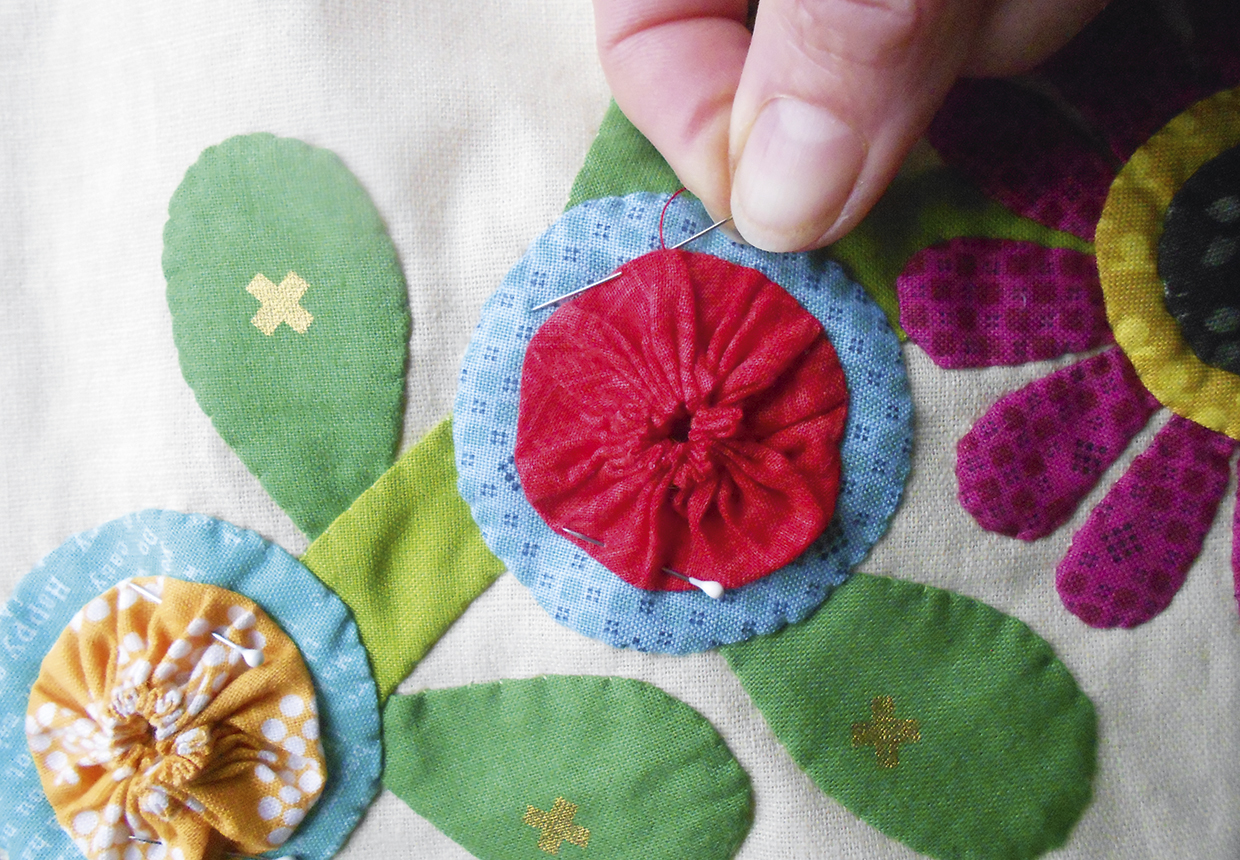
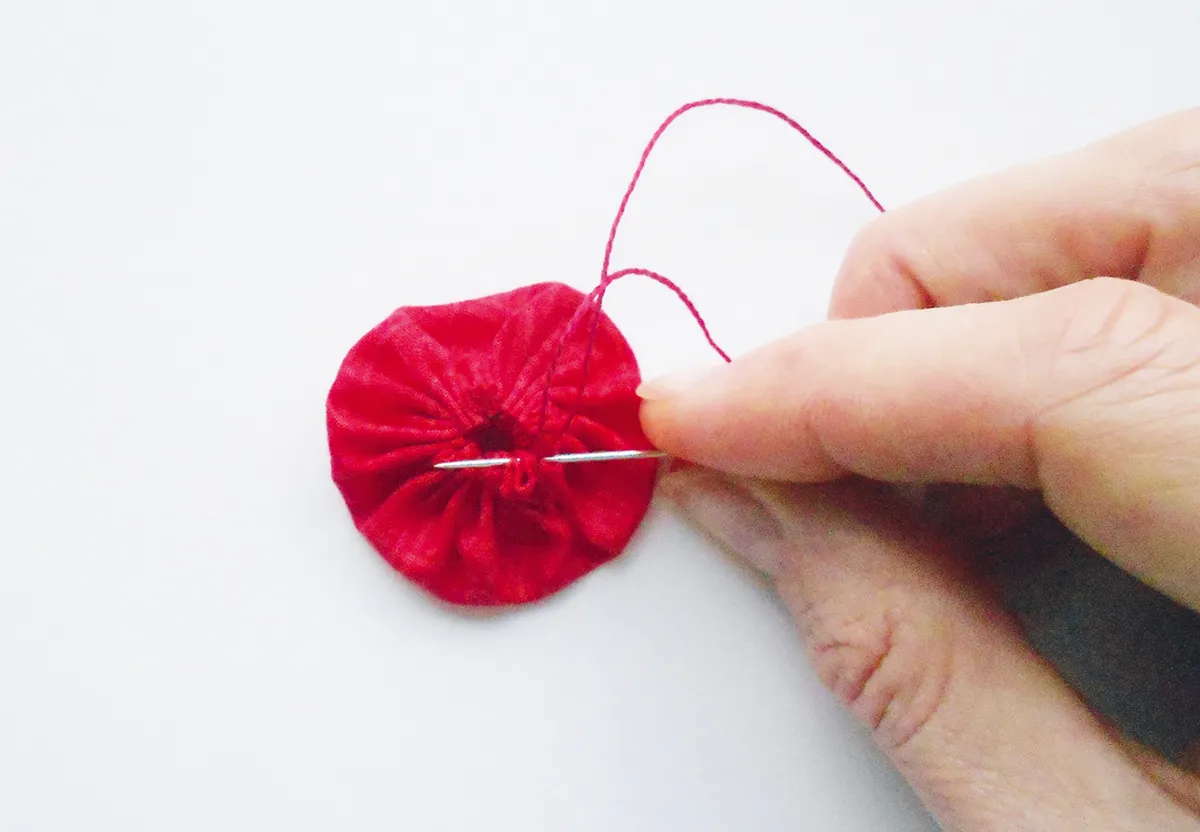
Gather up your stitches tightly and sew backwards and forwards between a couple of fabric pleats to secure. Turn the gathered centre of the yo-yo outwards slightly, make a couple more small stitches there and knot securely (Fig 4).
Pull out the fabric edges of your yo-yo and push in the gathered centre to neaten. Lightly press your yo-yo from both sides (Fig 5).
