Piecing the blocks
Step 1
From your assorted fabrics cut two squares (2) of the same size from contrasting fabrics – they should be at least approx 1in square.
Step 2
Take one 7in batting square. Fold it in half vertically and crease lightly. Repeat to crease it horizontally. Where the lines cross will be the centre of the batting – use this to align the fabric when piecing.
Step 3
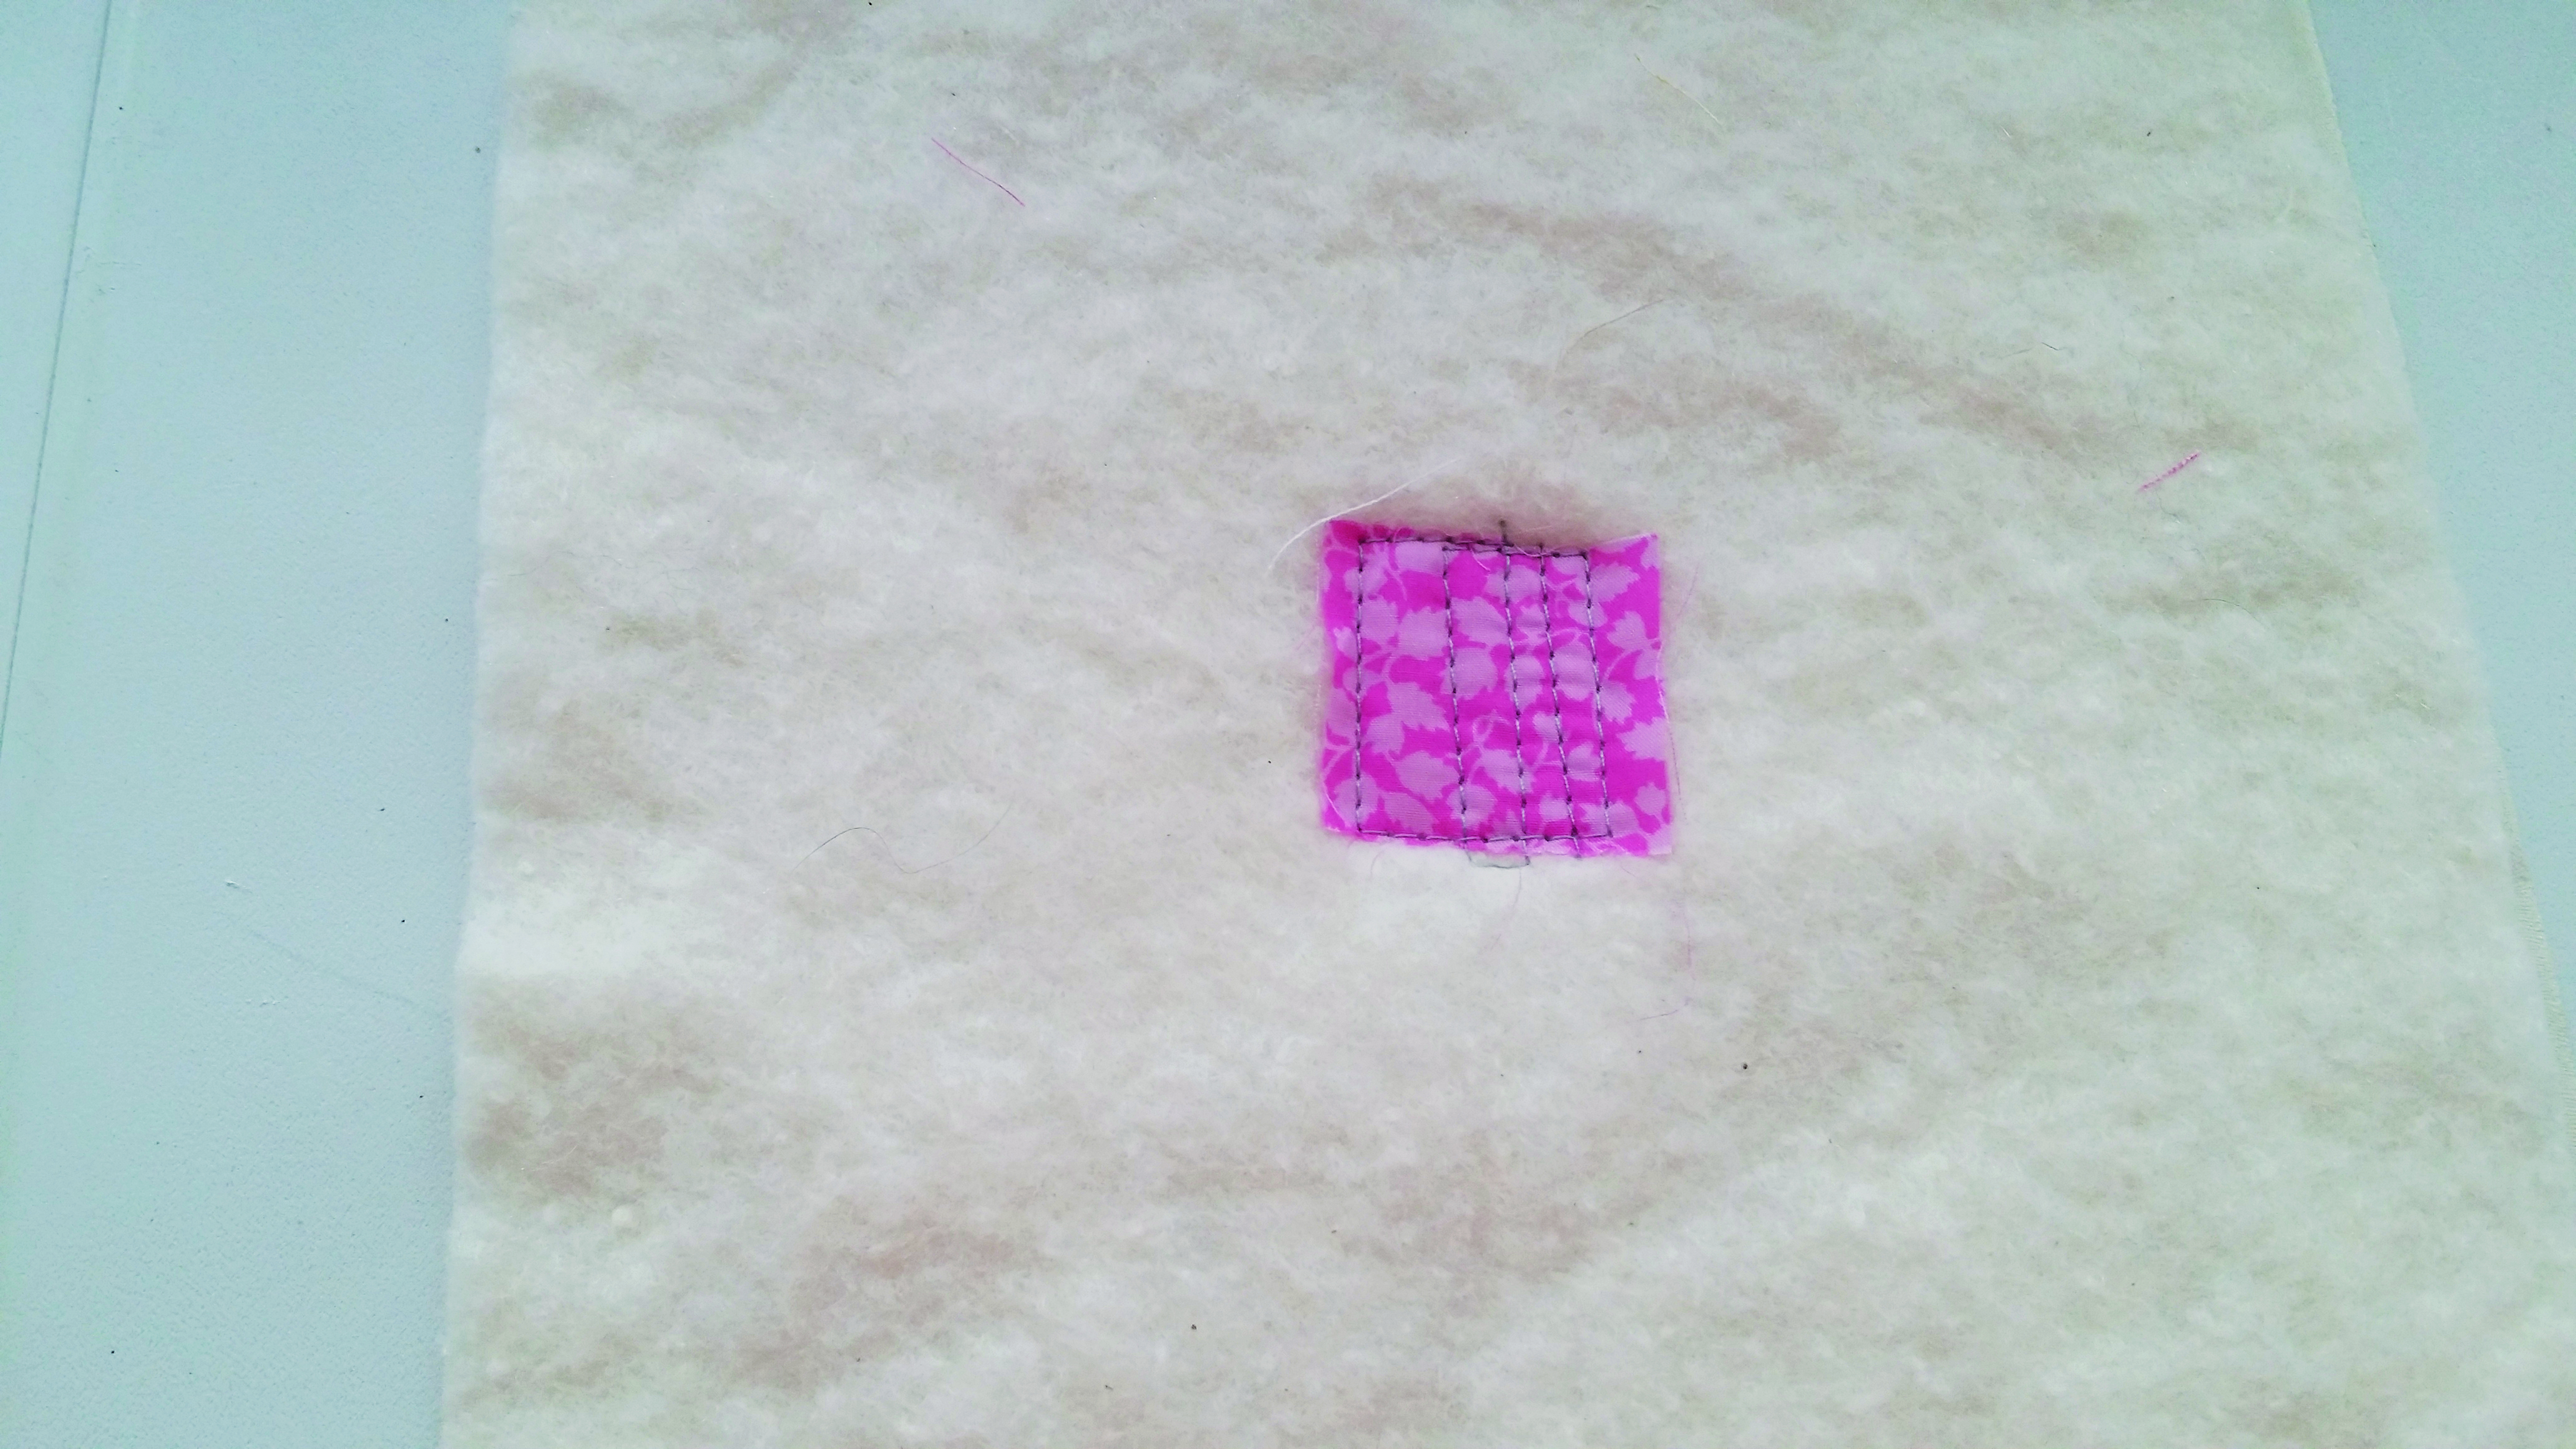
Take one of the fabric squares from step 1 and, right side up, place it in the centre of the batting. Quilt in place as desired. Collette quilted vertical straight lines at varying intervals.
Step 4
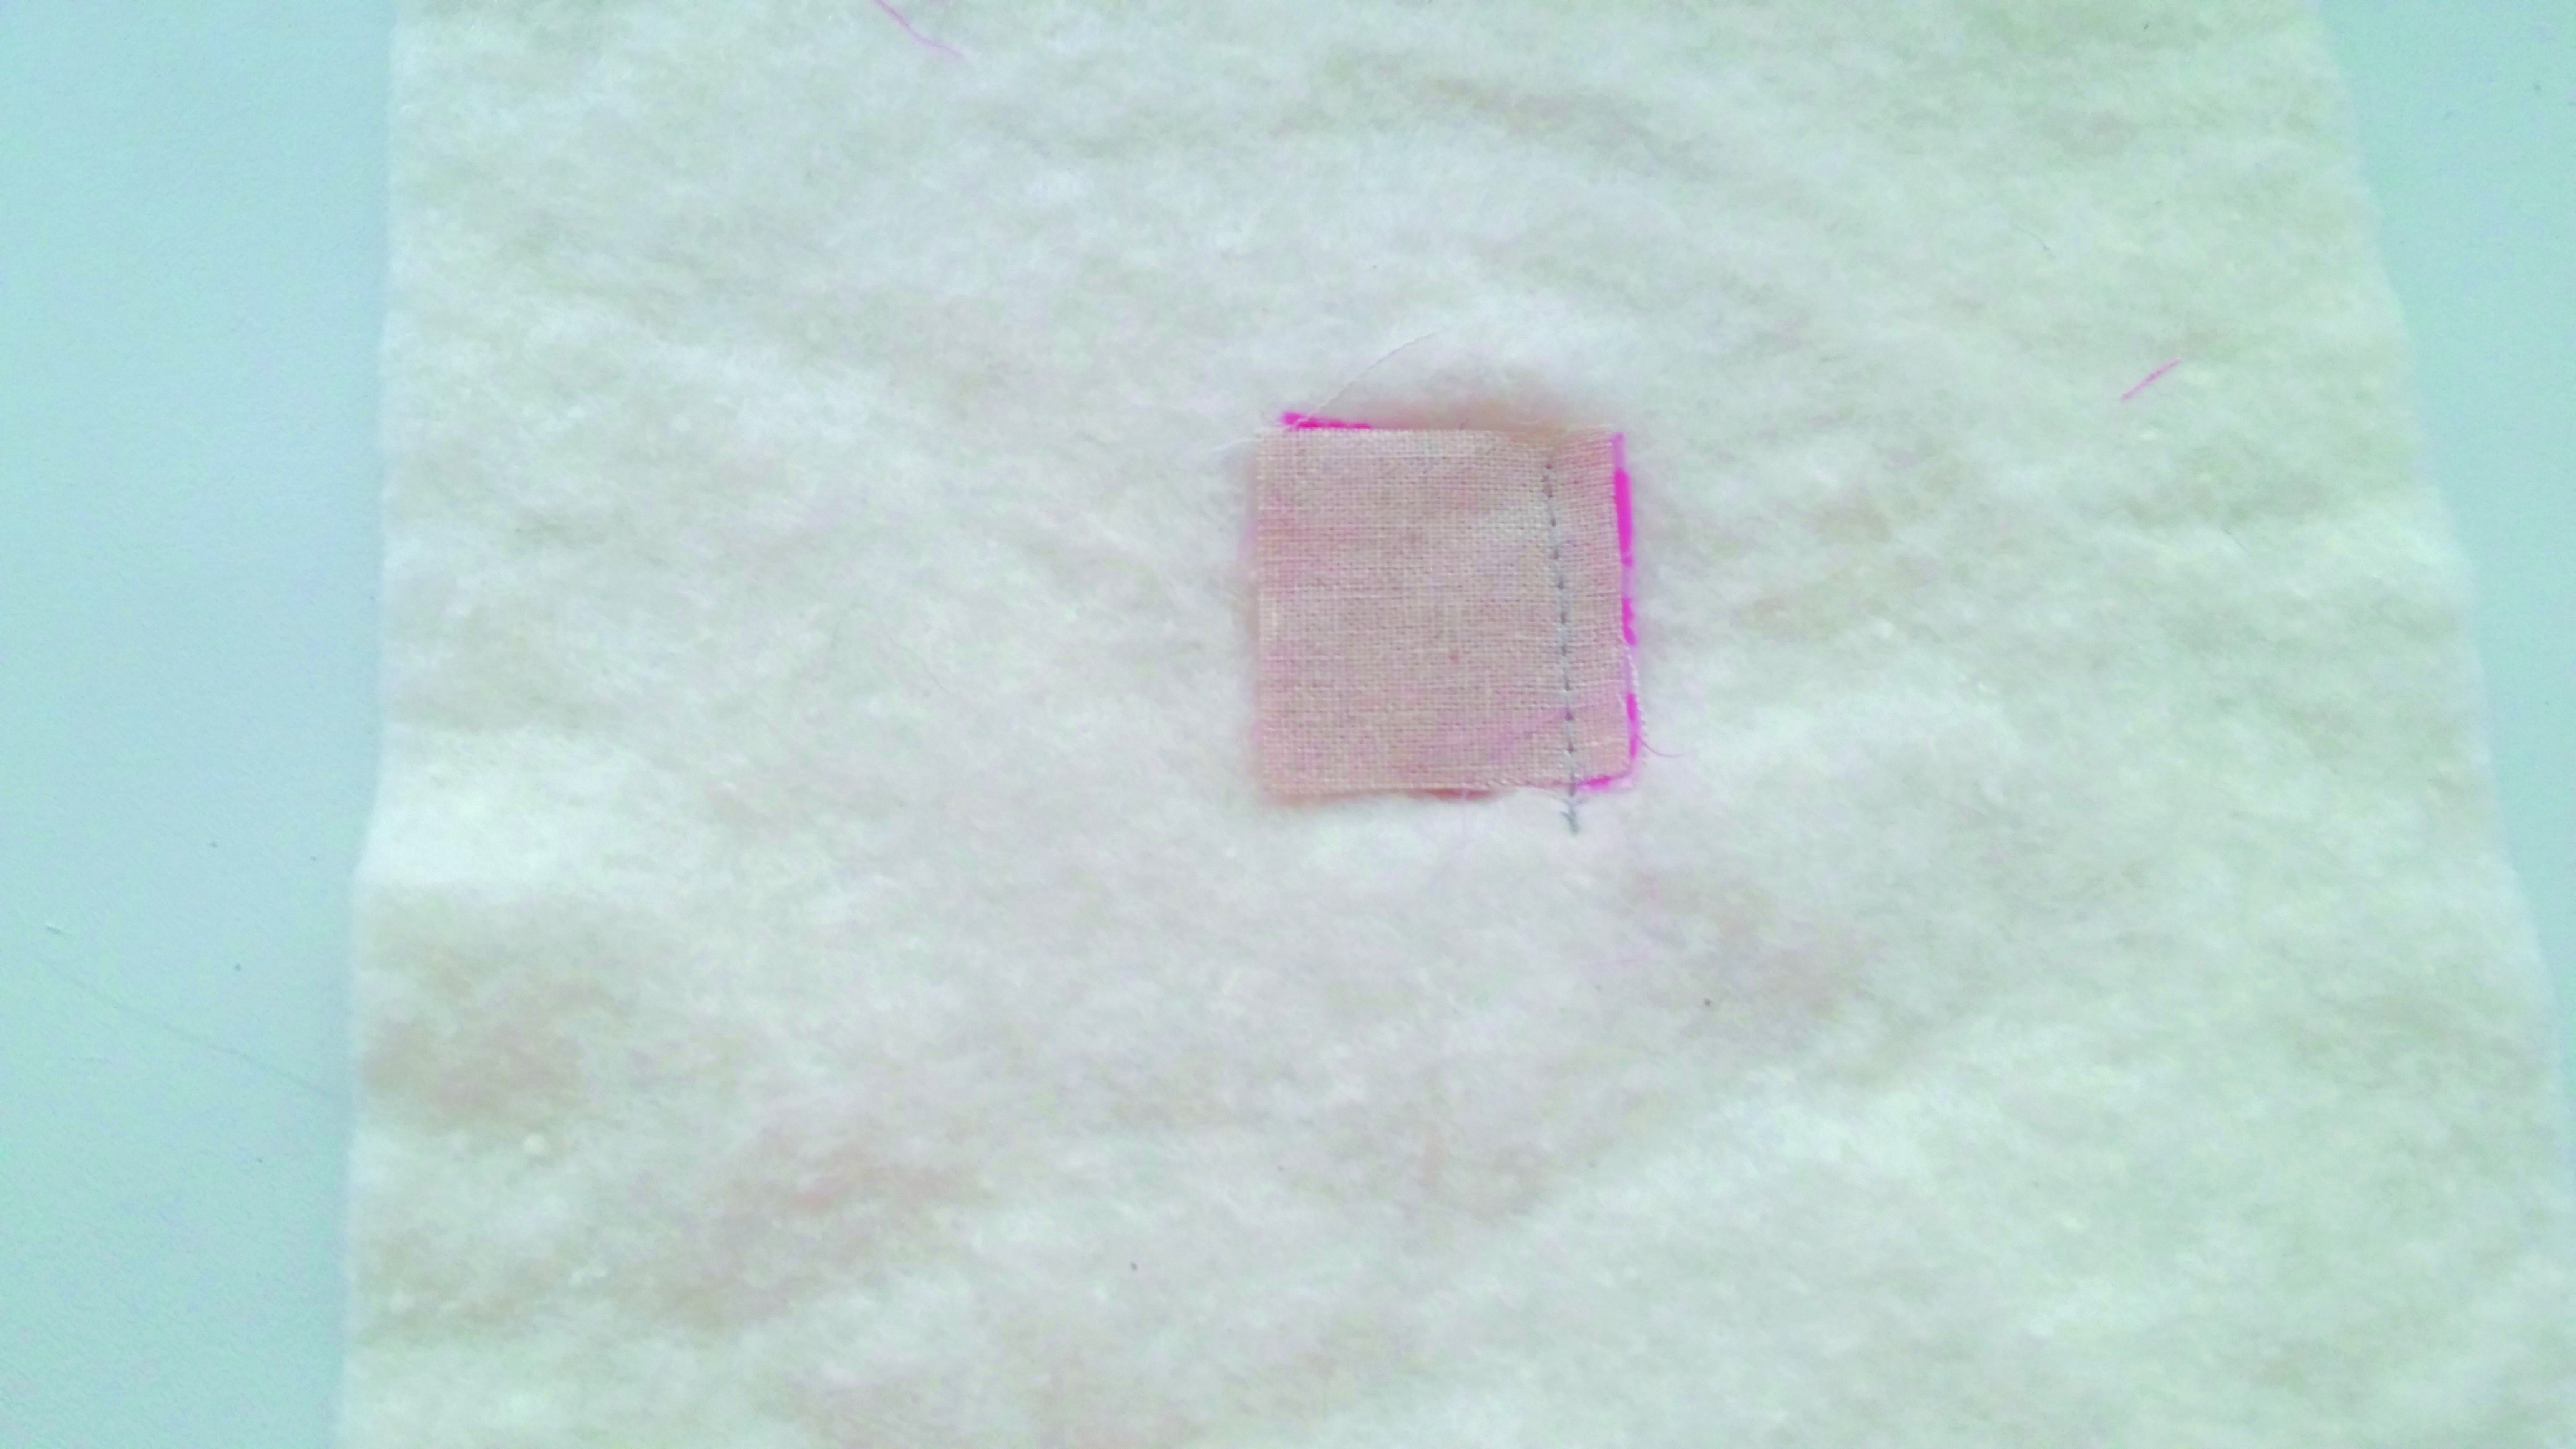
Take the remaining square from step 1 and place it RST with the quilted square. Join on one edge using a ¼in seam. Flip the second square so it is right side up and finger press the seam. Quilt the second square as desired.
Step 5
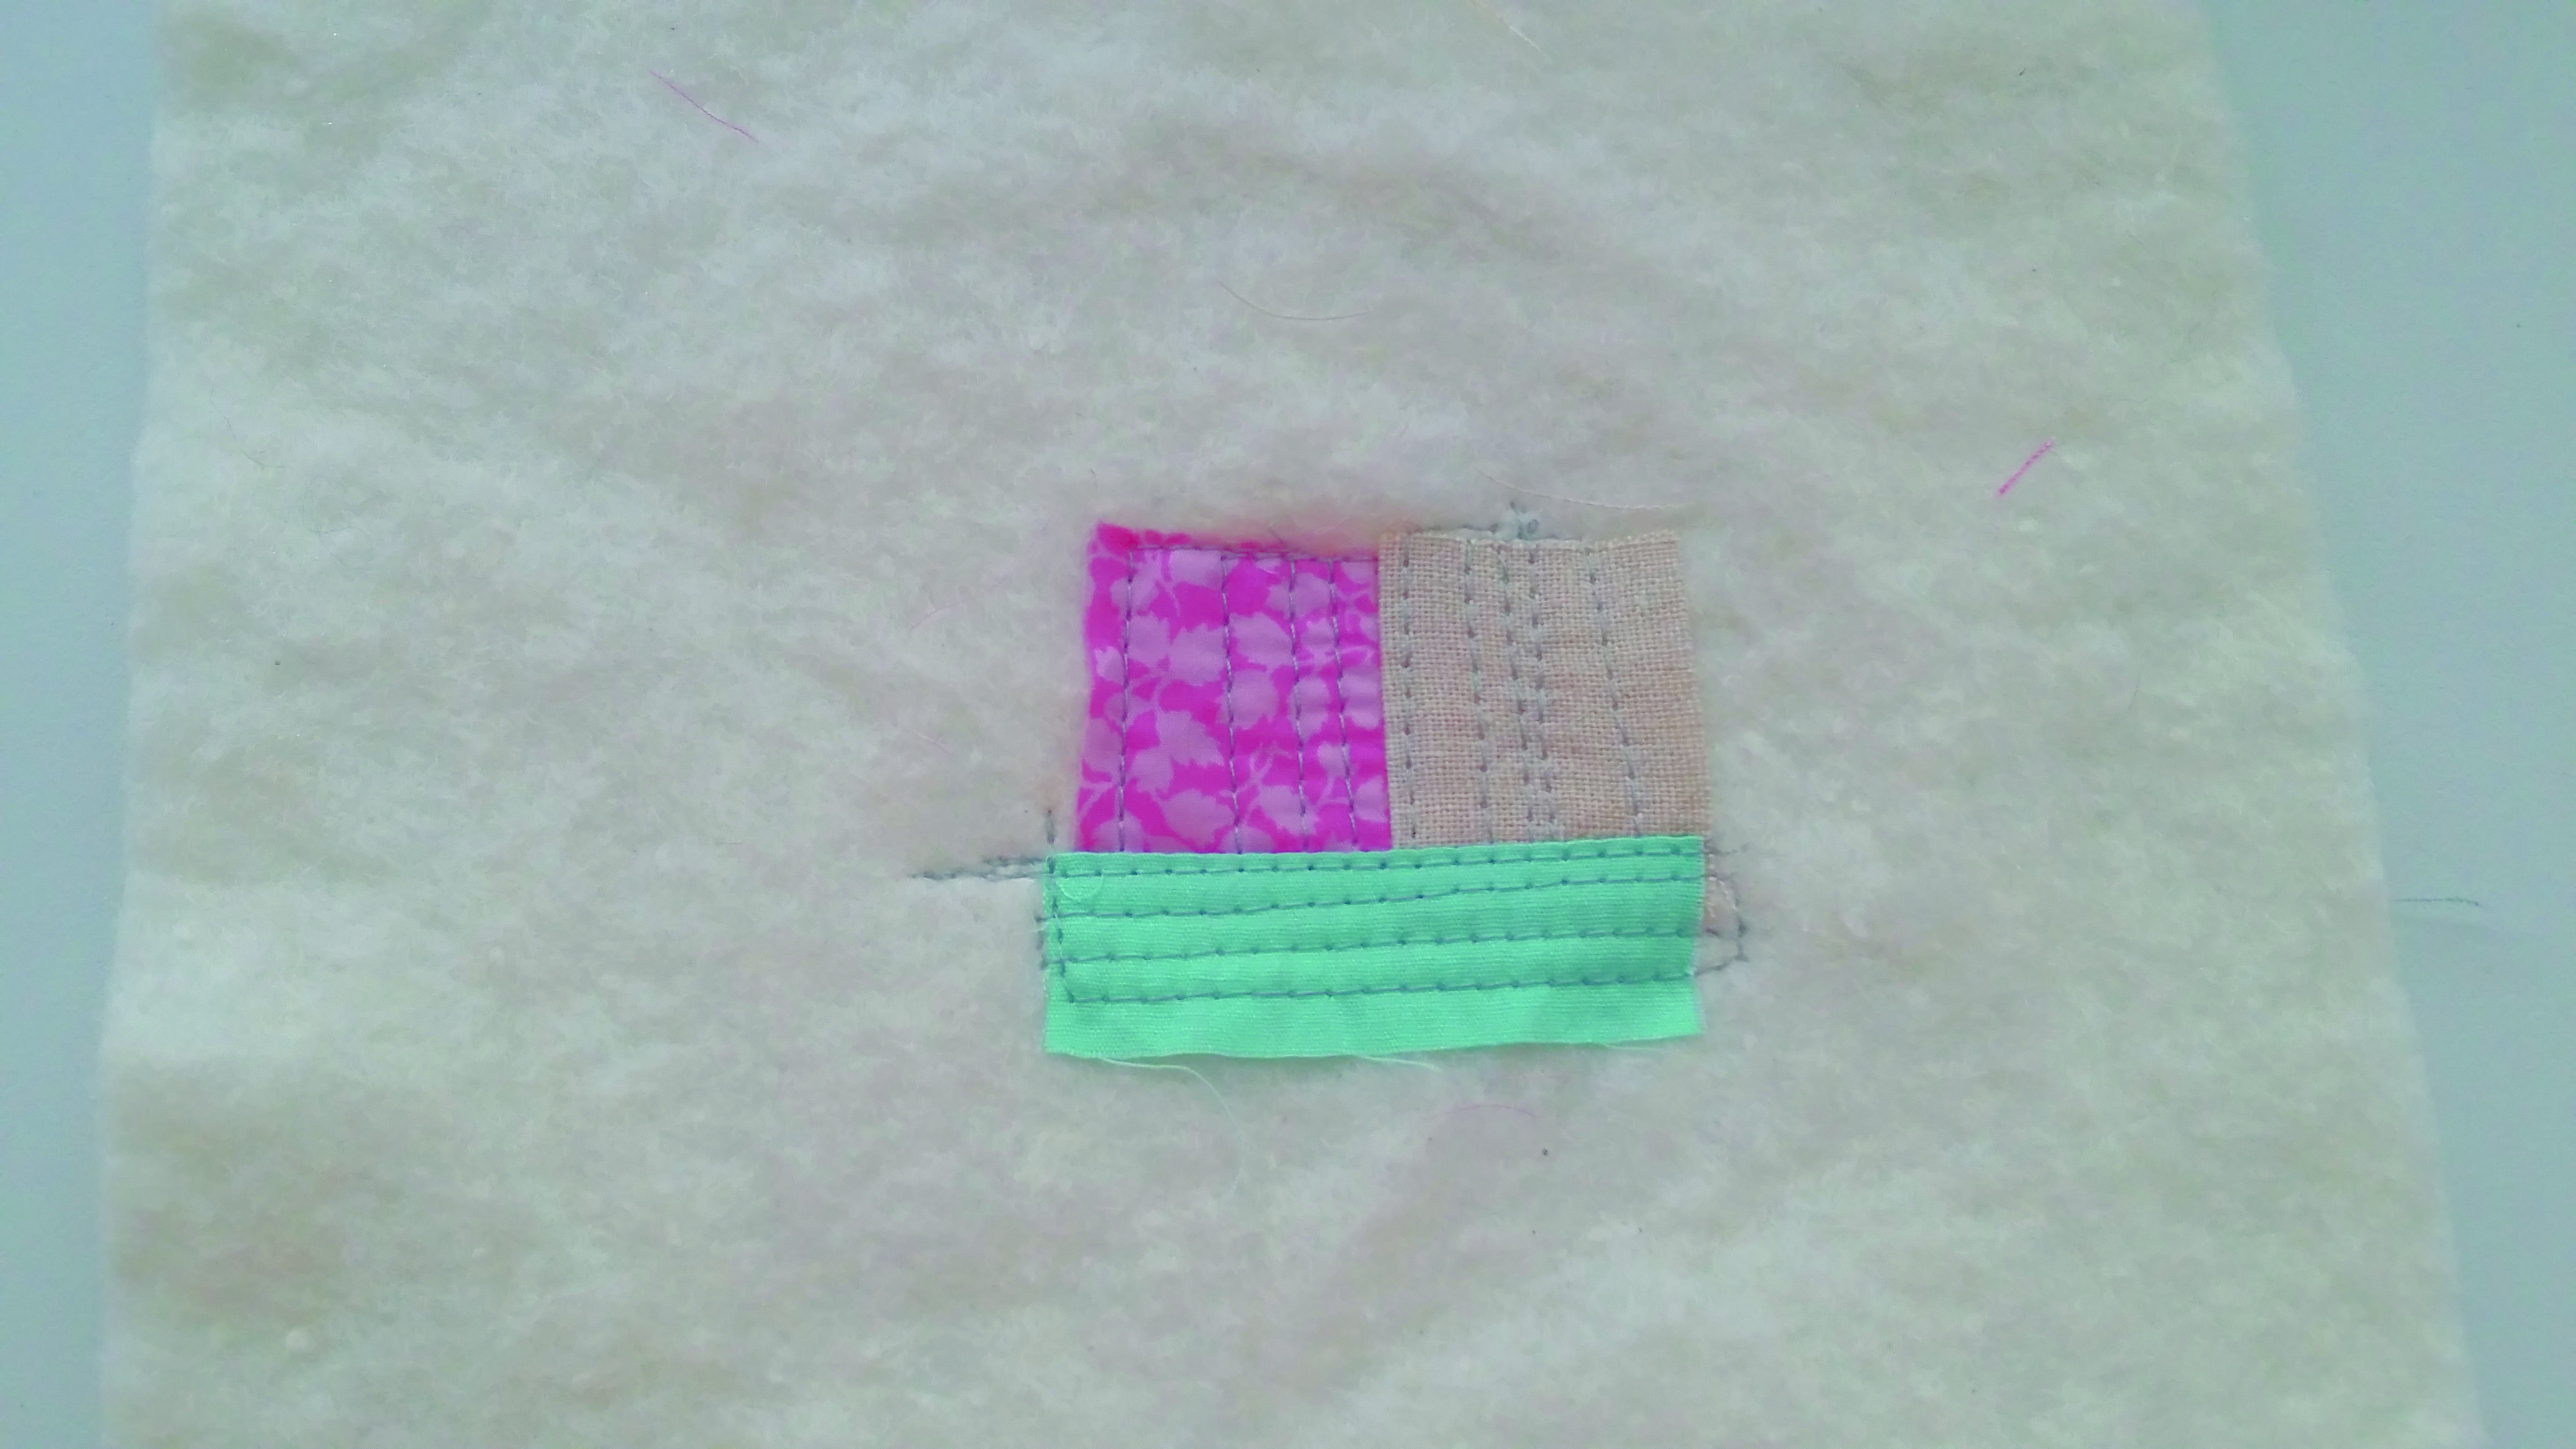
From your assorted fabrics take a different solid/print and cut a strip the same length as the long edges of the joined quilted squares. With RST and matching up the raw edges, place the strip along one long edge of the quilted squares and sew in place using a ¼in seam. Flip the strip so that it is right side up and finger press the seam. Quilt the strip as desired – Collette quilted horizontal straight lines to contrast with the previous two squares.
Step 6
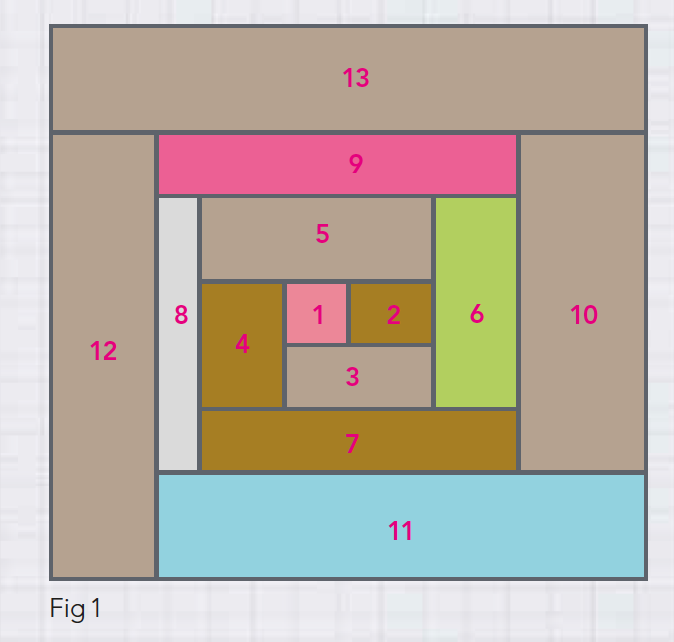
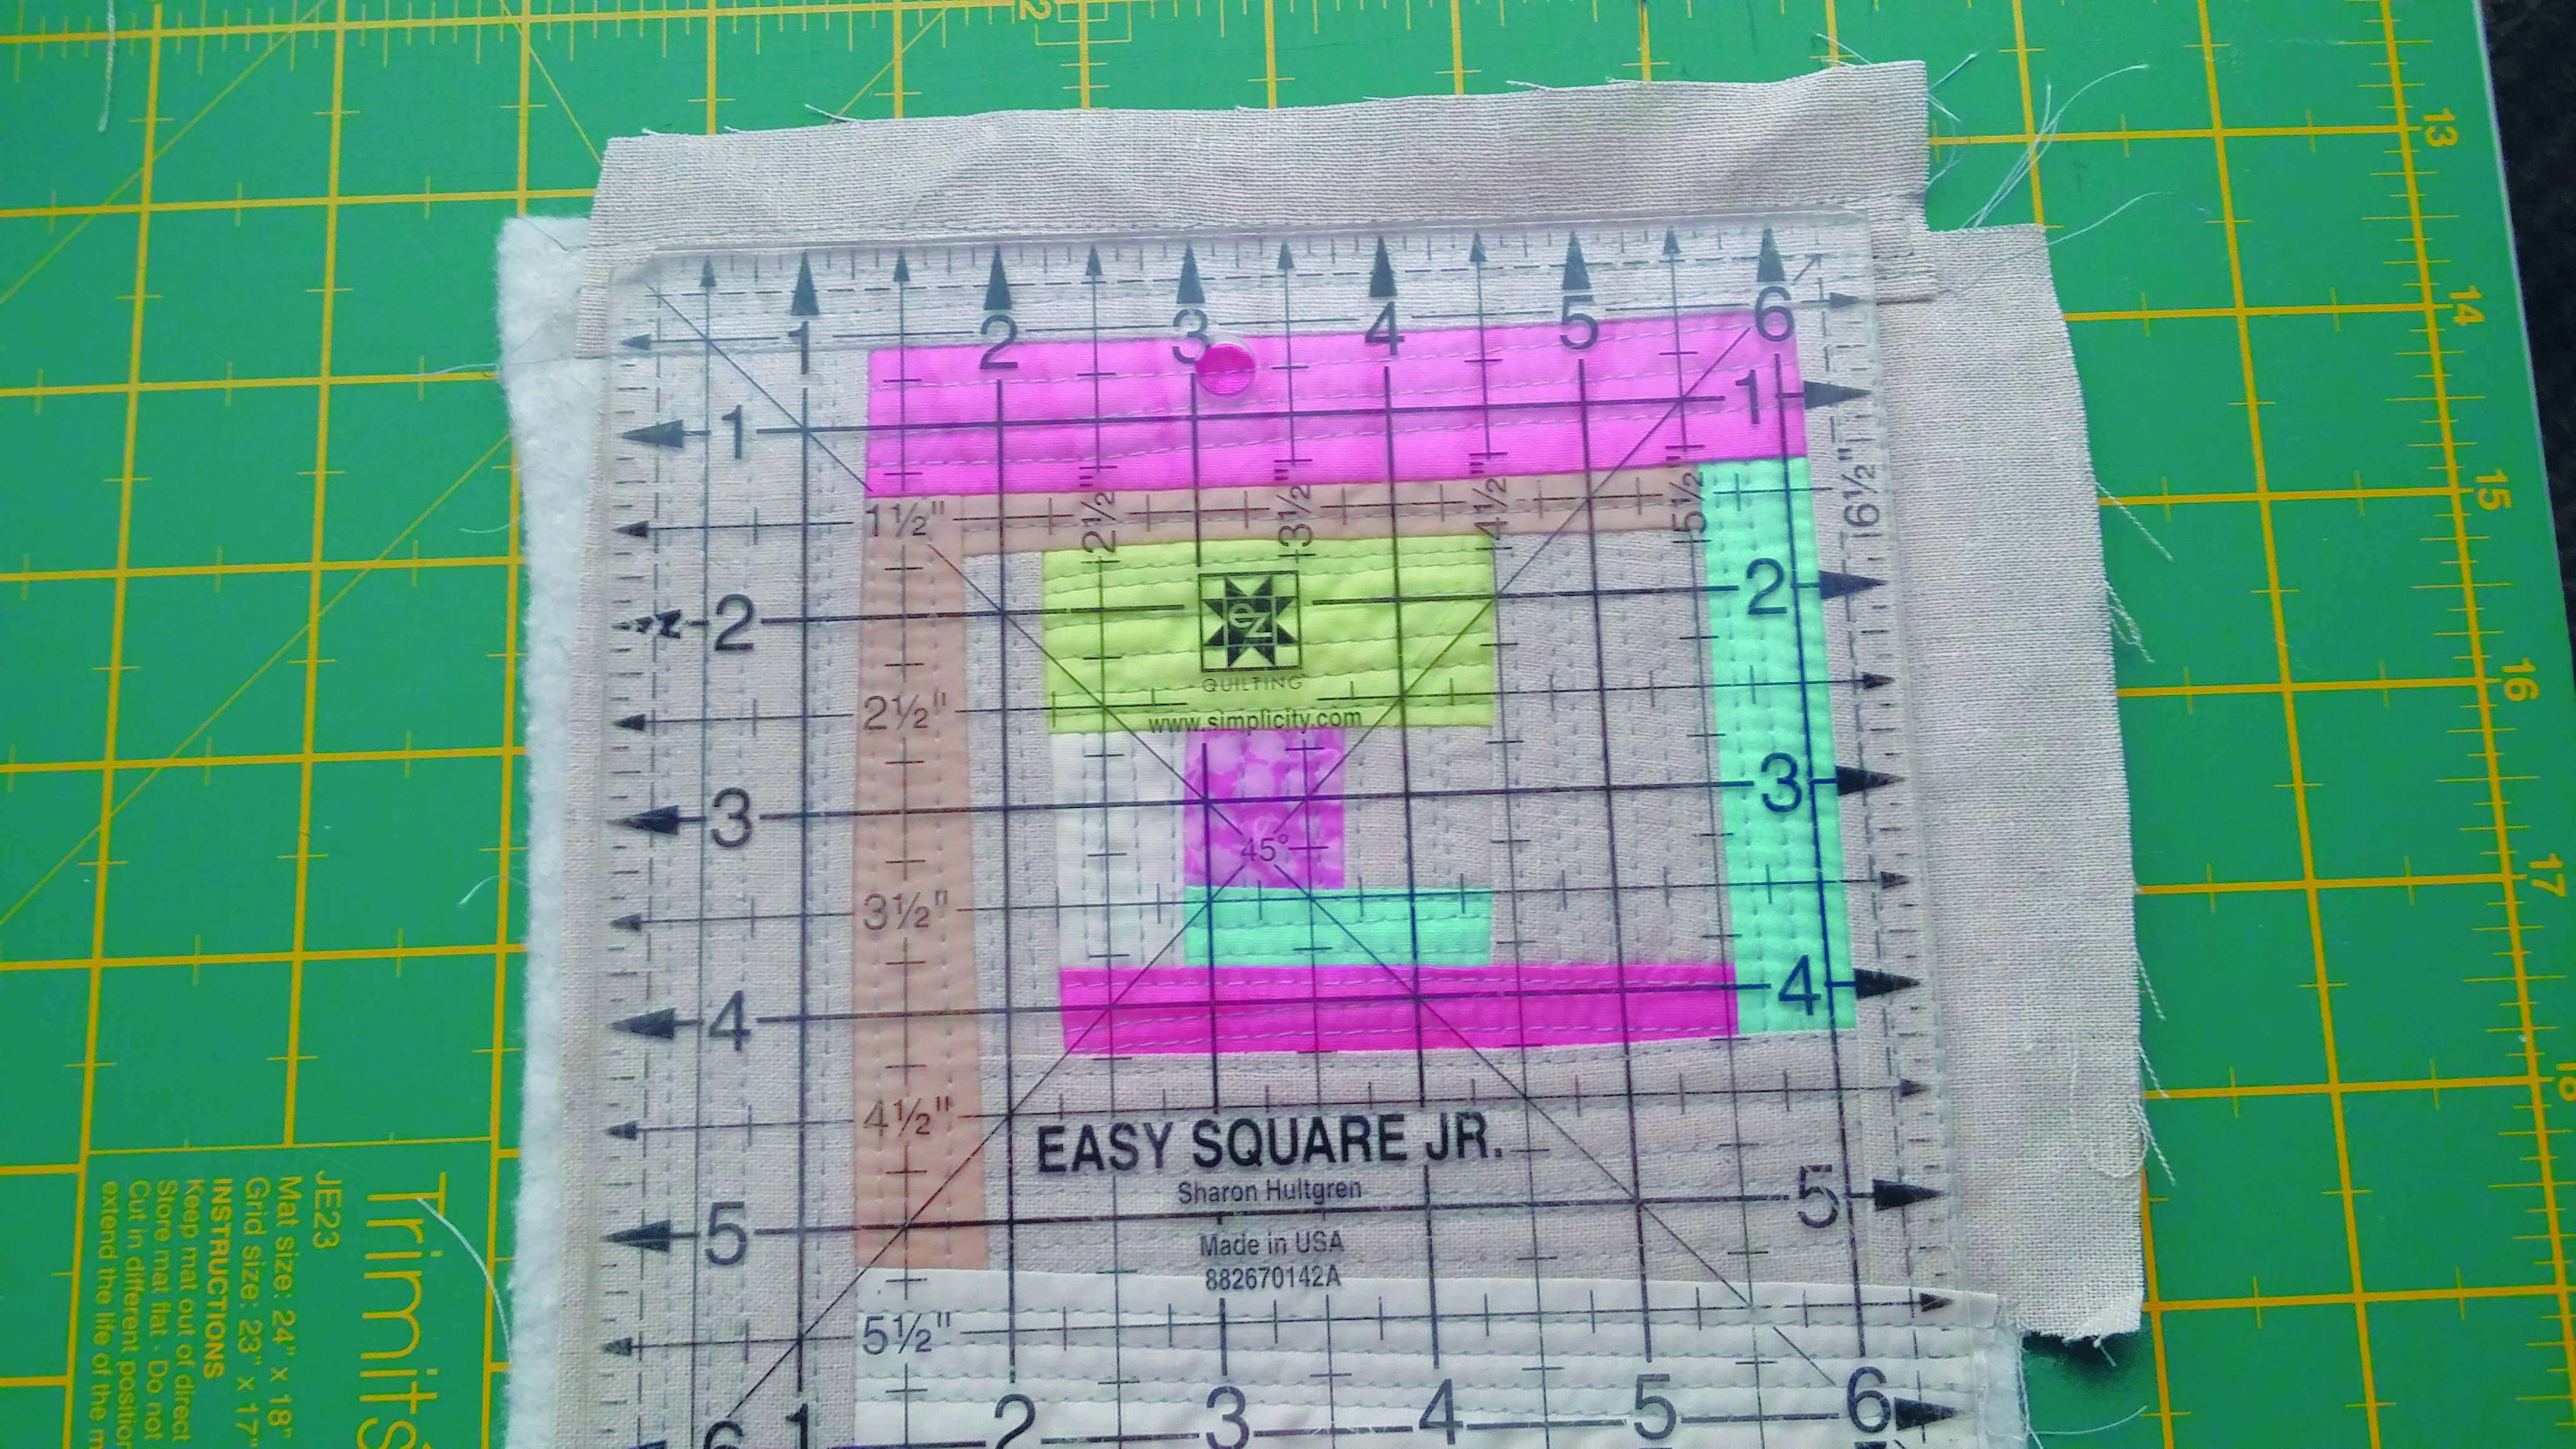
Repeat step 5 to continue adding strips, quilting each one as it is joined and making sure to keep working in the same direction – either all clockwise or all anticlockwise (Fig 1). Once the batting has been filled with fabric strips, trim the block to 6 in square to complete one block.
Step 7
Repeat steps 1–6 to make a total of sixteen blocks.
Assembling the top quilt
Step 1
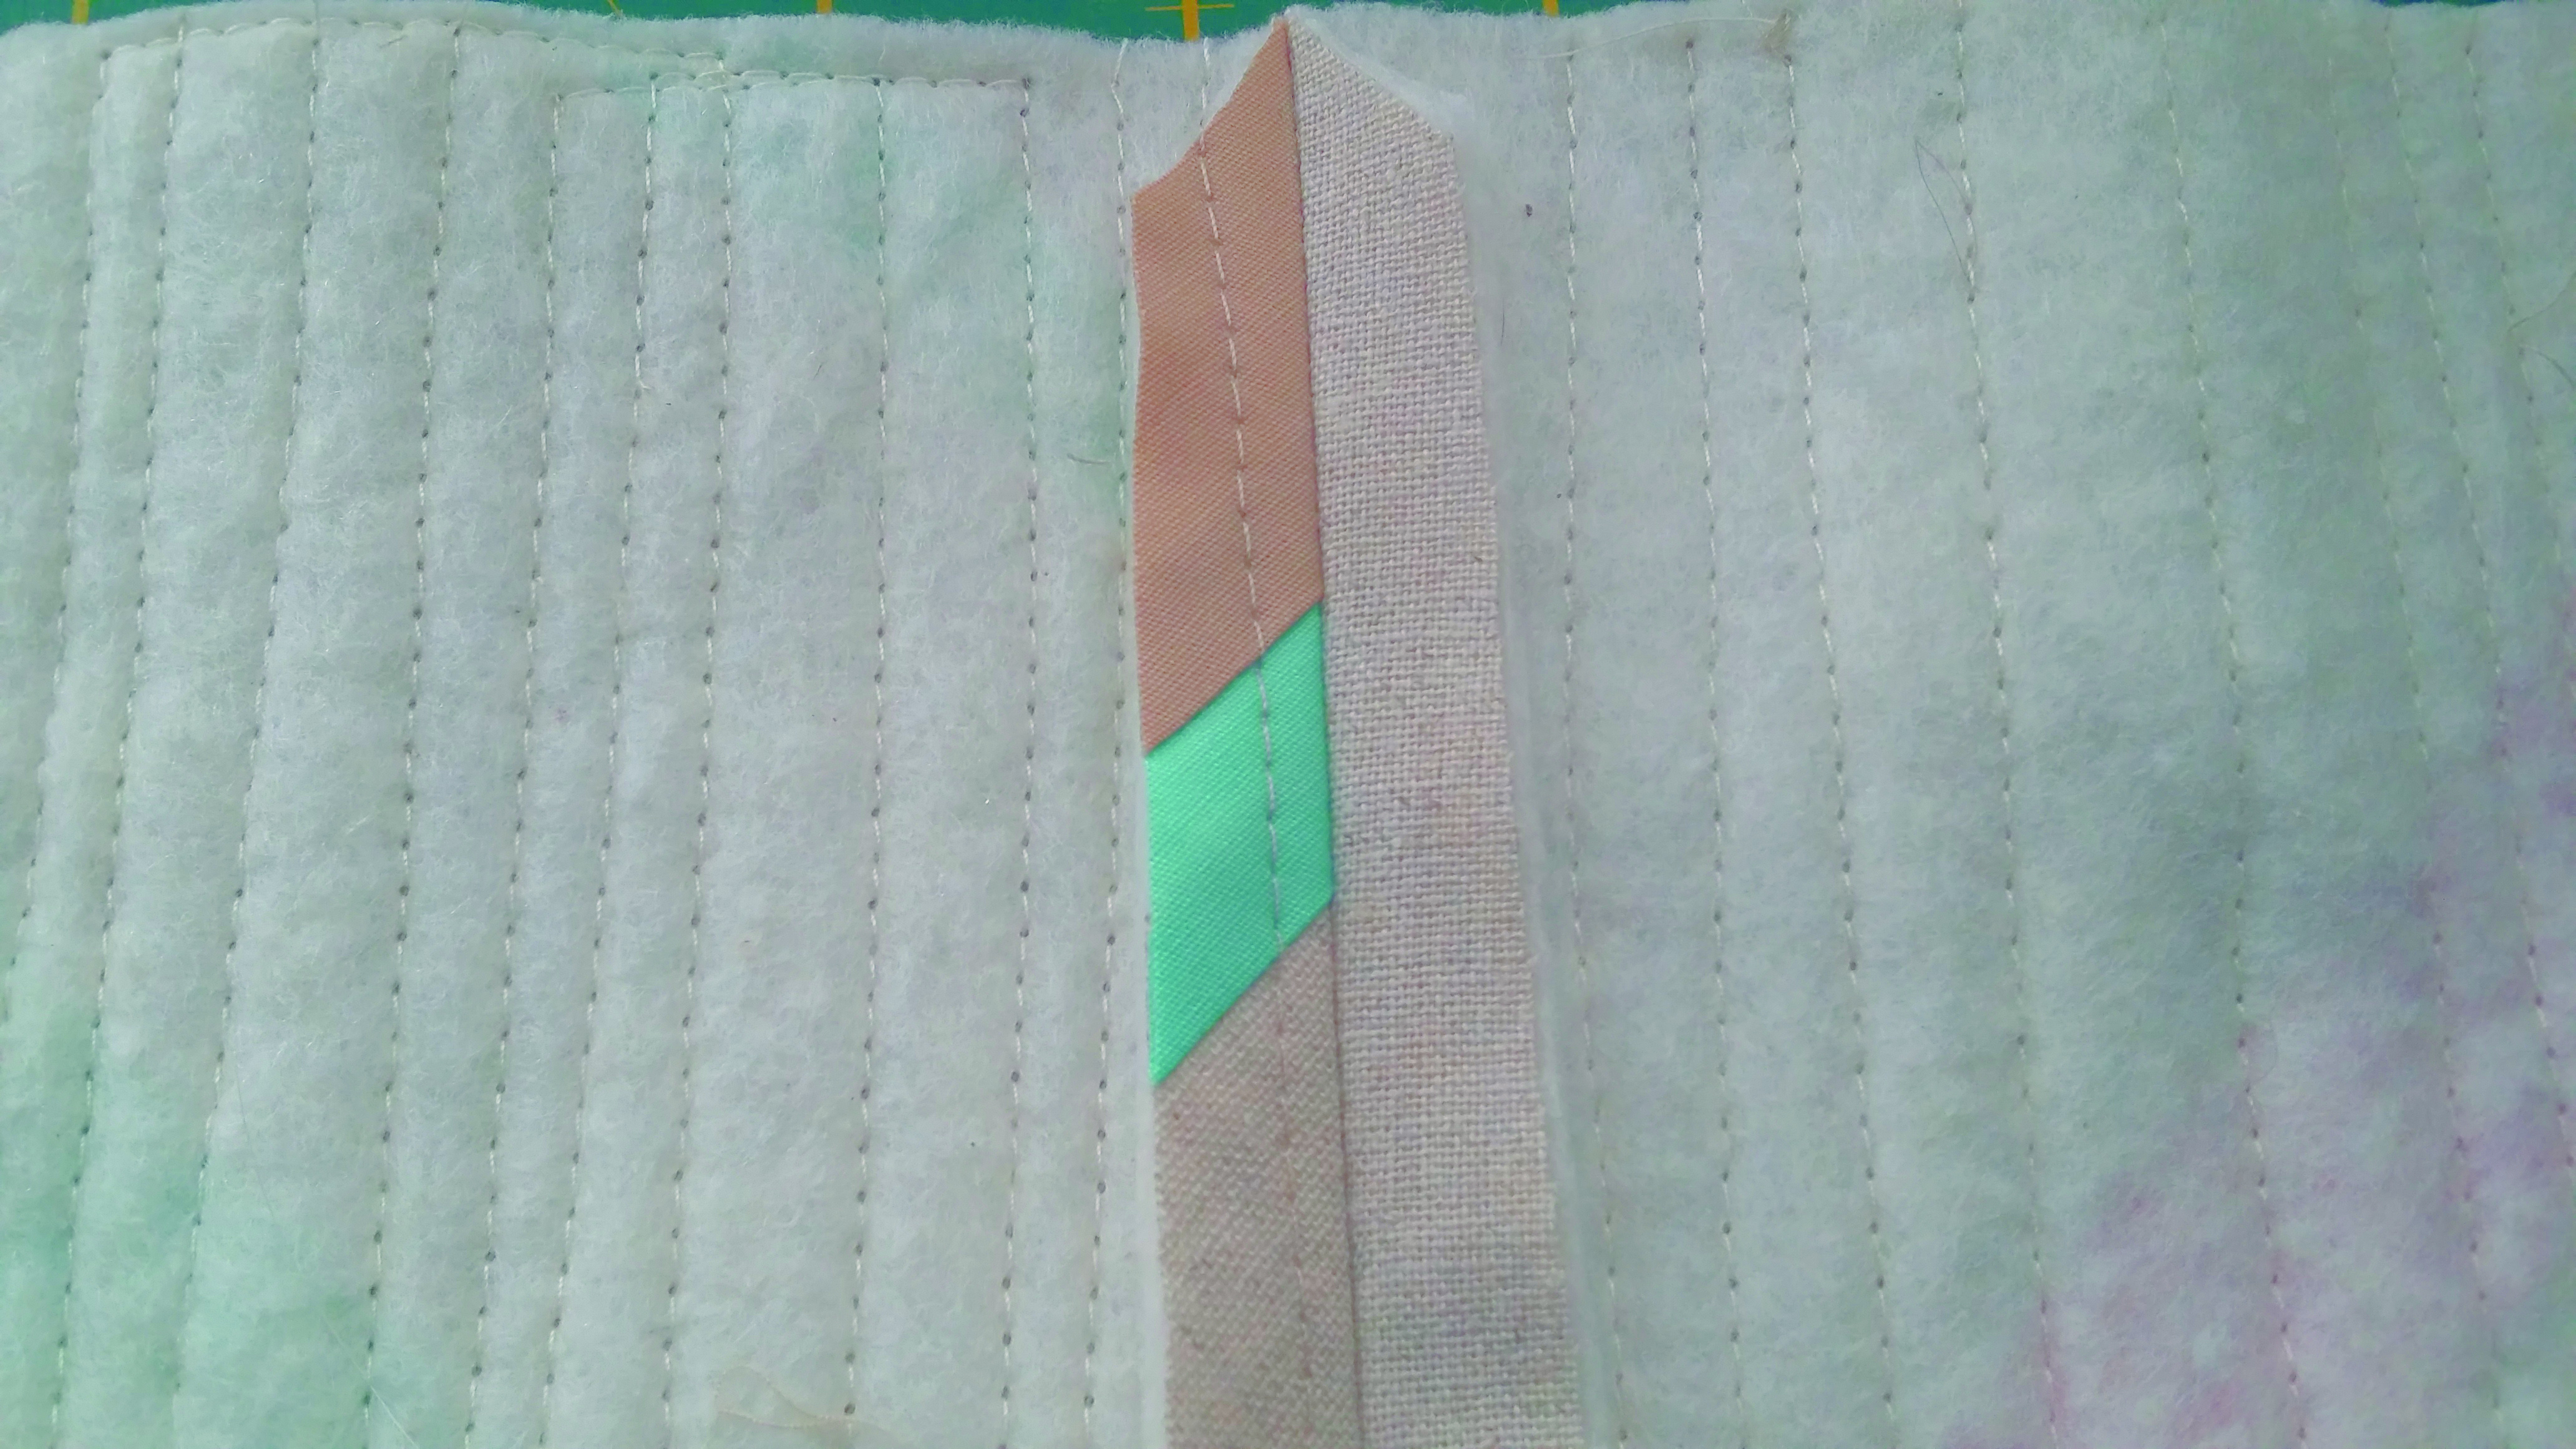
Arrange the blocks into four rows of four blocks each, orientating them as desired. When you’re happy with your layout, join them using a ¼in seam allowance, pressing the seams open. Clip the top and bottom corners of the seams to reduce bulk.
Step 2
Place the backing fabric wrong side up and then place the pieced and quilted quilt top centrally and right side up on top. The backing is slightly larger than the quilt top. Baste the layers together.
Step 3
Stitch through all of the layers to join the backing to the quilted top. Collette stitched in the ditch along the seam lines.
Step 4
Trim off the excess backing and square up the quilt top. The quilt should now measure 24½ in square.
Adding to the Facing
Step 1
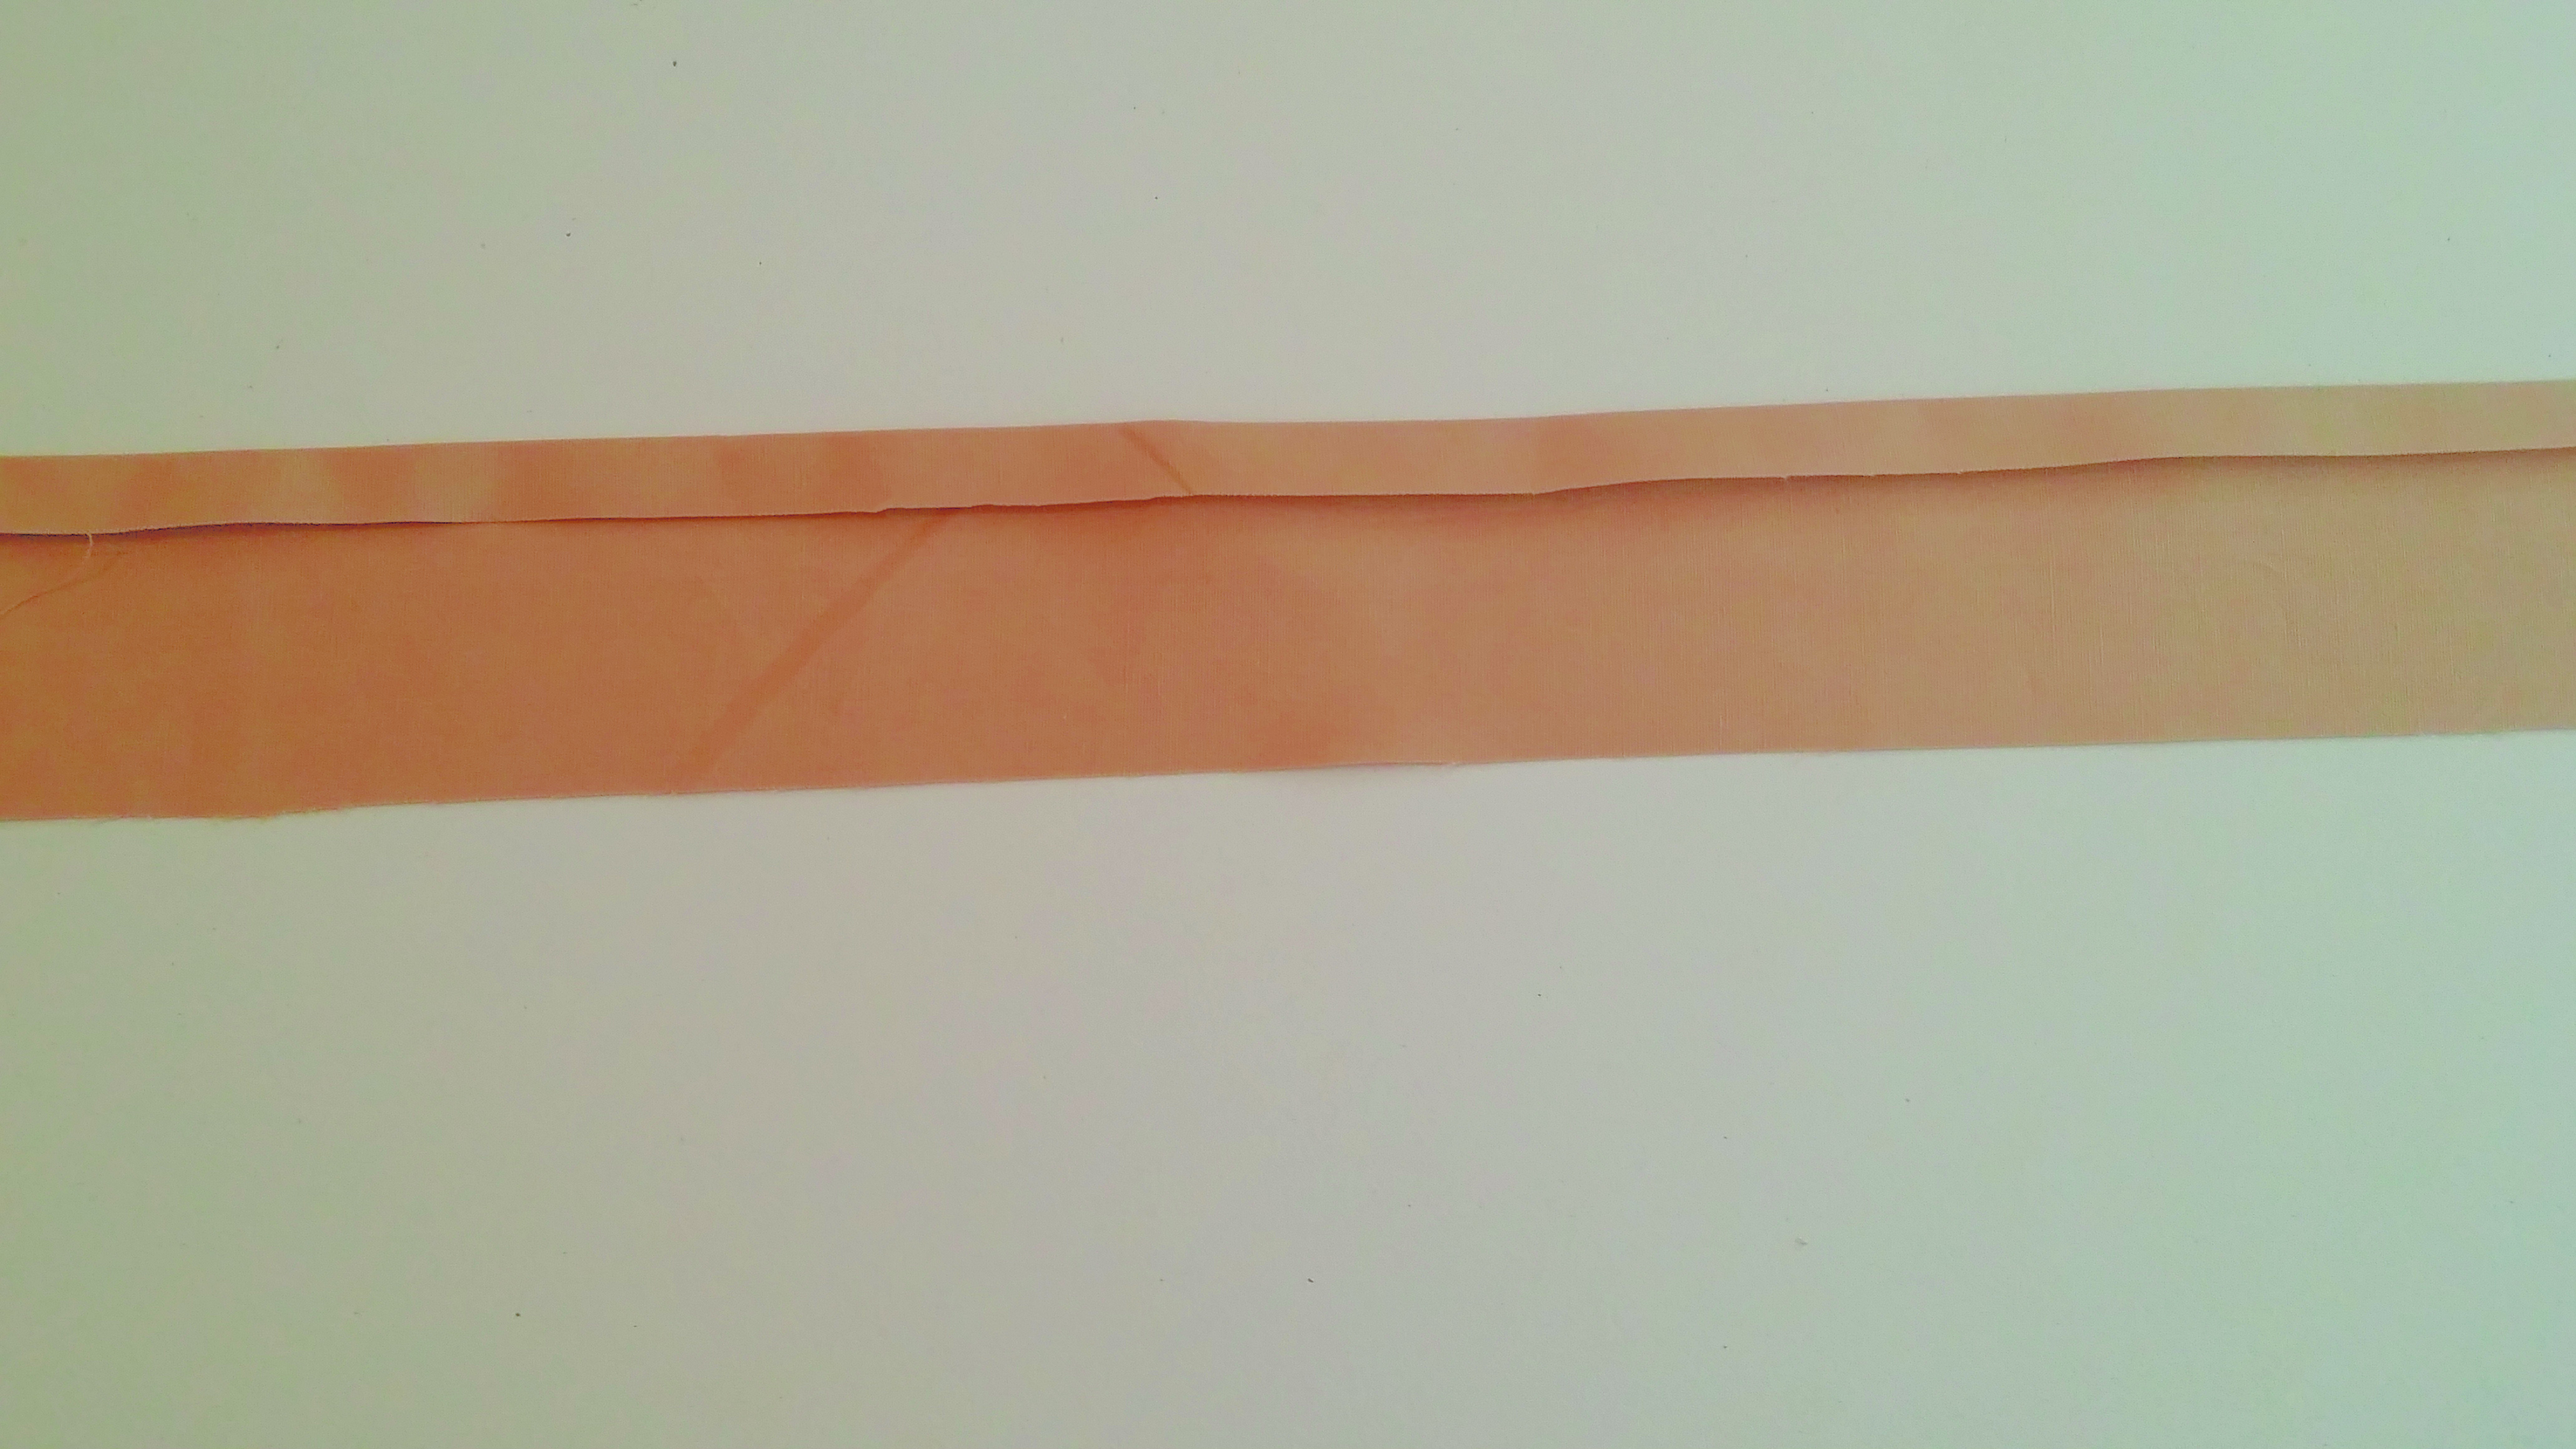
From the facing fabric cut two (2) 2in x 25in strips. On one long edge of each strip turn a ¼in seam over to the wrong side and press (Fig F).
Step 2
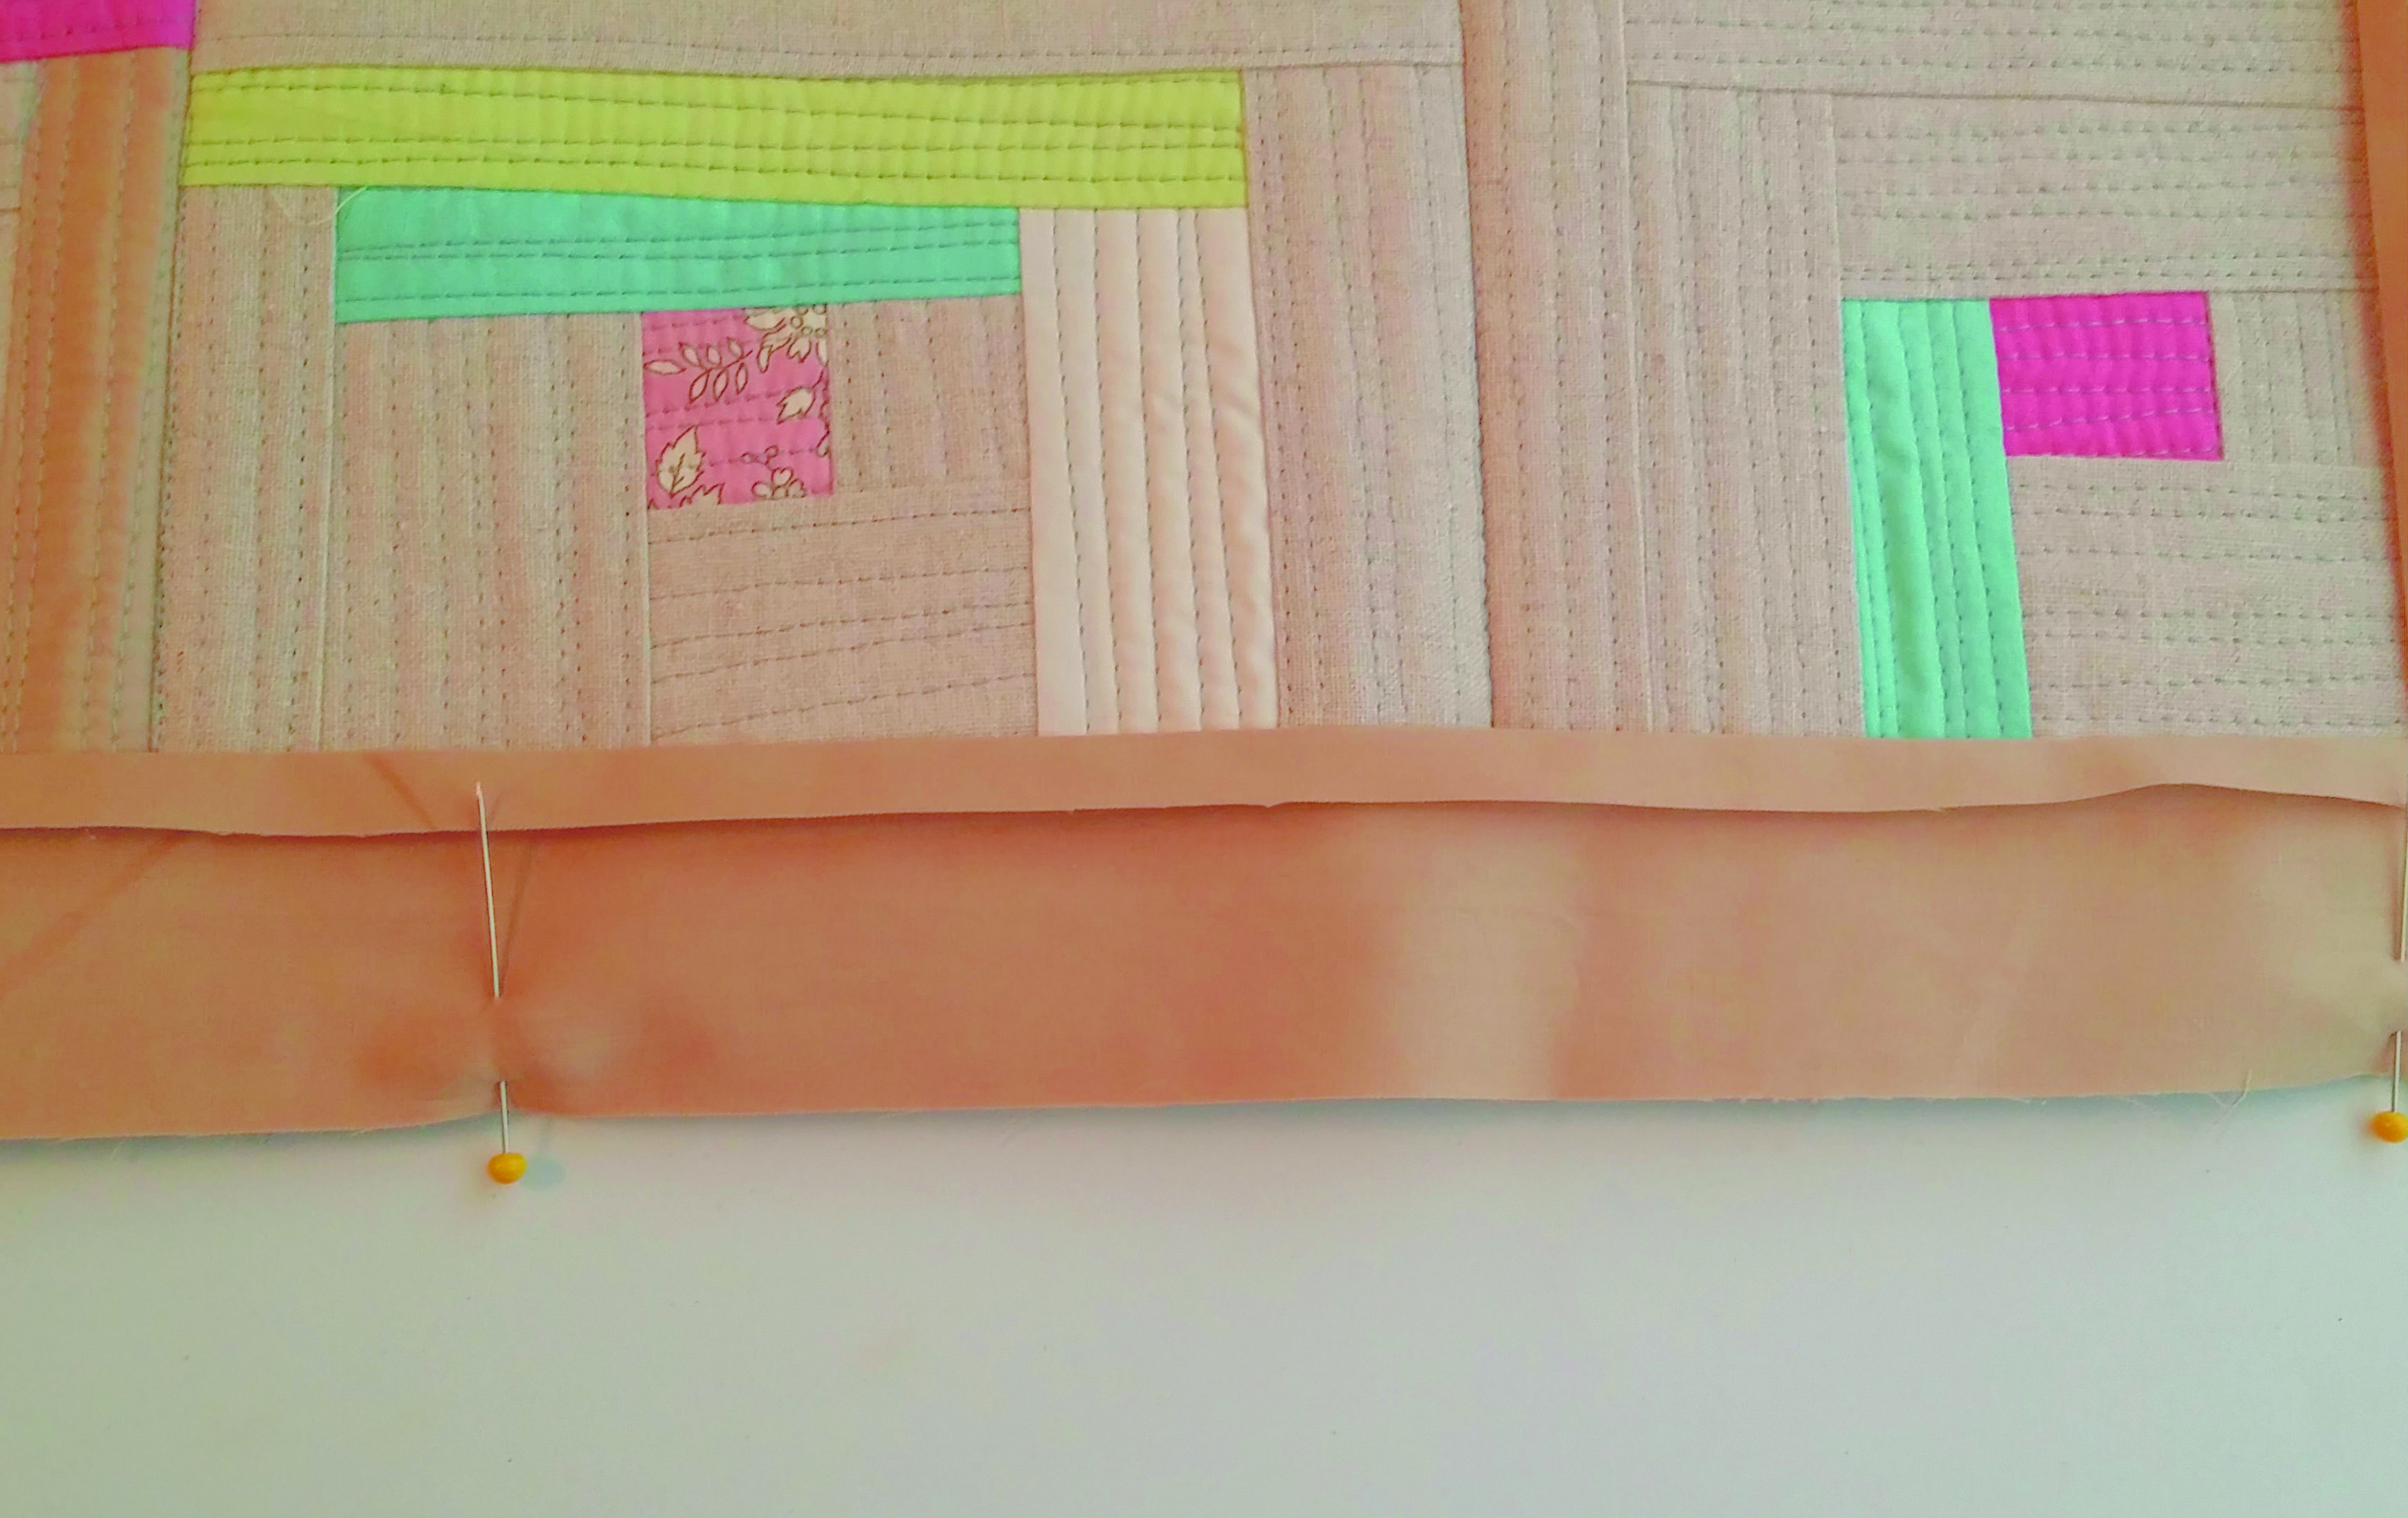
Place the quilt right side up. RST and matching up the raw edges, place one of the strips centrally along the top edge. It should extend by approx ¼in at each end. Pin in place.
Step 3
Sew the strip in place and then trim the ends so that they are level with the sides of the quilt. Press the strip away from the quilt.
Step 4
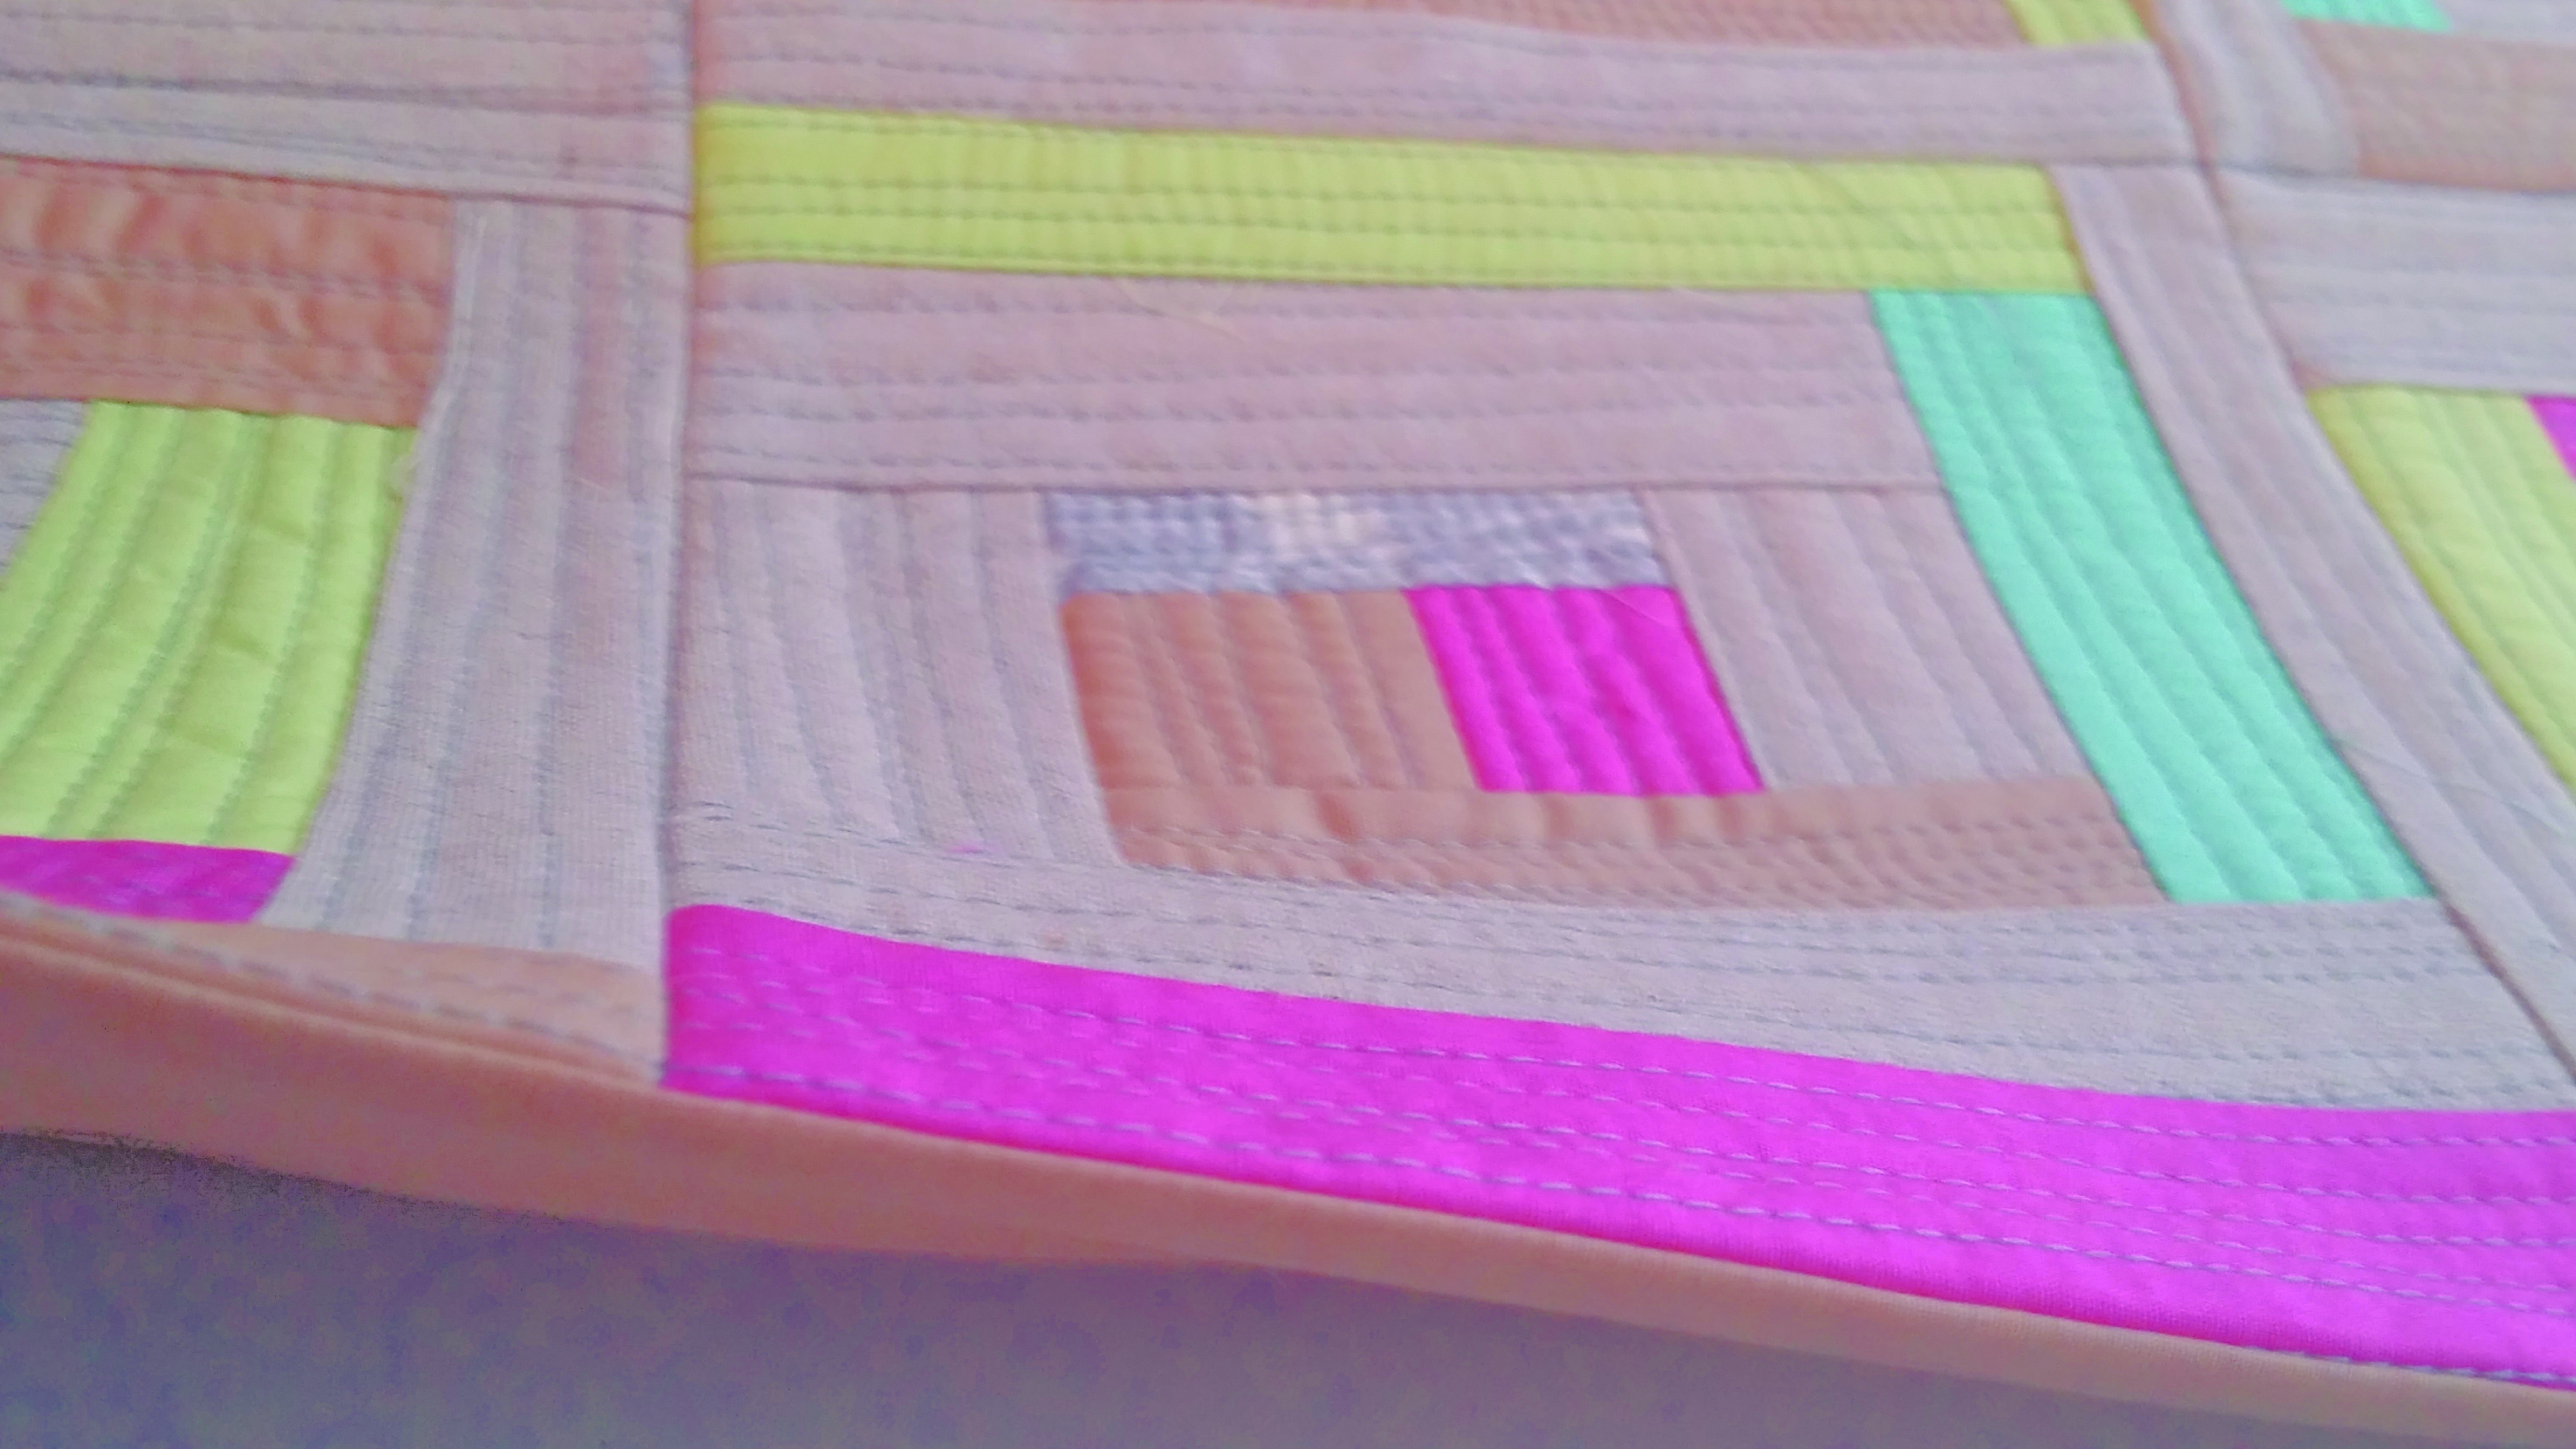
Flip the quilt over so that it’s wrong side up and then fold the strip over to the back of the quilt, making sure that the facing strip isn’t visible from the front. Press to create a neat edge. Refold the strip so that it’s against the right side of the quilt.
Step 5
Repeat steps 13–15 with the remaining strip at the bottom of the quilt.
Step 6
From the facing fabric cut two (2) 2in x 24in strips. On one long edge of each strip turn a ¼in seam over to the wrong side and press.
Step 7
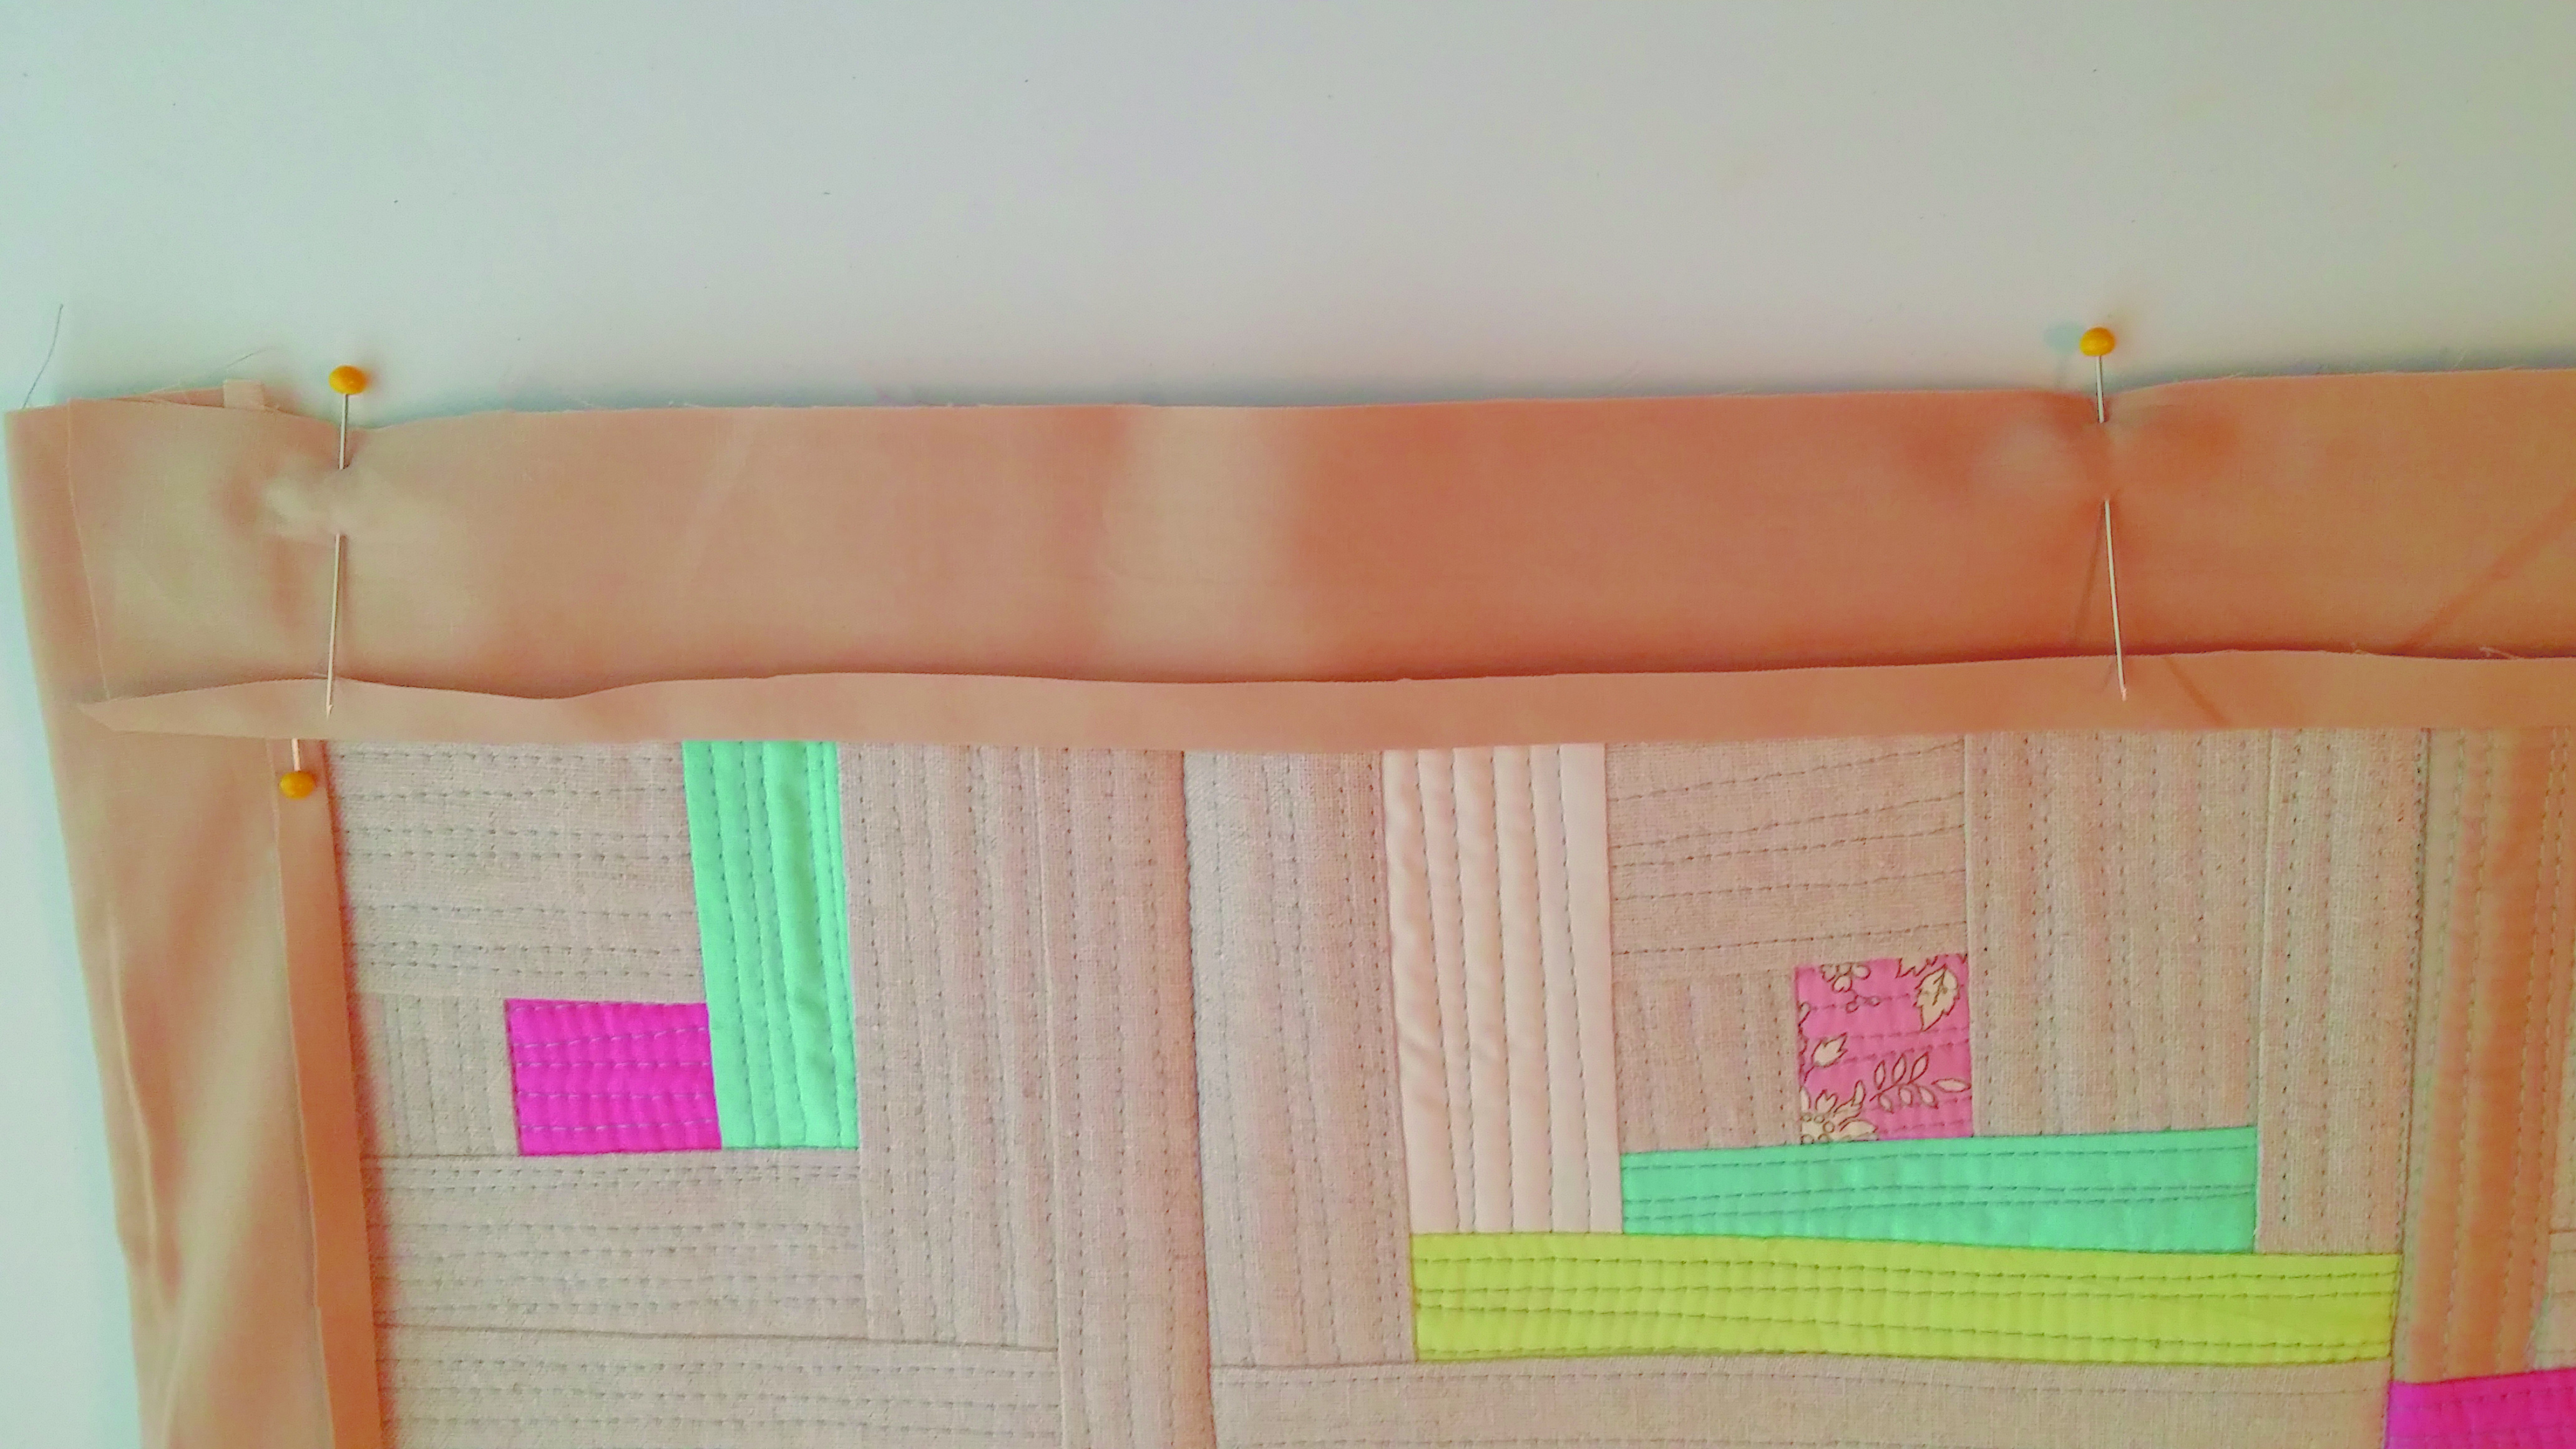
Place the quilt right side up. RST and matching up the raw edges place one of the strips centrally along one of the side edges. This time the quilt will extend approx in beyond the strip at each end and the strip will lie over the two previously joined strips. Pin in place (Fig I).
Step 8
Sew in place, stitching from the one side edge to the other side edge.
Step 9
Repeat step 18–19 with the remaining strip on the other side of the quilt.
Step 10
Flip the quilt over so that it’s wrong side up and then fold the strip over to the back of the quilt, making sure that the facing strip isn’t visible from the front. Press to create a neat edge, then slipstitch the neatened edges in place on the back of the quilt.
Step 11
Refold the top and bottom strips over to the wrong side of the quilt, poking the corners out. Slipstitch the neatened edges in place on the back of the quilt to finish.


