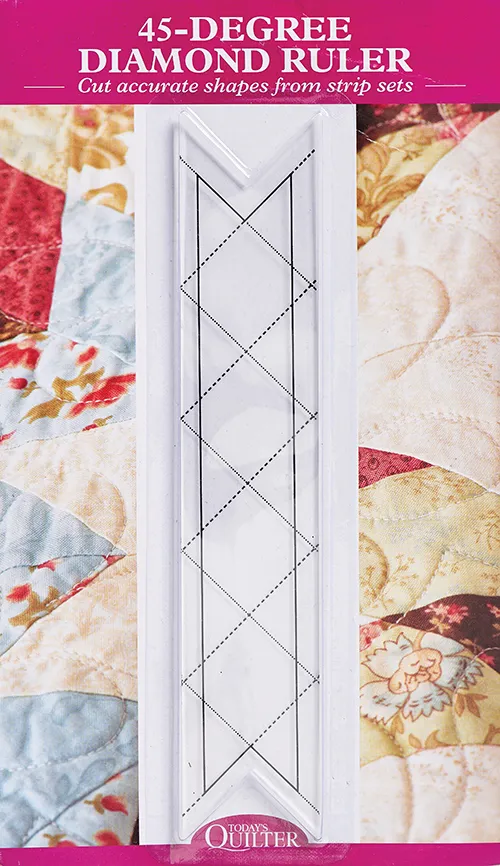
Strip piecing is one of our favourite methods for creating identical units quickly and accurately. Angle-cut strip piecing is particularly brilliant for creative blocks such as chevron designs, Patience Corners, Lone Star, 45-degree diamond blocks and more. Here's how it's done. And if you're on the hunt for more quilting tutorials, why not try our Essential Guide to Flying Geese Quilts?
Step 1
Piece together strips of your desired width(s) to make a strip-pieced unit. Stagger the strips by approximately 1in to minimise wastage.
Markings on the ruler are spaced 1in apart, so to make a strip-pieced unit with single-width stripes, cut 11⁄2in strips of fabric.
To make a strip-pieced unit with double-width stripes, cut 21⁄2in strips of fabric and so on. Your strips can all be the same width or you can choose to vary them if you prefer. Your unit should measure no more than 41⁄2in wide.
Step 2
Place your ruler on the strip-pieced units with its markings aligned with the seams. This will ensure your angles are precise and your seam intersections will match up neatly. The ruler can be positioned slanting left or slanting right.
Mixing and matching left and right will create chevron and zigzag designs. Cutting in the same direction will create 45-degree diamonds and Lone Star blocks. Angled pieces can be combined with straight-cut strip piecing for interesting designs.
Step 3
Cut along either side of the ruler with your rotary cutter and continue along the strip until all pieces are cut.
Step 4
Join the segments together in your desired order. Due to the 45-degree angles, you will need to offset the pieces by 1⁄4in either end in order to match up your seams.
Place pins at the 1⁄4in point at each seam intersection for the best results. You can trim your block to a square or rectangle, if desired.

If you missed the chance to get your hands on our ruler, you can find links to similar useful quilting rulers below which will enable you to try this technique.
