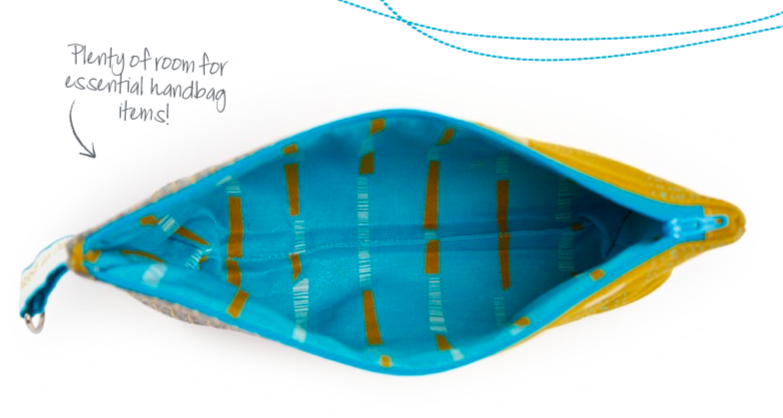
Inside issue 20 of Love Patchwork & Quilting magazine, you’ll find Susan Standen’s Any Weather Tote bag pattern, which has handy pockets for your umbrella. This cute pouch is our bonus project to match.
You will need
- Navy linen 5½in x 10in
- Mustard fabric 5½in x 15in
- Blue lining fabric 10½in x 11in
- Selvedge (or print fabric strip), 3inx5in approx
- 9in coordinating zip
- Batting two (2) pieces, each at least 11inx6in
- ‘D’ ring 1in
Finished size
- 9½in wide x 5in deep
Use up fabric scraps or a length of pretty printed selvedge to make the little 'D' ring tab.
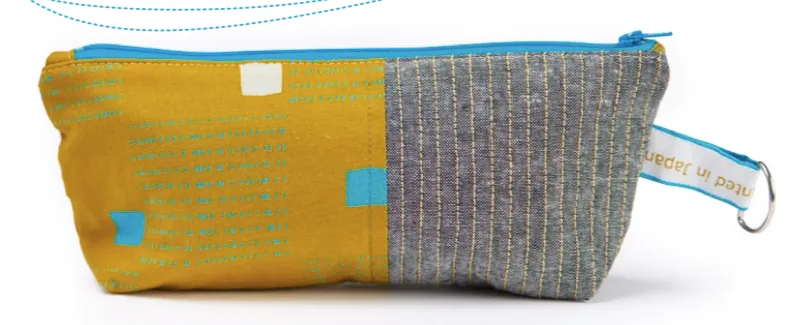
How to make a zippered pouch
Cutting out
Step 1
From the linen cut two (2) 5in x 5½in.
Step 2
From the mustard fabric cut two (2) 6in x 5½in pieces, and two (2) 2in x 3in.
Step 3
From the blue lining fabric cut two (2) 101⁄2in x 51⁄2in.
Assembling the zippered pouch
Step 4
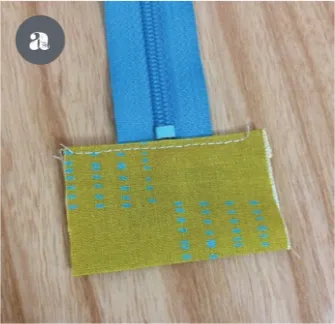
Take each of your 2in x 3in pieces and press the 2in edges under by a quarter of an inch on both ends. Press in half so that these folded edges meet. Place the tabs over the each end of the zip ensuring you do not cover the metal parts. Topstitch in place (Fig a).
Step 5
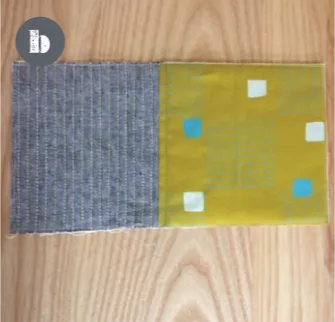
Place a linen 5in x 51⁄2in piece and a mustard 6in x 51⁄2in piece right sides together and stitch along a 51⁄2in edge. Open out and press the seam open or to one side. Repeat with the other two pieces.
Step 6
Baste these two pieces to your batting (fusible batting is handy here) and quilt as desired (Fig b). Trim away any excess batting.
Step 7
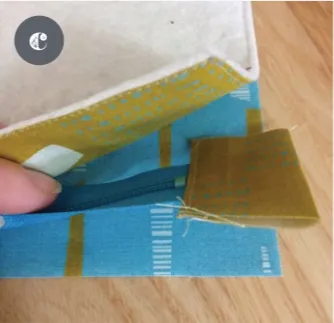
Take one of your quilted pieces, the zip and one of your lining pieces and layer them up as follows – lining piece right side up, zip right side up with zip pull to the right of the closed zip, and quilted piece right side down (Fig c). Your zip tabs may extend a little bit past the edges of your fabric on each side.
Step 8
Using a zipper foot, stitch these layers together. Sew with your needle in the down position and halfway through stitching your seam stop, leave the needle down but lift the presser foot and unzip the zip so that the zip pull is on the far side of the needle and will not impede a straight line of stitching. Press both the quilted piece and the lining away from the zip.
Step 9
Repeat the process to attach the remaining quilted and lining pieces to the other side of the zip. Cut away the excess zip tab on both ends of the zip.
Step 10
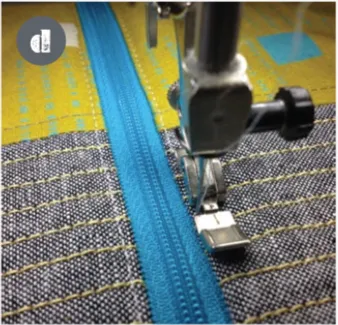
Topstitch the quilted outer to the lining on either side of the zip (Fig d).
Add the tab and finish
Step 11
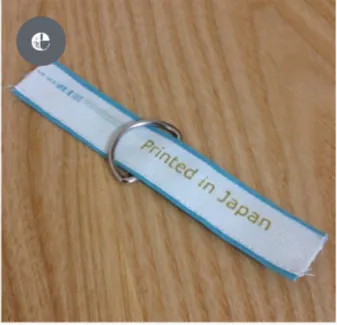
Take your selvedge piece and press the long raw edge under lengthwise by one inch. Press over again so that raw edge is enclosed and the selvedge is on top. Topstitch along both long edges. Place the 1in ‘D’ ring on this strap (Fig e).
Step 12
Open your zip. Pin the outer quilted pieces of the pouch RST, and the lining
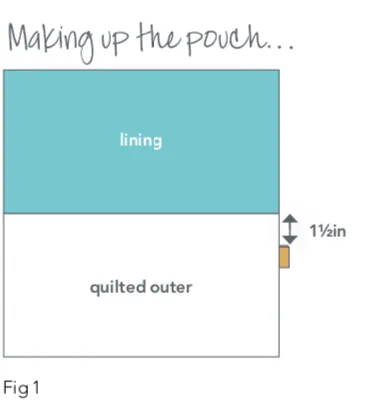
pieces right sides together. The zip will sit in the centre of the pinned piece. During the pinning process insert the ‘D’ ring and place the strap raw ends between the two quilted layers about 11⁄2in from the zip edge, with the strap ‘D’ ring sticking out about 1⁄4in from the side edge (Fig 1).
Step 13
Finger press the zip tabs in half towards the lining. Leaving approximately a 4in gap along the bottom edge of the lining, stitch around the edges, backstitching at the beginning and end of the seam. Back stitch over the strap a few times for added strength.
Step 14
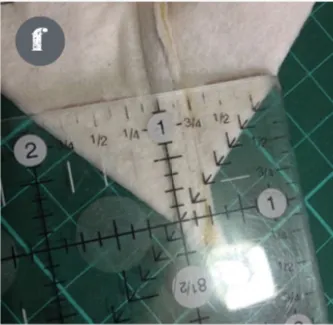
Box the pouch corners (quilted and lining sides) as per the tote instructions (steps 20–21 on page 51), but measuring and stitching only 1in from the outer corner (Fig f). Use the opening in the lining to turn the pouch right sides out. Stitch the turning gap closed.
