Cutting out
Step 1
From Fabric A, using the free template (above), cut two (2) exterior centre panels and two (2) zip end covers.
Step 2
From Fabric B, using the free template (above), cut two (2) exterior side panels and two (2) reverse exterior side panels.
Step 3
From Fabric C, using the free template (above), cut two (2) exterior end panels and two (2) reverse exterior end panels.
Step 4
From lining fabric, using the free template (above), cut two (2) linings.
Step 5
From the batting, using the free template (above), cut two (2) linings.
Making the exterior panels
Step 1
Take one exterior centre side panel, one exterior side panel, one exterior end panel, one reverse exterior side panel and one reverse exterior end panel. Arrange the pieces as shown. Join the pieces on each side of the exterior centre side panel and then join these units to the exterior centre side panel. Press.

Step 2
Place the exterior panel right side up on top of one of the batting pieces. Baste the layers together using your preferred method.
Step 3
Quilt as desired. Jo quilted a concentric circle pattern. She also quilted in the ditch where the exterior side panel meets the exterior end panel to provide a guide when forming the box corners.
Step 4
Repeat steps 6 and 7 to make a second quilted exterior panel.
How to attach the zip
Step 1
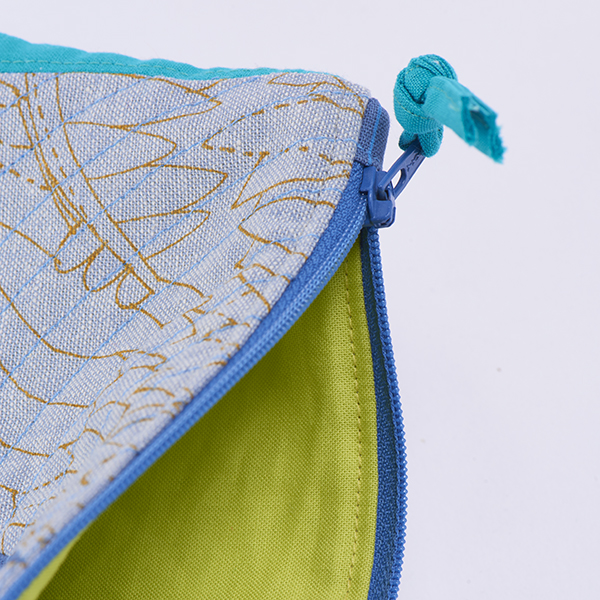
Take the zip end covers and, WST, fold in half widthways, then press. Open out and, WST, fold each short end over so the raw edges just meet at the centre crease. Fold in half again along the original fold and press.
Step 2
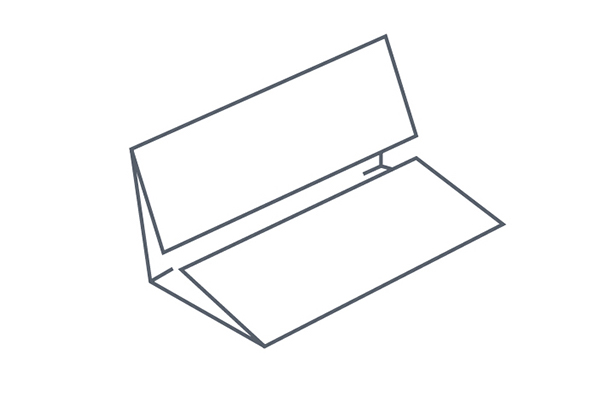
Trim the ends of the zip so that it is exactly 9in long. Fit one end of the zip inside the fold of one of the zip end covers so that the end of the zip meets the centre fold. Sew across the open end of the zip end cover, just inside the fold, to seal in the end of the zip.
Step 3
Repeat step 11 for the other end of the zip.
Step 4
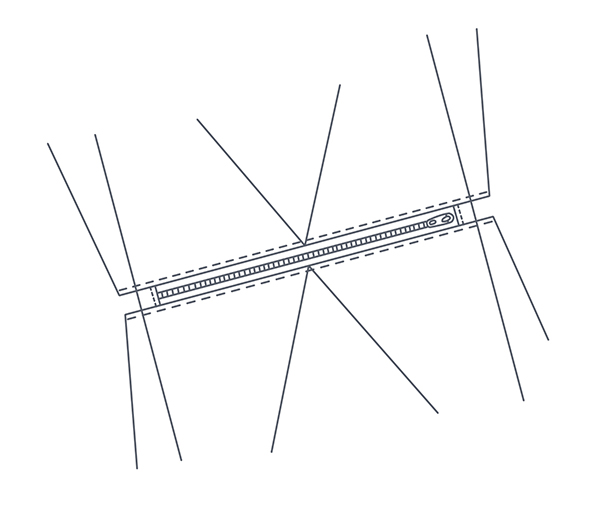
Take one exterior panel and place it right side up. Matching up the raw edges, position the zip on top, right side down, along the top edge, ½in in at either end. Take one lining piece and, matching up the raw edges, place it on top, right side down. Pin the layers together along the top edge.
Step 5
Using a zipper foot and a ¼in seam allowance, sew along the top edge. One side of the zip will now be trapped between an exterior and lining. Flip the lining so that the exterior and lining are now wrong sides together.
Step 6
Repeat steps 13-14 for the other edge of the zip with the remaining exterior panel and lining.
Step 7
Press the seams on both sides of the zip, then topstitch from the exterior side along both sides of the zip. There will now be an exterior/lining panel on each side of the zip.
Joining the pouch
Step 1
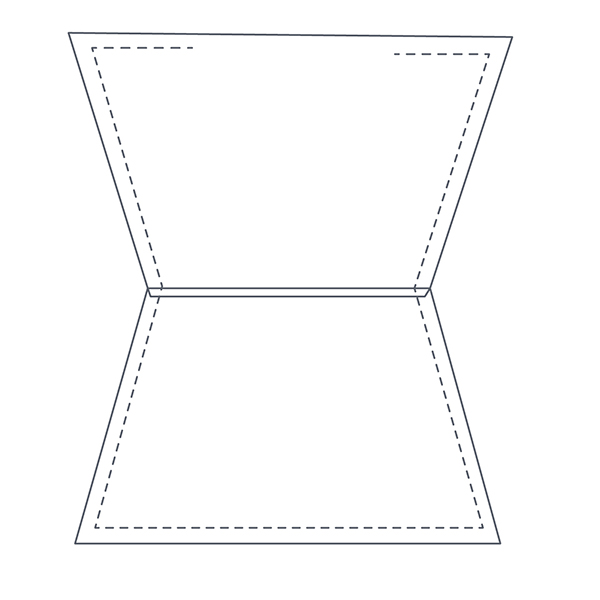
Open out the exterior and lining pieces so that the exteriors are RST and the linings are RST. Pin. Push the zip end covers up and away from the exterior pieces and sew around the outside of the exteriors. Re-position the zip end covers and then sew the linings together in the same way, but this time leaving an opening of approx 5in in the centre bottom.
Step 2
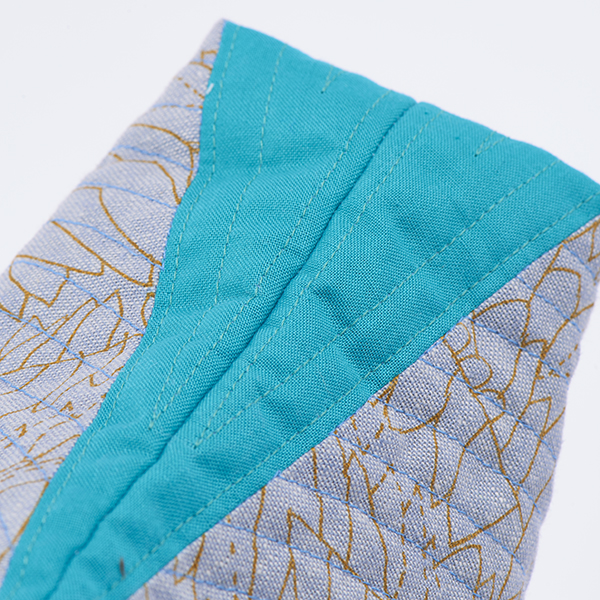
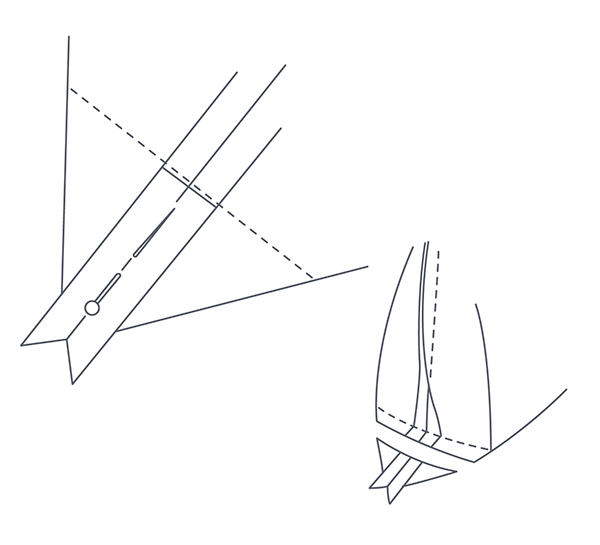
With the whole pouch still wrong sides out, re-position one of the bottom corners of the exterior by folding one of the side seams towards the bottom seam. Line up the two seams to form a triangle and pin together.
Step 3
Measure and mark 2 ½in from the corner along each folded edge, then join these points to mark your sewing line – the seams in the exterior side panel fall at these points so you can use these as a guide. Sew along the marked line across the corner and then trim away the excess fabric using a ½in seam allowance.
Step 4
Repeat step 19 for the opposite exterior corner. Then repeat for the lining corners, but this time without trimming away the excess fabric.
Finishing the pouch
Step 1
Carefully turn the pouch right side out through the gap in the lining. Hand stitch the gap in the lining closed and press. Push the lining neatly down inside the pouch.
Step 2
If you want to add a tie-pull on the zip, cut one (1) 8in x 1in strip of fabric and fold it in half WST lengthways, then press. Open out and, WST, fold each long side over so the raw edges just meet at the centre crease. Then fold in half again along the original fold and press.
Step 3
Topstitch down the long edge where the folds meet to secure. Trim one end diagonally and feed it through the zip pull. Knot the two ends together and then trim both ends diagonally to finish.


