Piecing the hexagons
Step 1
Download and print out our free Snowflake hexagon templates Prepare twelve (12) 1in hexagons of white fabric (use the 1¼in hexagon fabric template to cut out twelve 1¼ white fabric hexagons and baste each of these around a 1in paper hexagon). You will also need to prepare one smaller, ¾in hexagon, also in white fabric, for the centre of the snowflake (cut a 1in fabric hexie for this).
Assembling the snowflake
Step 1
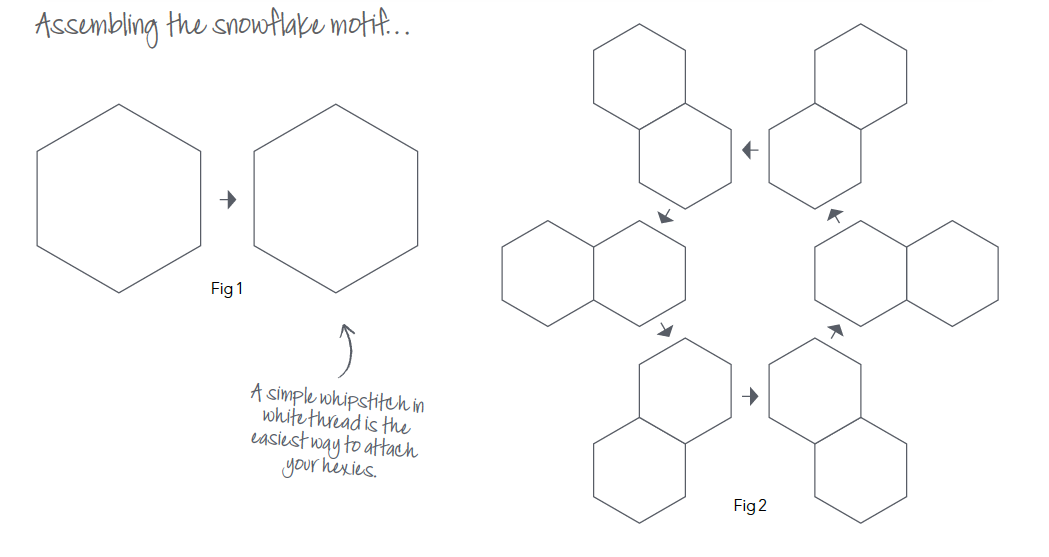
Take the twelve larger hexagons and arrange into pairs. Sew each pair together along one edge (Fig 1).

Step 2
Arrange into a flower shape (with a gap in the centre) as pictured and sew the central ring of hexagons together (Fig 2).
Step 3
Give your snowflake a quick press before removing any basting stitches, if necessary. Carefully pull out the paper templates, making sure to keep the outer edges of fabric folded under.
Step 4
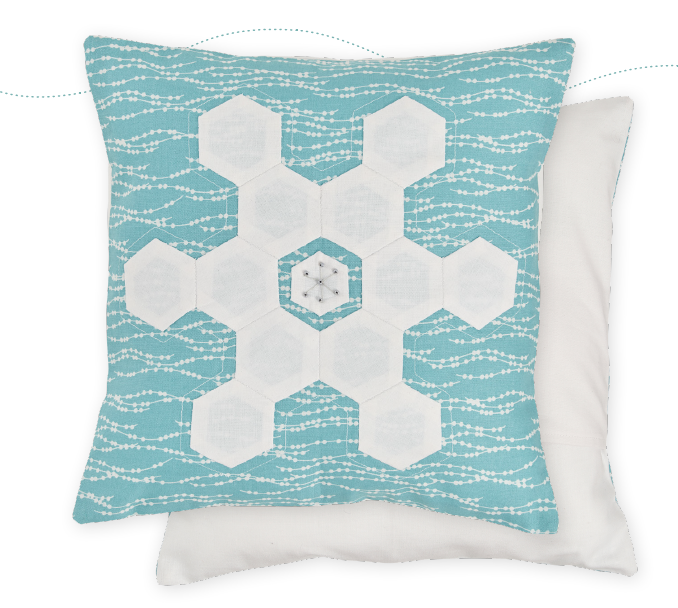
Position the hexagon snowflake in the middle of the background fabric. Use a little basting glue to hold in place and sew in place using whipstitch or ladder stitch.
Step 5
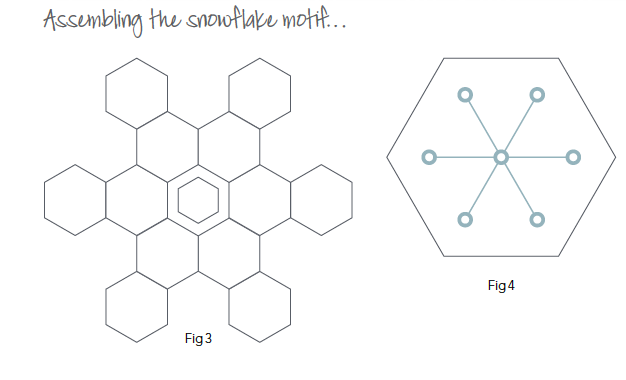
Press your small hexagon and carefully remove the paper template. Place in the centre of the snowflake shape and sew in place in the same way (Fig 3).

Beading and finishing
Step 1
Use a couple of strands of embroidery thread to secure the seven beads in place in the middle of the small hexagon, adding a long stitch between each bead to make a mini snowflake (Fig 4).
Step 2
To finish, quilt as desired. We stitched around the outline of the snowflake shape, using a ¼ in seam allowance.


