Cutting out
Step 1
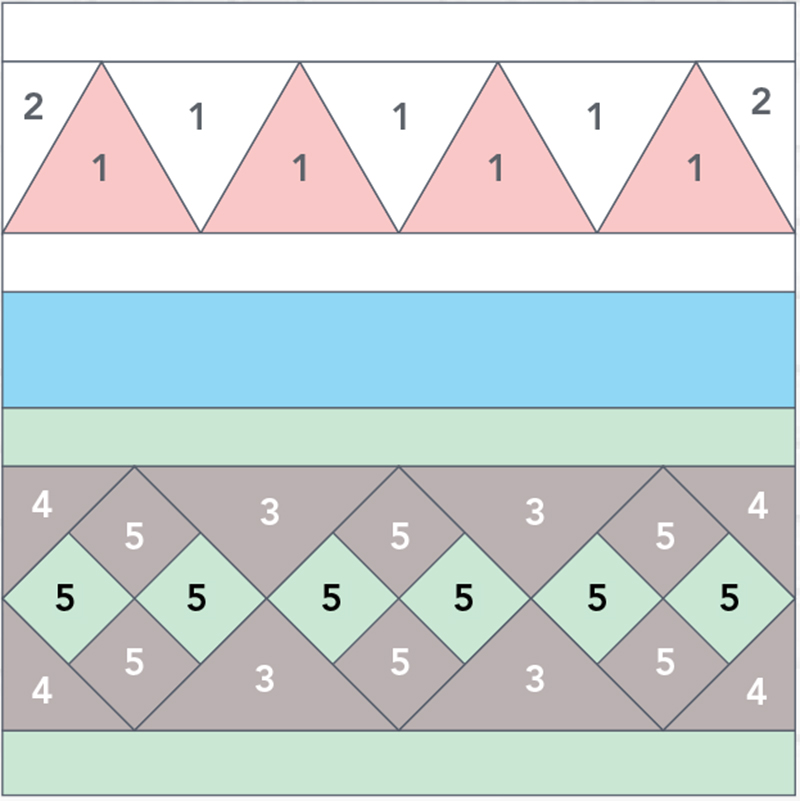
Cut out the pieces for the block, referring to the Layout diagram (below) and using our Patchwork cushion templates plus the technique we outline in step one of our hand-piecing how to guide. The template piece numbers correspond with those in the Layout diagram. For piece No 2, cut one with template right side up, then flip over to cut a second.

Step 2
Also cut two (2) 141⁄2in x 11⁄2in in green, two (2) 141⁄2in x 11⁄2in in white and one (1) 141⁄2in x 23⁄4in in blue.
Assembling the block
Step 1
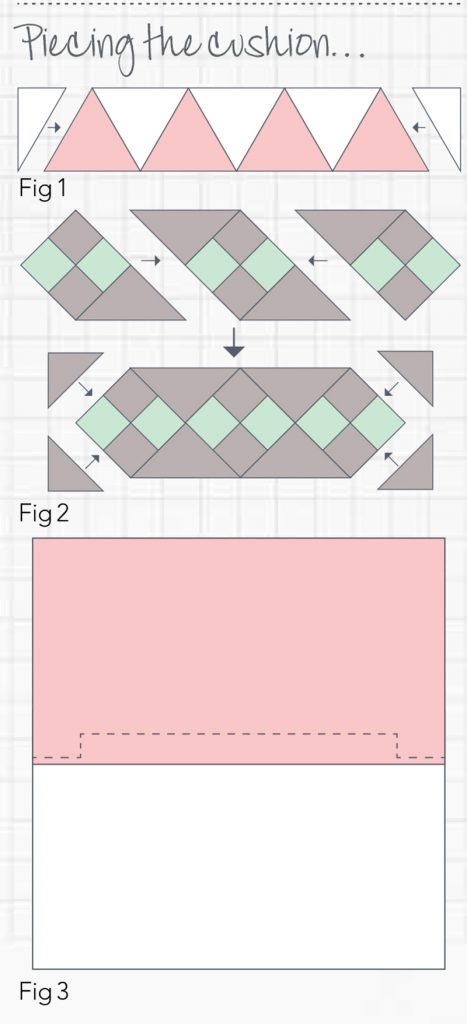
Sew the No 1 triangle pieces together first, alternating white and pink. Then add a No 2 piece to each end (Fig 1).

Step 2
Sew the squares into pairs, then sew the pairs together to make four-patch blocks. Add the large triangles, then sew the triangle/square units together (Fig 2). Then add the small triangles to the ends. Line up the rows and sew together to finish the cushion top. Press all seams.
Quilting & finishing
Step 1
Baste the block to the batting and quilt as desired.
Step 2
Attach one backing piece to one side of the zip. Press away from the zip and topstitch in place. Attach the second piece to the other side of the zip. Press this piece up, just below the line of topstitching, so the fold is covering the zip. Open the zip halfway and then topstitch it in place, as shown in Fig 3, to enclose the zip.
Step 3
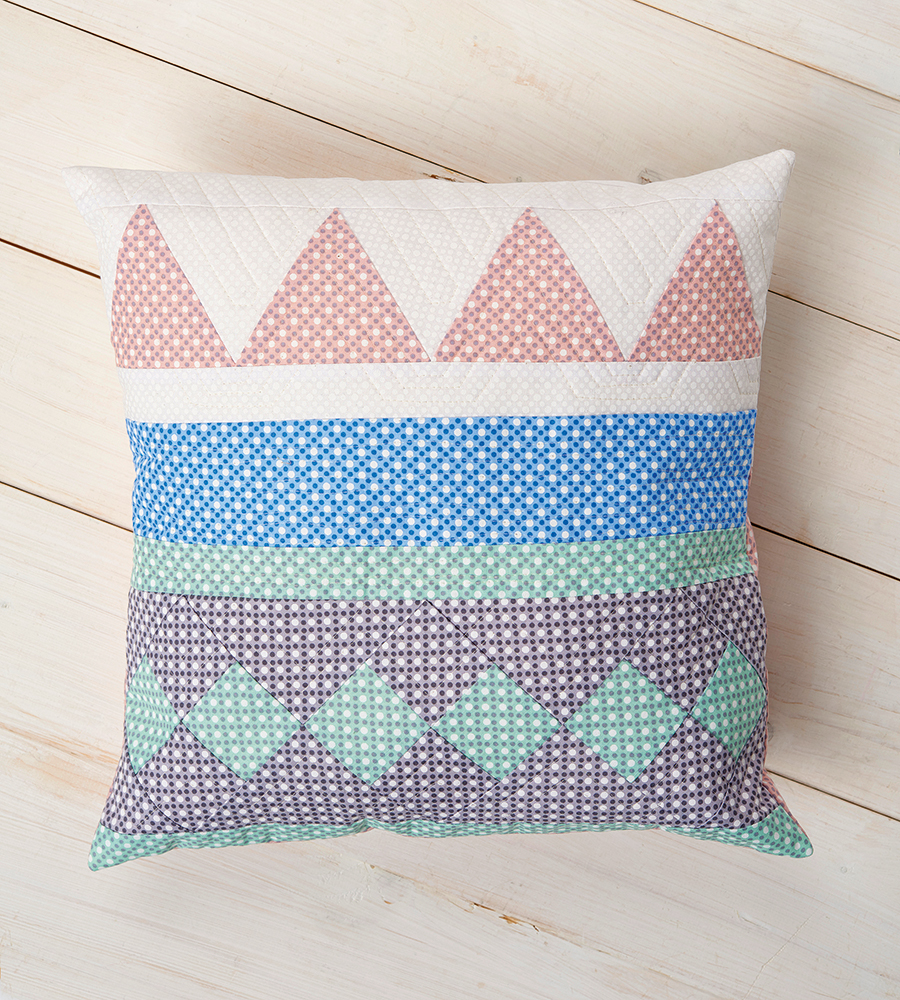
Trim your backing to 14½in square. Place the backing right sides together with the cushion top and stitch in place around the edges. Trim the corners and turn right side out through the opening in the zip. Insert a cushion pad to finish.


