How to resize a quilt block
All products were chosen independently by our editorial team. This review contains affiliate links and we may receive a commission for purchases made. Please read our affiliates FAQ page to find out more.

How to resize a quilt block

Find out how to turn standard size templates into mini marvels or super-sized squares with our free tutorial!

Try 3 issues of The Today's Quilter magazine for £7!

Published: September 18, 2017 at 6:43 pm

There are always times in a quilter’s life when we find a certain size block and fall in love with it, but the quilt we’re planning requires a slightly different size to make the measurements tot up, or to make the most economical use of our fabrics.

Maths can be one of our least favourite parts of quilting, but we’ve got good news for you… we're here to help!

There are two ways to resize quilt block:

With good old fashioned maths

Don't worry, we're here to show you what you need to do!

With a resizing tool

A Quilter’s Resizing Tool makes it easy to resize quilt blocks – they're available online, for example over at The Cotton Patch.

We've used this in our tutorial but also included instructions for if you're resizing a block without a tool to help.
Step 1

Size it up: Choose your finished block size in inches. In this example we are going to turn:

  1. an original-sized 4in star block into…
  2. a finished-sized 11in star block.

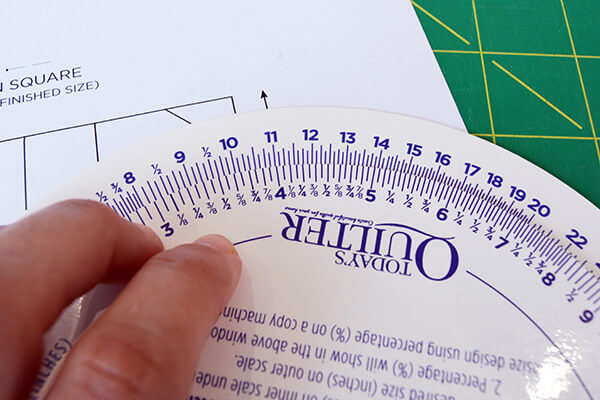
To use the tool: line up the original size (4in here) on the inner scale under the finished size on the outer scale, like this.

Without the tool: just note the measurements of the block you have to start with (4in for this example) and the block size you want to turn it into (11in for this example)
How to resize quilt blocks: use a resizing tool

Step 2

Set your scale

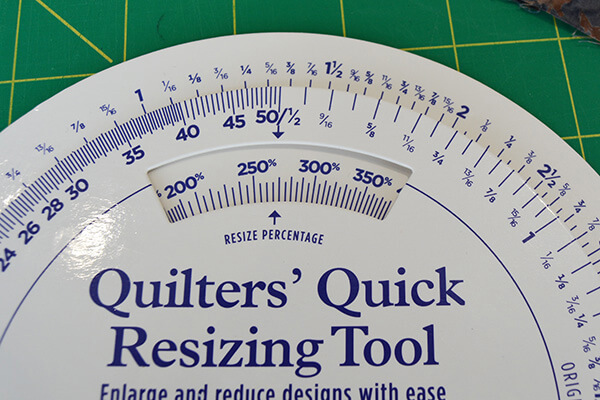
If you’re using the tool, now look in the ‘Resize percentage’ window and you’ll see how much you need to adjust the block design by to change it to your required size. In this case, 275%.

How to resize quilt blocks: set your scale

If you’re not using the tool you need to do the following two sums using a calculator on your phone or computer…

  1. Divide the new, intended block size (11in) by the original block size (4in) – in this example, 11 % 4 = 2.75
  2. Now take this number (2.75) and times it by 100 – so 2.75 x 100 = 275

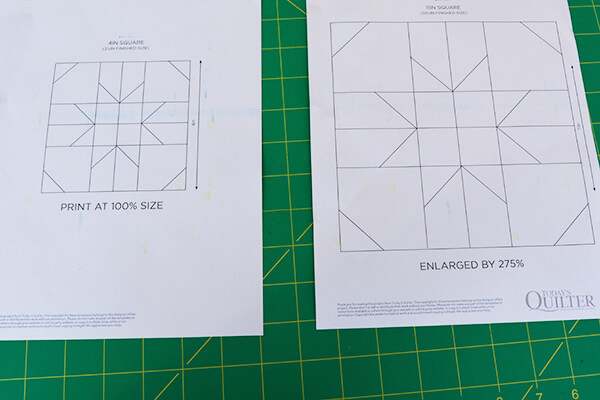
275% is the percentage increase you need to make of your quilt block pattern!

Step 3

Now enlarge your quilt block template

Take your block design and resize it using a photo copier, scanner or printer to increase it by 275% (or whichever percentage you arrived at from the steps above for your block measurements)

How to resize quilt blocks: reproduce your template

Step 4

The fun bit… get sewing!

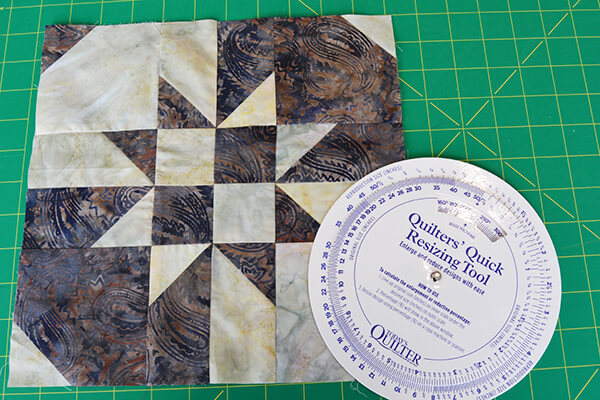
Now you’re ready to sew up a perfectly proportioned new block size!

[pullquote quote="Remember before you begin, if you haven’t been quilting for long, always include seam allowances whenever you are cutting or sewing fabric pieces to form a block." /]

When working out your finished quilt block size, remember that a quilt block that is 8in when completed will actually be 7.5in once it’s sewn into a quilt top using ¼in seams, and every individual unit of the block also needs to be cut with extra seam allowance along each side.

How to resize quilt blocks: sew your block together