How to use a free motion quilting foot
All products were chosen independently by our editorial team. This review contains affiliate links and we may receive a commission for purchases made. Please read our affiliates FAQ page to find out more.

How to use a free motion quilting foot

Want to give free motion quilting a go, but not sure which machine foot to choose or where to get started? Let us help you set off on the right foot.

Try 3 issues of Love Patchwork & Quilting magazine for just £7

Published: April 27, 2023 at 7:39 am

Free motion quilting is an easy technique to get started with, once you have your sewing machine set up correctly. Sometimes all the options for sewing machine feet can make this technique seem complicated.

We’ve got all the info you need to make the right choice. With a few simple tips and tricks, we’ll help set you and your machine humming away, adding some pizazz to your next free motion project.

What is a free motion quilting foot?

A free motion quilting foot allows projects to be moved freely beneath the machine needle, without use of the machine’s feed dogs. This gives the machine stitches a more organic, drawn quality.

What quilting foot should you use for free motion quilting?

There are a variety of machine feet you can use for free motion quilting. Many sewing machines will come with a darning foot, which is a great place to start working on this technique without additional investment.

If you’re looking to purchase a sewing machine which is suitable for free motion quilting make sure you check out our round-up of the best free motion quilting machines. You can also read our complete guide to the best sewing machines for everything you need to know before you purchase!

If you don’t already have a darning foot, or are looking to invest as you progress your skills, then you should consider purchasing a specialised free motion quilting foot.

The two main types are: the hopping foot, which is used for either free-hand design or designs marked directly onto your quilt; and the ruler foot, which is for quilting designs using specialist rulers.

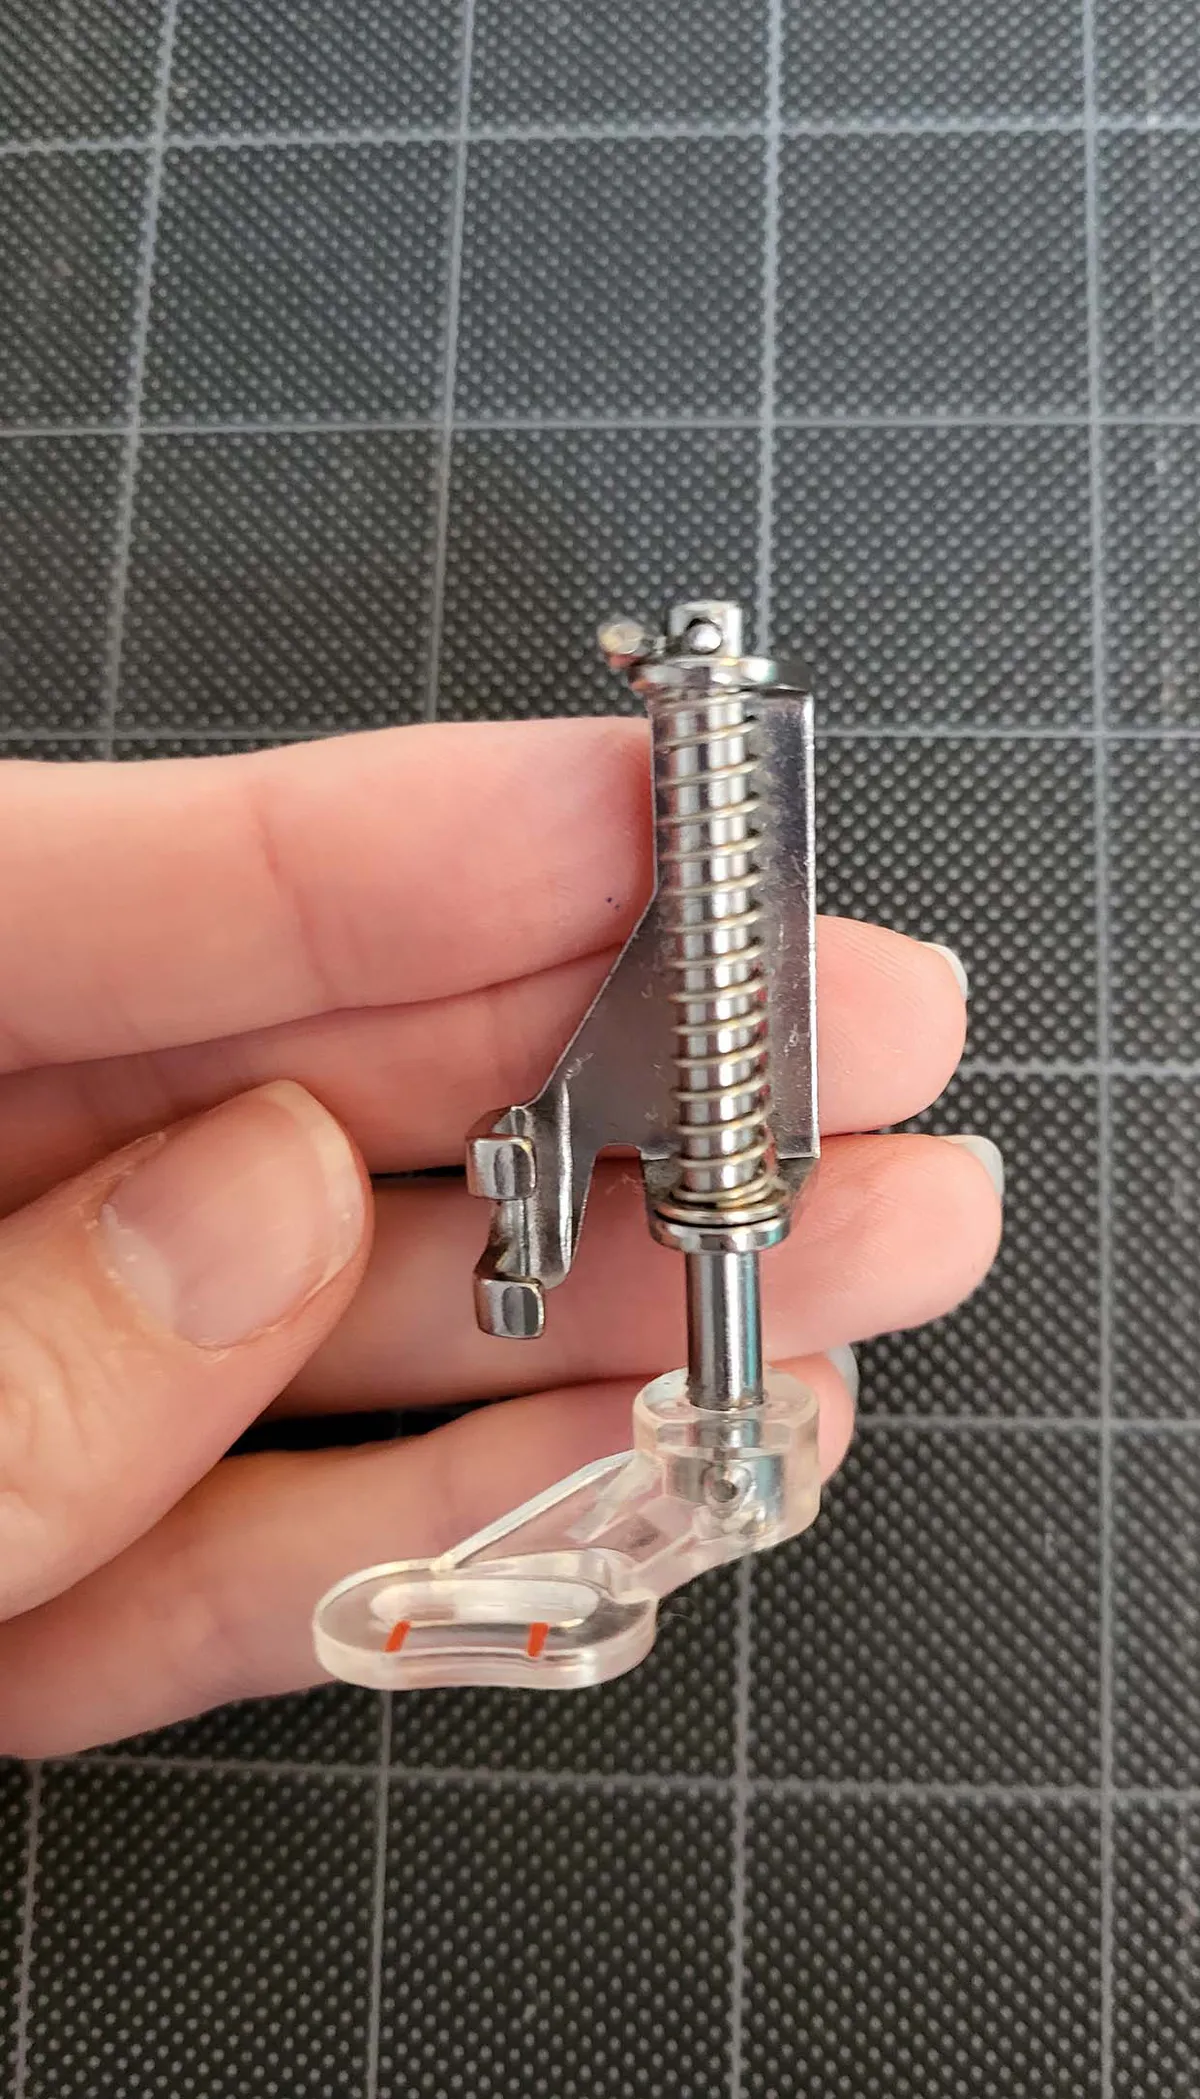
The other main consideration is what kind of ‘toe’ the free motion foot has. The toe is the small circle at the bottom that the needle goes through.

A ruler foot will always be closed toe, which means it is a complete circle. A hopping foot can have either a closed or open toe.

The closed toe protects your fingers from the needle (and from the edges of the ruler when using the ruler foot). It also allows you to see the exact area where the needle will go down into the quilt.

An open toe gives more visibility to the project as a whole, so you can easily see where your quilting lines are going across the project.
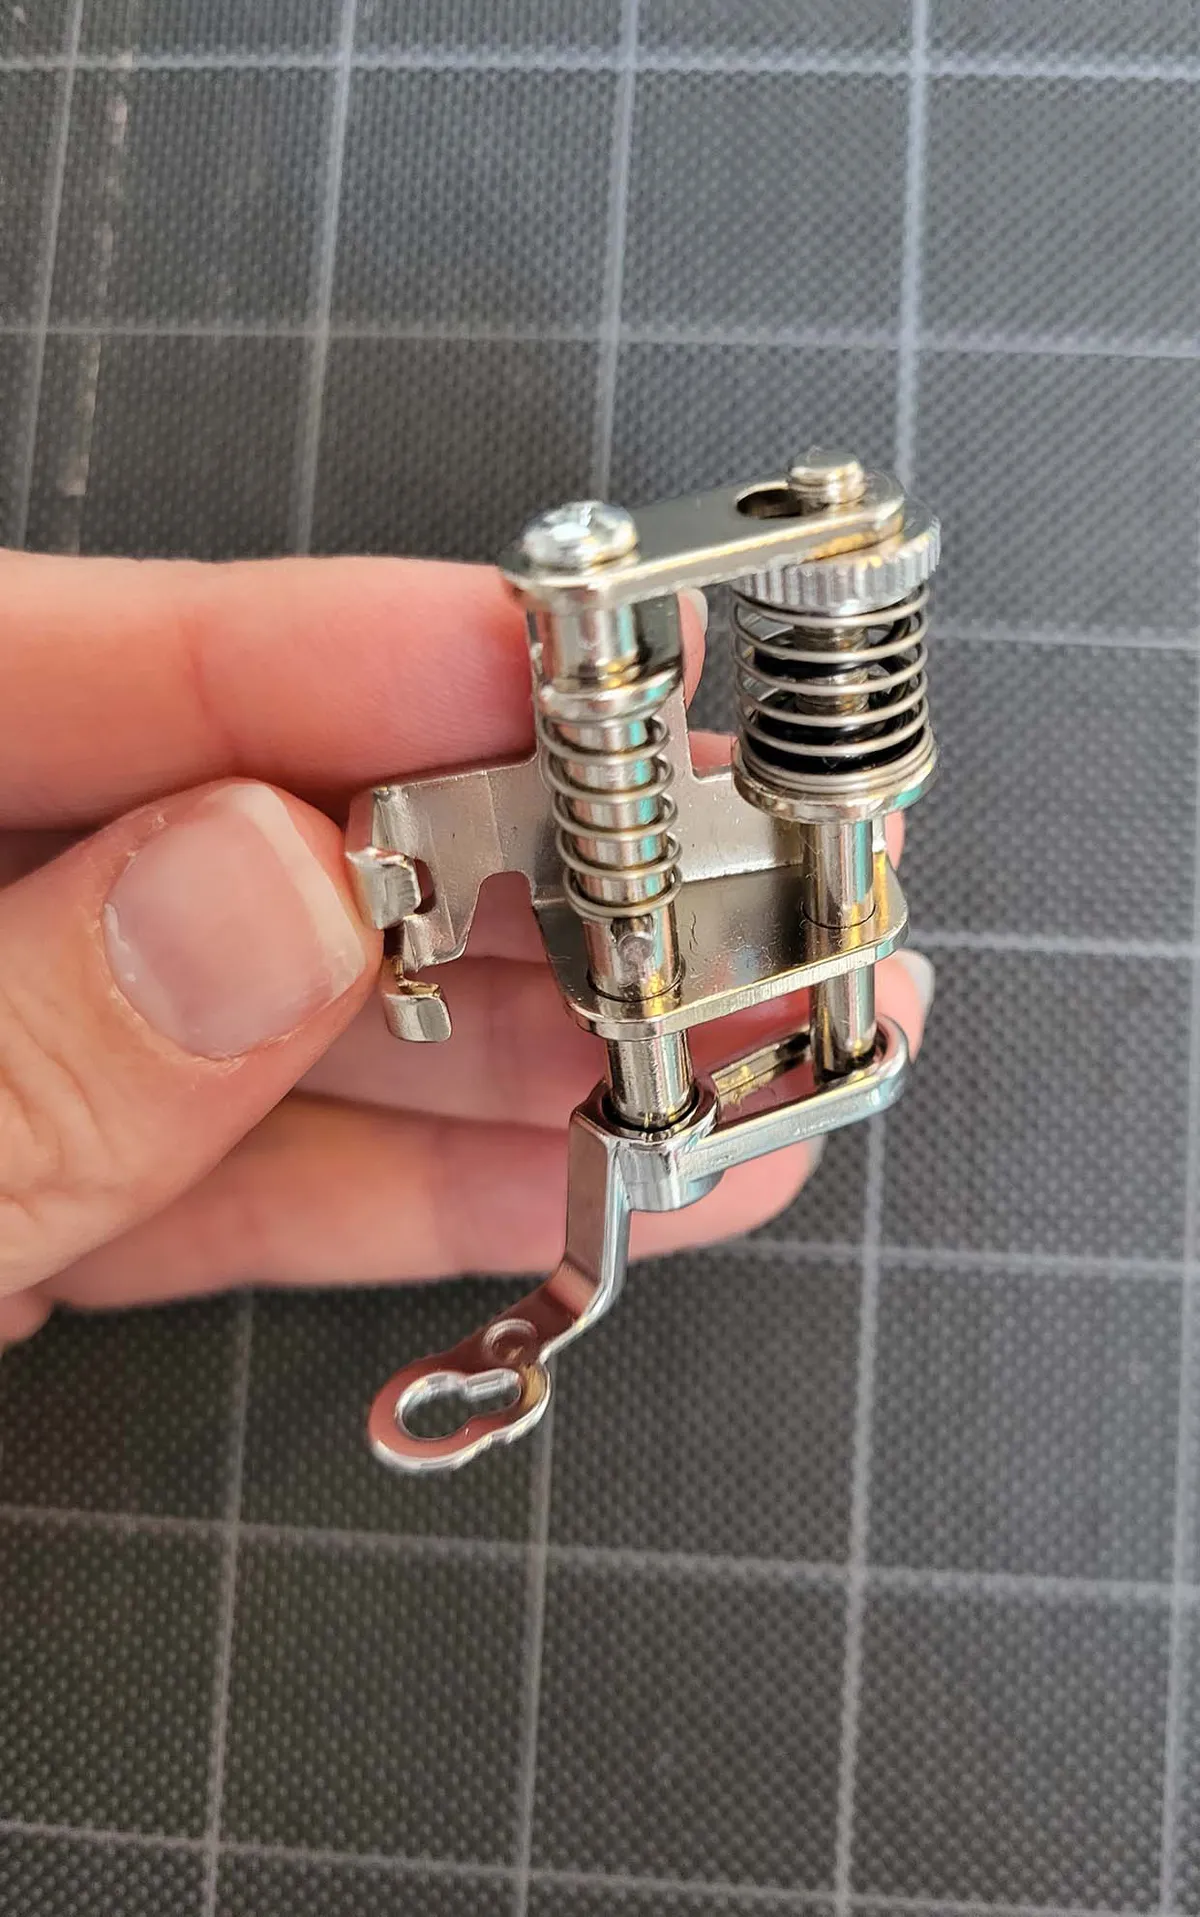
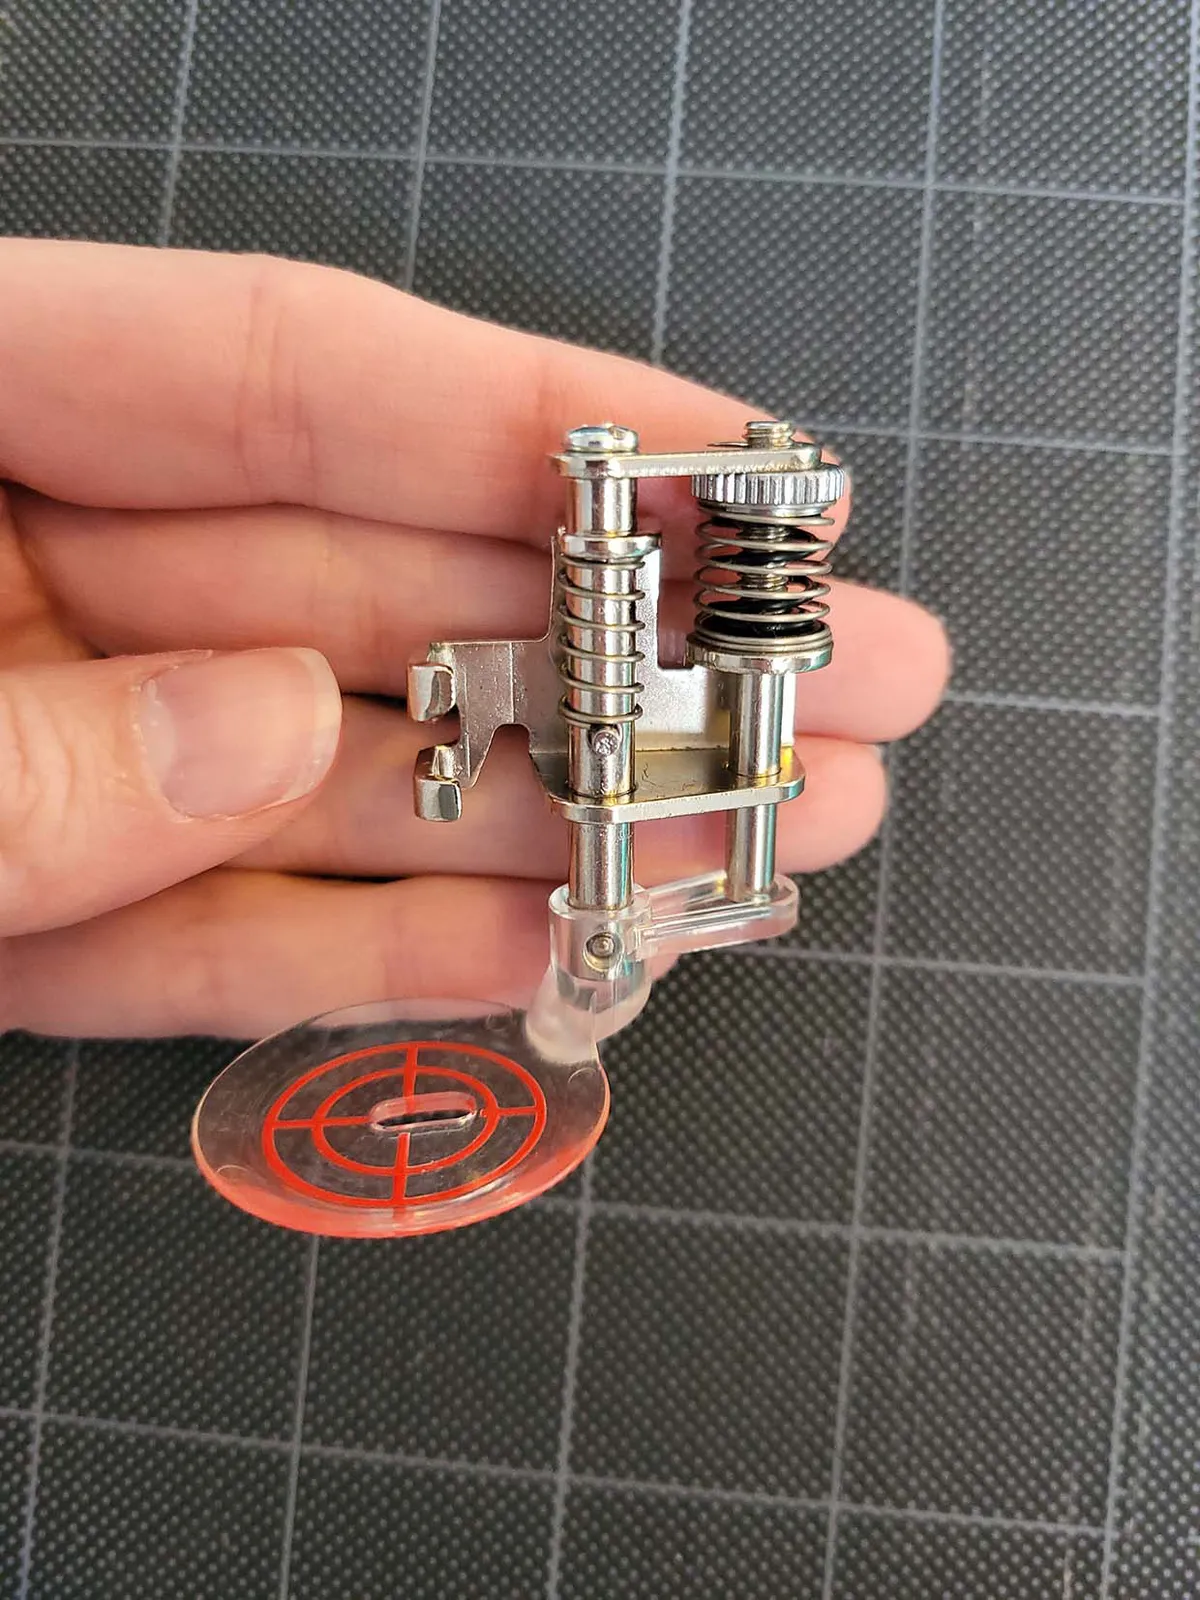
Hopping Free Motion Quilting Foot with Metal Toe

Free Motion Quilting Foot with Large Plastic Closed Toe
Darning Foot with Plastic Closed Toe

Hopping Free Motion Quilting Foot with Metal Toe

Free Motion Quilting Foot with Large Plastic Closed Toe

Darning Foot with Plastic Closed Toe

Hopping Free Motion Quilting Foot with Metal Toe
Free Motion Quilting Foot with Large Plastic Closed Toe

Darning Foot with Plastic Closed Toe

How to fit a free motion quilting foot

Fitting a free motion quilting foot will vary from machine to machine. Most sewing machine manufacturers make free motion quilting feet specifically for their machines, so this is a good place to start.

If buying a third-party foot, the most important thing to find out is whether your machine has a high shank or low shank, as most feet are made for only one type. Check your machine’s instruction manual to find out.
You will need:

  • Sewing machine, fitted with free motion quilting foot
  • Thread
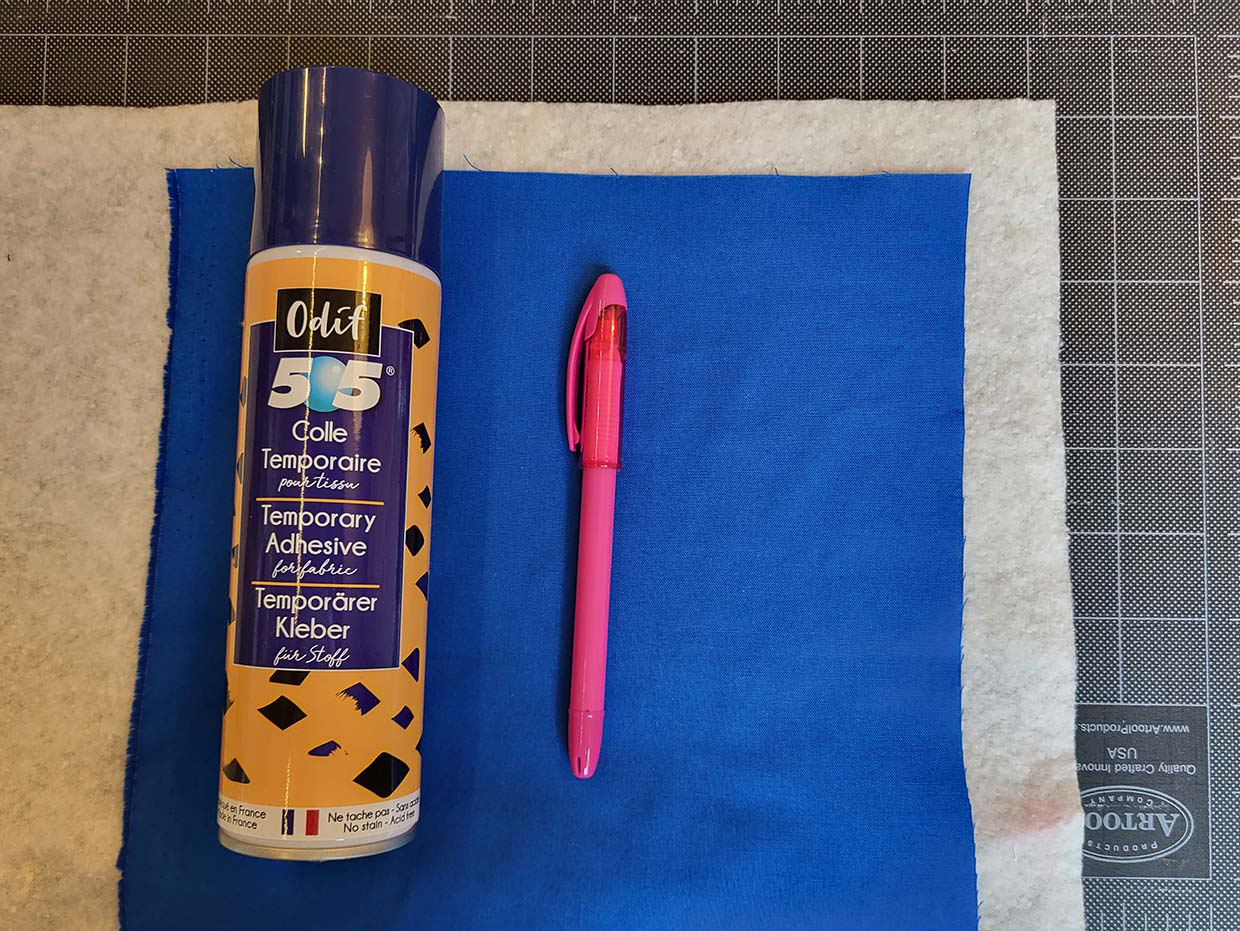
  • Practice quilt sandwich (two layers of fabric with batting in between)
  • Basting spray

Step 1

How to use a free motion quilting foot

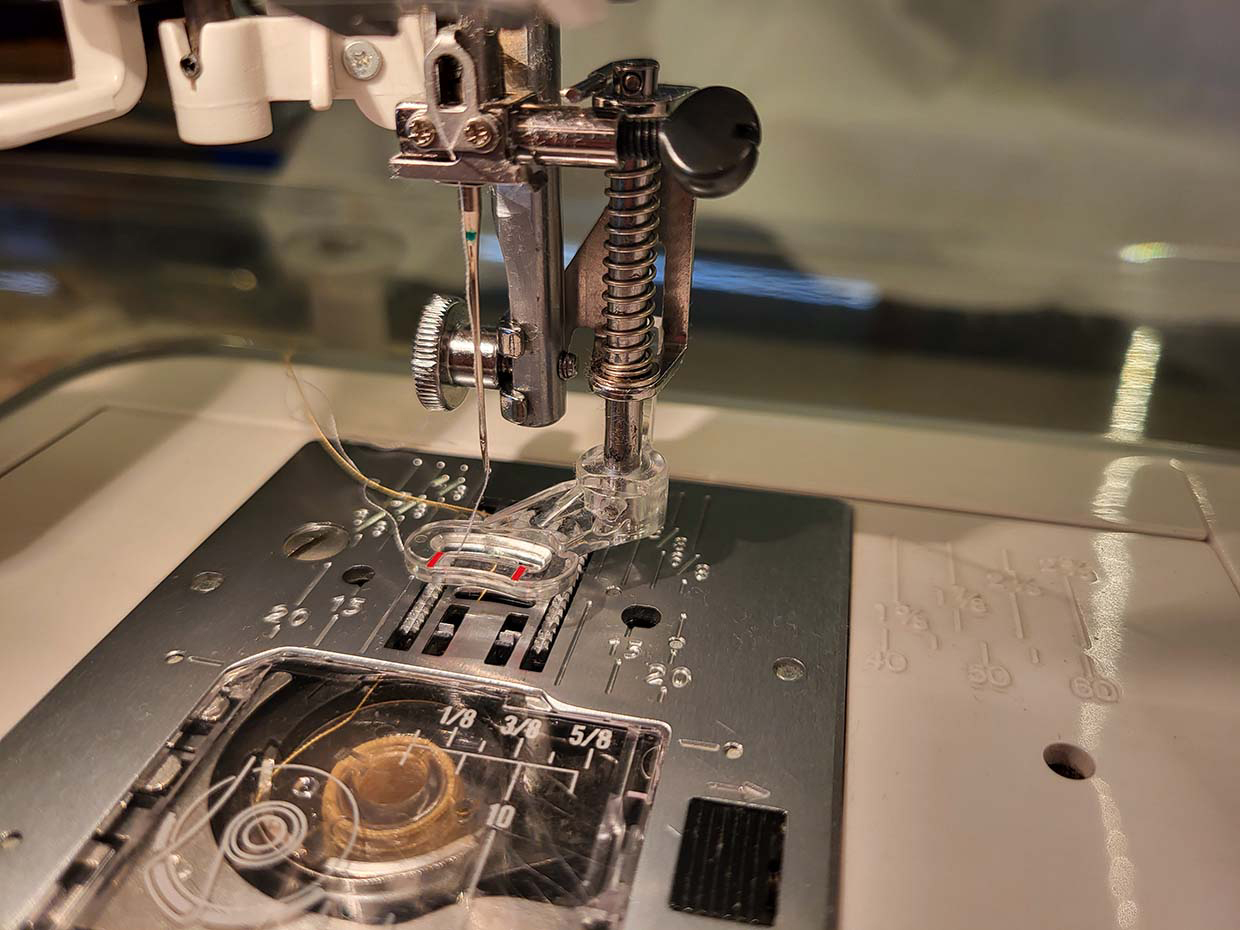
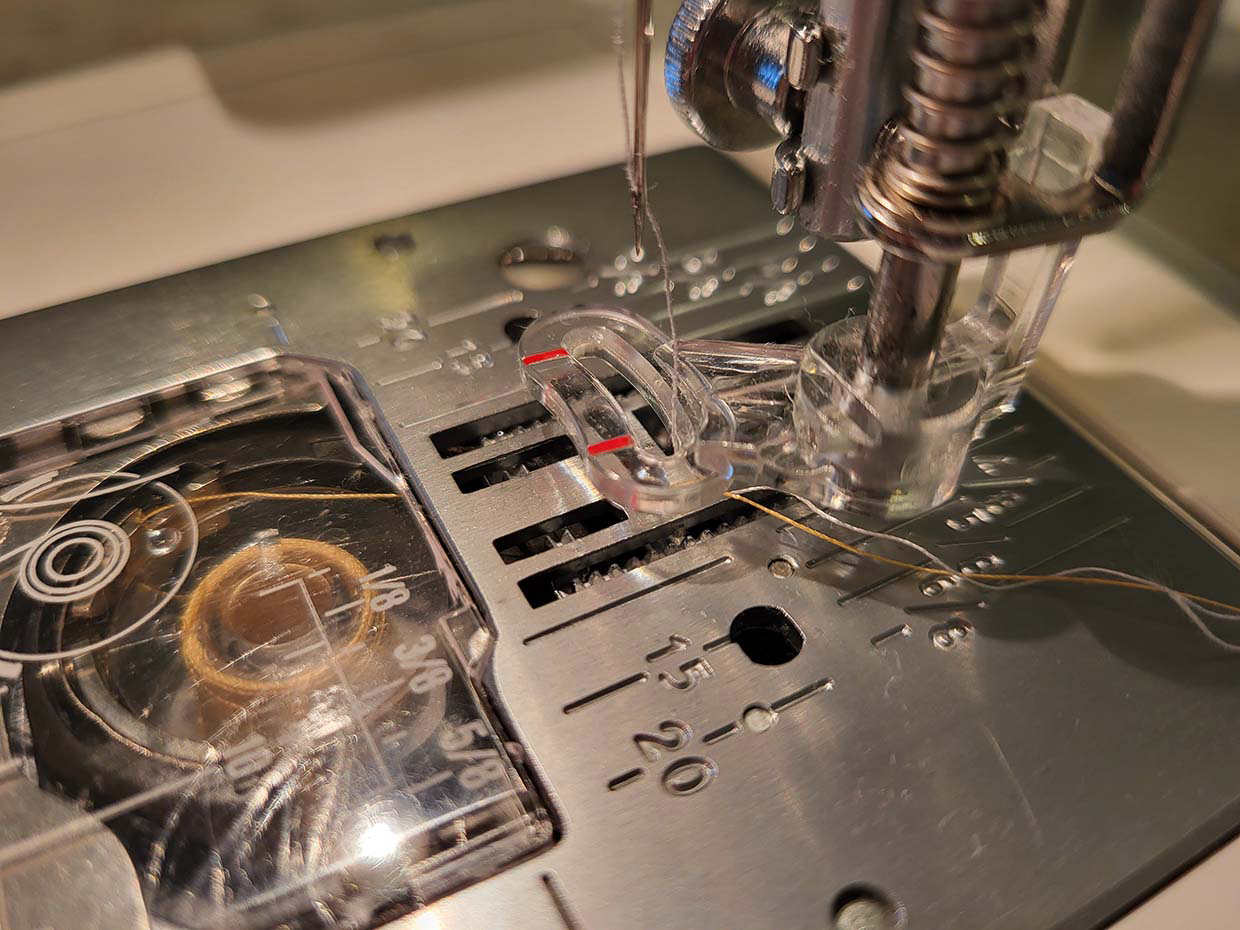
Install your free motion quilting foot

Check your machine instructions and/or the quilting foot instructions for guidance on fitting the foot to your machine.

Most are attached using the screw at the side of the foot attachment, and may require you to remove the normal presser foot holder.

Step 1 free motion foot on sewing machine

Step 2

Adjust your machine

Again, check your specific machine manual for what settings to modify. For most machines, you will need to drop your feed dogs.

You may also need to adjust the thread tension, reduce your stitch length to zero, lower the foot pressure and set your needle position to down.

Step 2 Feed dogs lowered on sewing machine

Step 3

Prepare your practice piece

Take time to baste a practice square, using basting spray to secure the layers. This will make the layers easy to move together, and you can move the fabric freely without worrying about stitching over pins.

Step 3 Layer the fabric with basting spray

Looking for more free motion quilting advice?

Head over to our expert free motion quilting guide to find out more about this incredible technique!

Step 4

Take a test run

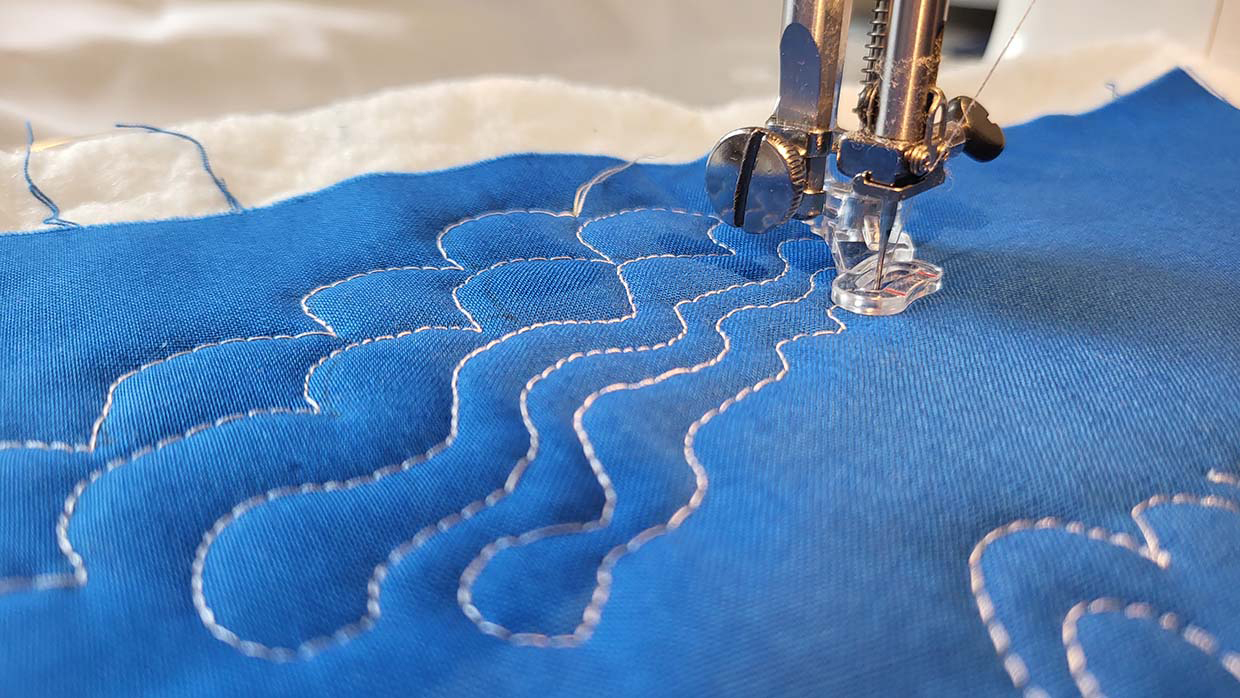
Use your practice piece to test out your free motion quilting. This allows you to make any tension adjustments that may be required.

Don’t be afraid to try out new techniques, and experiment with the speed of your stitching to get the best results.

Always check the underside of your quilted piece as well as the top to ensure that the tension is balanced.

Once you’ve completed these steps, you’re ready to start your free motion quilting project! Use our how to do free motion quilting for beginners tutorial for a step by step tutorial.

Step 4 Take a test run

Explore the flowing world of free motion quilting!

Although there are many different options for your free motion quilting foot, this doesn’t need to be a barrier. Start with the darning foot that came with your machine.

If you need to invest in a new foot, consider what techniques you will use (free motion quilting rulers, free-hand, or direct marking on the quilt); and consider whether the foot will provide the right visibility for you.

Follow our guide to setting up your machine, and you’ll be ready to stitch in no time!

Discover more free motion quilting inspiration

Now you know how to use a free motion quilting foot, you need something to make! Head over to our collection of free motion quilting patterns and start your quilting journey.