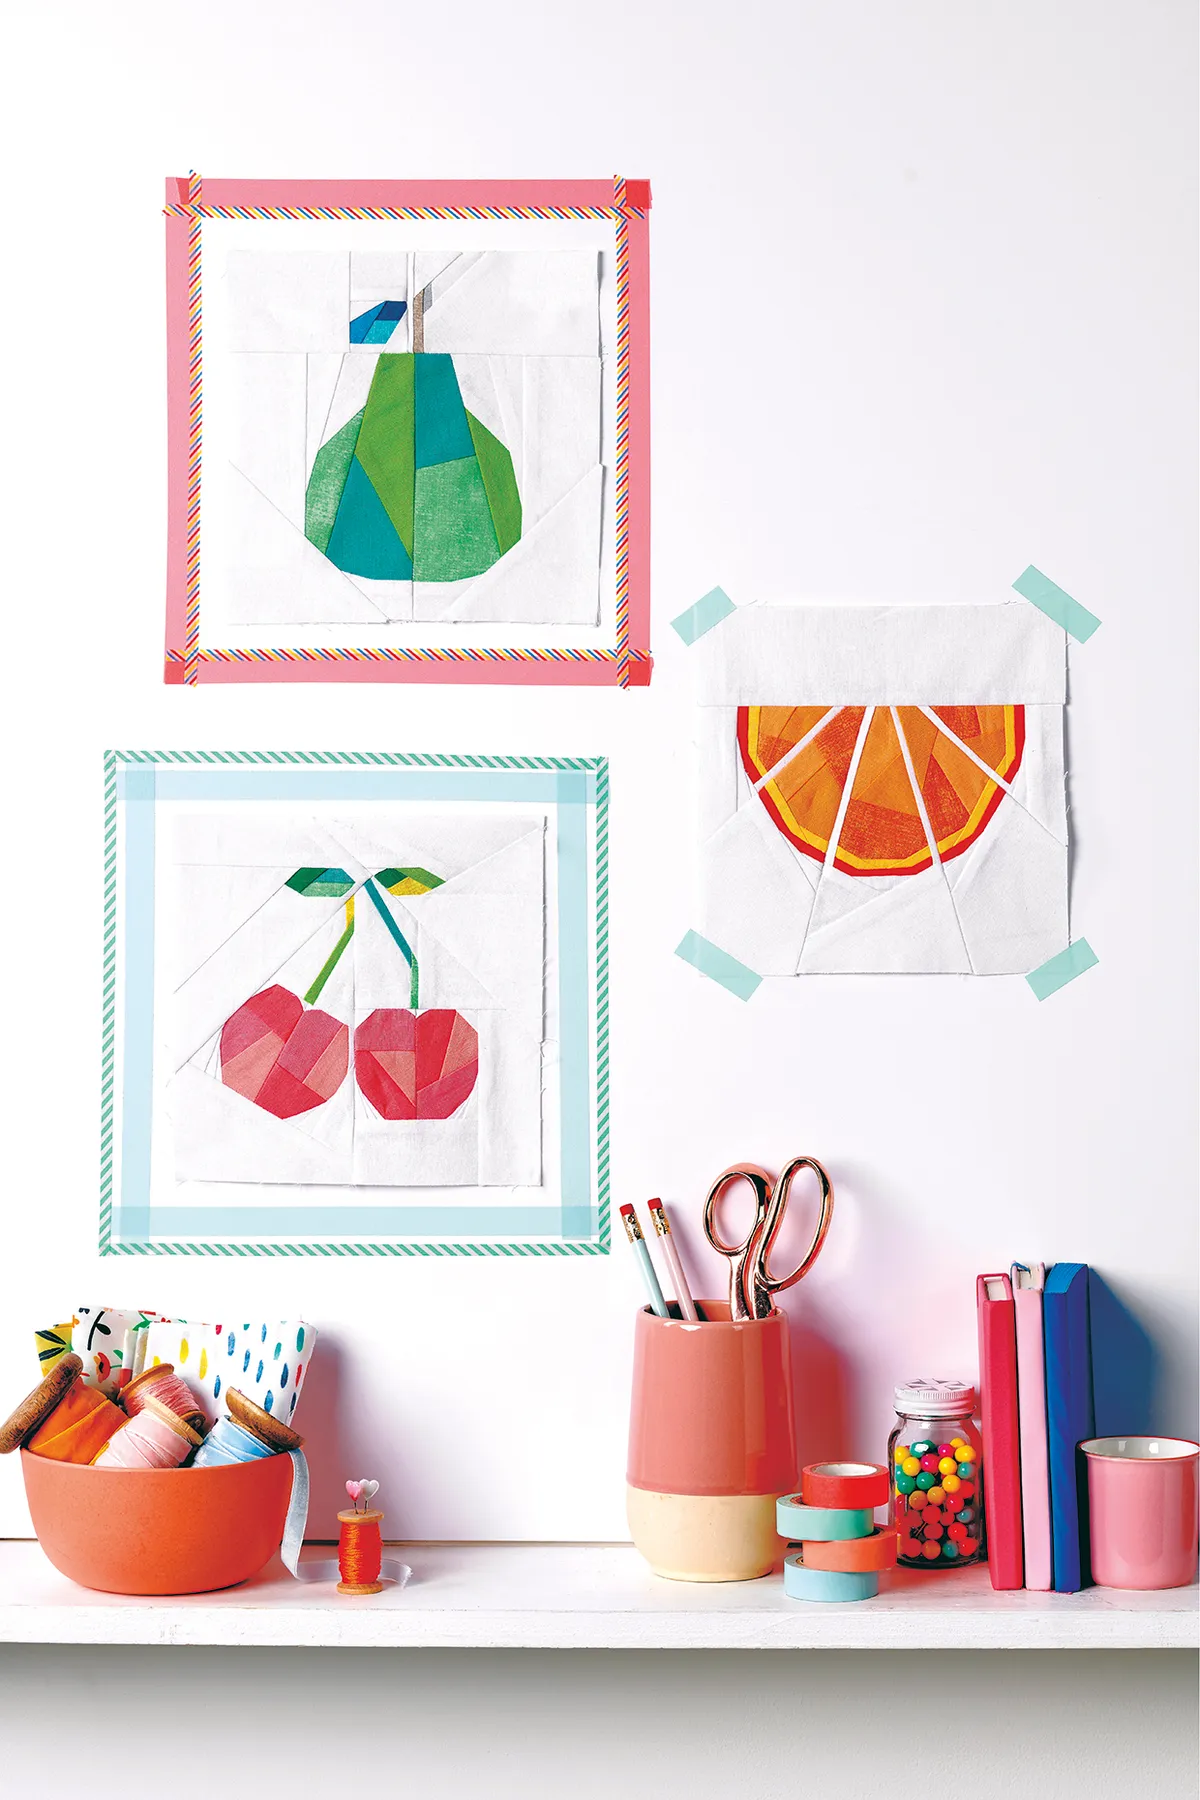
Piecing the pineapple block
Step 1
Using the pineapple templates as a guide, cut the fabric pieces for each section of the FPP templates, making sure that the fabric pieces will be at least ¼in larger than the section they will cover, all the way around.
Step 2
Cut each section of your pineapple templates A–D roughly, just outside the dashed lines. Shorten your stitch length on your machine to approx 1.5. This will make tearing off the paper at the end easier.
Step 3
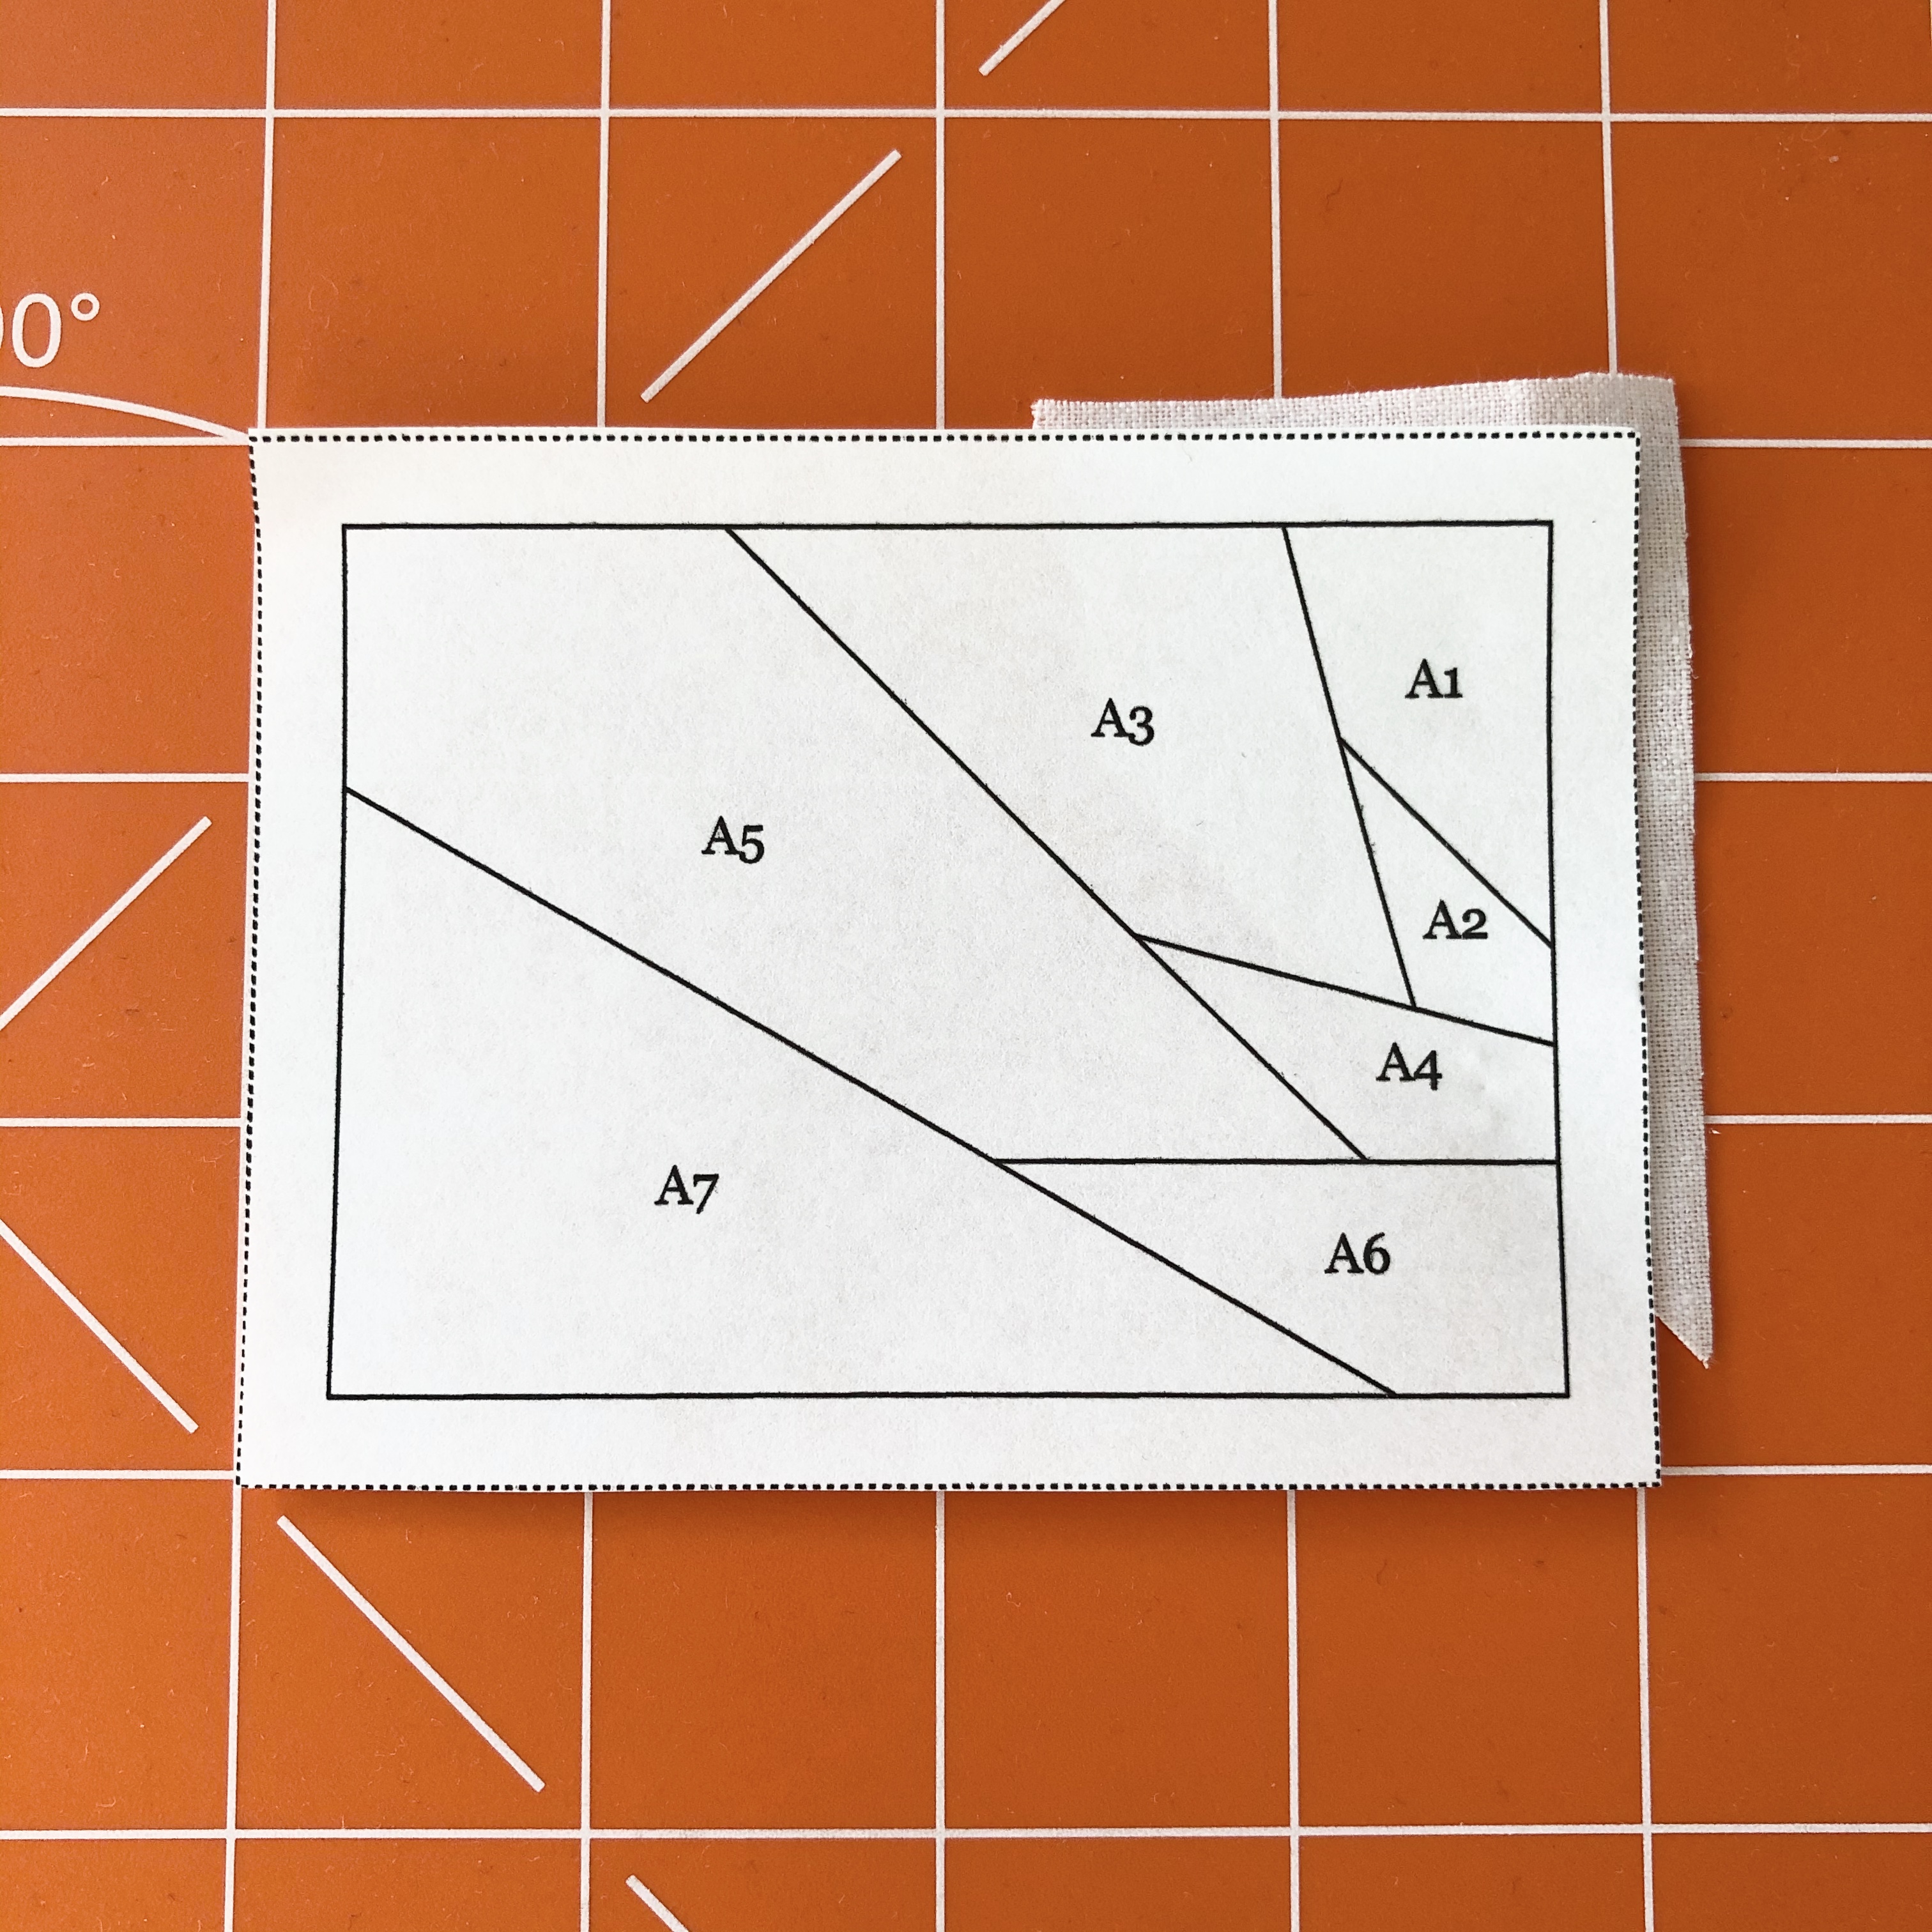
On the unprinted side of Section A, place a small dot of washable glue in the centre of Section 1A. Place the corresponding fabric piece on top, right side up, ensuring the whole of Section 1A is covered, plus at least ¼in all the way around (Fig A).
Step 4
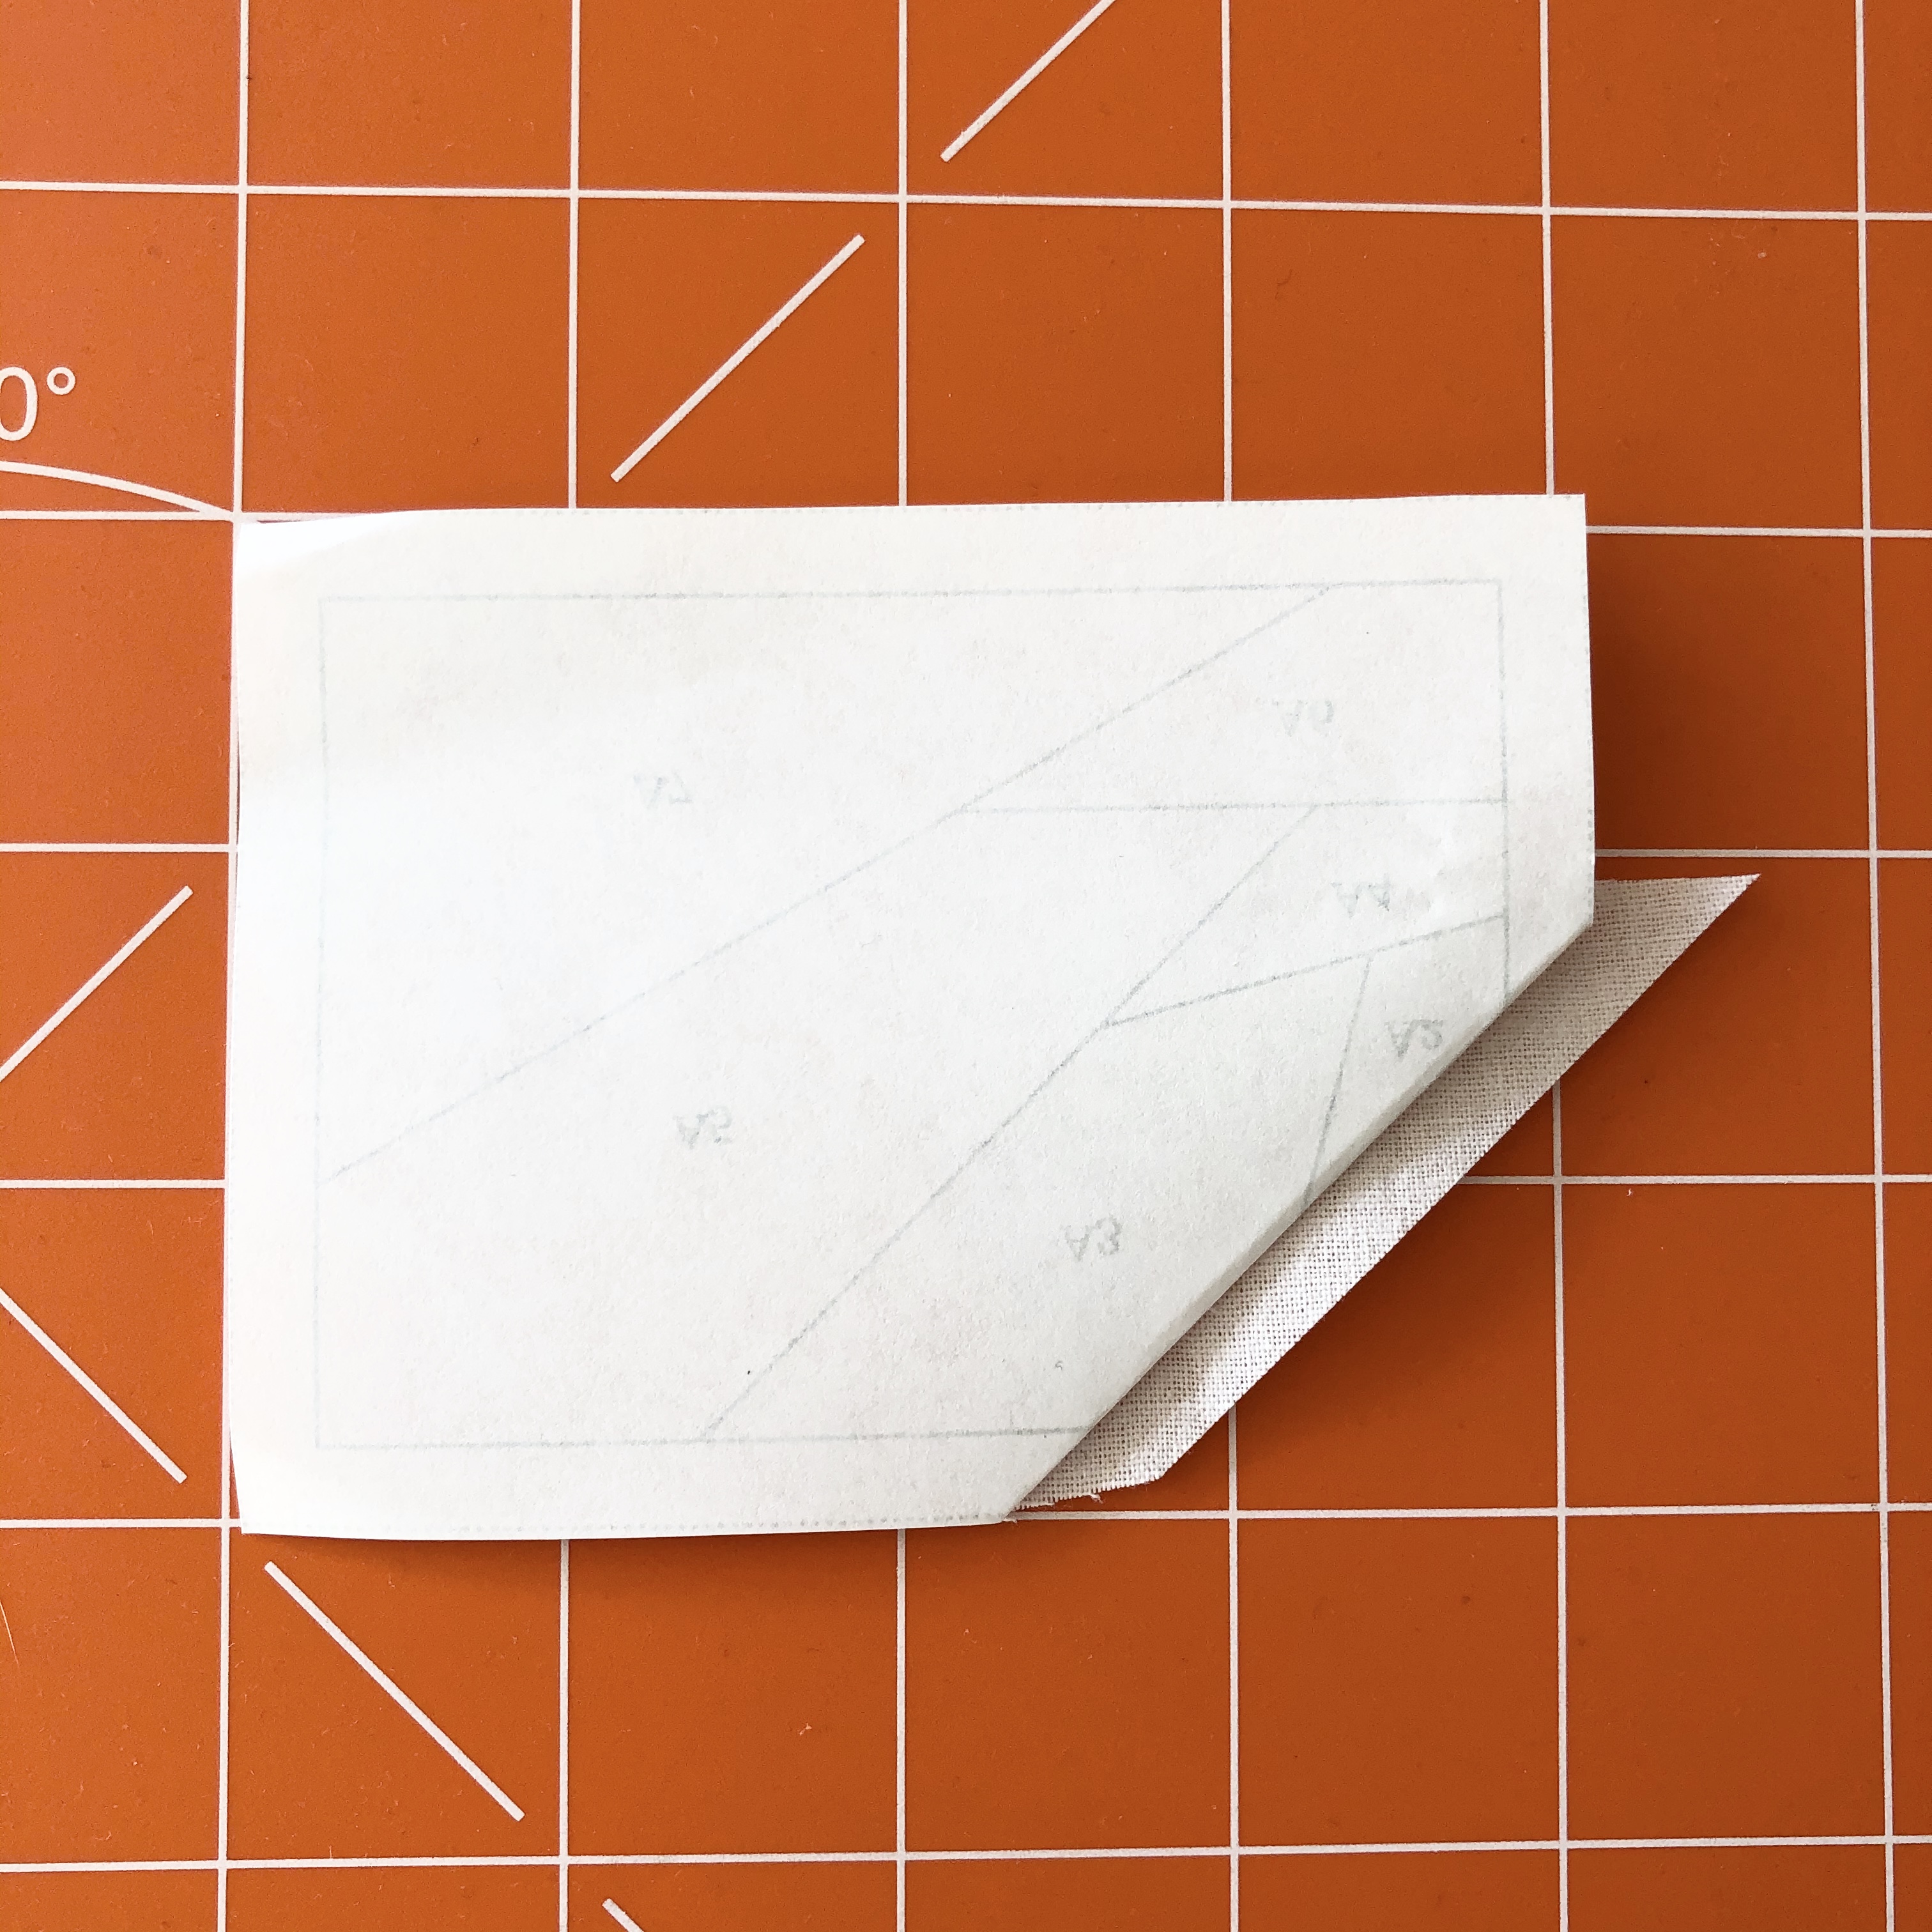
Turn your template back over and fold along the solid line between Sections 1A and 2A. Trim the edge of the fabric to ¼ in beyond the folded paper, being careful not to cut into the paper (Fig B).
Step 5
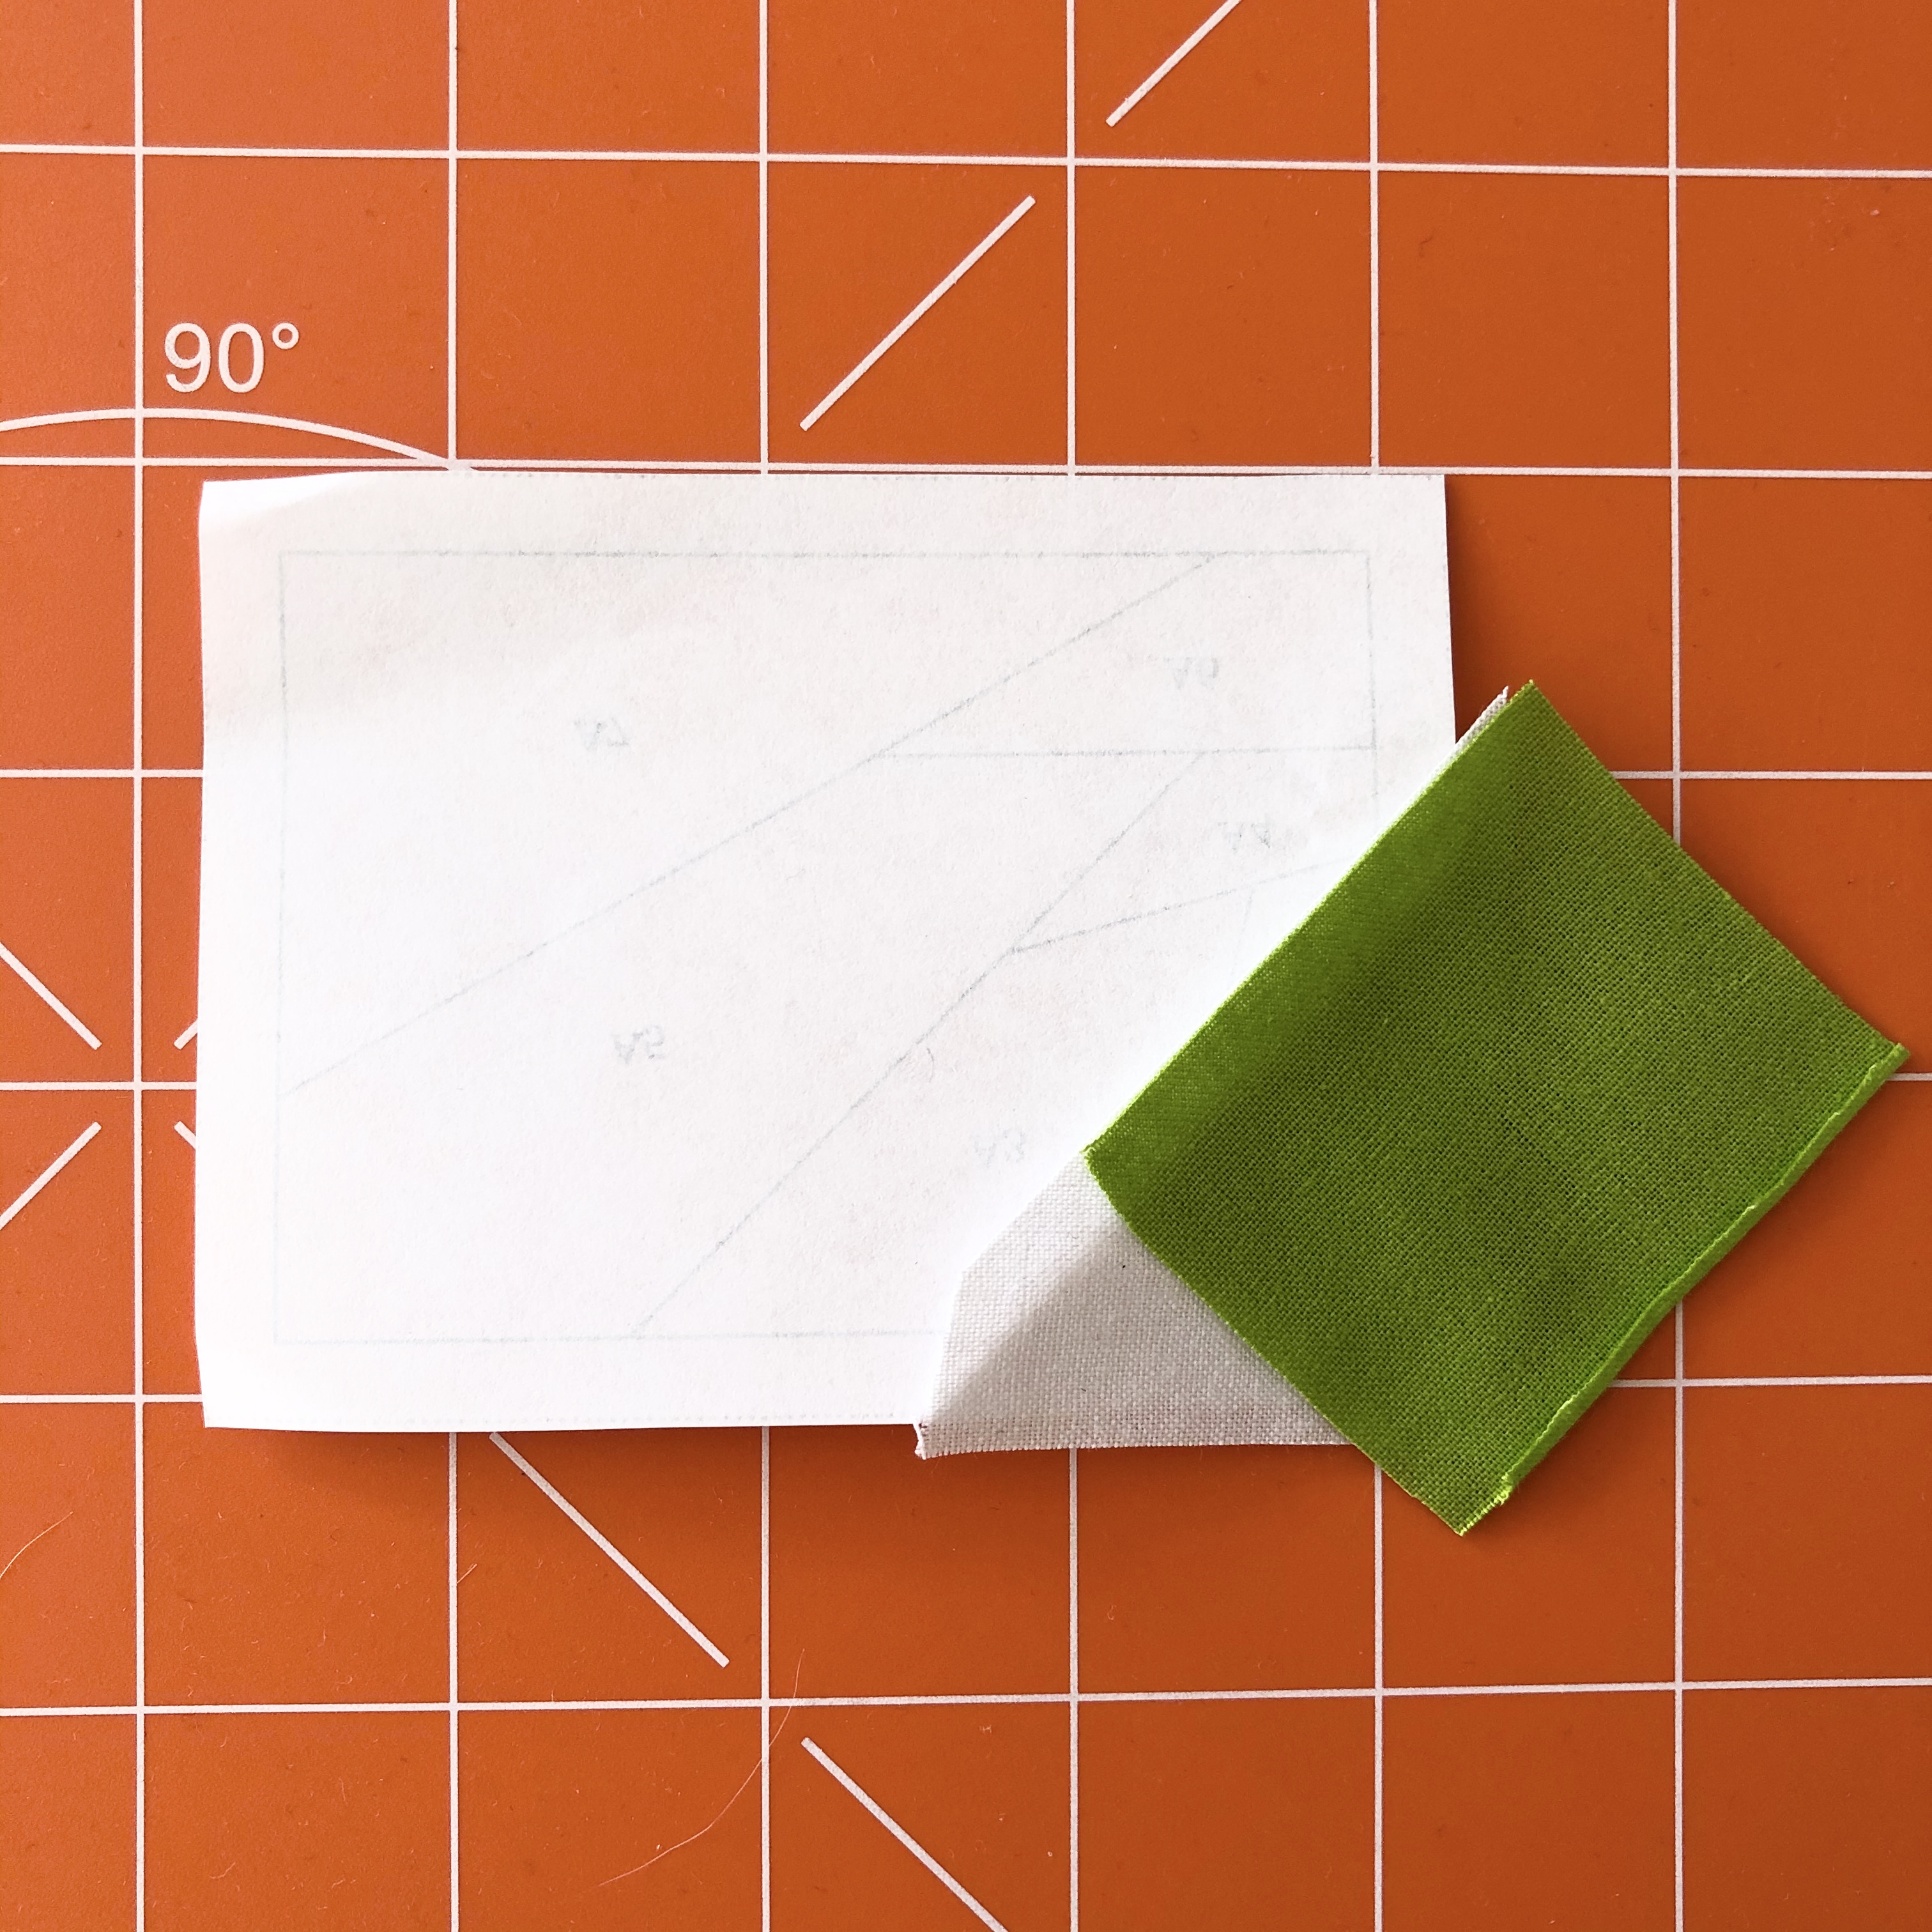
Unfold the template, place the Section 2 fabric piece right side down on top of the Section 1 piece, matching up raw edges on the side where Sections 1 and 2 will be joined. Make sure that when folded back along the seam line, the whole of Section 2 will be covered by the fabric plus at least ¼ in all around the edges (Fig C). Pin the fabric piece into place.
Step 6
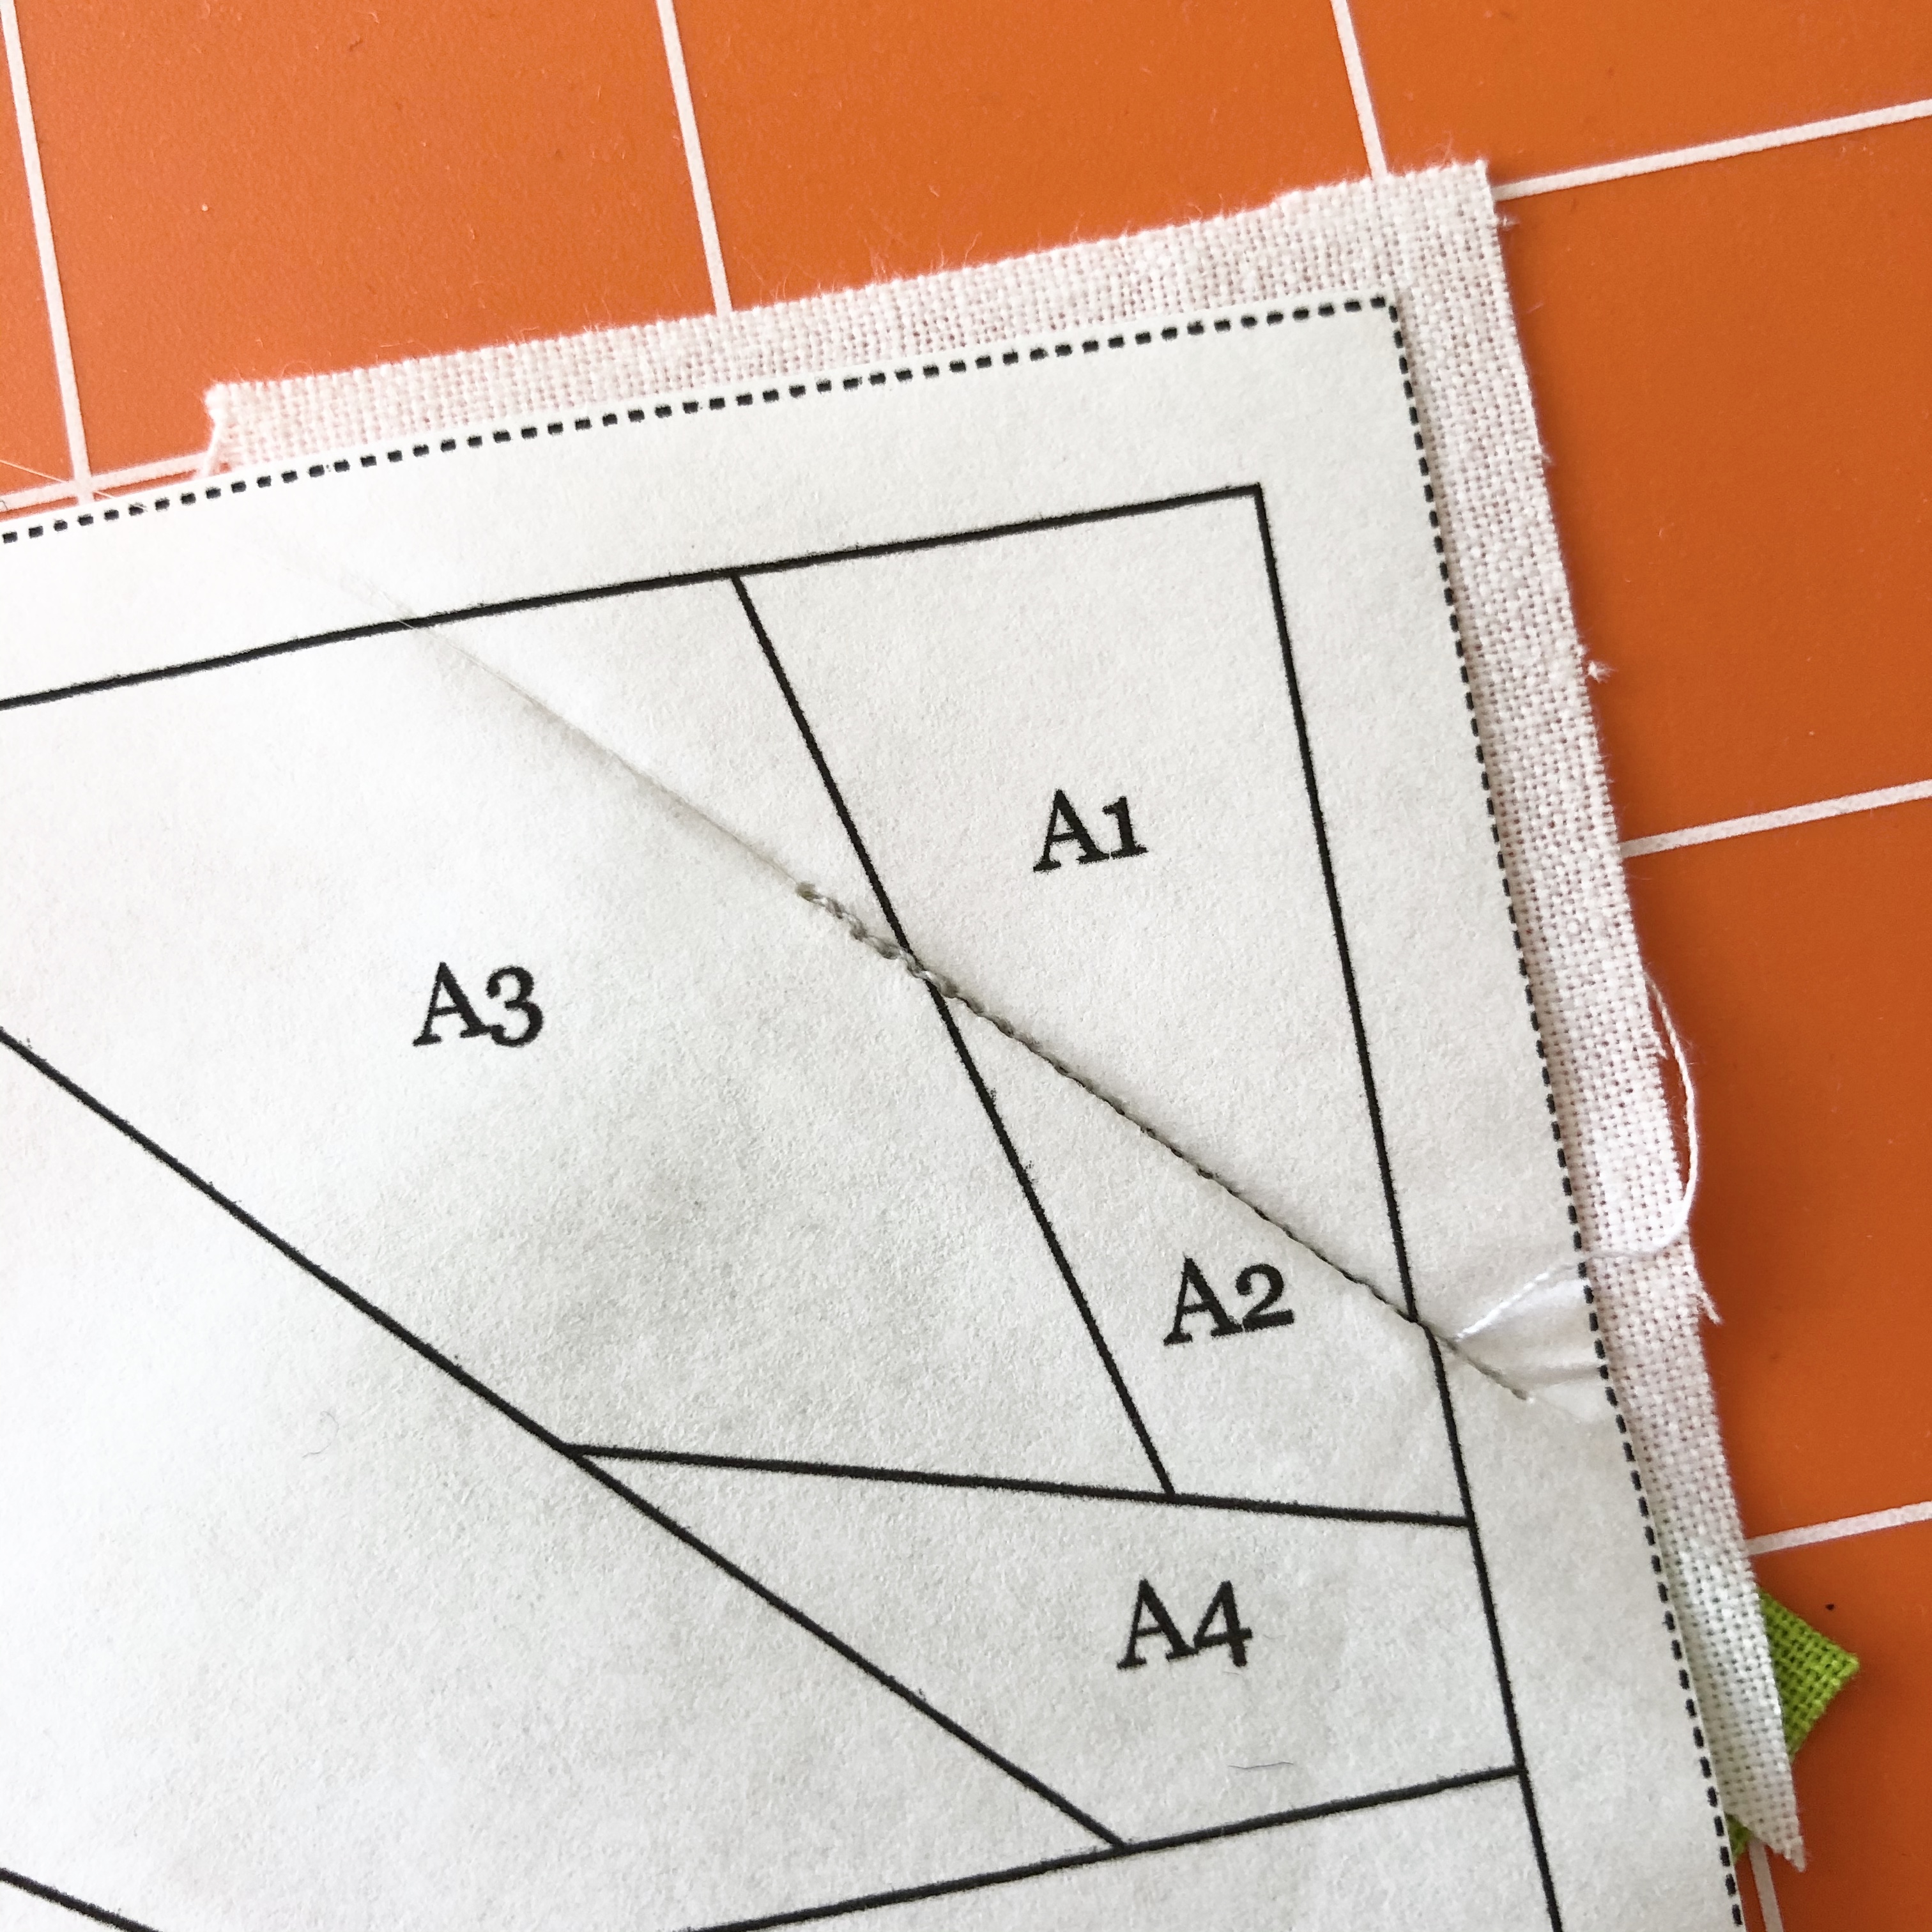
With the printed side of the template facing right side up, carefully sew along the line between Sections 1 and 2, starting and ending two or three stitches beyond the printed line (Fig D).
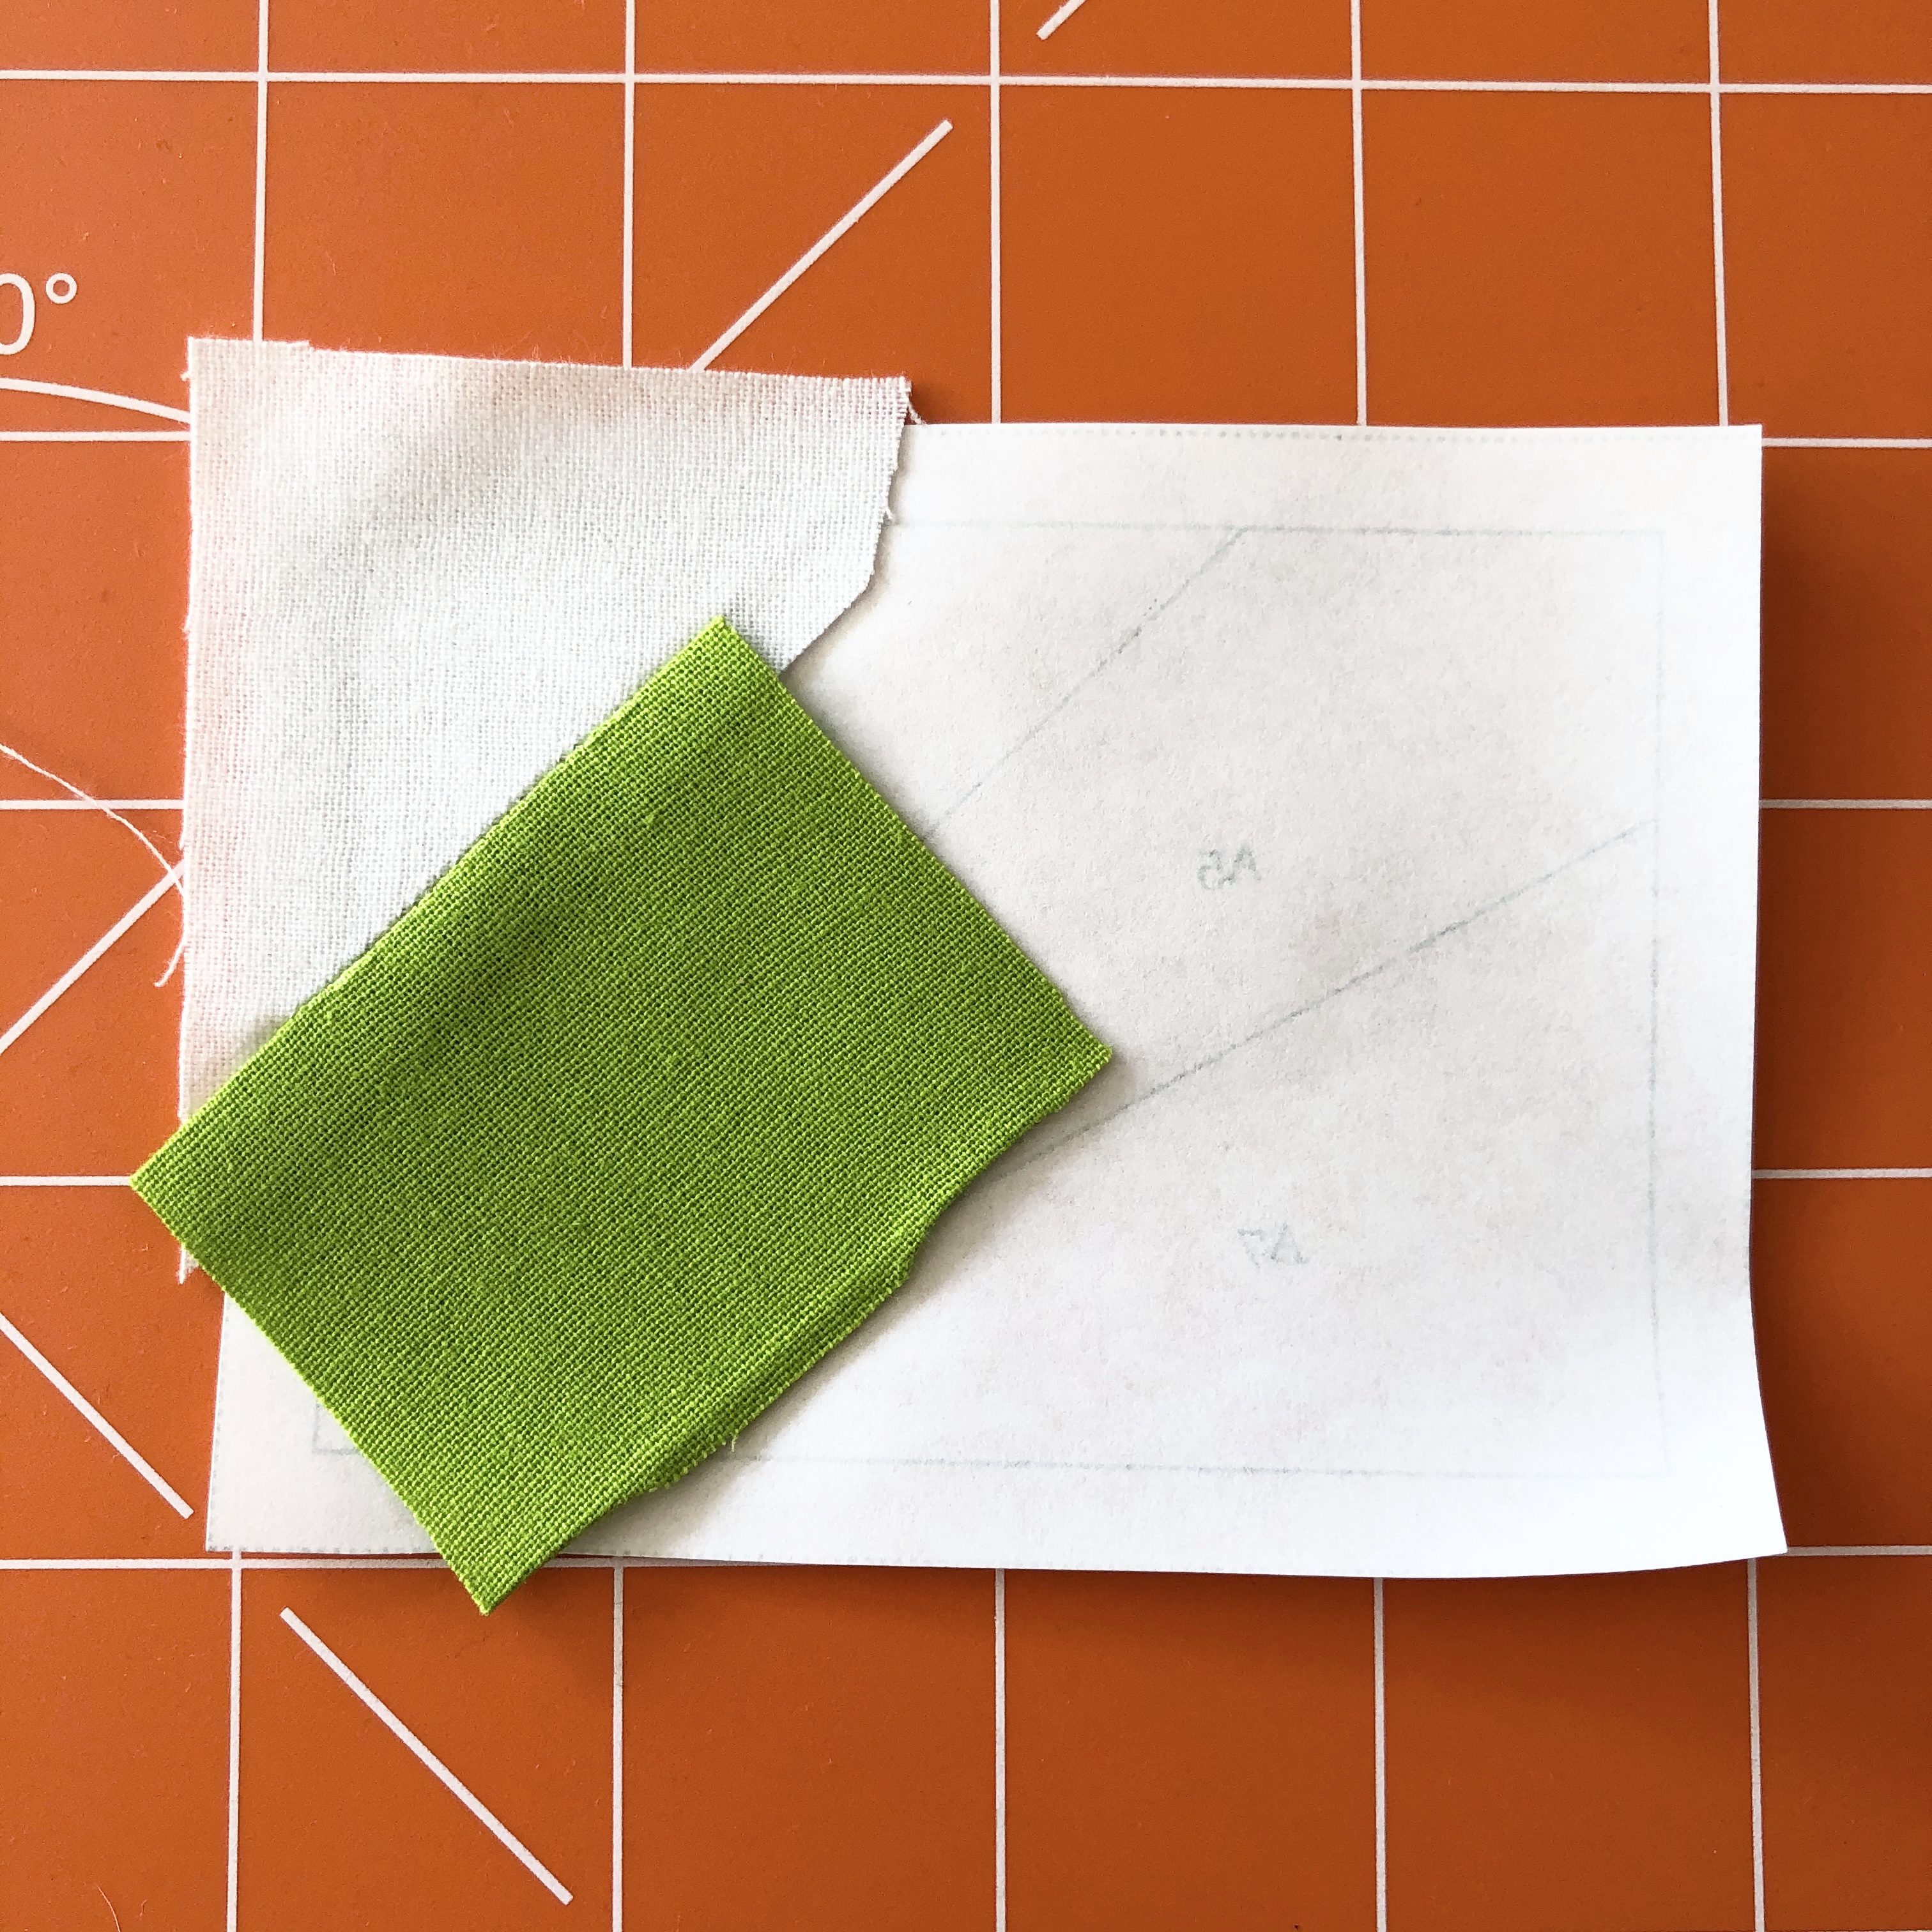
Press the fabric open (Fig E).
Step 7
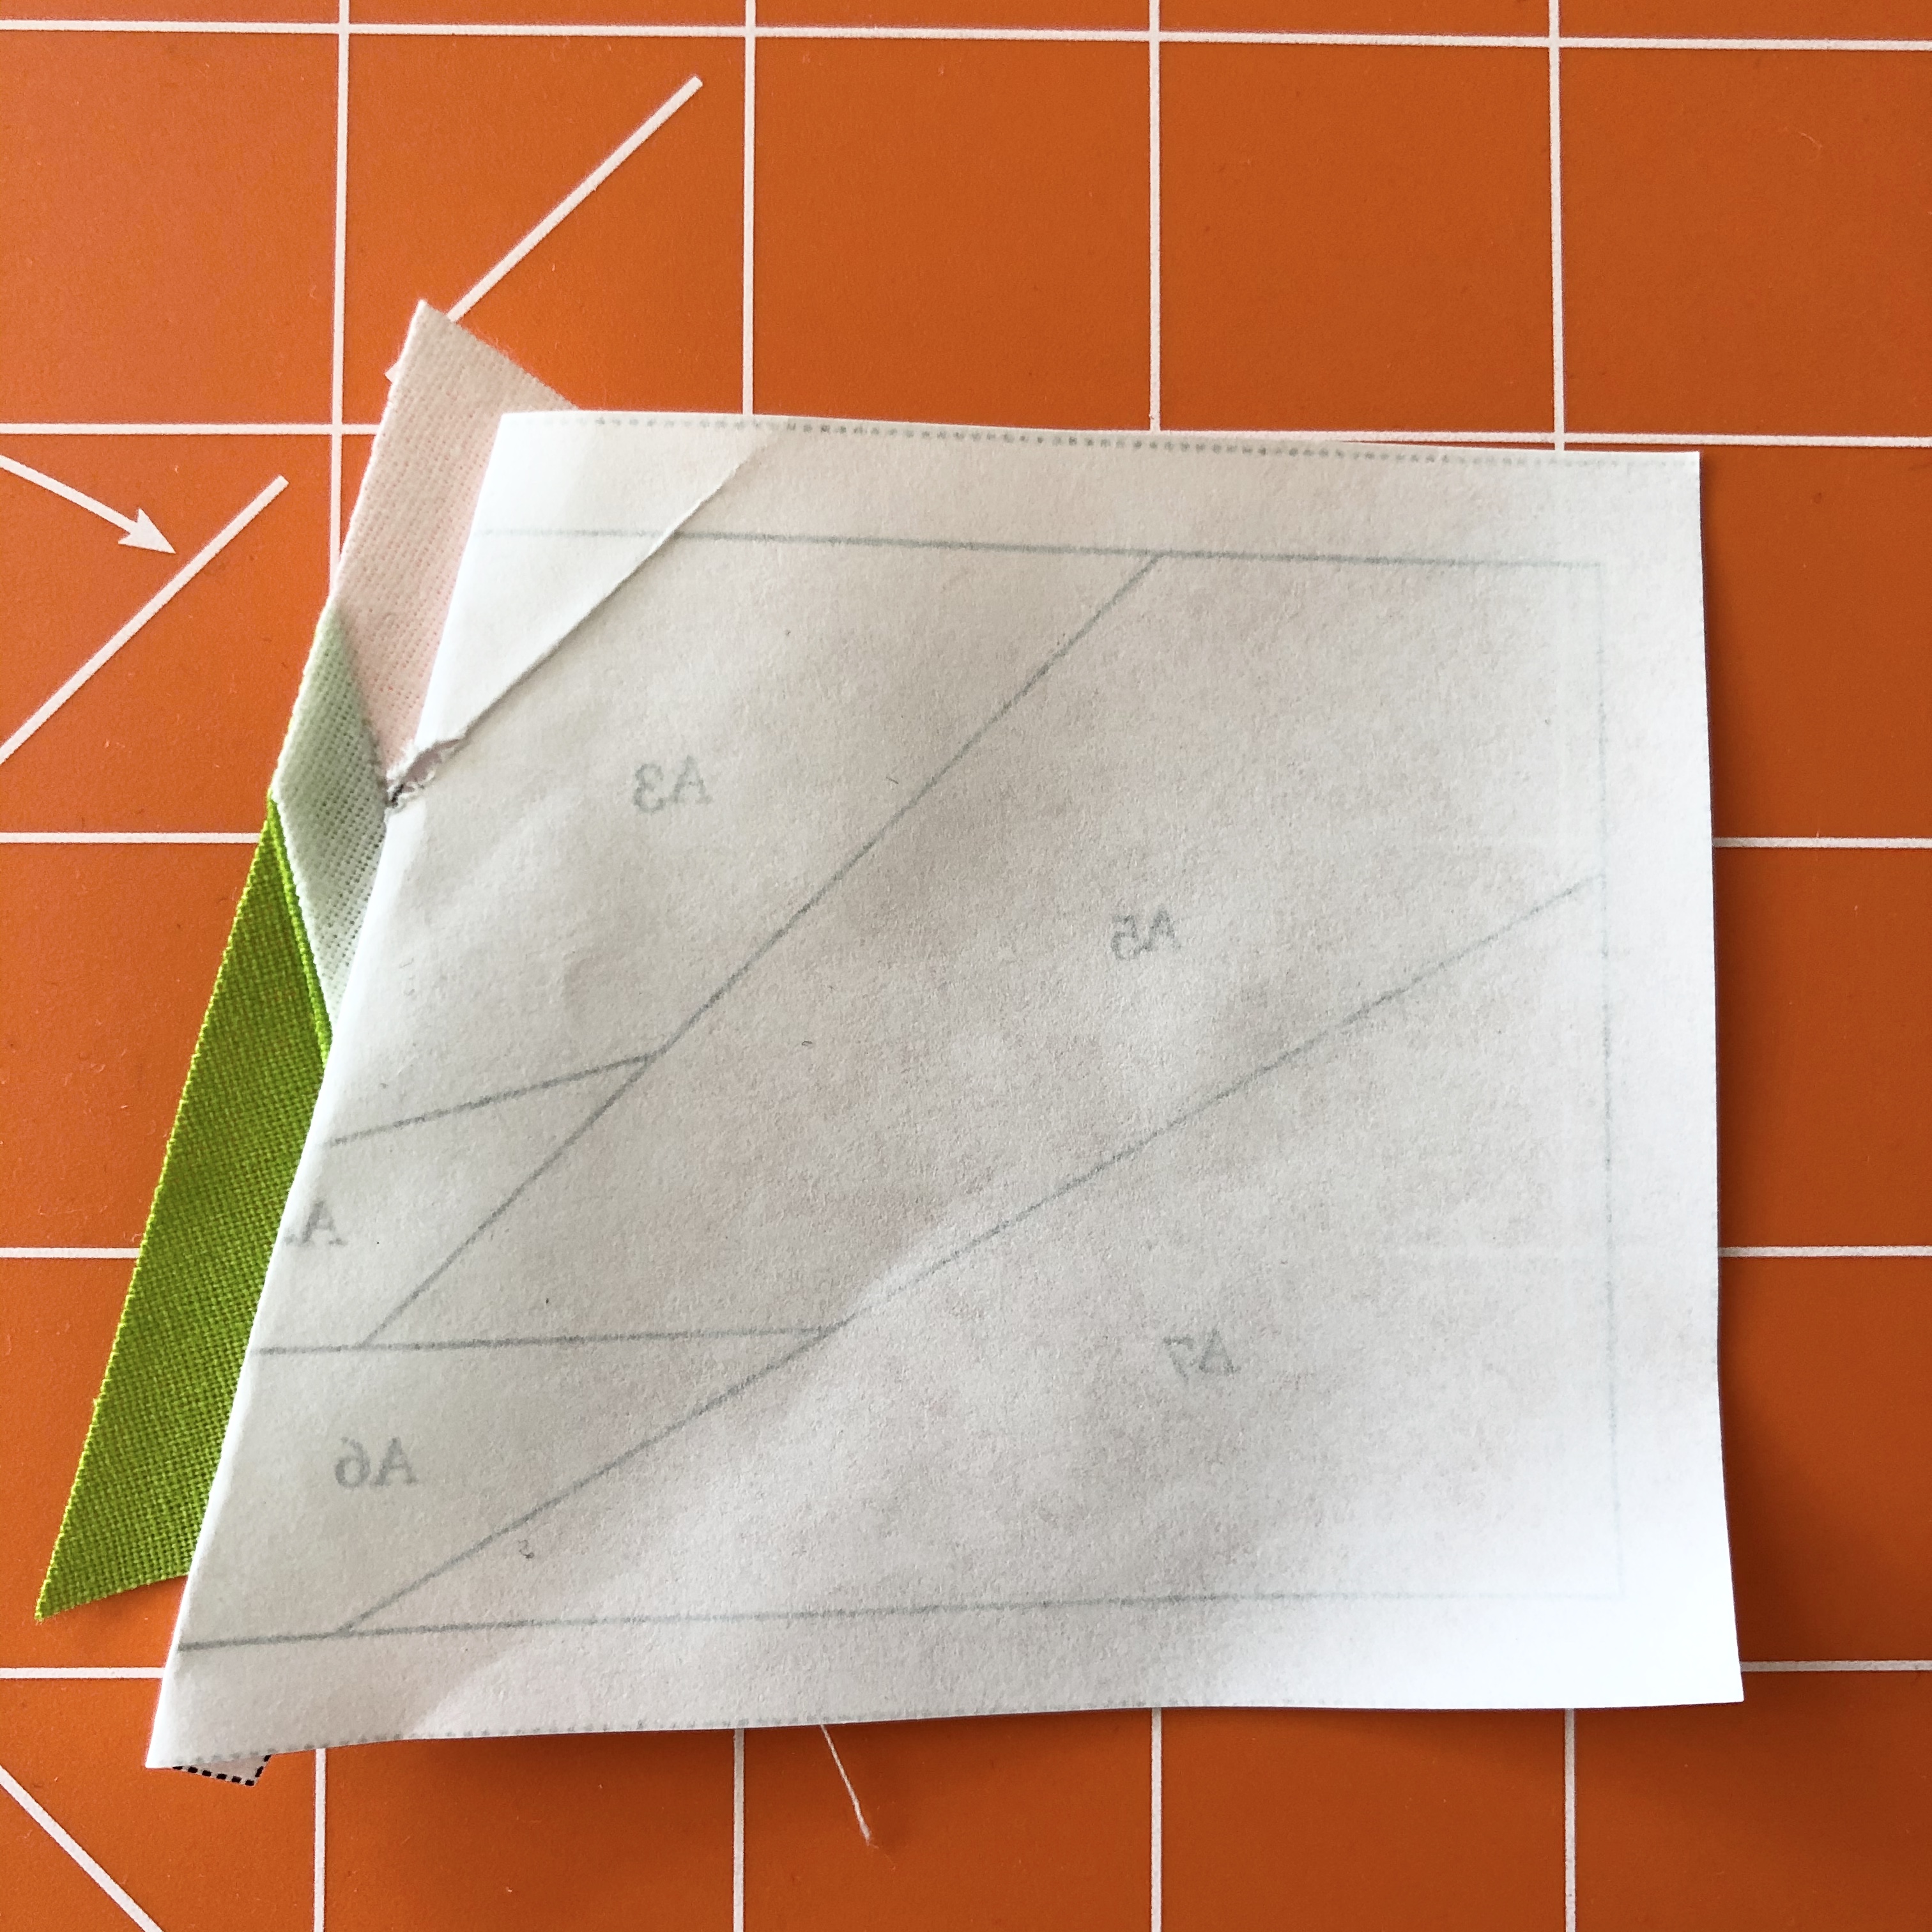
Repeat step 4 to trim the fabric ¼ in beyond the line between Sections 2A and 3A (Fig F). Add the 3A fabric following steps 5–6. Continue piecing the rest of the template Section A in the same way, adding the remaining fabric sections in numerical order.
Step 8
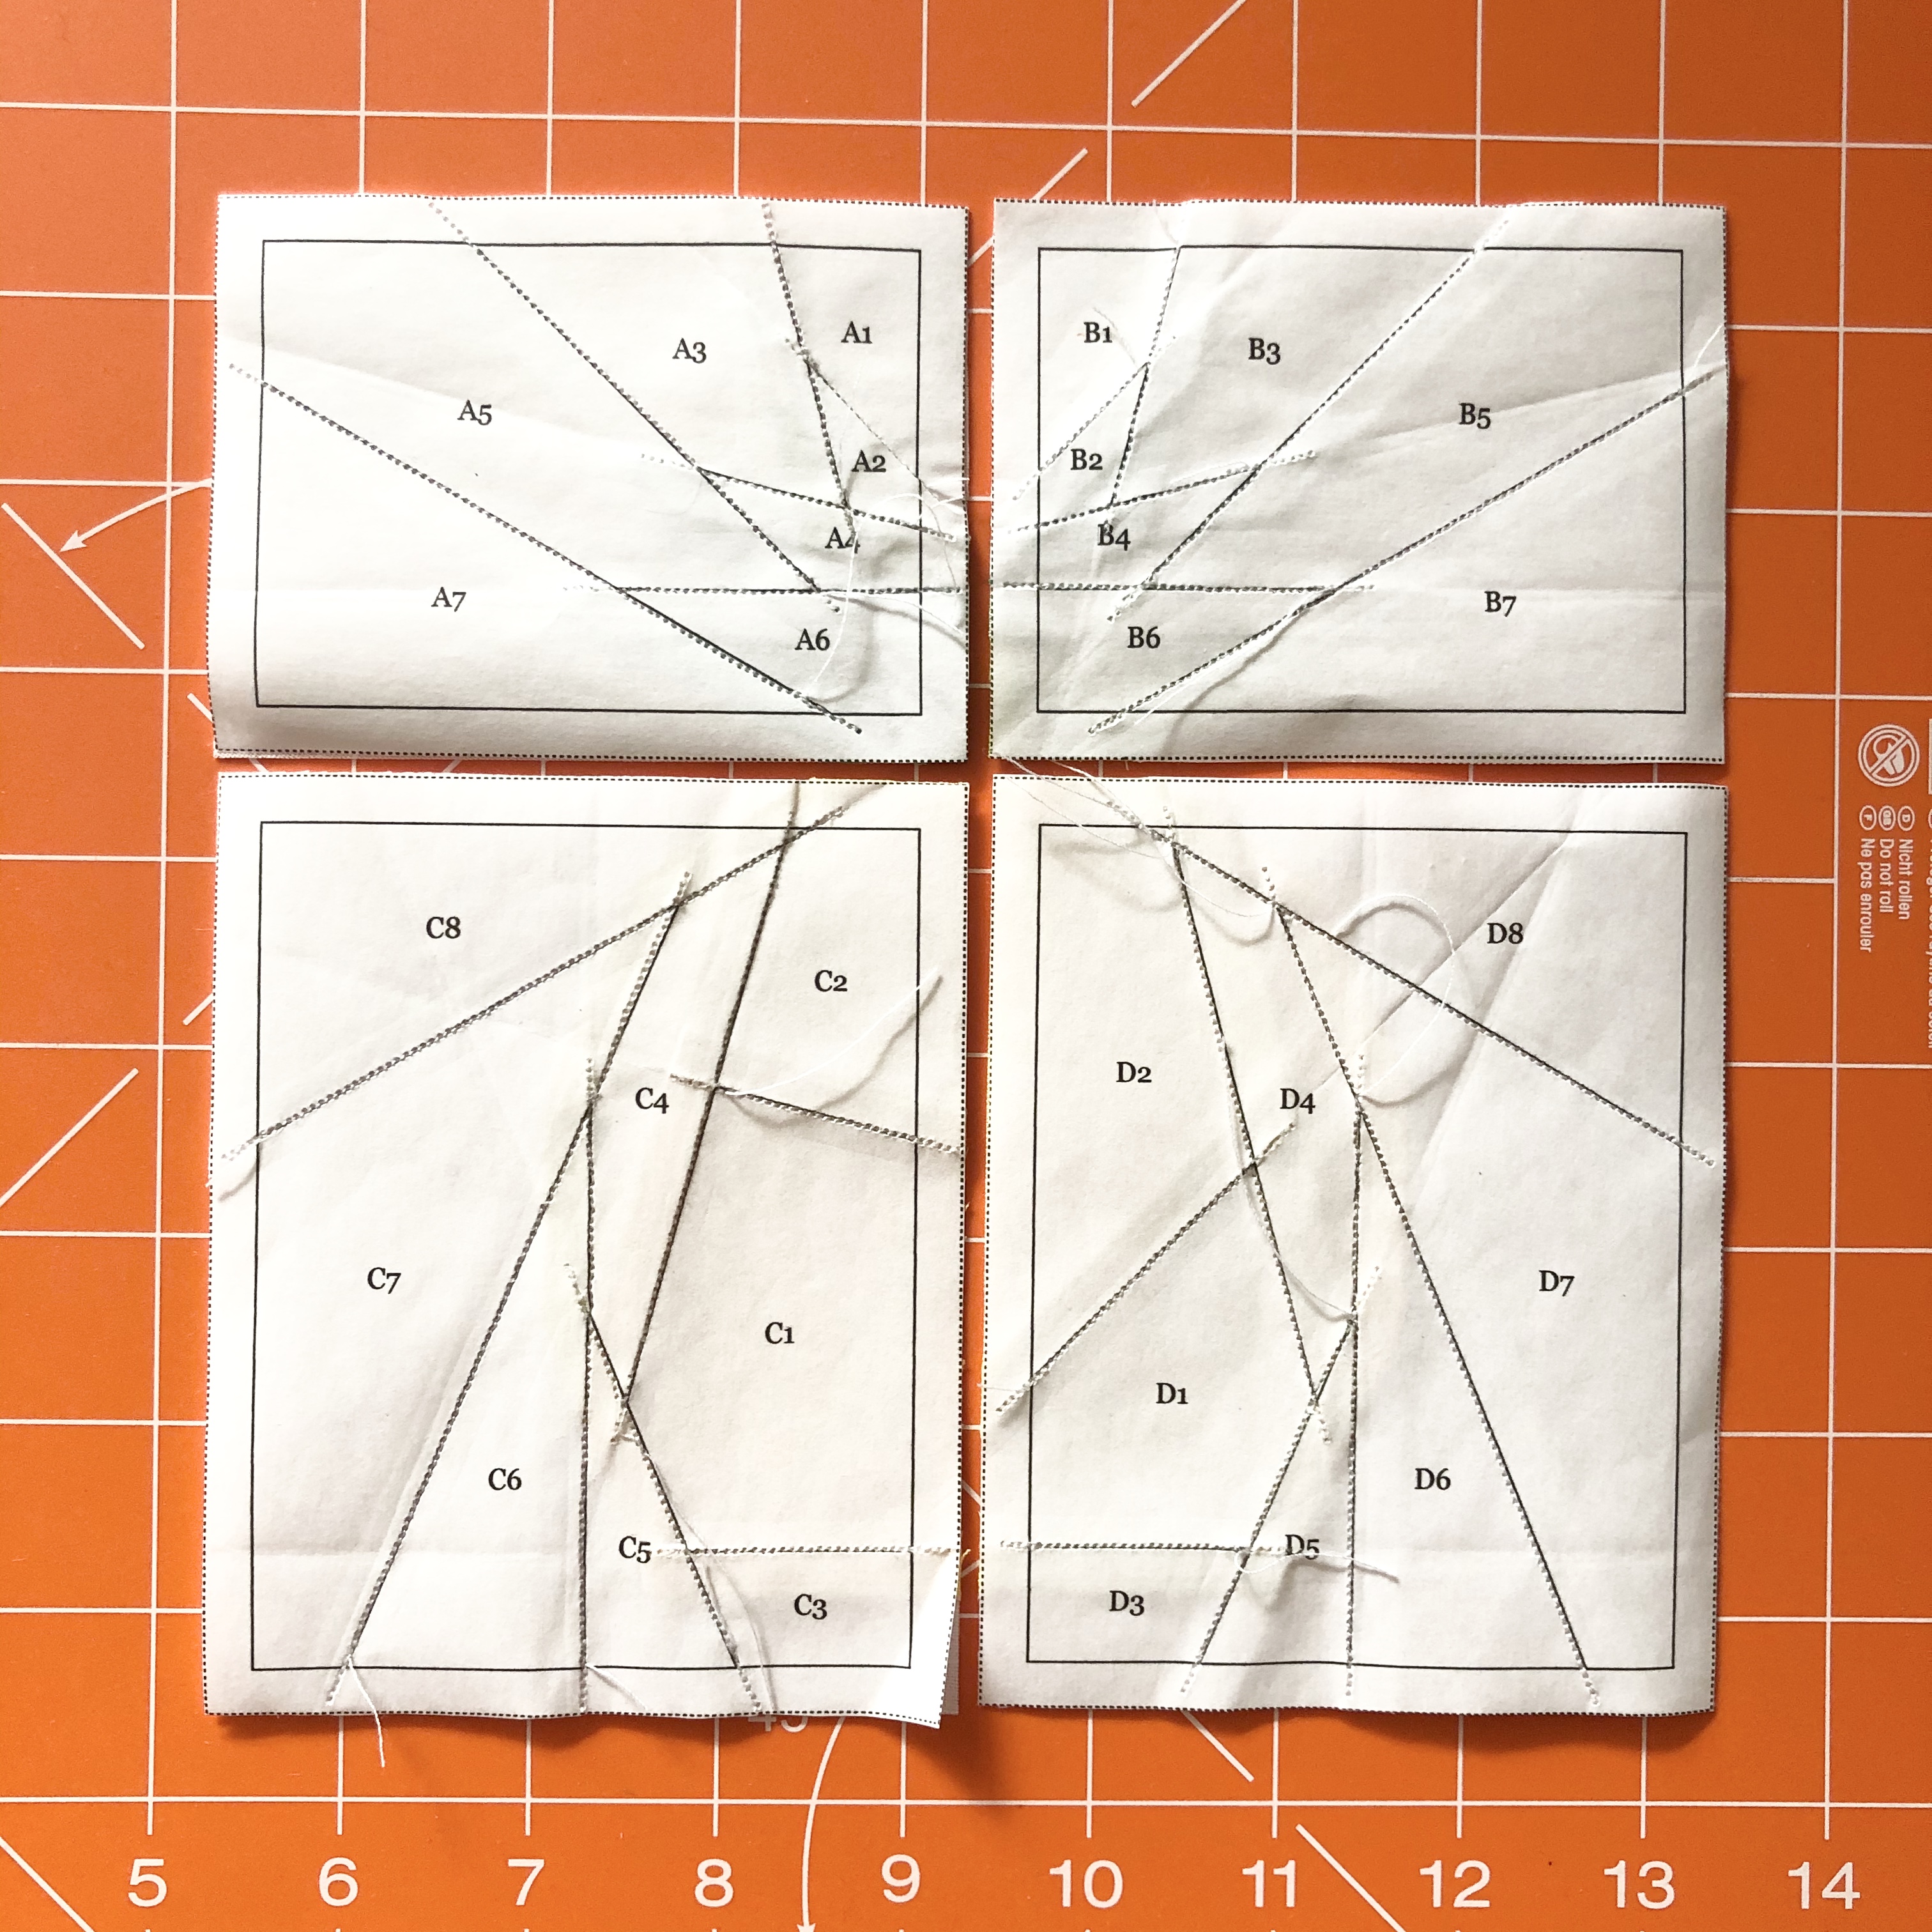
Piece templates Section B, C and D following the process in steps 3–7. Once all sections are complete, trim along the outer dashed line (Fig G–H).
Step 9
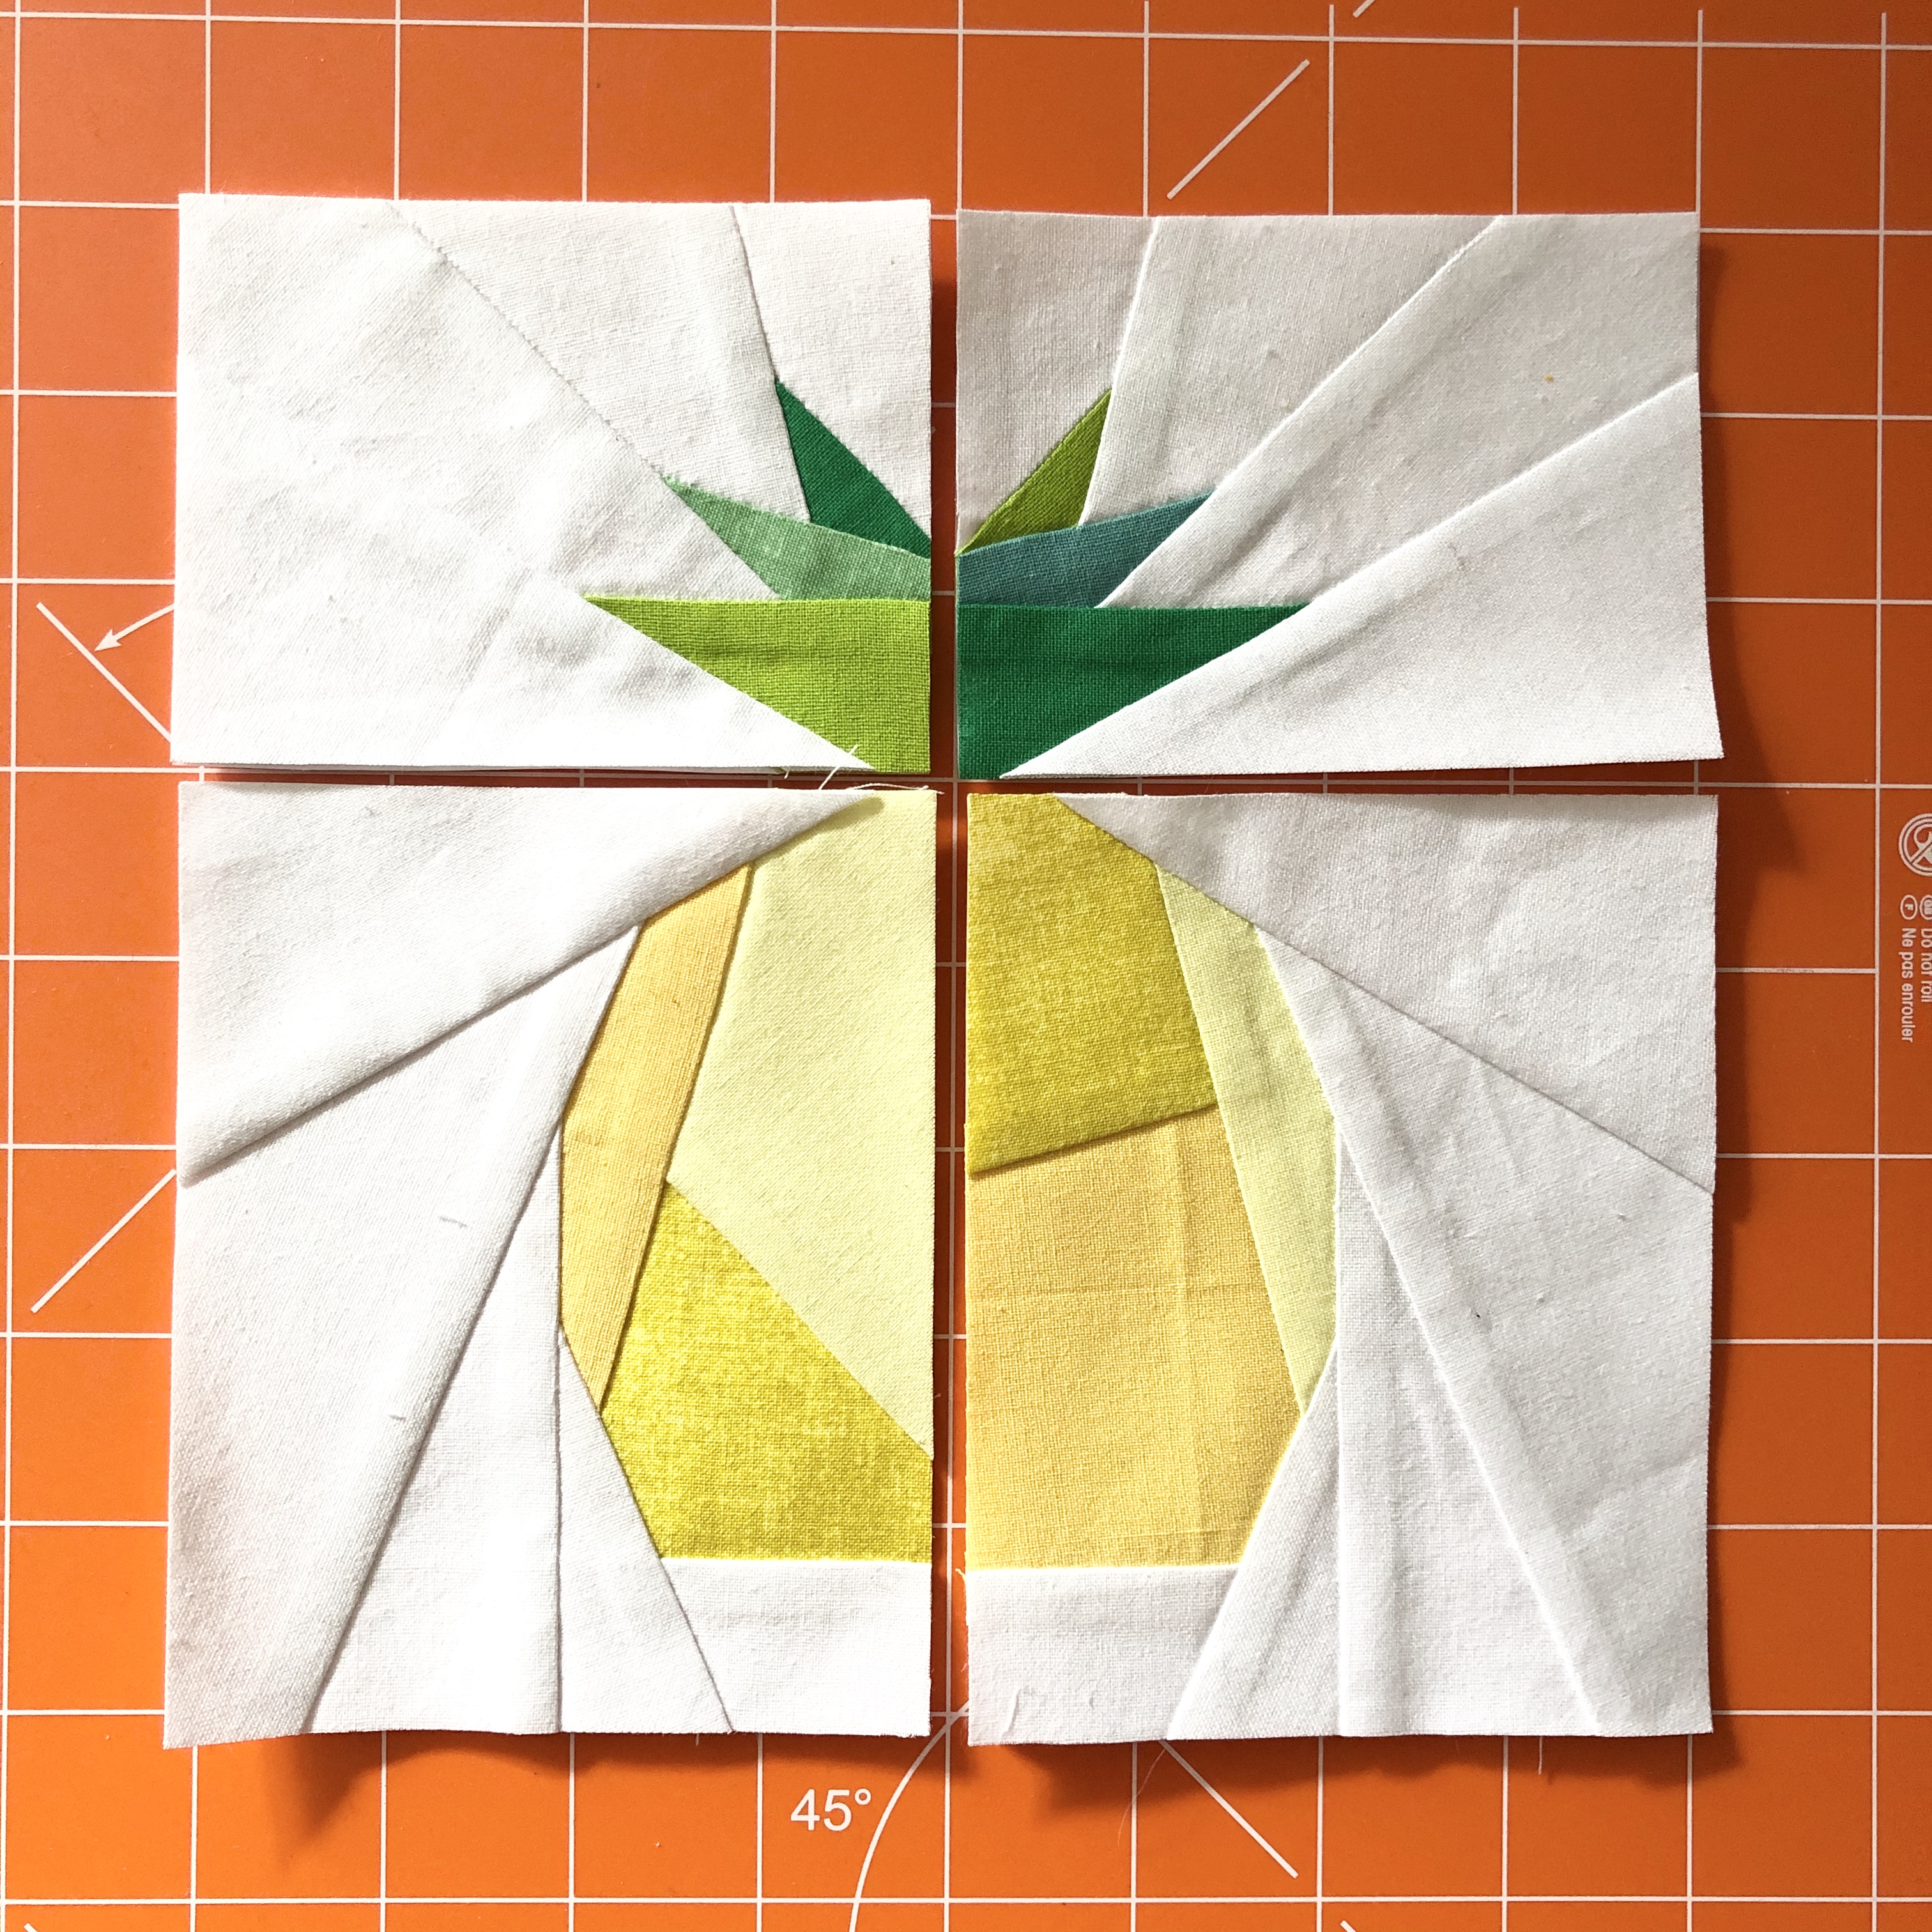
Align the template Sections A and B along the raw edges and sew together. Carefully remove the paper from the seam allowance only and press the seam open. Repeat to sew Section C to D. Then sew AB to CD, ensuring to neatly align seam allowances each time.
Step 10
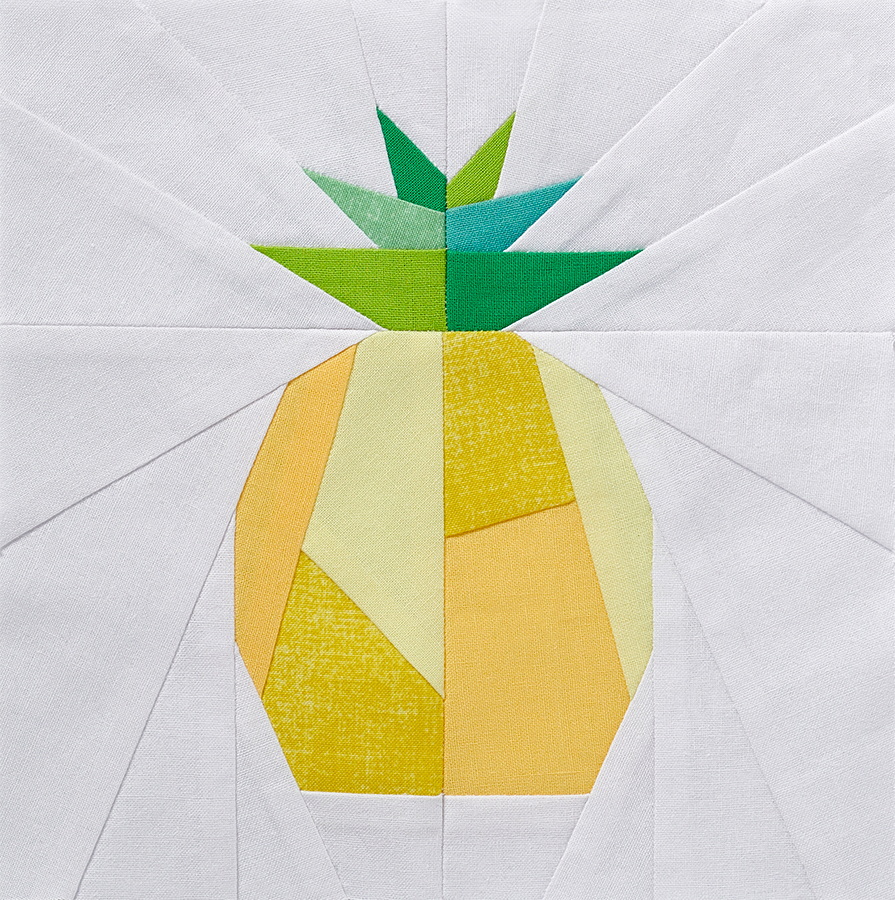
Press the block. Remove the paper from the back of the block, tearing along the seam lines. If necessary, trim the block to 7½ in square.
Piecing the banana
Step 1
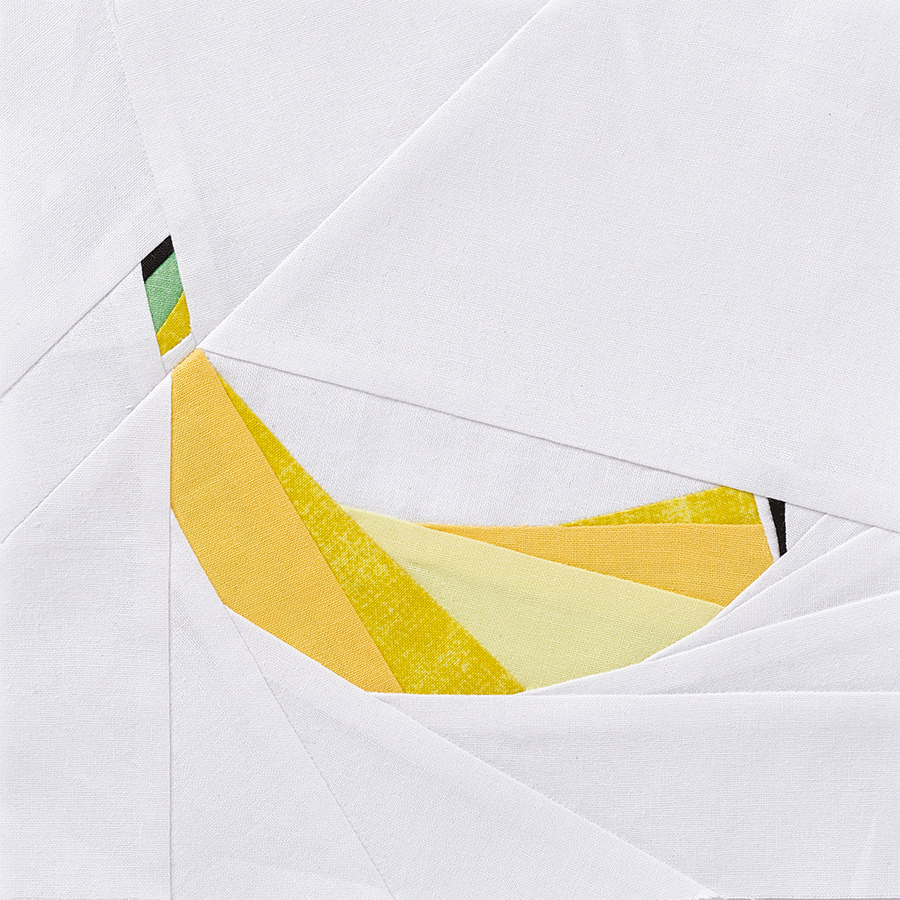
Follow steps 1–7 to sew each of the Banana template Sections A and B.
Step 2
Sew the two sections together, pressing the seam open. Finish the banana block as in step 10.
Piecing the cherry
Step 1
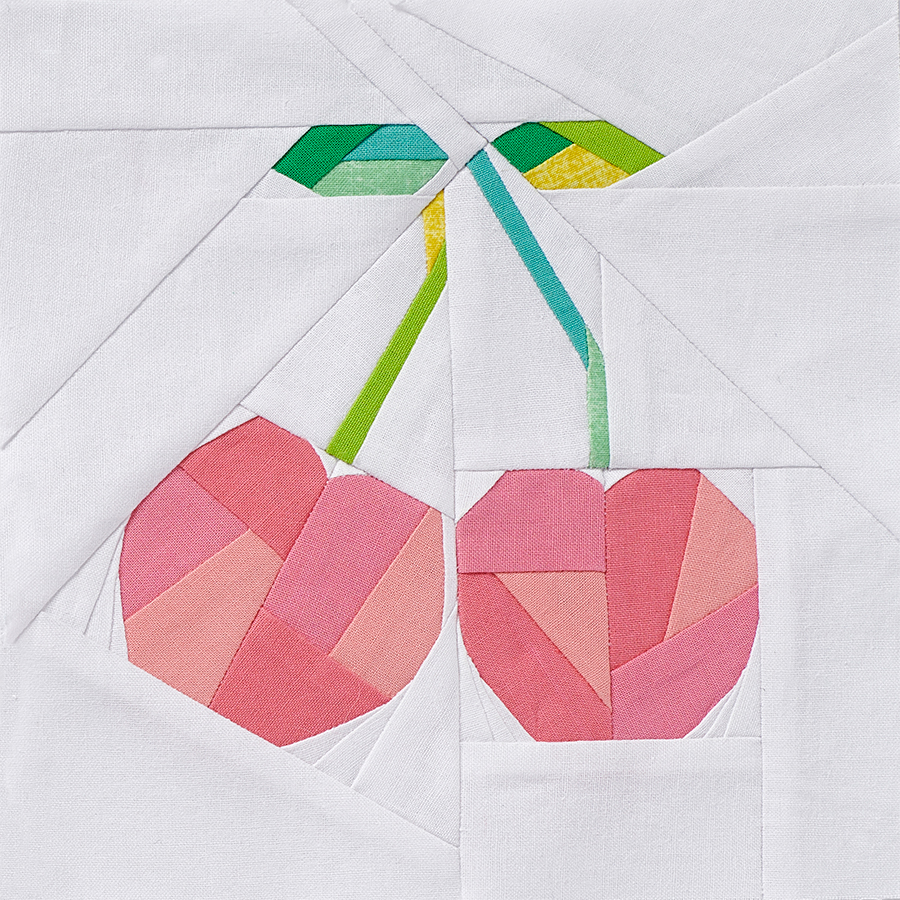
Follow the FPP process in steps 1–7 to sew each of the Cherry template Sections A–K.
Step 2
Sew Section A to B, then sew Section C to the bottom. Sew Section D to the side of Section ABC then sew Section E to the top.
Step 3
Sew Section F to G. Sew Section H to the top of Section FG, then sew Section I to the bottom.
Step 4
Sew Section ABCDE to Section FGHI. Sew Section J to the left corner. Then sew Section K to the right corner. Finish the cherry block as in step 10.
Piecing the orange
Step 1
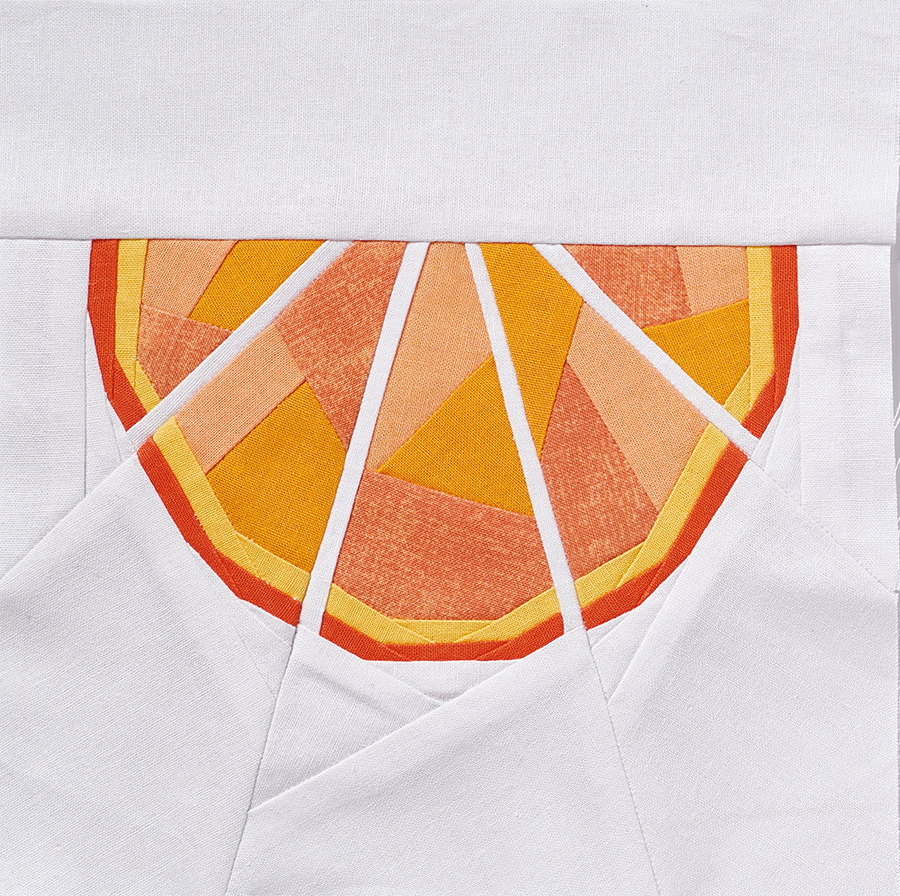
Follow steps 1–7 to sew each of the Orange template Sections A–F.
Step 2
Sew Section A to B. Sew Section D to E. Sew AB and DE to either side of Section C. Then sew Section F to the top of Section ABCDE. Finish the orange block as in step 10.
Piecing the pear
Step 1
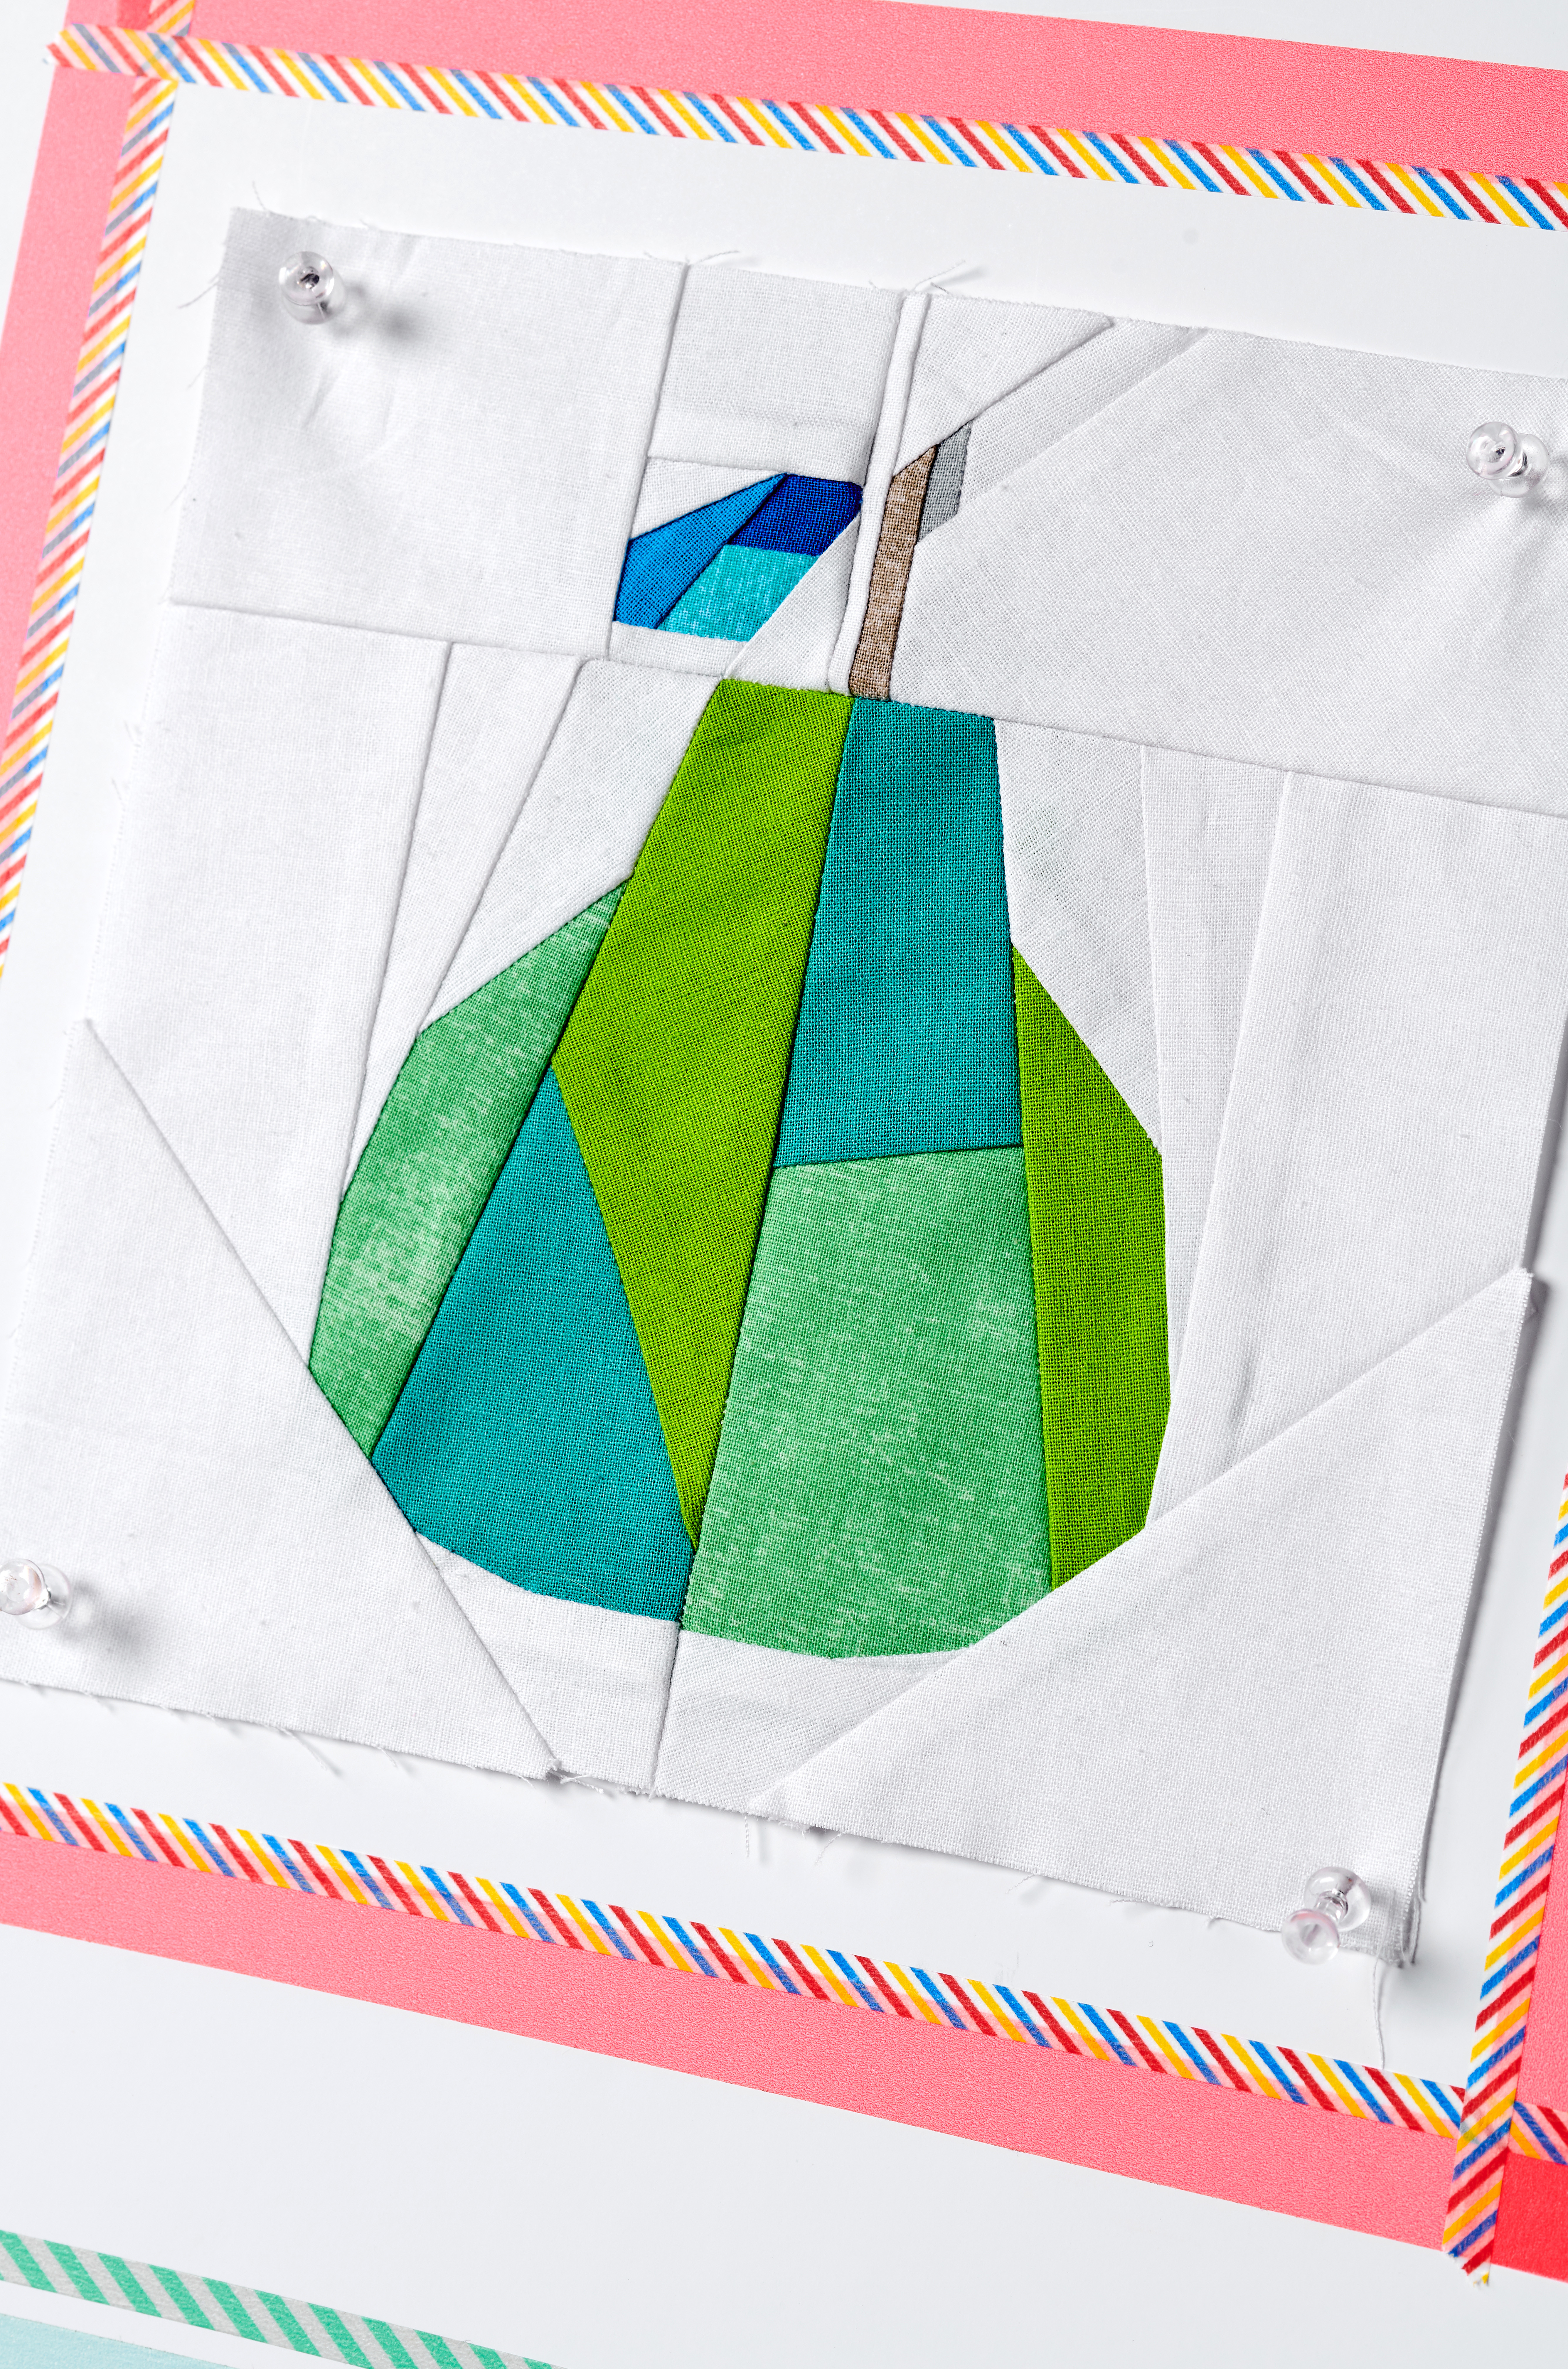
Follow steps 1–7 to sew each of the Pear template Sections A–H.
Step 2
Sew Sections A to B and C to D. Sew Section AB to CD. Sew Sections E and F to the corners.
Step 3
Sew Section G to H. Sew GH to the top of ABCDEF. Finish the pear block as in step 10.
