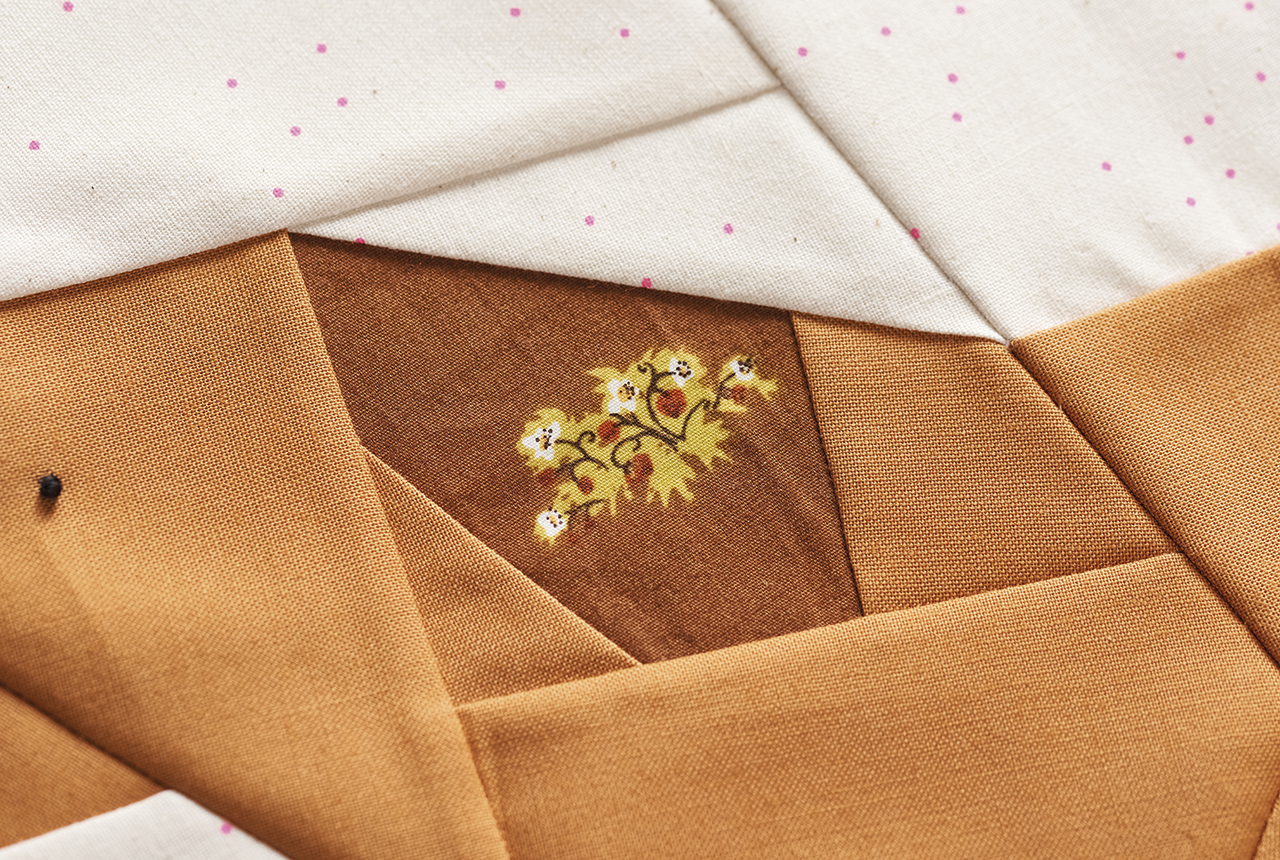
It's a true fact, known to all foundation paper piecing fans, that there is no cuter way of piecing the sharpest of patchwork shapes – plus it's a lot of fun too. If you're new to foundation paper piecing you might find it helpful to practise before you begin this tutorial. Read our beginner-friendly foundation paper piecing tutorial to get you started or read our guide to quilting for beginners.
Designer Susi Bellingham (aka Tiny Toffee Designs) first created this super cute sausage dog patchwork pattern as part of her Farmer's Market Row by Row sew along – first published in issue 60 of Love Patchwork & Quilting magazine. You can find the rest of the patterns in this series through the Love Patchwork & Quilting app.
If you like this pattern, check out the rest of our quilting patterns or try these other foundation paper piecing patterns,
Fabric requirements
- Background fabric: 1yd
- Dog fabric: ½yd
- Dog ear and nose: four (4) 4in square fabric scraps
- Sausage fabrics: four (4) fat eighths
- Two (2) copies each of the Sausage A–H templates
- Two (2) copies each of the Dog A–E templates
- Black embroidery thread
Finished size
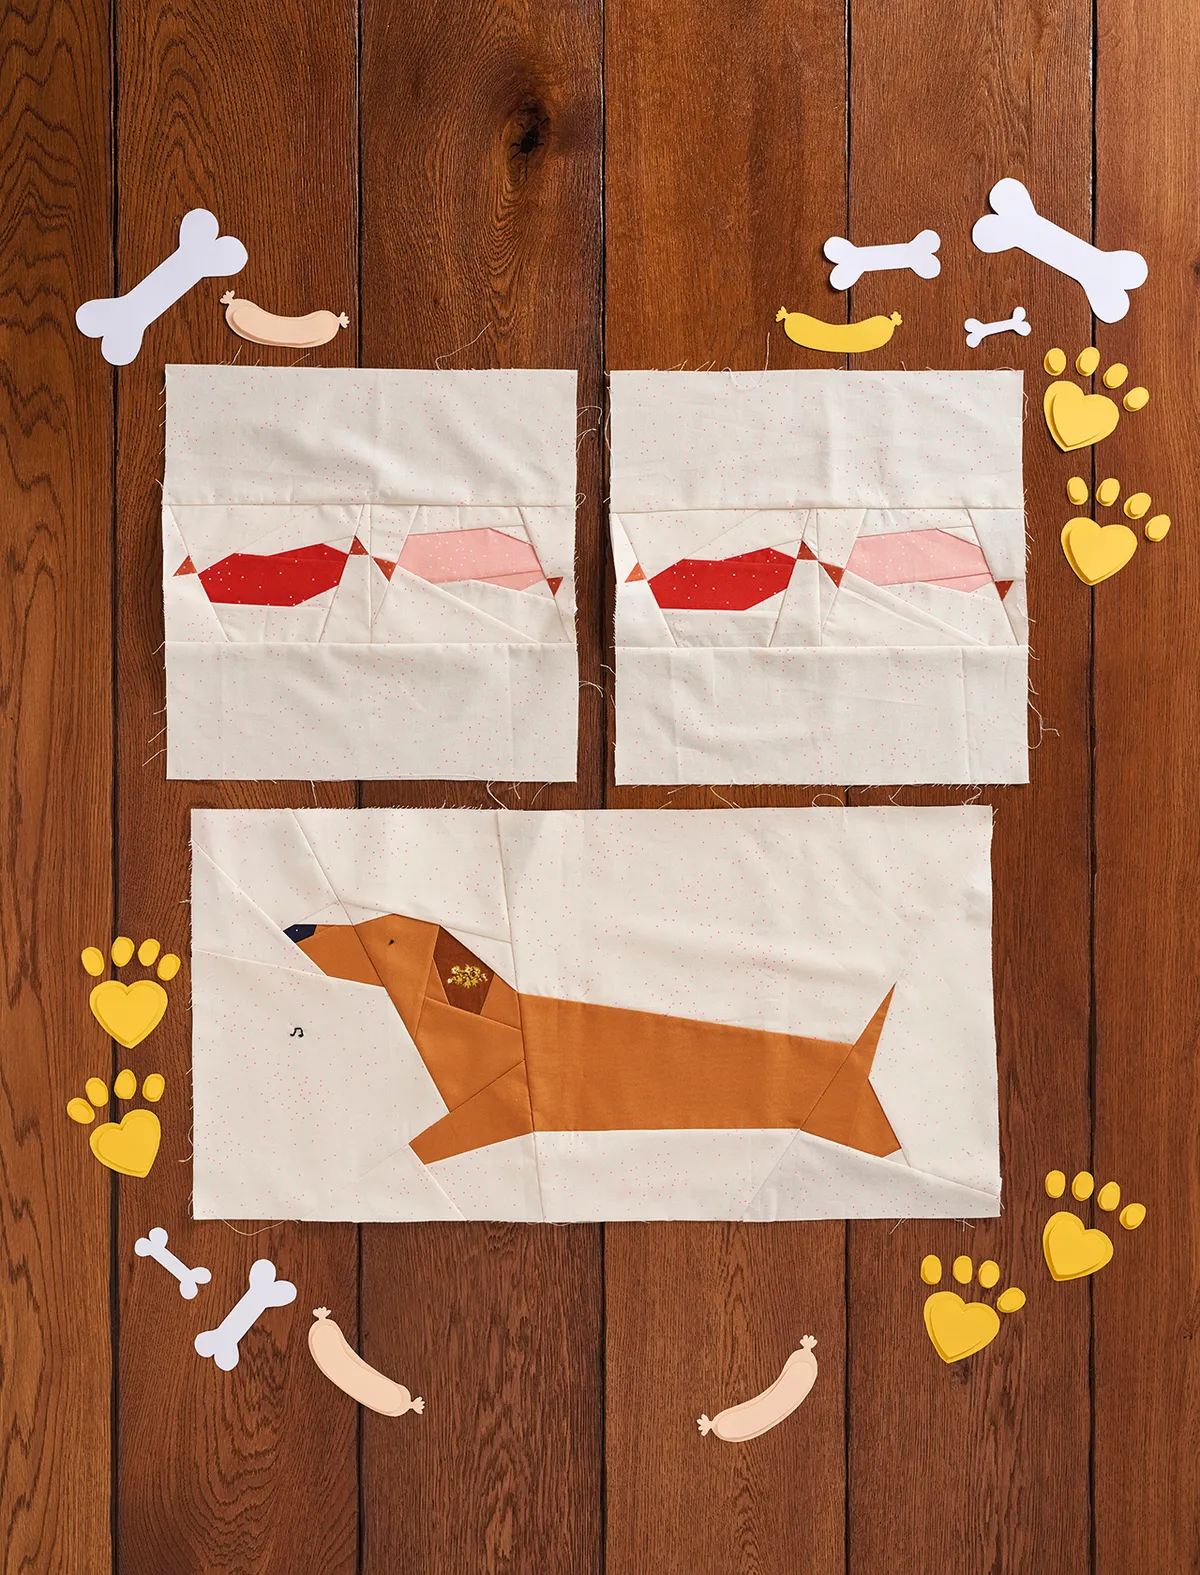
- Sausage blocks: 12in square
- Dog block: 12in x 24in
- Row: 12in x 72in
Notes
- Download our free Free sausage dog foundation paper piecing pattern
- Seam allowances are ¼in throughout, unless otherwise noted.
- Press seams to the side, unless otherwise instructed.
- Shorten your stitch length to 1.5 for FPP.
- FPP = Foundation Paper Piecing.
- Templates include seam allowance around the outer edges only.
- Fabrics supplied by Fat Quarter Shop (fatquartershop.com)
Fabrics used
- Sausage fabrics are all from the Basics collection by Cotton+Steel
- Background fabric is Sprinkle in Jelly Bracelet, also from the Basics collection by Cotton+Steel.
Top tips
- Do not extend your seams too much over the dedicated sewing lines as this will make it far more difficult to remove the paper when complete.
- Take your time when Foundation Paper Piecing. Double and triple check that your fabric is placed in the right position over the pattern, and that you have enough seam allowance. It will save a lot of time in the end!
- Make an extra copy of each template and mark your fabric choices for each section.
- Trace the template onto freezer paper, cut apart and use the pieces as cutting templates. But don’t forget to add seam allowances!
- Always press your block before adding the next piece to make the final block crisp.
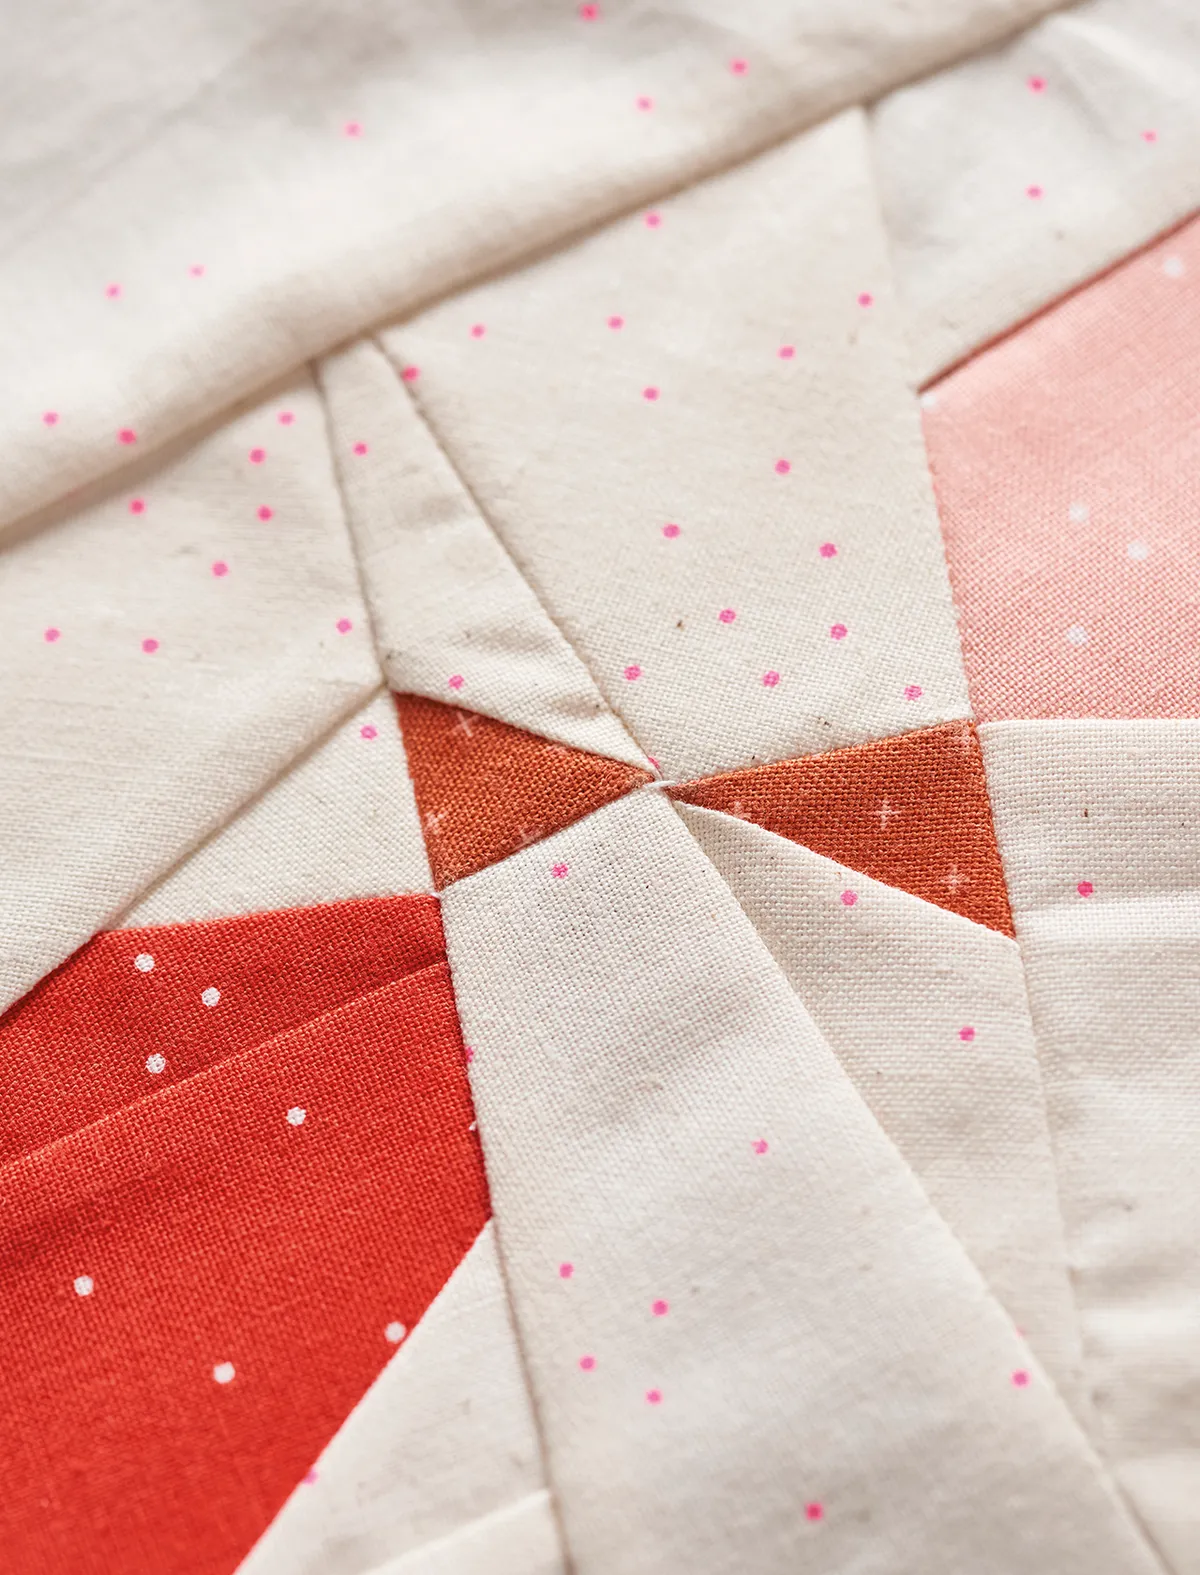
 If you want to sew these blocks together to form a row in a quilt, arrange them as we’ve done below – pressing seams open (Fig 1).