Free quilted sewing machine cover pattern

Free quilted sewing machine cover pattern

Keep your machine dust-free with this stylish quilted sewing machine cover.

Try Love Patchwork & Quilting magazine for and save over 45%!

Published: July 31, 2020 at 8:00 am

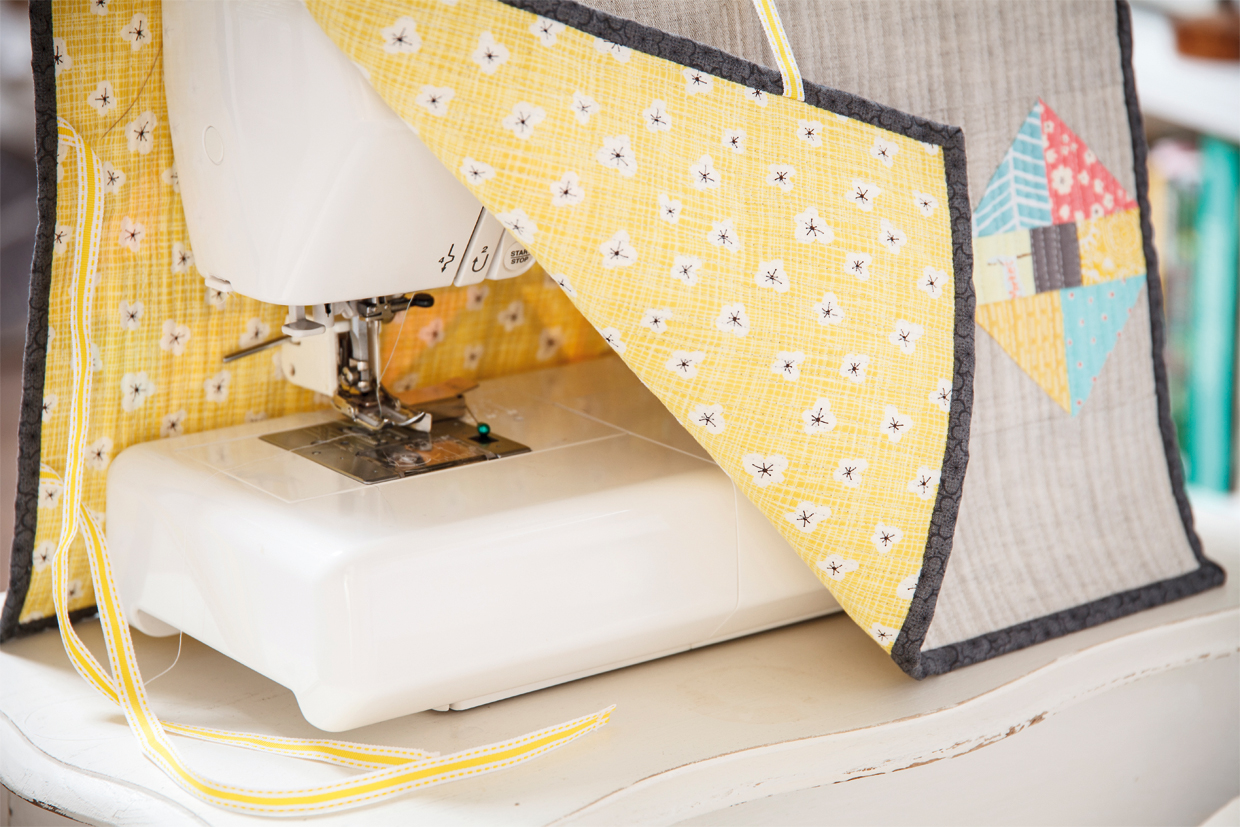
We're seeing lots of yellow and grey fabric pairings at the moment, and this quilted sewing machine cover put's all those on-trend colours to good use - the grey linen is the perfect backdrop for those sweet lemon prints and pastel shades. Ribbon ties make this quilted sewing machine cover easy to put on and take off, and will keep all that pesky dust out of your precious machinery!

You will need

  • Background fabric ½yd
  • Backing fabric 18in x 30in
  • Binding and patchwork block centres (we used dark grey)
  • one fat quarter
  • Assorted fabric scraps (¼yd total)
  • Batting 18in x 30in
  • Co-ordinating ribbon 3½yd

Finished size

Machine cover: 16½in x 28½in

Notes

Seam allowances are ¼in, unless otherwise stated.

HST = half-square triangle.

WOF = width of fabric.

We recommend a slightly heavier fabric than quilting cotton for the machine cover (we used linen) to give structure.

Free quilted sewing machine cover pattern

You will need:

  • Backing fabric
  • Linen fabric
  • fat quarters
  • Fabric scraps
  • Batting
  • Ribbon
  • Basic sewing kit
  • Sewing machine

Step 1

Cutting out

From the background fabric cut:

  • One 12½in x 16½in piece
  • Two 3½in x 16½in pieces
  • Sixteen 3in squares

Step 2

From the fabric scraps cut:

  • Sixteen 3in squares
  • Eight 2in x 3in pieces

Step 3

From your dark grey fabric cut:

  • Five 2½in strips along the longer side of your fat quarter,
  • Four 1½in x 3in pieces.

Step 4

Cut eight 15in lengths of ribbon.

Step 5

Assemble the machine cover

Take all of your 3in background squares and 3in coloured squares and pair them up, matching one background to one coloured square, with right sides together. Pin in place.

Step 6

To construct your HSTs, draw a diagonal line with a pencil across the back of one of the fabrics in each pair. Pin the pairs together and then sew a seam a ¼in to either side of the line that you have drawn. Cut along the drawn line and press your HSTs open. Using your ruler, place the 45-degree line along the seam and trim each HST to 2½in square.

Step 7

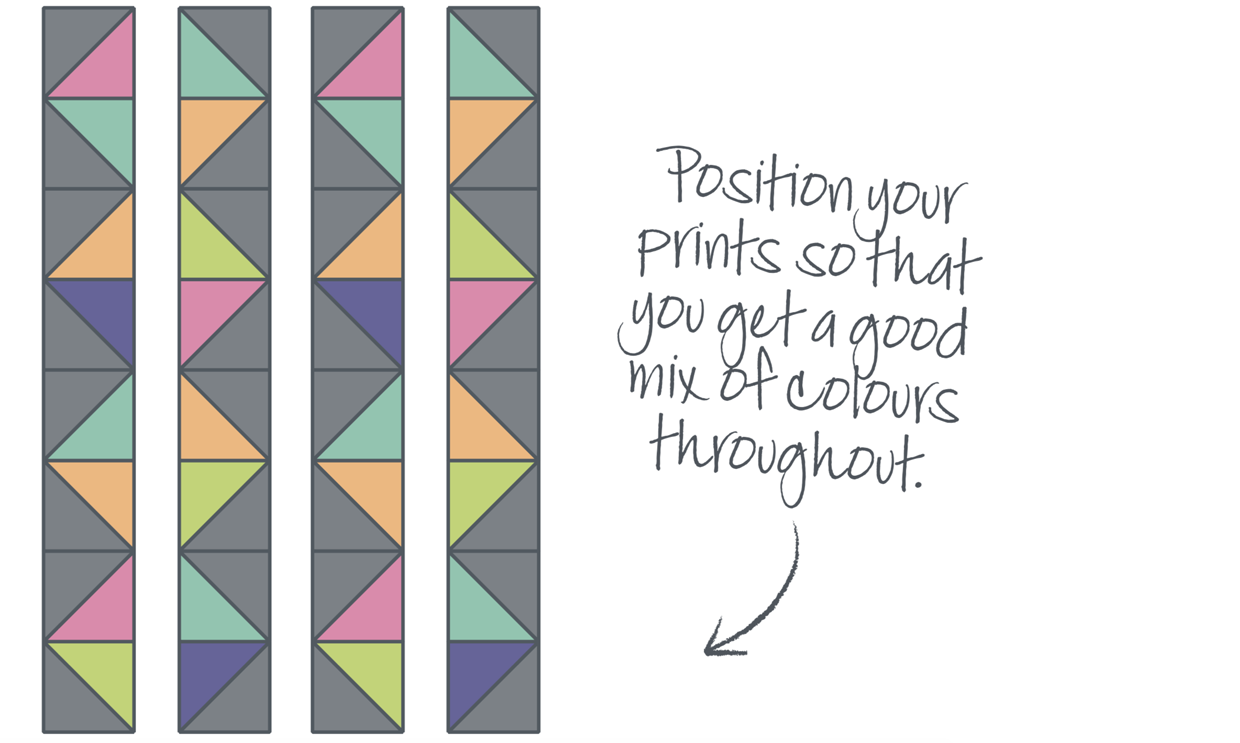
Sew together the HSTs in the pattern shown in the diagram below, forming four strips of eight.

free_sewing_machine_cover_pattern_diagram_A

Step 8

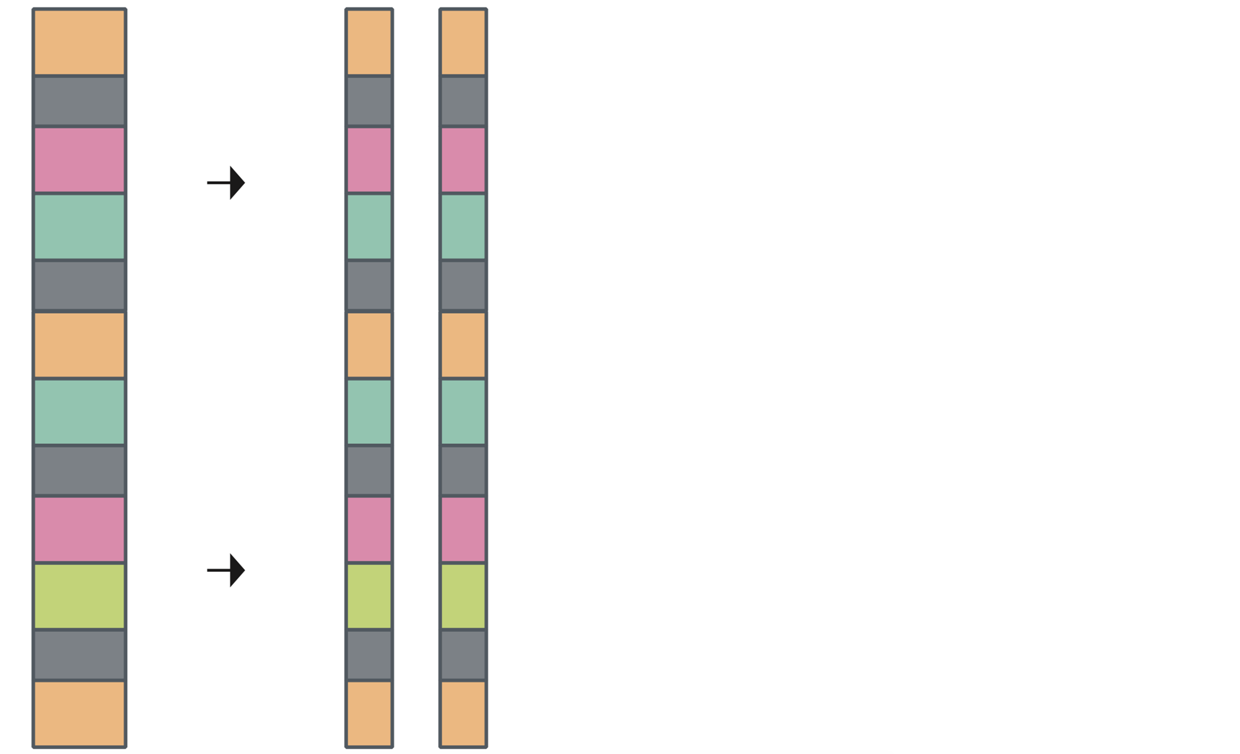
Take four of your dark grey rectangles measuring 3in x 1½in and your remaining coloured rectangles. Lay them out referring to layout diagram below. Sew these together in one long strip. Once you have the rectangles in a strip then cut this strip into two lengthwise so that you are left with two strips measuring 1½in x 16½in each.

free_sewing_machine_cover_pattern_diagram_B

Step 9

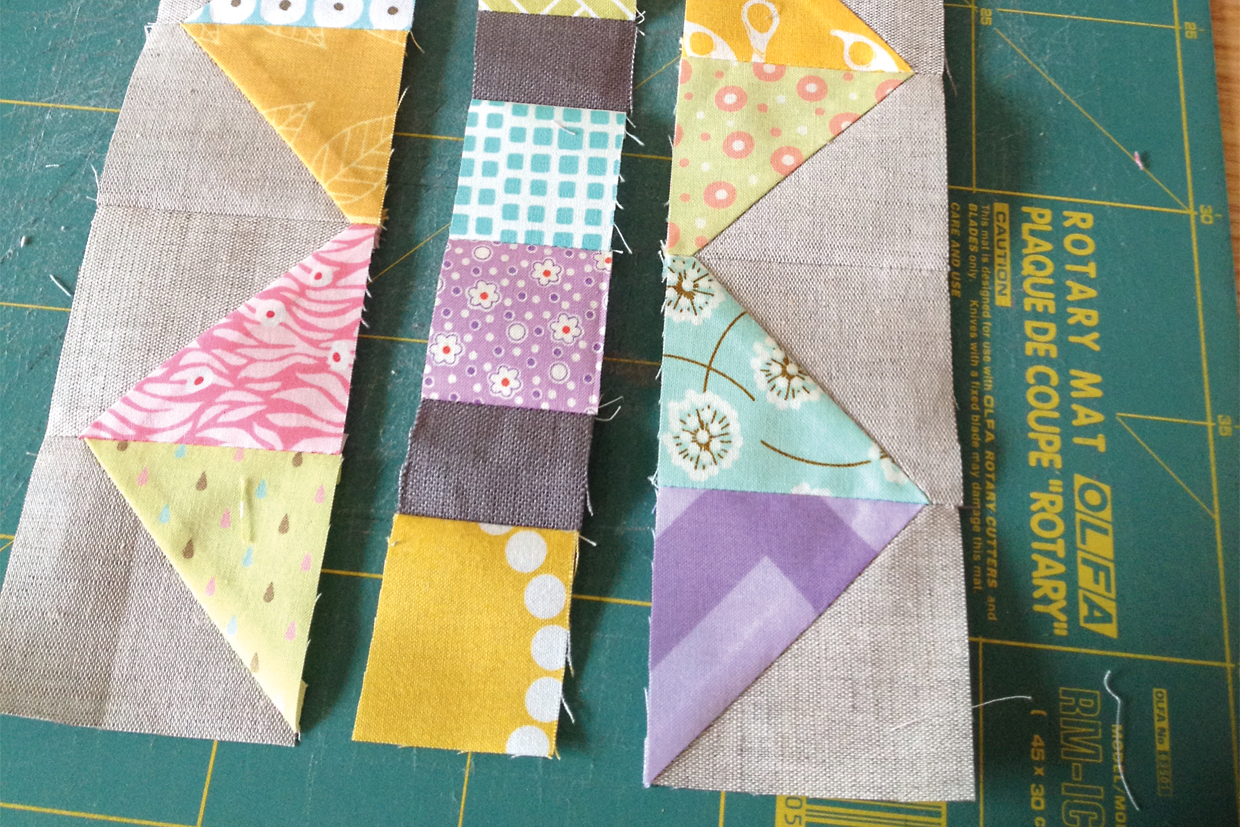
Piece two HST strips to one narrow strip, one row of HSTs on either side.

free_sewing_machine_cover_pattern_stepA

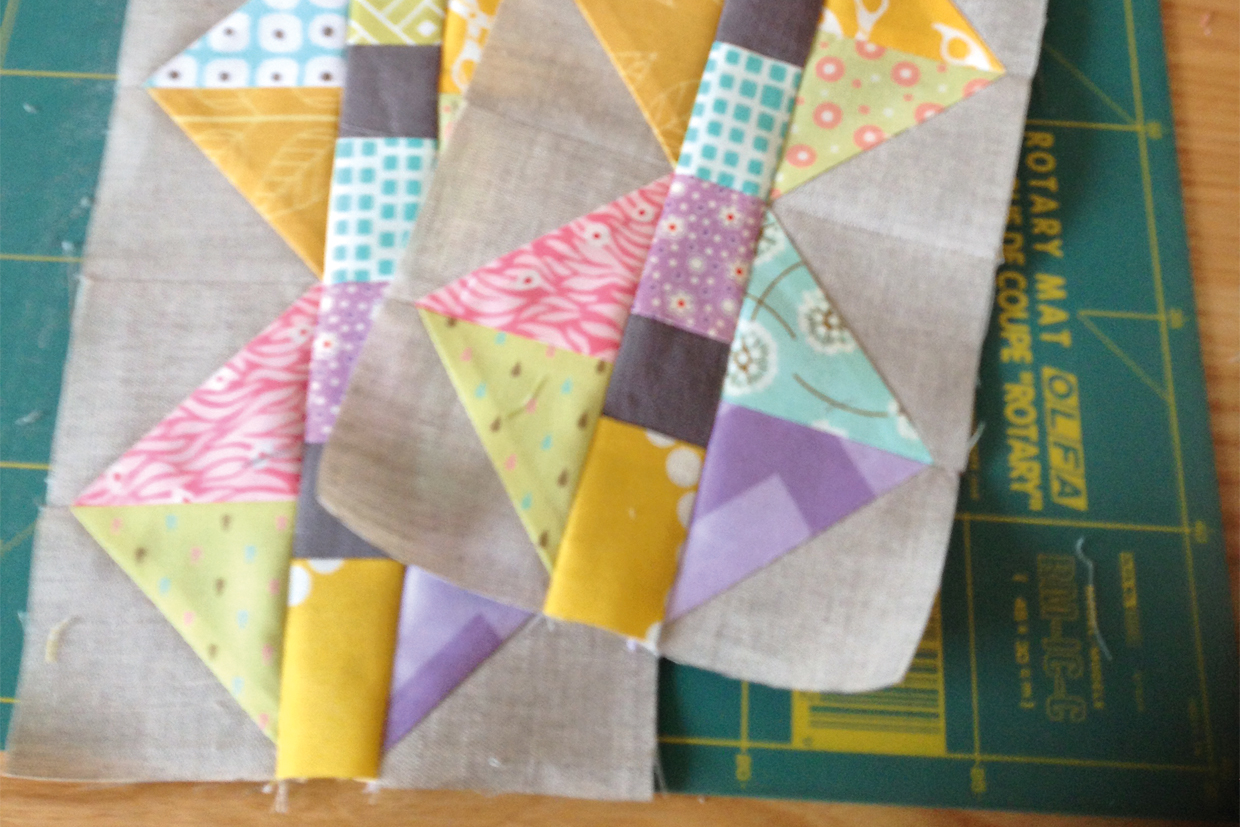
Repeat with the second set so that you now have two patchwork pieces measuring 5½in x 16½in each.

free_sewing_machine_cover_pattern_stepB

Step 10

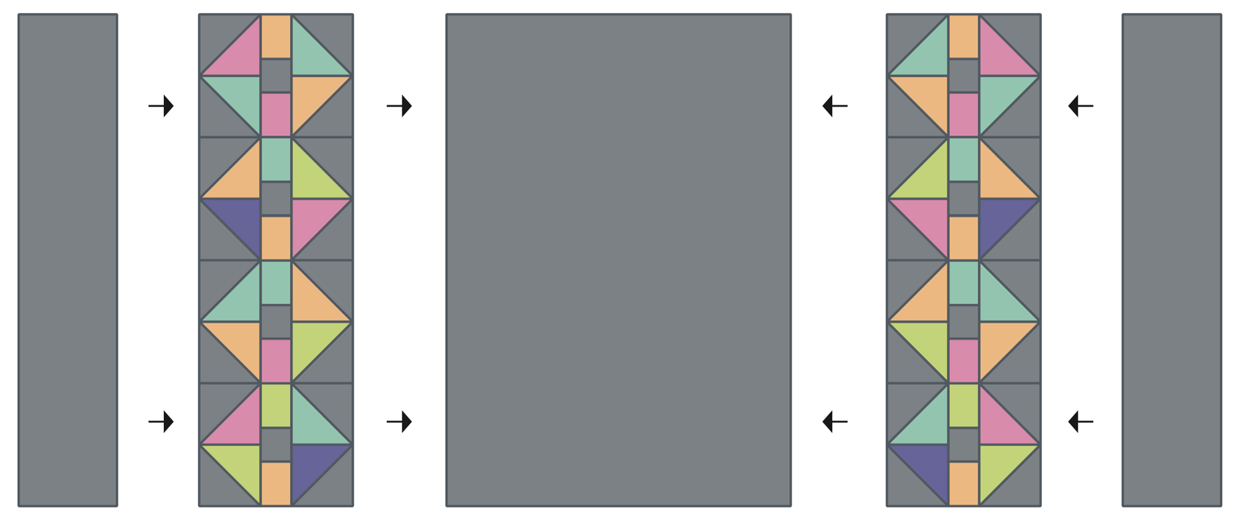
Sew one pieced section to each end of the 12½in x 16½in background fabric, and then sew the 3½in x 16½in strips of background fabric to either end of the sewing machine cover top, referring to layout diagram below.

free_sewing_machine_cover_pattern_diagram_C

Step 11

Layer your sewing machine top with the batting and backing fabric to form your quilt sandwich. Baste and quilt as desired. We recommend fairly dense quilting to help give additional structure to your sewing machine cover.

Step 12

Square up your cover once it is quilted so it measures 16½in x 28½in.

Step 13

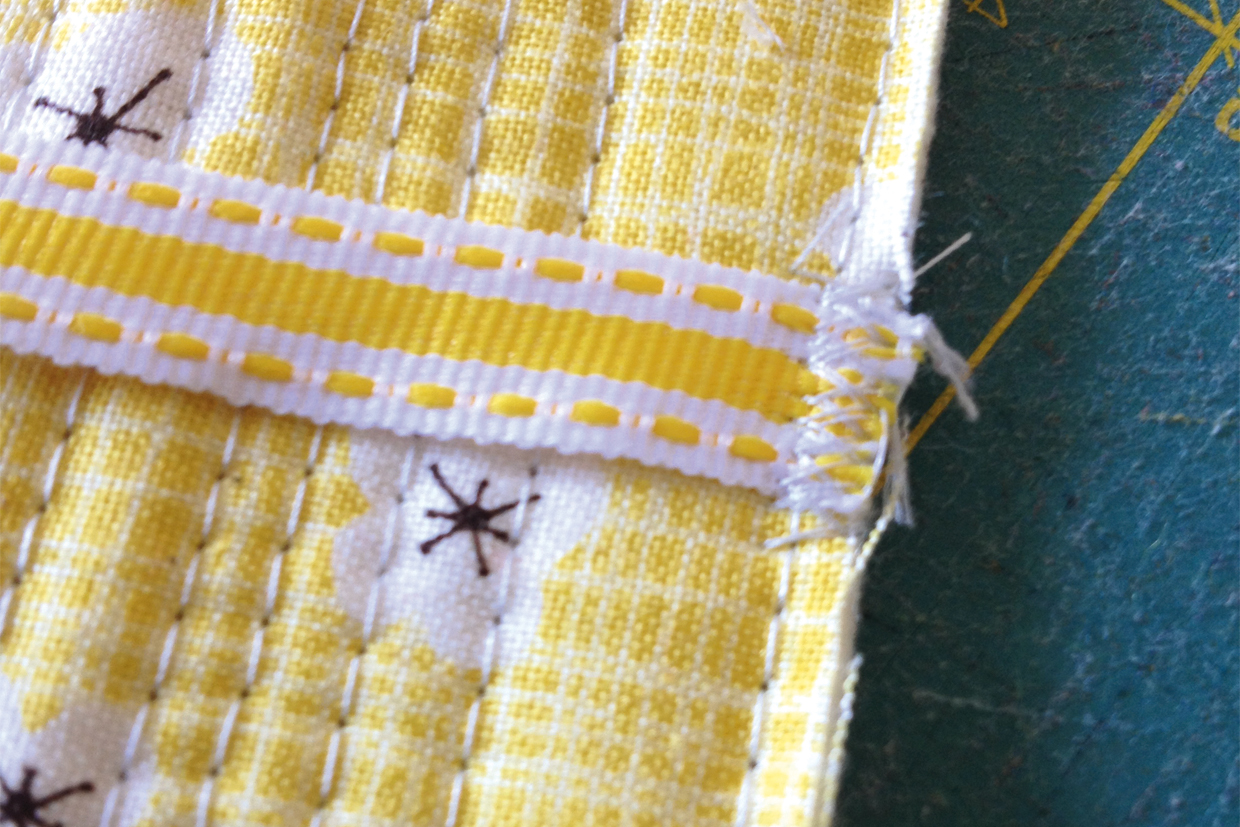
Take your ribbon pieces and pin them to the reverse side of the machine cover. Use the seams of the pieced sections on the front of the cover as guide for where to attach the ribbon and ensure that the ribbons are in the same position on either side of the cover. Using a zigzag stitch attach the ribbons to the cover, stitching within the ¼in seam allowance so none of these securing stitches will appear once the binding is attached.

free_sewing_machine_cover_pattern_stepC

Step 14

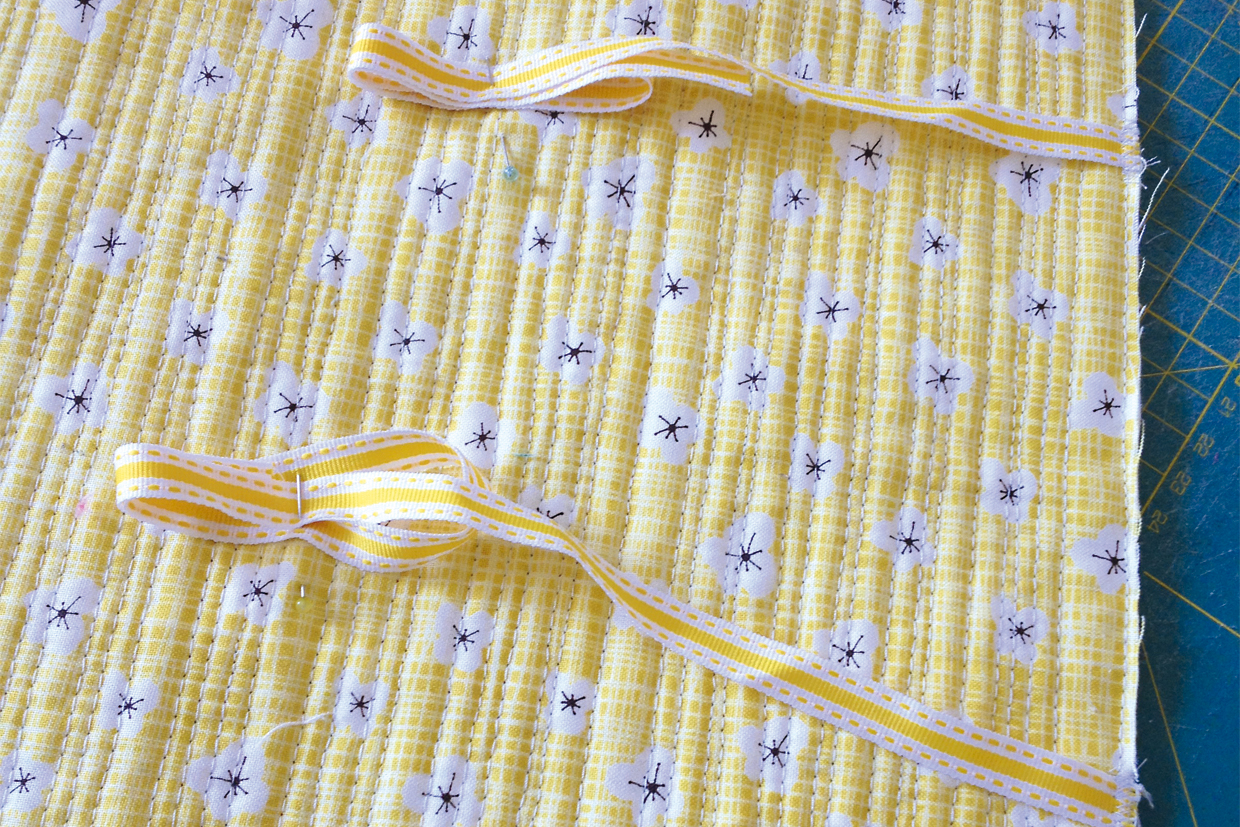
Pin the lengths of ribbon towards the centre of the machine cover to ensure that they do not get caught up in binding when you are attaching it.

free_sewing_machine_cover_pattern_stepD

Step 15

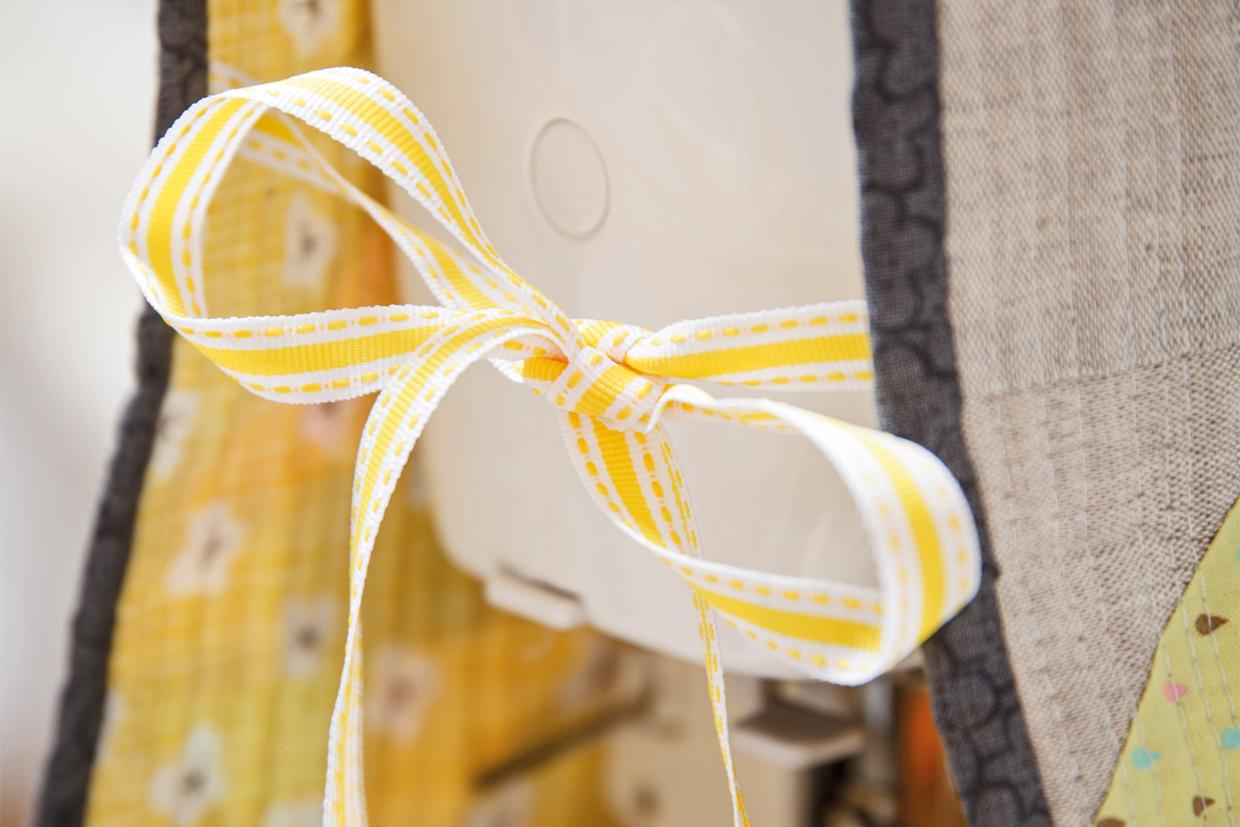
Join the 2½in strips of dark grey fabric to form the binding, fold in half along the length and press and use to bind. Tie the ribbons at the sides to cover.

free_sewing_machine_cover_pattern_stepE
free_sewing_machine_cover_pattern_stepF

Fancy some free patterns to keep the rest of your sewing supplies safe? Then check out some of these!