Free chevron baby quilt pattern

Free chevron baby quilt pattern

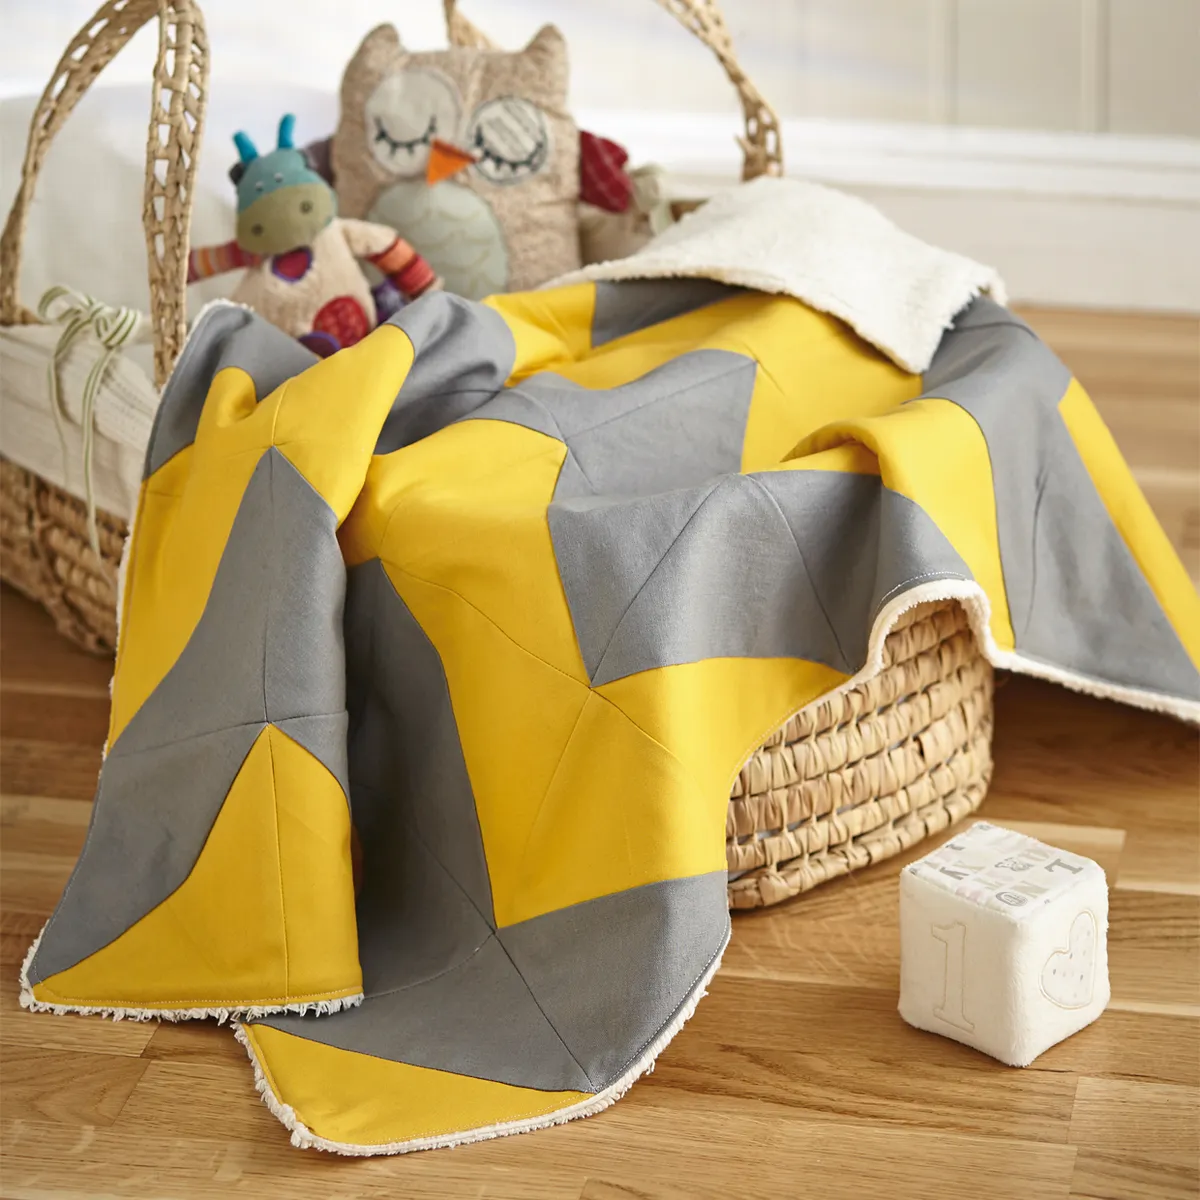
Try Manda McGrory’s modern chevron baby quilt pattern in this beautiful mustard and grey colourway.

Try Love Patchwork & Quilting magazine for and save over 45%!

Published: June 19, 2020 at 8:00 am

Nothing quite beats the geometric style of chevrons, and they work beautifully on this free chevron baby quilt pattern by Manda McGrory. Grey is a great neutral for pairing with more daring shades, like this on-trend mustard colour, but of course you can always switch it up to the colours on this easy chevron quilt to suit your own style.

You will need

  • Mustard quilter’s cotton ¾yd
  • Grey quilter’s cotton ¾yd
  • Brushed cotton or flannel for backing 30in x 42in

Finished size

27in x 40in approx

Notes

All seam allowances are ¼in Press all fabrics before cutting

Top tip

Don't forget to add a label – personalise with baby's name and date of birth to create a lifelong keepsake.

Free chevron baby quilt pattern
Free_chevron_baby_quilt_pattern

You will need:

  • Quilting cotton
  • Backing fabric
  • Basic sewing kit
  • Sewing machine

Step 1

Cutting out

From the mustard fabric cut nine squares, each 8½ in. From the grey fabric cut nine squares, each 8½ in.

Step 2

Making the half-square triangle units

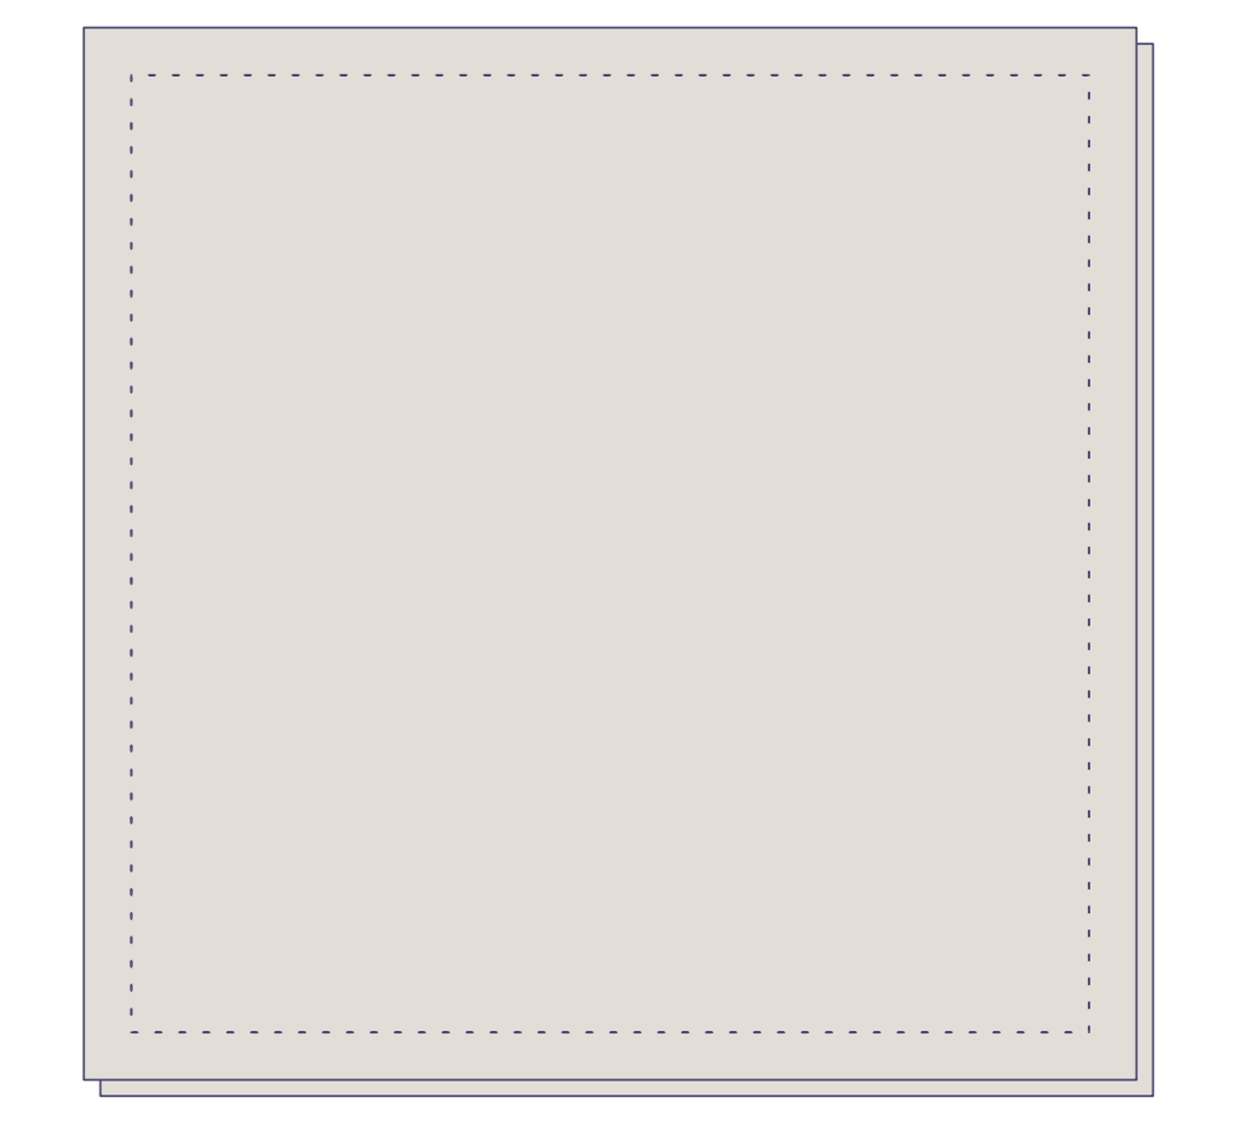
The blanket is made using 35 half-square triangle (HST) units. This method makes four in one. To make your HSTs, place one mustard square right sides together on top of one grey square. Using a ¼in seam allowance, sew around all four sides of the layered squares.

Free_chevron_baby_quilt_fig_1

Step 3

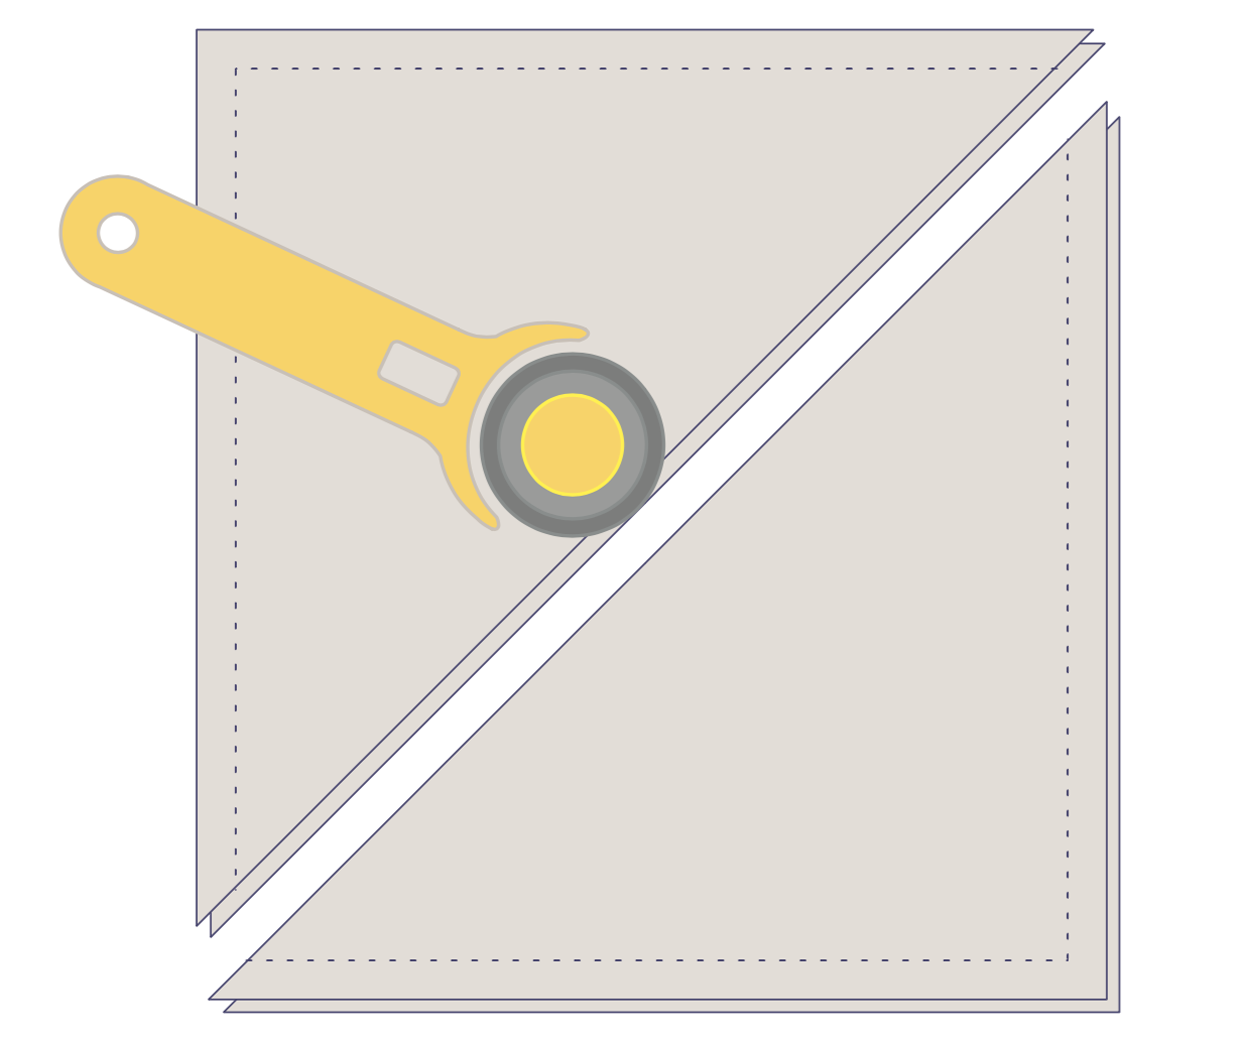
Using a quilter’s ruler and a rotary cutter, cut the square in half across the diagonal, creating two triangles.

Free_chevron_baby_quilt_fig_2

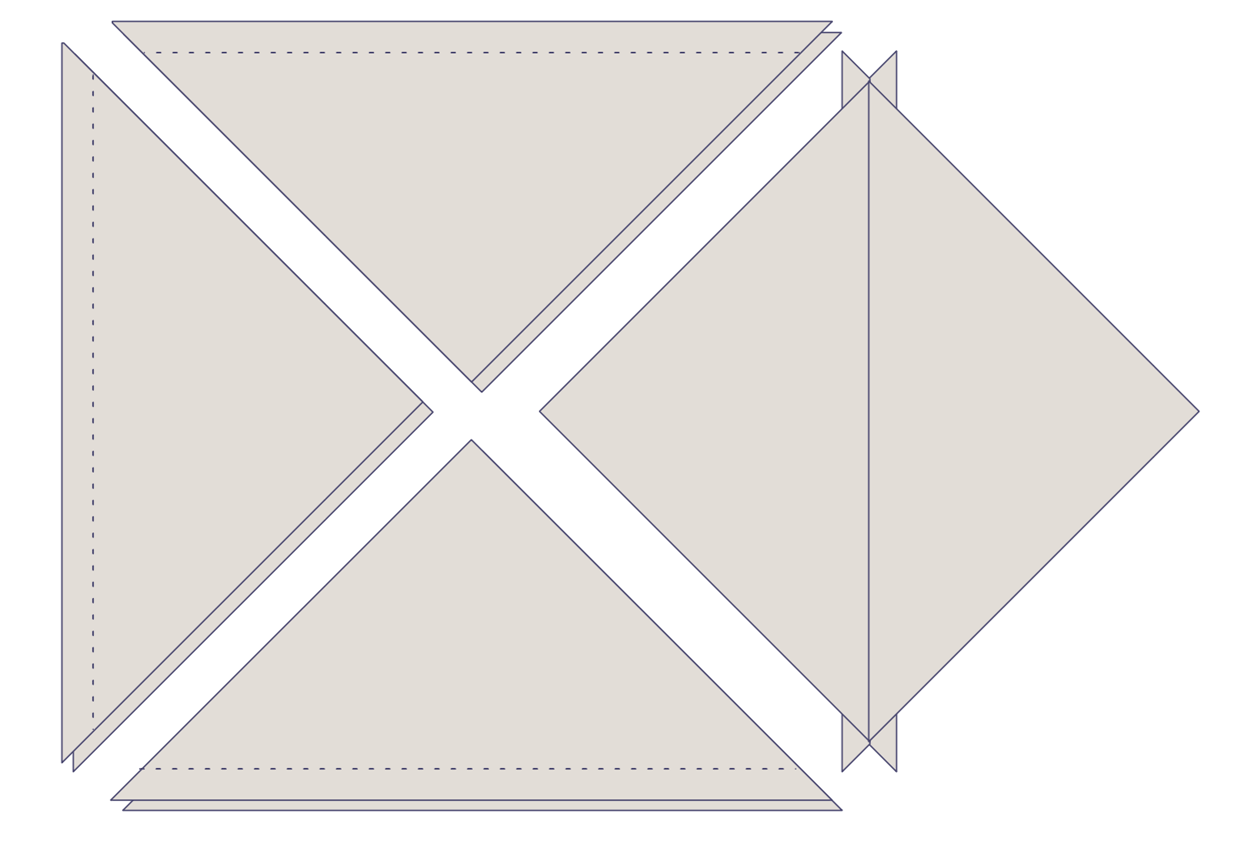
Then cut each triangle in half (again on the diagonal) to create four separate HSTs.

Free_chevron_baby_quilt_fig_3

Step 4

Carefully press each HST open, making sure not to stretch the fabric, and then trim the dog ears (the little points protruding beyond the triangle)

Step 5

Repeat this process with all nine squares. This will create 36 HST units but you only need 35. Check to make sure all units are the same size, trimming if need be.

Step 6

Assembling the quilt

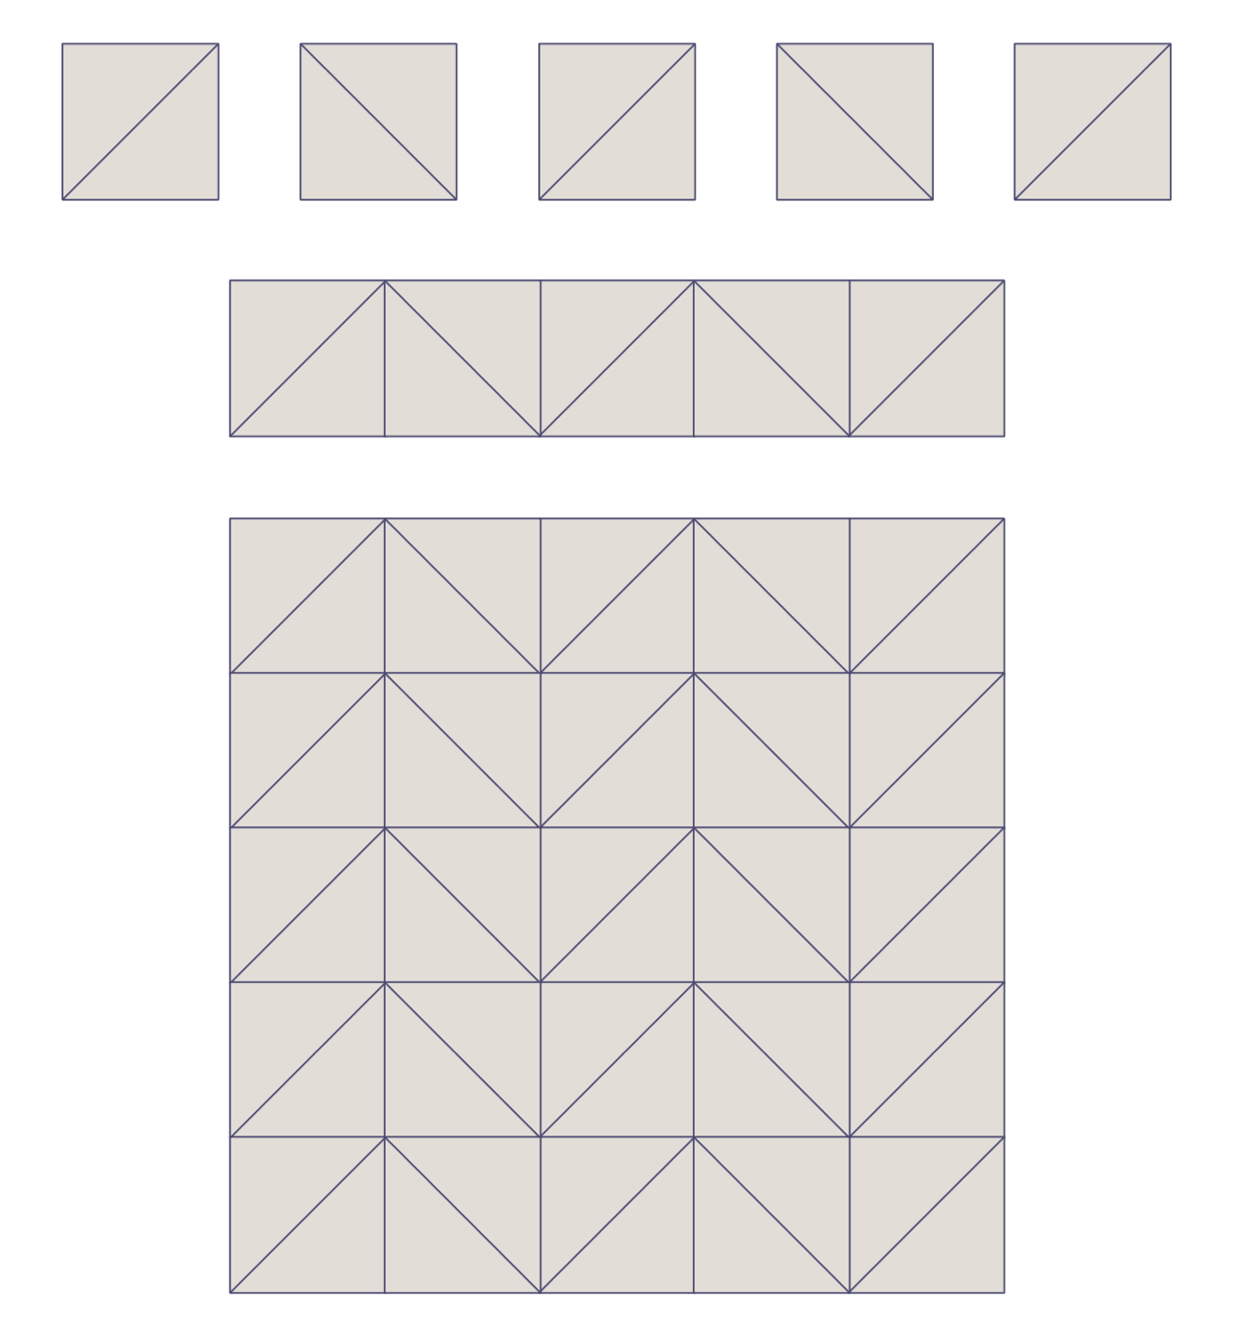
On a flat surface, lay out your HSTs in a 5 x 7 layout, alternating the direction and colours, to create a chevron pattern.

Free_chevron_cot_quilt_fig_4

Step 7

Start sewing the HSTs together in rows, pressing the seams in rows 1, 3, 5 and 7 in the opposite direction to rows 2, 4 and 6.

Step 8

Now sew the rows together, taking extra care to match up the diagonal seams on the HST units (this ensures neatly matching points). Press the seams open to reduce bulk. Once you have sewn all seven rows together, press carefully on the wrong side and then press all over on the right side.

Step 9

Take your backing fabric and lay it on a flat surface, right side up. Lay the patchwork top on top of it, right side down, making sure that the backing fabric is larger than the top on all four sides. Pin in place.

Step 10

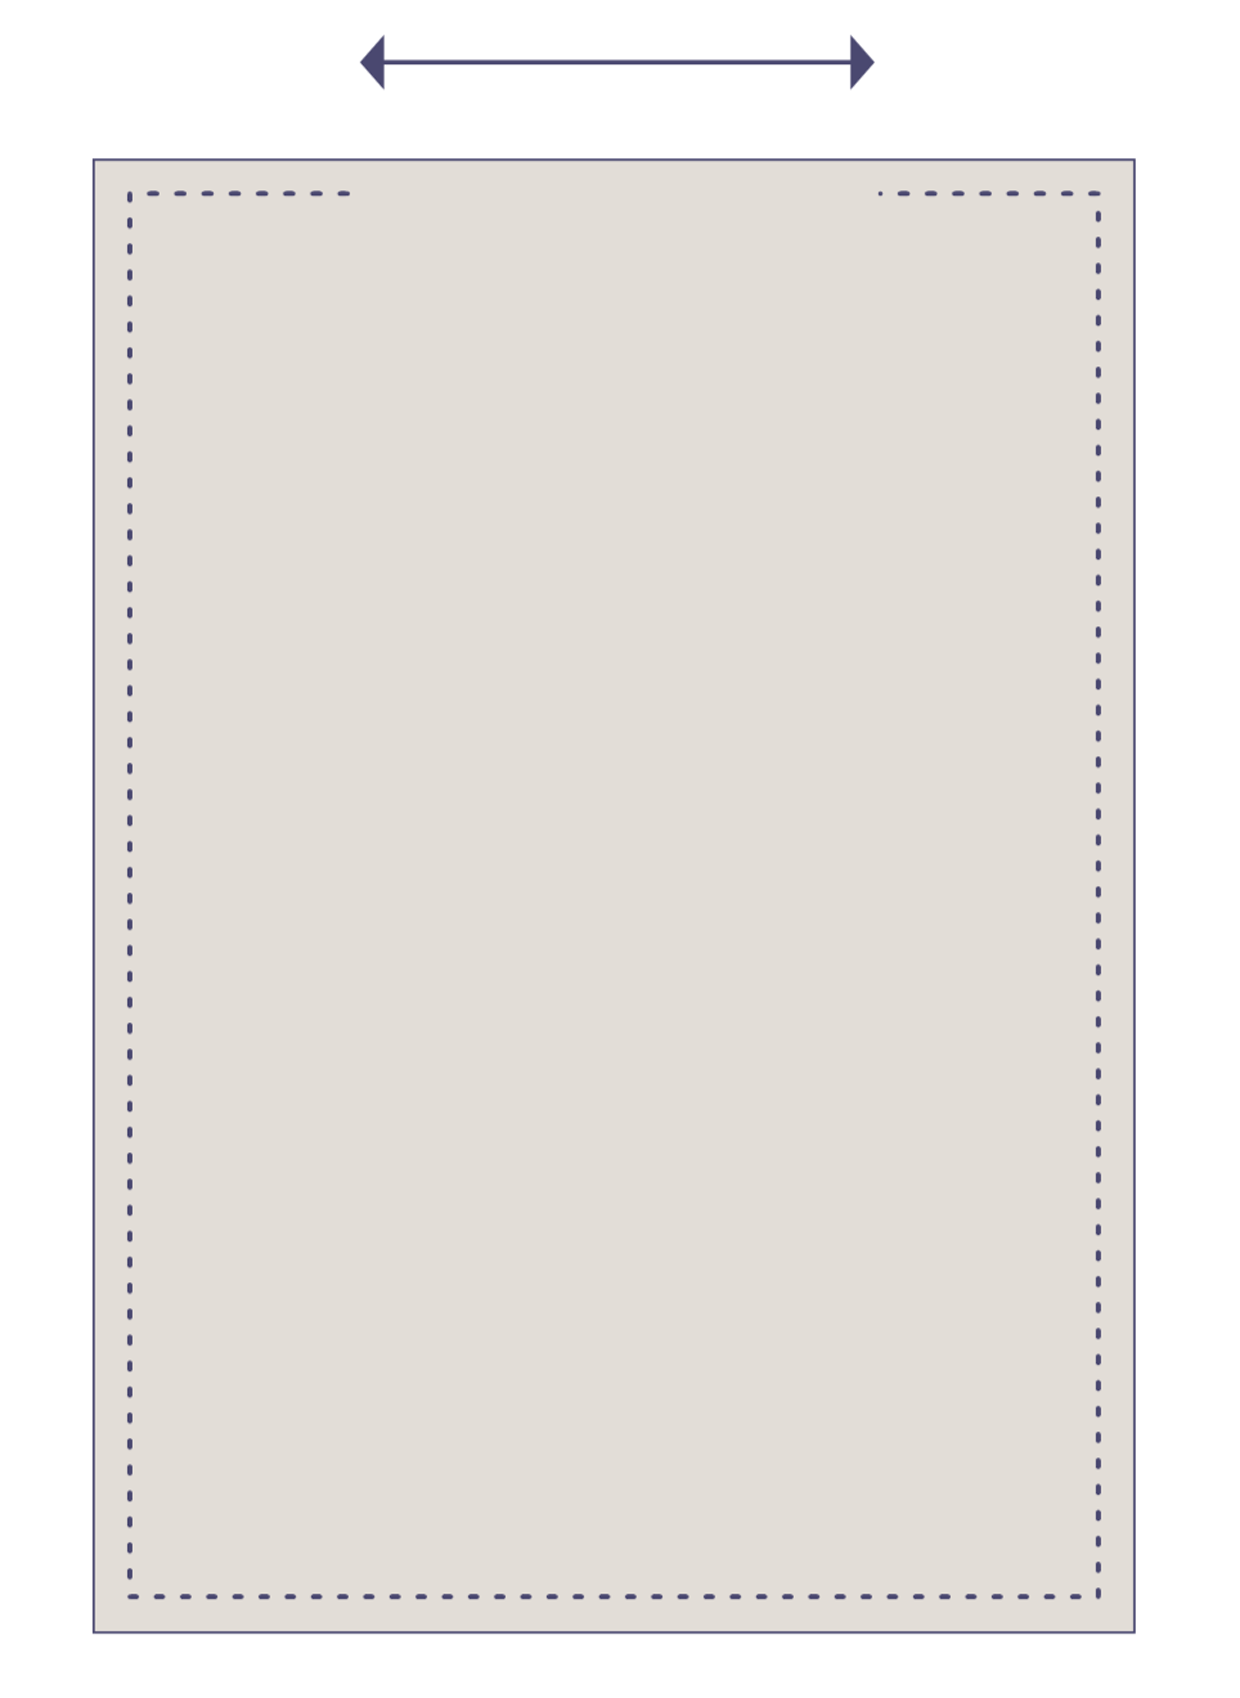
Stitch around all four sides using a ¼in seam allowance and leaving a gap of about 6 in for turning. Cut off the excess backing fabric and clip the corners.

Free_chevron_cot_quilt_fig_5

Step 11

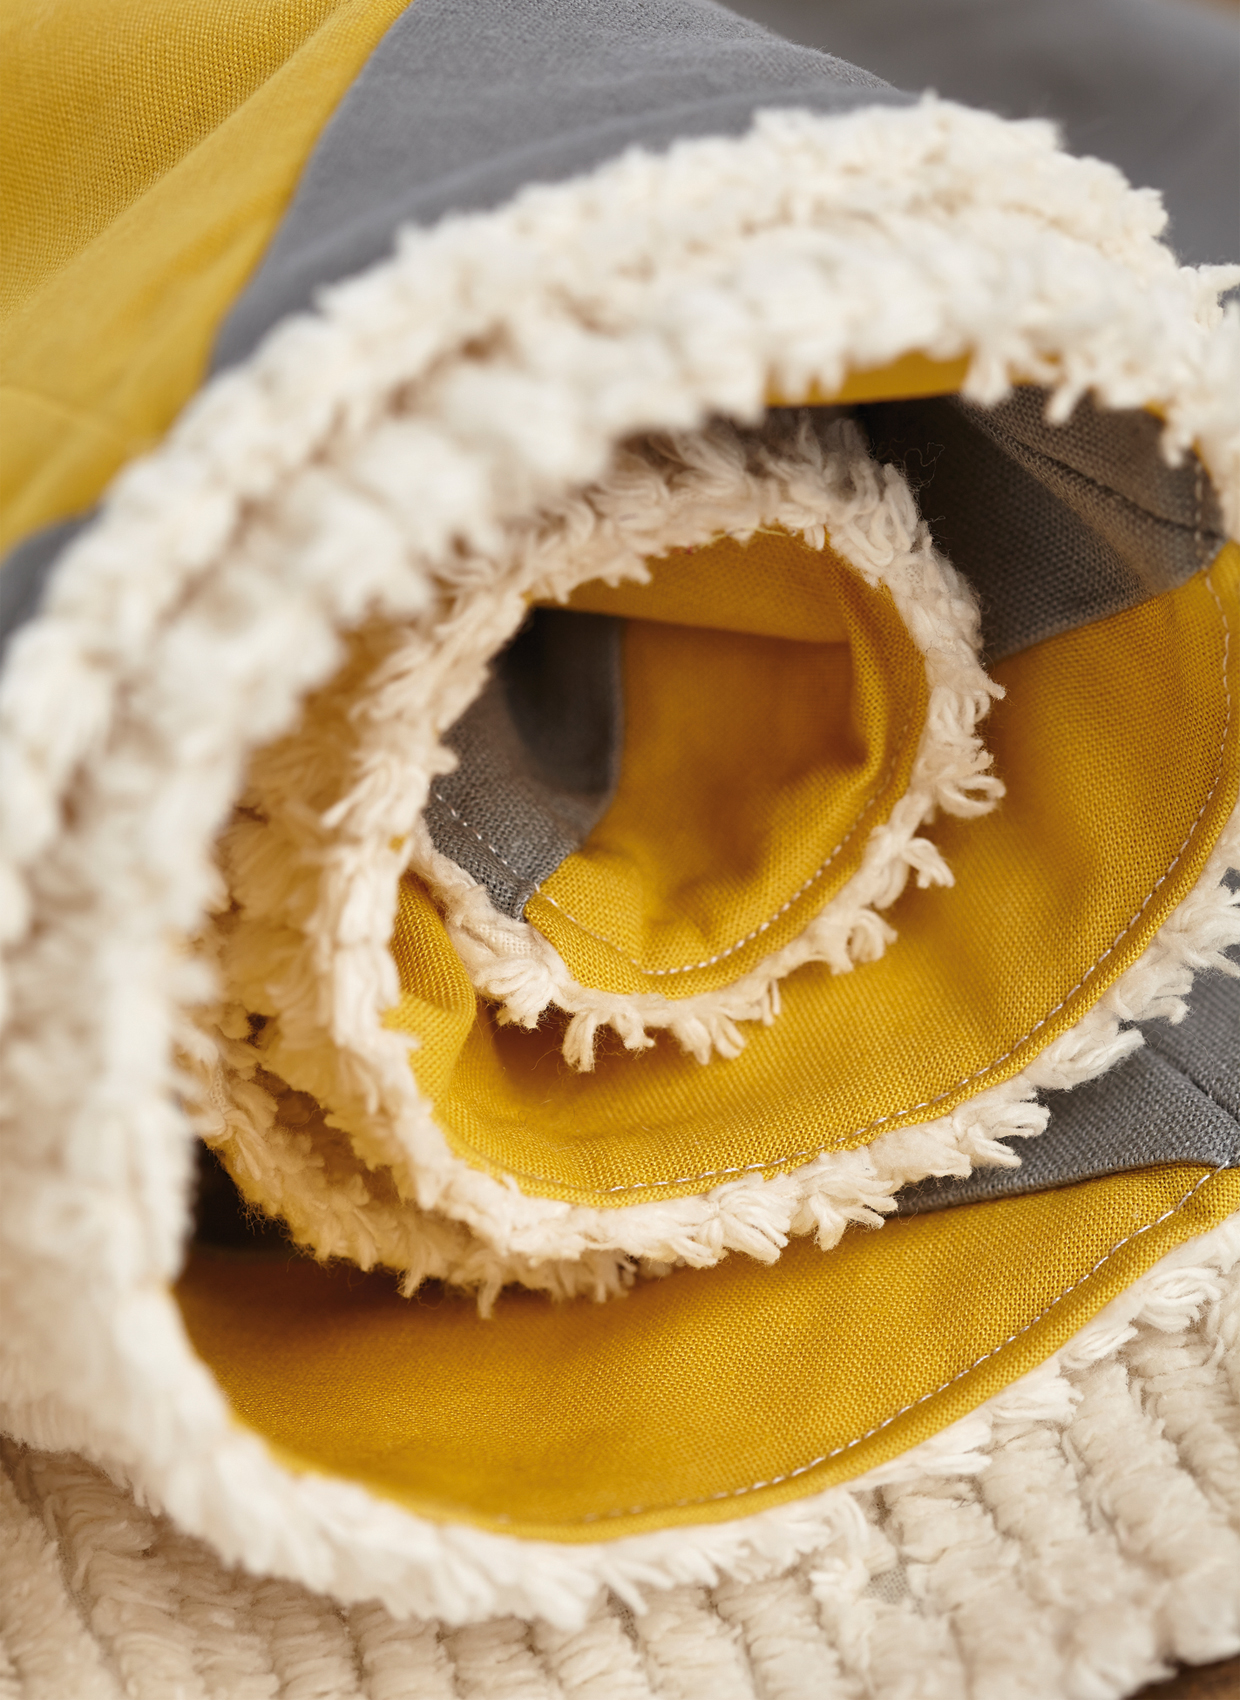
Turn right side out through the gap and press gently. Tuck the raw fabric edges inside the turning gap by ¼ in and press in place. Whipstitch the gap closed by hand and then topstitch around all four sides using a 18 in seam allowance to finish.

If you fancy having a go at another stylish chevron project, check out our chevrons quilt block pattern

Free_chevron_baby_quilt_pattern