Top tips for piecing improv quilts
Pressing seams
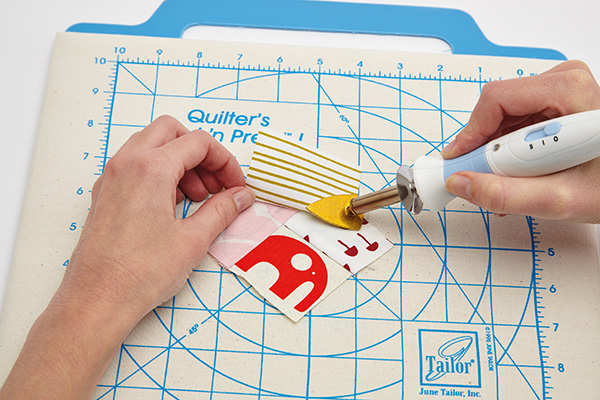
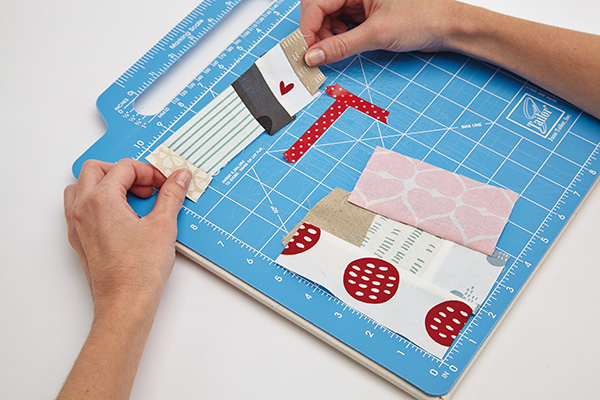
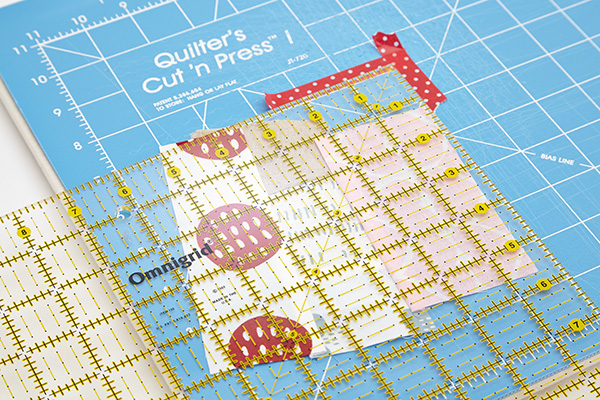
I find it easiest to set up a mini cutting and pressing station right next to my machine. The cutting, pressing and sewing process goes a lot faster this way, and it’s easier to keep my mind on ‘freestyle’ piecing without getting bogged down in trying to plan too far ahead. I like to use a mini-iron, since most of the seams are small, and a cutting mat with pressing surface on the back saves on space.
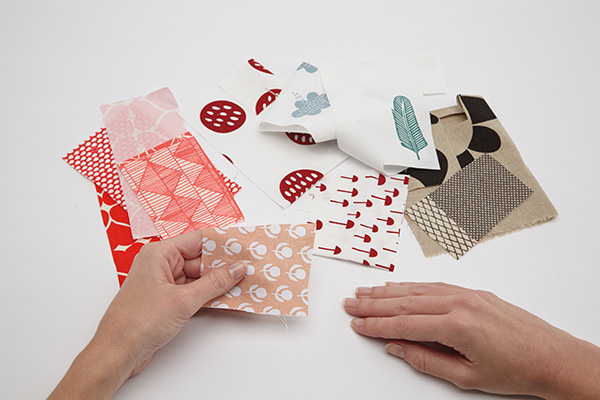
Selecting your scraps
Use common sense to pick the size of your scraps. If you’re making a 12in block, it will take a long time if you’re using 1in pieces. Likewise, a 6in block won’t be very scrappy if you use 4in pieces. If you’re not sure, use larger pieces and cut them down as you go, saving sewn scraps for other blocks.
Mix it up with clever cutting
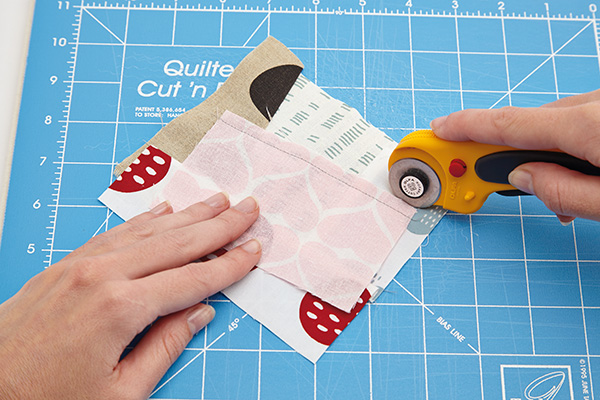
Here are two super-simple techniques to add extra scrappiness to your blocks…
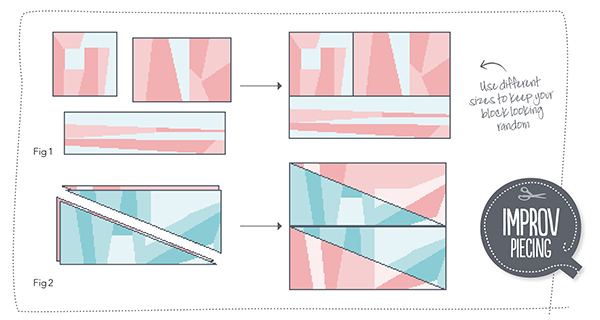
1 Break down the size of your final block into a few smaller blocks. Cut the improv blocks about 1in larger than necessary, then sew them into a final block before trimming again (Fig 1).
2 Split your block measurement into two rectangles, then make two improv blocks about 1in larger. Stack the two blocks on top of each other and cut a diagonal. Swap two pieces and sew the new blocks back together before joining into a larger block (Fig 2).
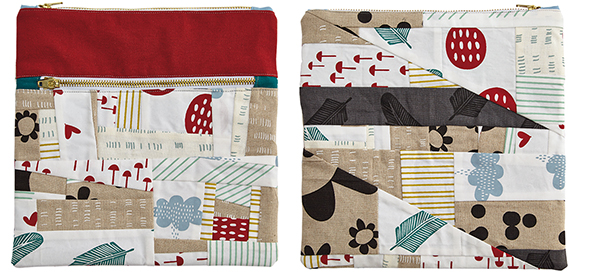
Try me now! how to sew a double-zipper pouch
Follow our lead and show off your improv work with our pretty yet practical double-zipper pouch!
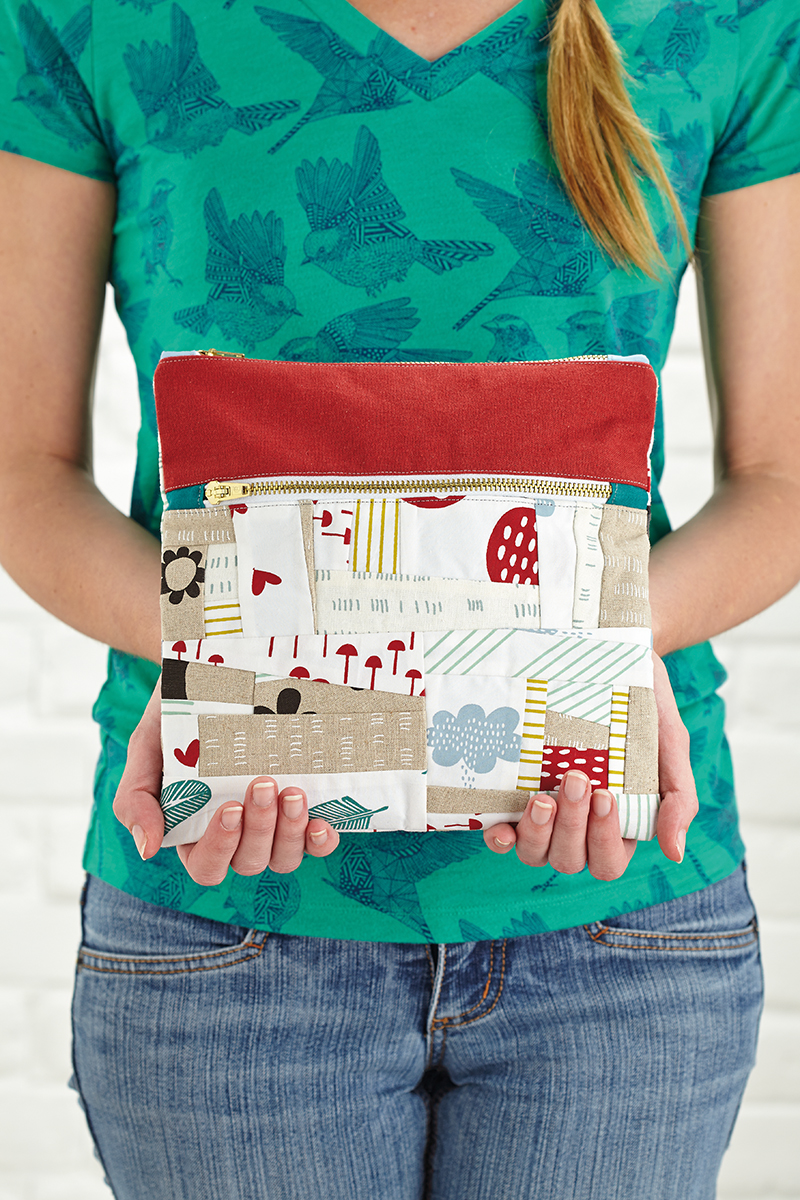
Notes
- Finished size = 9in square approx
- Seam allowances are ¼in.
- RST = right sides together
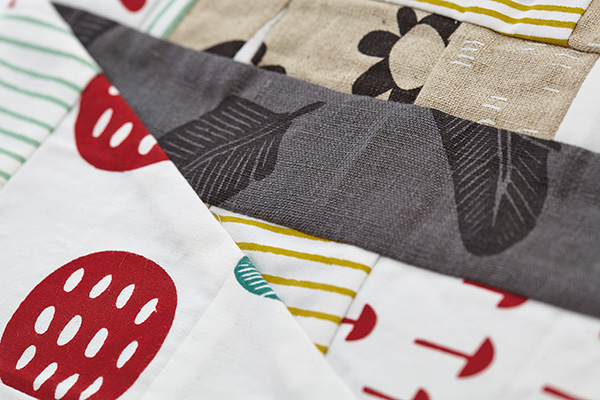
- For our improv blocks pictured, we’ve used fabric prints from Maze & Vale. They’re a mix of linen and cotton – we love the mushroom print!
Making up
Step one: Take one zip cover piece and press under 1⁄4in along both short ends. Press in half, wrong sides together. Repeat with remaining three pieces. Place over the ends of your zips and topstitch, creating a 10in long zip.
Step two: Sandwich one zip between the two contrast pieces RST, aligning raw edges, and sew in place using a zipper foot. Press open and topstitch next to the zipper.
Step three: Taking the small improv piece and small front pocket lining RST, sandwich the zipper between facing the improv piece and aligning the remaining zip edge. Sew in place, open and topstitch as before. Trim to 10in square to create the purse front.
For added stiffness, add interfacing to your improv pieces before stitching up your pouch.
Step four: Lay the purse front on top of the 10in square front pocket lining, right sides of both facing up. Baste along the sides and treat as one piece.
Step five: Sandwich the remaining zip between the purse front and one main pocket lining RST. The zip should be facing the purse front, with both zip pulls on the same side of the purse. Sew the zip in place, open and topstitch as before.
Step six: Attach the remaining improv and lining pieces to the other side of the zip as before, with the zip front facing the improv piece.
Step seven: Unzip both zippers at least half way.
Step eight: Now fold your stitched piece so the two main lining pieces are RST on one side of the zip and the remaining layers are RST on the other side. Fold the centre zip so the teeth face the lining side. Pin in place.
Step nine: Sew all the way around your purse, leaving a 5in turning gap in the bottom of the lining and backstitching at the beginning and end to secure your stitches.
Step ten: Clip your corners and turn the purse right side out. Press under the raw edges of the turning gap and stitch closed. Push the lining into your purse to finish!
