Free Easter quilt pattern: sew your own patchwork chicks and eggs!
Raid your fabric offcuts for some springtime shades and paper piece your very own Easter quilt!
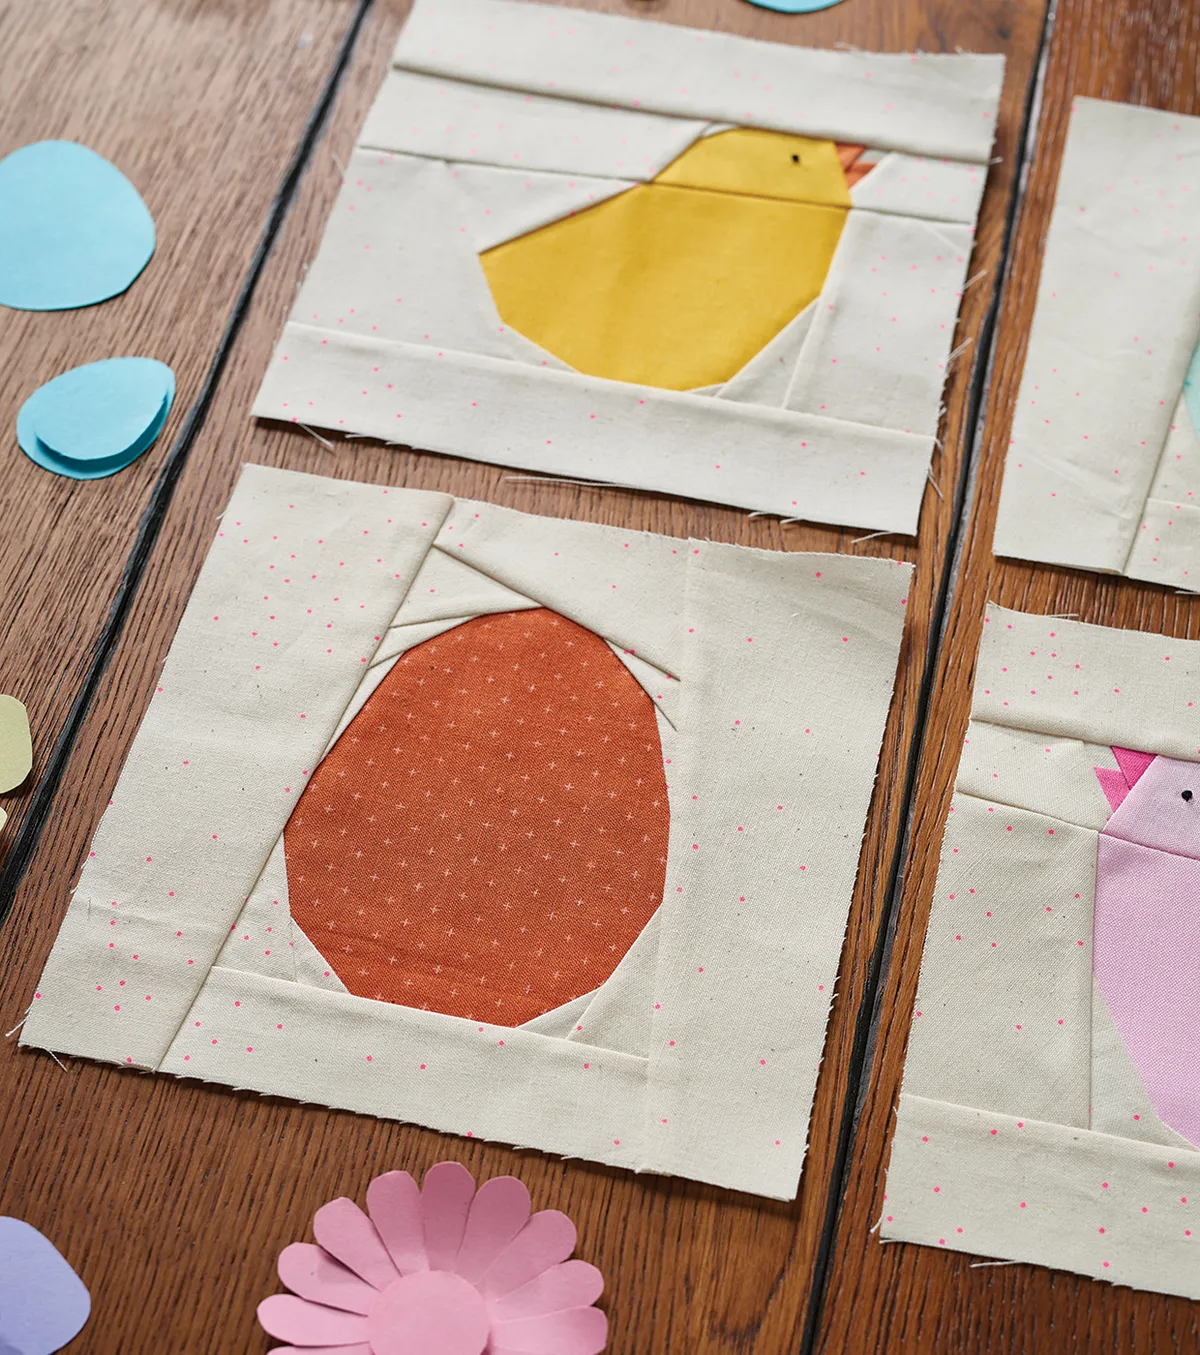
These adorable quilt block patterns by FPP master Susi Bellingham can be stitched into an Easter quilt your friends and family will be jealous of. Susi's East quilt pattern shows you how to make 12 quilt blocks – 6 patchwork chicks and 6 patchwork eggs.
They were originally intended to be sewn into Susi's row-by-row quilt but we're sharing them here as a taster as we think they make a lovely stand-alone Easter quilt project. Simply combine them with coordinating plain blocks to make a mini quilt or patchwork cushion.
Keep scrolling to find the free Easter quilt pattern instructions and a downloadable PDF.

Making your Easter quilt pattern: materials, tips and more
You will need
- Background fabric: ½yd – we've used Sprinkle in Jelly Bracelet from the Basics collection by Cotton+Steel
- Chick fabrics: six (6) 6½in squares
- Beak fabrics: six (6) 2in squares
- Egg fabrics: six (6) 5in squares – Basics collection by Cotton+Steel.
- Black embroidery thread
- Right Chick Template (below – A and B) three (3) copies each
- Left Chick Template (below – A and B) three (3) copies each
- Egg Template: below – six (6) copies
Fabrics used
- Fabrics supplied by Fat Quarter Shop
Finished size
Each finished quilt block will measure 6in square (finished)
A few tips before you begin...
- When adding fabric pieces, keep your seam allowance at ¼in and avoid trimming it too small.
- Choose a small stitch length on your machine to make it easier to remove the paper once you finish your block.
- Lay fabrics out in advance to see if they work together.
- Print out spare paper templates so you can write down fabric choices and use them as templates for cutting the fabric.
These patterns were first featured as part of Love Patchwork & Quilting magazine's The Farmer's Market Row-by-Row sew-along. See more of Susie's work in her Etsy store TinyToffeeDesigns.
Notes
- Seam allowances are ¼in throughout, unless otherwise noted.
- Press seams to the side, unless otherwise instructed.
- Shorten your stitch length to 1.5 for Foundation Paper Piecing.
- FPP = Foundation Paper Piecing.
- Templates include seam allowance around the outer edges only.
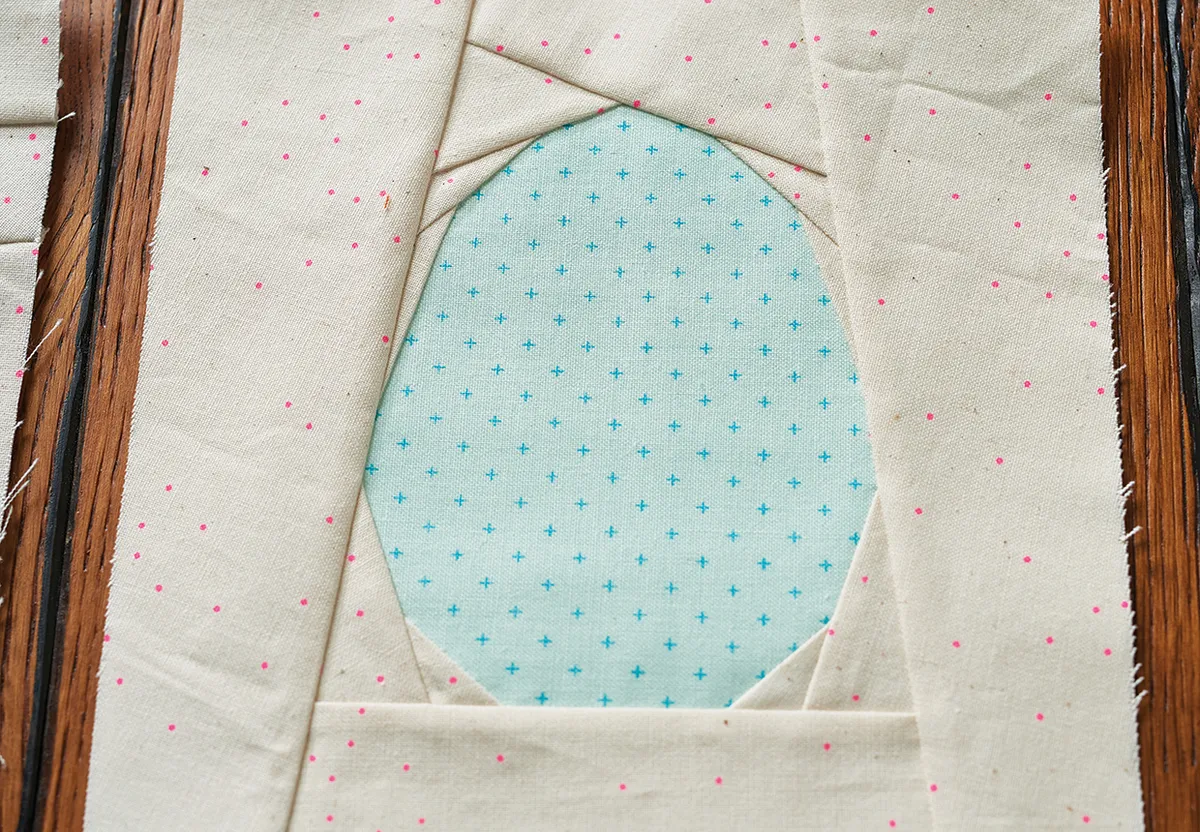
Download our free Easter quilt patterns
Free Foundation Paper Piecing Easter Quilt Patterns (PDF)
How to make Easter quilt blocks
Step 1
Using the template above as a guide, cut the fabric pieces for each section of the FPP templates, making sure the pieces will be at least ¼in larger than the section they will cover, all the way around.
Always trim the seam allowance once you have added a new piece and always press as you go.
To make the chick quilt blocks
Step 2
Foundation Paper Piece one each of Left Chick Block Sections A and B, sewing the fabrics in place in numerical order (Sections 1A–8A and 1B to 8B). If you've never tried it before, read our Beginner's Guide to Foundation Paper Piecing before you begin.
Step 3
Arrange the two sections along the edge. Pin together carefully, matching the block edges and intersecting parts of the chick.
Step 4
Return your machine stitch length to normal, for piecing, and sew Sections A and B together, then press the seam open. Carefully trim around the outer dashed line of the paper templates.
Step 5
Remove the paper templates from the back of the block to complete one Left Chick Block. Repeat to make a total of three (3) Left Chick Blocks and three (3) Right Chick Blocks.
Step 6
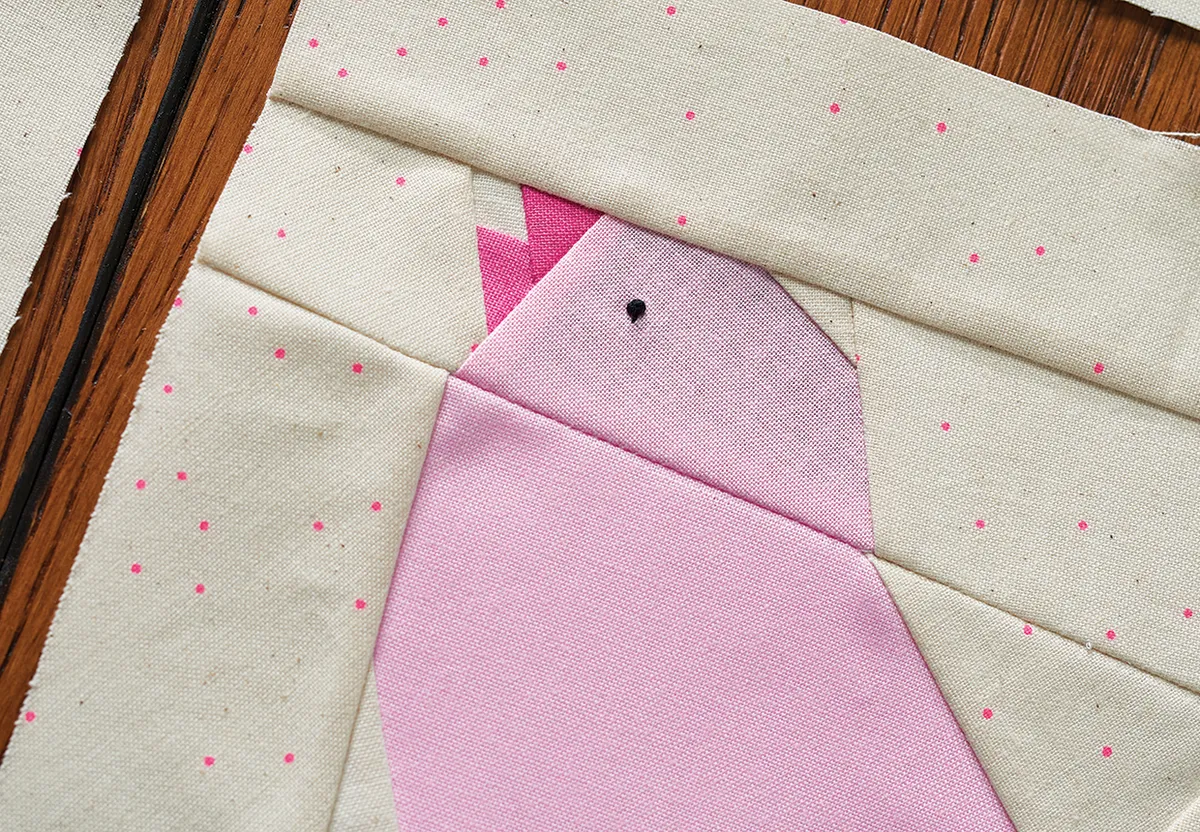
Embroider a single French knot, referring to the templates for placement, for each chick’s eye.

Discover more Easter sewing patterns
Explore these Easter sewing projects and make something cute today!
To make the egg quilt blocks
Step 7
Foundation Paper Piece the Egg Block, sewing the fabrics in place in numerical order (Sections 1–14).
Step 8
Neatly trim around the outer dashed line of the paper template. Remove the template paper from the back to complete one Egg Block. Repeat to make a total of six (6) Egg Blocks.
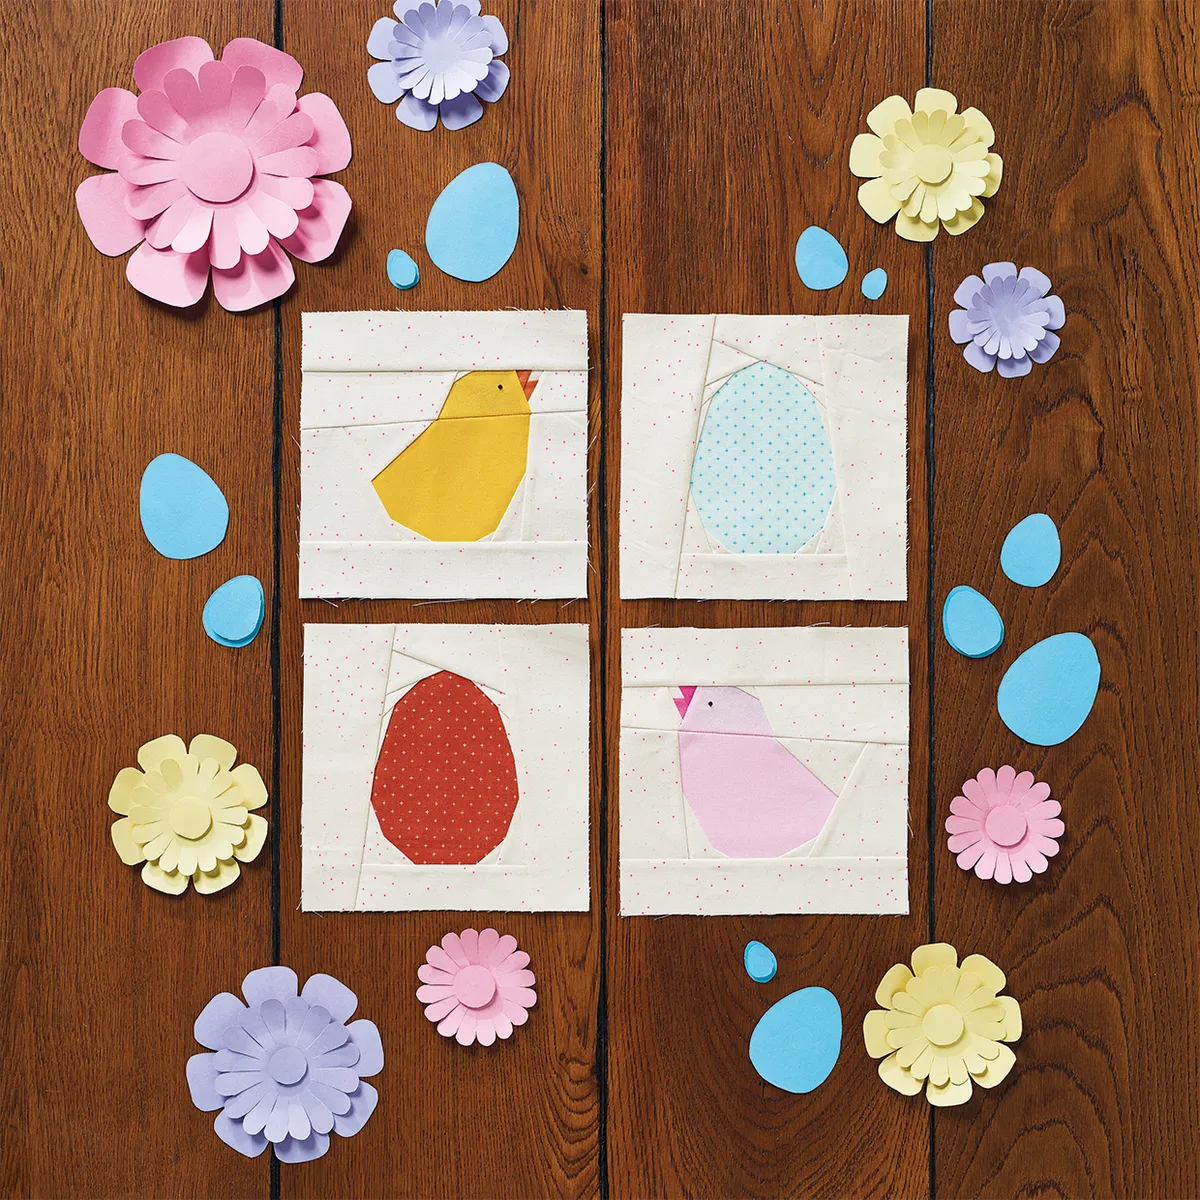
Turn your Easter quilt blocks into spectacular spring decor!
We love Susi's free Easter quilt pattern because of how versatile it is. Frame the individual blocks and use them as spring wall decor or turn four blocks into a beautiful Easter cushion.
Go the full mile by combining her blocks with plain pastel blocks and create a showstopping quilt you can cosy up under. The possibilities are endless!
Discover more Easter quilt projects with Gathered
If you're on the hunt for fun Easter quilt projects, head over to our how to quilt bunny baskets tutorial. These cuties are perfect for storing eggs in!

