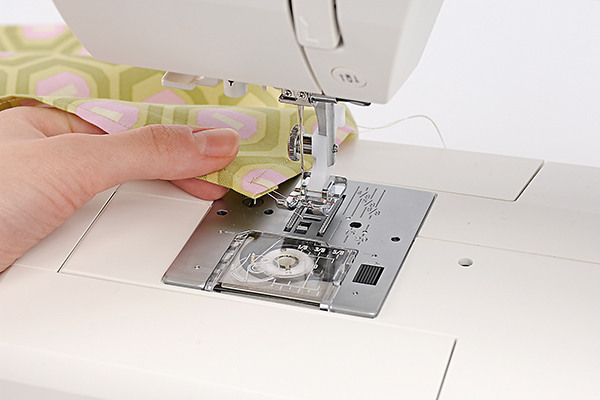
How to set up a sewing machine
Step 1
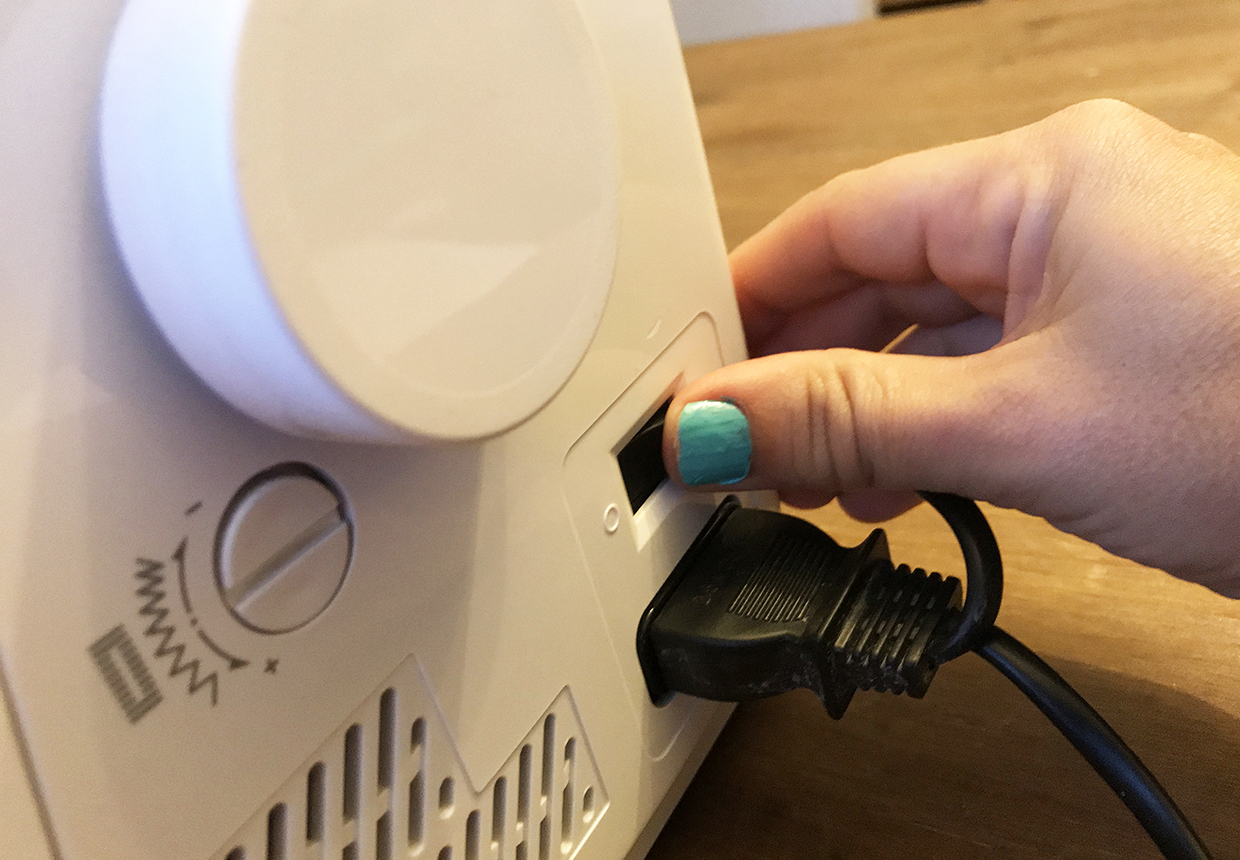
Plug your sewing machine in to the mains power and switch it on. Most machines have a little light built in above the needle – this will come on when you switch the power on.
For best results, find a sturdy surface with a bit of space to set up your machine – when many manual machines sew at speed they vibrate so the heavier the table or surface you sew on, the better.
Insert the needle
Step 1
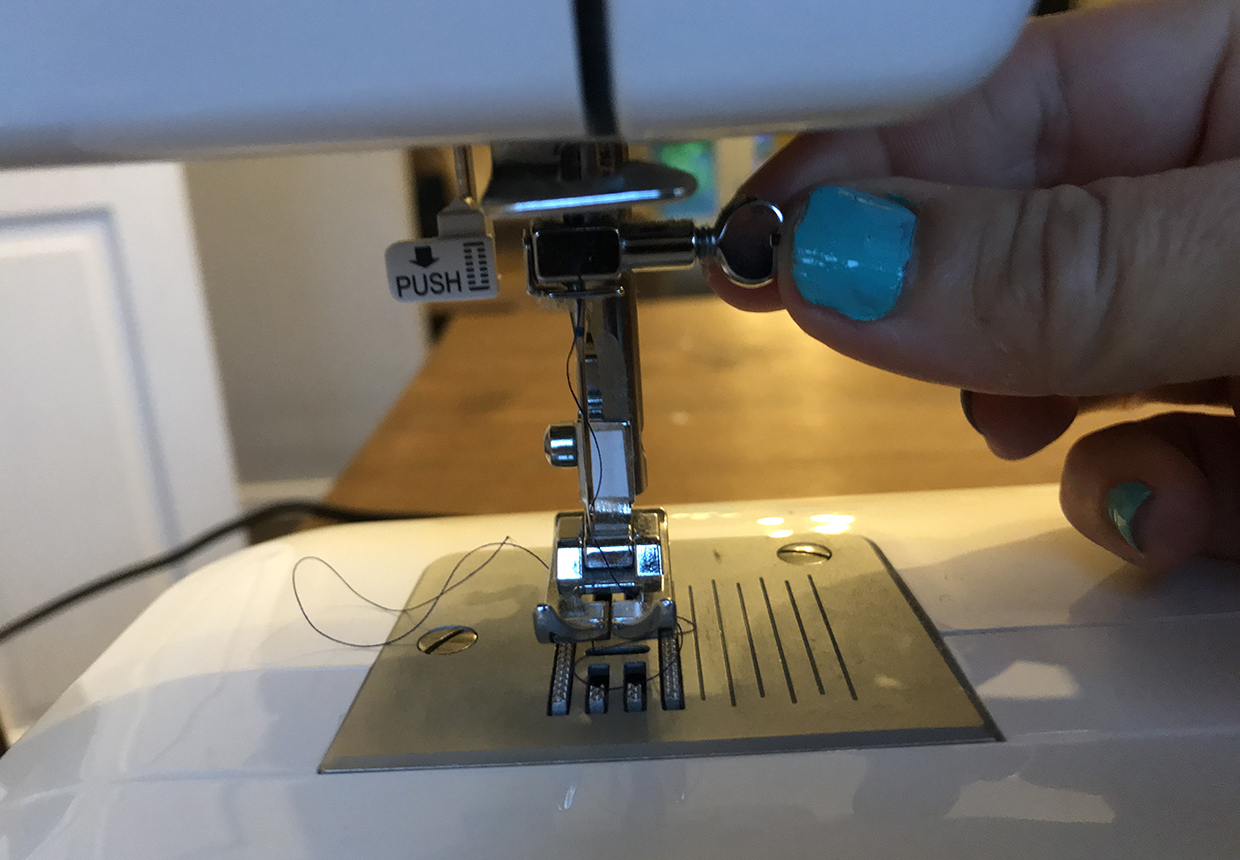
Most sewing machines come with the needle already in place. If it’s snapped or you need to insert the needle, check your machine manual. As a guide though, you should start by turning the hand dial to bring the needle lever up to its top-most position.
Your machine will have a hole where the needle lives – below the main arm of the machine. This is where you should insert your needle. Look at our how to thread a sewing machine guide if you’re struggling with this step.
Sewing machine needles have a flat side of the shank – usually this should sit face the back of your machine but check your manual if in doubt. Insert your needle with the flat side facing in the right direction, then twist the needle pin to secure it in place.
Now if you bring the hand dial towards you, you should see the needle be brought down and back up – if this happens without it falling out then you have secured it correctly.
WInd and insert the bobbin
Step 1
The next thing you’ll need to do is thread the bobbin. Remove the empty bobbin from the bobbin case (either below the machine or on top of the foot of the machine), ready to wind with thread.
To fill the bobbin with thread, put it on to the bobbin spool at the top of the sewing machine and read our full guide to how to thread a bobbin.
Step 2
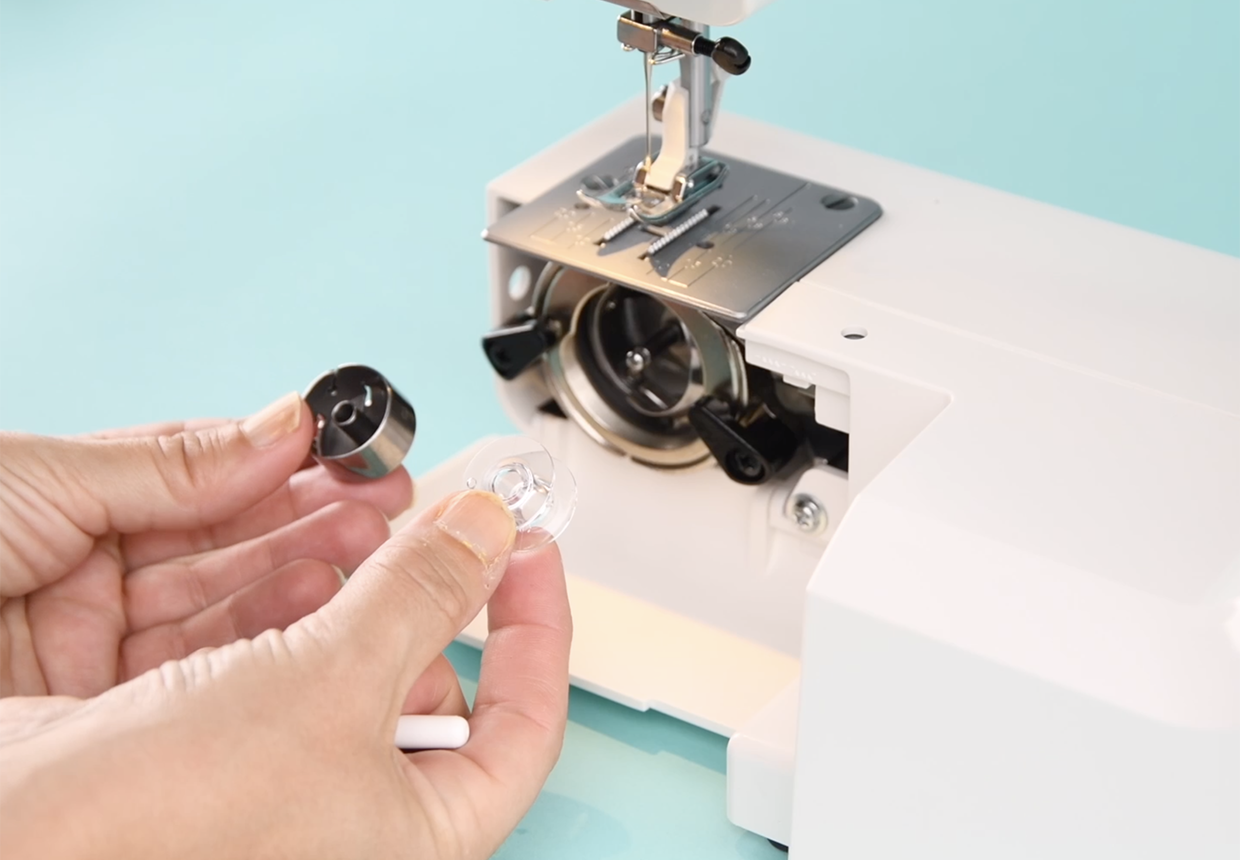
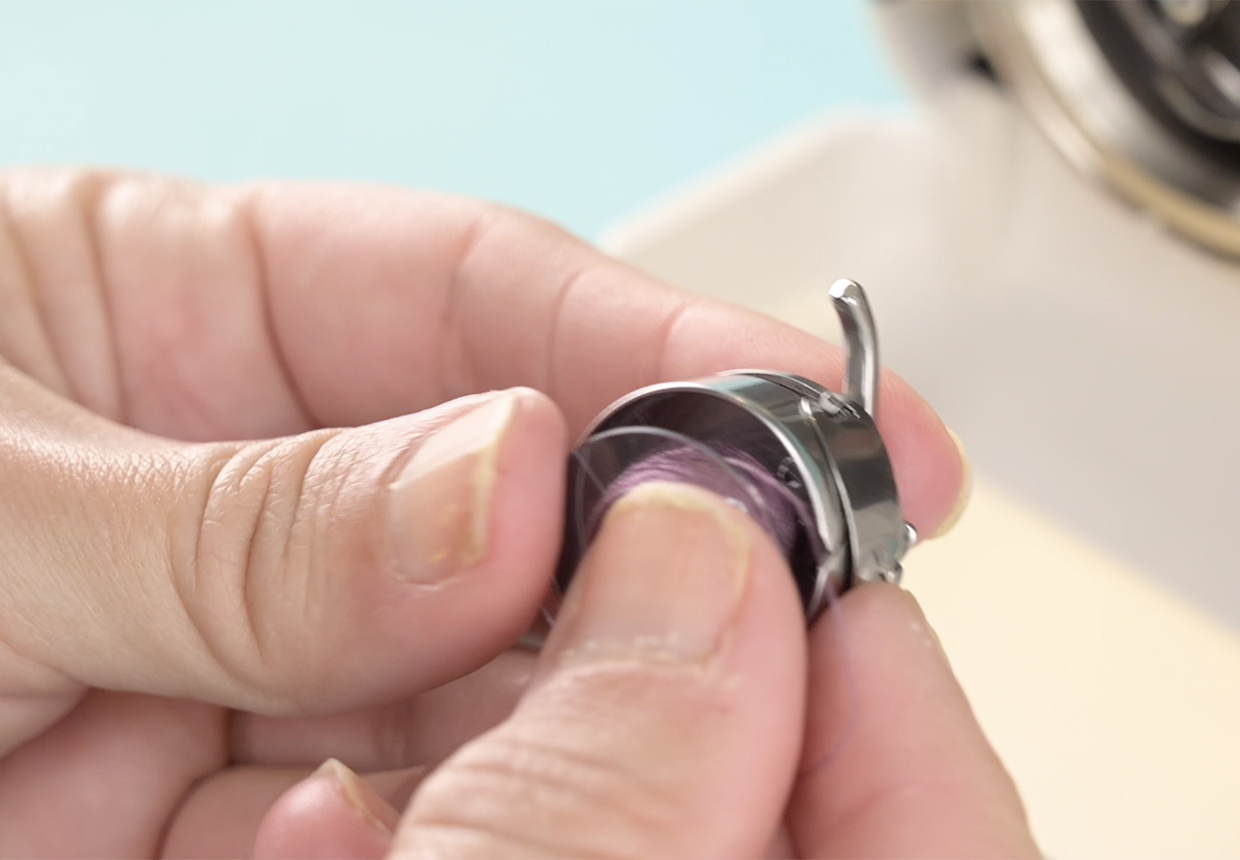
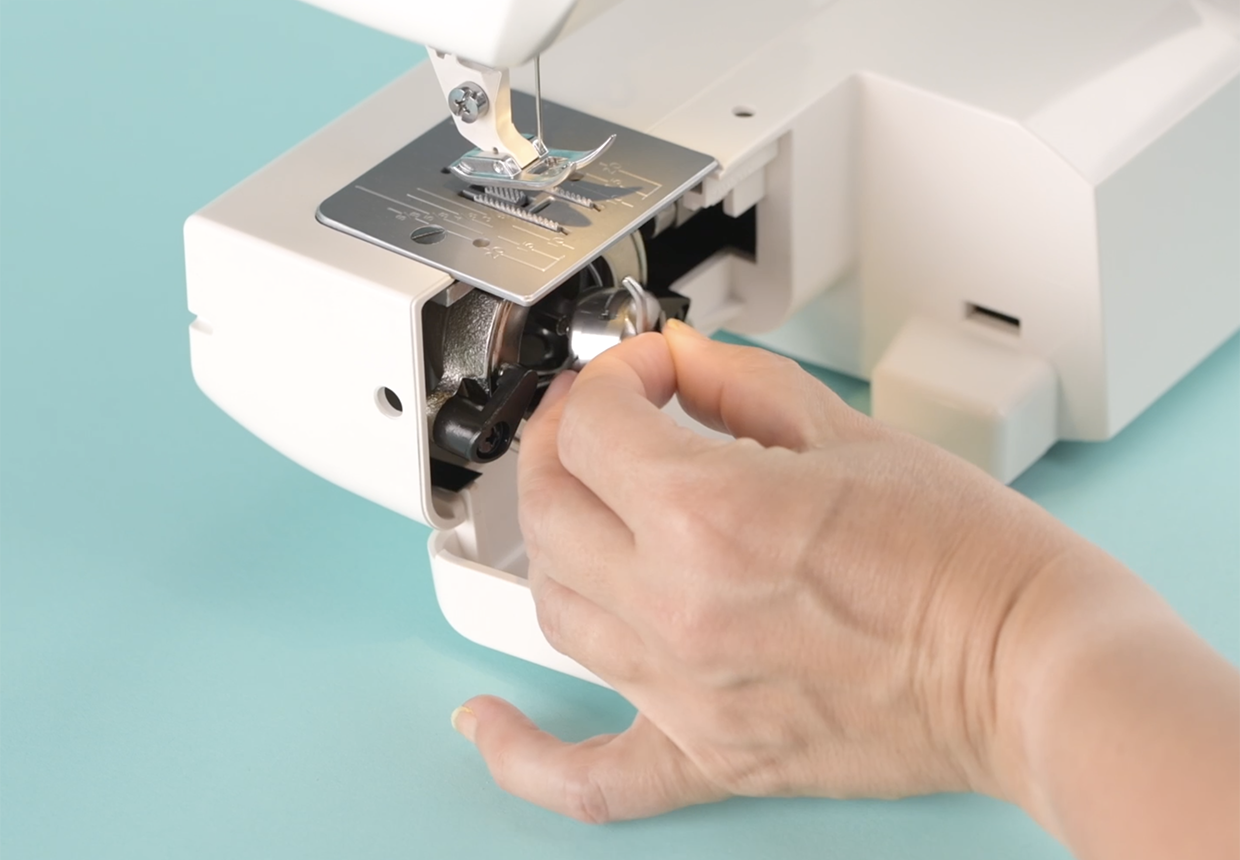
Once you have wound your bobbin with thread, insert it back into the bobbin case, and pull the thread up and into the metal notch at the top of the bobbin case (the bobbin should move clockwise when you pull the thread). Insert the bobbin case back into the machine by slotting the bobbin case lever into the notch below your machine.
How to thread a sewing machine
Step 1
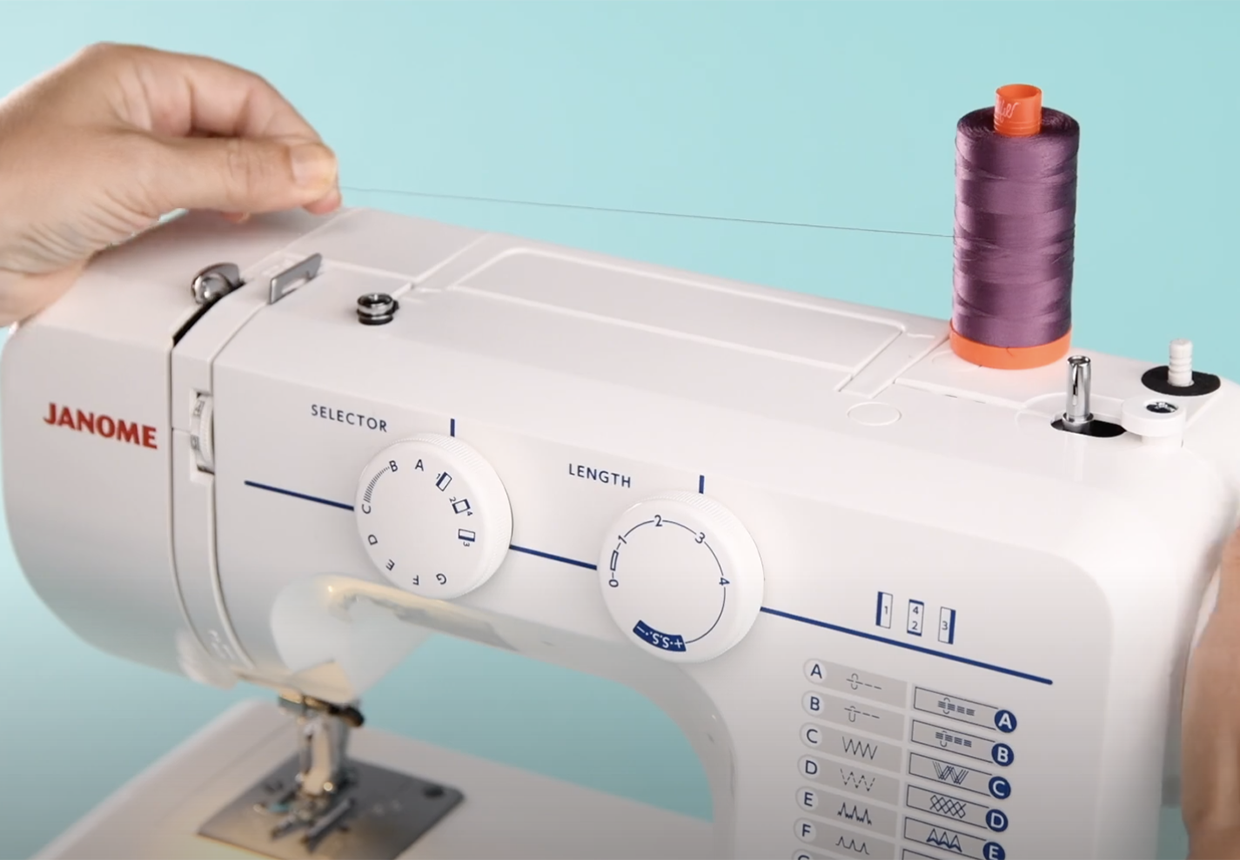
Now it’s time to add your top thread. Put a spool of thread on to the spool pin. Pull the thread across and around the thread guide.
Step 2
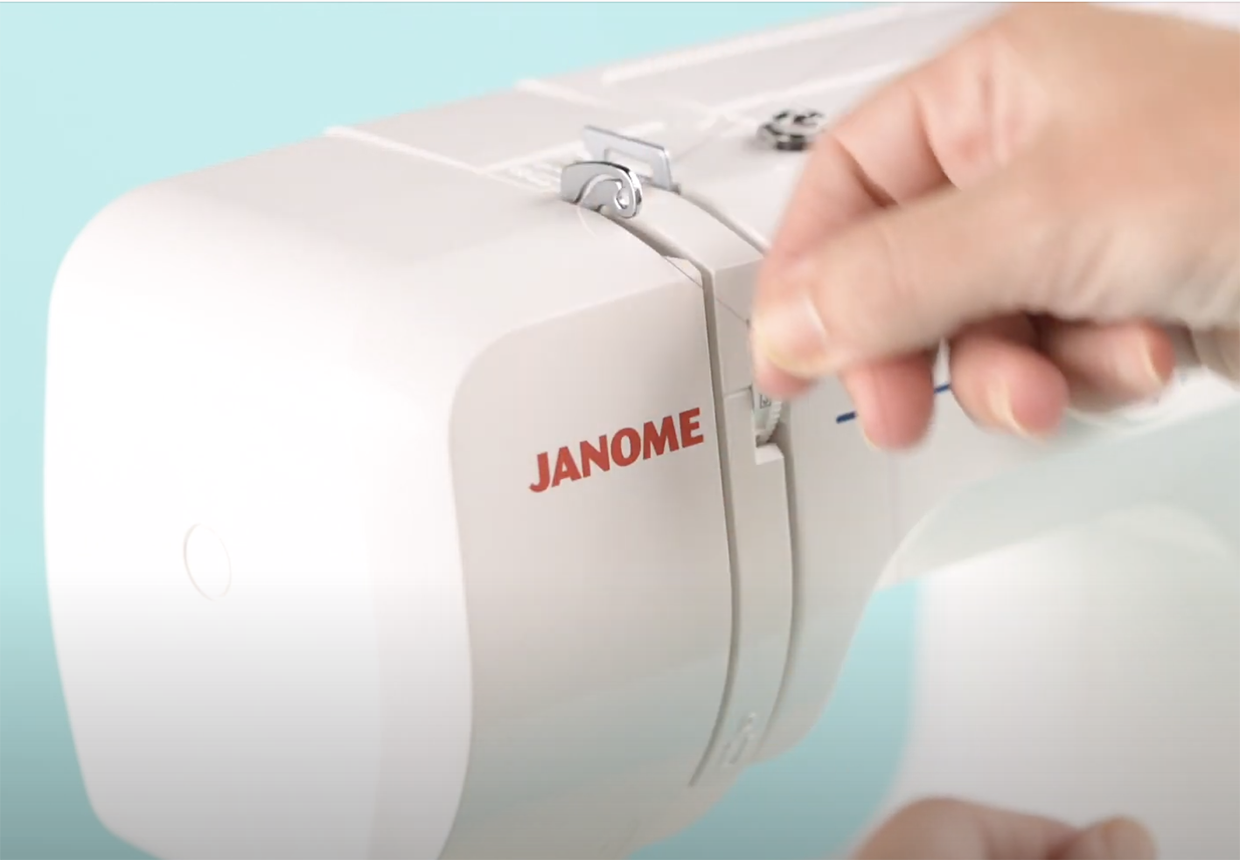
Bring your thread around your machine’s thread guide, and over the take up lever – this usually has a hook element to the design – loop the thread around the take up lever, then back down into the channel below
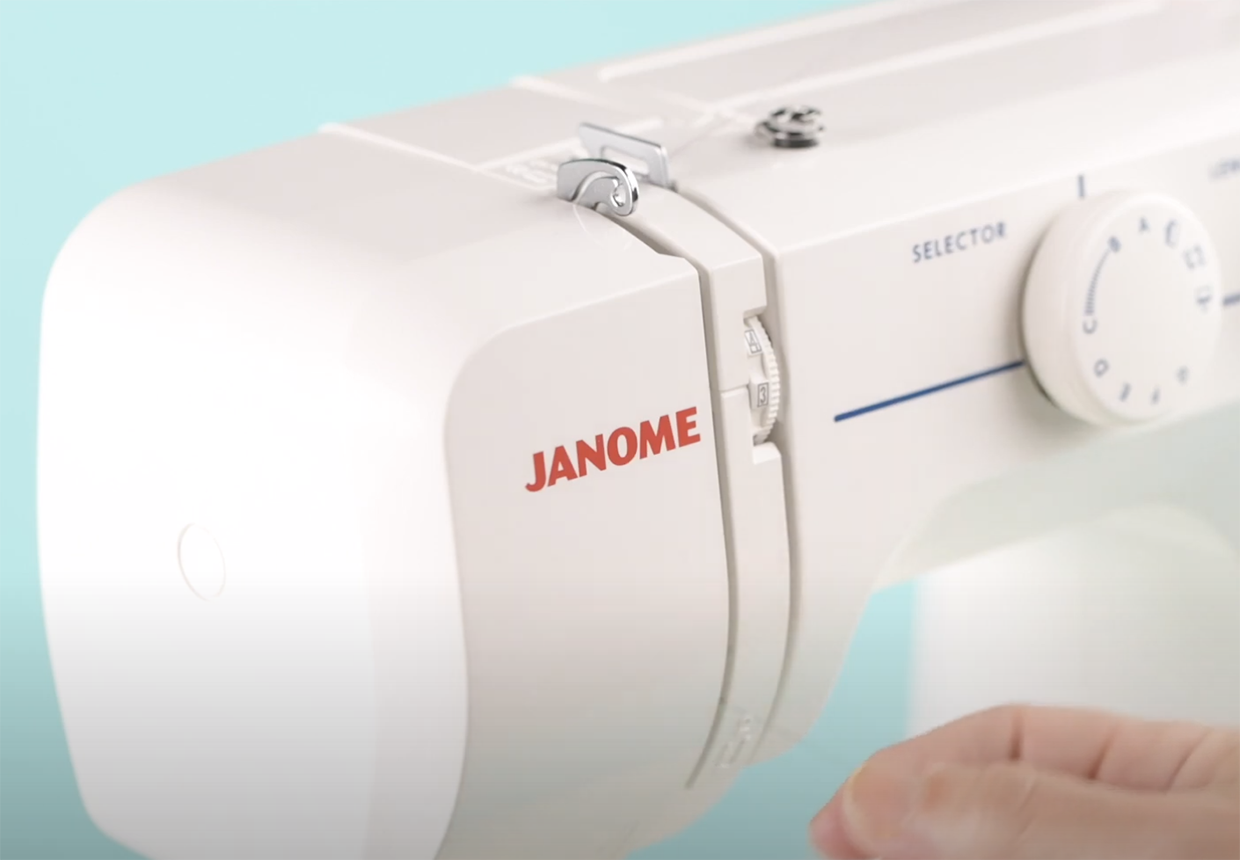
Step 3
Bring your thread down to the needle and loop it into the needle guide next to the needle.
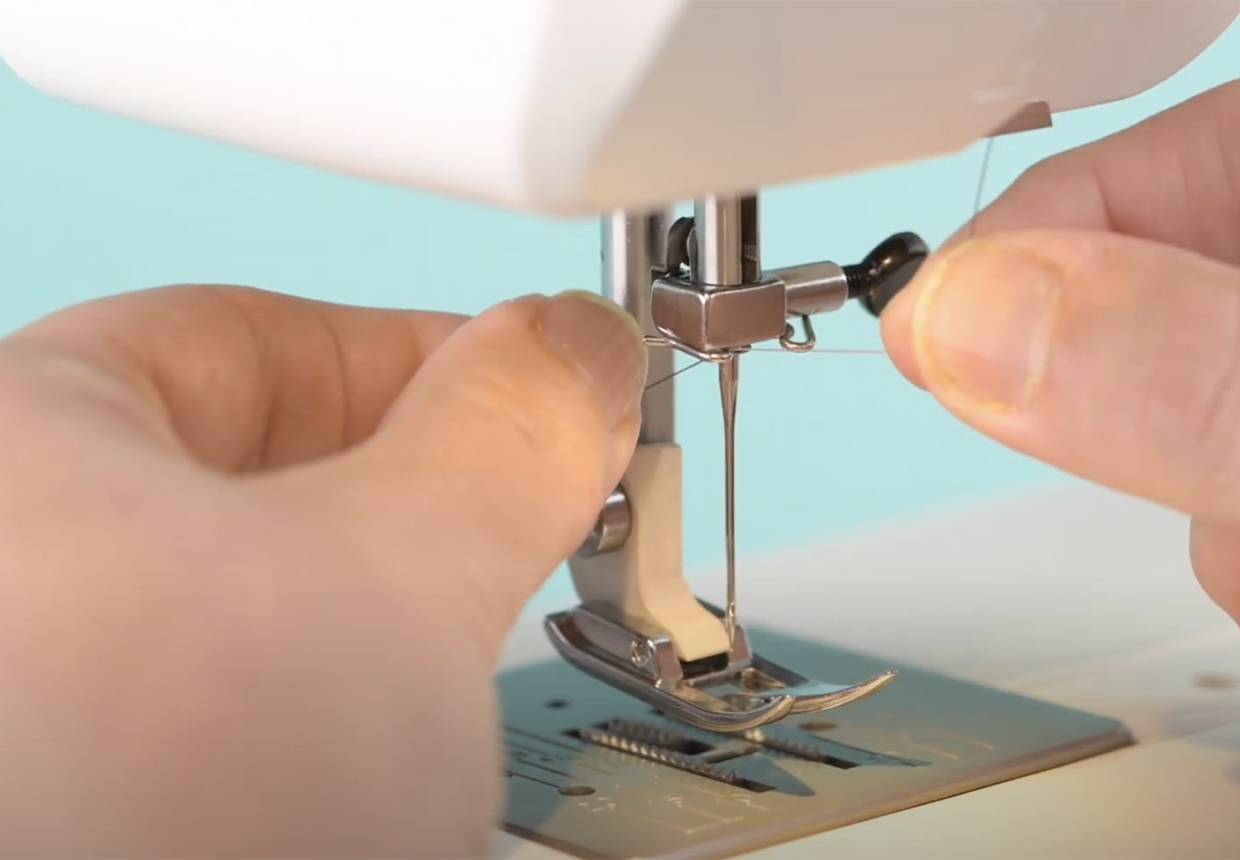
Step 4
Before you thread the needle it needs to be in it's upmost position. If you need to, turn the hand wheel towards you to bring the needle up manually into this position. Now insert the thread into the needle, from front to back.
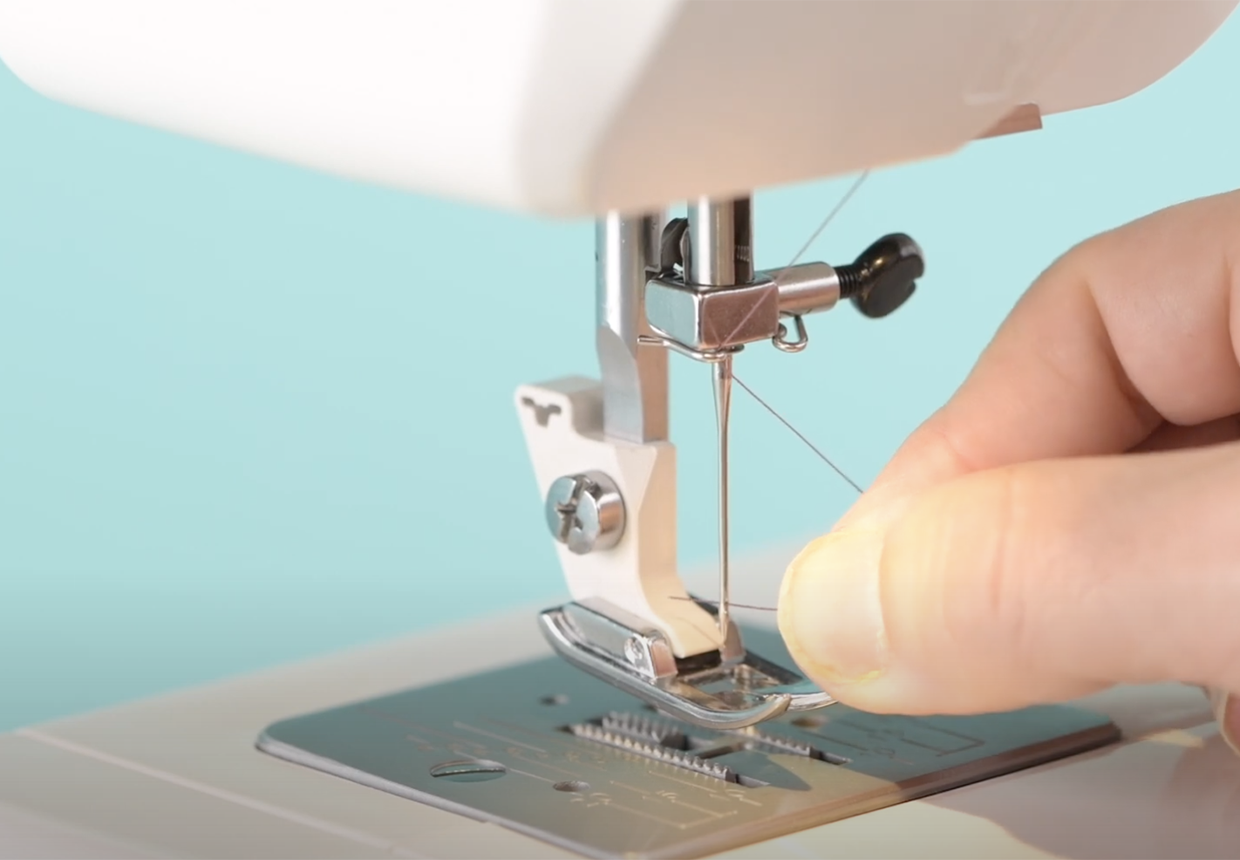
Step 5
Now you have threaded your needle, bring the thread down in between the two forks of the presser foot, under the foot, then back towards the back of your machine with your hand.
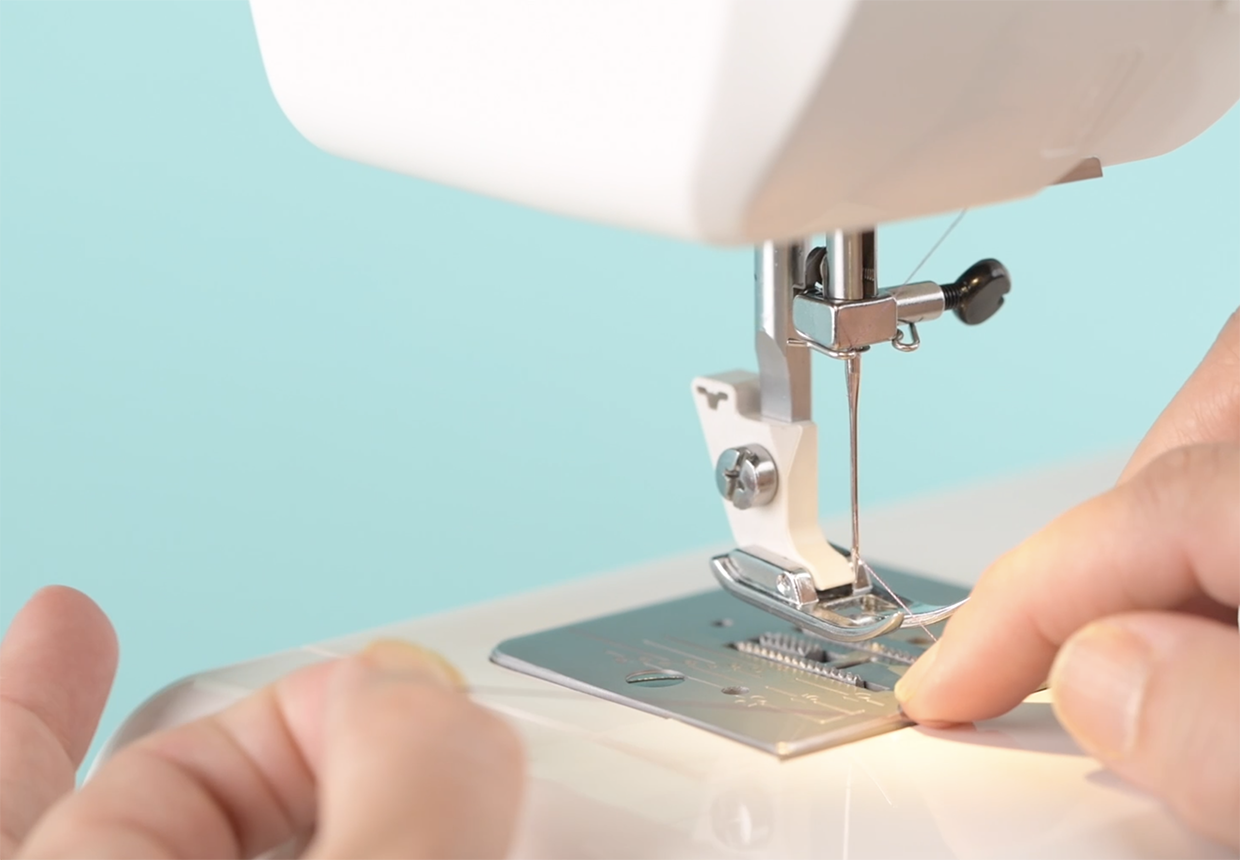
How to bring up the bobbin thread
Step 1
Now your top thread is threaded, and your bobbin is in place below the machine, it's time to connect the two threads, ready to sew. Slowly turn the hand wheel to bring the needle down and back up again – one full rotation.
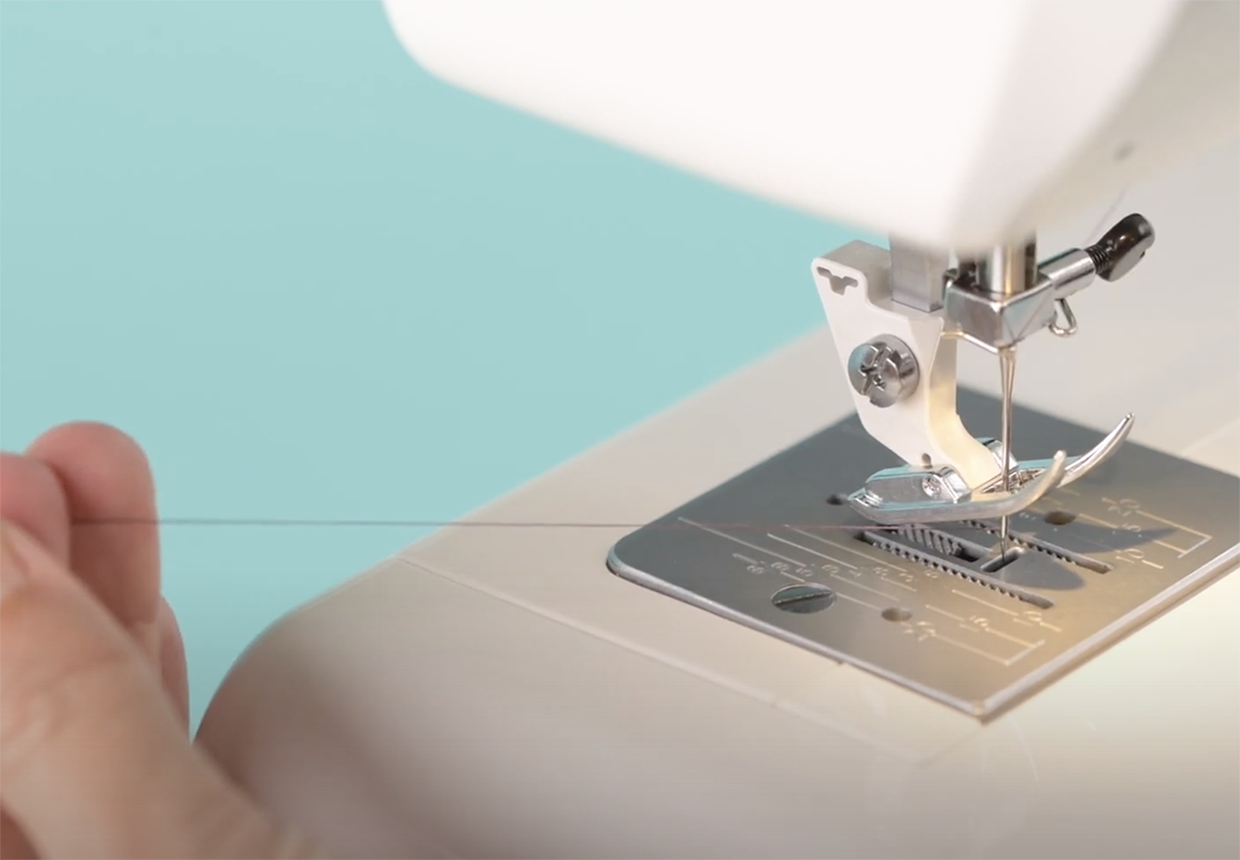
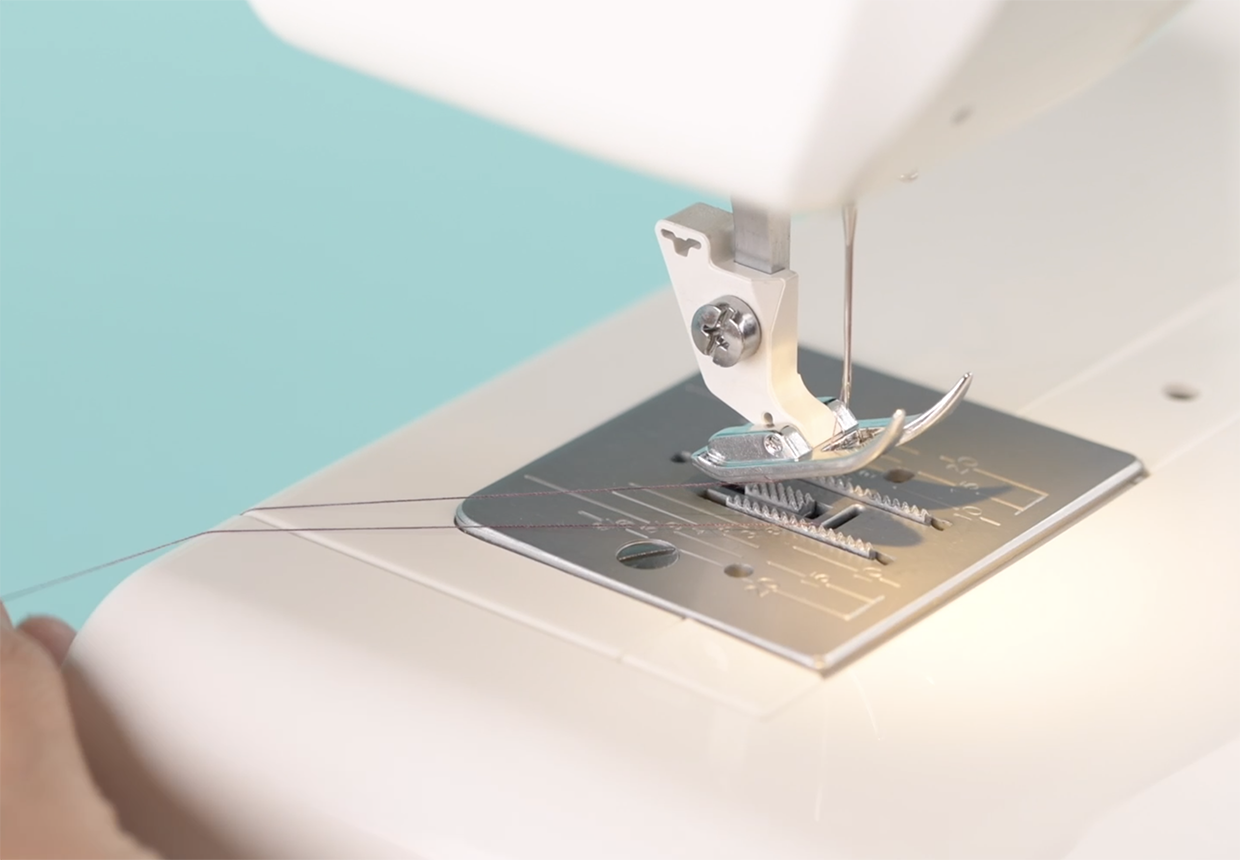
When the needle goes down into the machine, it will hook the bobbin thread and bring a loop back up above the plate of the machine. When you see the loop gently pull it out to release the loose end of the bobbin thread. Pull it out to reveal and back towards the back of the machine to release the full thread. You should now have two threads – the top and the bottom. When you start to sew in the next step, hold them both for a second with your left hand to stop them being pulled into the machine as the needle moves.
How to sew with your sewing machine
Step 1
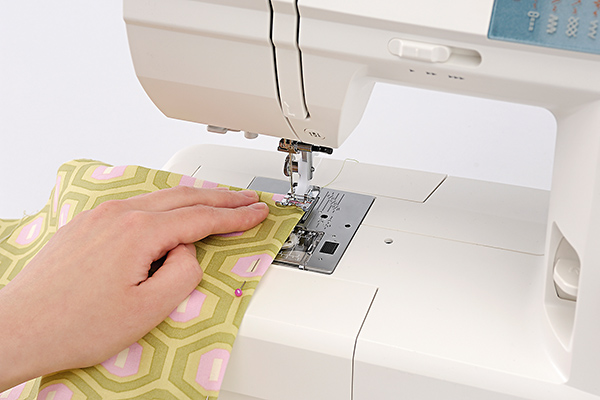
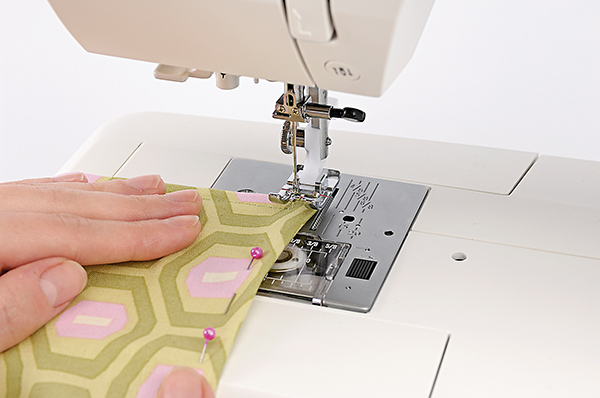
Bring the needle up using the hand wheel, and raise the presser foot using the presser foot lever. Now slide the fabric under it where you want to start sewing. Your machine probably has an indicator guide on the plate, which gives measuring guides for seam allowances. Line this guide up with your fabric edge. You'll find it useful to move the fabric along this marker as you sew to keep an even distance from the fabric edge.
Lower the presser foot to secure the fabric in place and move the hand wheel towards you to bring the needle down, through the fabric. Now you're ready to sew!
Step 2
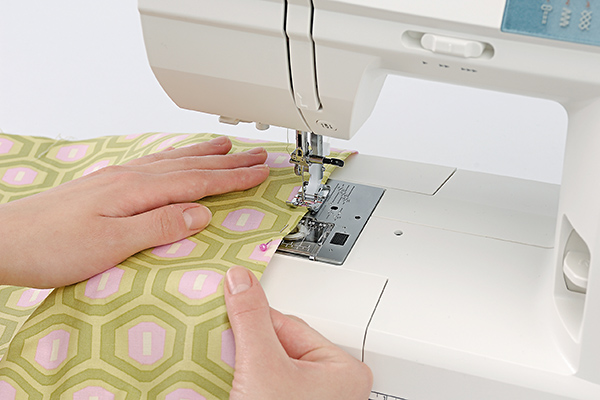
Press the foot pedal to begin sewing. As you control the speed of your sewing with the foot pedal, feed the fabric under the presser foot. If you find that you need to support the fabric with a little more tension, hold it in front of and behind the foot and ease it through.
Step 3
It’s easy to turn a corner without finishing your thread. Make sure the needle is down in the fabric at the point where you need to turn, then raise the foot and spin the fabric to the new direction. Lower the foot and carry on sewing.
Step 4
Once your stitching line is done, finish securely by making a few stitches back and forth over your line. To do this, press the reverse stitch lever to stitch backwards, then release it to stitch forwards again.
With the needle in the up position, raise the presser foot and pull out your fabric. The threads will still be attached, so snip these off.
