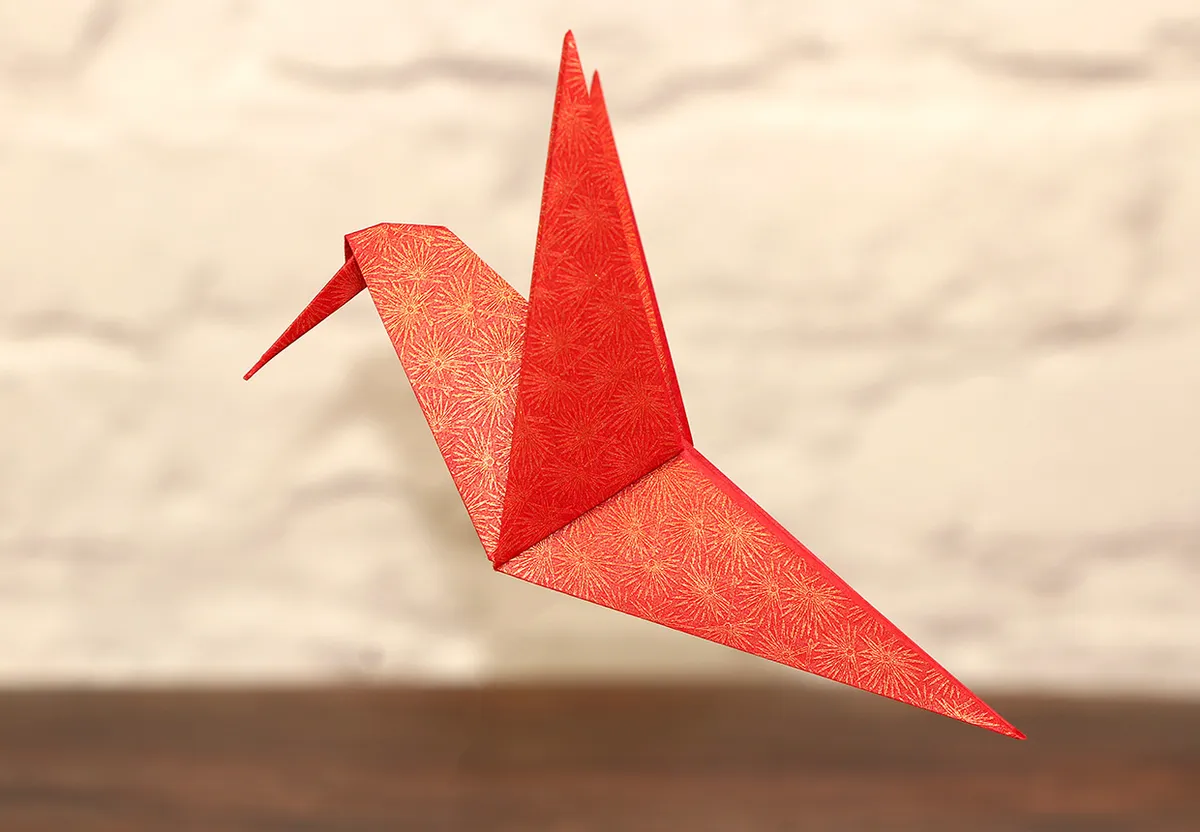
How to make an origami hummingbird
All products were chosen independently by our editorial team. This review contains affiliate links and we may receive a commission for purchases made. Please read our affiliates FAQ page to find out more.

How to make an origami hummingbird

Create a stunning paper hummingbird with just a few simple folds; we have a full set of easy-to-follow origami instructions, so you can make your very own!

Try our magazines – get 6 issues from just £9.99!

Published: July 12, 2023 at 7:00 am

The origami hummingbird is a symbol of grace and agility, and it’s surprisingly easy to fold. This delicate design is made from one piece of square paper, and the results are beautiful.

Grab a sheet of square paper, find a flat surface to fold on – be it a book, table or cutting mat – and let your creativity soar as we delve into the captivating art of bird origami.

In this tutorial, we invite you to make your own easy origami hummingbird with our step-by-step instructions.

This project is designed with beginners in mind; there are no difficult folds and there are photos to guide you through each and every step of the way. Discover the joy of mindfulness, concentration, and the satisfaction of watching your creation take flight.

You can use dedicated origami paper, or good old copy paper for this tutorial – the thinner the better.

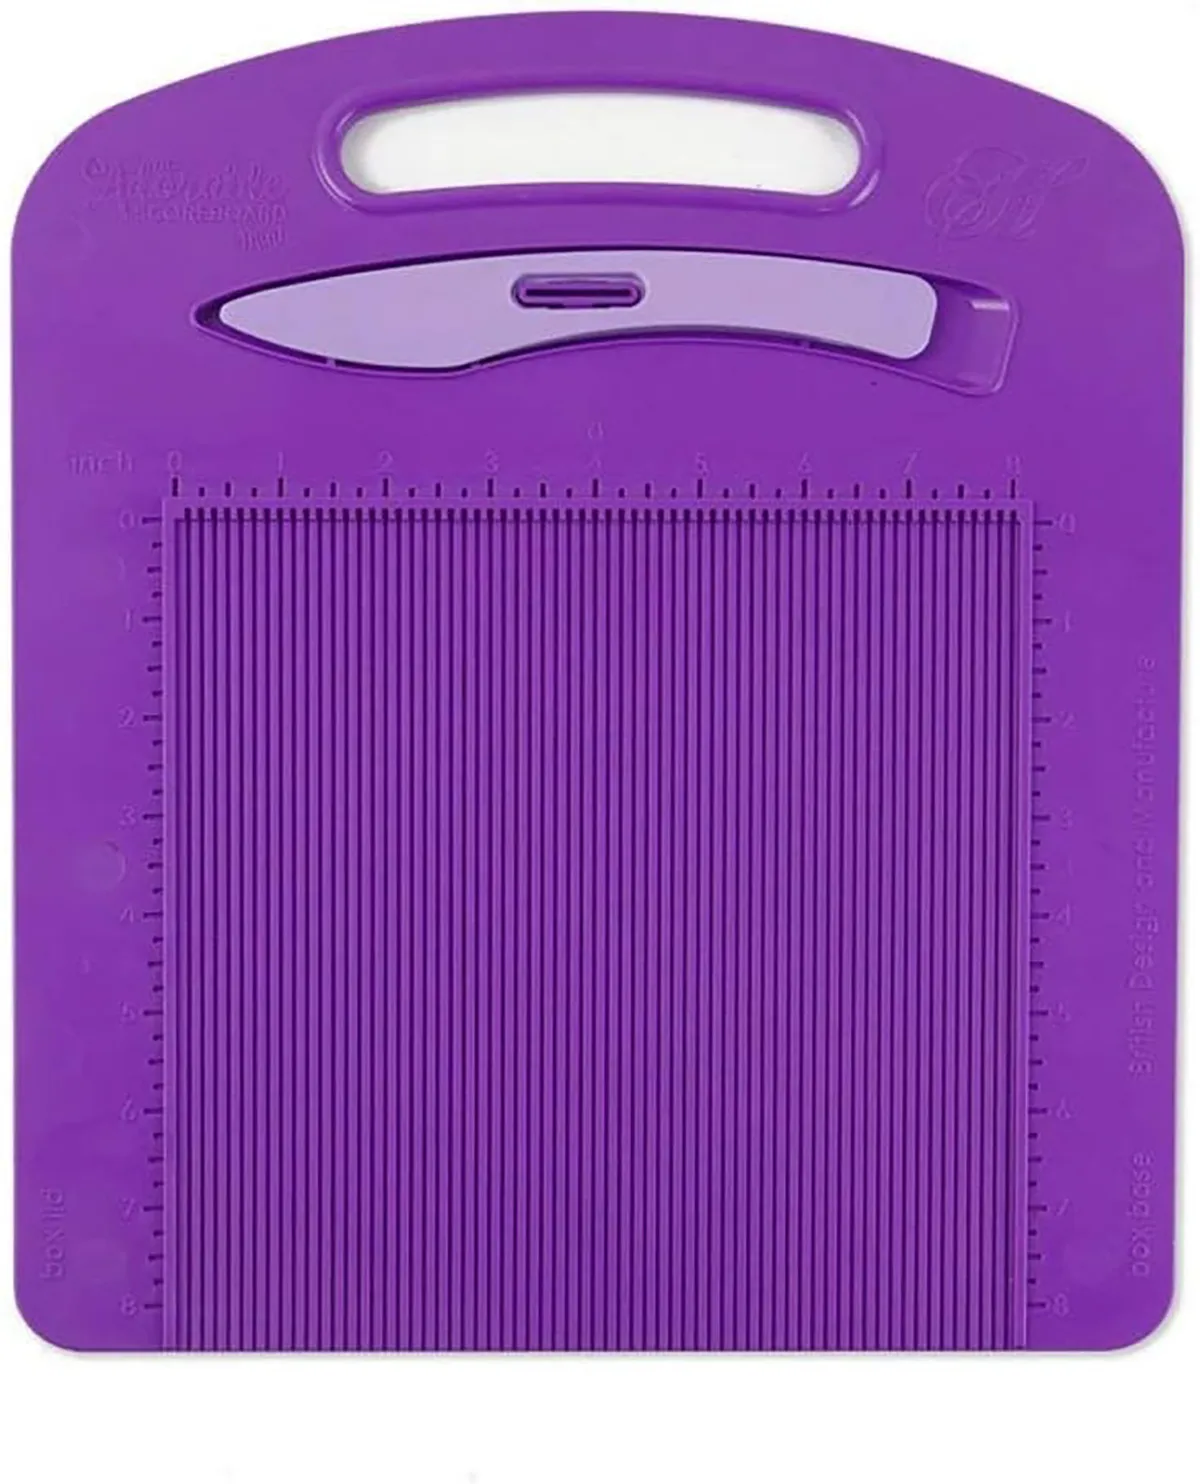
Get perfect lines with a paper creaser

Hunkydory Adorable Scoreboard mini

Hunkydory Adorable Scorable mini scoreboard with paper scorer

Forming the beak of this origami hummingbird requires making a crisp fold. You can use your fingers, but a paper creaser will make the job easier and allow you to create that long, skinny beak with ease.

Getting crisp folds early on also helps as the project progresses, and the paper becomes thicker with more layers nearer completion.

Paper creasers, also known as bone folders or paper scorers, come in a variety of materials, including actual animal bone, non-stick Teflon, and various plastics.

Look for one that has a slight ‘give’ when you press down with it, this will ensure it doesn’t chip or fracture over time. If you dabble in other papercrafts, this scoreboard and paper scorer combo is ideal; and the mini 8x8in size makes it ideal for crafting on the go.


How to make an easy origami hummingbird: A step-by-step tutorial with pictures

This simple origami hummingbird can be made from any square piece of paper. Try practising with some scrap or copy paper first before moving on to your favourite kami (‘kami’ being the Japanese word for origami paper).

Hummingbirds come in all hues, so don’t be afraid to experiment with different colours, patterns, and textures.

For the purpose of these origami hummingbird instructions, we have used paper that is patterned on one side and plain on the other. It makes the steps easier to see, but you can use any paper you like!
hummingbird-origami-main2

Origami hummingbird tutorial, step-by-step with pictures

You will need:

  • Origami paper
  • paper creaser

Step 1

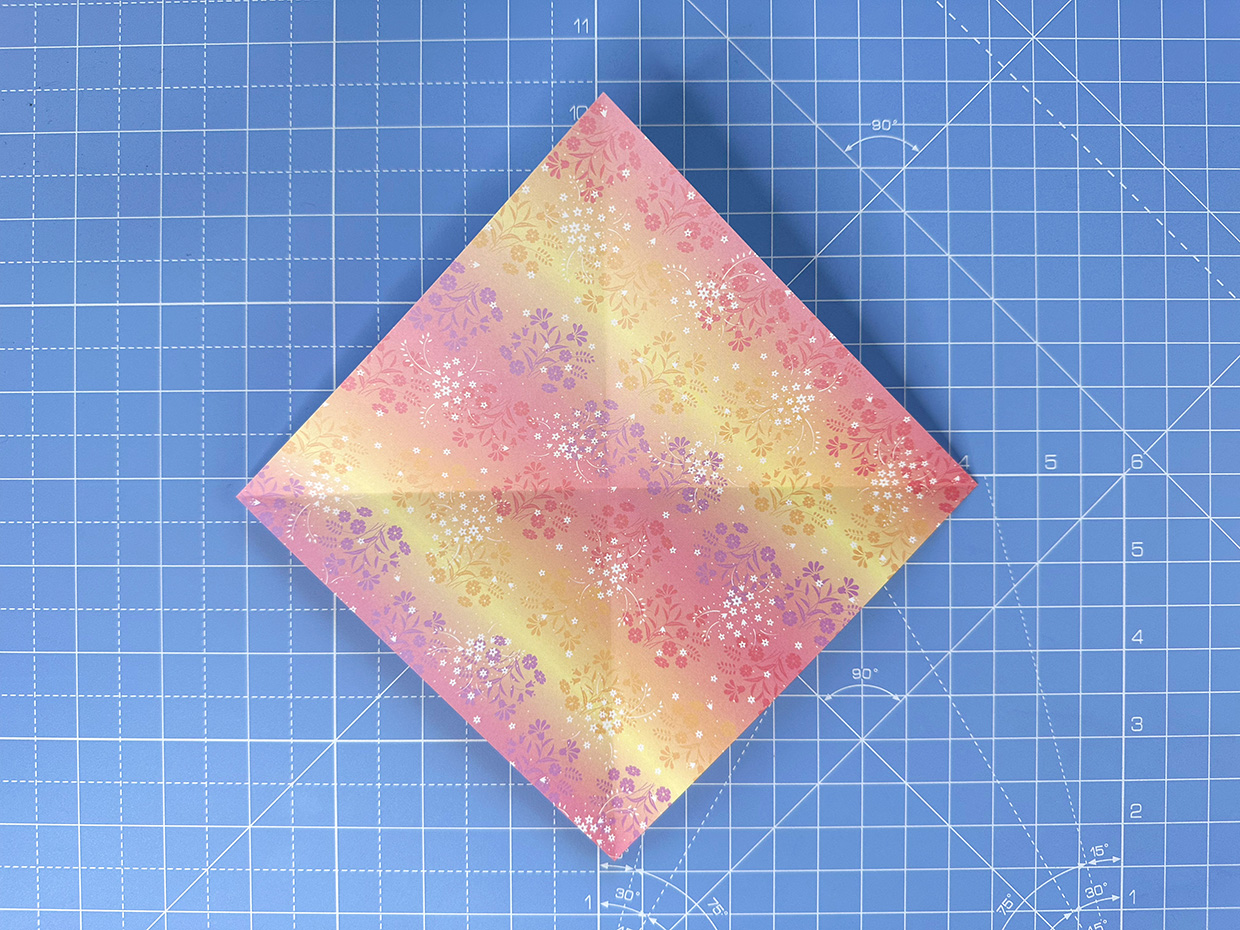
Start with a 15x15cm square of paper. With the coloured/patterned side facing upwards, fold and unfold along the diagonals.

How to make an origami hummingbird – step 1

Step 2

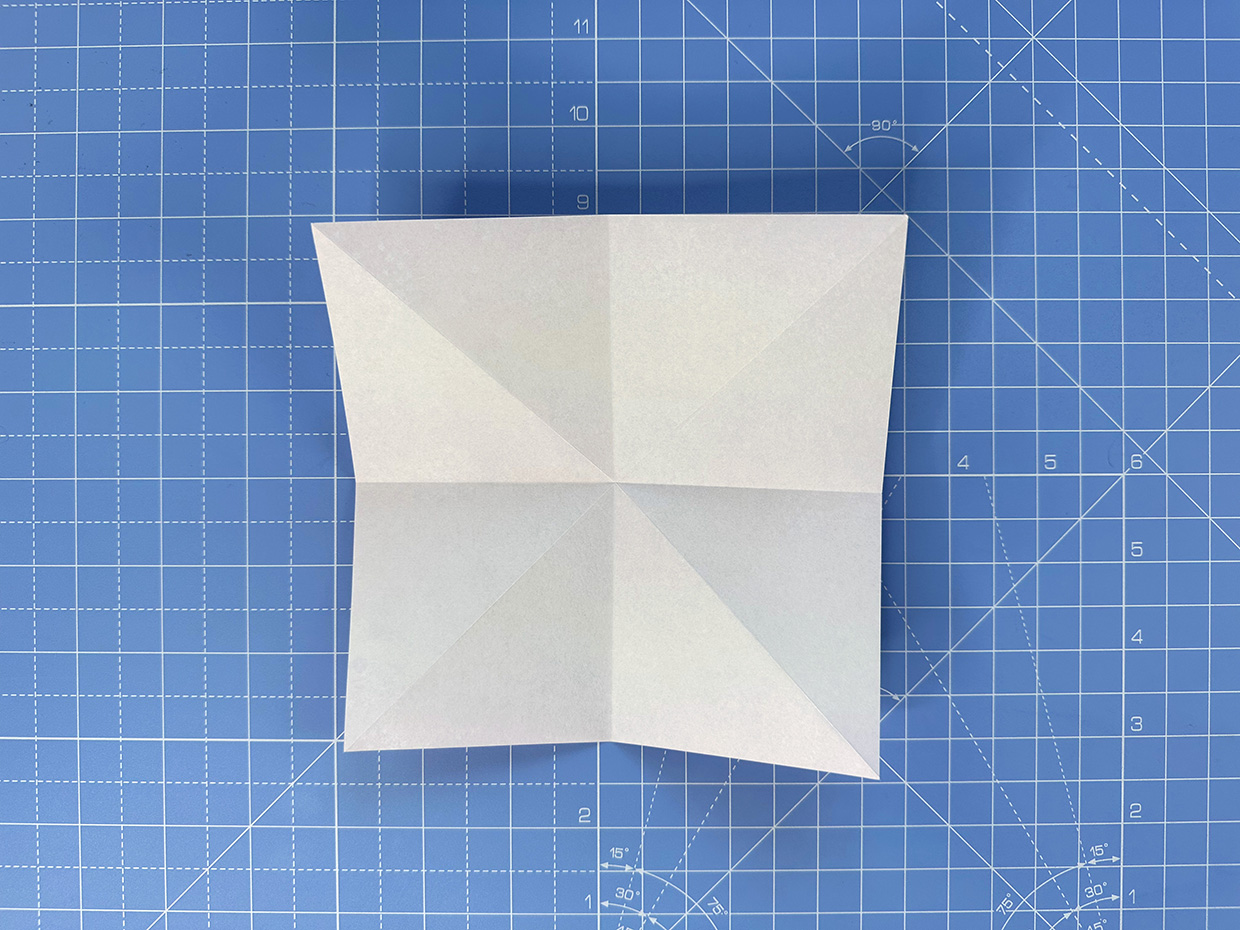
Turn the paper over, so the coloured side is facing down and the reverse is facing up. Book fold and unfold along the vertical and horizontals.

How to make an origami hummingbird – step 2

Step 3

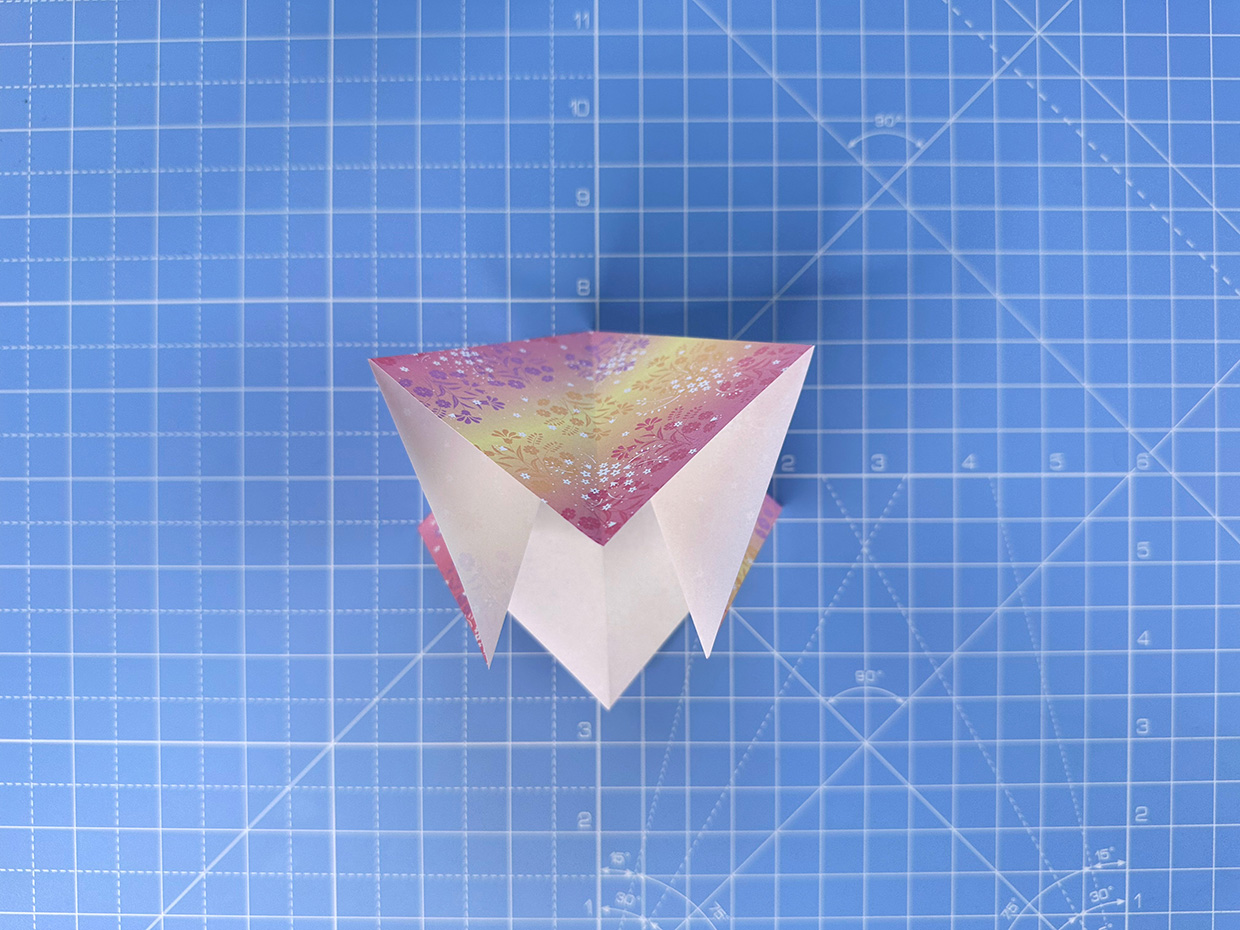
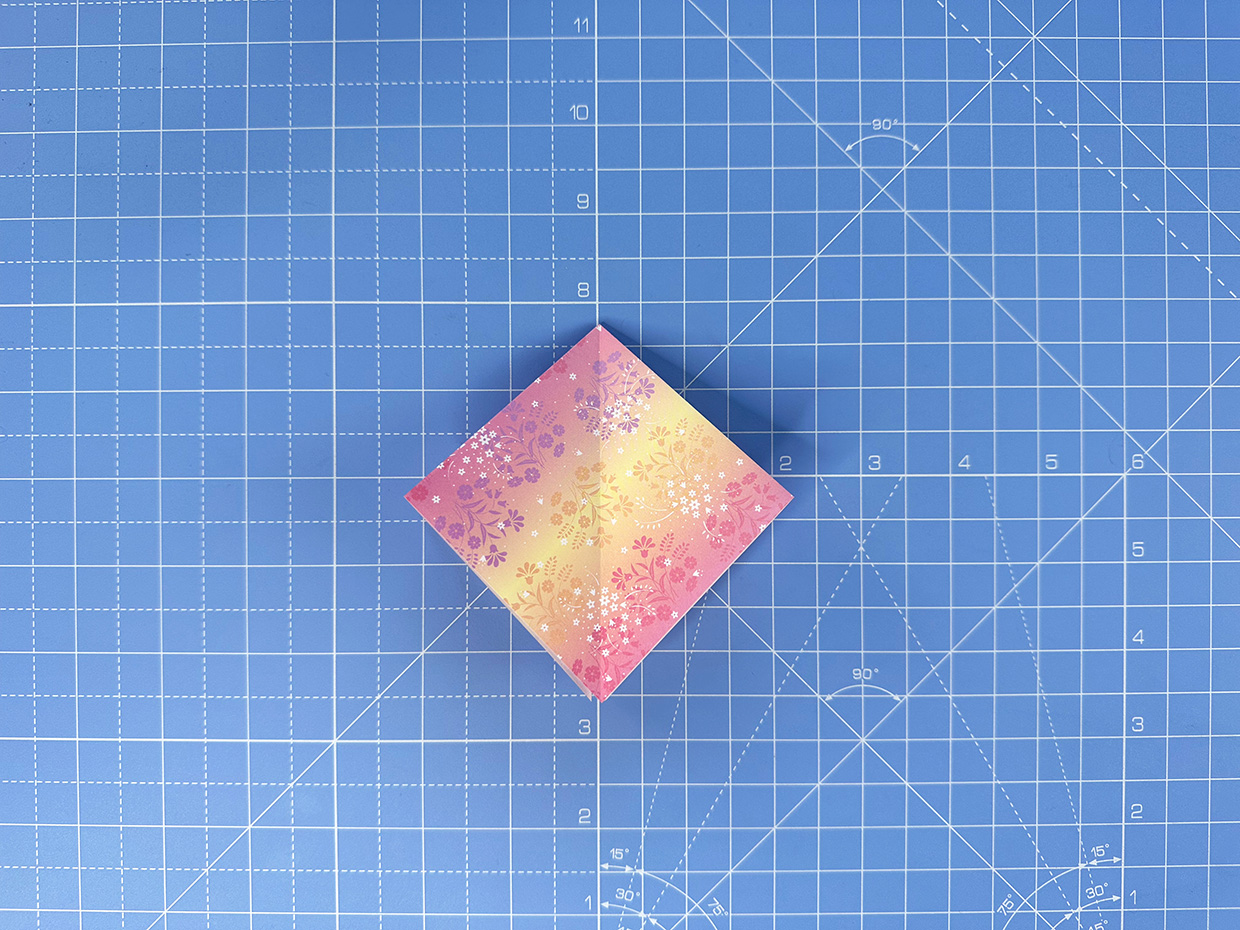
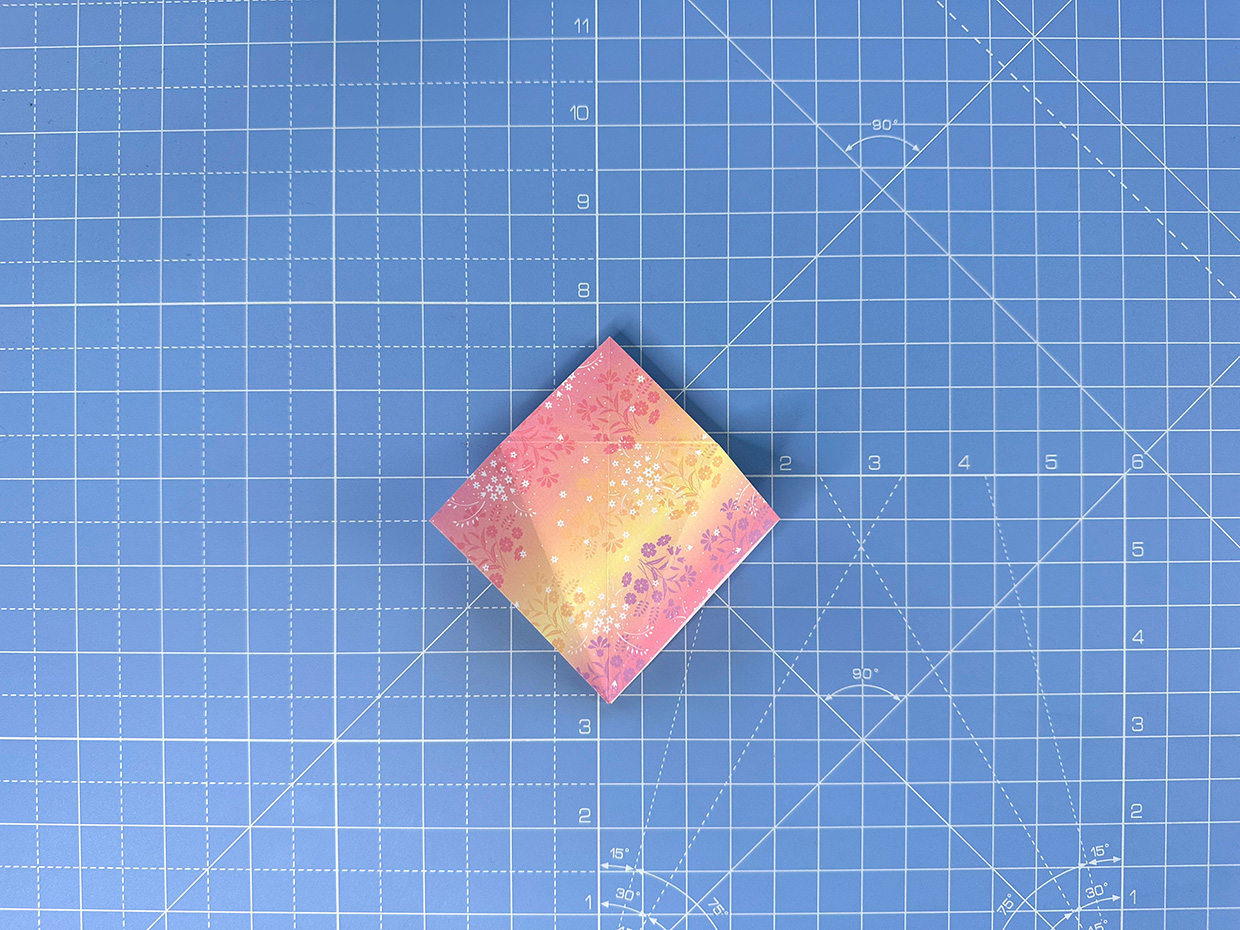
Rotate the paper so that the corners are at the top and bottom. Bring the corners together so they meet, pushing the sides inwards as you go. The diagonal creases will now sit inside a new, smaller square shape. You will find the paper wants to fold in a particular direction, thanks to the folds we made in steps 1 and 2.

How to make an origami hummingbird – step 3a
Step 3a

How to make an origami hummingbird – step 3b
Step 3b

Step 4

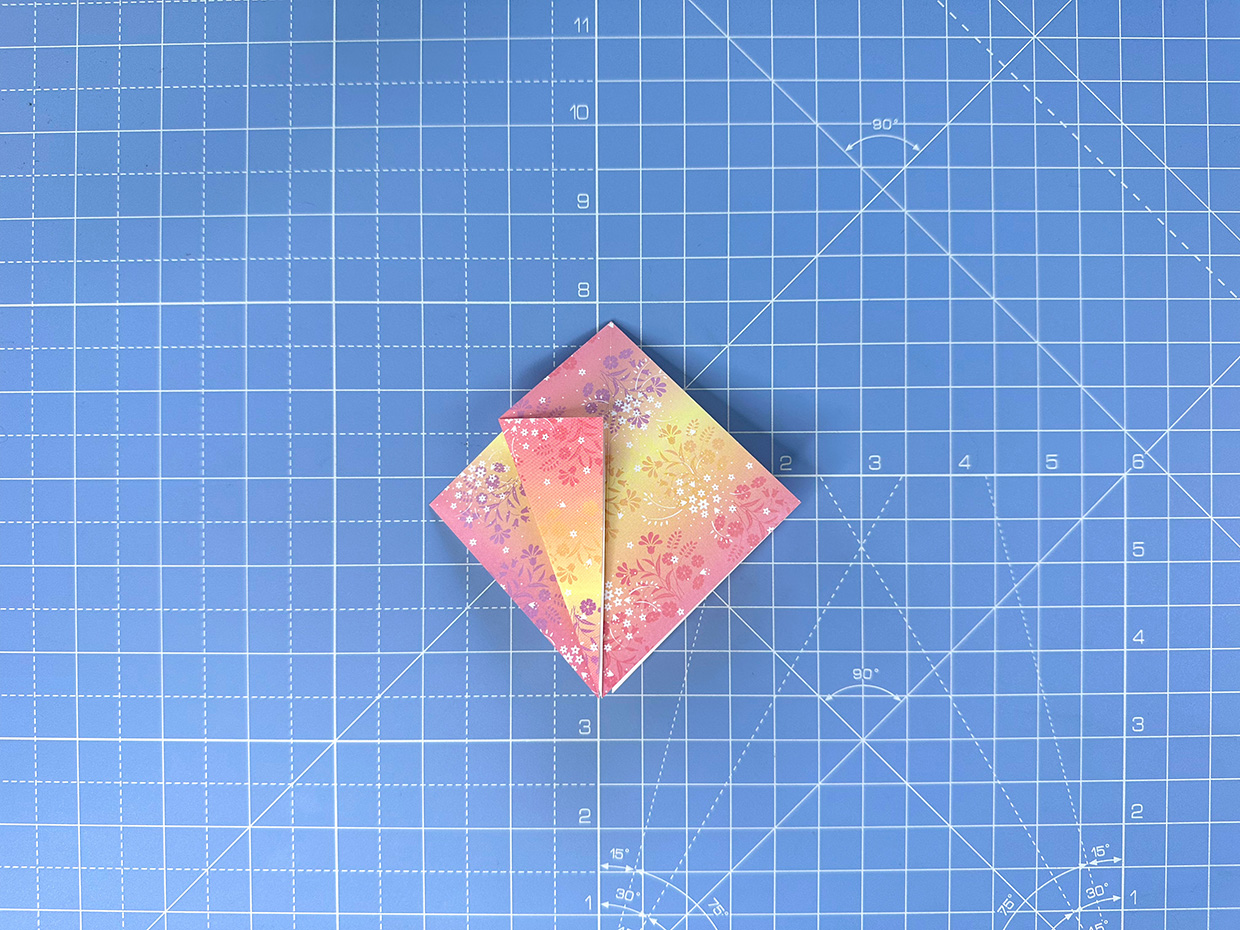
With the open side of the model facing downwards, fold one of the bottom corners up to meet the centre line.

How to make an origami hummingbird – step 4

Step 5

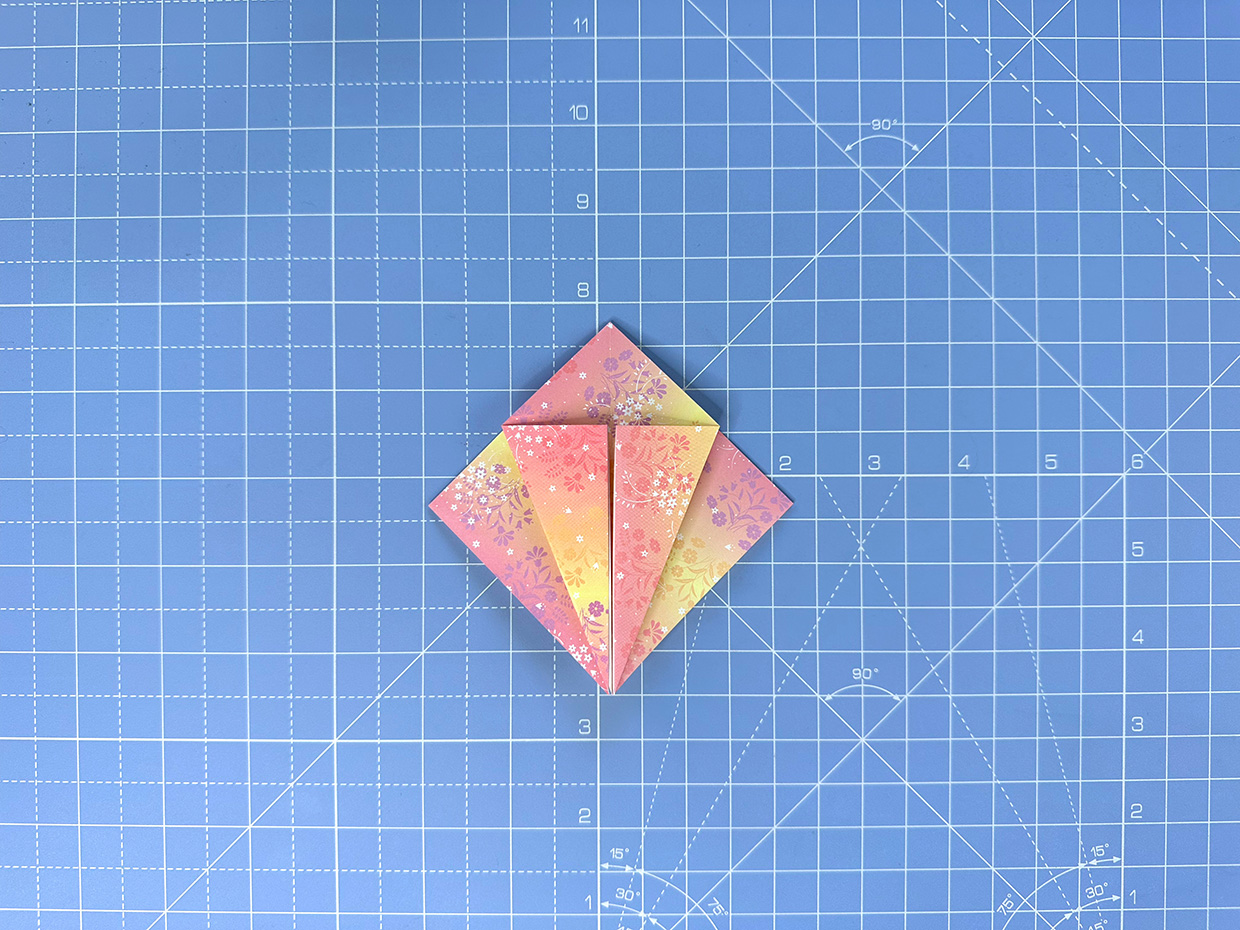
Repeat on the other side.

How to make an origami hummingbird – step 5

Step 6

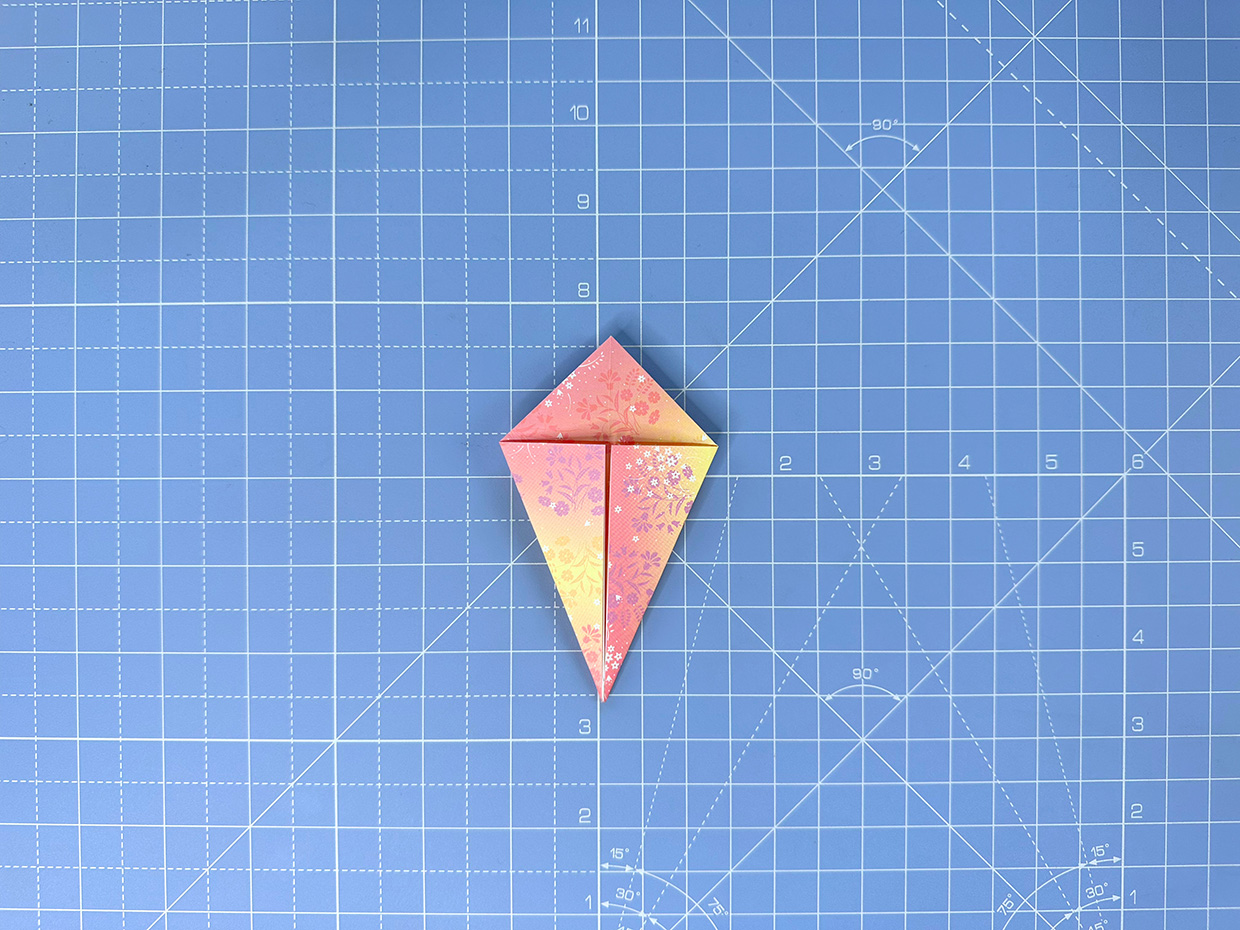
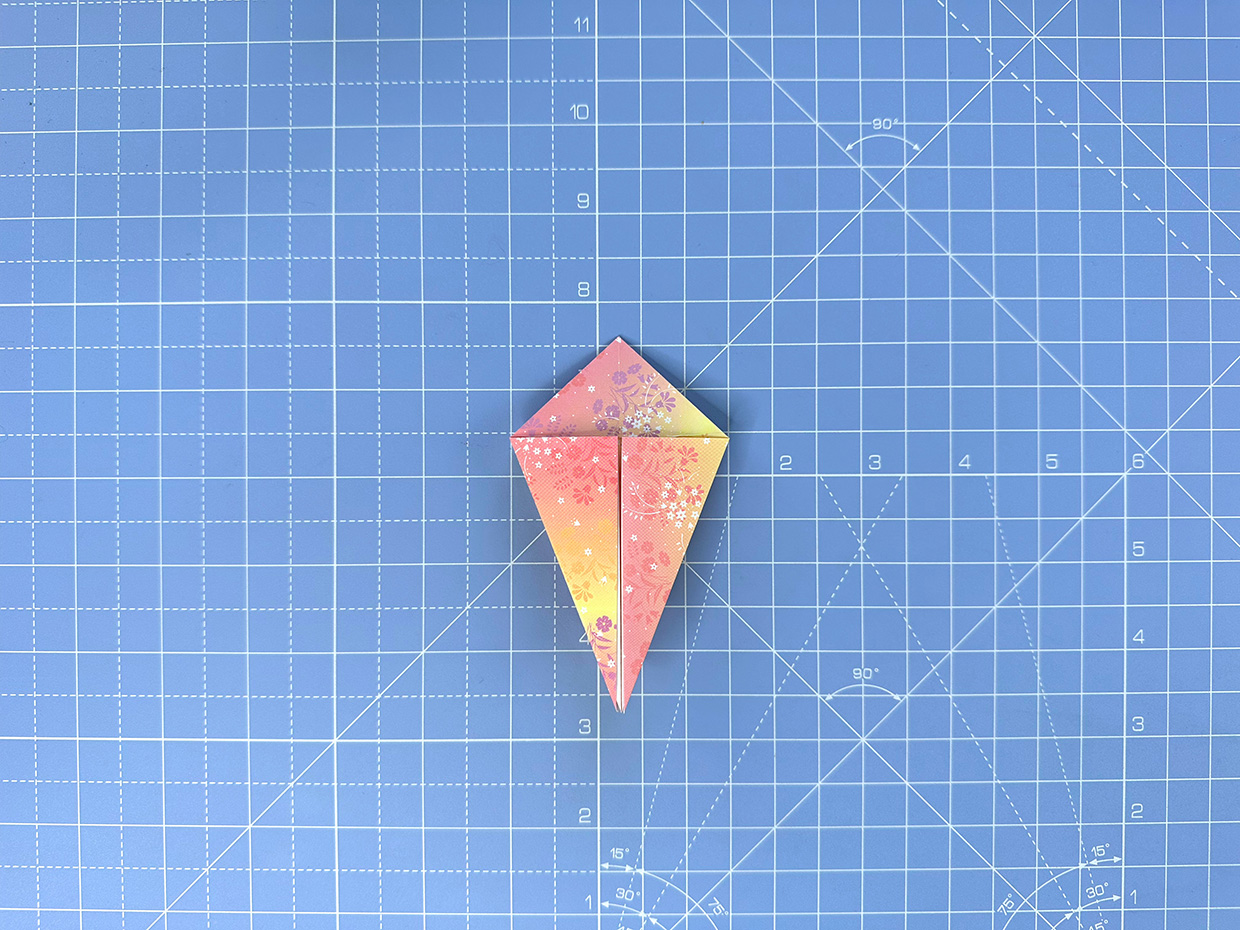
Flip the paper over and repeat on the reverse to create a kite shape.

How to make an origami hummingbird – step 6

Step 7

Fold the top triangle down, burnish the fold, and unfold. This makes the next step easier.

How to make an origami hummingbird – step 7

Step 8

Open up the two side flaps.

How to make an origami hummingbird – step 8

Step 9

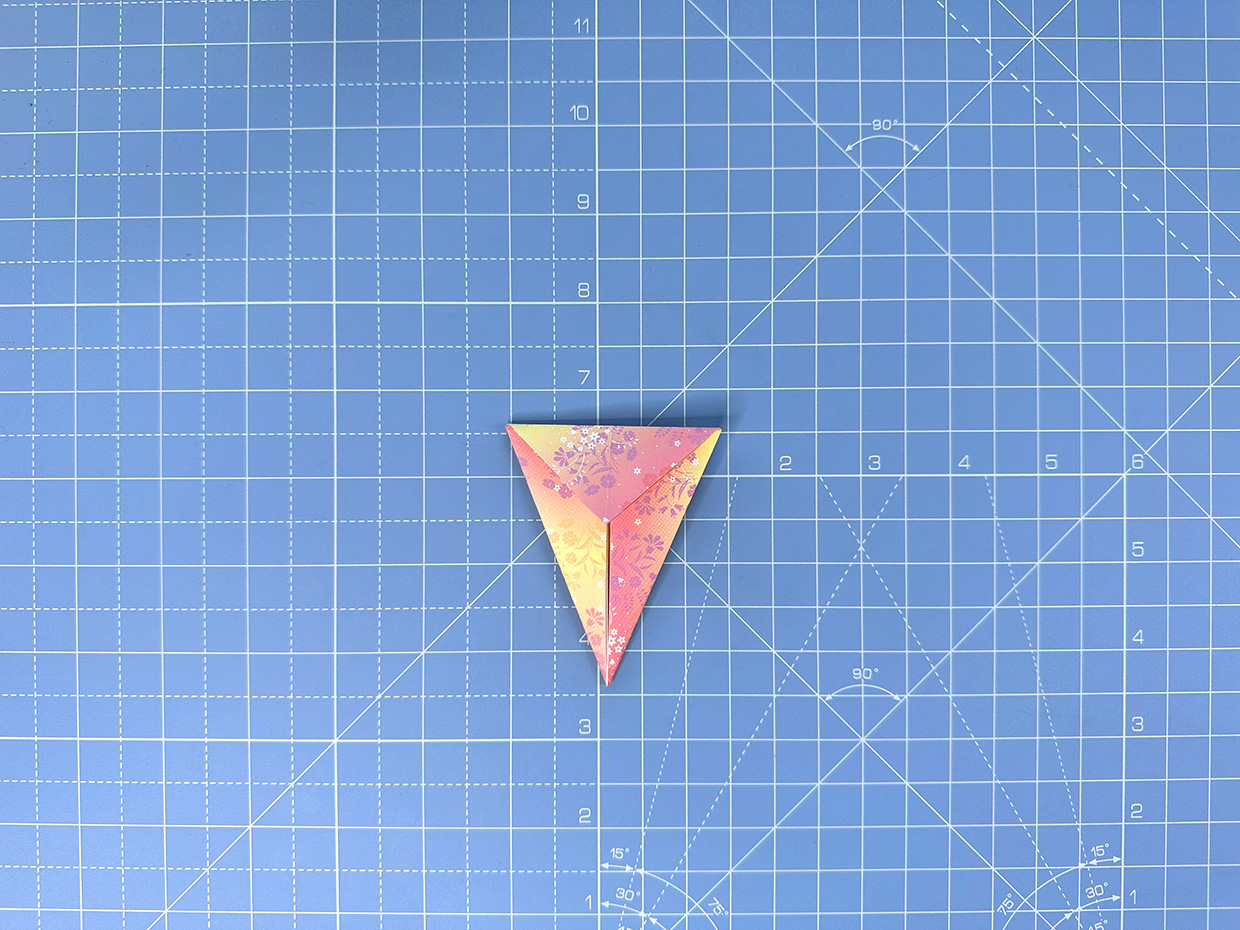
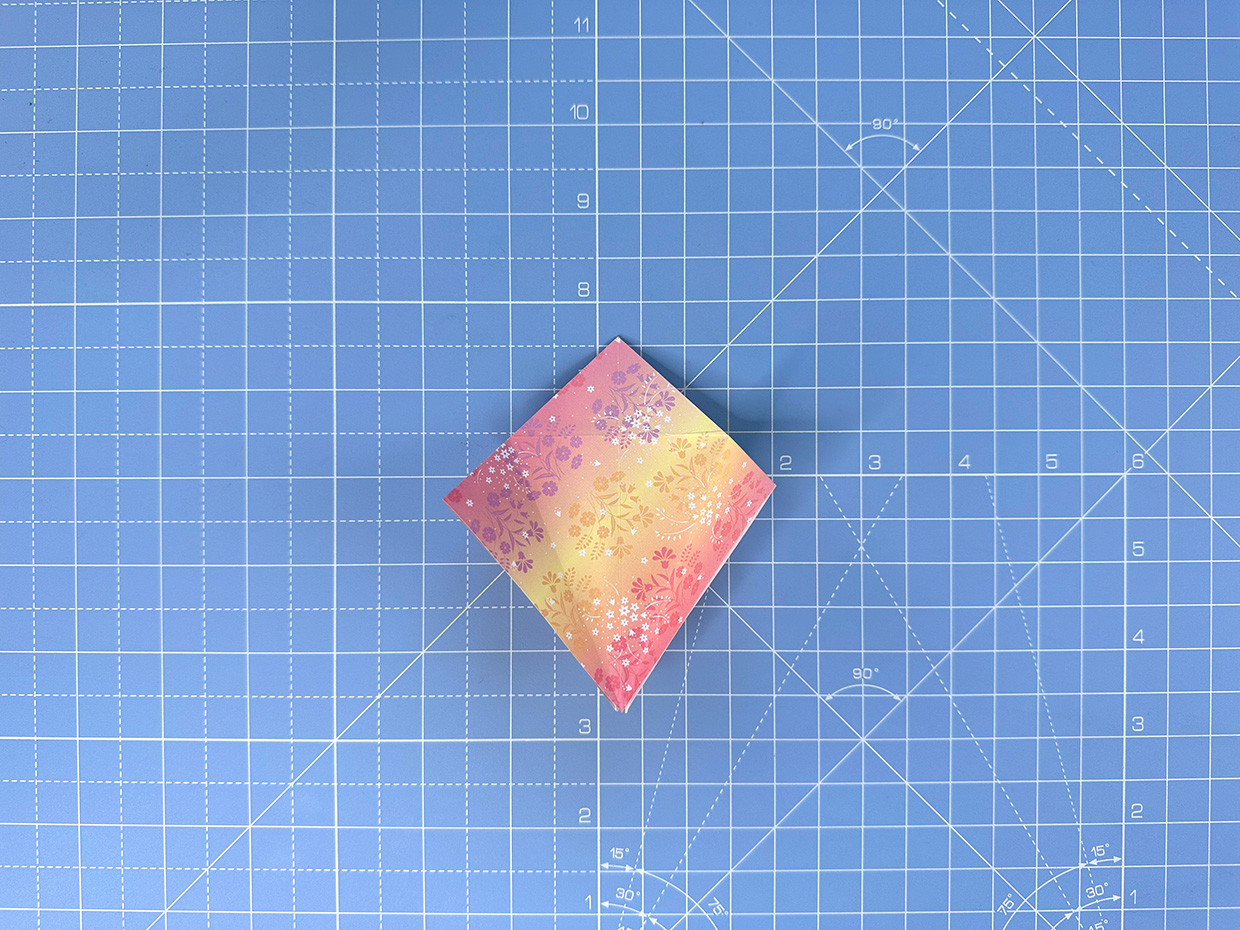
Lift the top layer upwards. Thanks to the folds you’ve just made, the paper will want to go in a particular direction. Flatten the model and burnish the creases so that they are nice and crisp. Fold this layer back down, and you’ll see that the edges of the paper that were in the middle of the kite shape are now hidden.

How to make an origami hummingbird – step 9a
Step 9a

How to make an origami hummingbird – step 9b
Step 9b

Step 10

Turn the model over and repeat on the other side, but this time don’t fold the layer back down; leave it extending upwards.

How to make an origami hummingbird – step 10a
Step 10a

How to make an origami hummingbird – step 10b
Step 10b

How to make an origami hummingbird – step 10c
Step 10c

Step 11

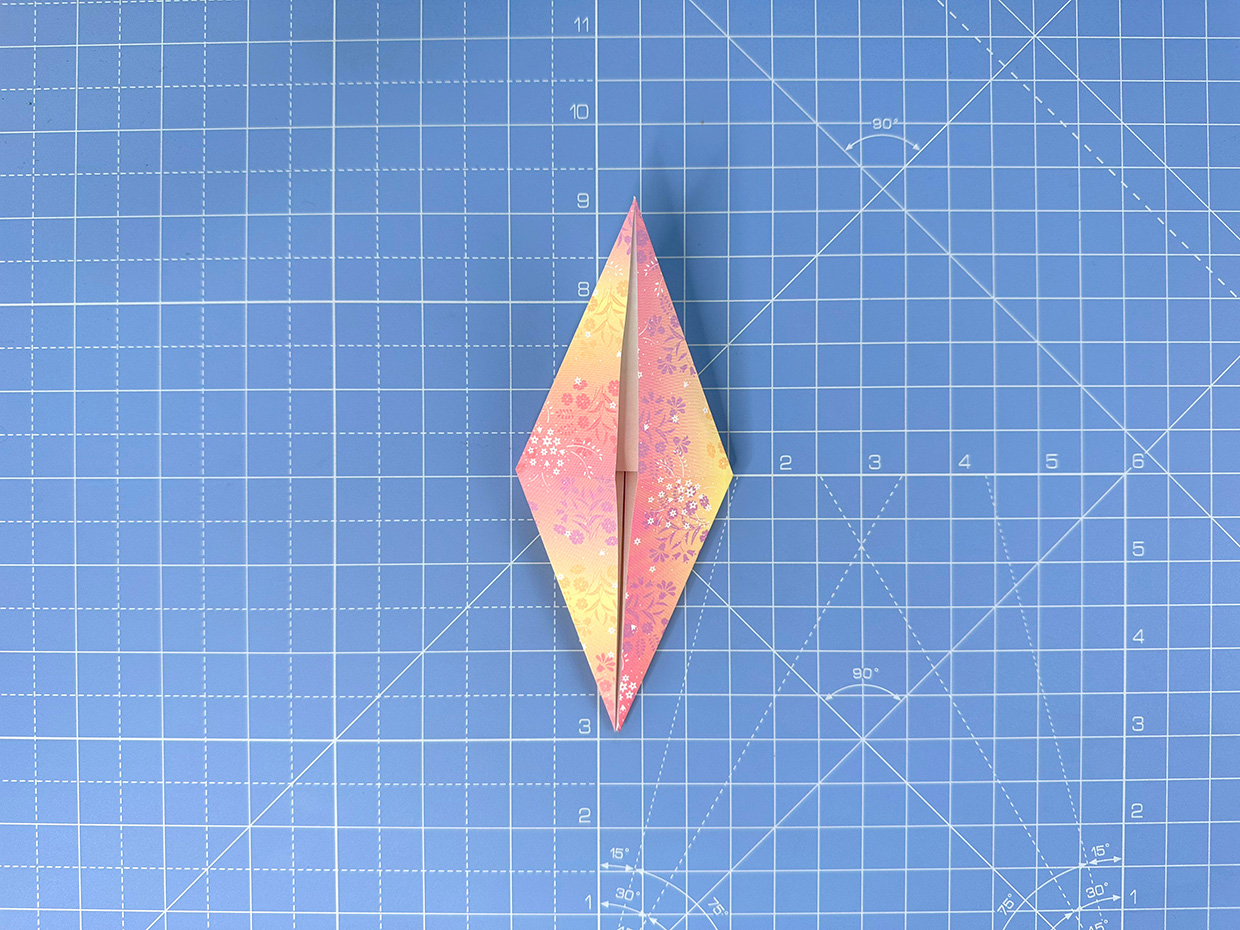
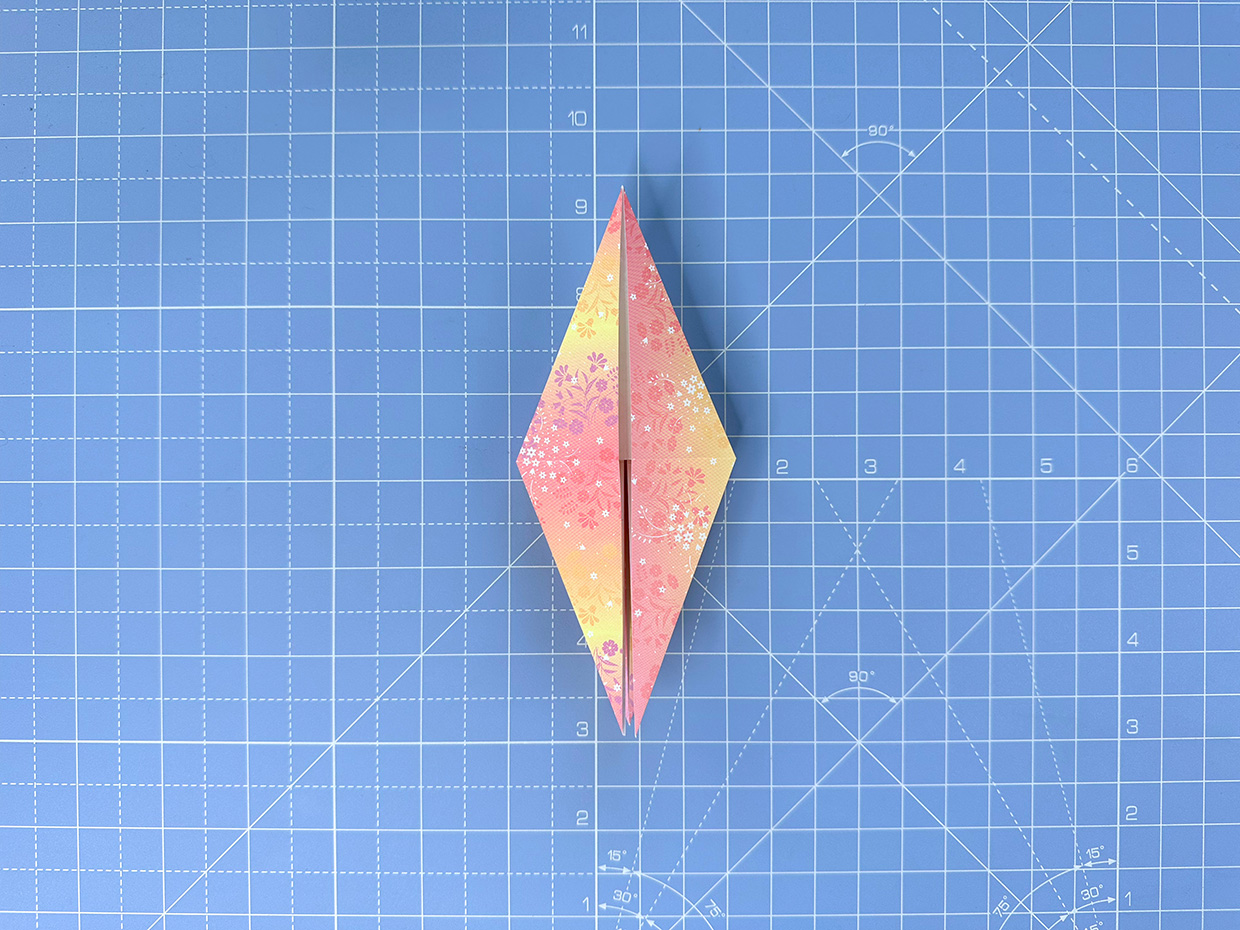
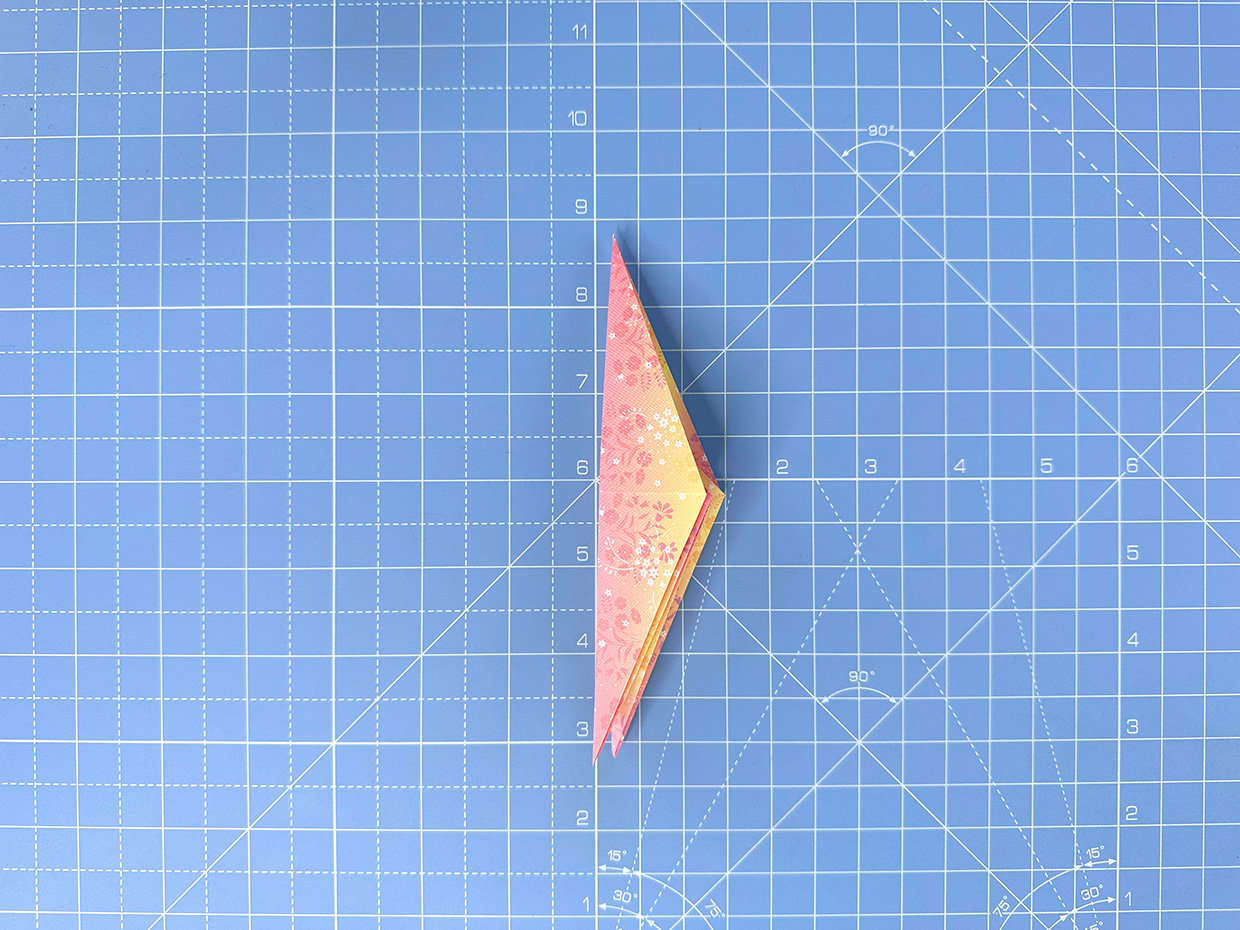
Fold the model in half vertically, to create a skinny triangle shape.

How to make an origami hummingbird - step 11

Step 12

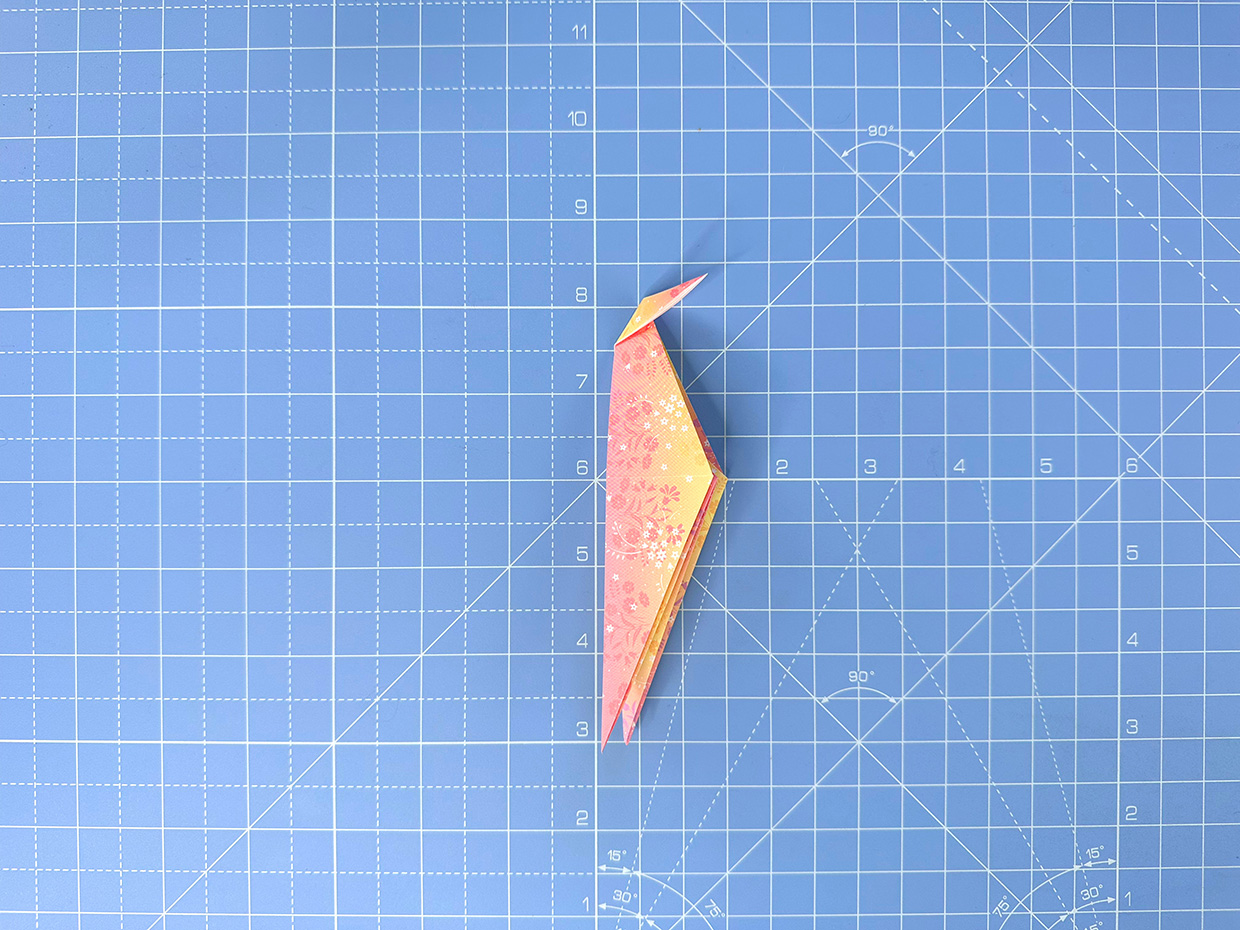
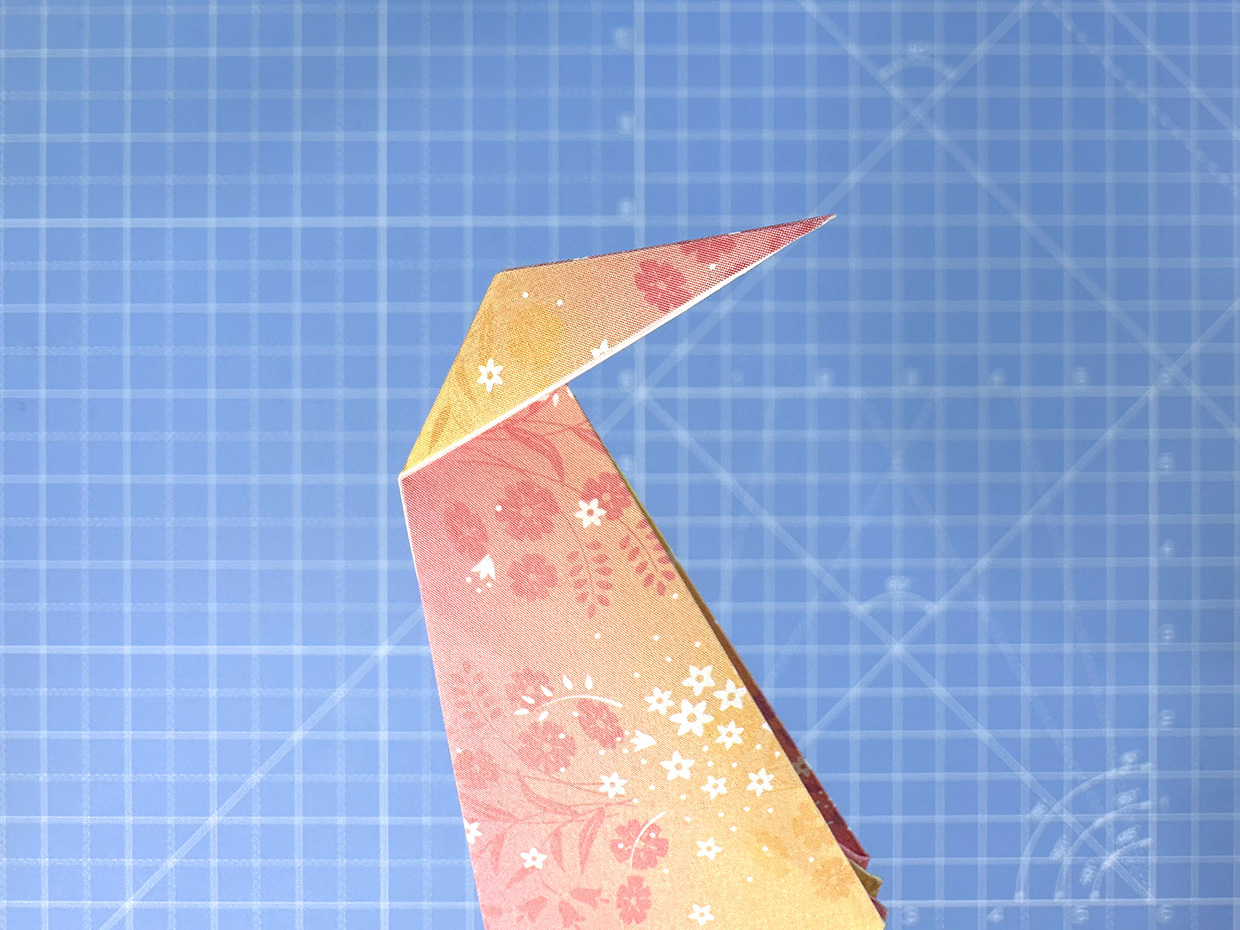
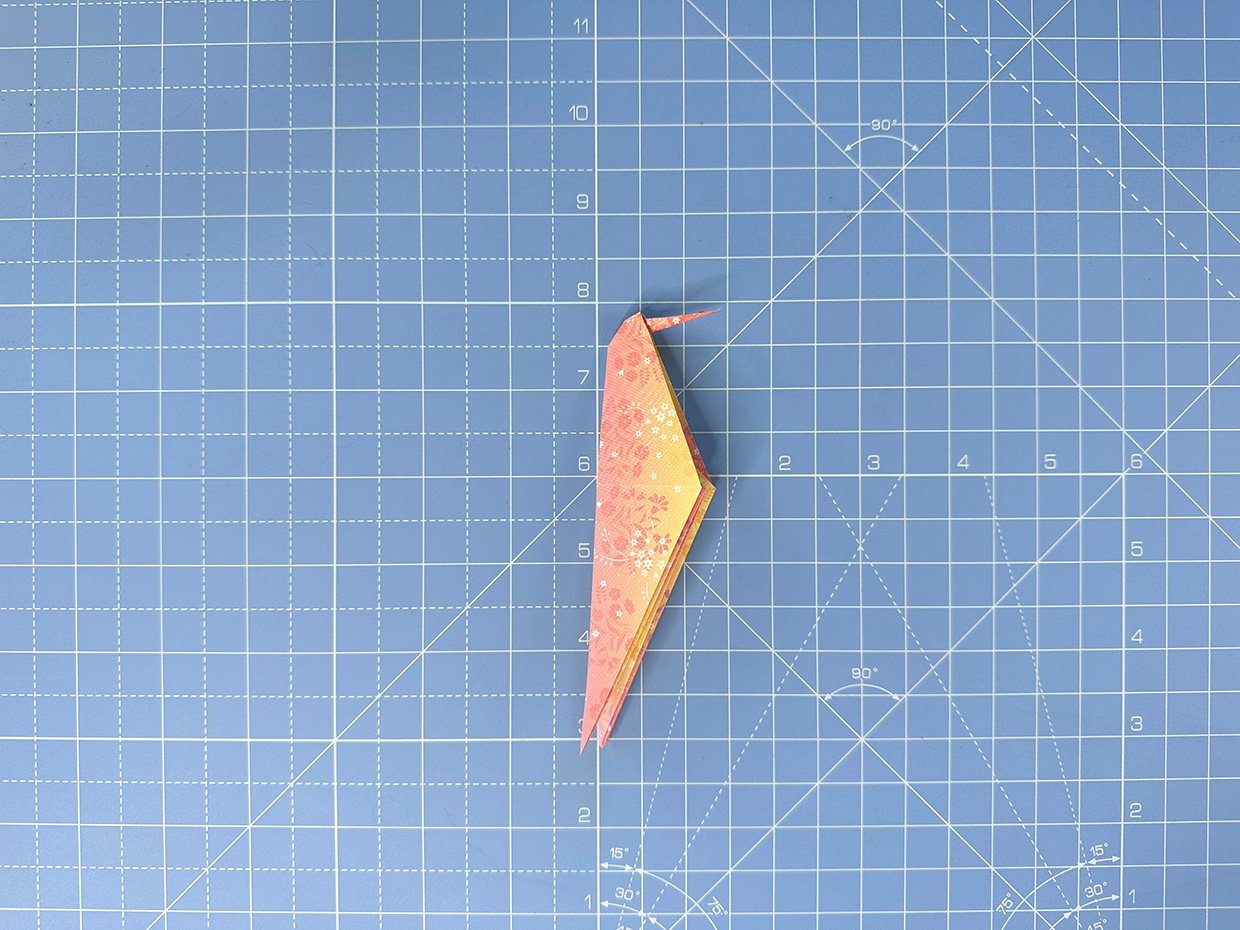
With the skinny triangle facing toward the right, fold the top of the paper down to create the head and beak. Fold it around 2cm down from the top (if you’re using a 15x15cm piece of paper).

How to make an origami hummingbird - step 12a
Step 12a
How to make an origami hummingbird - step 12b
Step 12b

Step 13

Push the head inside itself, to hold it in position. This called a reverse fold and it should look like this.

How to make an origami hummingbird - step 13a
Step 13a
How to make an origami hummingbird - step 13b
Step 13b

Step 14

Next, we need to narrow the head a little. Open up the head by folding the front flap down.

How to make an origami hummingbird - step 14a
Step 14a
How to make an origami hummingbird - step 14b
Step 14b

Step 15

Fold the sides of the head inwards to meet the centre line, effectively reducing the width by half.

How to make an origami hummingbird - step 15a
Step 15a
How to make an origami hummingbird - step 15b
Step 15b

Step 16

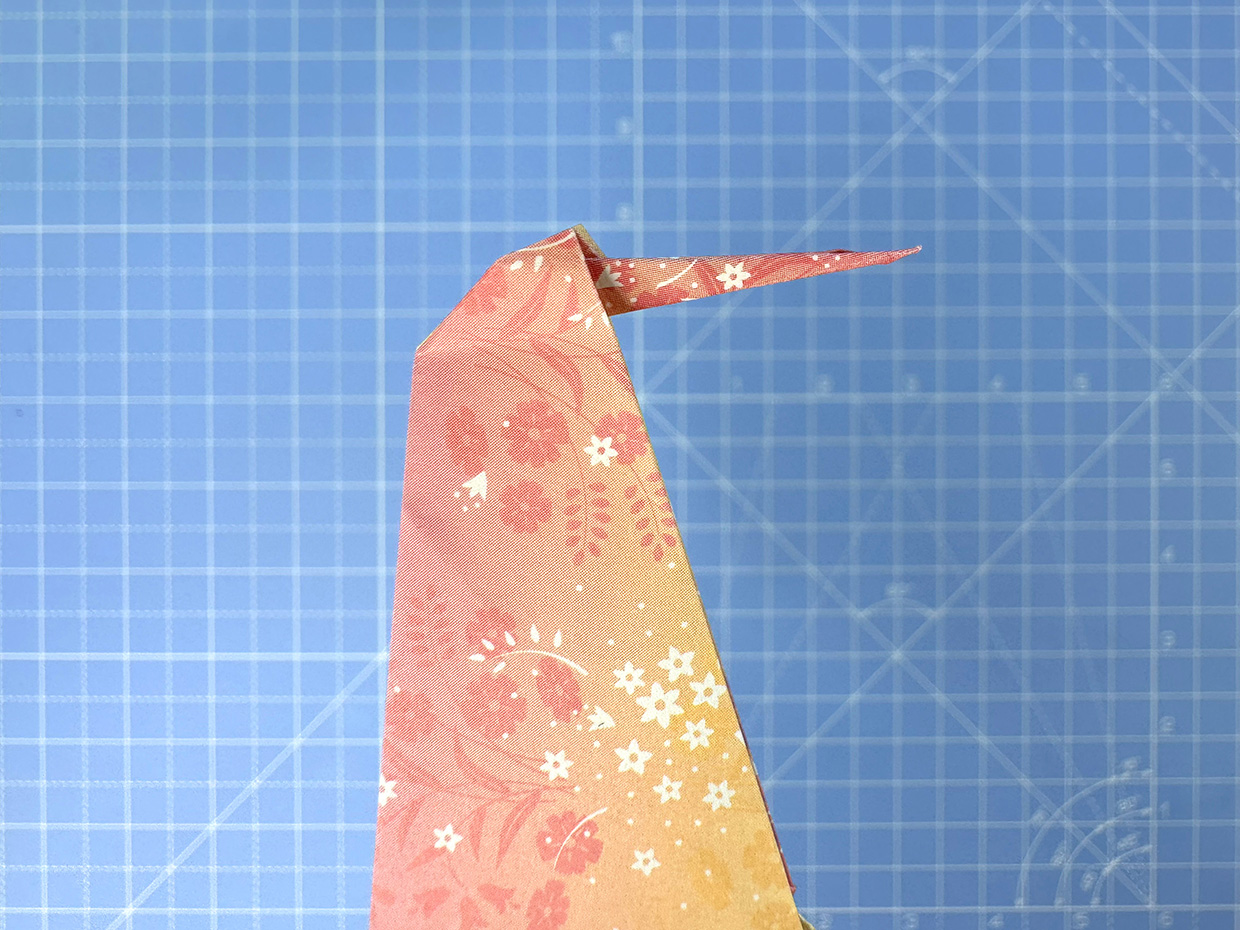
This next bit is a little fiddly, so you may need to use a pokey tool or cocktail stick to help you. Open up the small pockets either side of the head and flatten. Burnish the folds well to make them crisp.

How to make an origami hummingbird - step 16a
Step 16a
How to make an origami hummingbird - step 16b
Step 16b

Step 17

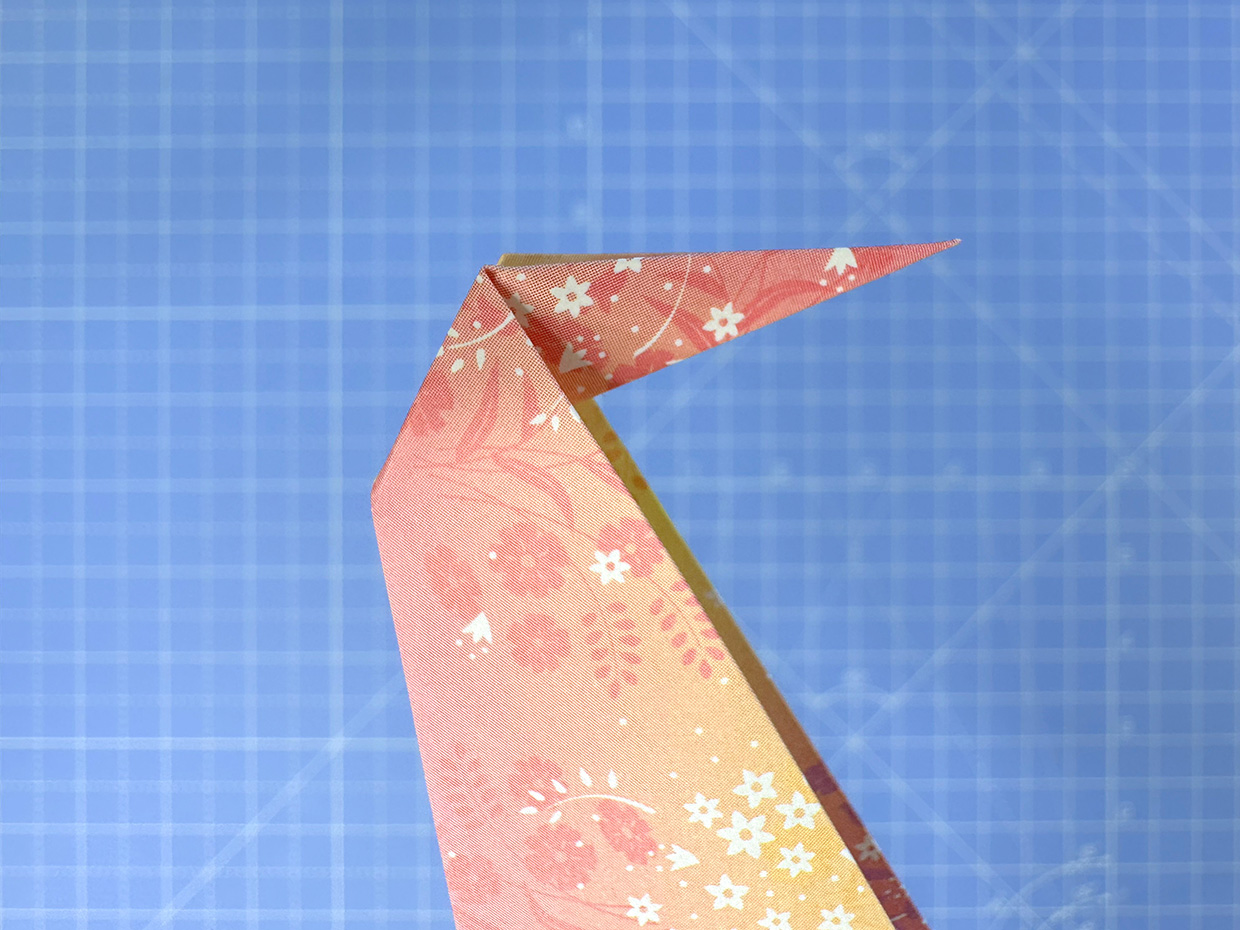
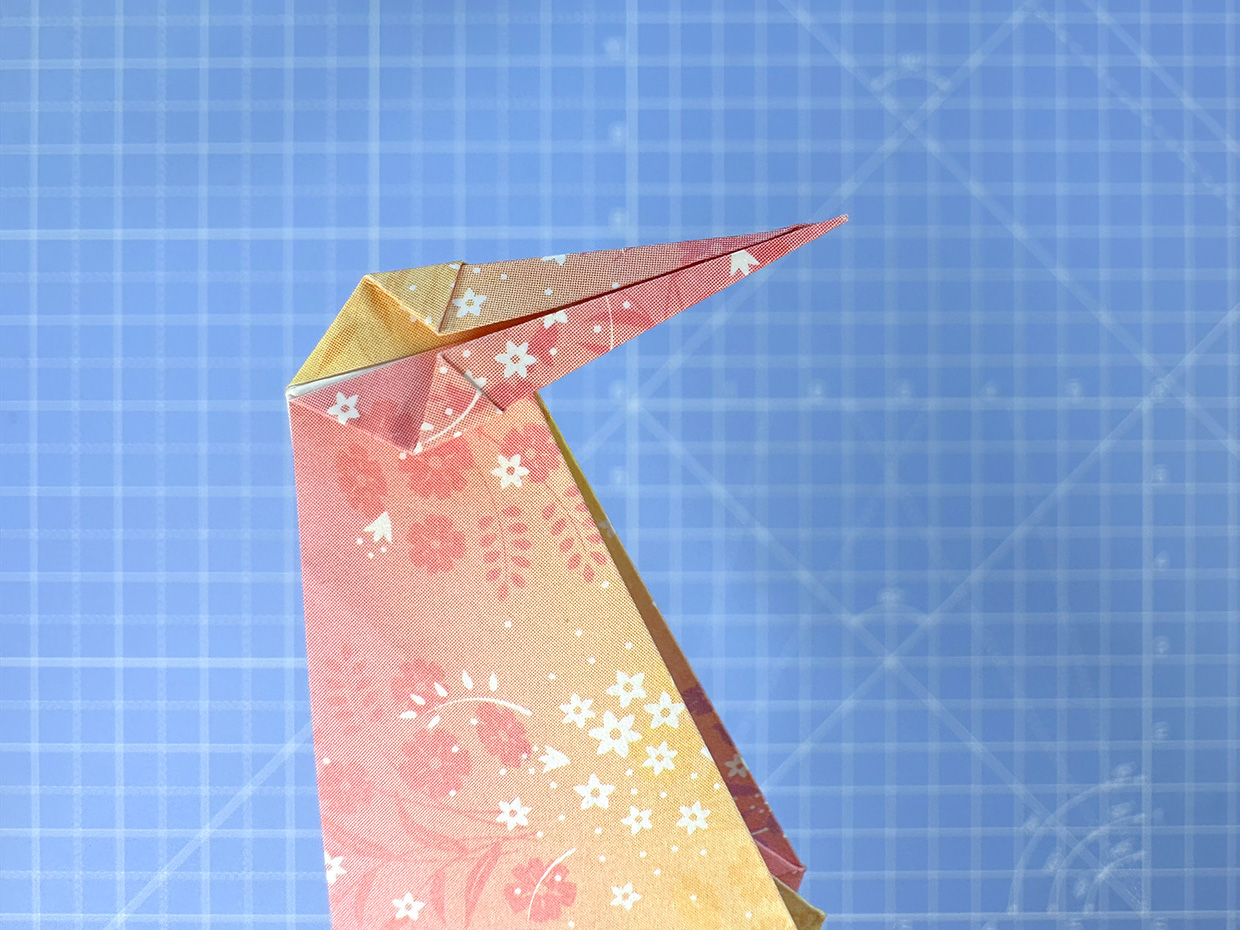
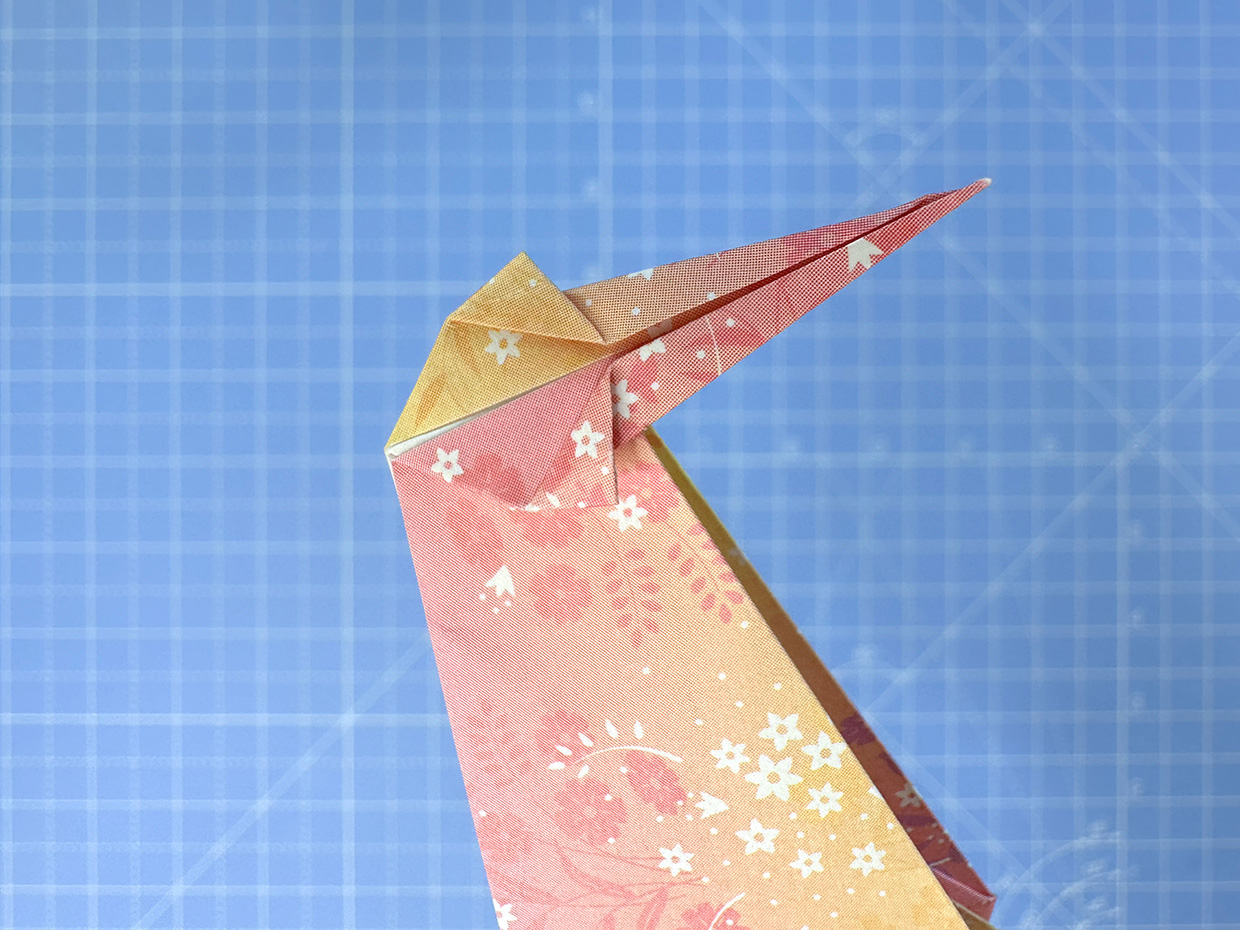
Close the head back up to reveal a more hummingbird-like beak!

How to make an origami hummingbird - step 17a
Step 17a
How to make an origami hummingbird - step 17b
Step 17b

Step 18

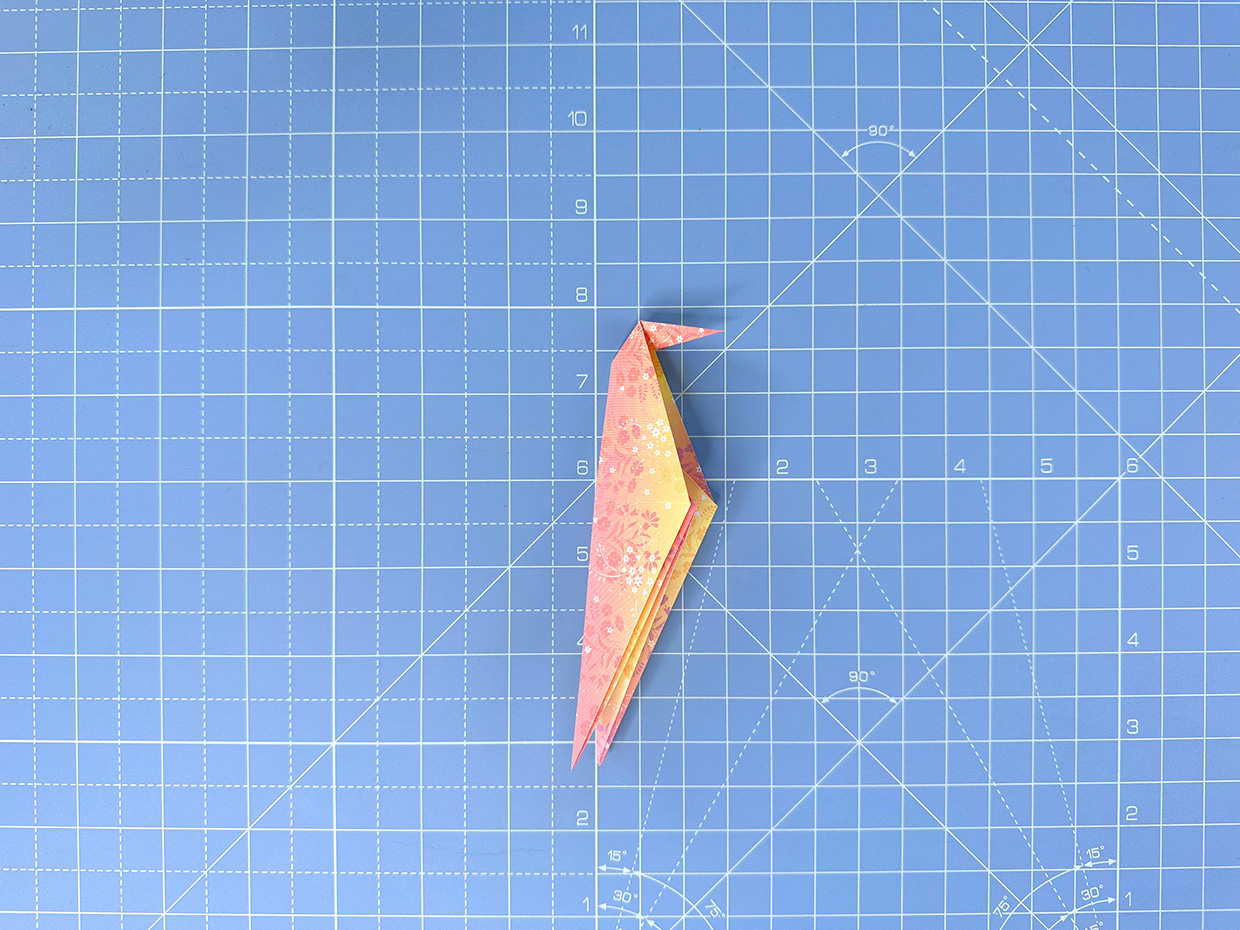
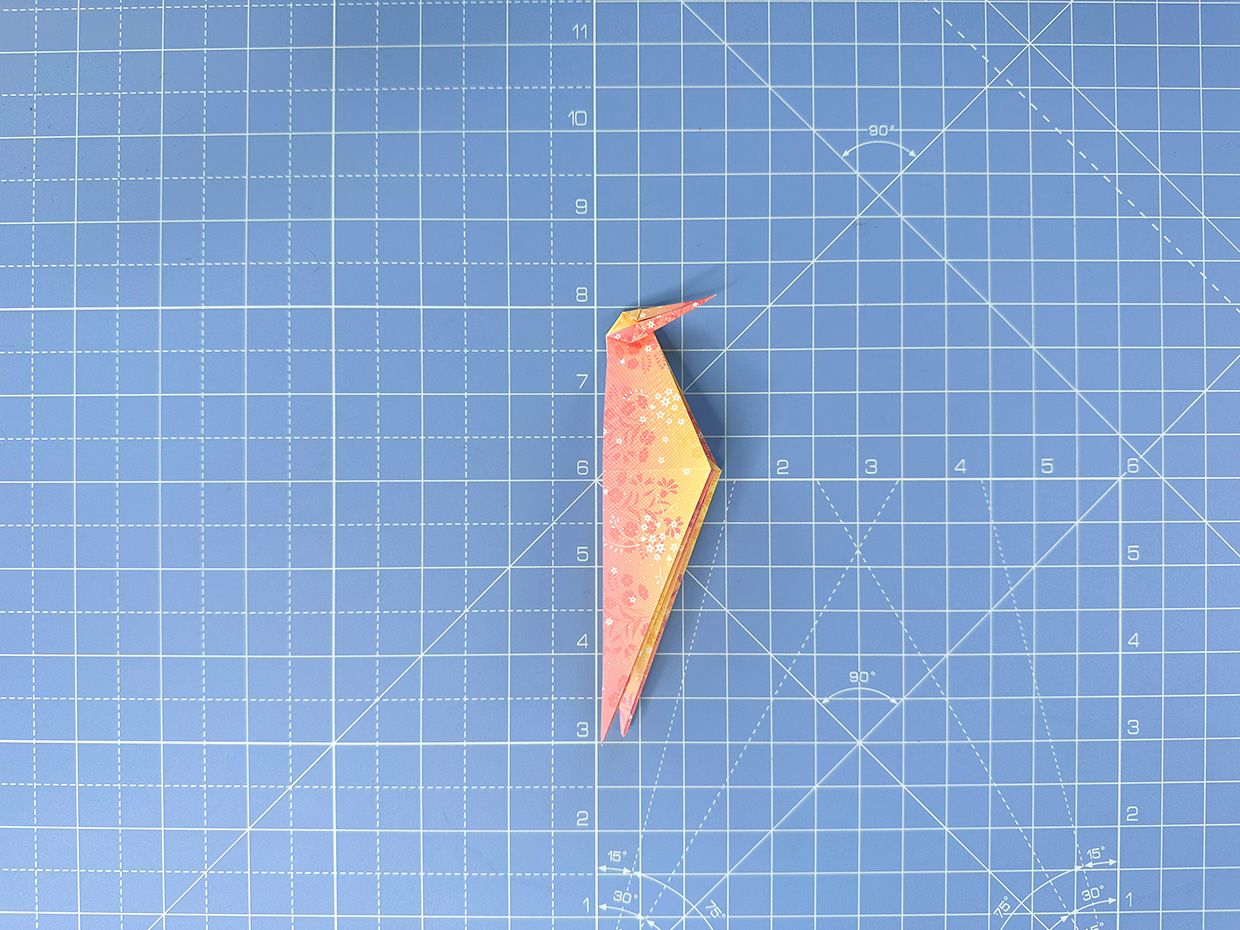
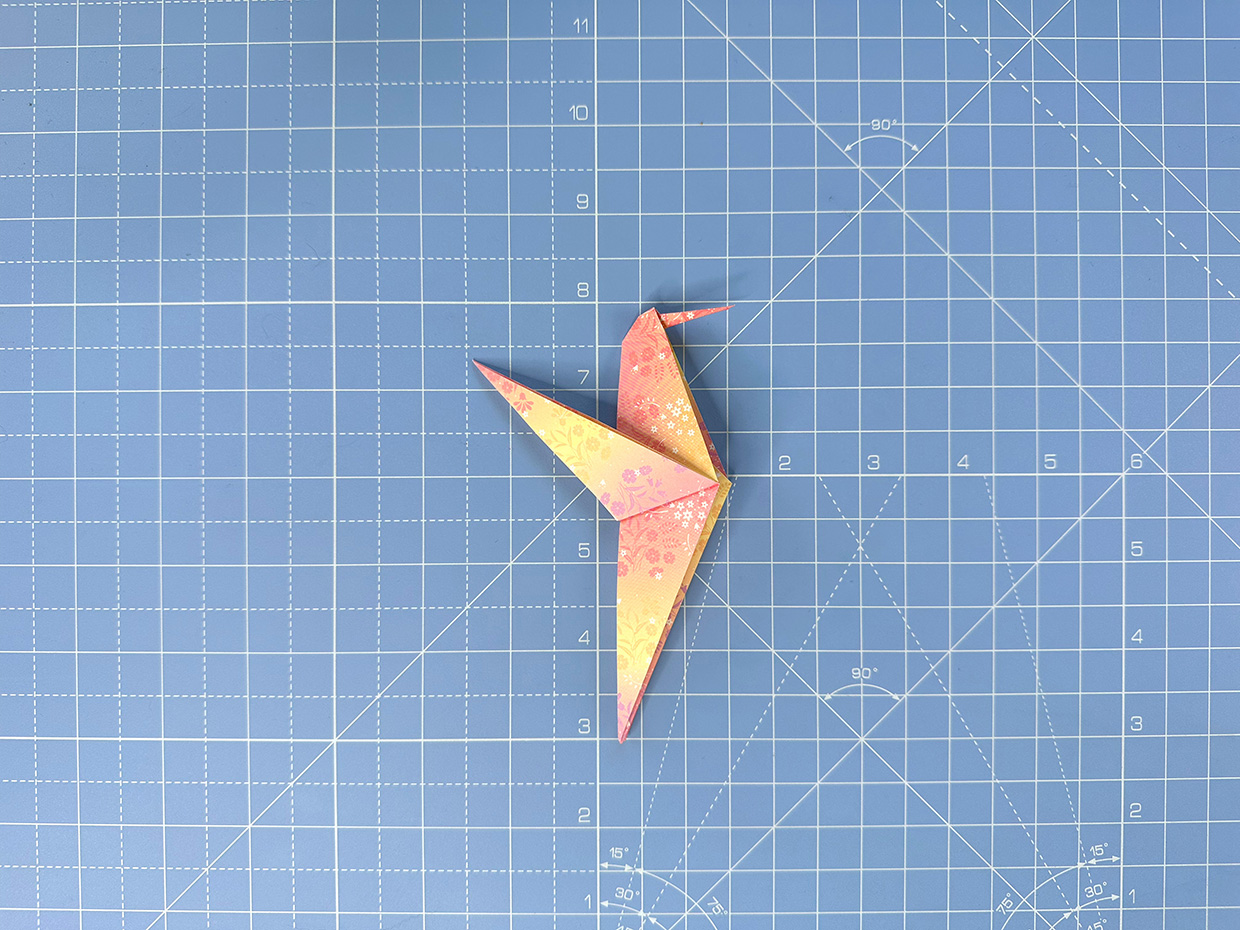
Fold the front layer (the wing) up, positioning it so that it’s raised behind the hummingbird’s head. When you’re happy with the position of the wing, crease the join of the wing to secure it in place.

How to make an origami hummingbird - step 18

Step 19

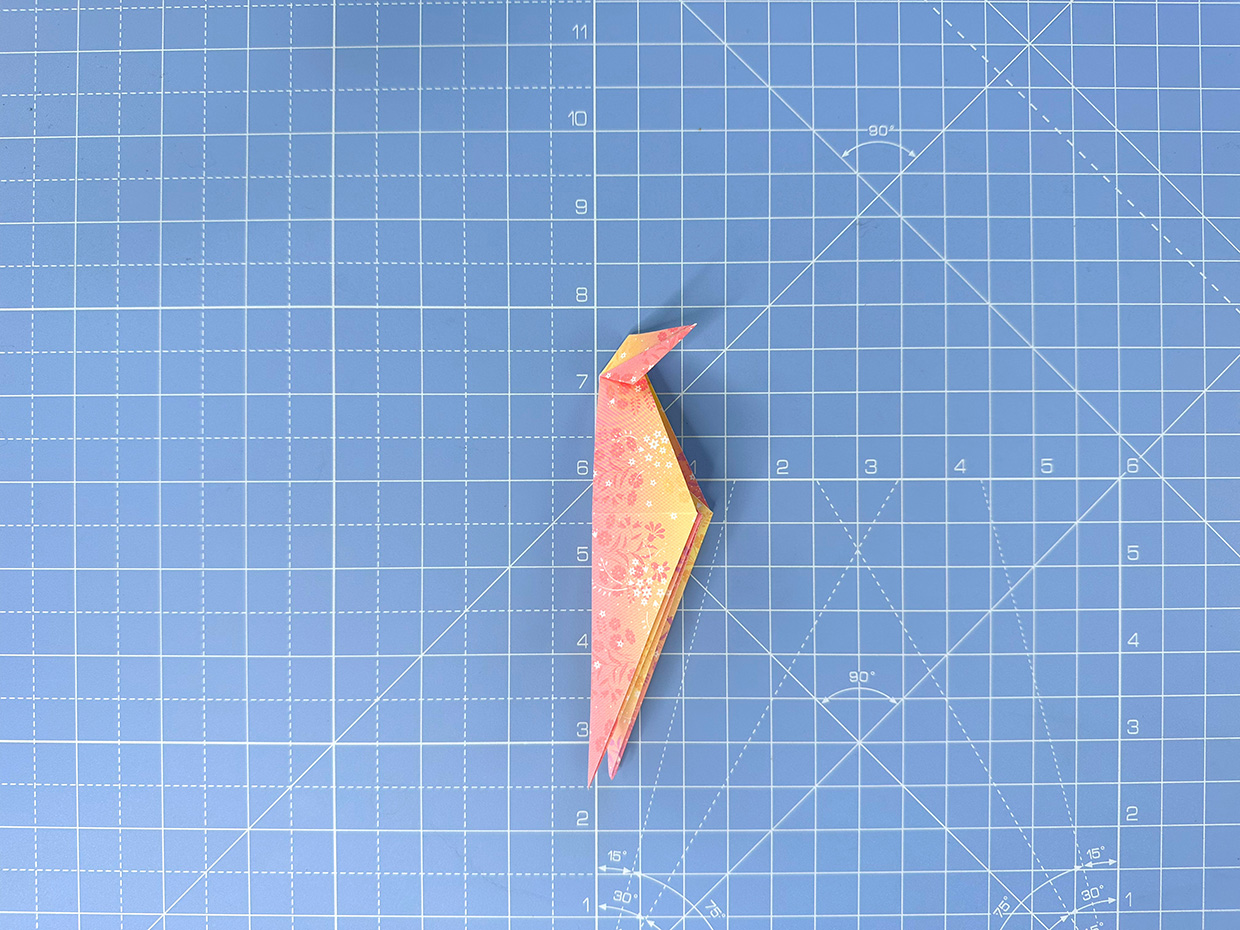
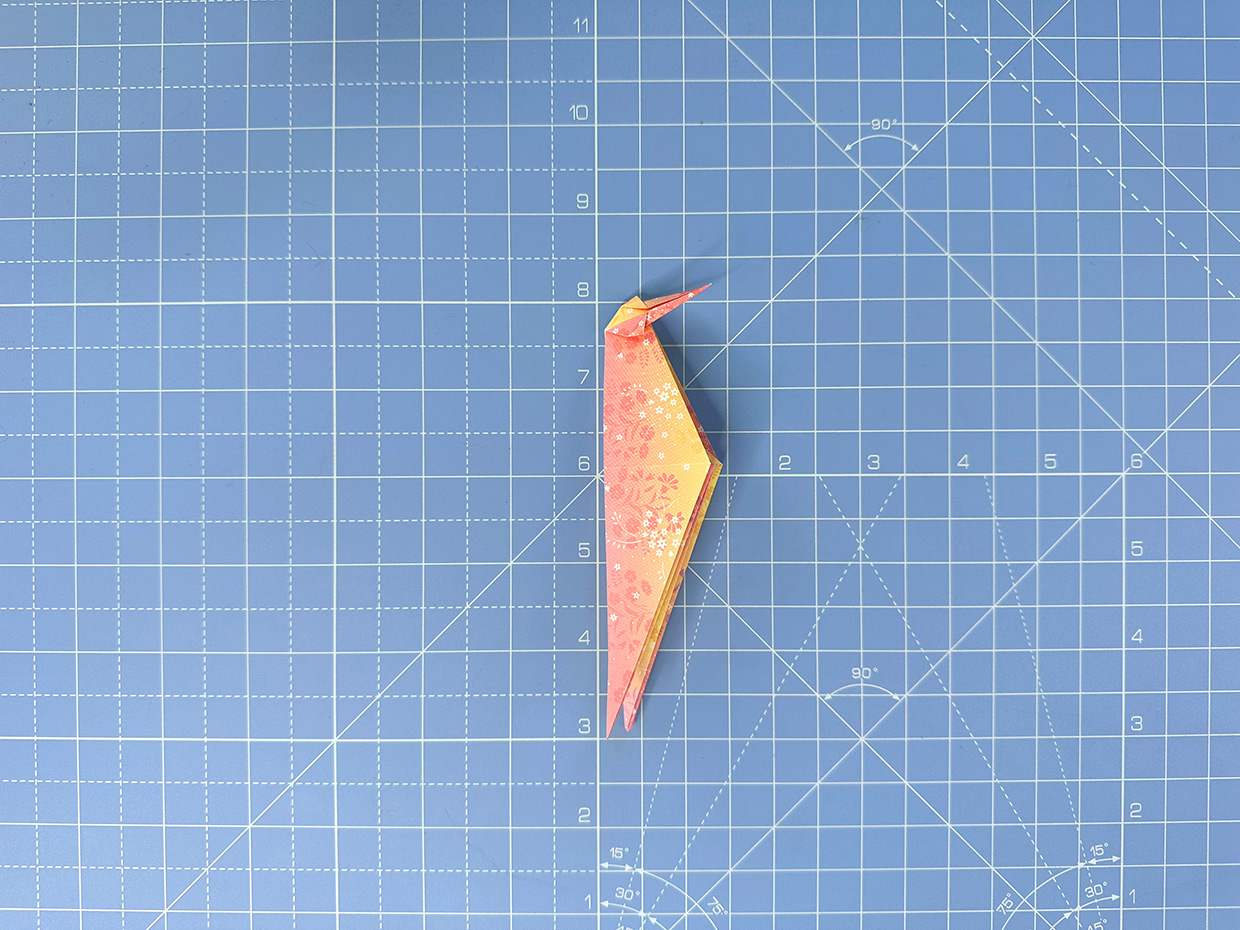
Flip the model over and fold the second wing up, lining it up with the first wing as a guide.

How to make an origami hummingbird - step 19a
Step 19a
How to make an origami hummingbird - step 19b
Step 19b

Step 20

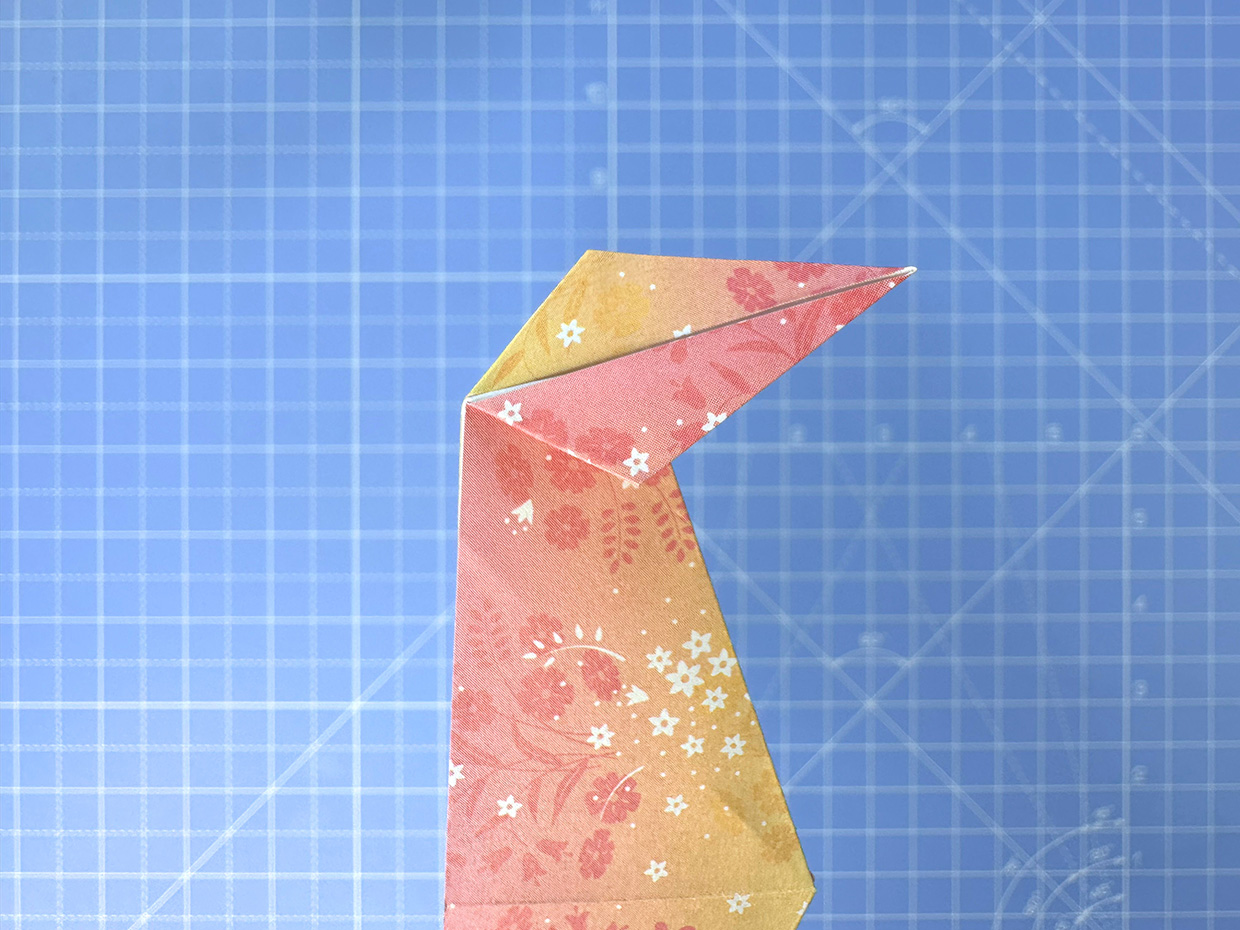
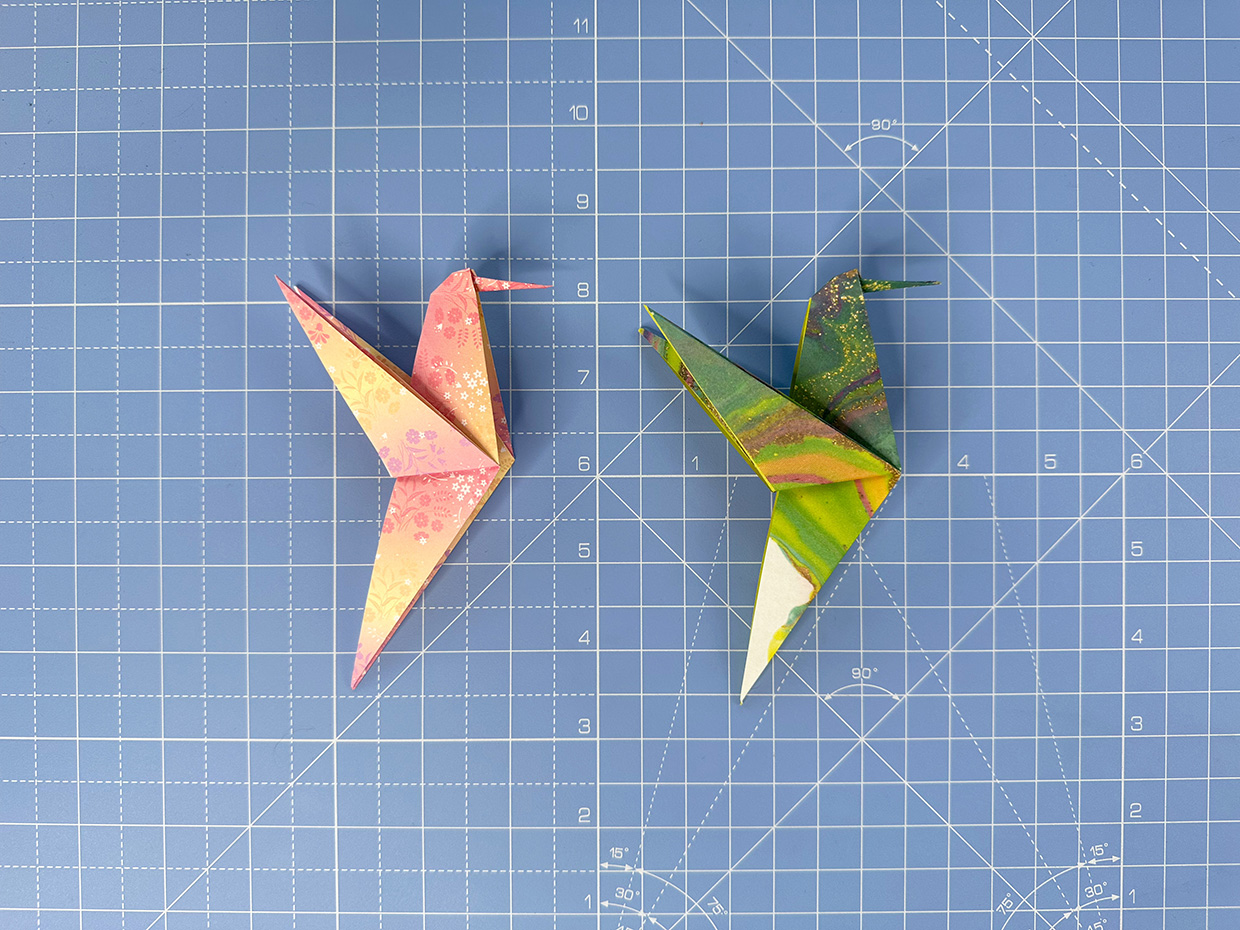
Congratulations, you have completed your easy origami hummingbird!

How to make an origami hummingbird - step 19c

What you need to make your own origami hummingbird

Origami paper

Origami paper

Getting started in origami couldn’t be easier. All you need is some square paper, and standard copy paper is readily available. If you’d like to spruce up your folding, then we recommend getting some dedicated origami paper; it’s thinner and smoother than regular paper, so it folds exceptionally well.

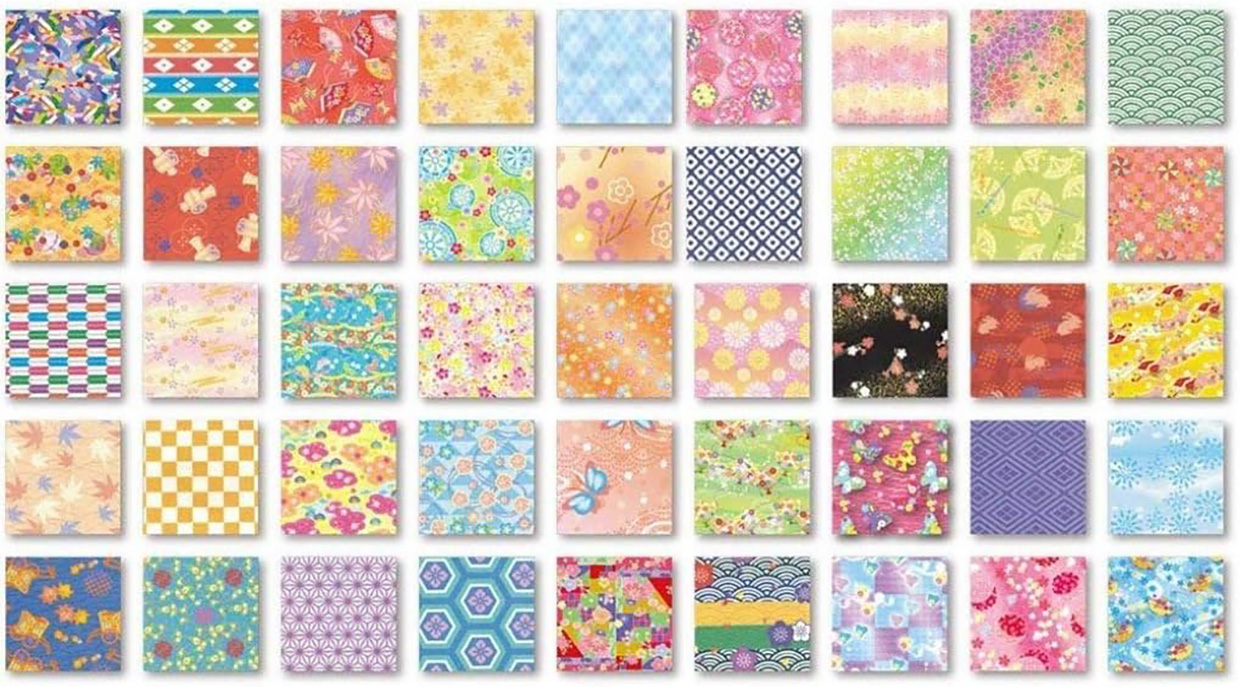
This is the paper pack we used in this tutorial, which contains a very tasty 45 different patterns, with four sheets of each pattern. There are 180 sheets in total, and it comes in a plastic case, to prevent the corners from curling or getting dinged – which is very handy.


Clairefontaine origami paper

Clairefontaine origami bird paper

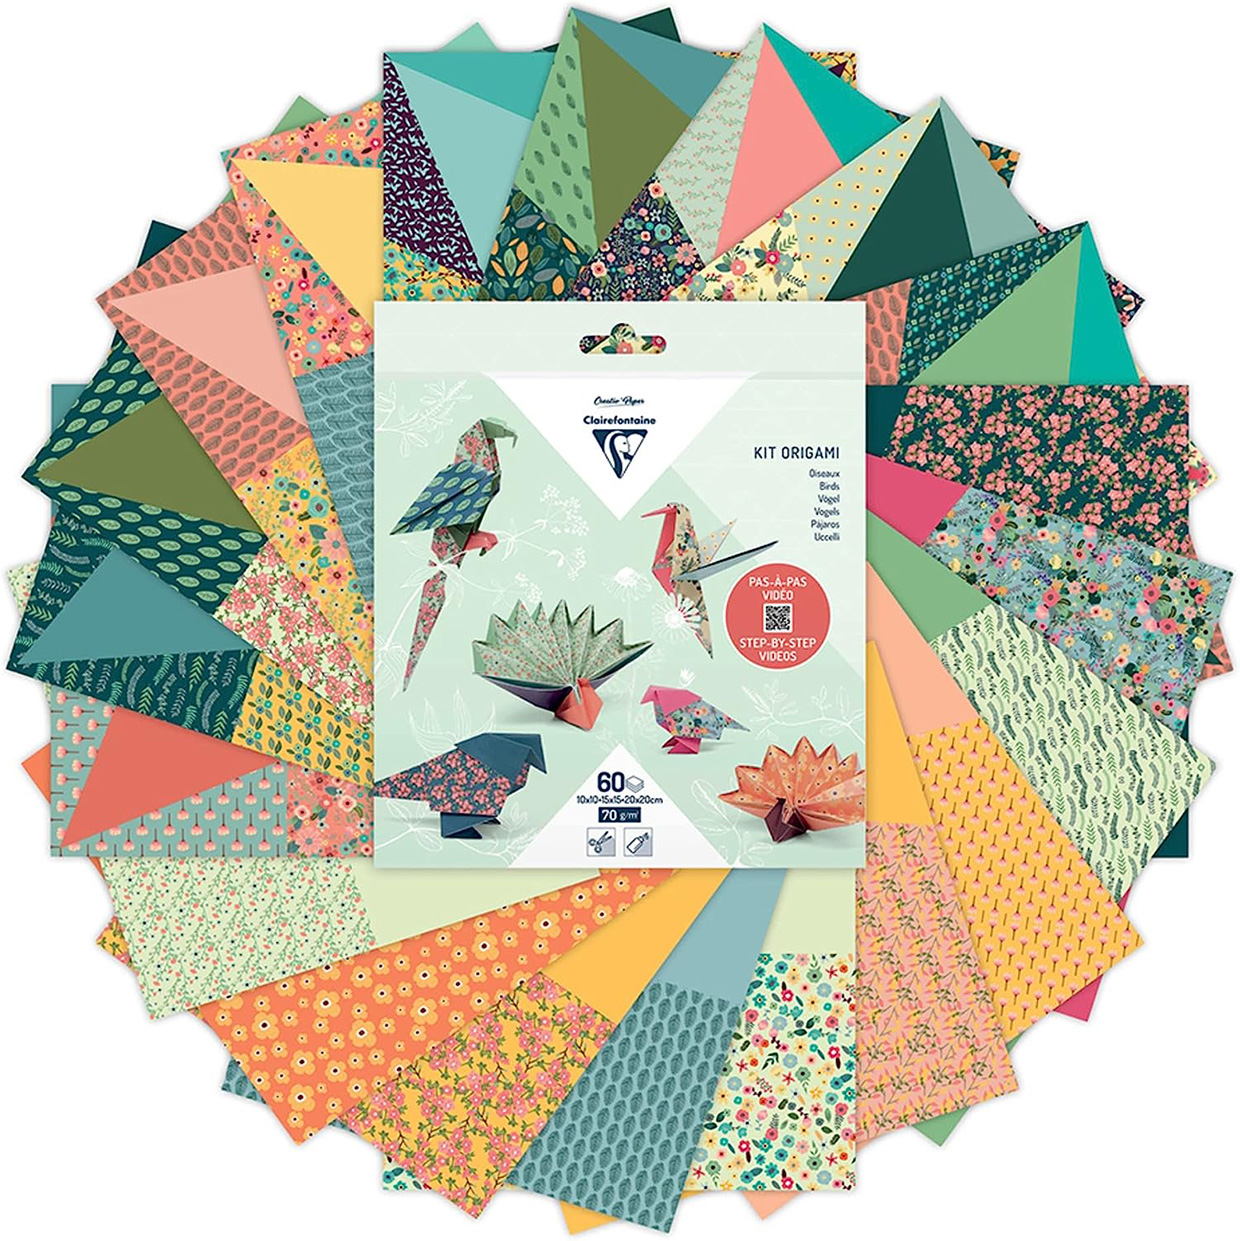
If you want to expand your origami paper collection even further, then how about these gorgeous papers from Clairefontaine? They’ve been designed especially for origami bird projects, and it even comes with step-by-step videos to make four different birds: parrot, peacock, pigeon, and hummingbird. Cute!


Origami Flowers and Birds by Mari Ono

Origami birds kit

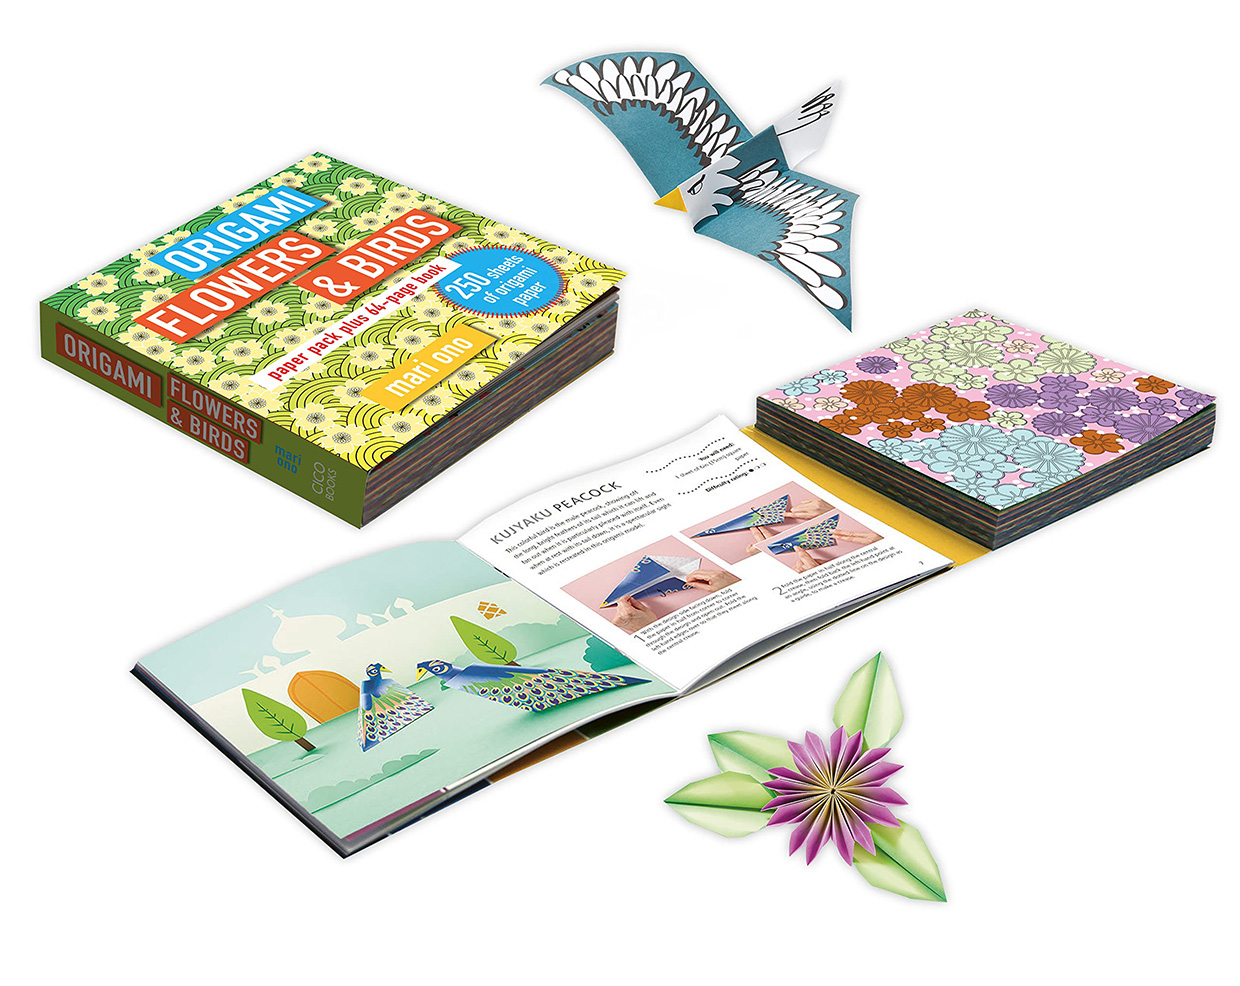
With 15 tutorials and 250 sheets of paper, this origami flowers and birds kit by Mari Ono has everything you need to start folding fun designs as soon as you open it up. It’s a good starter kit for beginners and has instructions on how to make a duck, nestling, parrot, crane, eagle, owl, robin, peacock, tulip, water lily, cherry blossom, anemone, rose, chrysanthemum and bluebell. It also takes you through a number of basic techniques, like how to make an inside fold, outside fold and square base.


Easy origami flowers

Easy origami flowers

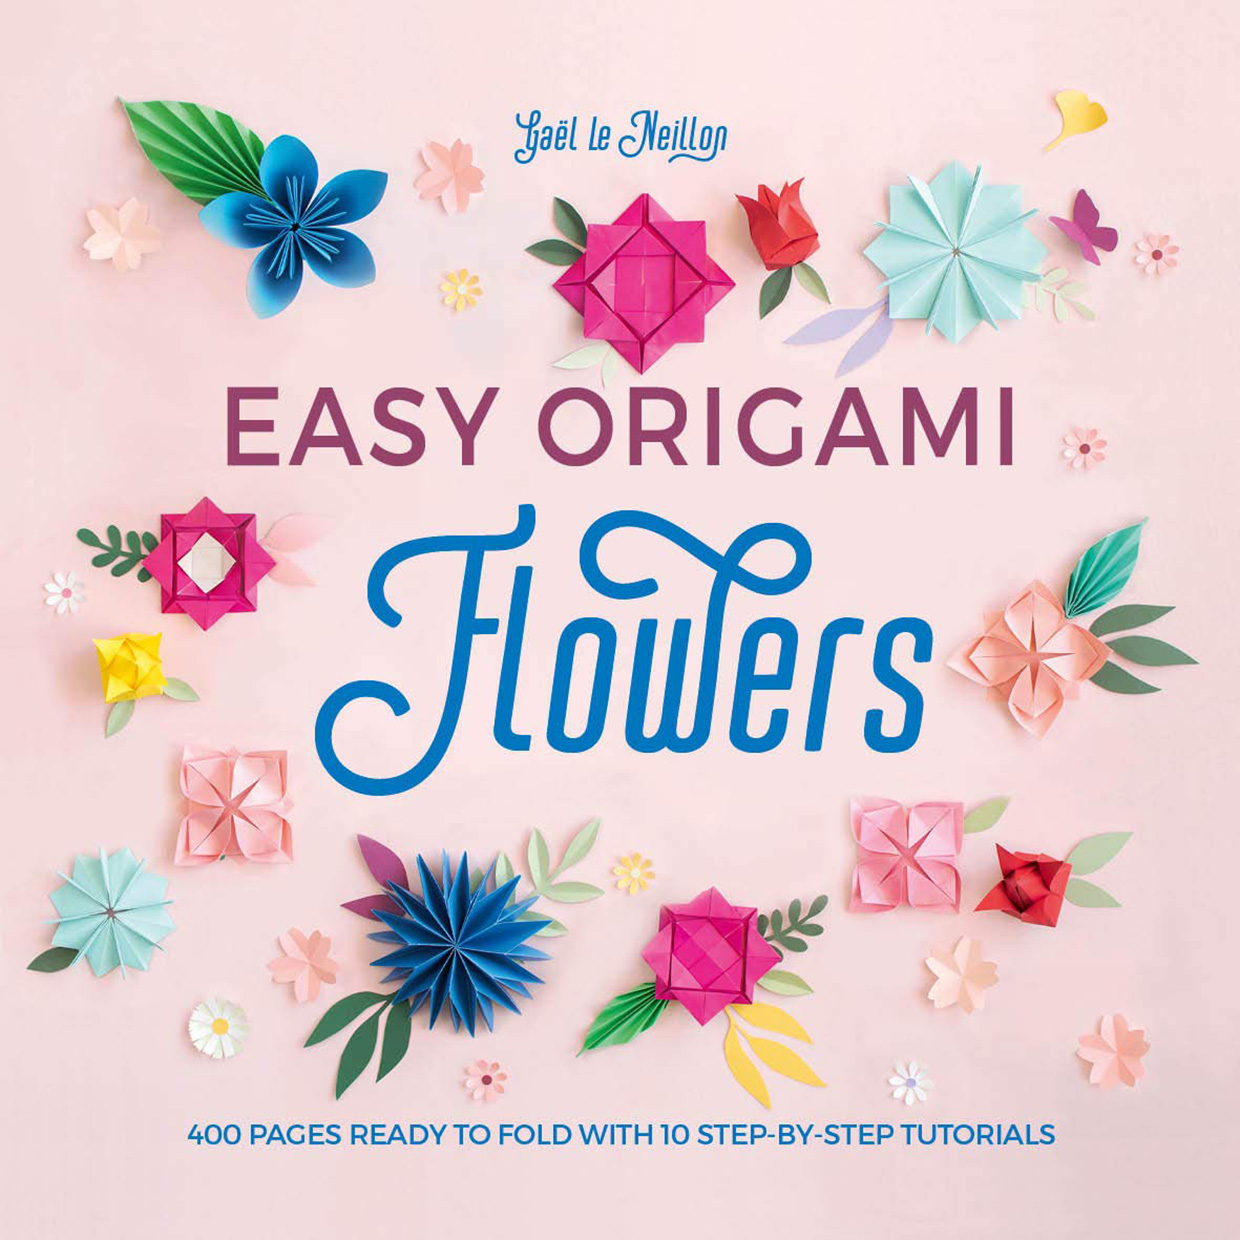
Why not make a flower to go with your origami hummingbird? As well as ten step-by-step tutorials, which include written instructions and easy-to-follow diagrams, this book comes with 400 sheets of paper to fold with. Learn how to make a rose, lily, spring flower, tulip, carnation, flower of wisdom and lotus flower, then finish off with a flower stem and pleated leaf.


Make your own origami hummingbird

This origami hummingbird tutorial is easy to make with our step-by-step instructions and photos. All you need is a square of paper to get started. Once you’re confident with the basics, you can have fun personalising your origami hummingbird by changing the position of the wings and beak.

Experiment with different colours and patterns, you could even draw on wing detail!

This origami hummingbird is a sweet little project for budding origami artists and children alike. Or perhaps you’re already a pro and just want something quick and easy to fold? If you like this tutorial, we have lots more projects to encourage your love of this ancient craft.

Discover more beginner-friendly origami projects with Gathered

If you’re interested in doing origami with the kids, then be sure to check out these fantastic ideas; easy origami projects for kids. Each one has been carefully curated by our experts, and we’re confident you’ll find something you’ll love.

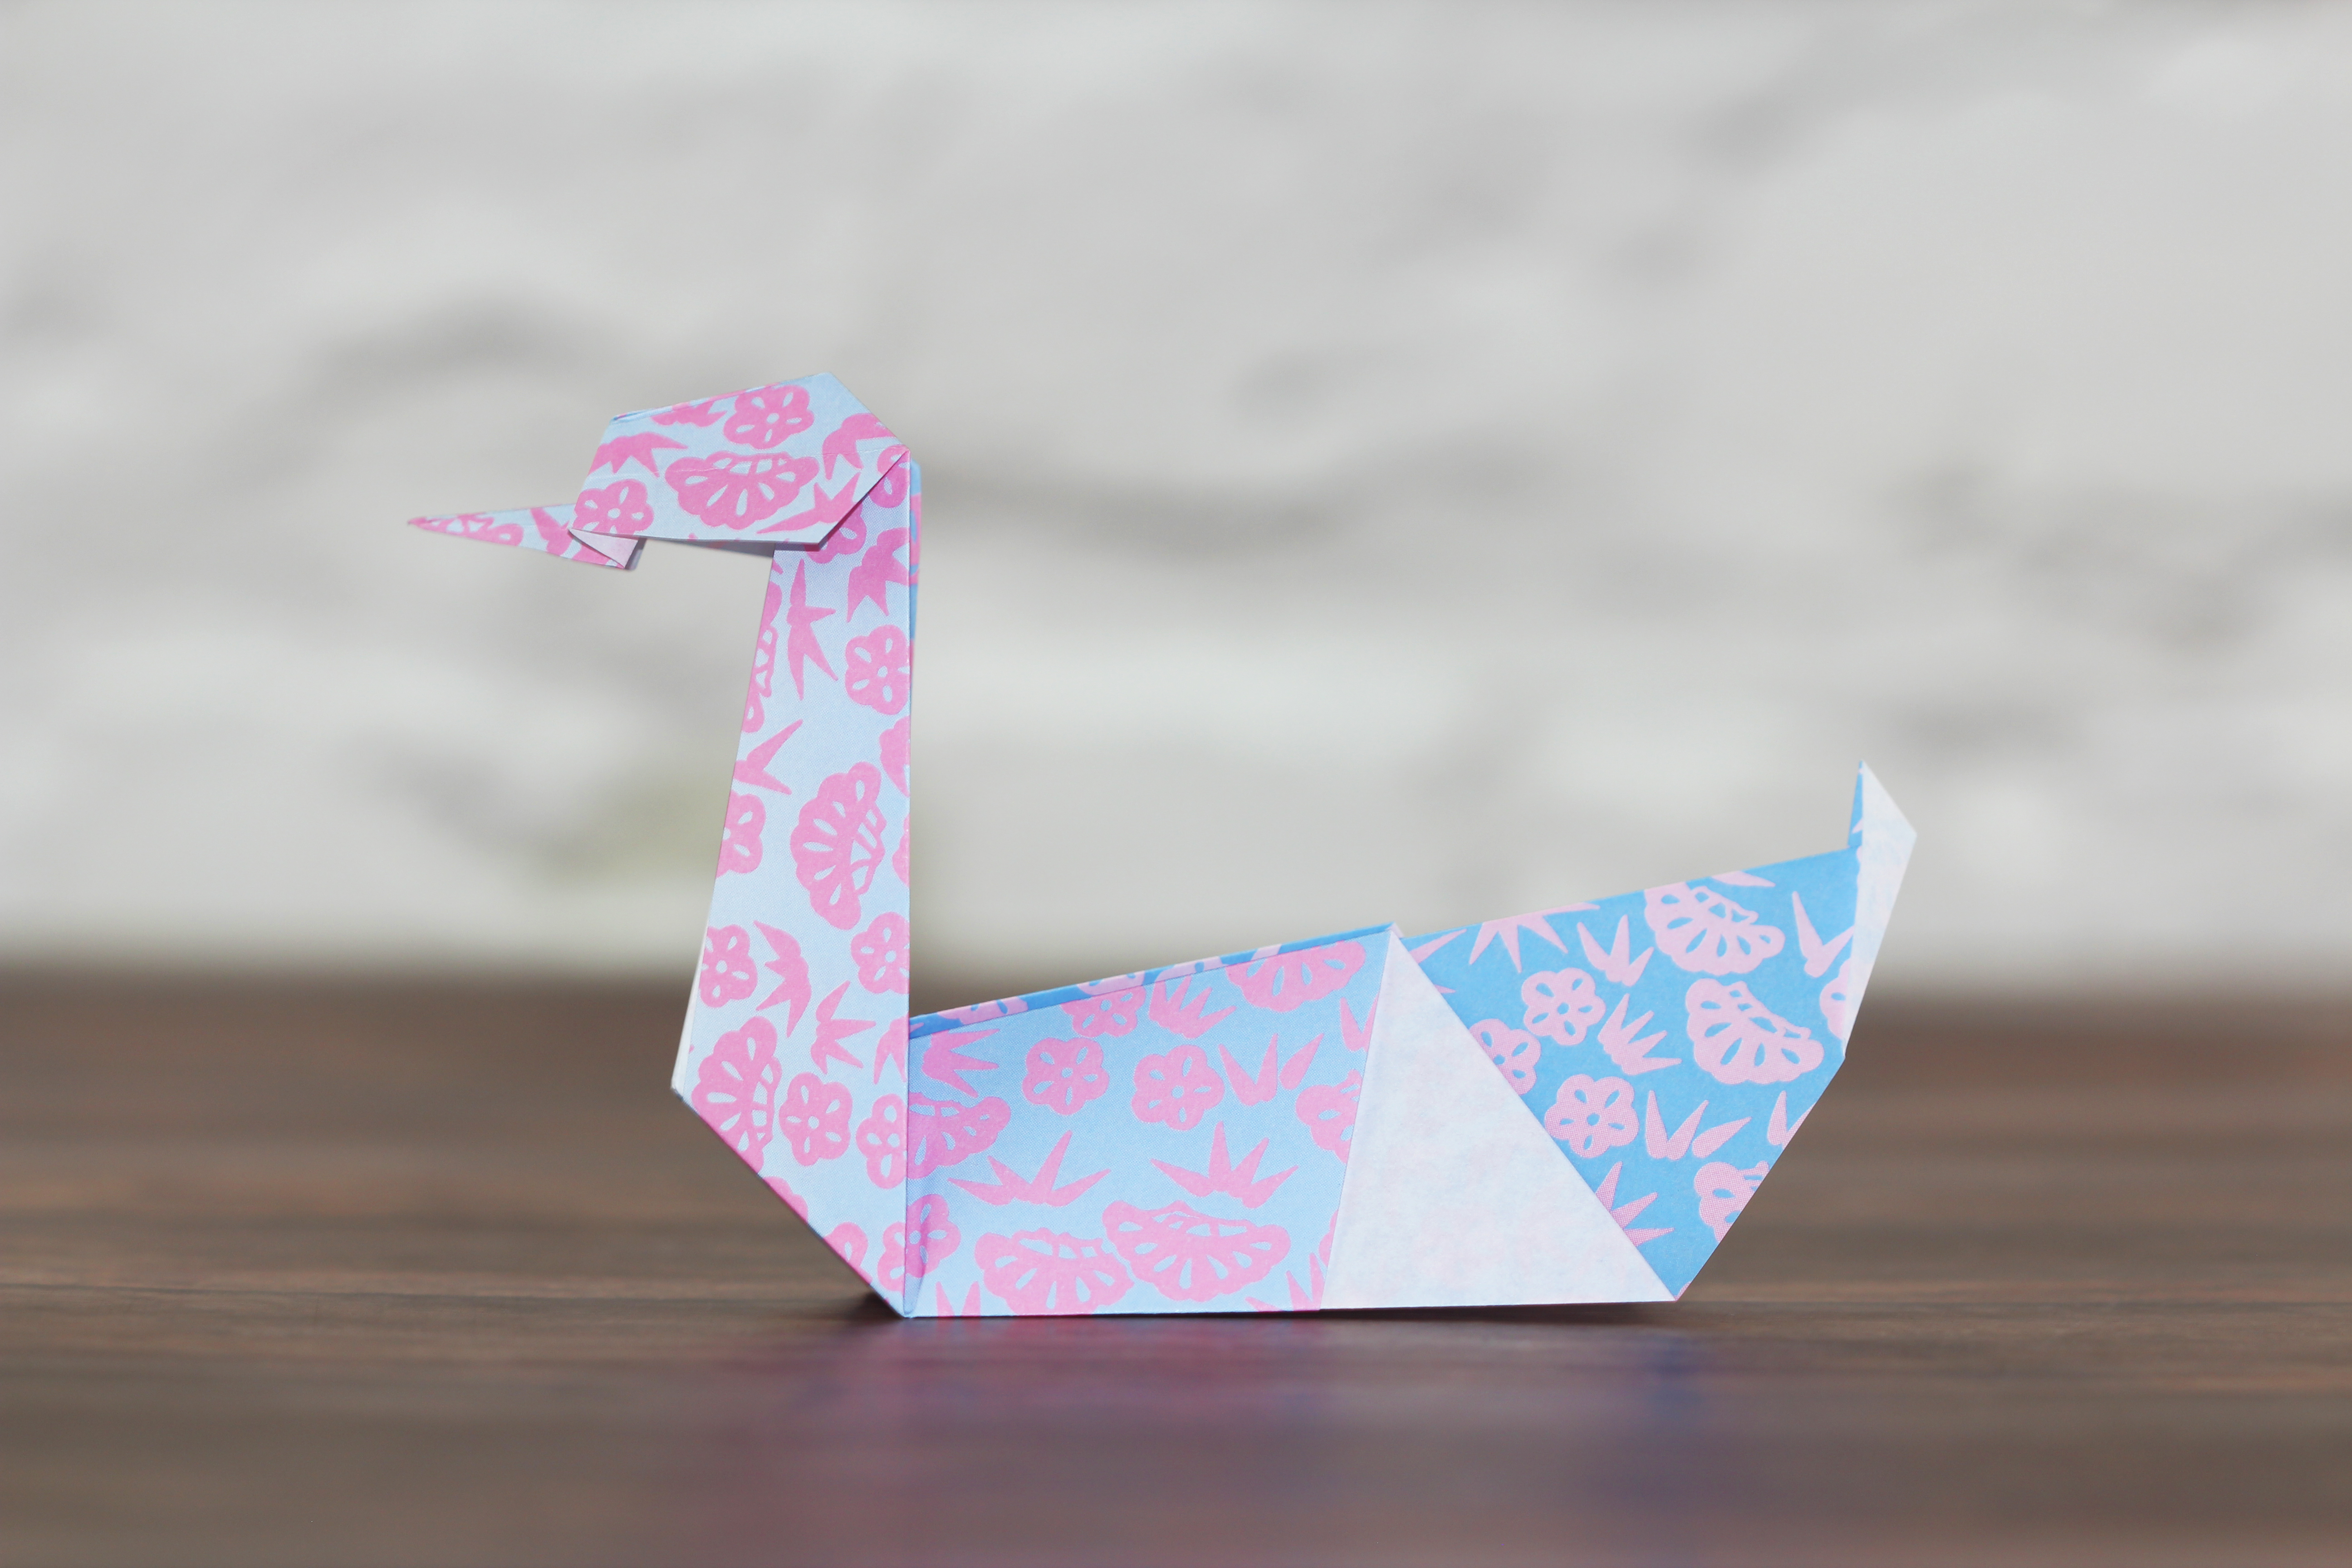
And if you like our origami tutorials, did you know we have an ever-expanding library of origami instructions, right here on Gathered? They all have photo steps, so we’ll guide you every step of the way. Why not check out this super easy origami swan? There are only a few steps to this tutorial, so it’s ideal for folding quickly, but it yields fantastic results.

How to make an origami swan 2