How to make an origami bat for Halloween
All products were chosen independently by our editorial team. This review contains affiliate links and we may receive a commission for purchases made. Please read our affiliates FAQ page to find out more.

How to make an origami bat for Halloween

Learn how to fold this playful origami bat for kids with our step-by-step tutorial, including helpful pictures to guide you every step of the way.

Published: April 29, 2024 at 8:49 am

Although an ancient art form dating back centuries, part of the reason origami is so endearing today, is that it’s accessible to all – and doesn’t require huge amounts of stash to create something fantastic.

The combination of precise folds and a little imagination allows us to transform a simple square of paper into all manner of creatures, boxes, and toys.

In this article, we invite you into this enchanting world by learning to craft an adorable origami bat. As you carefully fold and shape the paper, you’ll see it transform from a flat surface into a cute, playful creature of the night – ideal for quick and easy Halloween decorations.

Why not make a whole colony for your front door? Or as a super-easy way to decorate a pumpkin?

Our origami bat instructions are designed with young learners in mind, ensuring that the folding process remains accessible and enjoyable for children and adults of all ages.

So, grab a square of paper and let’s go!
origami-bat-main2

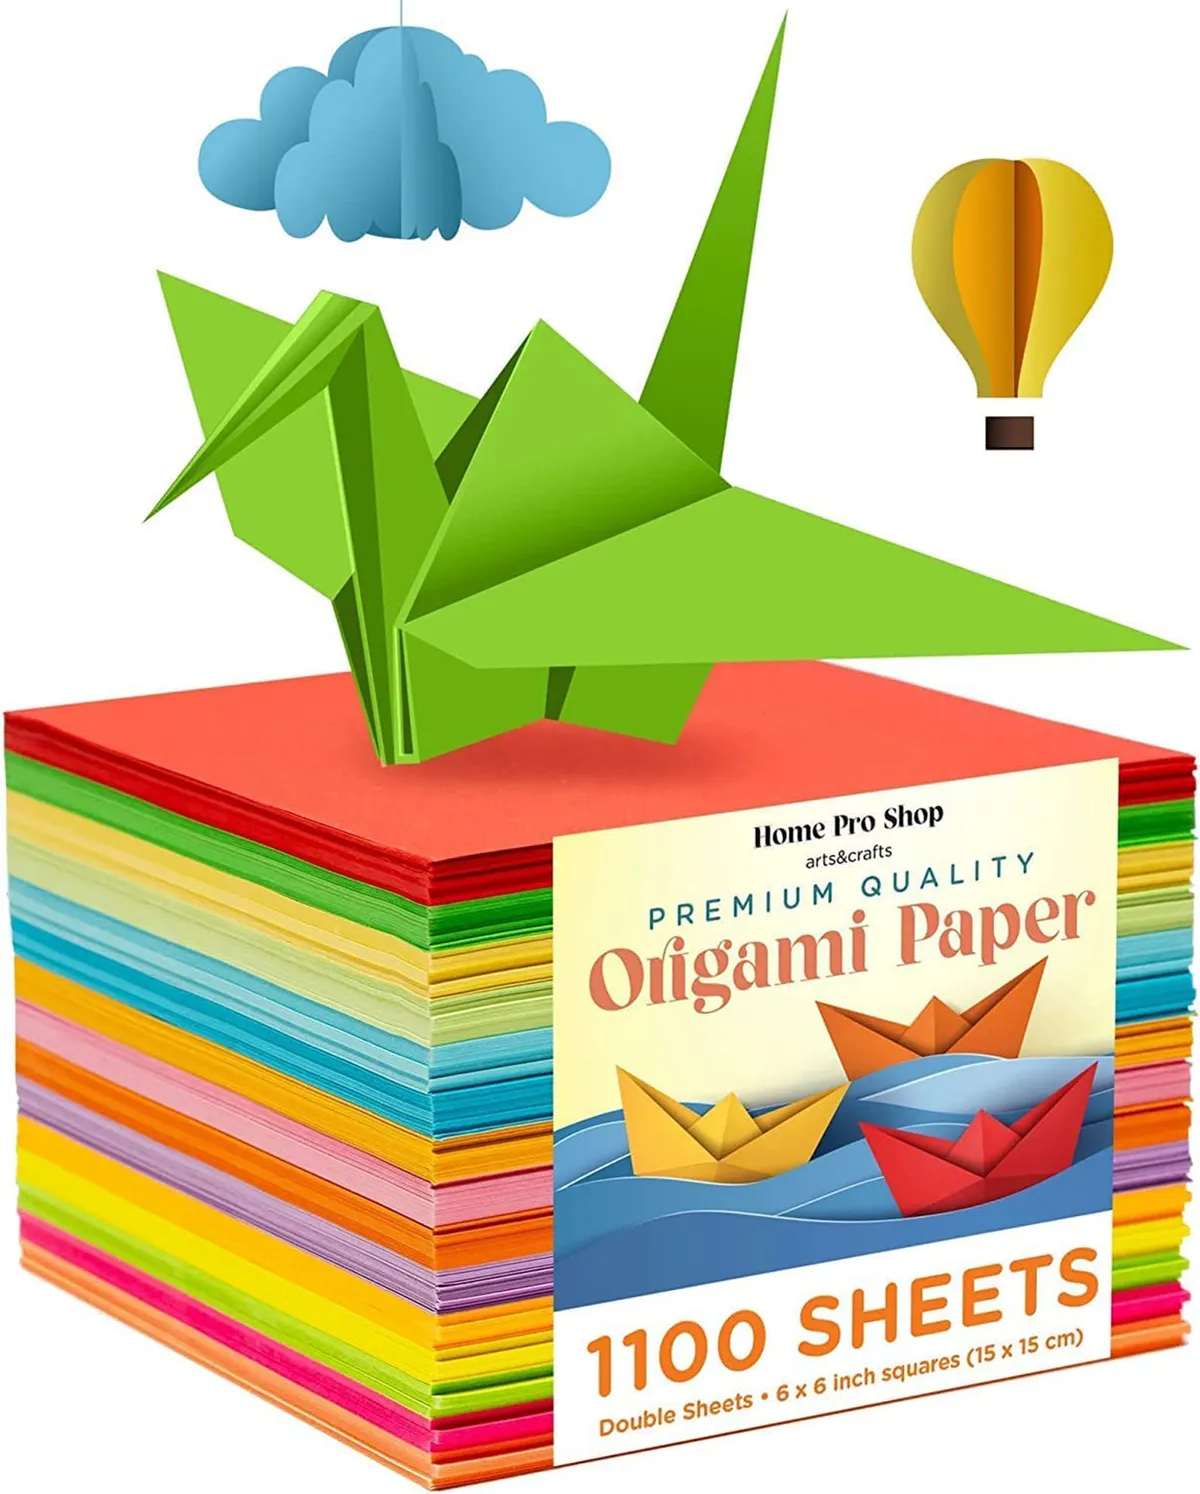
Grab your favourite origami paper

Premium origami paper

  • Buy now from Amazon (£15.99)
Premium origami plain paper

You can make your origami bat out of any paper, patterned or plain, but while you’re learning this project it’s a great idea to have a stash of plain origami paper that you can go crazy with.

This pack contains a whopping 1,100 sheets and is double-sided, too. So, if you don’t make your folds absolutely perfect, the same-coloured reverse will help disguise any misalignments.

The 15x15cm size is the most popular paper dimension for origami, which is great for learning!


How to make an easy origami bat: A step-by-step tutorial with pictures

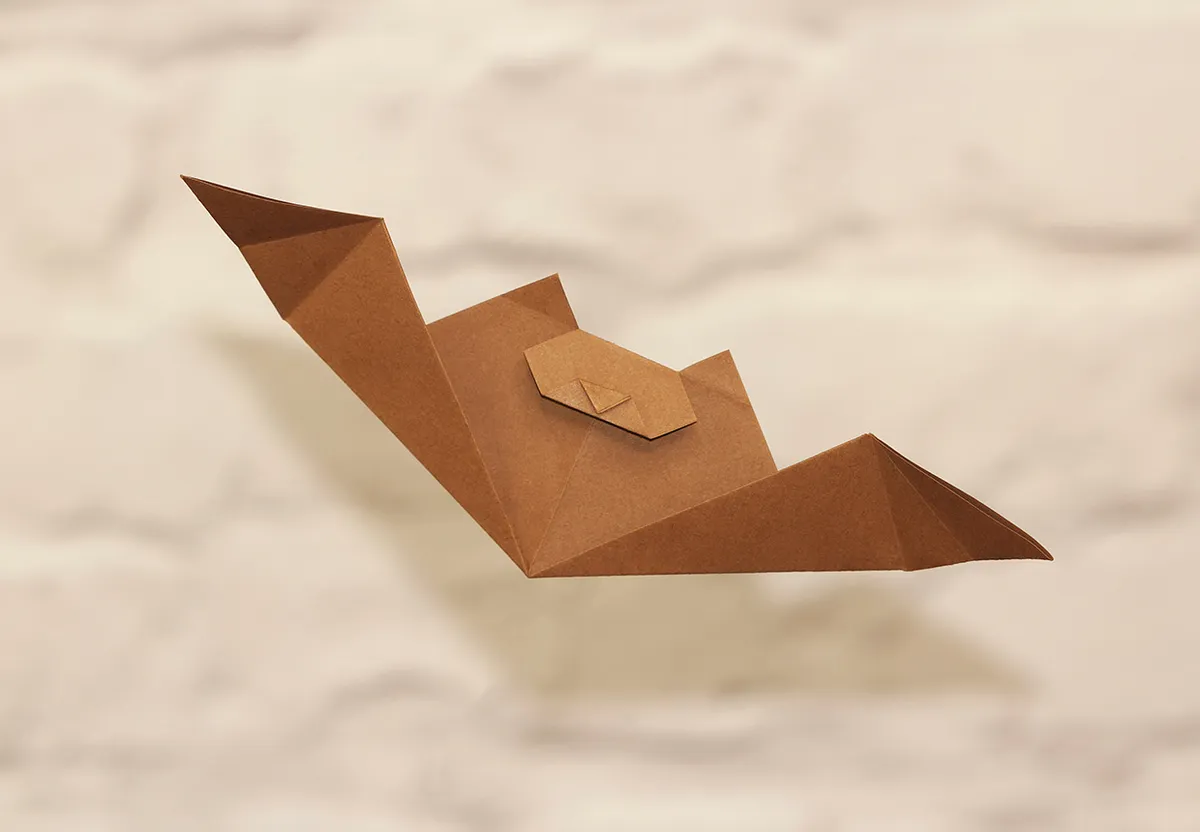
This fun origami bat is made from a single square of paper. We’ve opted for a realistic brown colour, but why not experiment with other Halloween colours, like purple or black?

As this paper bat tutorial includes making two small snips into the model to create the ears, technically this makes it kirigami… but we won’t tell if you won’t. It’s a fun project, and we guarantee you’ll enjoy making it.

For these origami bat instructions, we have used paper that is brown on both sides.
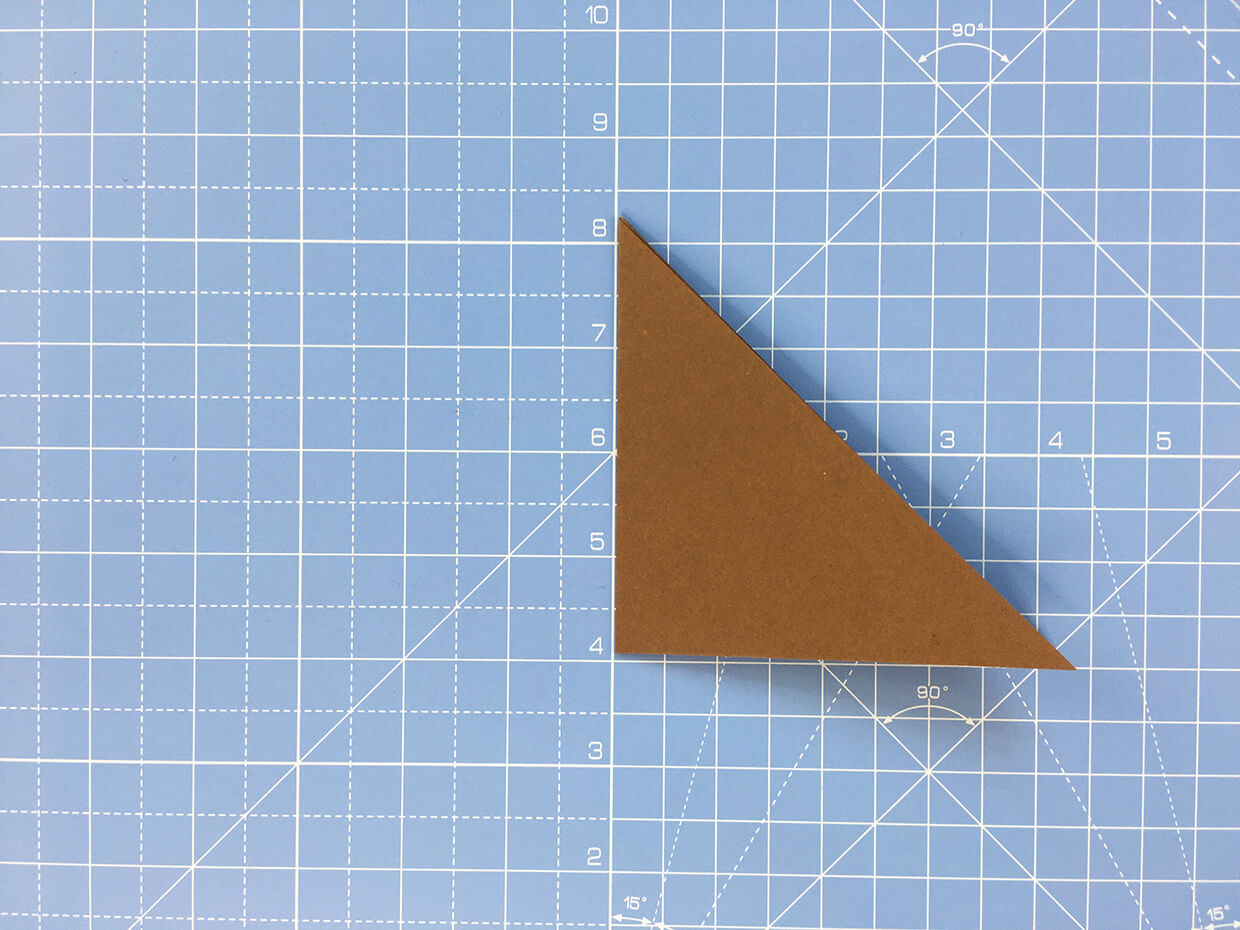
Step 1

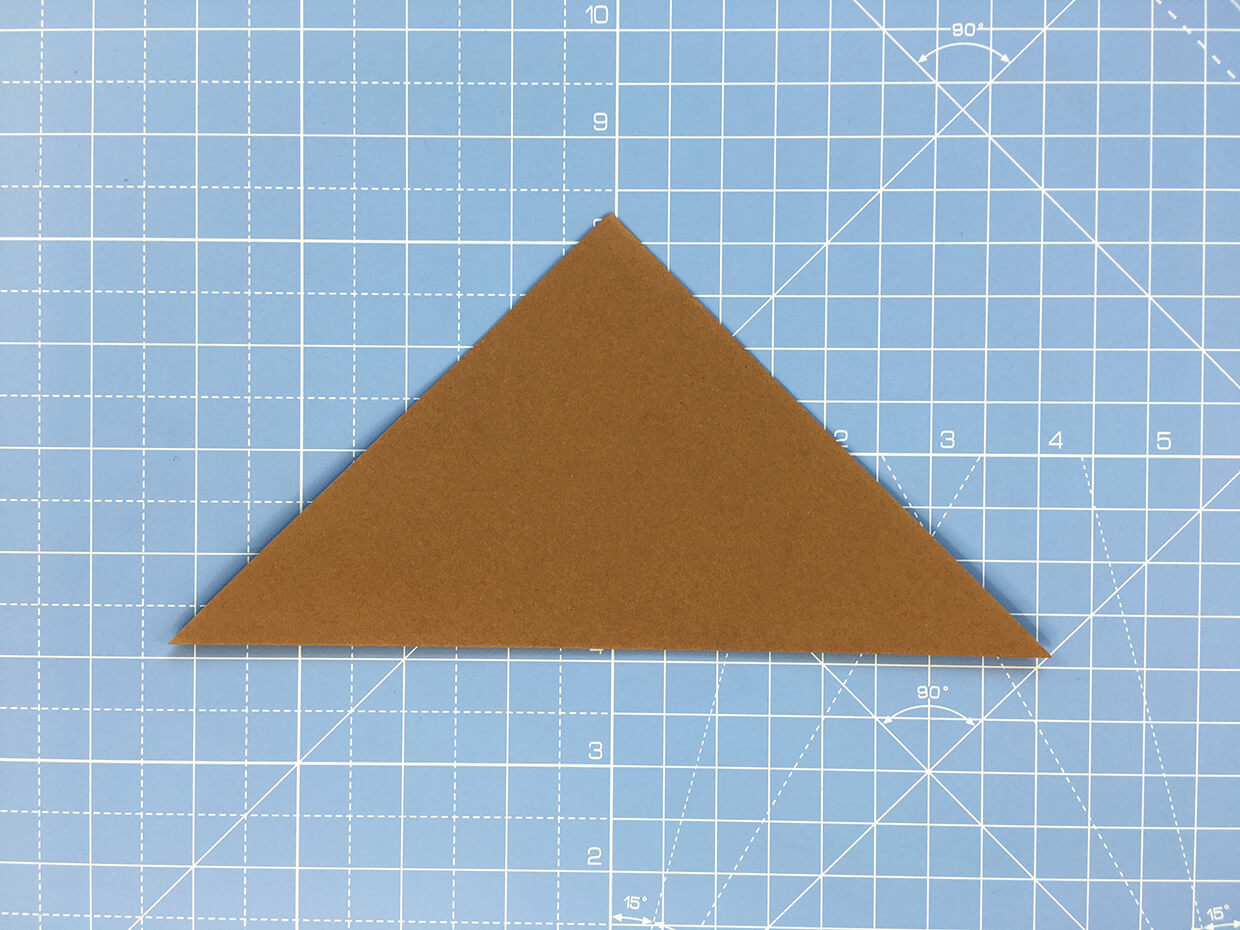
Start with a square of 15x15cm paper. If you’re using paper that is different on the reverse, start with the reverse side facing up. Fold in half along the diagonal.

How to make an origami bat – step 1

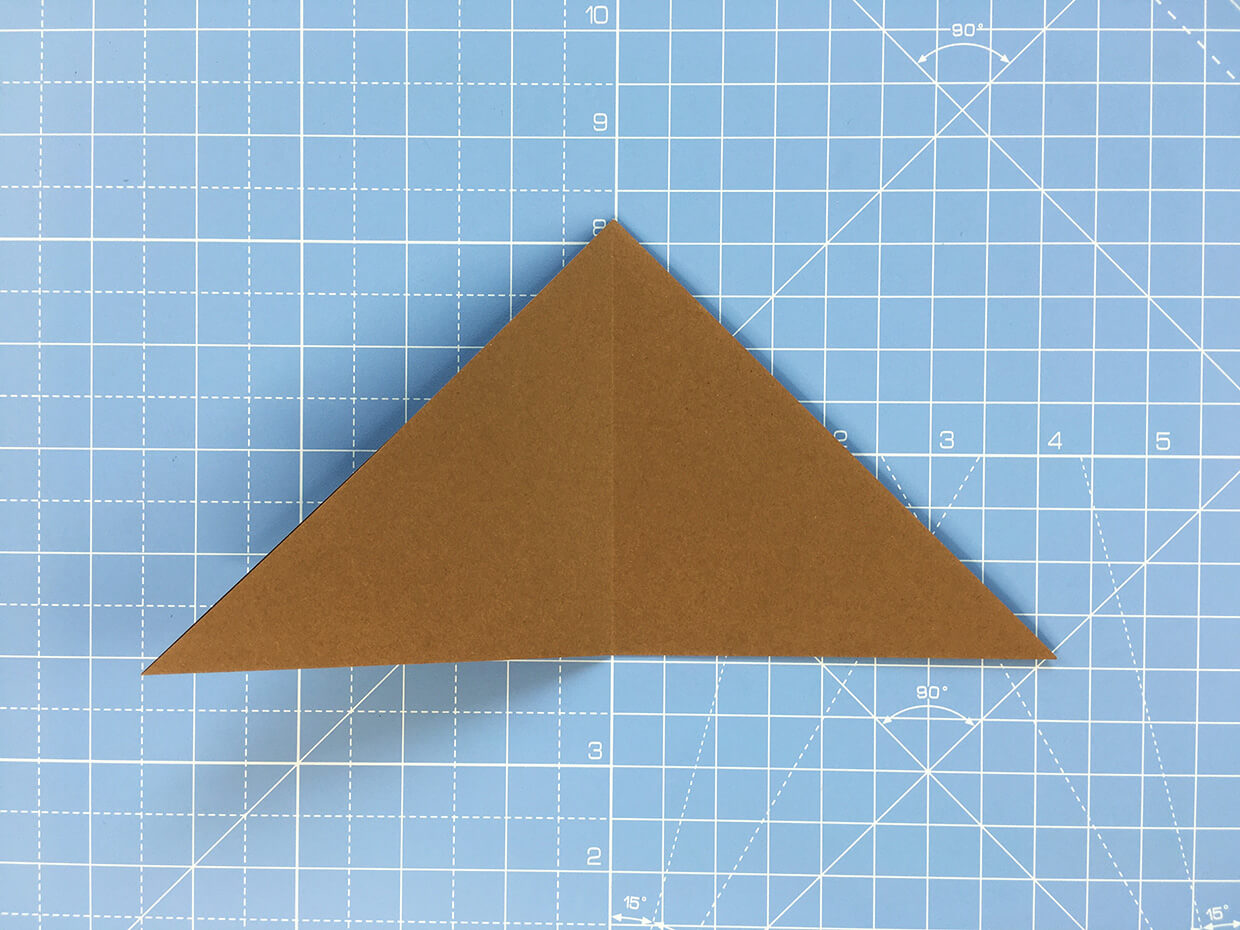
Step 2

Fold the paper in half again, corner to corner, then unfold.

How to make an origami bat – step 1
Step 2a


How to make an origami bat – step 2b
Step 2b

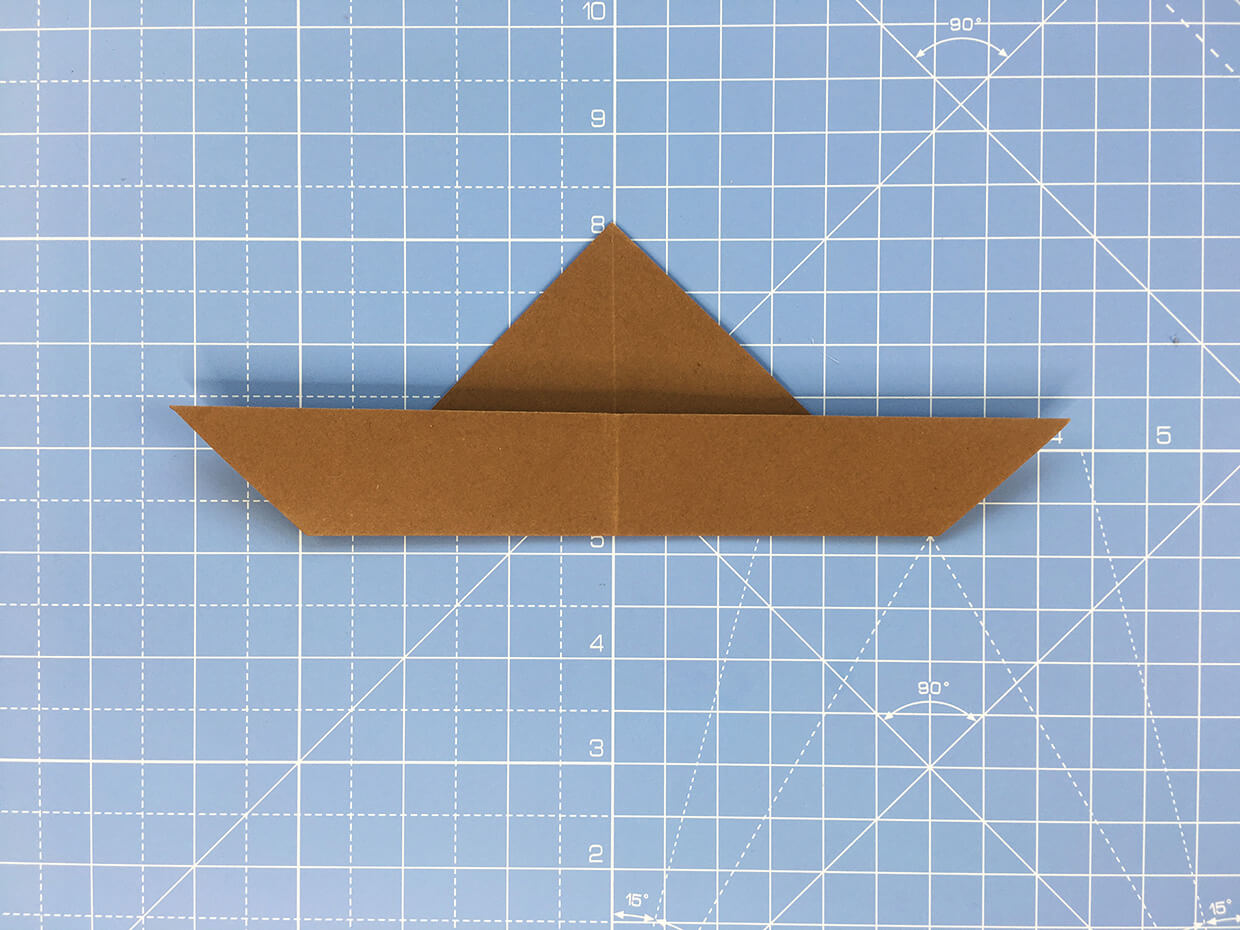
Step 3

Fold the bottom edge up to create a boat (or hat) shape. Position the fold around 1/3 up from the bottom.

How to make an origami bat – step 3

Step 4

Turn the paper over.

How to make an origami bat – step 4

Step 5

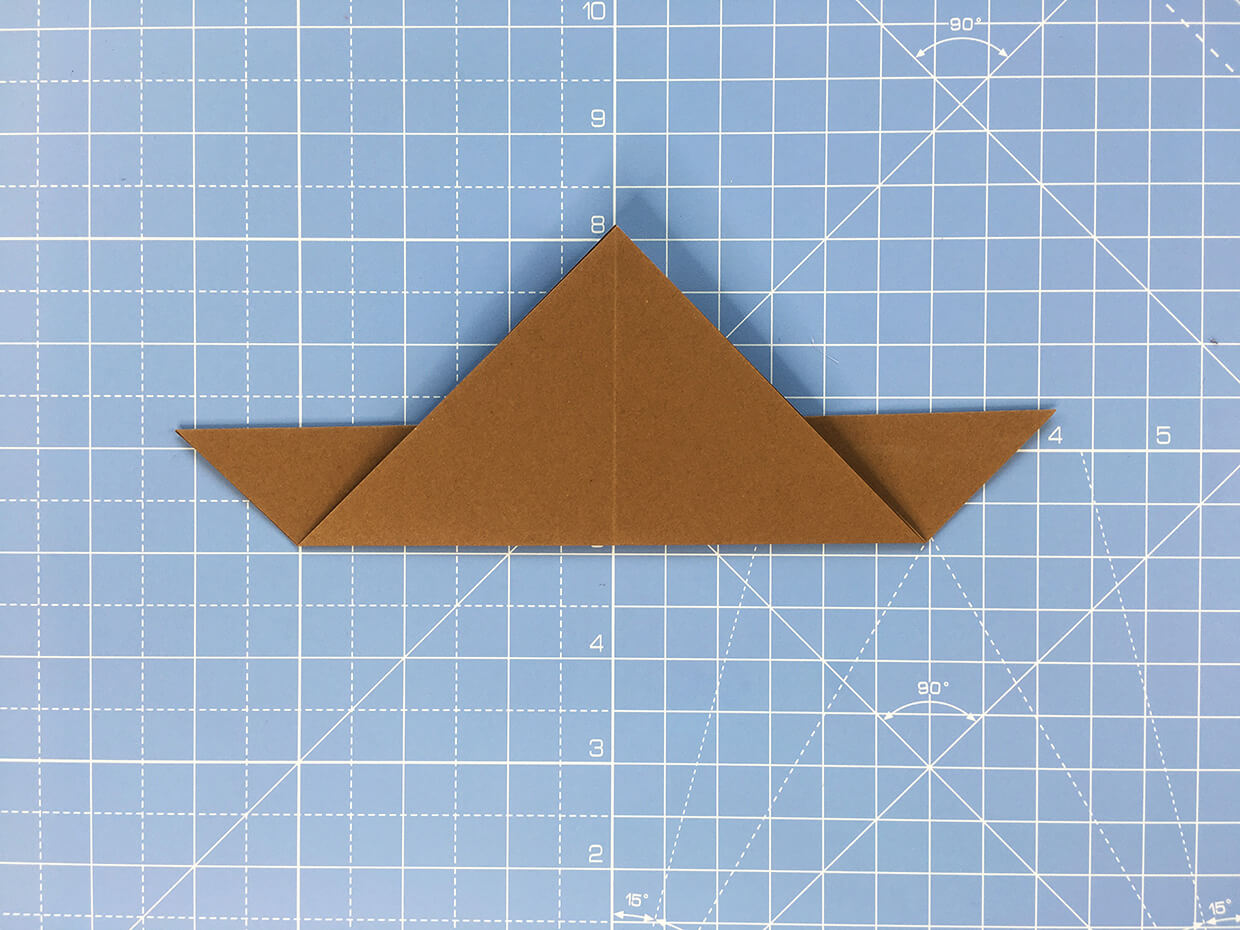
The next step is to create the wings. Fold the bottom right-hand corner up, keeping the top of the wing horizontal. Burnish the fold to ensure a crisp crease.

How to make an origami bat – step 5

Step 6

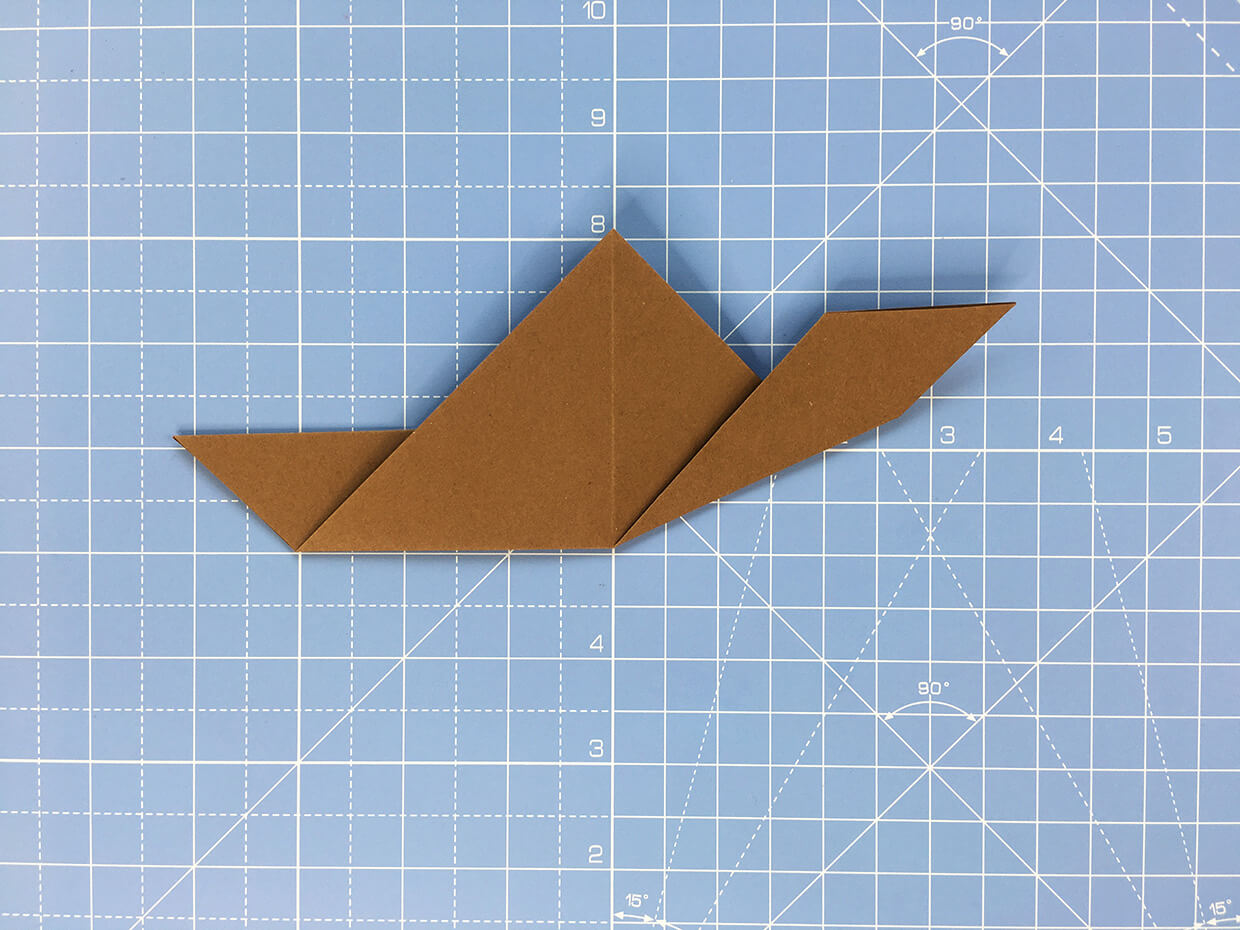
Repeat on the left-hand side for the second wing.

How to make an origami bat – step 6

Step 7

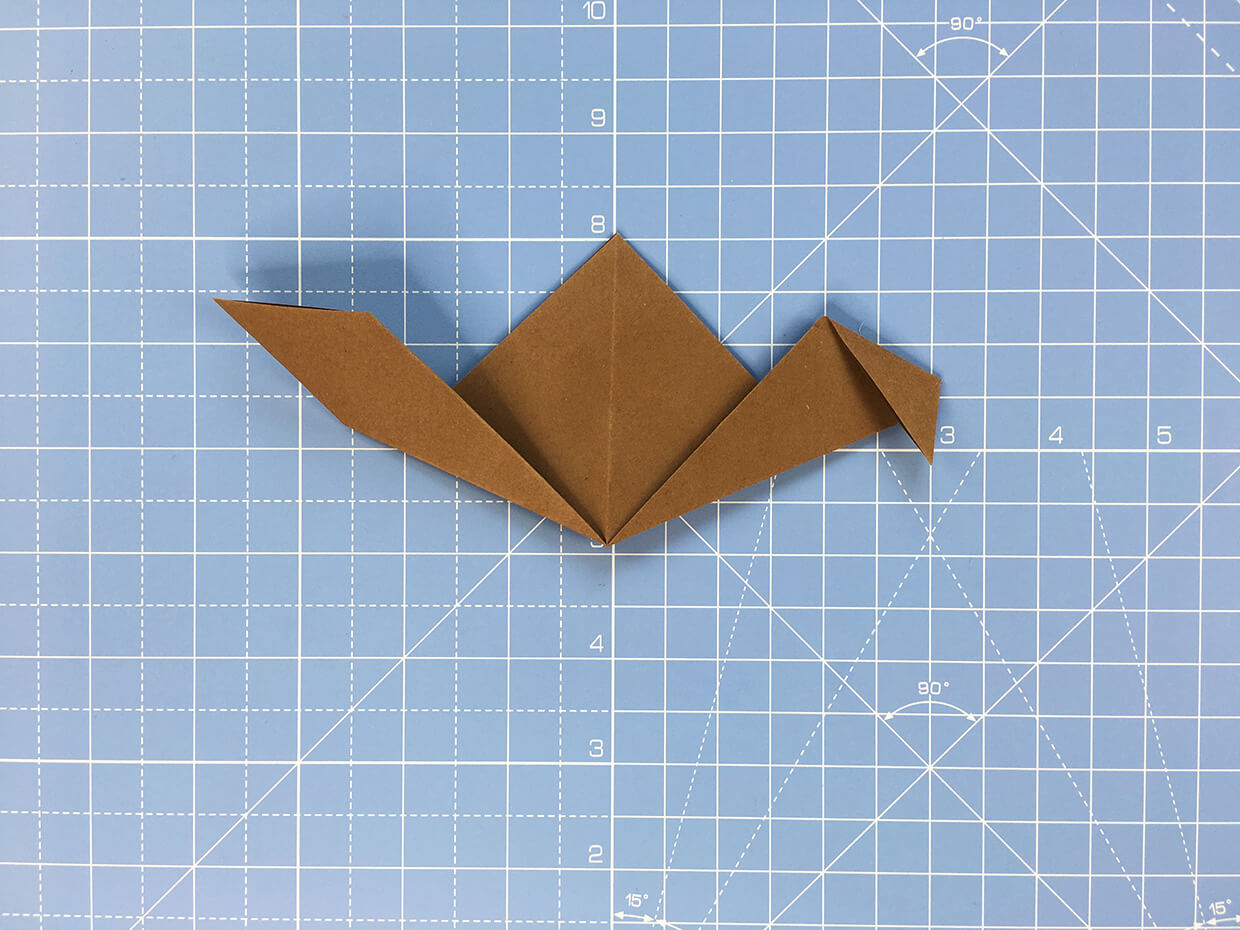
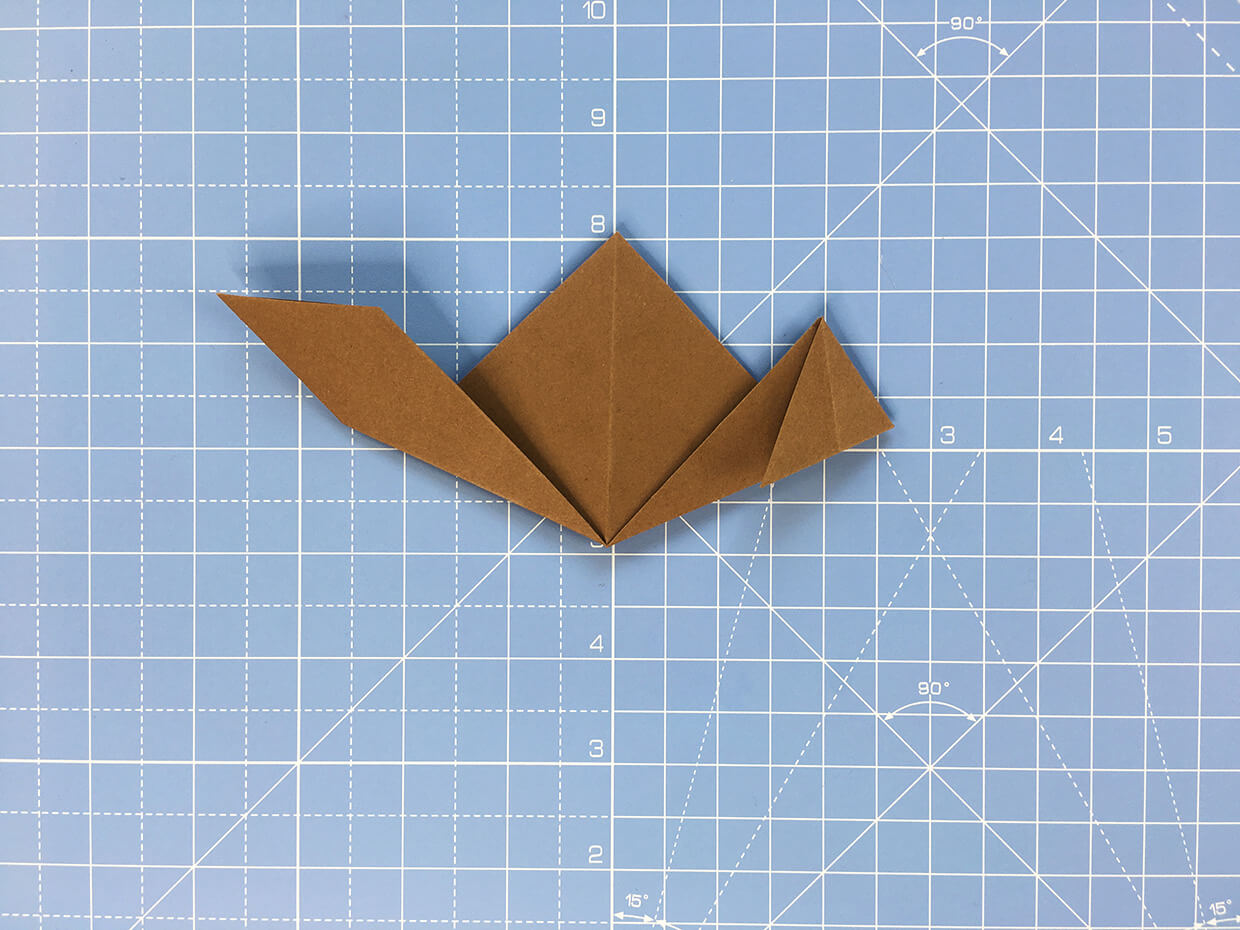
Next, we’re going to shape the wings and start to give your bat some character. Fold the tip of one of the wings down and burnish the fold.

How to make an origami bat – step 7

Step 8

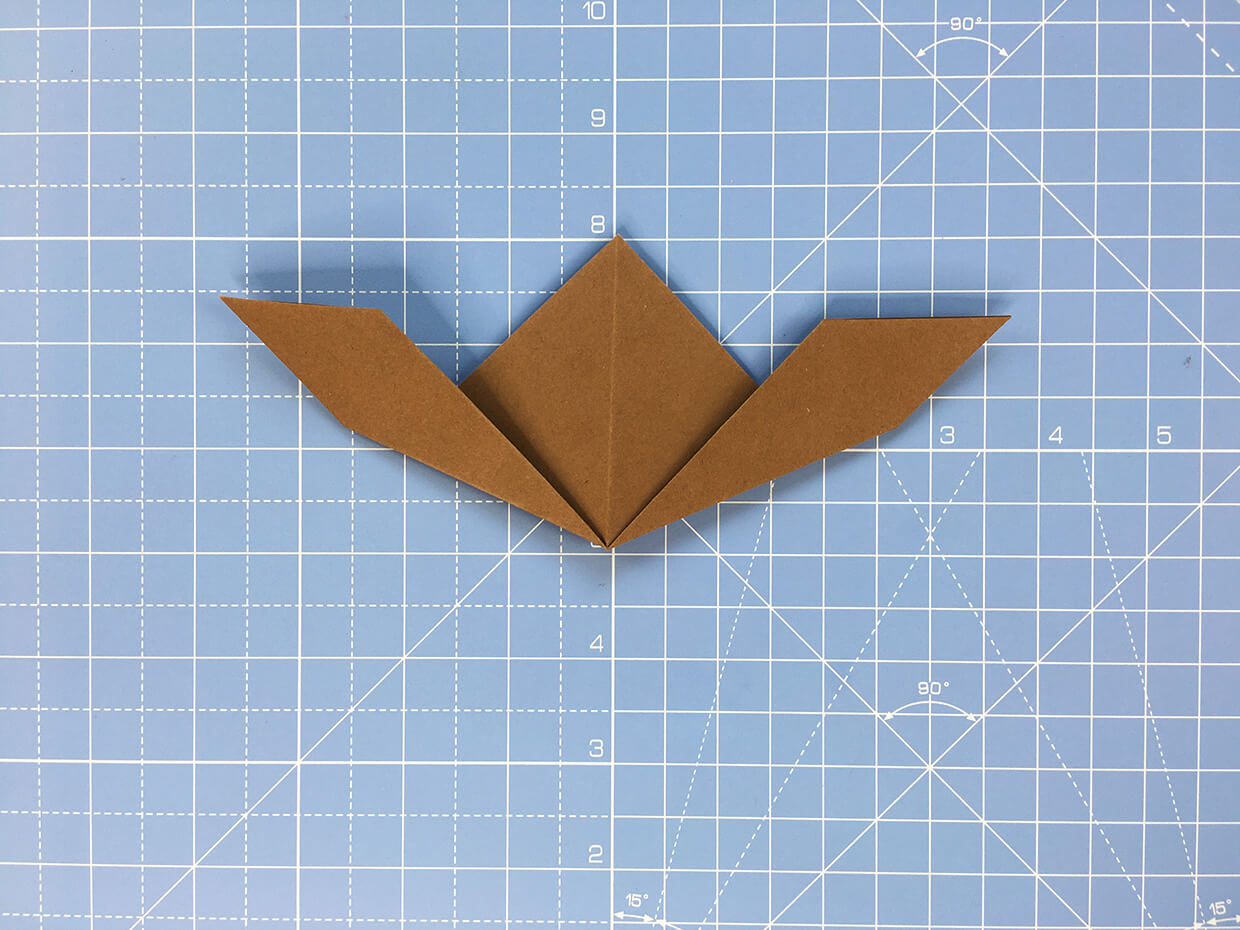
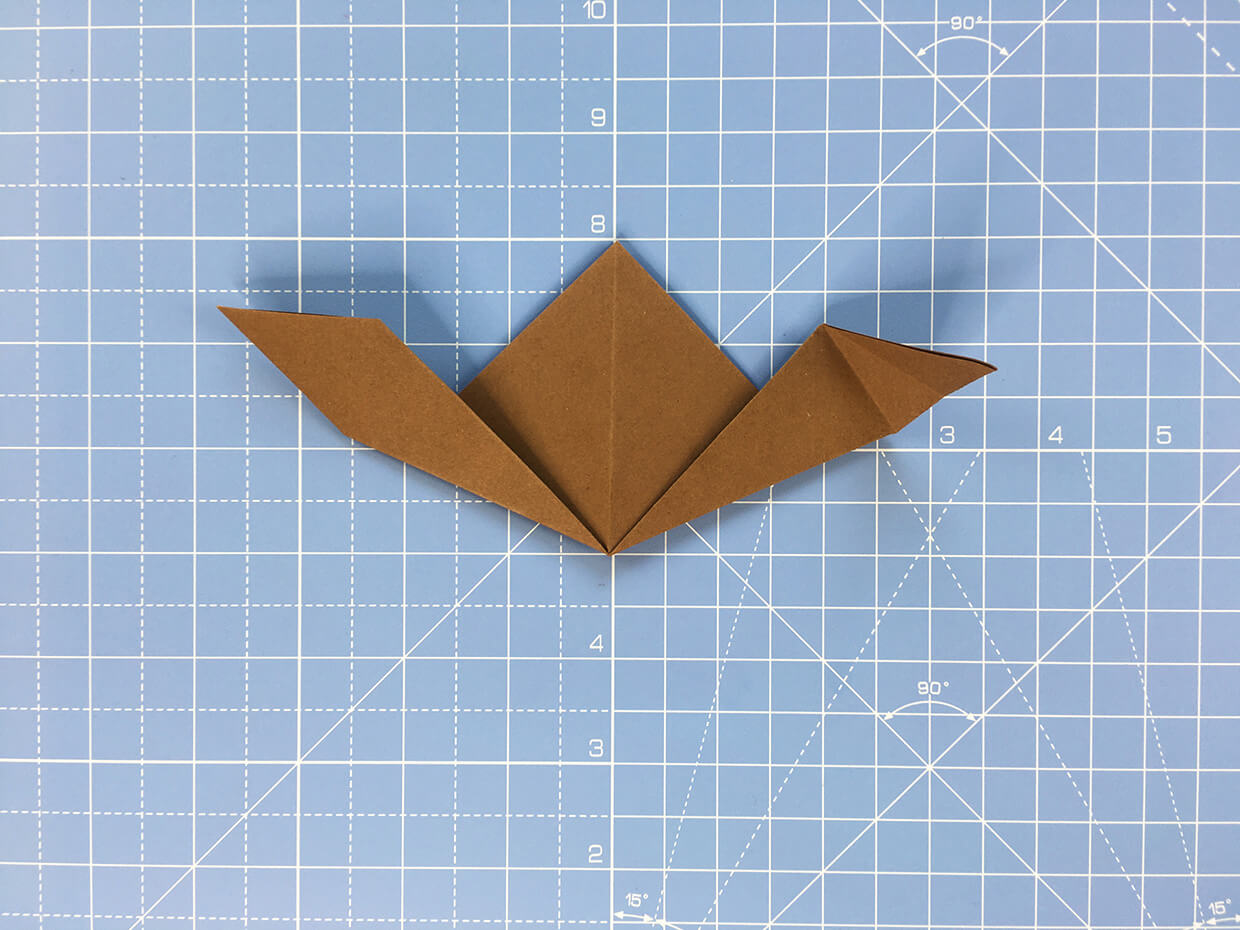
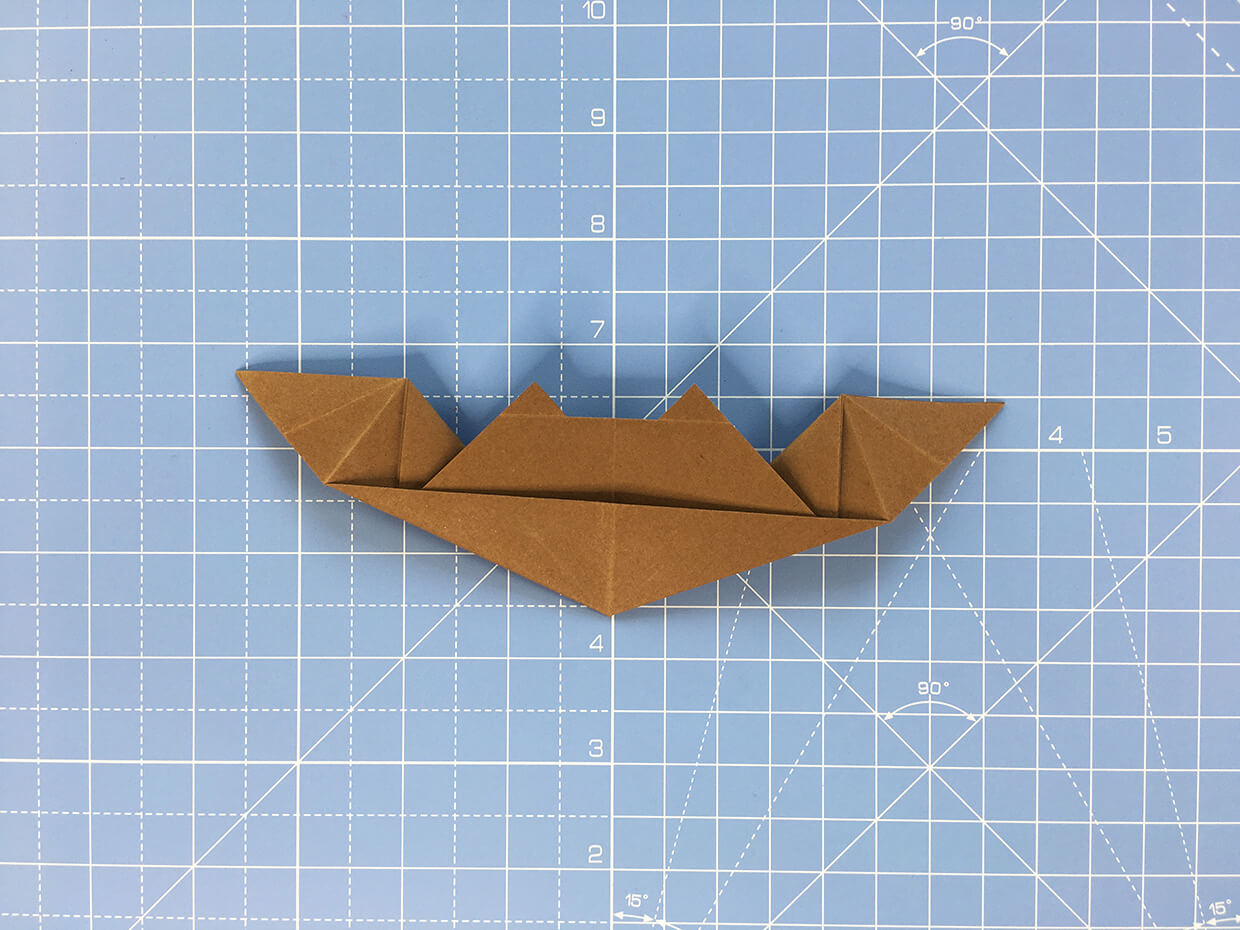
Working on the same wing, fold the wing down again to create a second fold and make it appear more bat-like. Unfold to complete the first wing.

How to make an origami bat – step 8a
Step 8a


How to make an origami bat – step 8b
Step 8b

Step 9

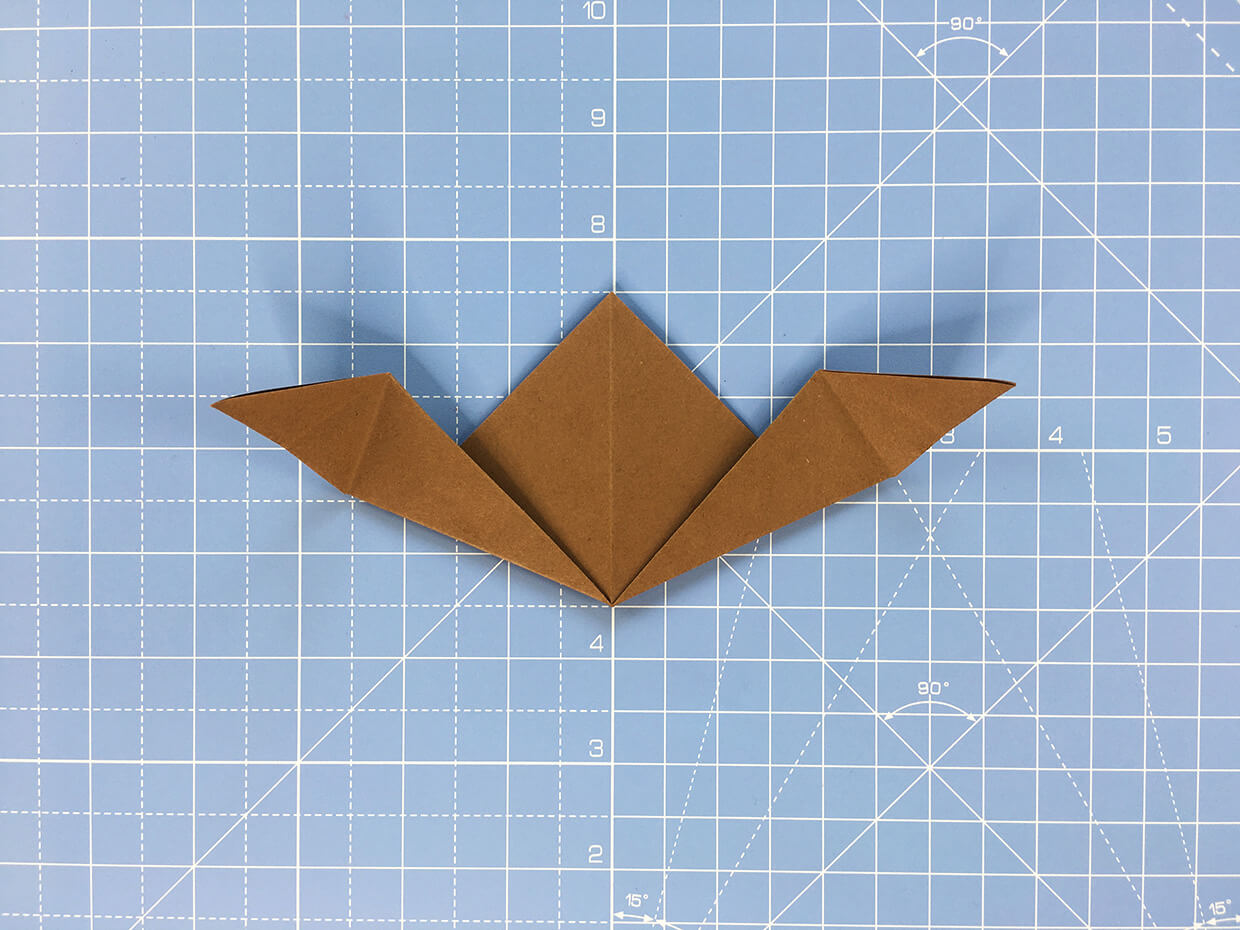
Repeat for the other wing.

How to make an origami bat – step 9

Step 10

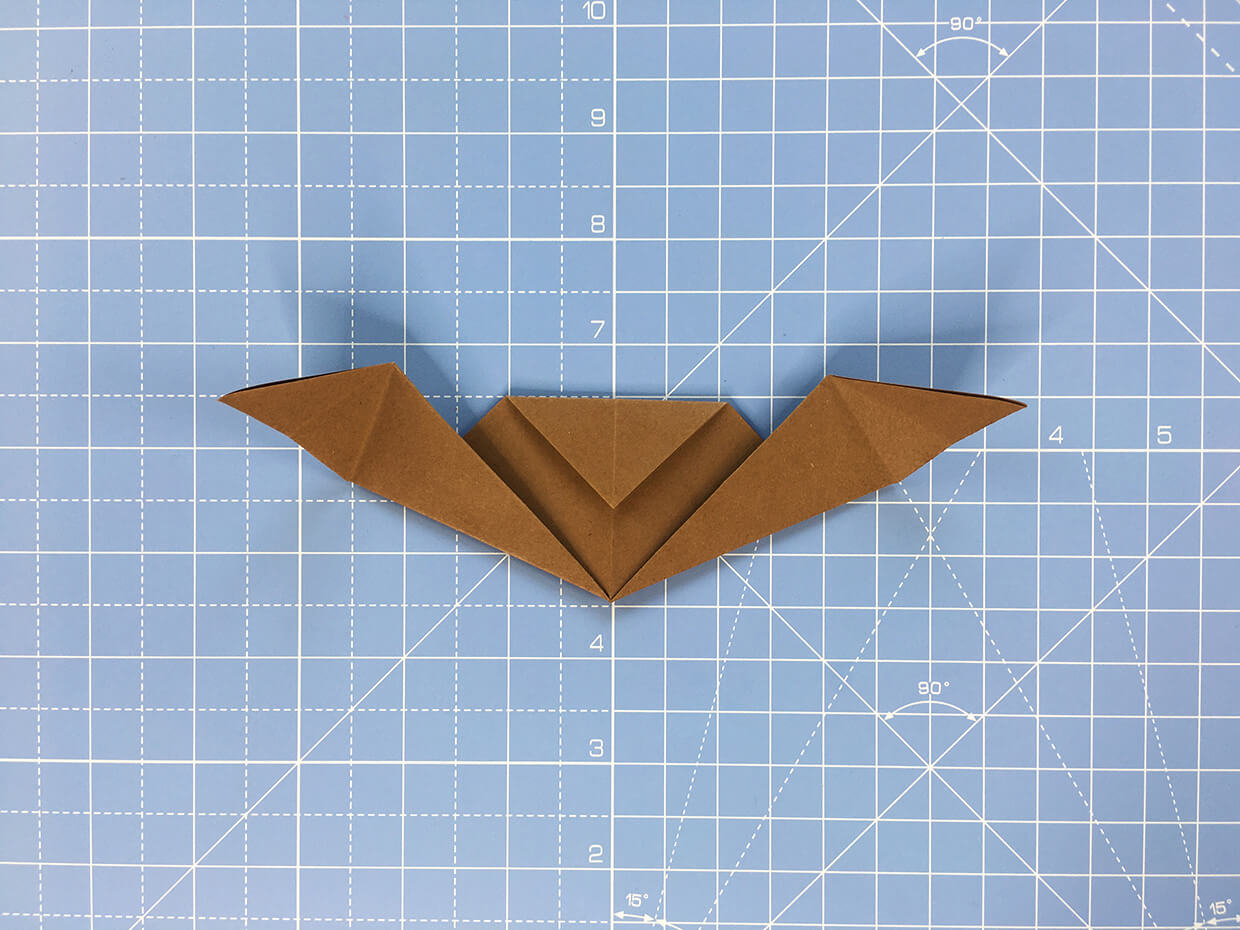
For the head, fold both layers of the top corner down. Leave around 1cm space between the bottom of the head and the top of the wings.

How to make an origami bat – step 10

Step 11

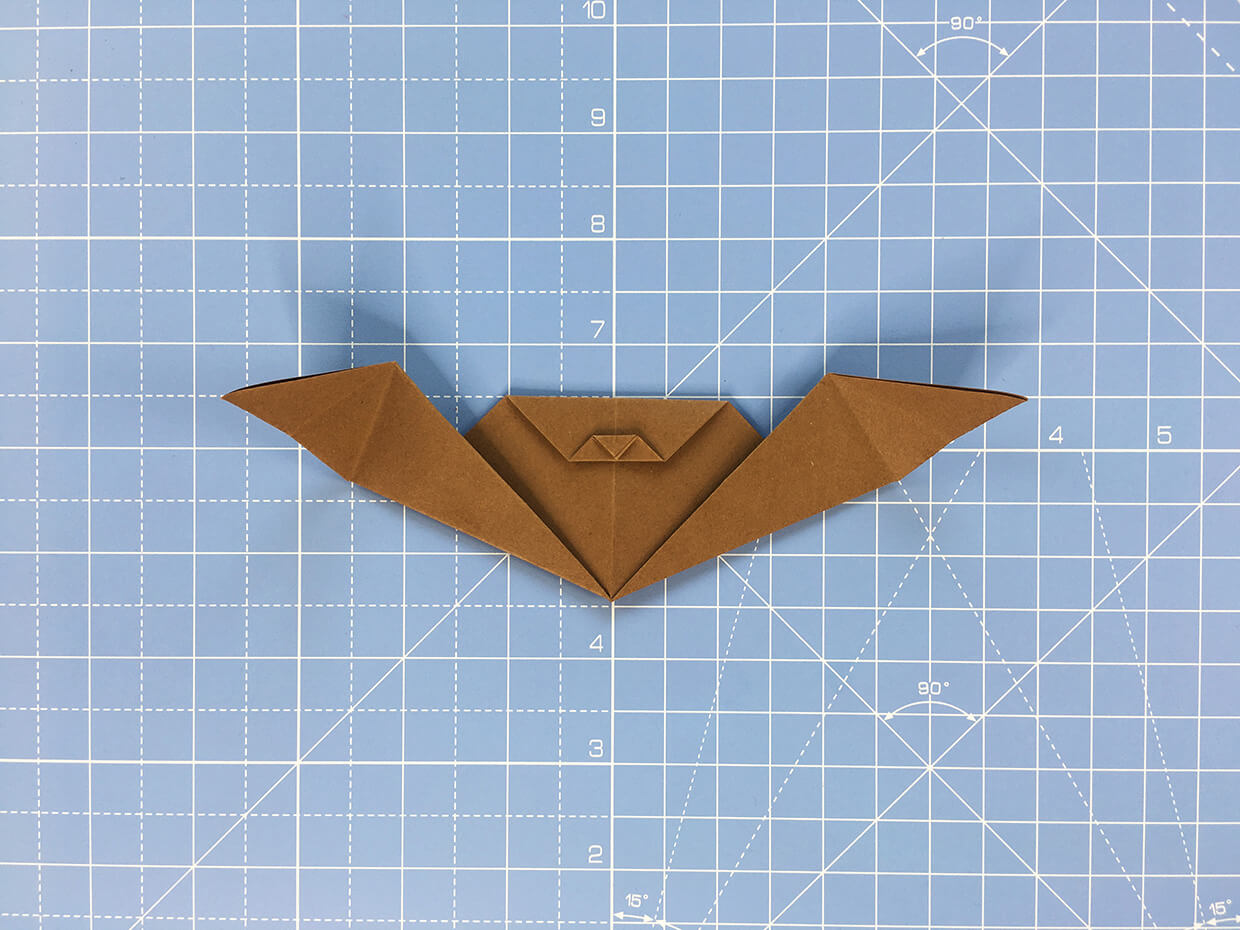
Fold the tip of the head up, to create an upturned nose. Leave a little bit of space between the tip of the nose and the top of the head.

How to make an origami bat - step 11

Step 12

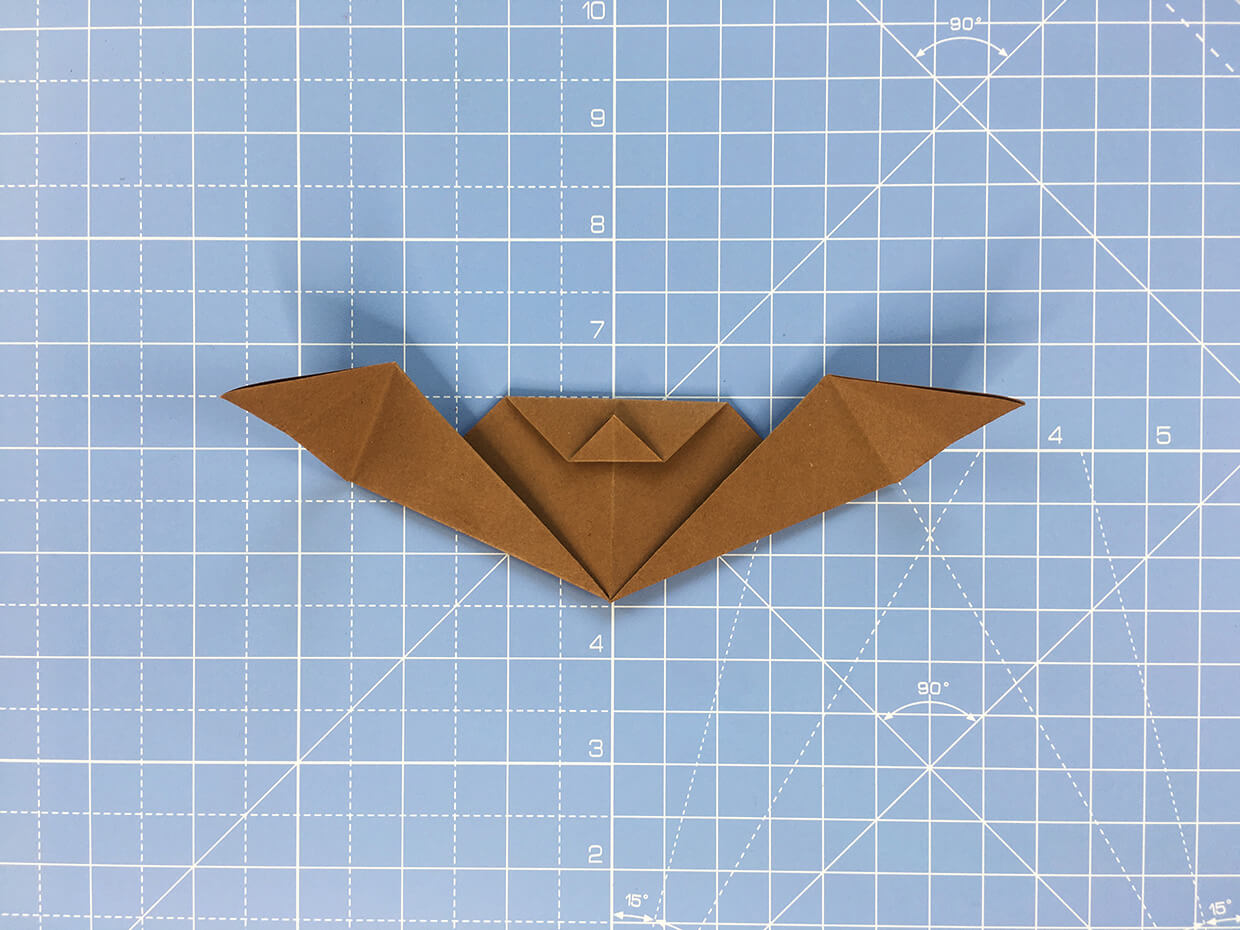
Fold the tip of the nose down again, lining it up with the bottom of the head. It’s starting to look like a bat!

How to make an origami bat - step 12

Step 13

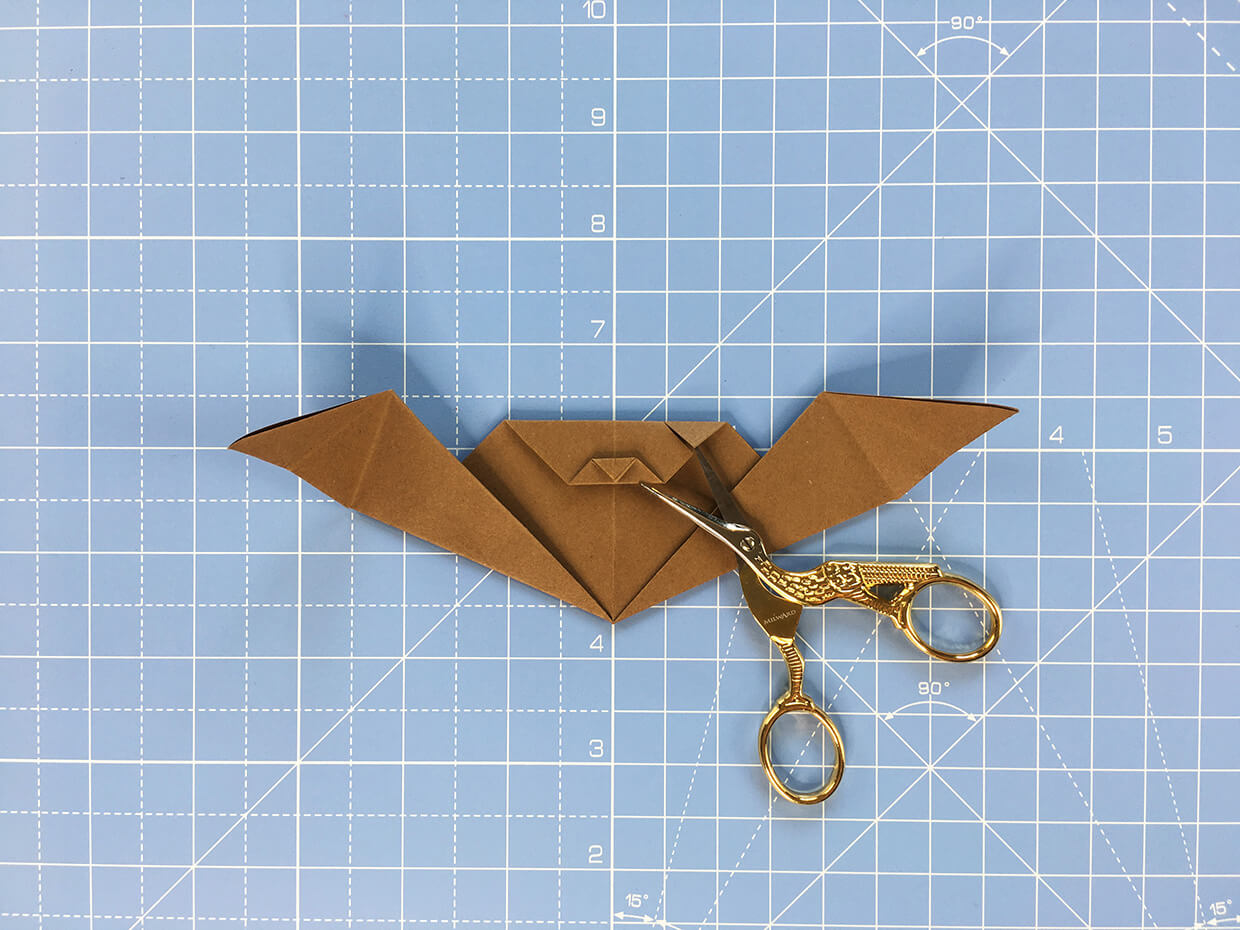
To make the ears, take a small pair of scissors, and make a small cut on the side of the head, parallel with the nose. Fold this new, small flap up to create the ear.

How to make an origami bat - step 13a
Step 13a
How to make an origami bat - step 13b
Step 13b

Step 14

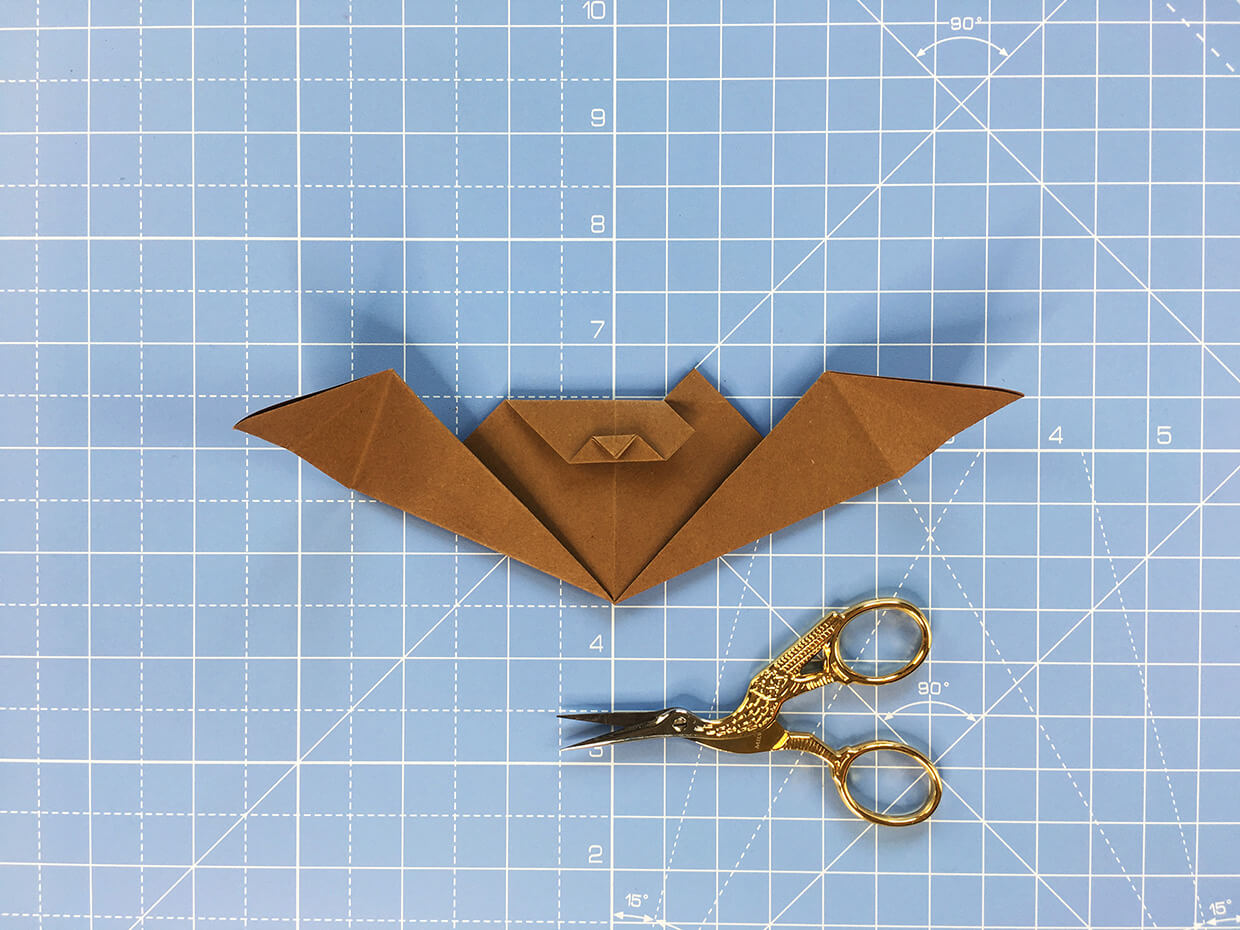
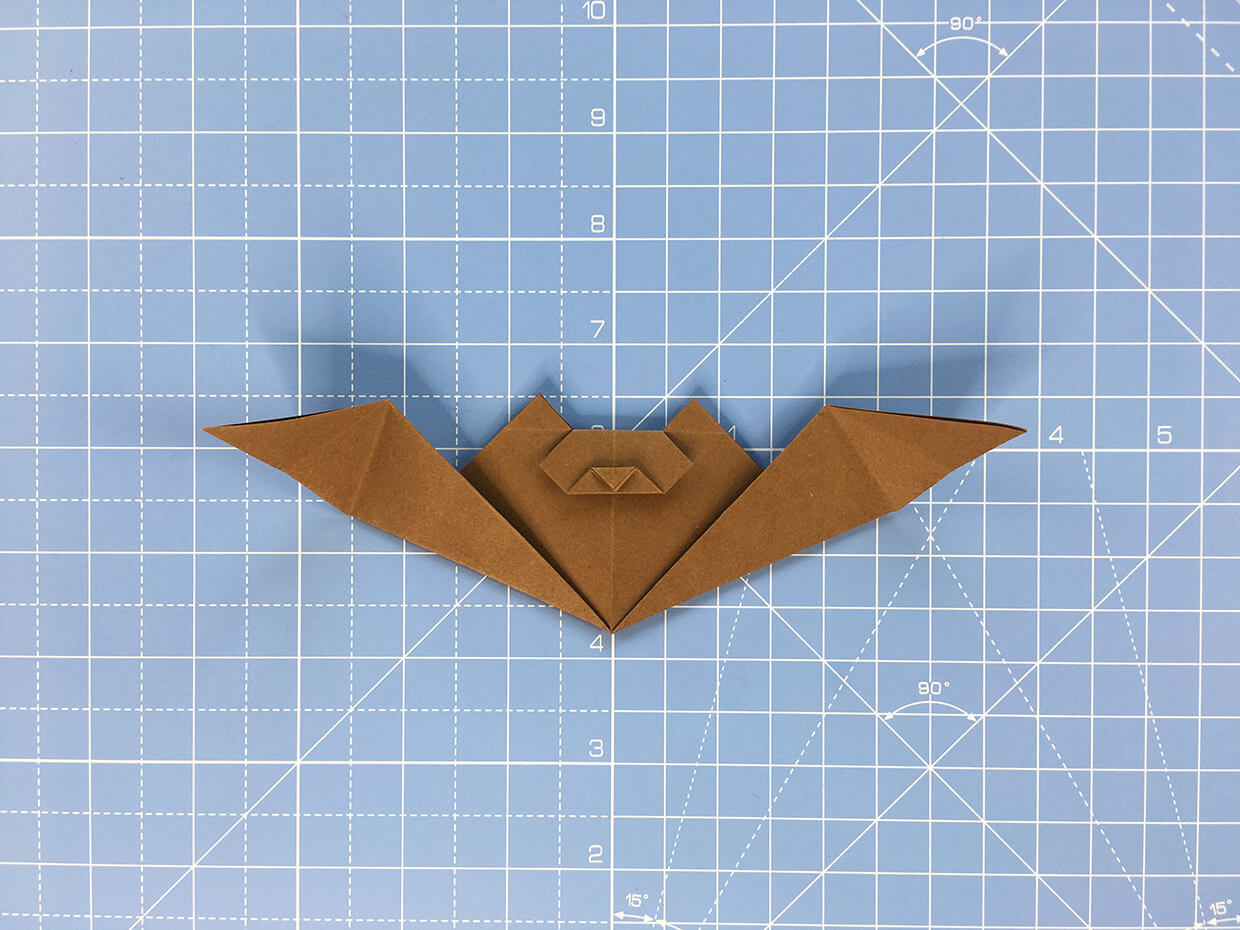
Repeat on the other side and fold up the second ear. Congratulations, you have completed your easy origami bat!

How to make an origami bat - step 14 - the finished origami bat from the front
Step 14 (Front of the bat)
How to make an origami bat - step 14b - the finished origami bat from the back
Step 14 (back of the bat)

What you need to make your own origami bat

Small scissors

Milward scissors out of packaging

You can’t go wrong with a pair of Milward scissors. Although these are technically embroidery scissors, the fine blades are ideal for origami (or kirigami) as they can get into even the most intricate of folds. These are the ones we used for this tutorial to make the origami bats ears, and the classic design will look great in your craft stash.

Halloween origami book

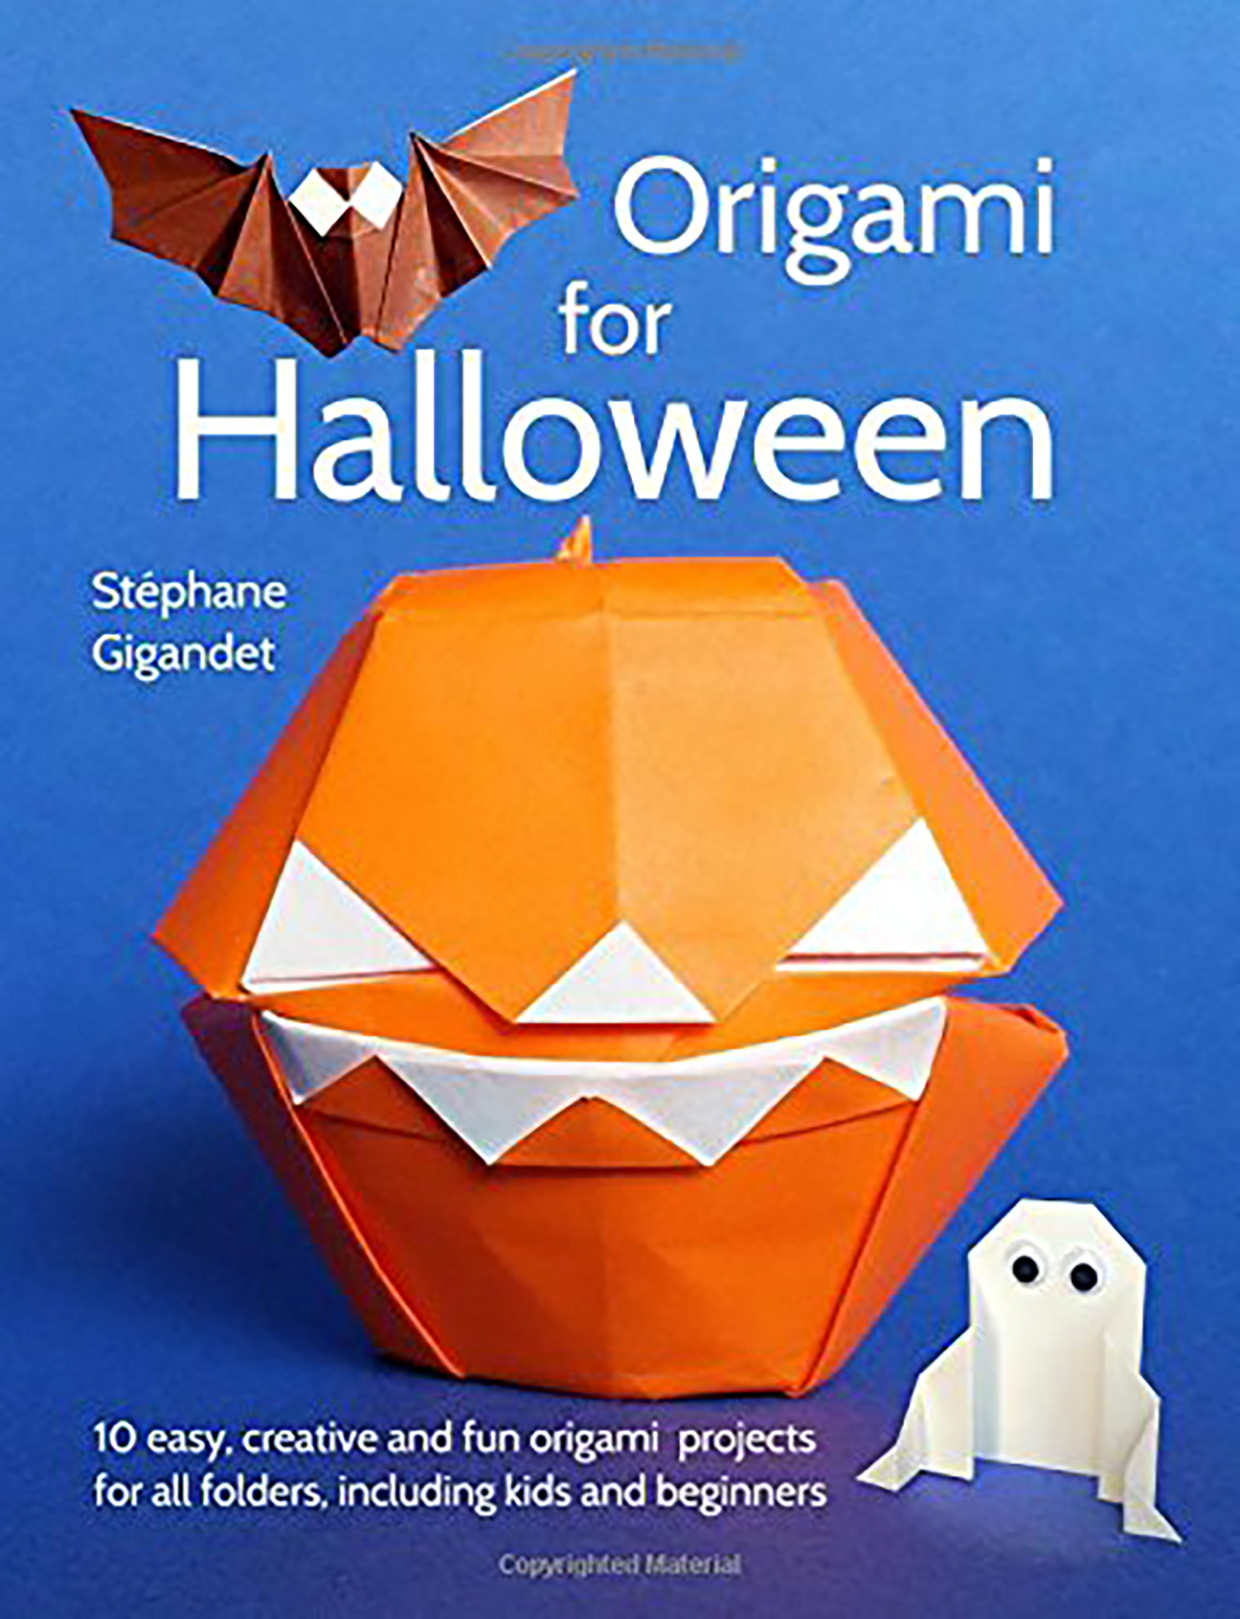
Origami for Halloween by Stéphane Gigandet

We have plenty of Halloween origami tutorials right here on Gathered, but if we’ve whetted your appetite for even more, we think you’ll like this book by French origami artist, Stéphane Gigandet.

Containing 10 different tutorials, learn how to fold ghosts, skulls, pumpkins and even a spiderweb, all with full-colour diagrams, instructions, and video tutorials.

Discover more bird origami

Take your paper folding to new heights with our round-up of the best origami birds.

Paper creaser for origami

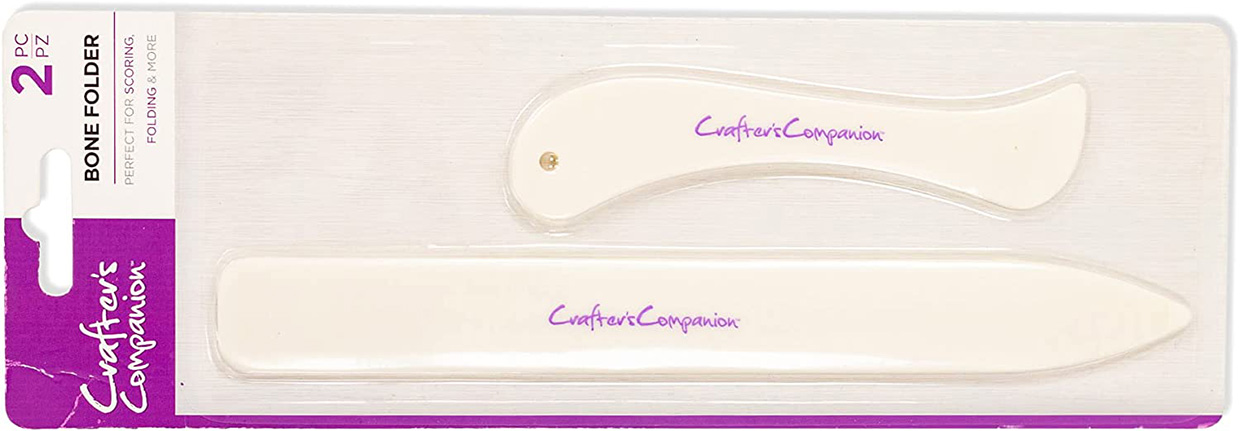
Crafter’s Companion bone folder duo

If you’re looking for a cheap n’ cheerful paper creaser to get perfect folds without breaking the bank, then the Crafter’s Companion bone folder duo is just the ticket.

It’s not actually made of bone – this is just a hangover from times gone by – but smooth plastic. You get two in the pack, one straight tool and one curved tool, so all your papercraft projects are covered.


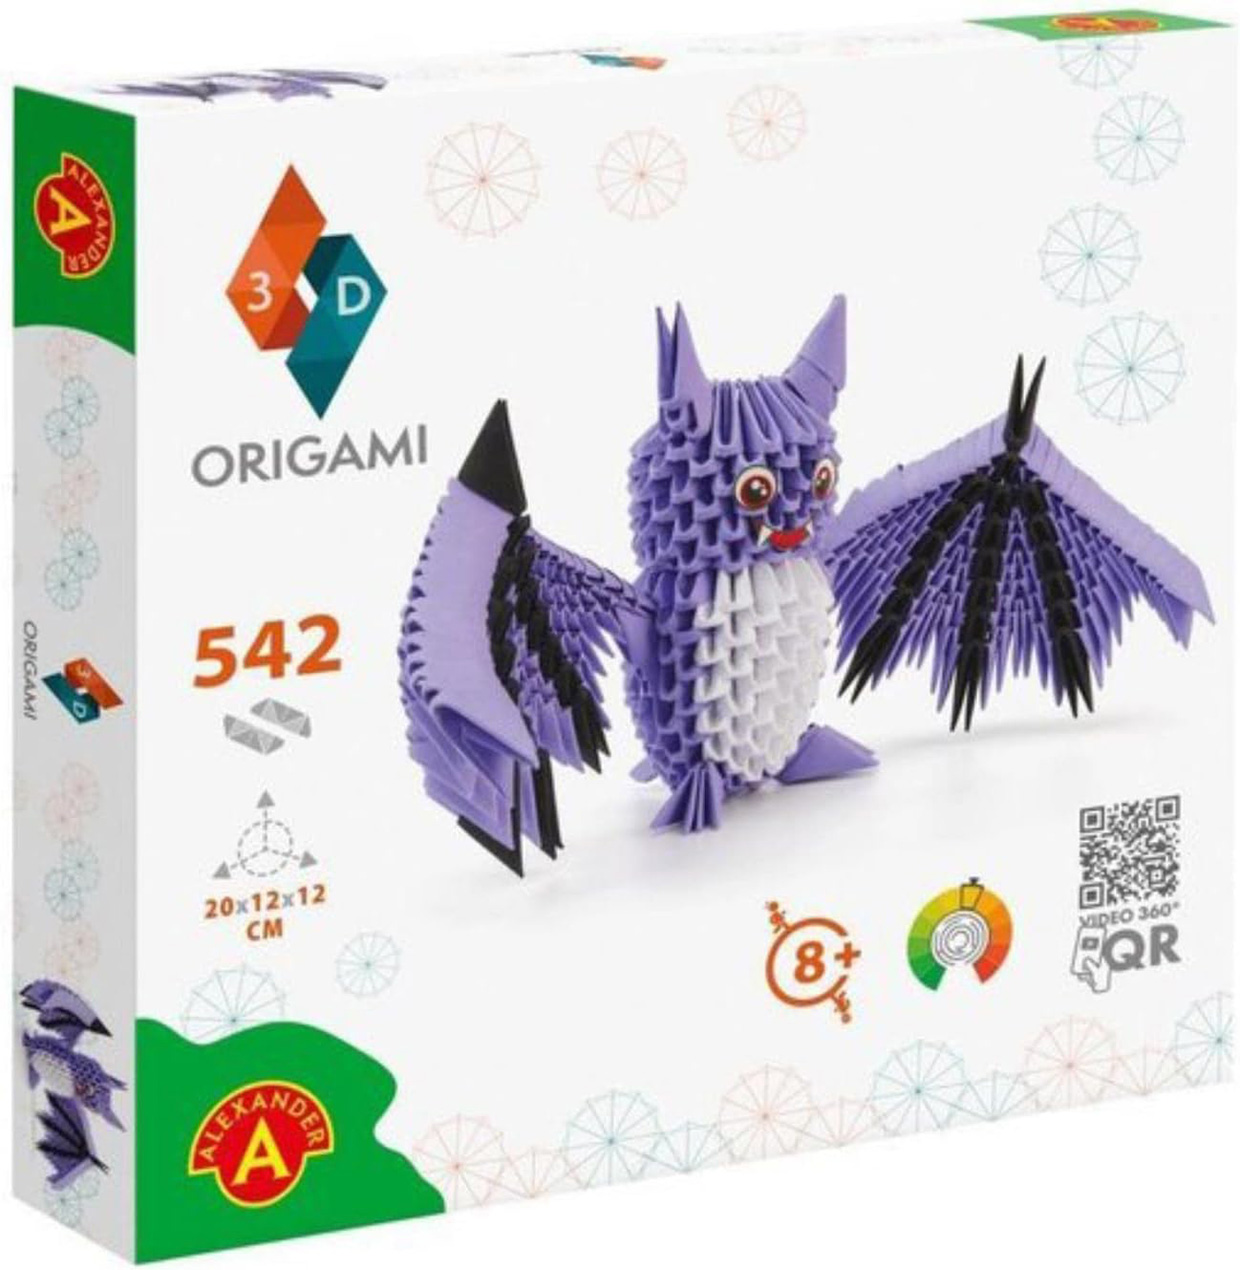
3d Origami bat

3d origami bat

3D origami is different from traditional origami. Instead of folding a project from one sheet of paper, hundreds of small, individual ‘modules’ are slotted together to create the finished model.

You can, of course, fold the modules yourself, or you can opt for a kit, such as this one, where all the modules are pre-folded, leaving you with the fun stuff of making your own 3D origami bat.

It’s a longer project than the origami bat we make in this tutorial, but there are videos to help you along the way. Cute!


Make your own origami bat for Halloween

This easy origami bat is a cute, no-fuss project that’s ideal for any level of experience. Children and adults embarking on their origami journey will find the instructions clear and easy to follow. There are photo steps for each fold, so you can be confident of your abilities.

All you need is a square of paper and a small pair of scissors to make this fun origami bat, ideal for Halloween. Why not make a whole colony of bats to decorate your front door this spooky season?

Discover more Halloween origami projects with Gathered

If you’re keen to make the most of your new-found origami skills, we have plenty more Halloween origami projects to keep you – or the little ones – entertained. And we’ve curated them all (plus a few others from our favourite creators) in our definitive guide to easy origami Halloween ideas. We’re sure you’ll find something you like!

We’ve covered all bases; there are super easy tutorials, to begin with, and from there you can work your way up to some of the more advanced tutorials.

Happy folding!

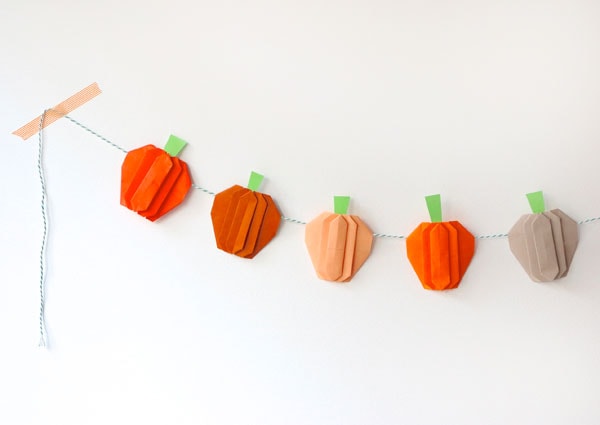
Origami pumpkin garland by My Poppet