How to make origami lanterns
All products were chosen independently by our editorial team. This review contains affiliate links and we may receive a commission for purchases made. Please read our affiliates FAQ page to find out more.

How to make origami lanterns

Cut and fold your own pretty origami lanterns with Esther Thorpes free tutorial.

Try 6 issues of your choice of craft magazine from just £9.99

Published: July 17, 2022 at 7:30 am

Put your paper folding skills to good use with Esther Thorpe's origami lantern tutorial! Esther takes you through step by step and shows you just how simple these are to make. If you're new to the world of origami don't worry. We have lots of useful guides here on Gathered like our round-ups of the best origami paper and best origami books to buy! This is a great project for beginners and will look beautiful hanging in your home.

Make your origami lanterns with your favourite papers so they match your aesthetic. We have plenty of free patterned papers here on Gathered for you to download, print, and turn into these lanterns. Your finished lanterns make lovely home decor, fun party decorations, or even sweet gifts for a paper-loving pal. Add a LED tealight to make them glow and enjoy making these simple lanterns.

Once you've made your origami lanterns make sure you check out our easy origami projects for beginners. It's full of fun projects like origami Christmas decorations and an easy origami rose.

You will need

  • Two sheets of A4 paper (we used Kitty McCall Encinitas Gift Wrap cut to size, available from www.kittymccall.com)
  • Ribbon, 30cm (11⅞")
  • Washi tape (read our guide to washi tape if you want to learn more)
  • Hole punch
  • LED tealights

How to make origami lanterns

You will need:

  • Washi tape
  • Hole punch
  • LED tealights
  • Ribbon
  • A4 paper

Step 1

How to make origami lanterns step 1

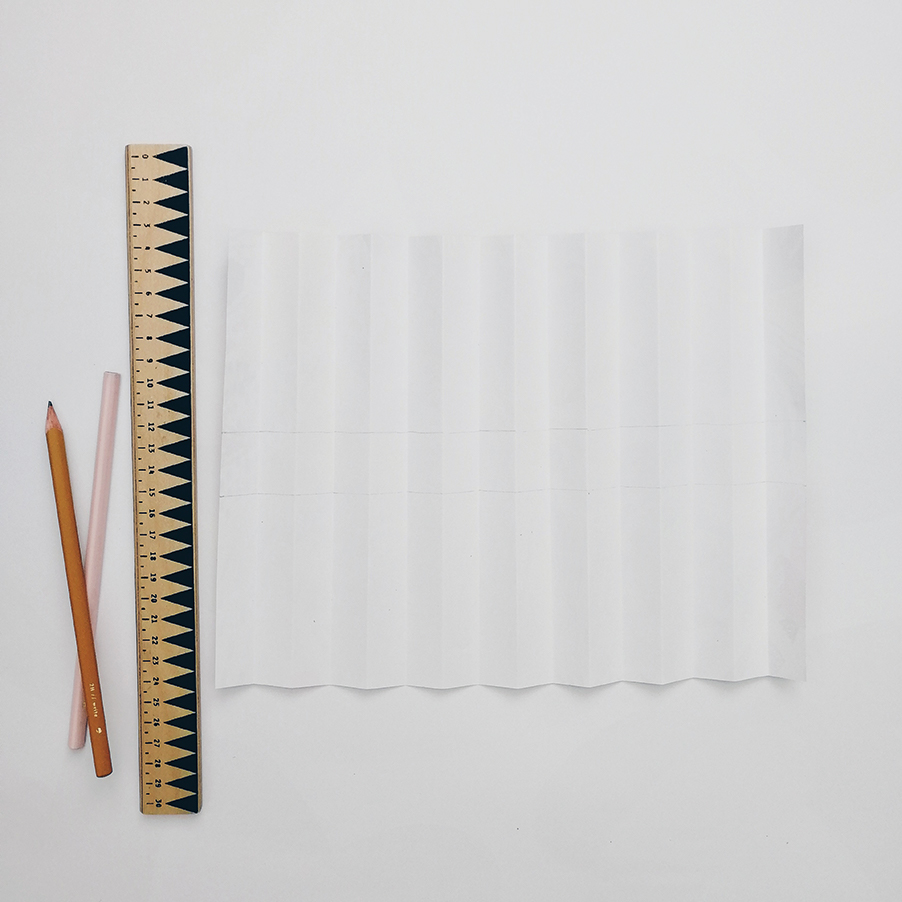
Take one sheet of A4 paper and fold it into 16 equal sections across the length. Unfold, then fold each crease in the opposite direction, creating concertina folds across the length of the sheet.

Step 2

How to make origami lanterns step 2

Using a ruler, draw two horizontal lines on the back of the paper, one 9cm (3⅝") down from the top long edge, and one 12cm (4¾") down.

Step 3

How to make origami lanterns step 3

Crease zig-zagged diagonals between each horizontal fold, inside the marked pencil lines. It can help to press the paper against the edge of a ruler to get a more accurate fold.

Step 4

How to make origami lanterns step 4

Turn the paper right side up, then gather the folds together as shown. The concertina will change direction when it meets the diagonal fold, but as the folds were pre-creased in both directions this should happen fairly easily.

Step 5

How to make origami lanterns step 5

Repeat Steps 1-4 with the second A4 sheet, then join the two sheets together along a short edge, using washi tape to help the concertina folds link together smoothly.

Step 6

Use the hole punch to add holes 1cm (⅜") down from the top long edge of the lantern, creating one hole per section of concertina.

Step 7

How to make origami lanterns step 6

Bring the two short edges of the lantern together, creating a circle. Join together with washi tape, as per Step 5, then thread the ribbon through the punched holes. Pull the ends together carefully, gathering the concertina at the top, then knot to secure.

Step 8

To finish, place an LED tealight under the lantern.

We hope you’ve enjoyed making your origami lanterns! If you’re looking for more origami projects head over to our how to make origami flower fairy lights tutorial. We also have plenty of origami animal tutorials like our origami rabbit, origami duck and origami swan.