Practice mindfulness tonight with our how to make an origami lily tutorial
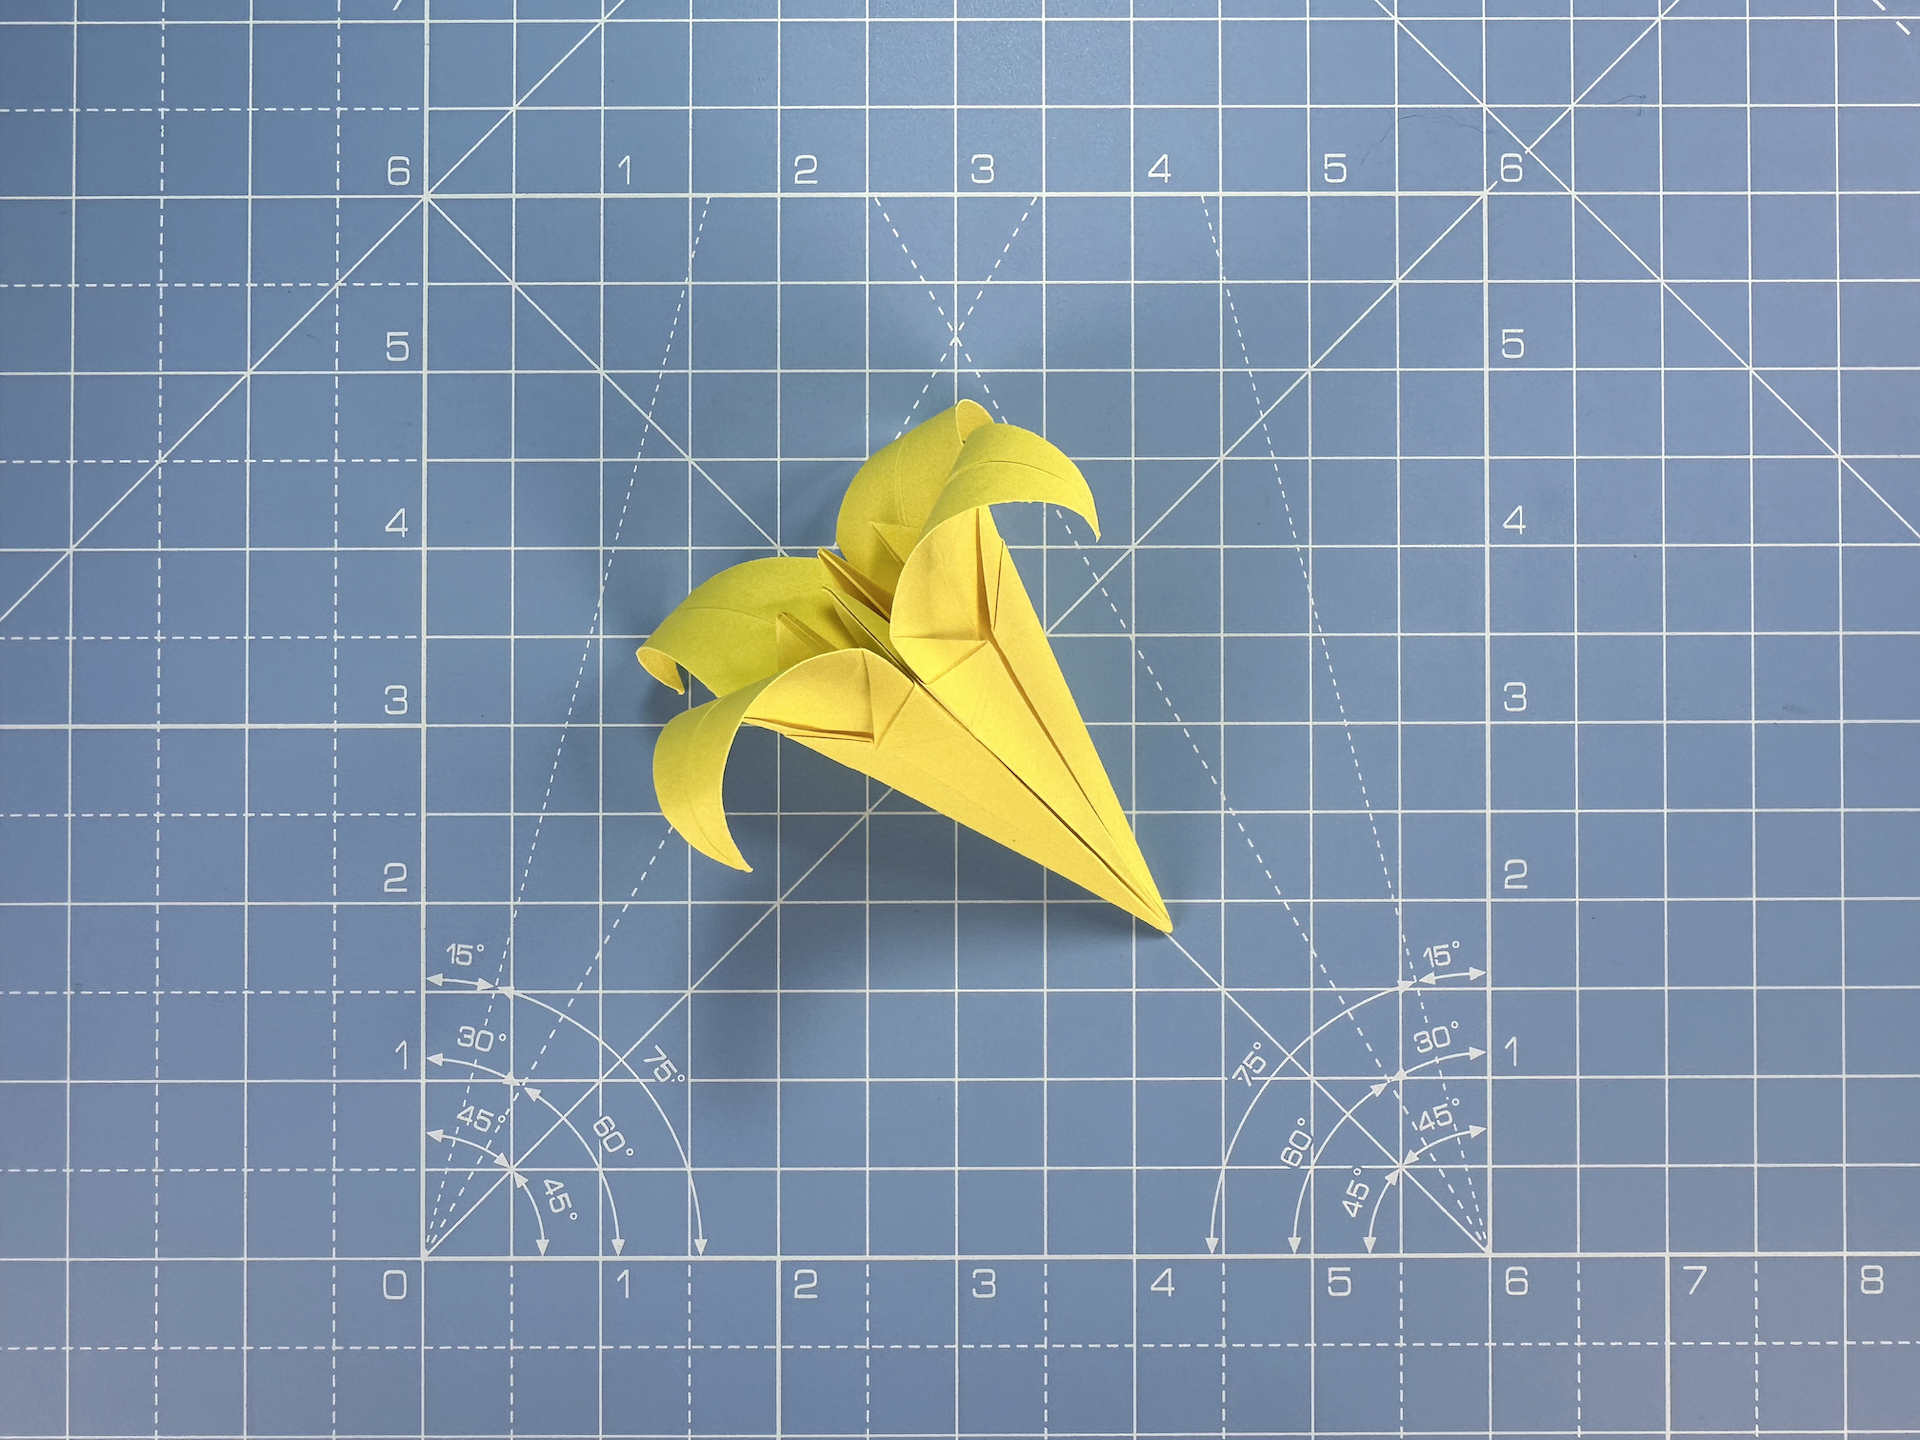
Expand your origami skills and hone your paper craftmanship with our easy-to-follow origami lily tutorial. Discover how, with a few precise folds and simple techniques, you can transform a flat sheet of origami paper into an exquisite 3D origami lily.
It’s easy to bring a touch of nature’s beauty into your home, office, or school with origami. Why not make multiple origami lilies in different colours and arrange in a glass, for a quick and easy flower display?
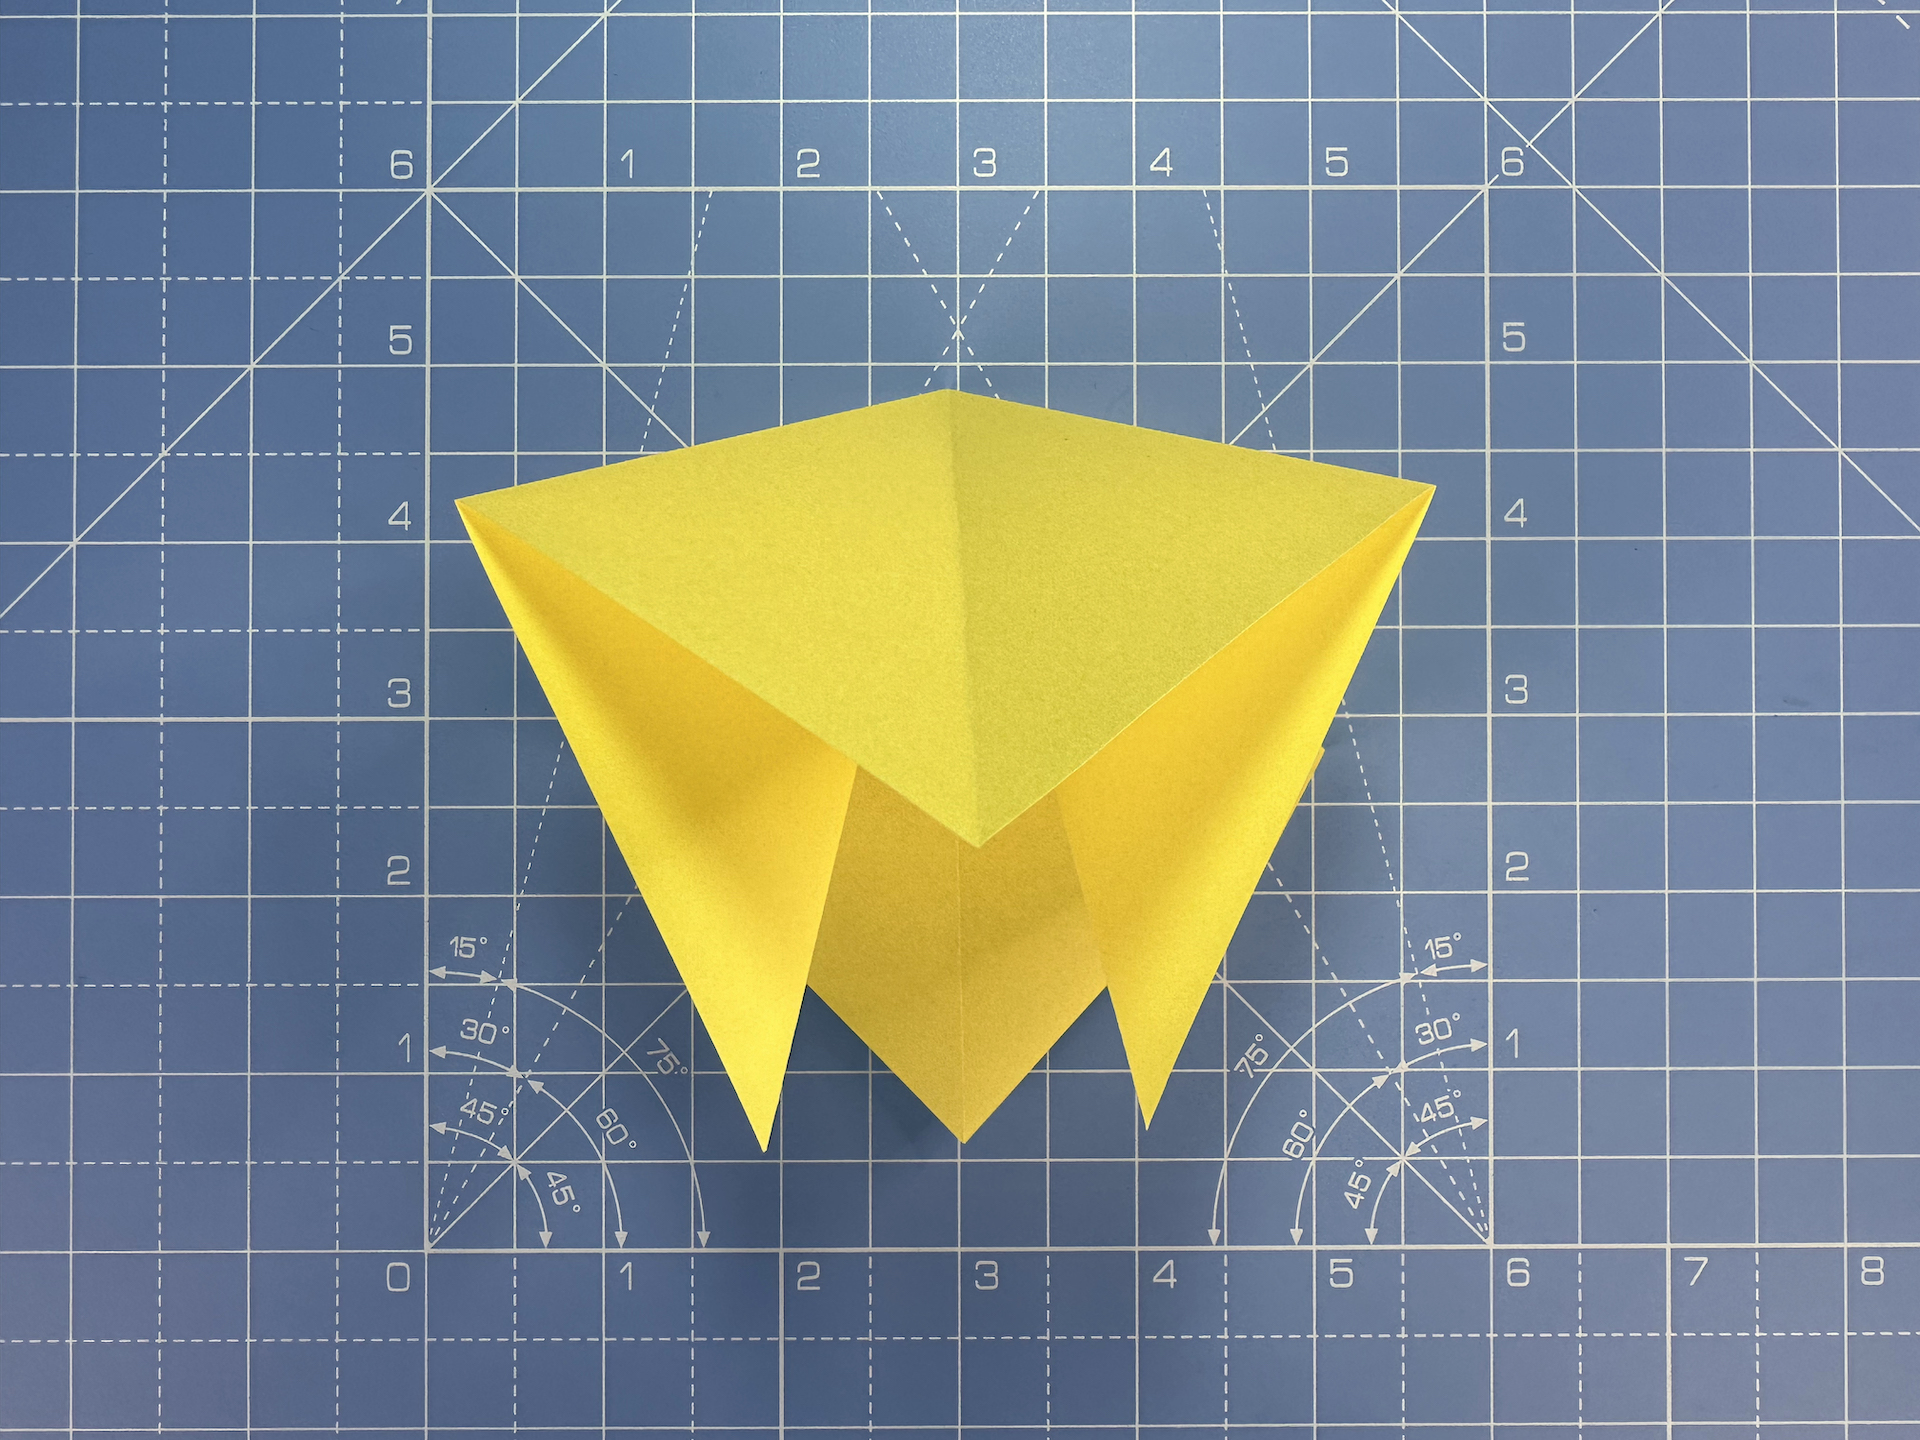
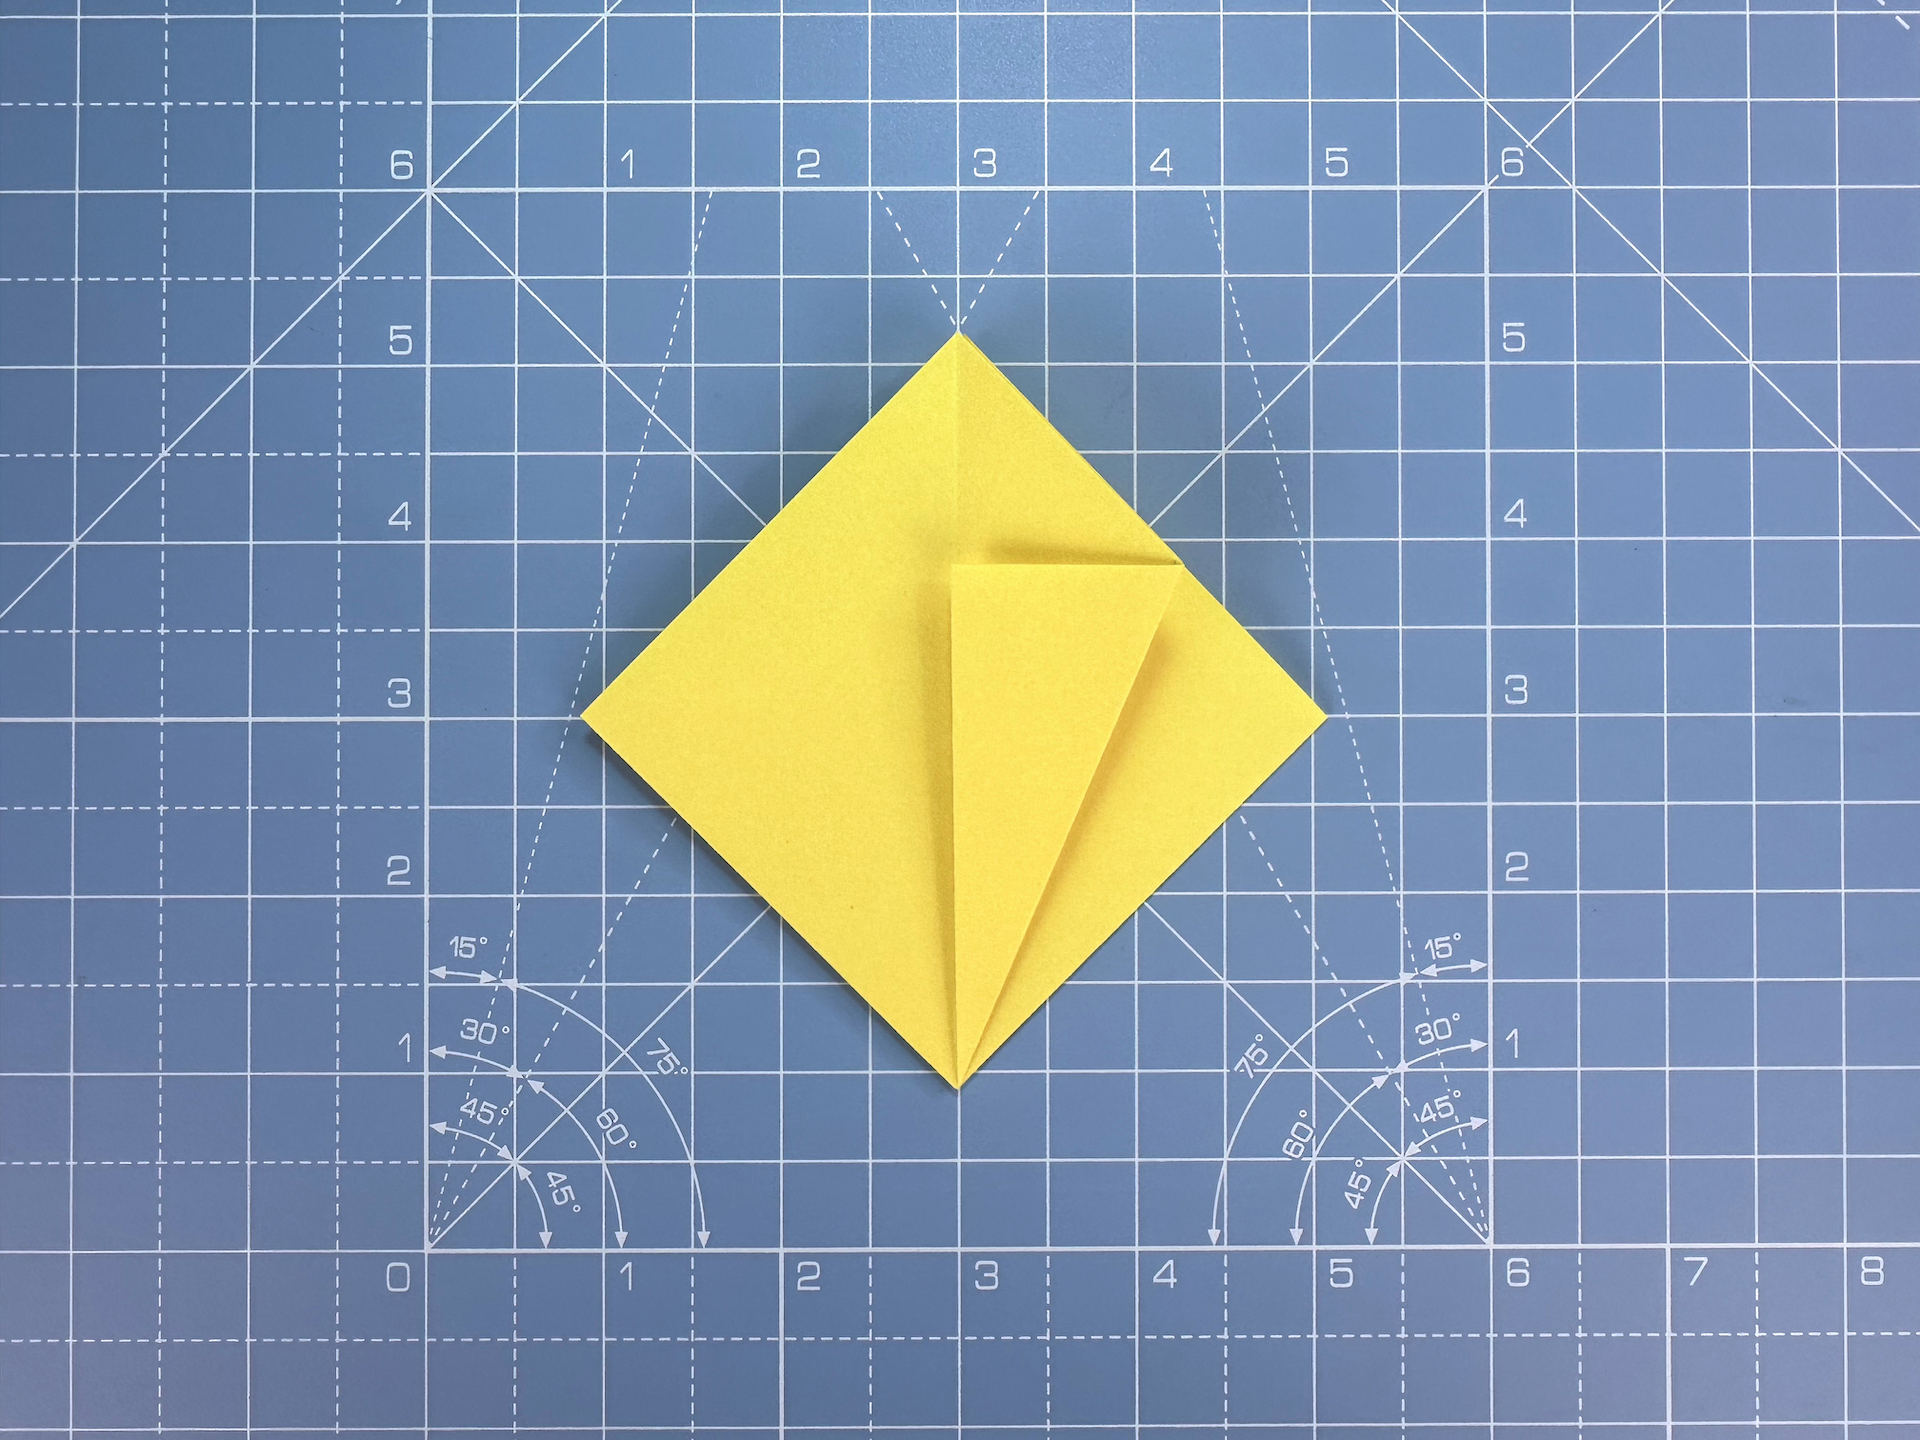
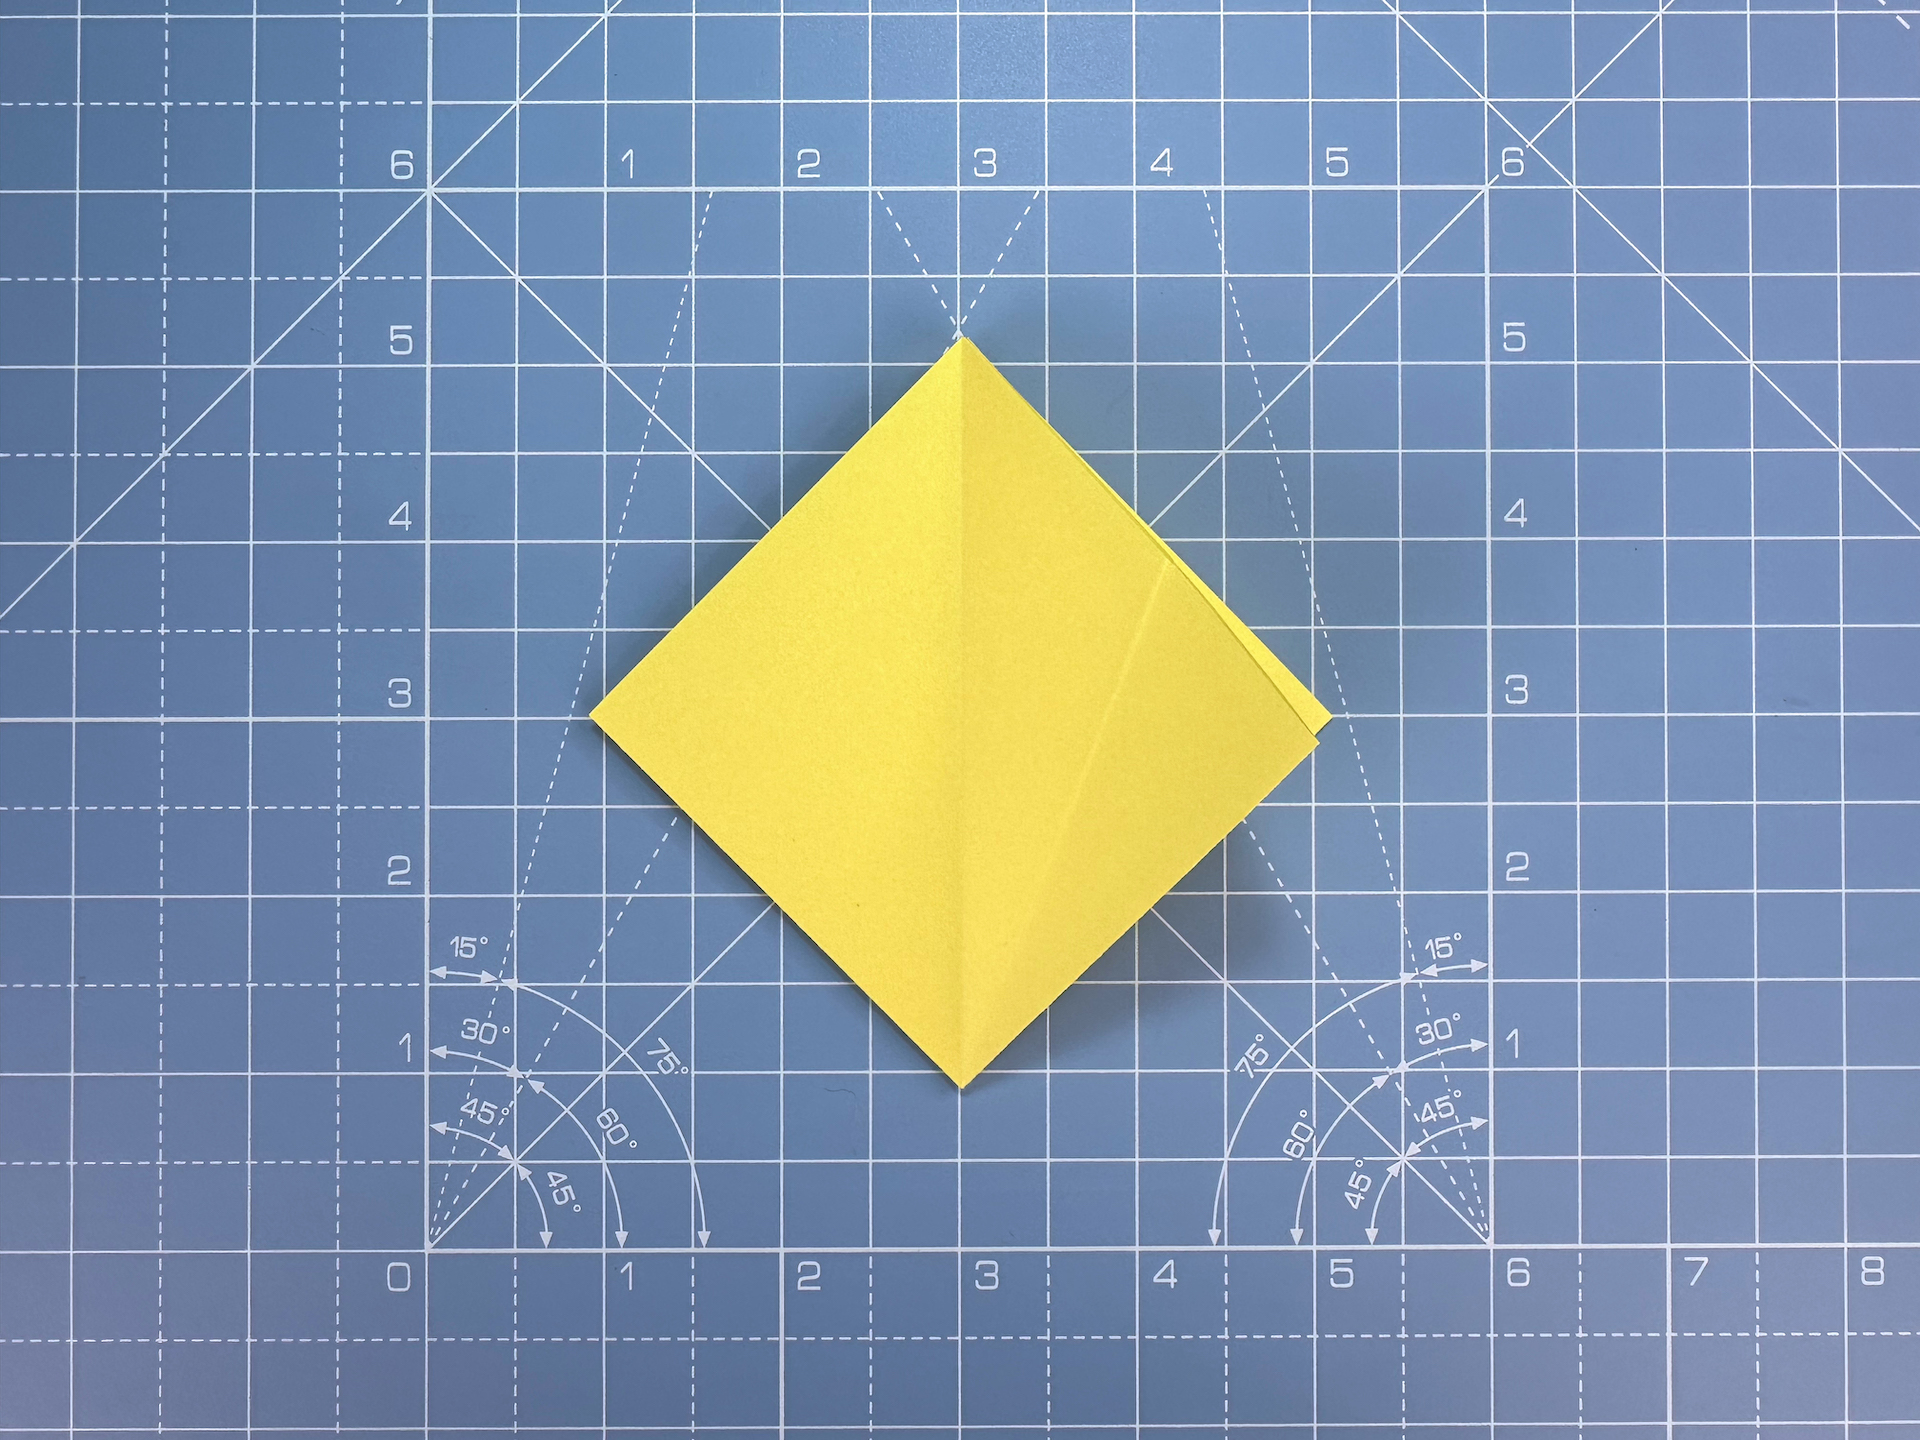
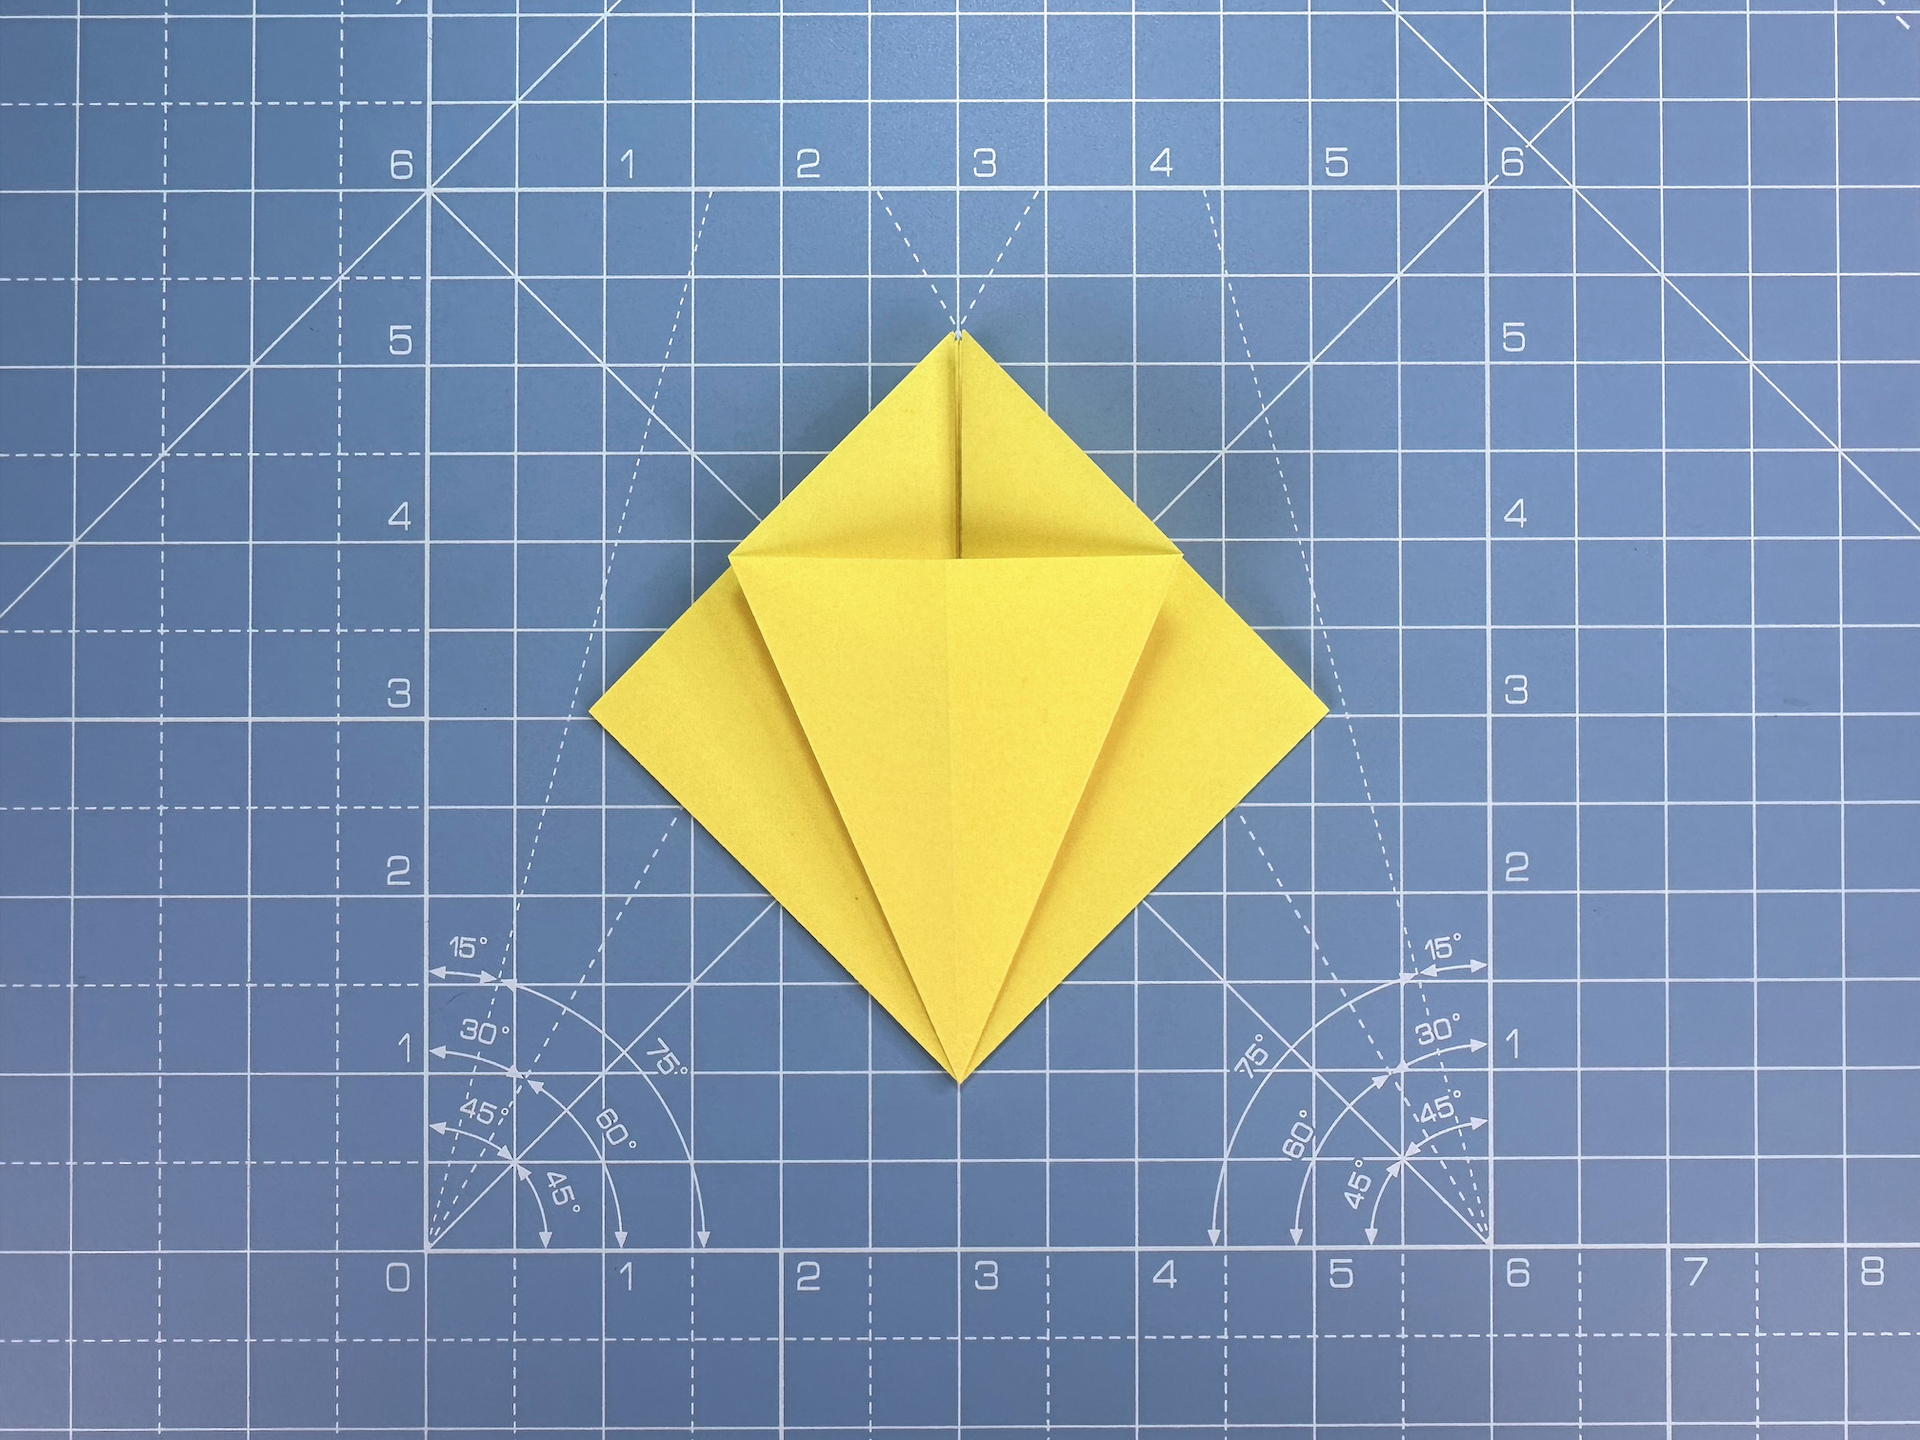
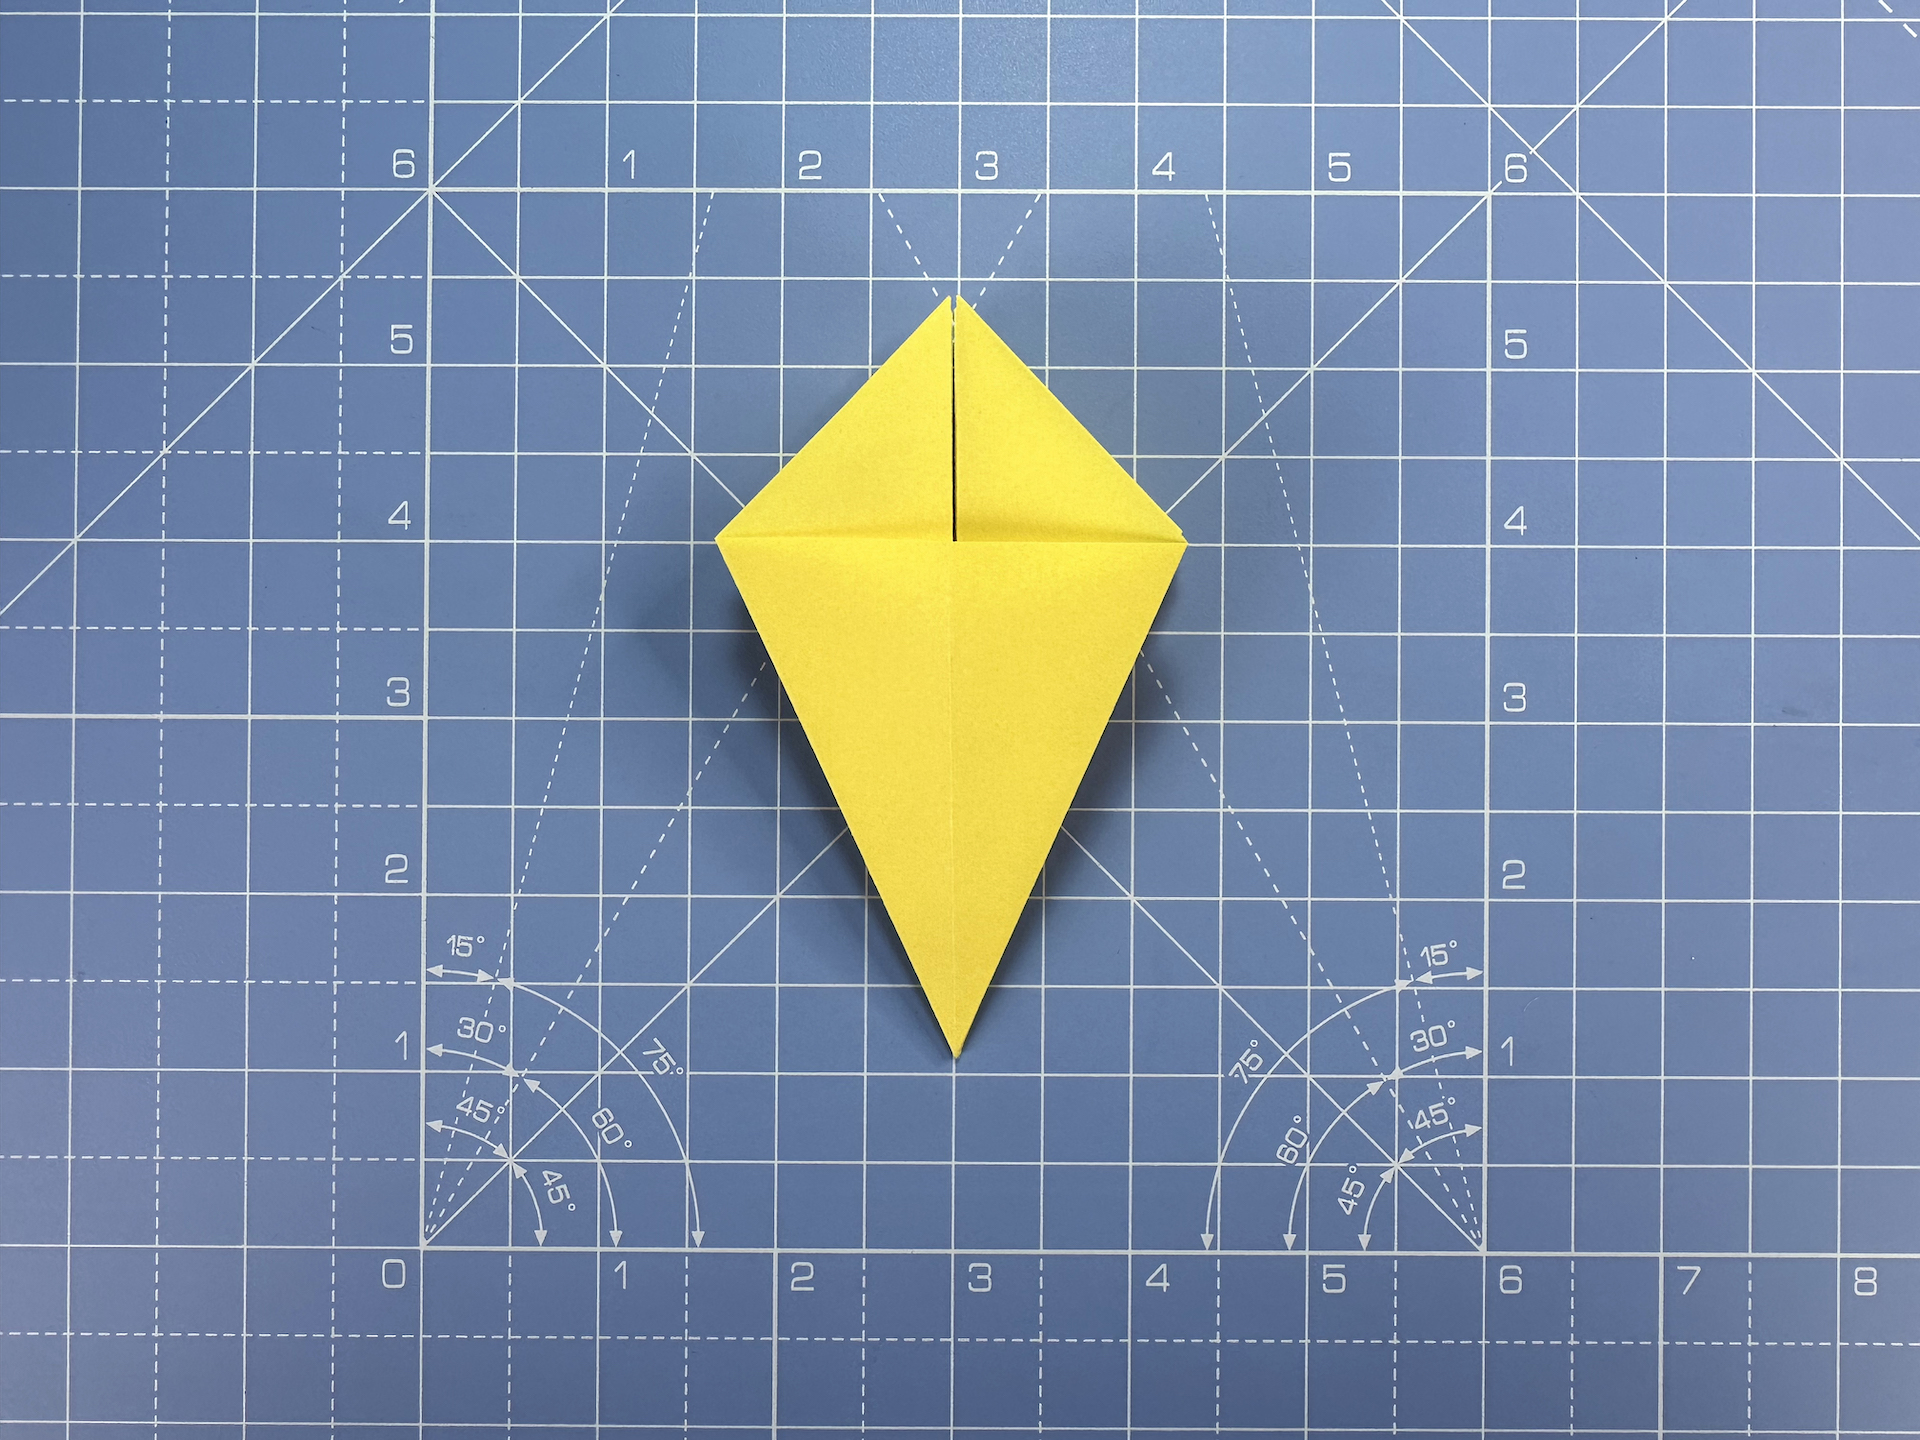
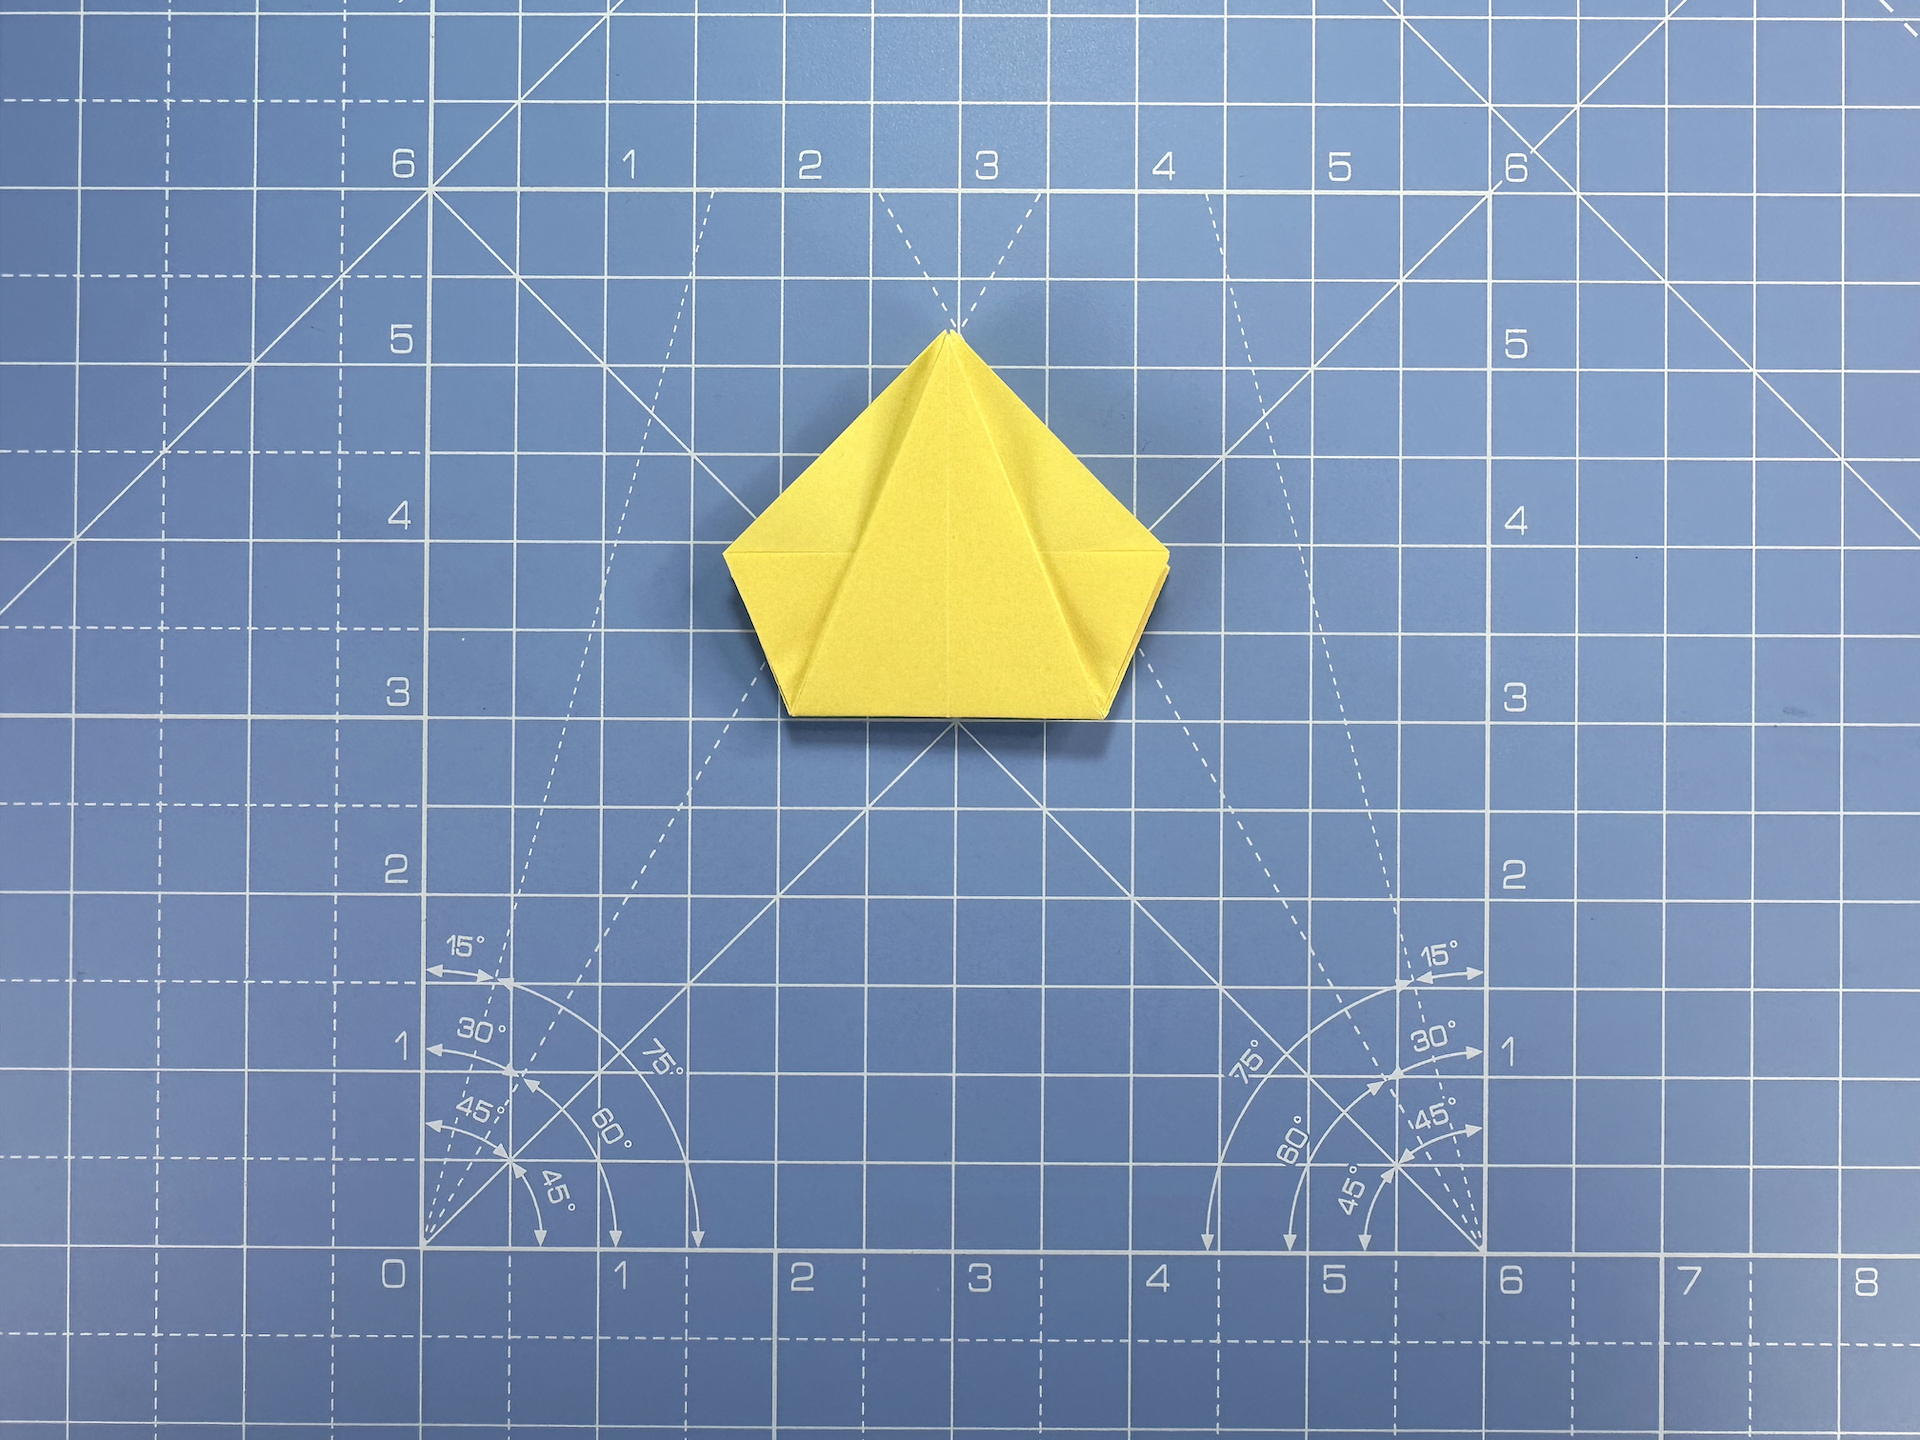
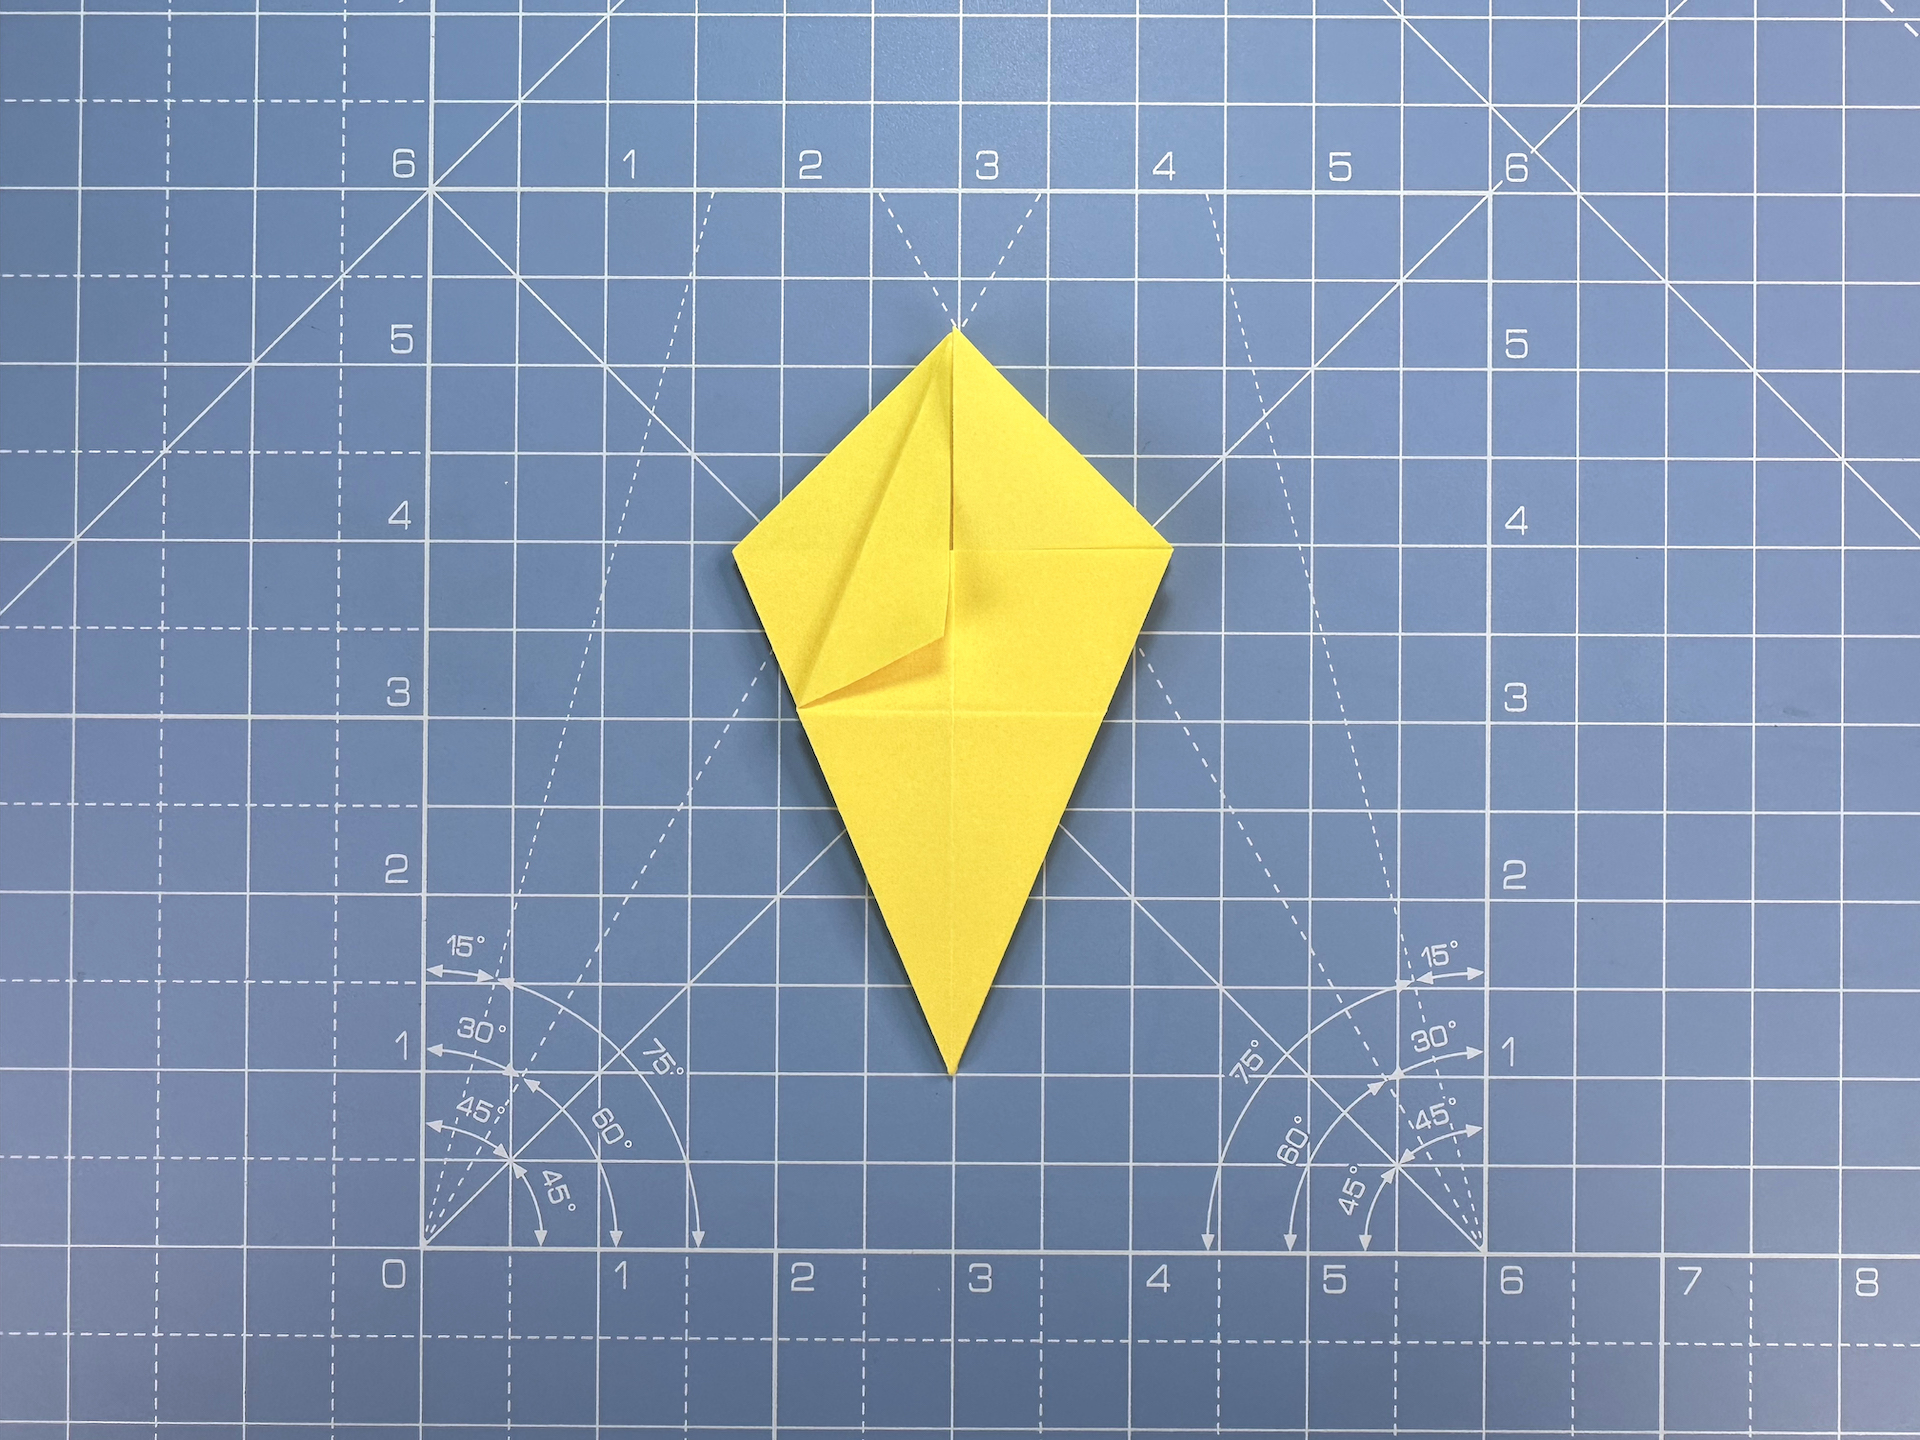
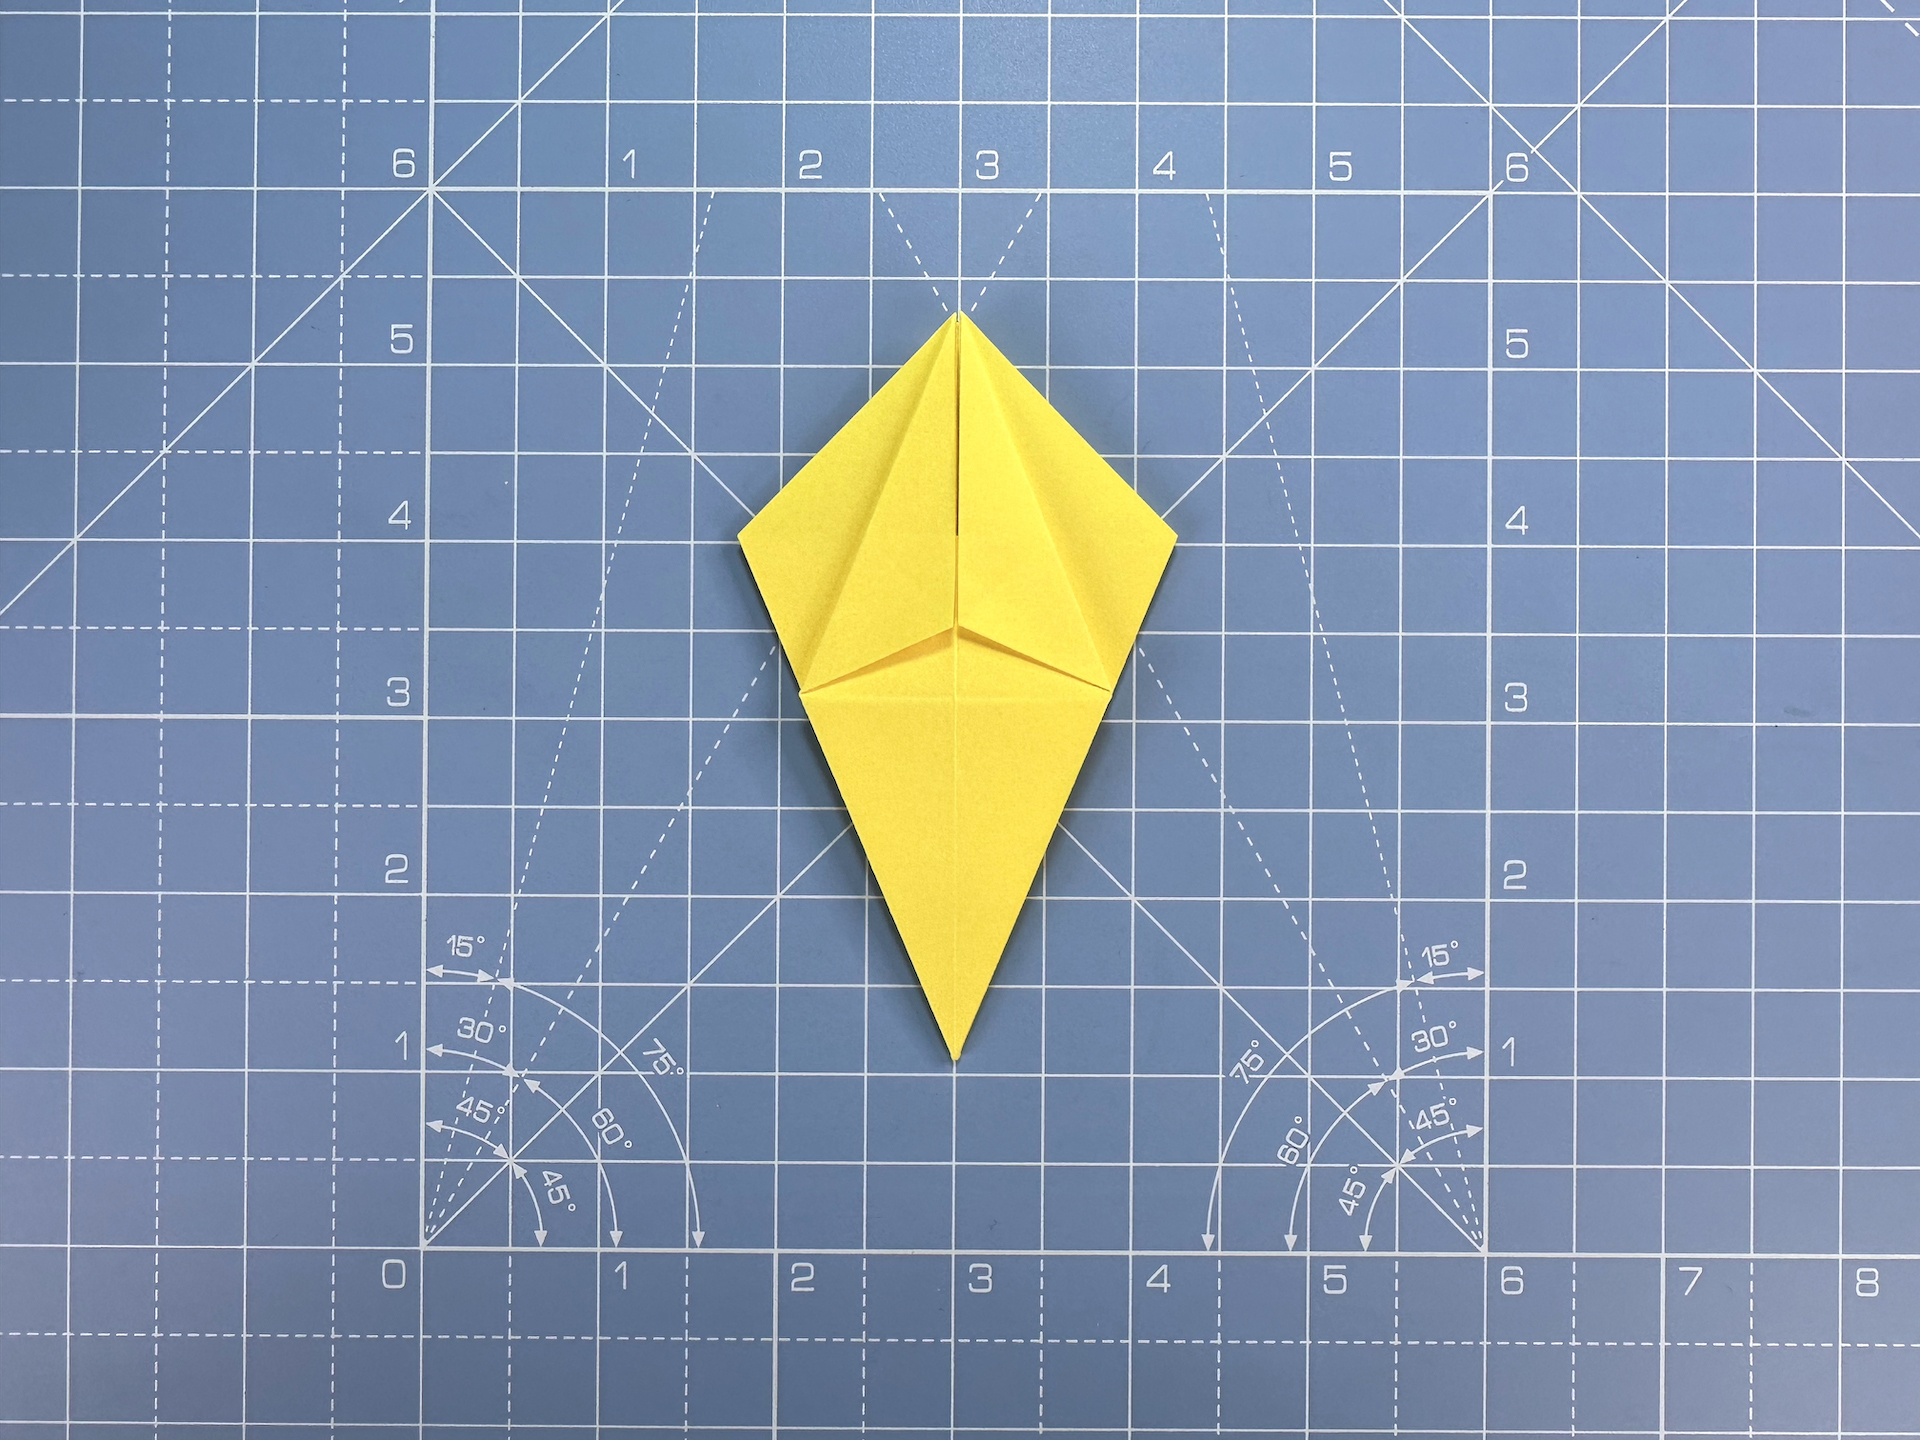
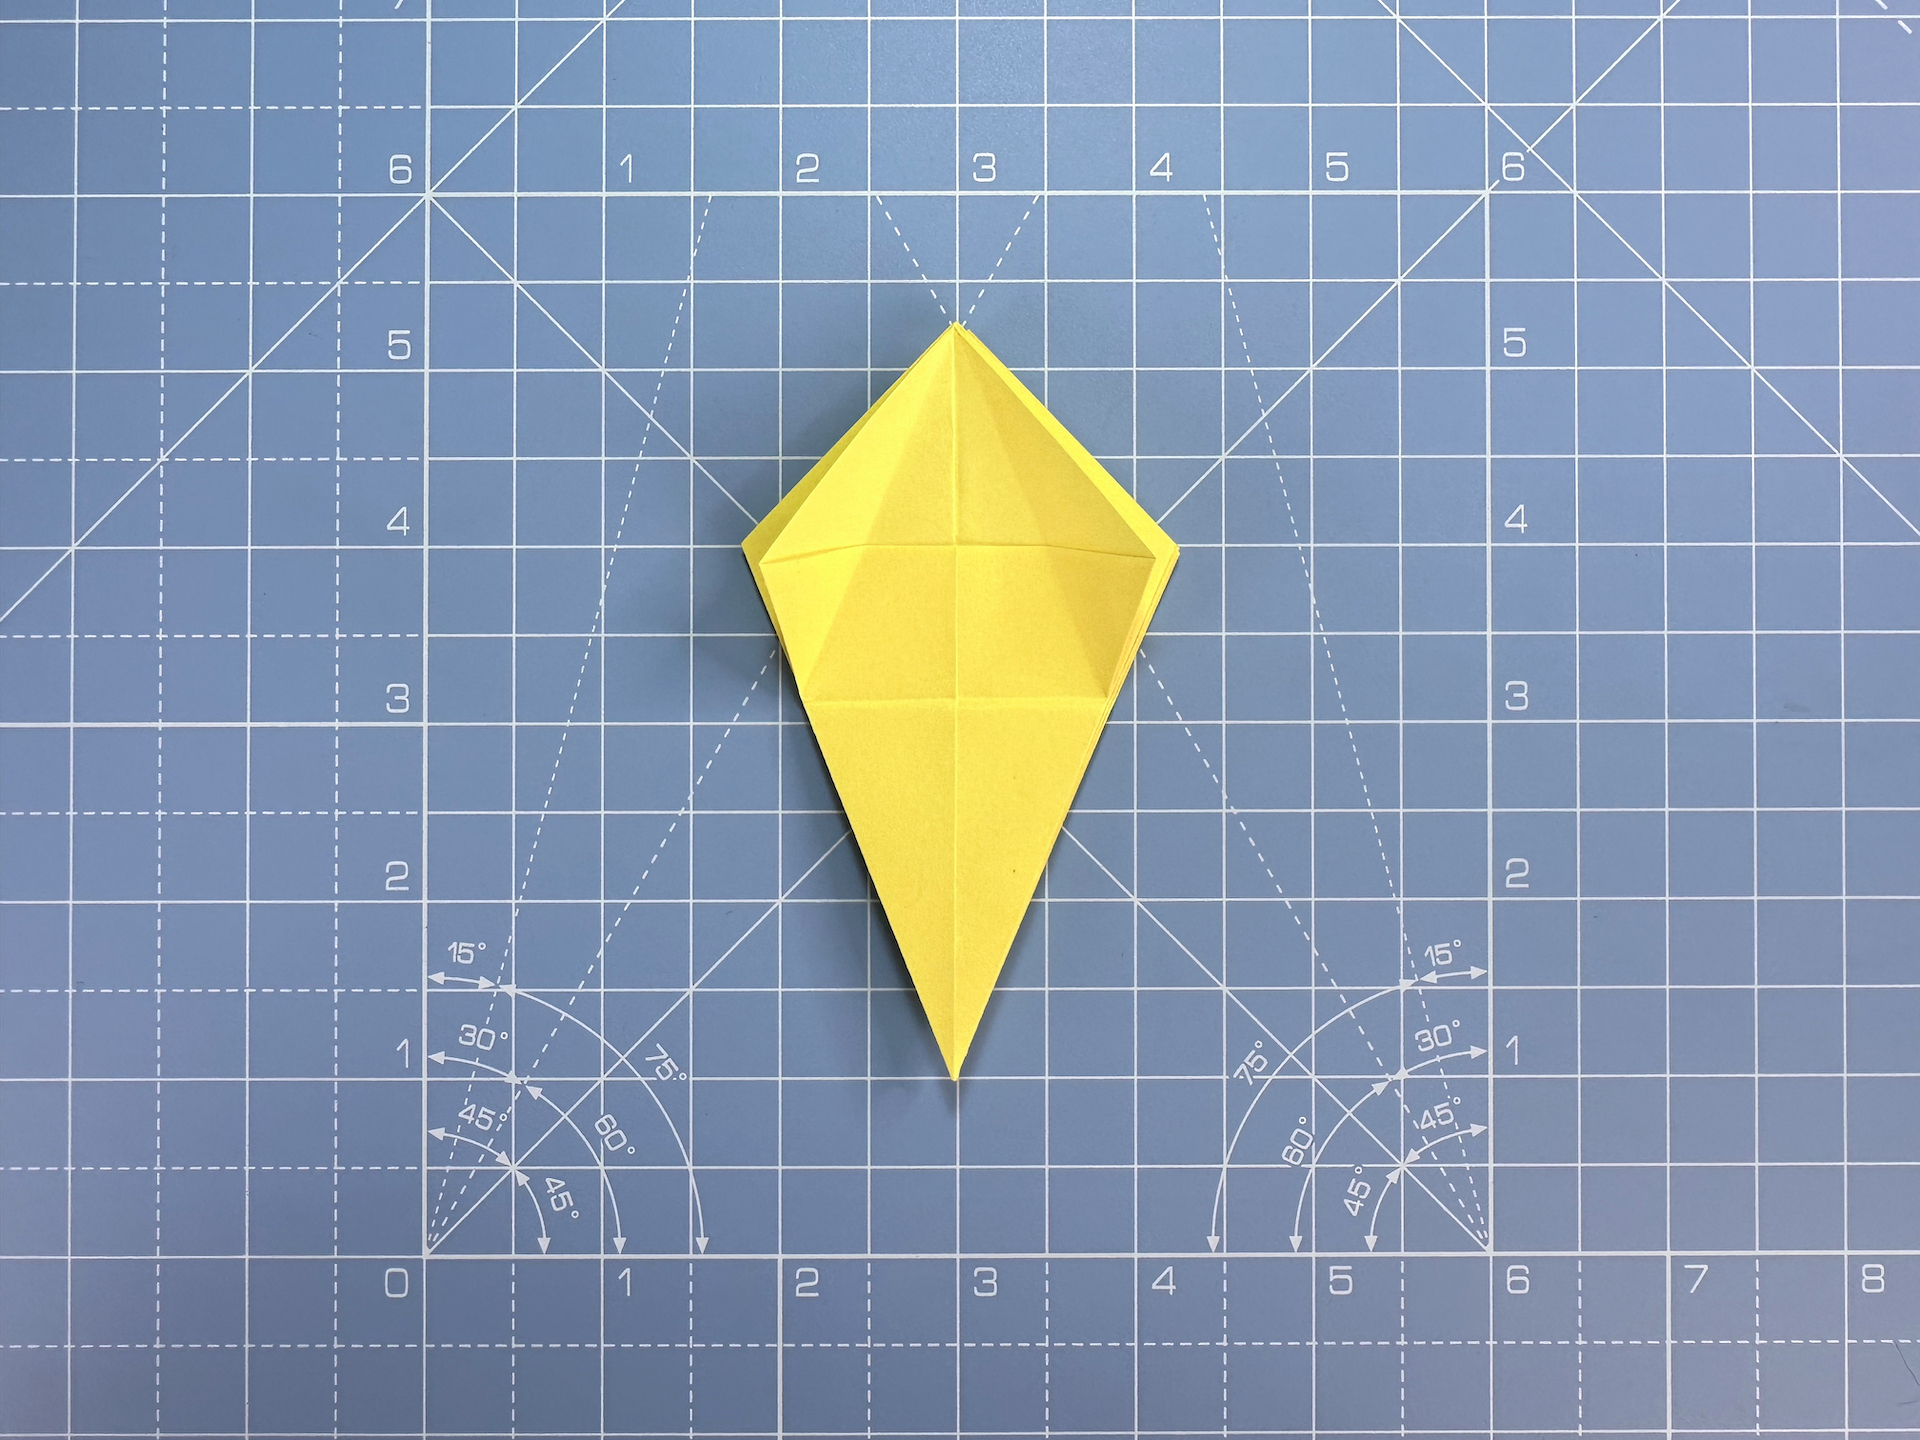
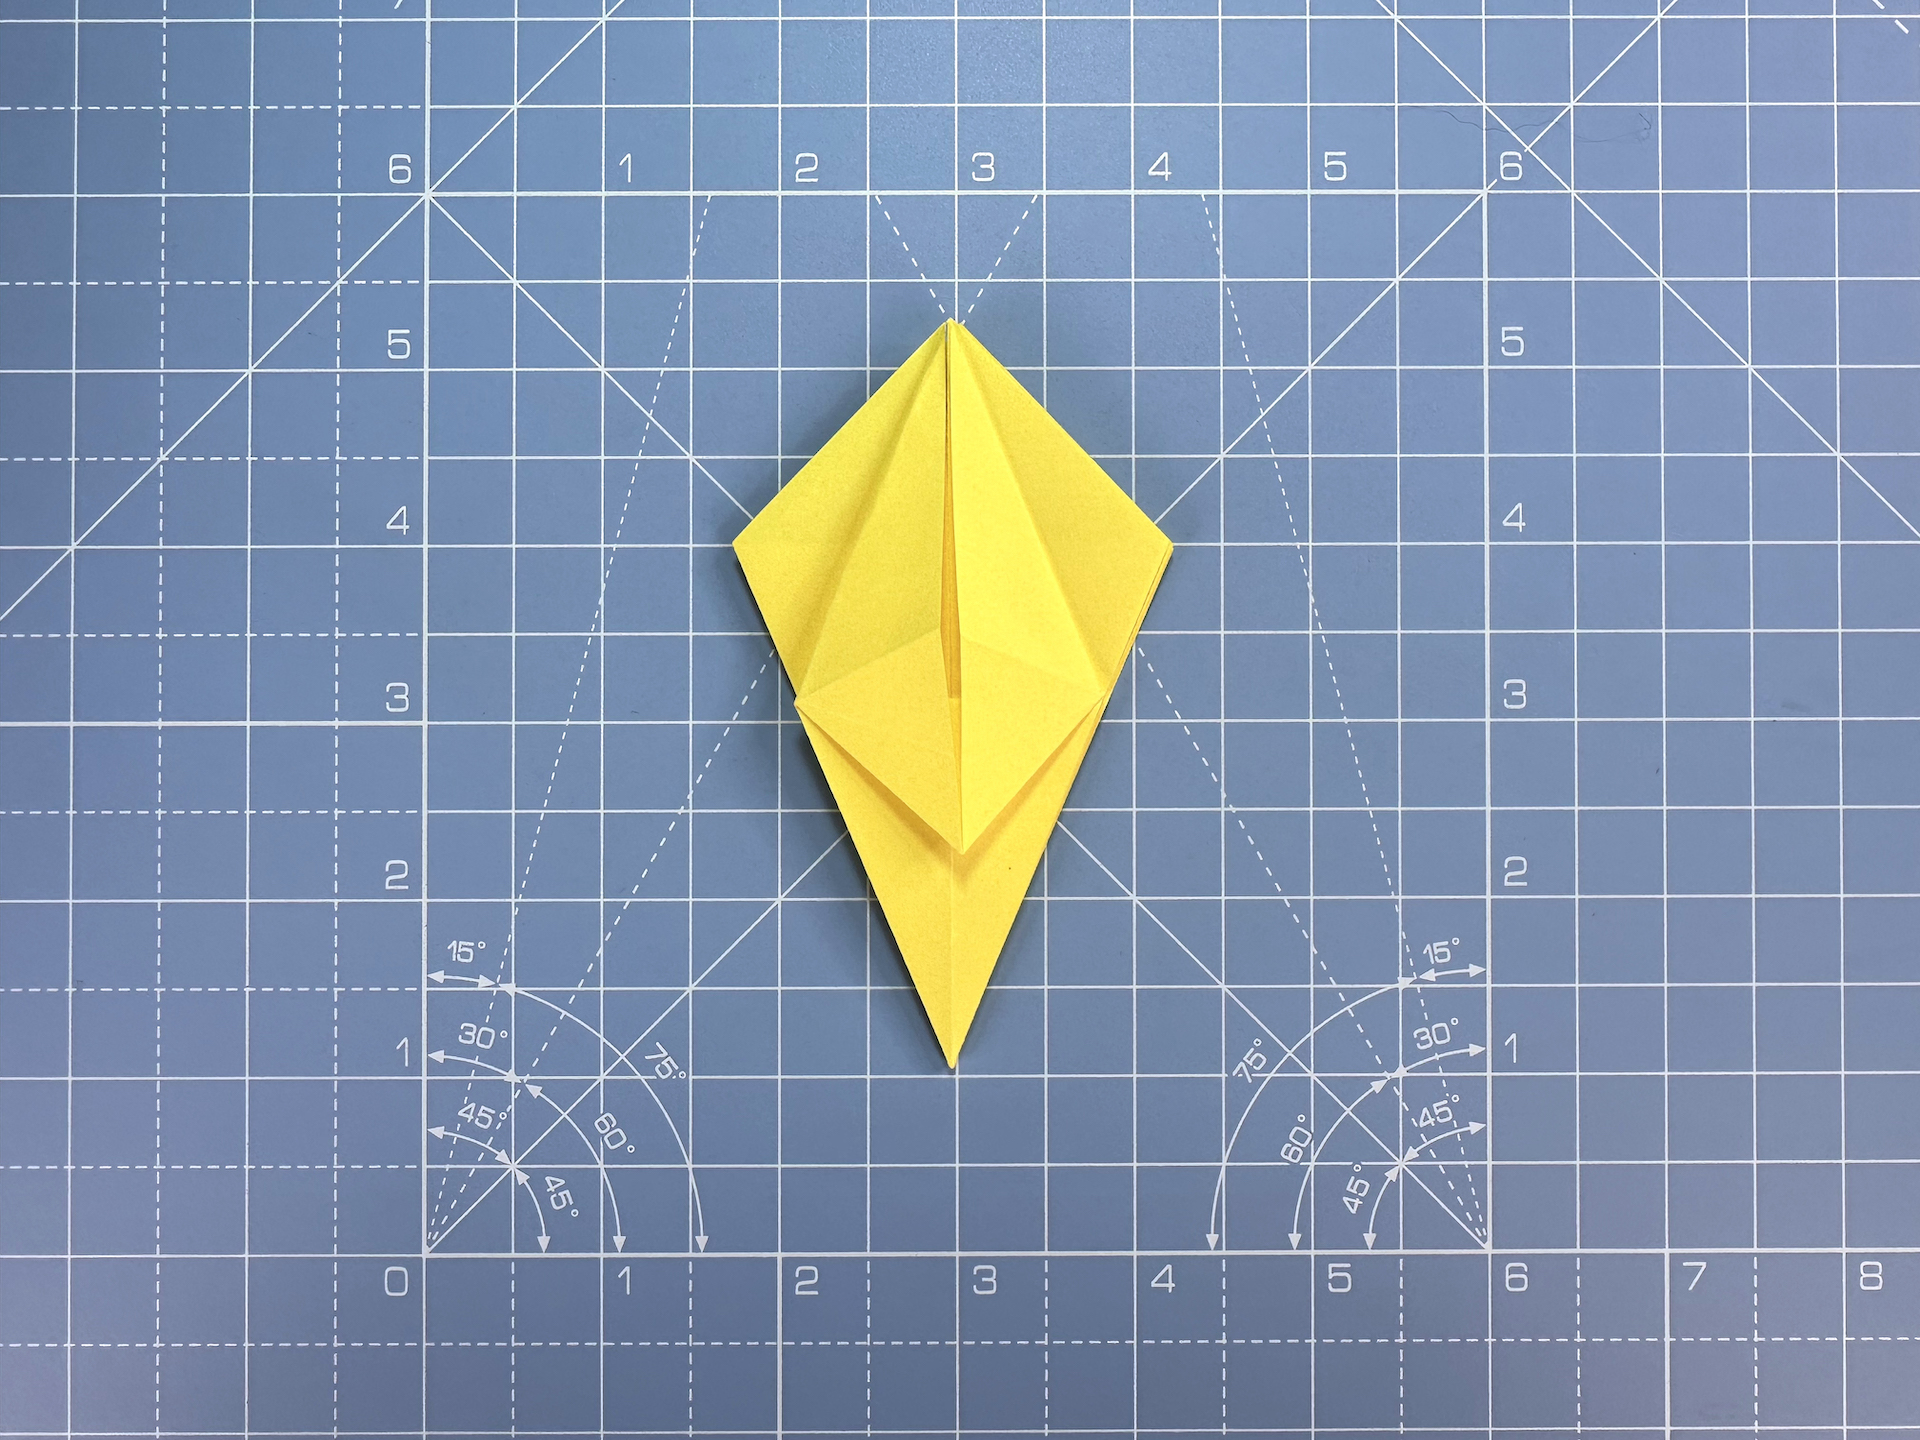
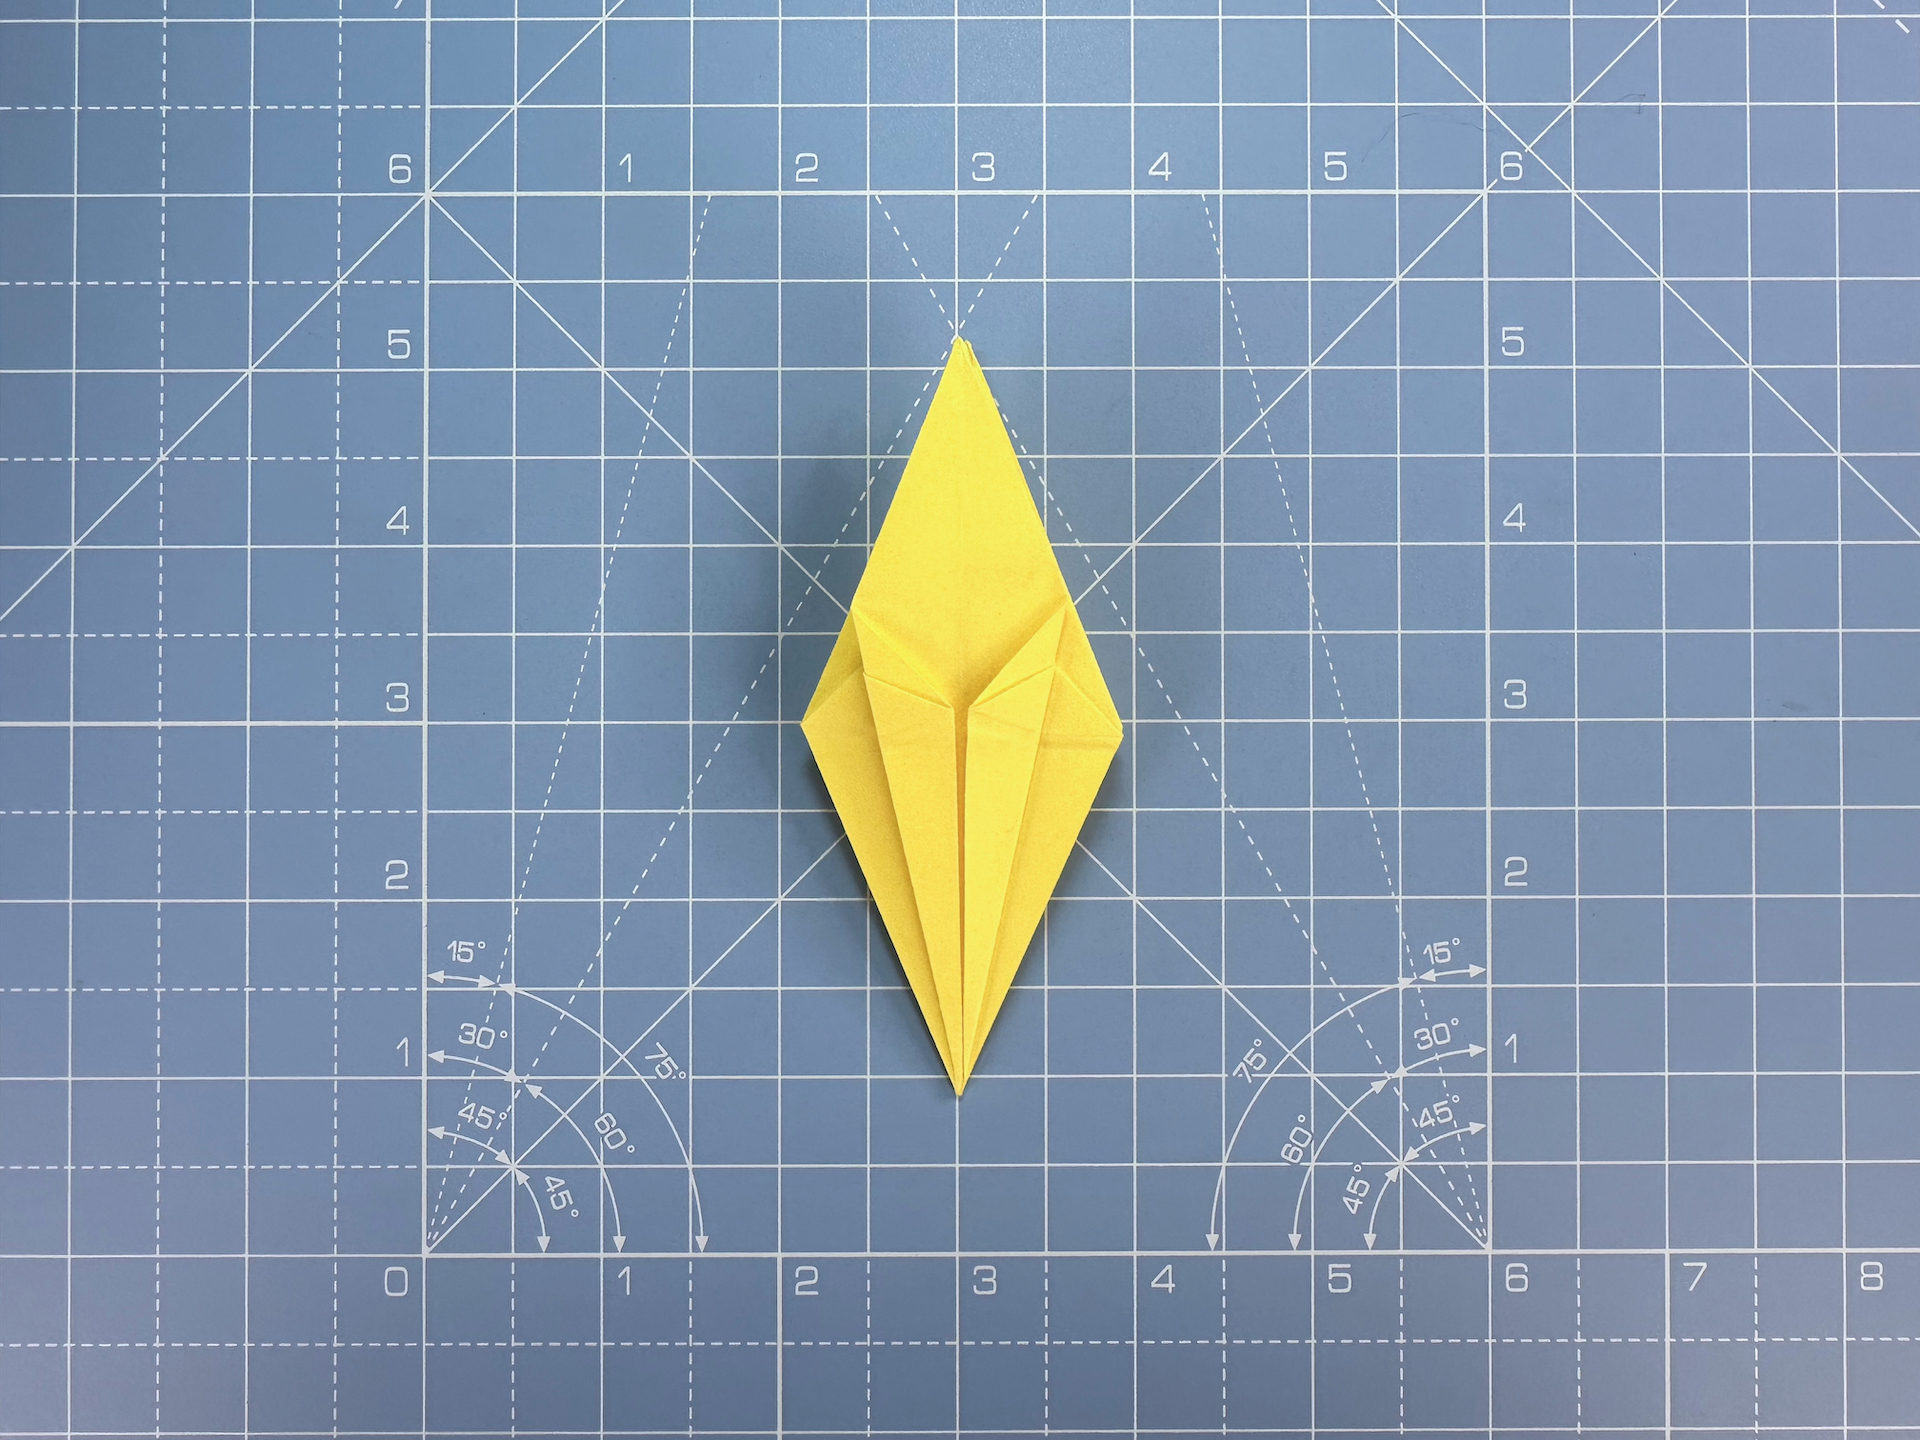
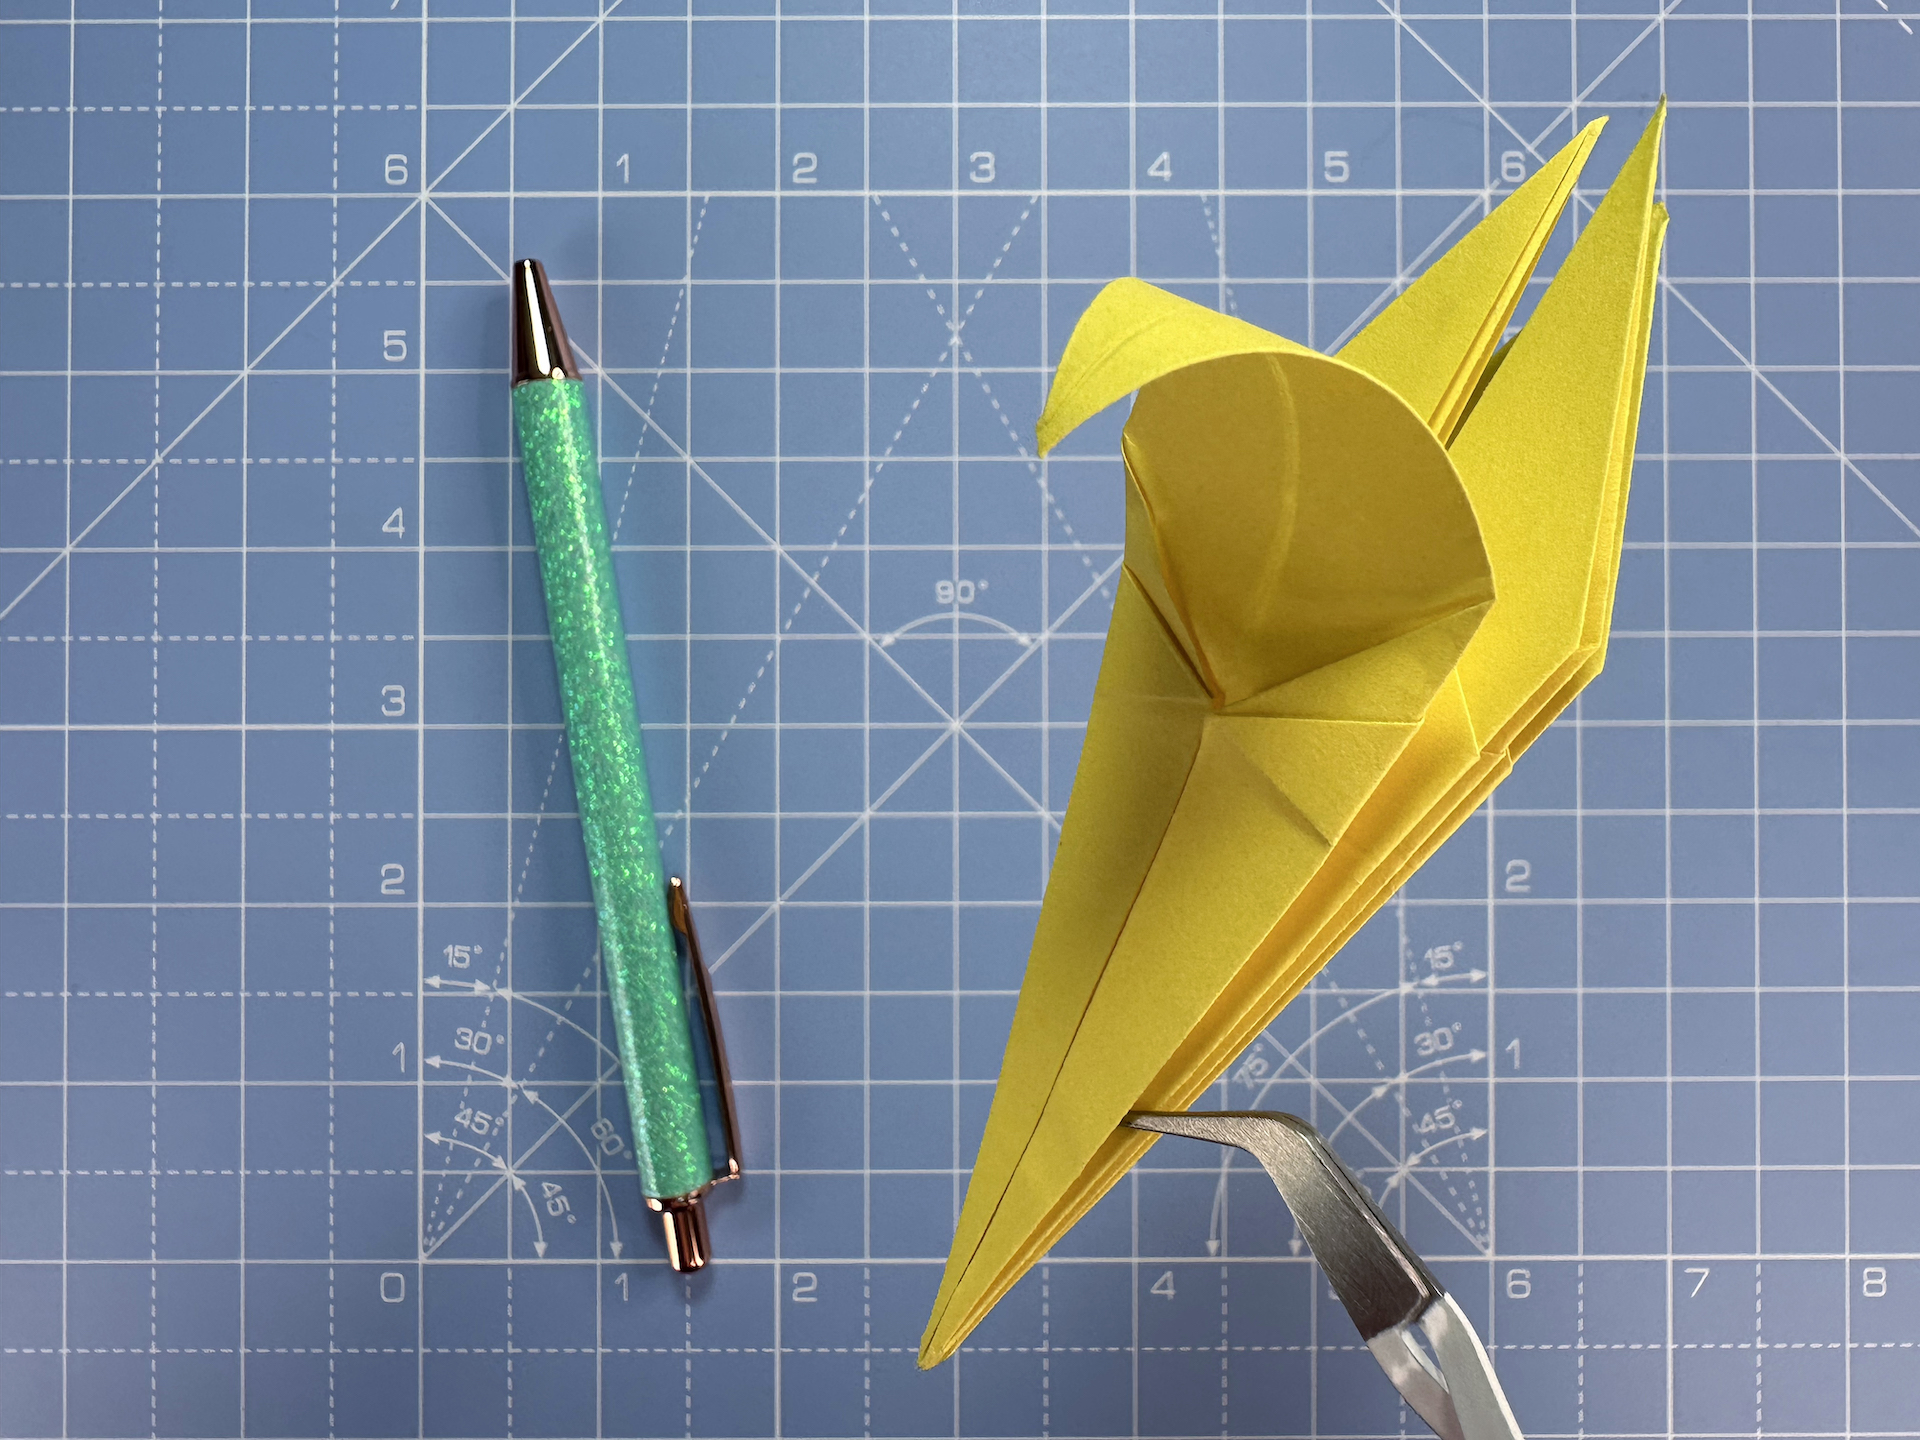
When you’re folding the flaps inwards to create the base of the flower, you’re folding several layers at once, so it’s helpful to use a paper creaser to achieve crisp folds. Curl the petals outwards when you’re finished for a more realistic appearance. Doing so also helps to hold the shape of the origami lily.
This origami lily tutorial is one of the easiest origami flowers that you can make. We think you’ll love it, and the results are quick and easy.
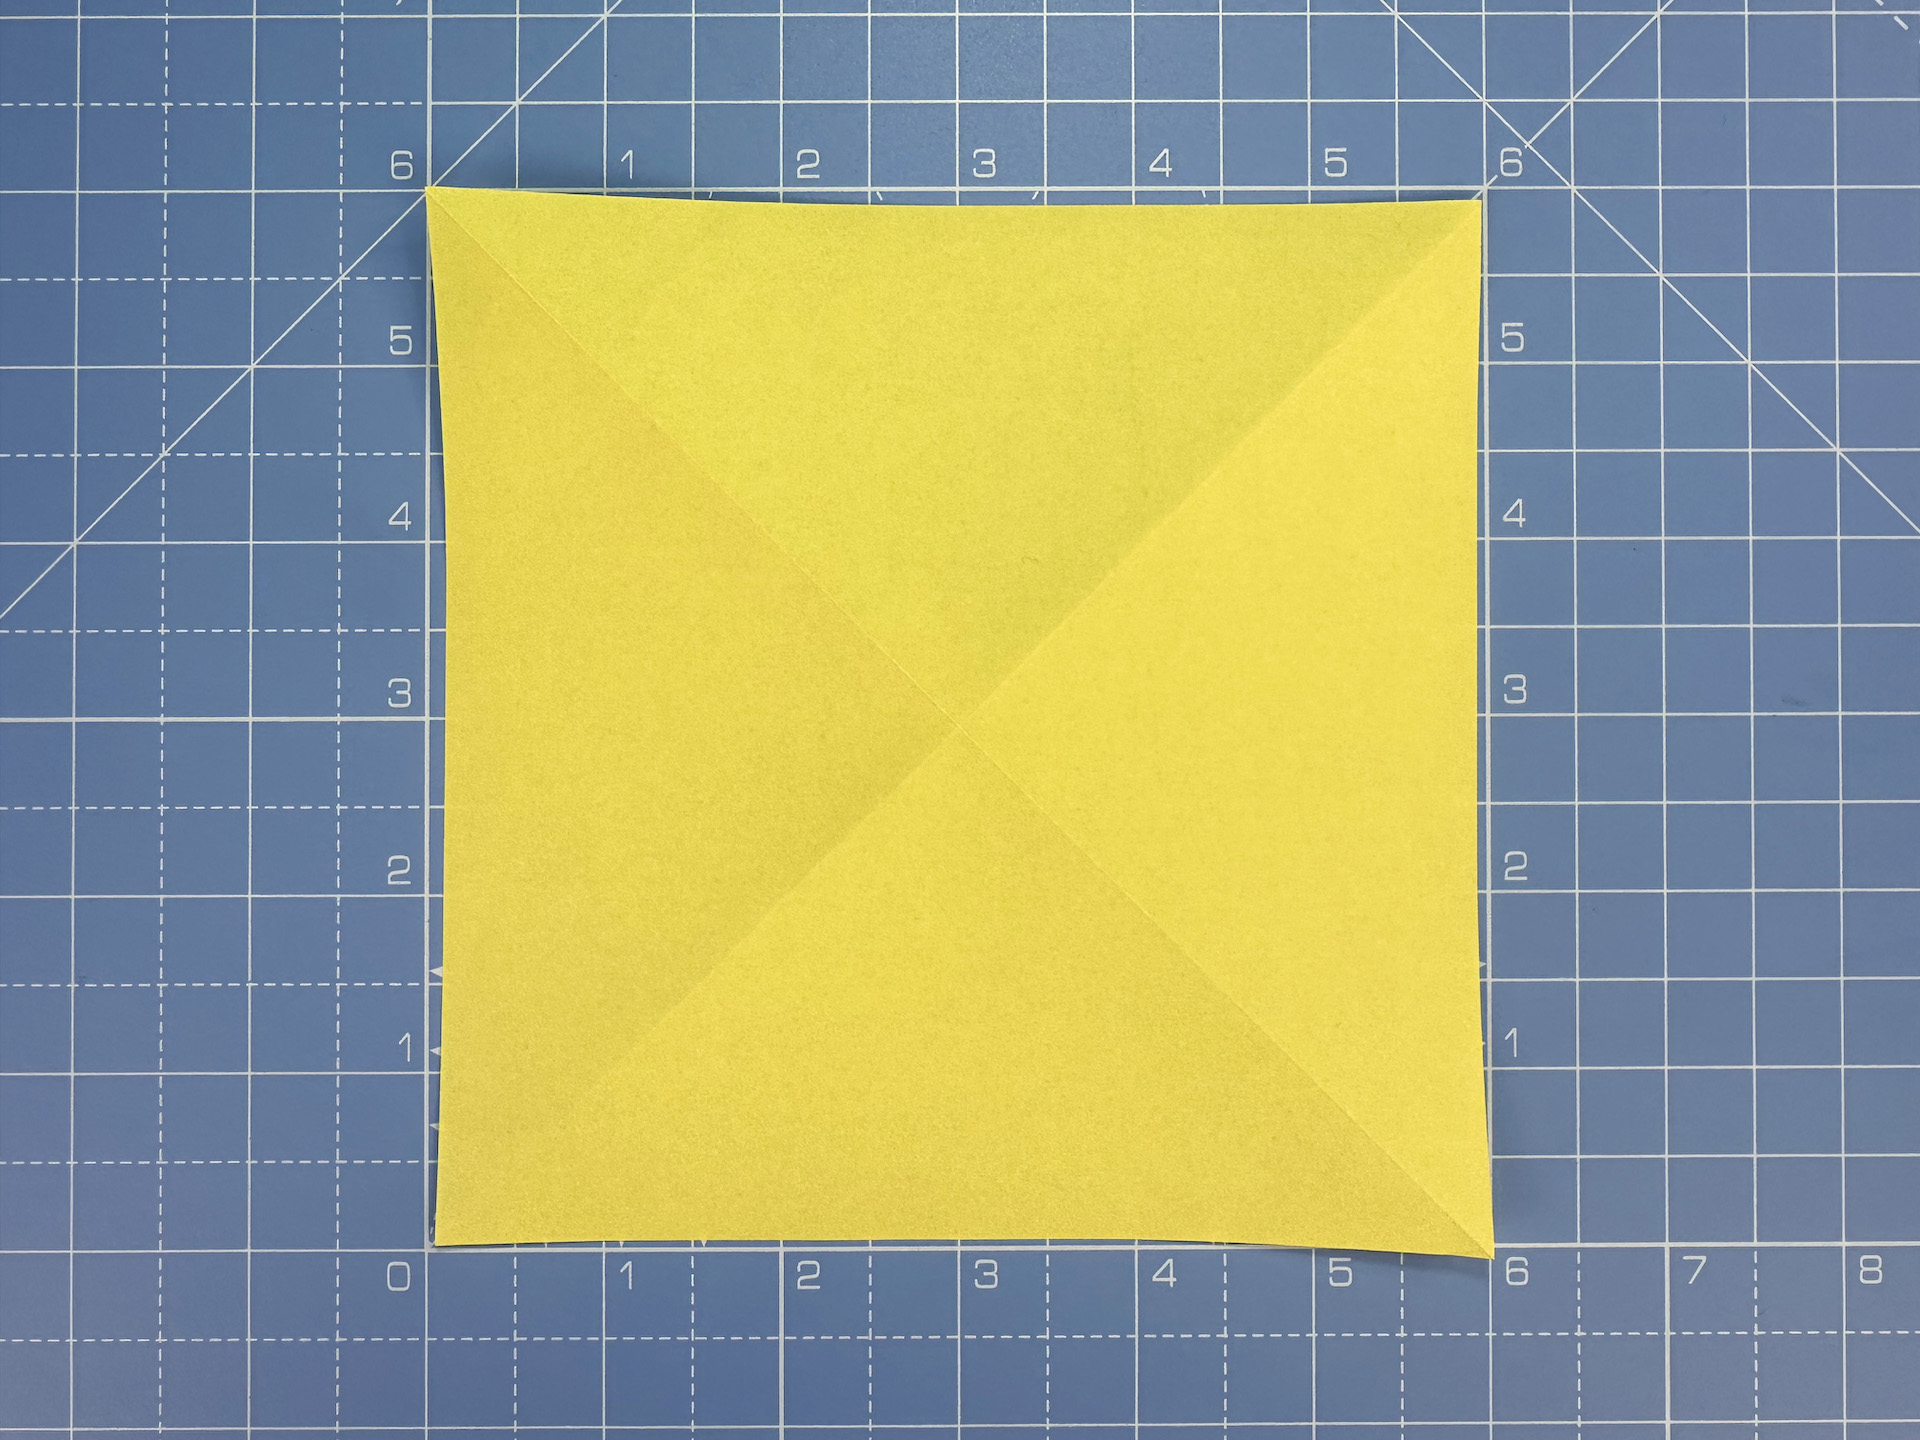
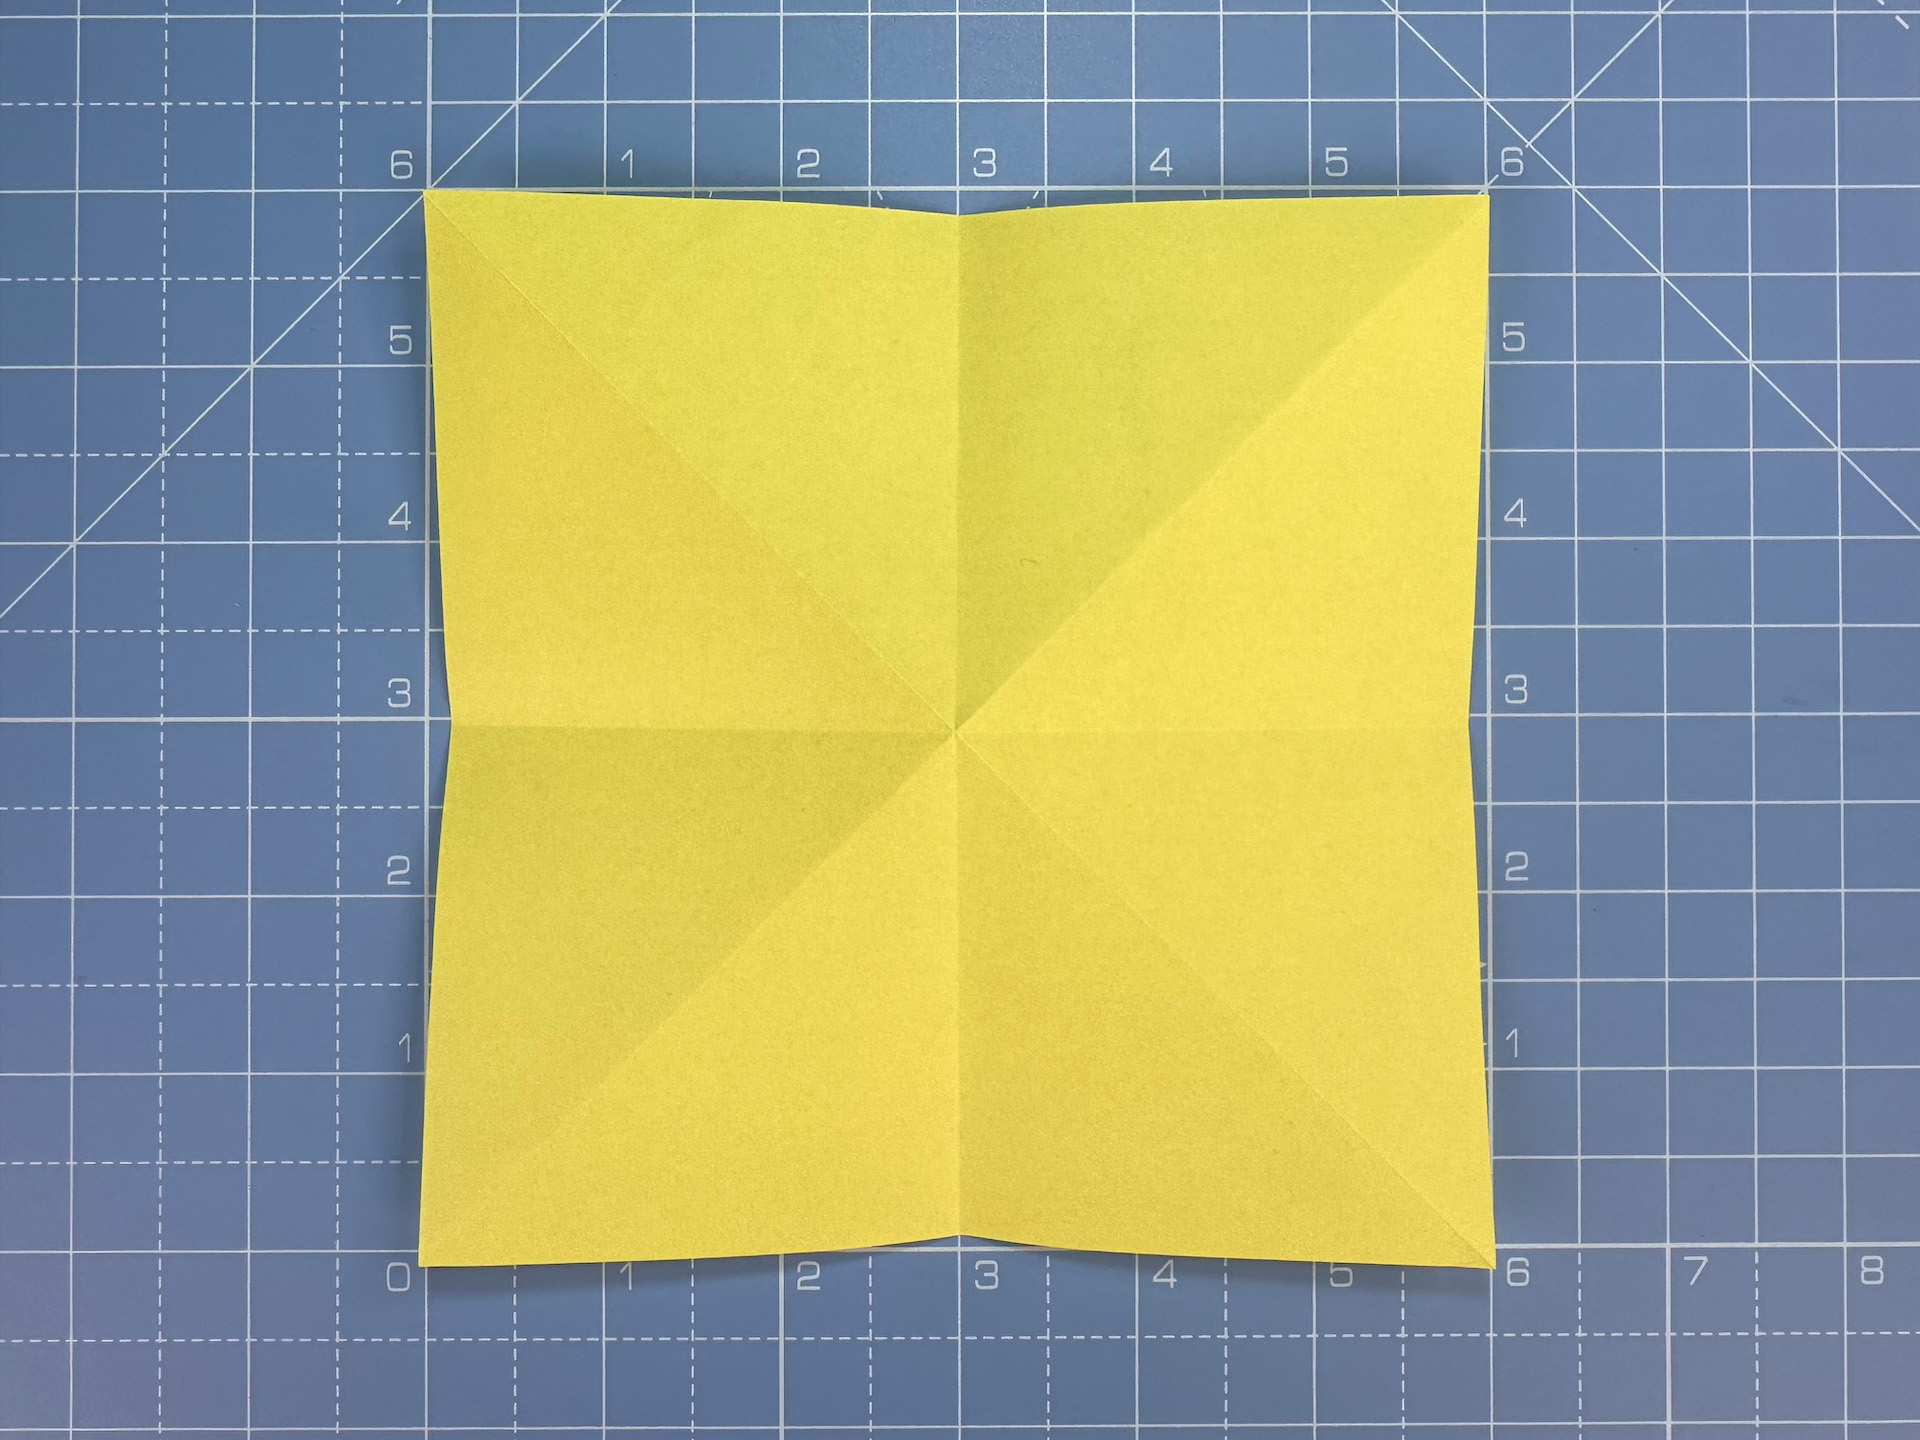
Ready? Here’s how to fold your very own origami lily.
Discover more origami fun here on Gathered:
How to make an origami lily, step by step with pictures
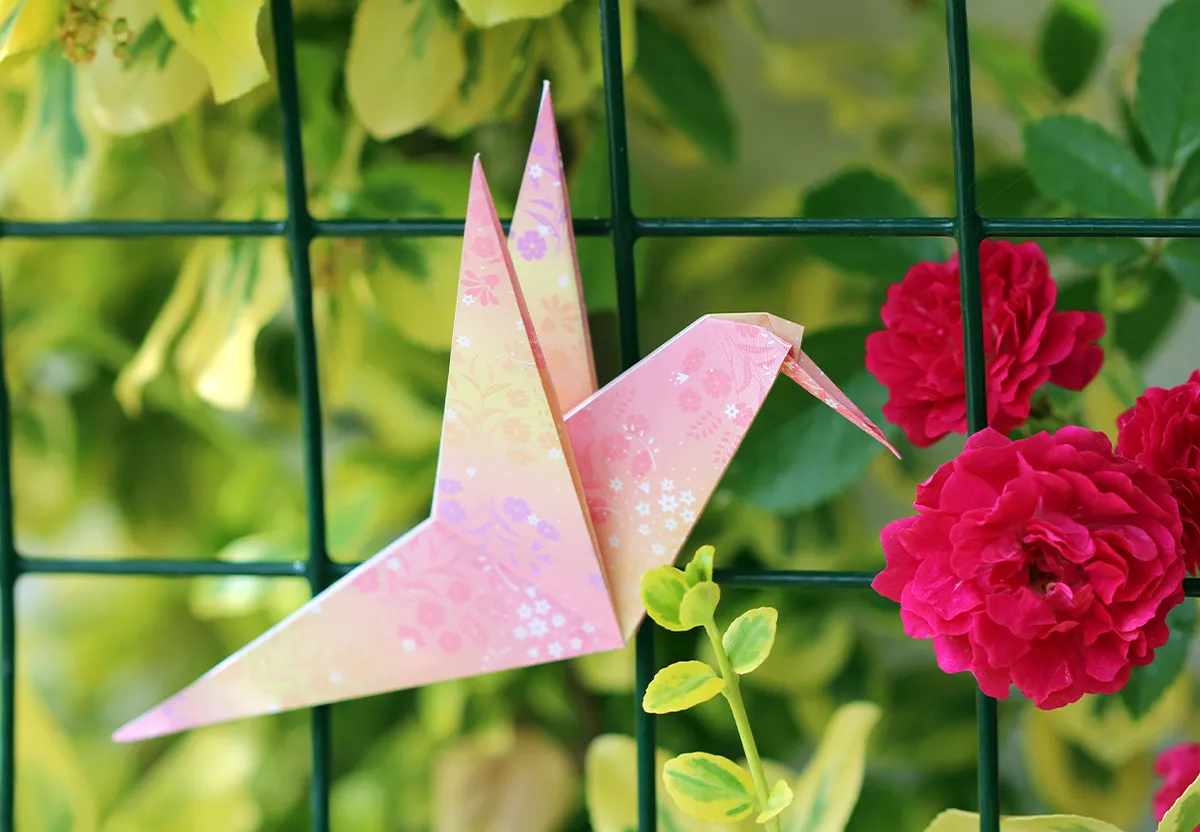
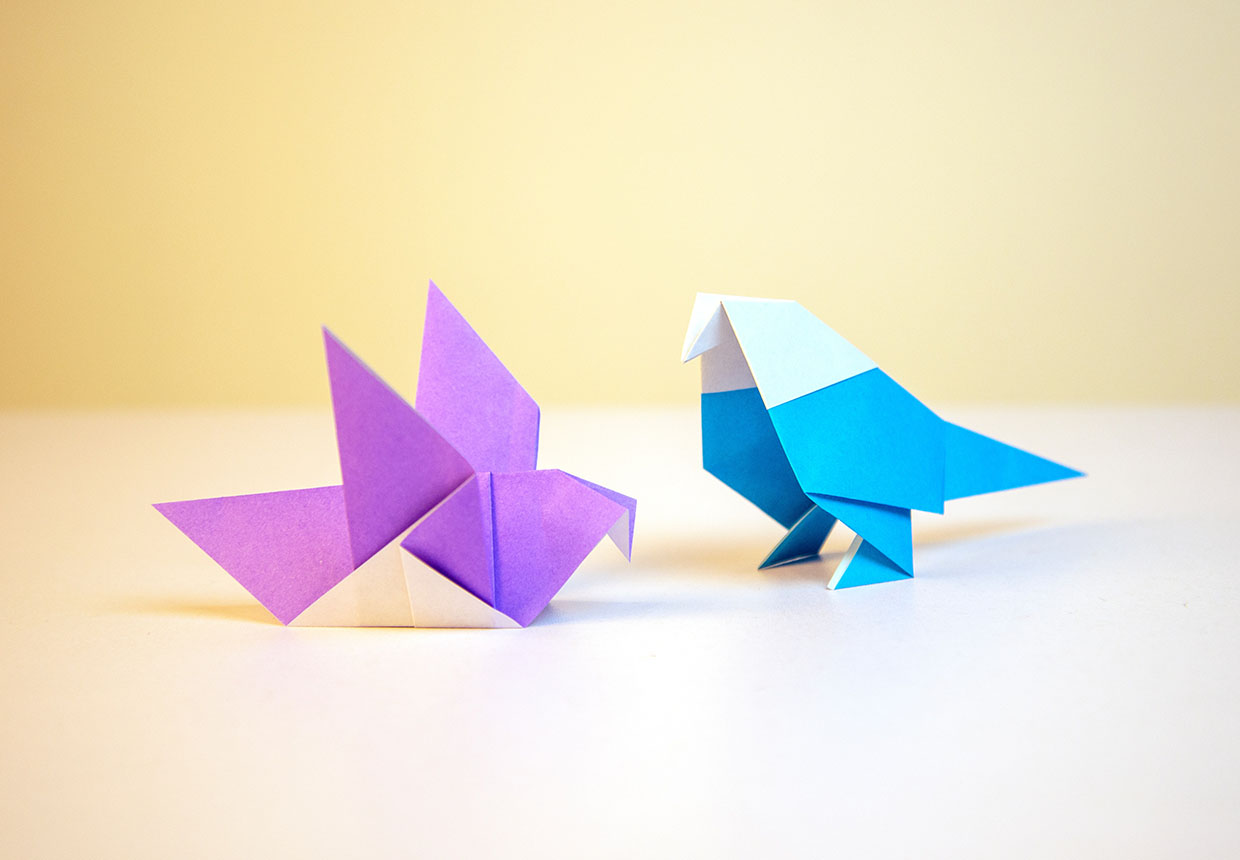
Make a sweet hummingbird for your origami lily
This origami hummingbird is the perfect project to accompany your origami lily. Like the lily, it’s great for beginners and even doubles up as a card topper.

