How to make paper mache with PVA glue

How to make paper mache with PVA glue

Looking for the perfect paper mache recipe? We'll show you how to make paper mache using PVA glue to craft sweet little trinket pots using cookie cutters that the kids will love!

Try our magazines – get 6 issues from just £9.99!

Published: February 19, 2024 at 11:02 am

It isn't just balloons that are good for covering in paper mache! You can cover so many different shaped objects with this fun paper mache recipe.

The reason that balloons are so popular is that they can be removed with just once prick of a pin, and POP – your paper mache balloon shape is free!

We're going to show you three great methods you can use to release your paper mache from solid objects, so you cans see how to make paper mache fun shaped objects.

We're using cookie cutters to build up some little mini trinket pots, but you can use anything you like – just remember you'll need to be able to slide you paper mache off it, so one side must be left open, with an opening wide enough for the object to be removed.

What is paper mache?

Paper mache (or papier-mâché to give it its proper name) literally means chewed paper. With this technique, absorbent paper, often newspaper is torn into strips and mixed with a sticky paste.

The strips are shaped around an object and take on the shape of that object once the paste is dry. You can use different papers like tissue paper, but you don't want anything with a surface finish on it, so if it looks glossy, it probably wont take up the paste too well so it wont properly mash together.

Tearing the paper into strips rather than cutting it also helps to create a more absorbent edge for taking up with stitch paste and really sticking nicely.

Paper mache recipe

There are several methods you can use to make the paste for your paper mache. You can mix water with flour, you can use wallpaper paste or you can use PVA glue mixed with water.

We are focusing on how to make paper mache with PVA glue in this article, but if you want to see how to make paper mache with flour, you'll find a recipe on BBC Good Food. Click for the flour paper mache tutorial. You might also like our easy salt dough recipe post.

What do you need to make paper mache?

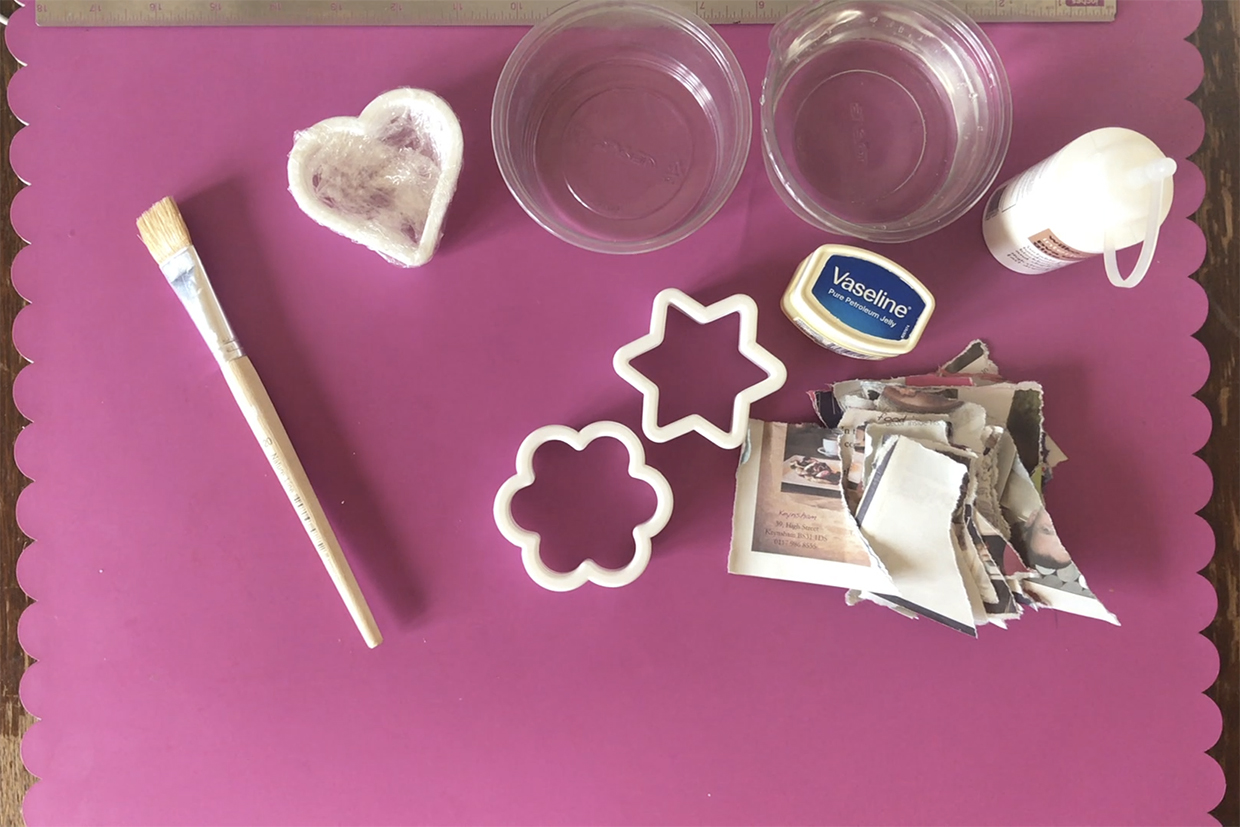
  • Newspaper torn into strips – 2x5cm is a good size
  • PVA craft glue
  • Cold water
  • Paintbrush - 1cm wide is a good size

How to make paper mache

  1. Mix 1 part PVA craft glue with 2 parts water to make your paper mache paste.
  2. You don't need to be super accurate – there is no need to measure out your ingredients, it is fine to approximate this by eye. But a ratio of 2 parts water to 1 part PVA glue is a good rule of thumb.
  3. If you are exploring how to make paper mache with kids, it's a good idea to use a child-friendly PVA craft glue as this will be water soluble so easily removed from clothing and hands, but we've used a water resistant wood PVA glue with this technique and it has still worked.
  4. Mix the glue and the water together until they are combined, then your paper mache paste is ready to use.

How to make paper mache

Take a look at our video tutorial to see how to paper mache and how the layers and built up as you learn how to make paper mache with PVA glue.

If you prefer a photographic walkthrough showing how to make paper mache, you'll find these under the video.

Total time:

Minimum drying time

How to make paper mache: Clingfilm method

Step 1

paper mache recipe step 1

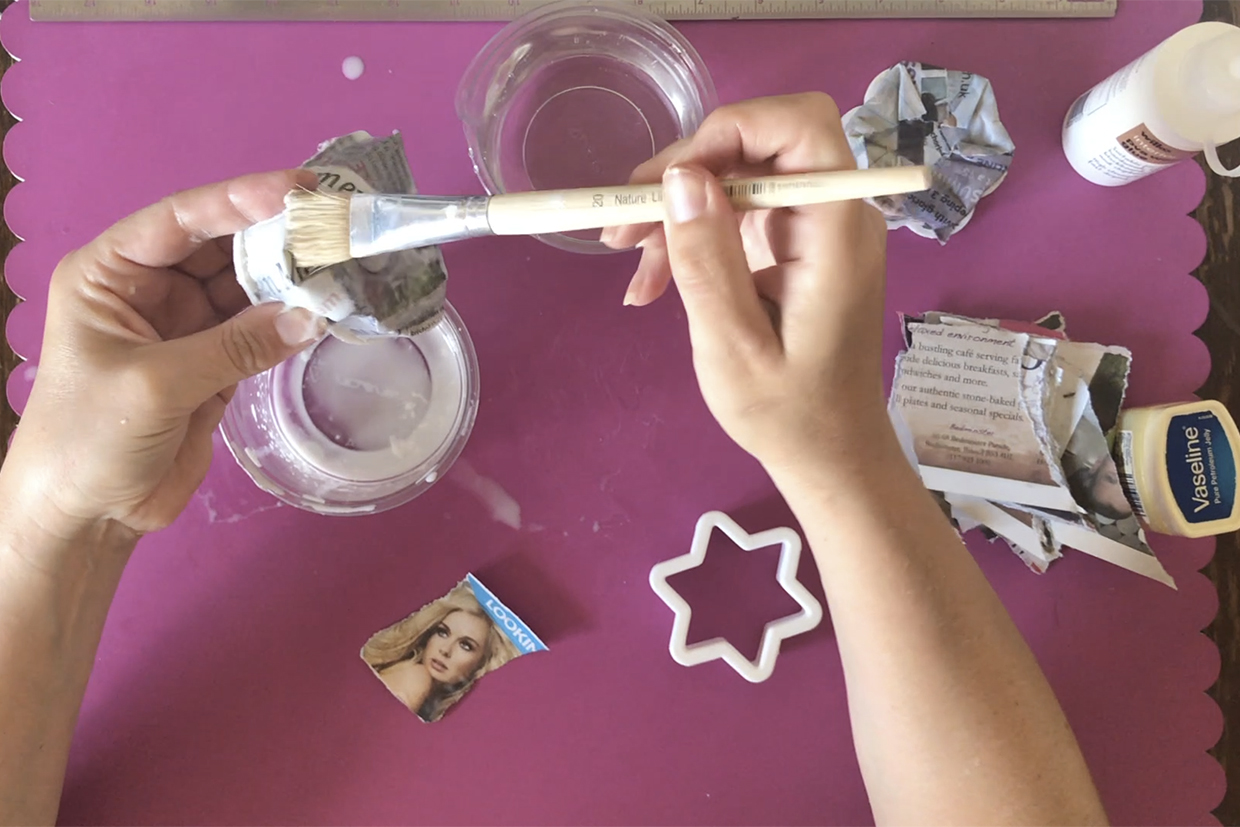
Begin by tearing your newspaper strips. 2x5cm is a good size to work with for our cookie cutters, but if you are making  larger paper mache object, bigger strips may work better for you.

We’re investigating 3 different ways of releasing the paper mache cast from the object it is made around – wrapping the object in clingfilm, greasing it with a layer of petroleum jelly and using a layer of water soaked paper strips underneath the glue paper mache.

If you want to try the clingfilm method, start by wrapping your shape in clingfilm

How to make paper mache: Petroleum jelly method

Step 1

paper mache recipe step 2

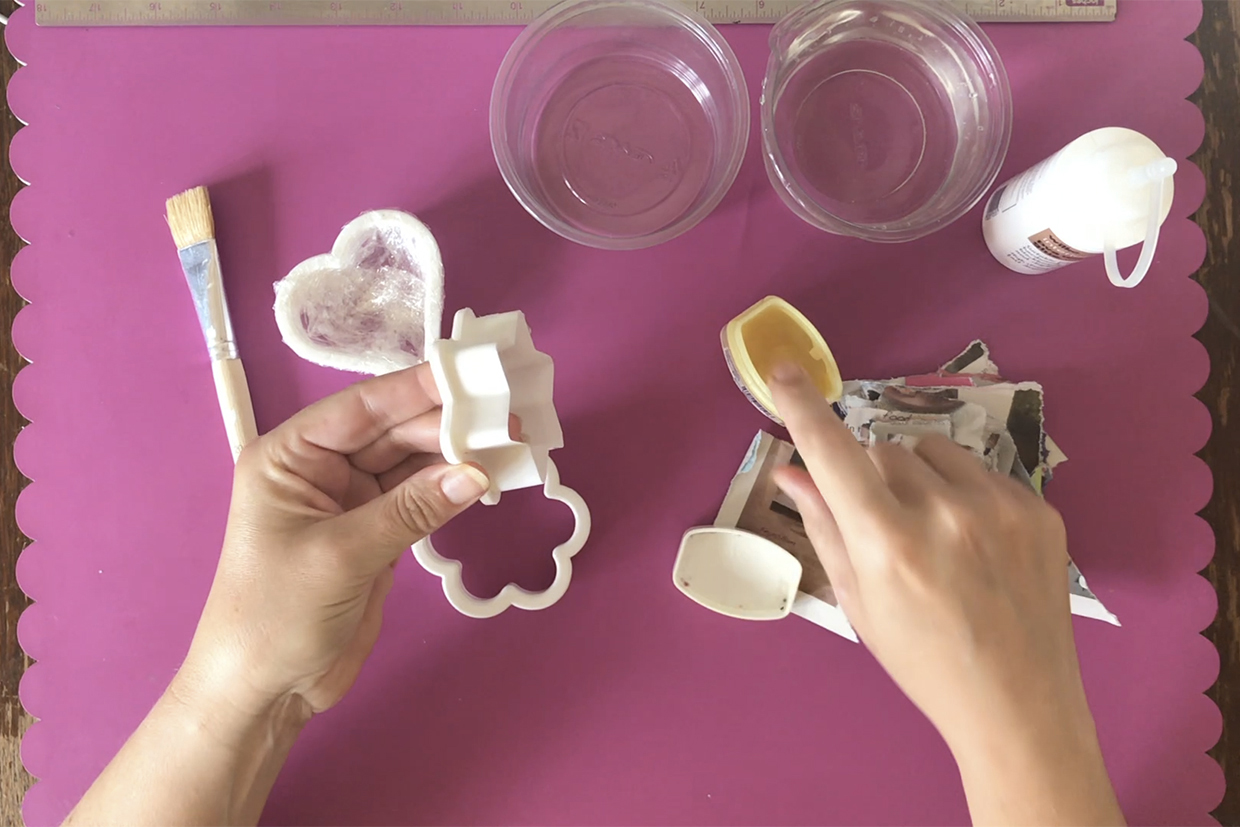
If you want to try the petroleum jelly method, thoroughly cover the outside of your shape with a layer of petroleum jelly.

You can also use vegetable oil as an alternative to the petroleum jelly if you like, but we prefer using the jelly as the vegetable oil can mark the paper mache bowl, wheat the petroleum jelly later will not mark the paper mache.

How to make paper mache: Wet paper method

Step 1

paper mache recipe

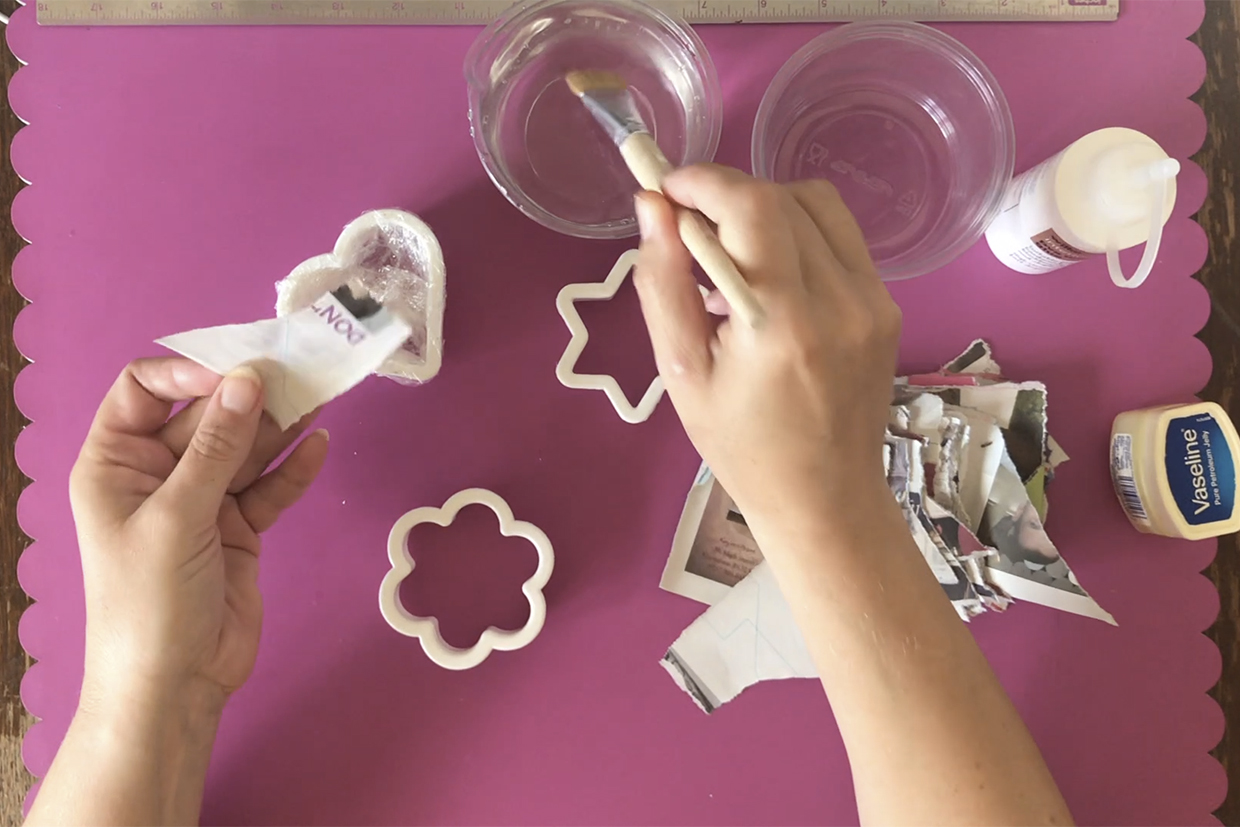
The wet paper layer method is the most straightforward, as you start by applying your newspaper strips to your shape in the same way as you do for paper mache, but using just water and no glue paper mache paste.

Dampen the newspaper using a wet paintbrush, or dip it straight into your water pot!

Step 2

How to make paper mache step 4

Use a wet paintbrush to help mould the wet newspaper around your shape, pushing it into the crevices at the side and wrapping the newspaper all around the shape until you have completely covered the bottom layer.

Step 3

paper mache recipe step 5

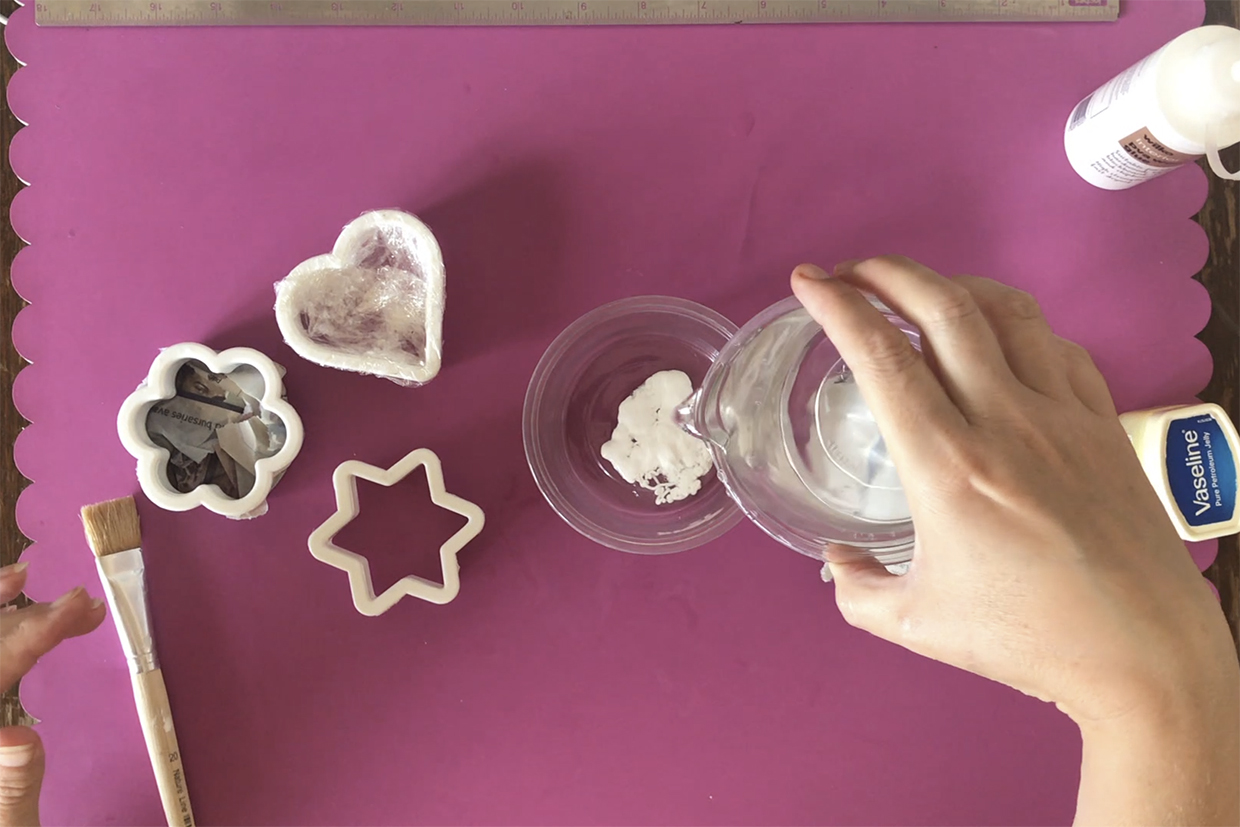
Now it is time to mix up your paper mache paste! We do this after you have applied the bottom water layer of newspaper if you are using this method, as you want to be certain there is no glue on your brush when you use it to apply the first layer, only water.

Put a big dollop of PVA glue into a pot and add twice as much water, then mix together to combine the glue and water into a paste.

Step 4

paper mache recipe step 6

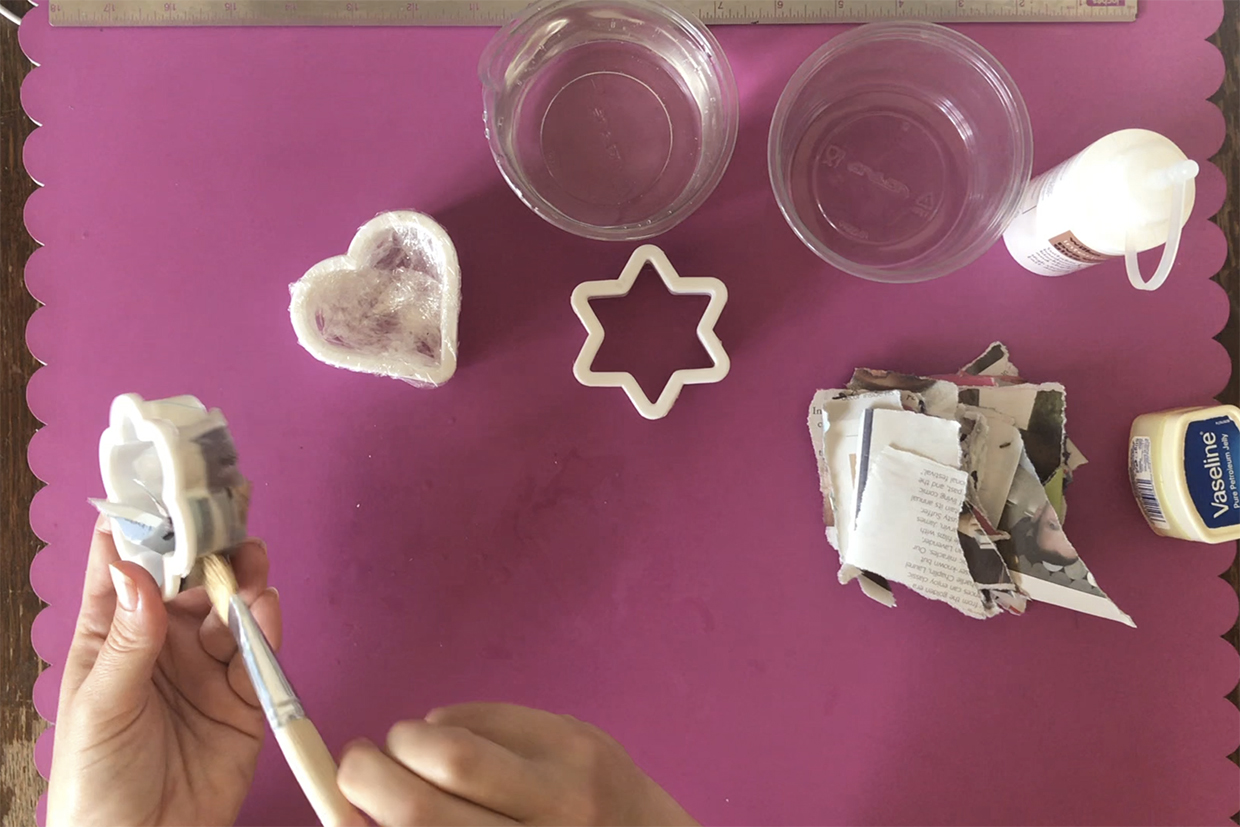
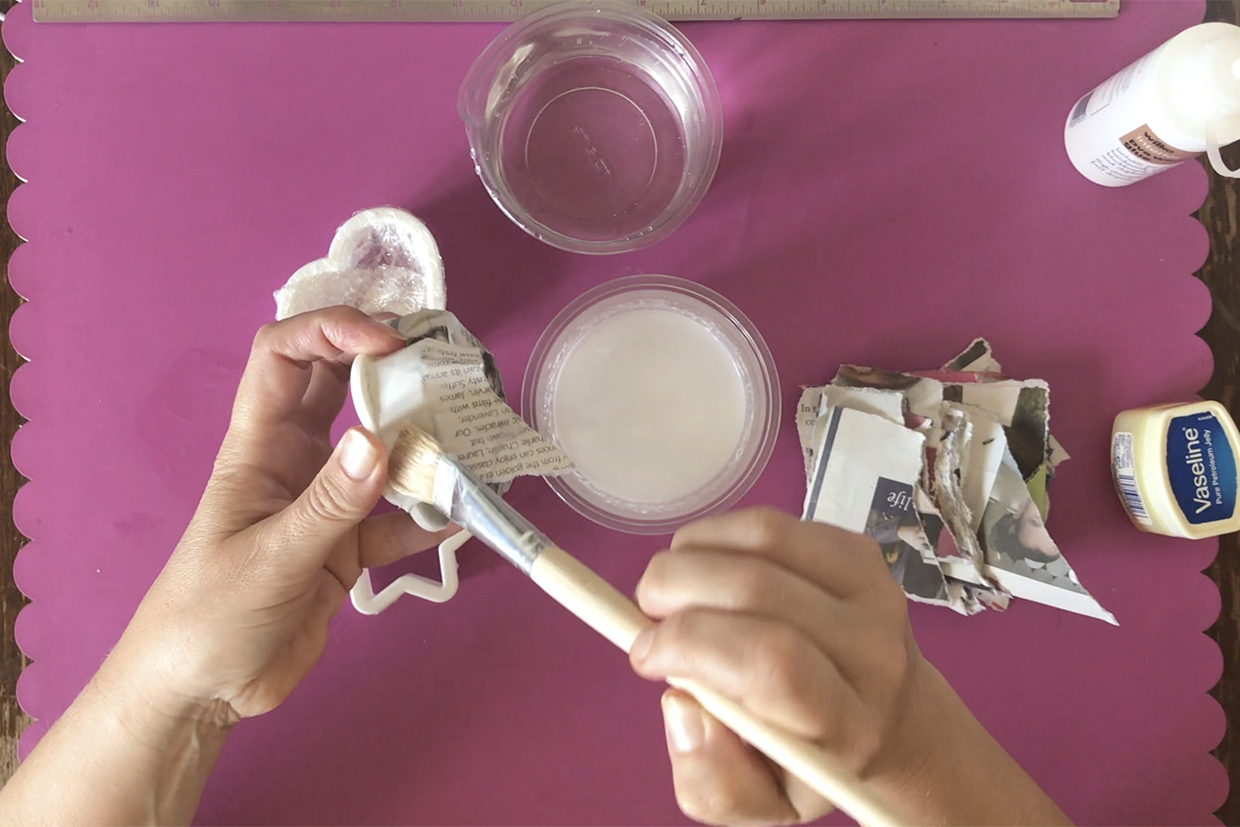
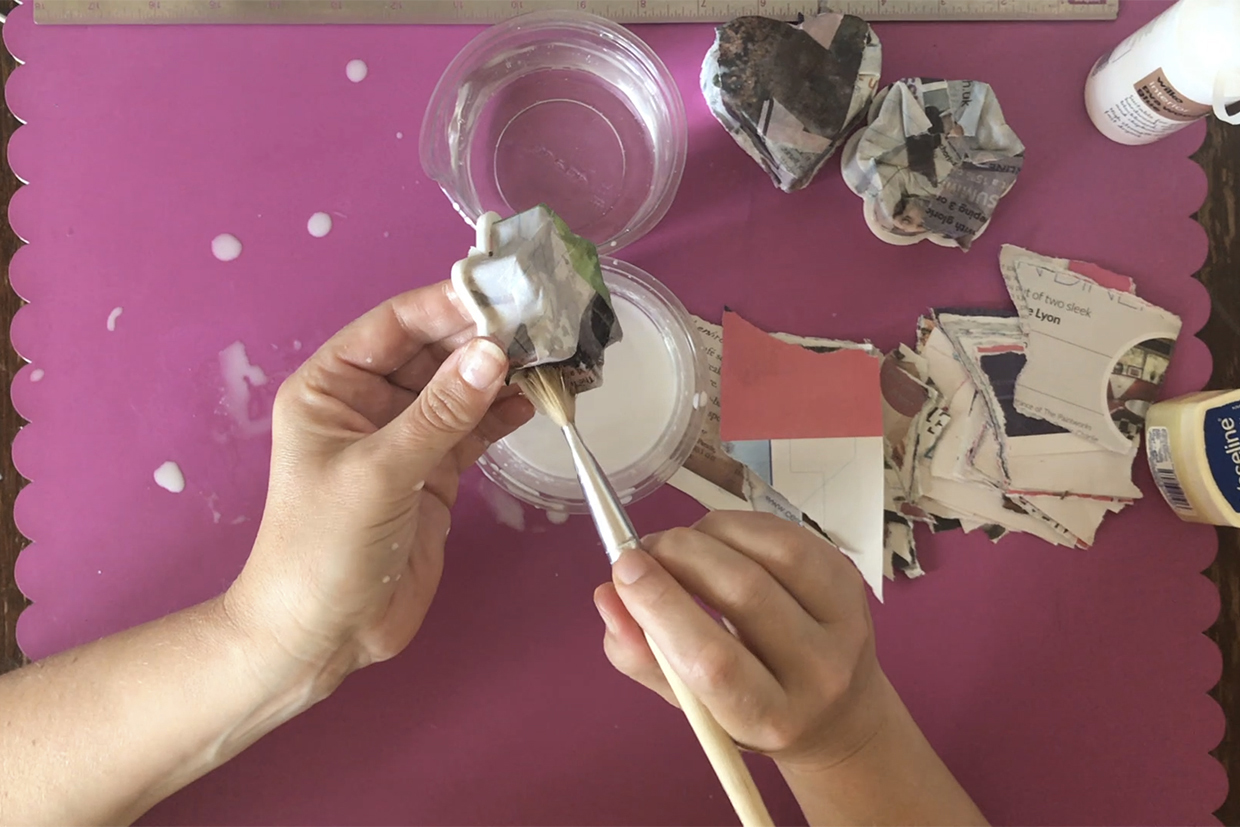
Use a paintbrush to add paper mache paste to the newspaper strip and form it round your shape as before.

We don’t recommend dipping your newspaper strip into the paste directly as this can get very messy very quickly!

Even applying it with a brush, you will still get some drips so make sure your surface is protected. We are using a craft mat.

Step 5

How to make paper mache step 7

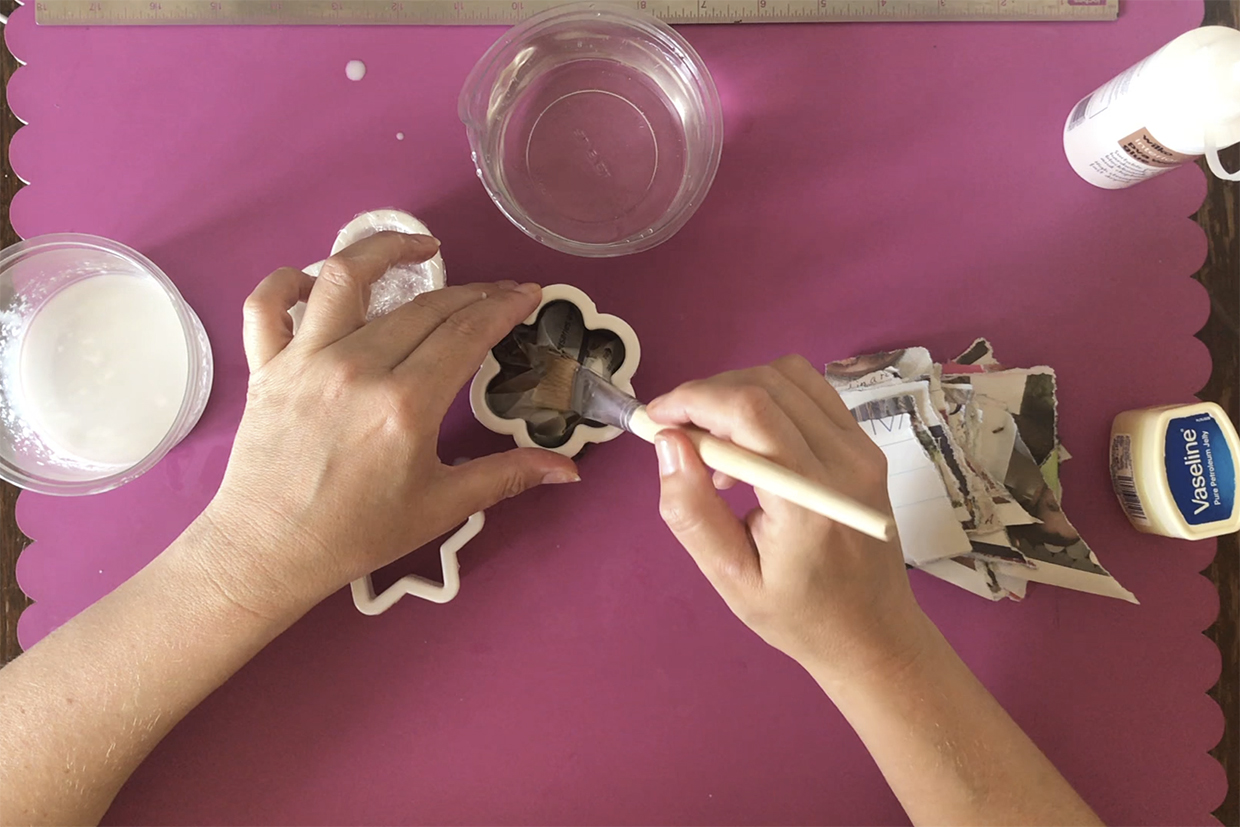
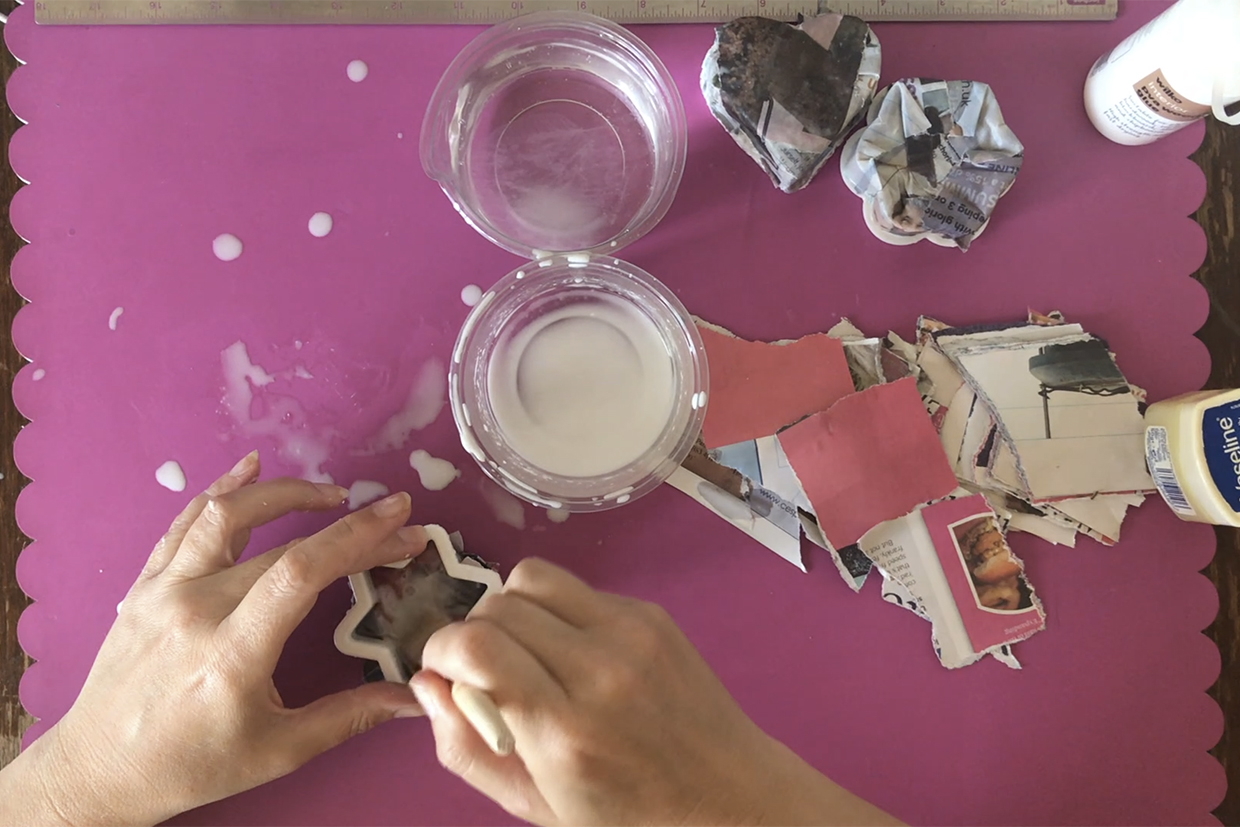
To make a base for your paper mache pot, lay the cookie cutter down on the mat, and use your paintbrush to flatten down the newspaper through the centre of the cookie cutter.

Once you are happy with the finish on the pot, and once you have at least 4 layers of newspaper built up in your paper mache, turn the cookie cutter upside down and leave your pot to dry.

It will take at least 24 hours for them to dry properly.

Step 6

How to make paper mache step 8

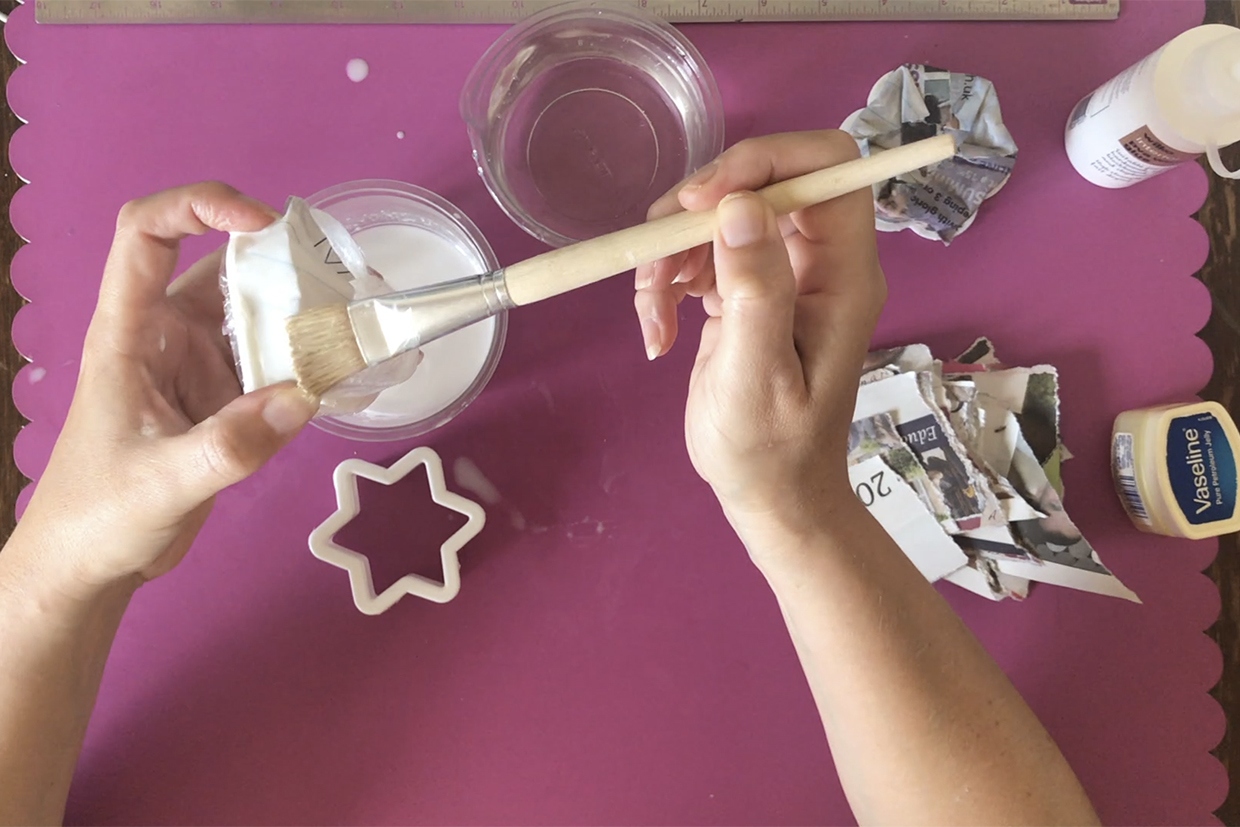
Now we are going to paper mache using the clingfilm method. There is no need to apply a water-only layer of paper here, as the clingfilm will sit between the cookie cutter and the glue to stop them sticking together.

Apply a newspaper strip using the paper mache glue paste. and form it round your shape as before.

Step 7

paper mache recipe step 9

Having the clingfilm over the bottom of the shape makes it much easier to make the bottom of your bowl, as you can use the clingfilm as a surface to apply your newspaper strips on top of.

Once you have at least 4 layers of newspaper in place, turn your paper mache upside down and leave it to dry. It will take at least 24 hours for them to dry properly.

Step 8

paper mache recipe step 10

Now we are going to paper mache using the petroleum jelly method.

There is no need to apply a water-only layer of paper here, as the petroleum jelly will sit between the cookie cutter and the glue to stop them sticking together.

Apply a newspaper strip using the paper mache glue paste and form it round your shape as before.

Step 9

paper mache recipe step 11

To make a base for your paper mache pot, lay the cookie cutter down on the mat, and use your paintbrush to flatten down the newspaper through the centre of the cookie cutter.

Once you are happy with the finish on the pot, and once you have at least 4 layers of newspaper built up in your paper mache, turn the cookie cutter upside down and leave your pot to dry.

It will take at least 24 hours for them to dry properly.

Step 10

paper mache recipe step 12

You need to leave your paper mache for at least 24 hours to dry, and if you have made it very thick, it may take even longer.

You'll be able to tell when it is dry as the newspaper will have returned to its normal colour and will sound hollow when you give it a tap.

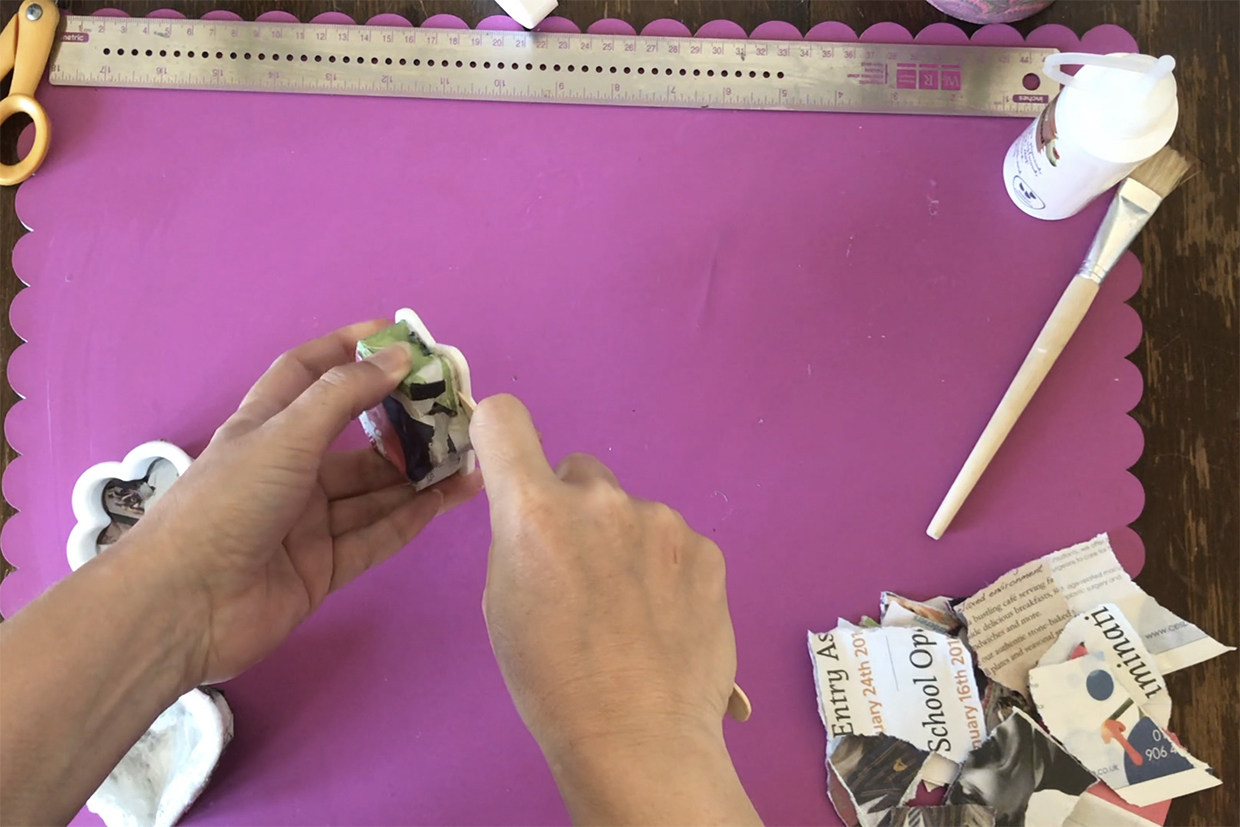
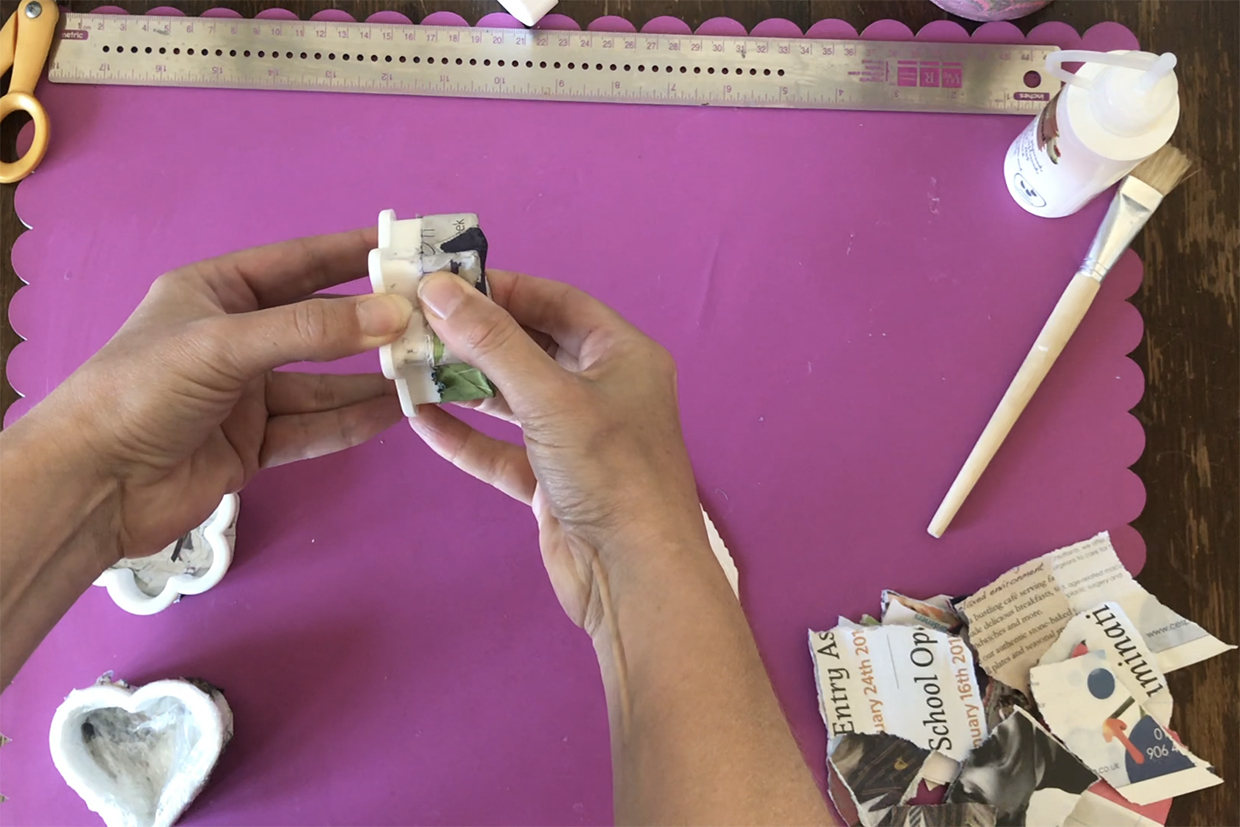
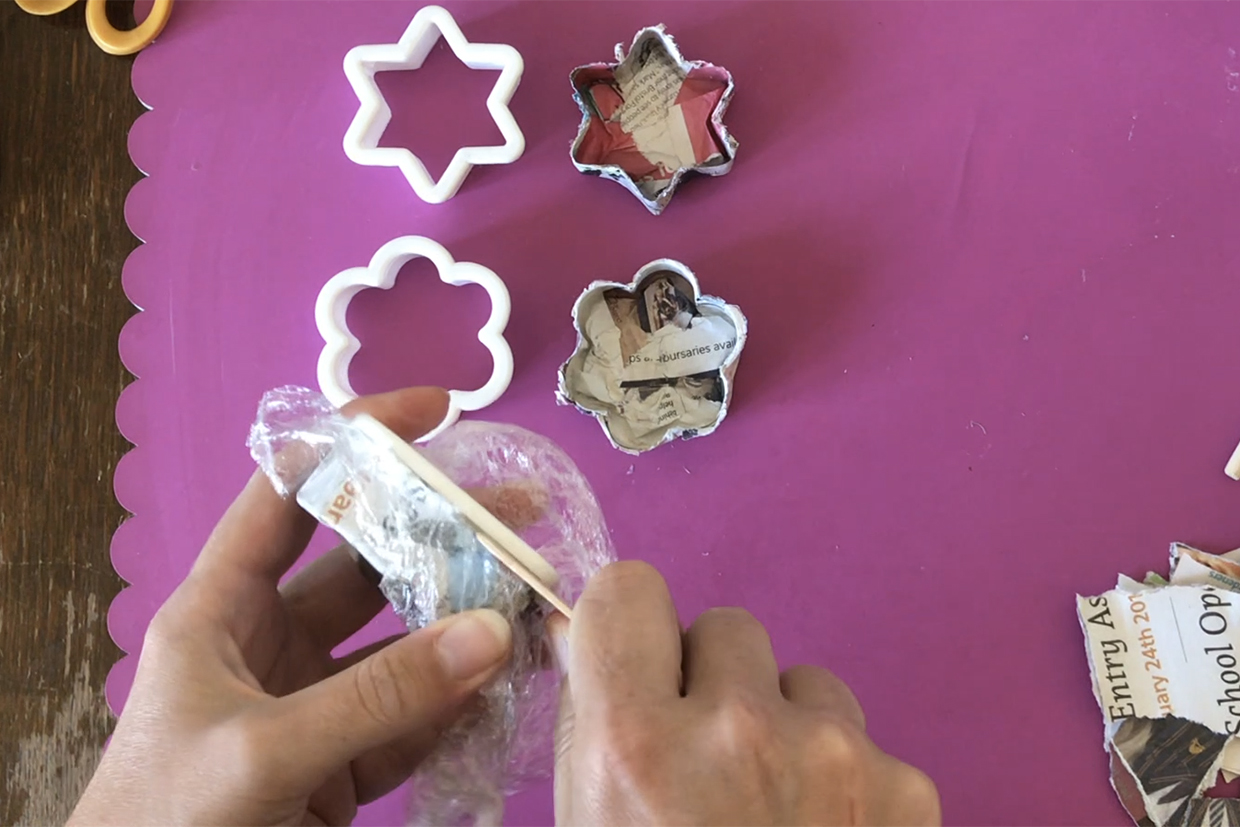
Use a blunt edge like a wooden lolly stick to work around the edge of the paper mache, gently easing the edge loose from the cookie cutter.

Step 11

paper mache recipe step 4

Once you start to feel the paper mache coming lose, gently ease the bowl away from the shape, using the lolly stick as a lever if you need to.

This bowl was made using the petroleum jelly method, and this is our tip pick if you are working with a more pointy shape like our star.

You release the bowl made using the water method in exactly the same way, but the water method can be tricky on more pointed shape likes our star.

Step 12

paper mache recipe step 14

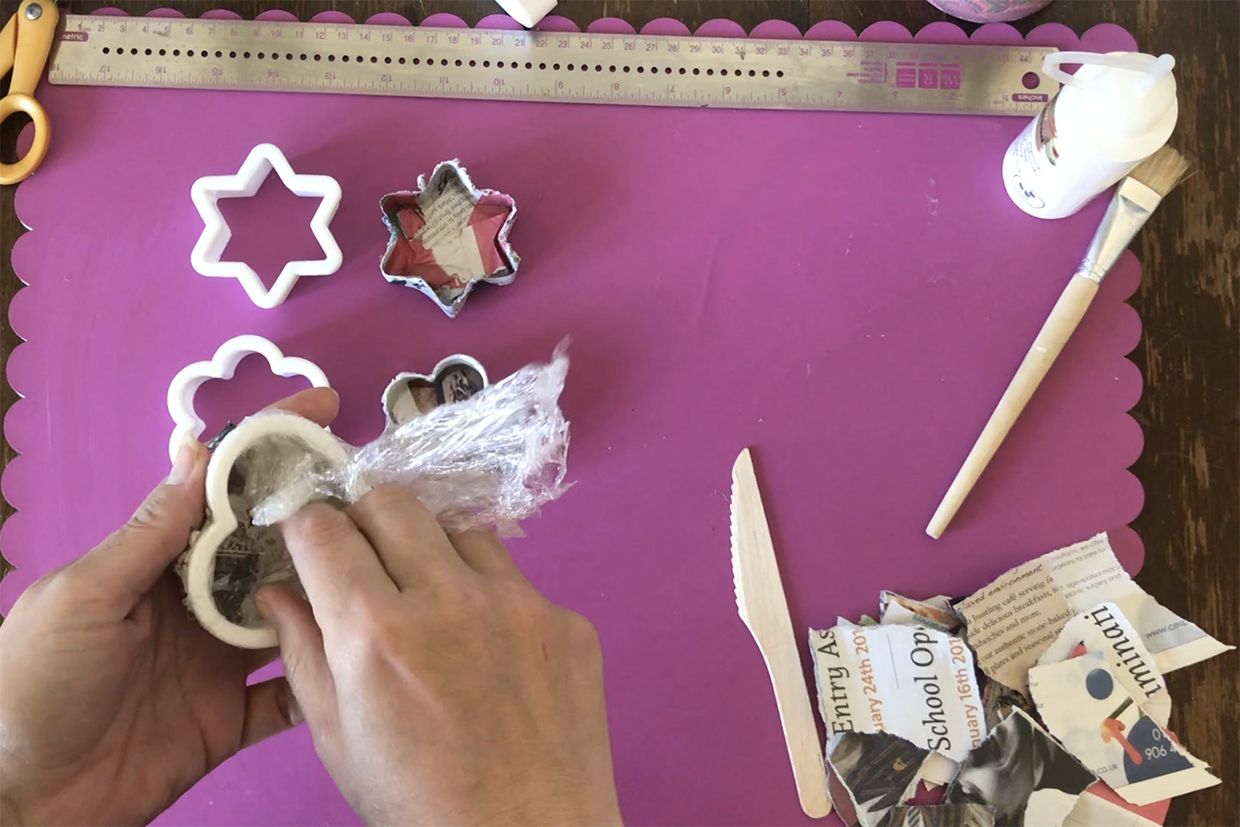
If you've used the clingfilm method, you start by unwrapping the clingfilm that you can see at the top of your shape.

Step 13

paper mache recipe step 15

You may then be able to simply slide the paper mache off the shape, but we still needed to loosen it with a lolly stick first before it would slide off.

Peel off the clingfilm from inside your bowl to reveal the paper mache shape.

Step 14

Paper mache recipe step 16

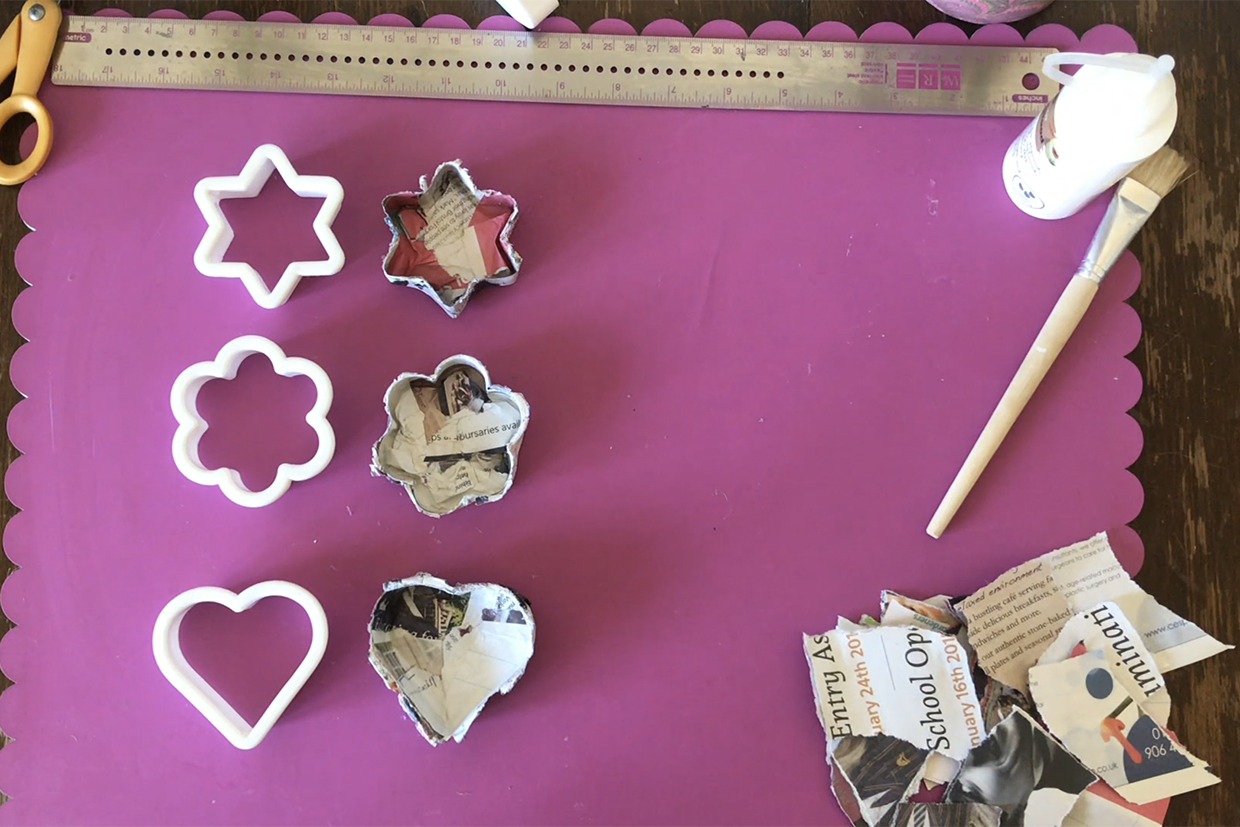
If the edges of your paper mache pots are a bit tatty, you can trim them with some sharp scissors, but we don't recommend painting them as this can make them wet again and they can lose their shape.

You can embellish them with washi tape or stick-on gems and fill them with all your favourite little things.

How to make paper mache Q&A

How many layers of paper mache do you need?

You need at least 4 layers of newspaper in your paper mache to make a nice rigid shape. You can use more, but if you go too bulky you can lose definition on your shape and it will take much longer to dry properly. Between 4 and 6 layers is optimum.

How long does paper mache take to dry?

For 4 layers of paper mache, you’ll need to leave at least 24 hours for your paper mache to dry.

What can I make with paper mache?

Now you’ve learnt how to make paper mache you’ll need some projects to work on! Take a look at our paper mache ideas for loads of creative inspiration. The kids will never be bored again. 

How to make paper mache three ways

You've learnt how to make paper mache using three different methods. All you need to do now is to choose the one that suits your paper mache idea and start crafting.

We've got a paper mache recipe for every project!

Keep children amused with arts and crafts for kids

Entertain your children with Gathered's fun art and craft ideas for kids! There are creative projects to suit all ages, perfect for keeping them busy.

Bookmark the page and come back to it whenever you need new ways to amuse your kids.

easy paper crafts for kids specs