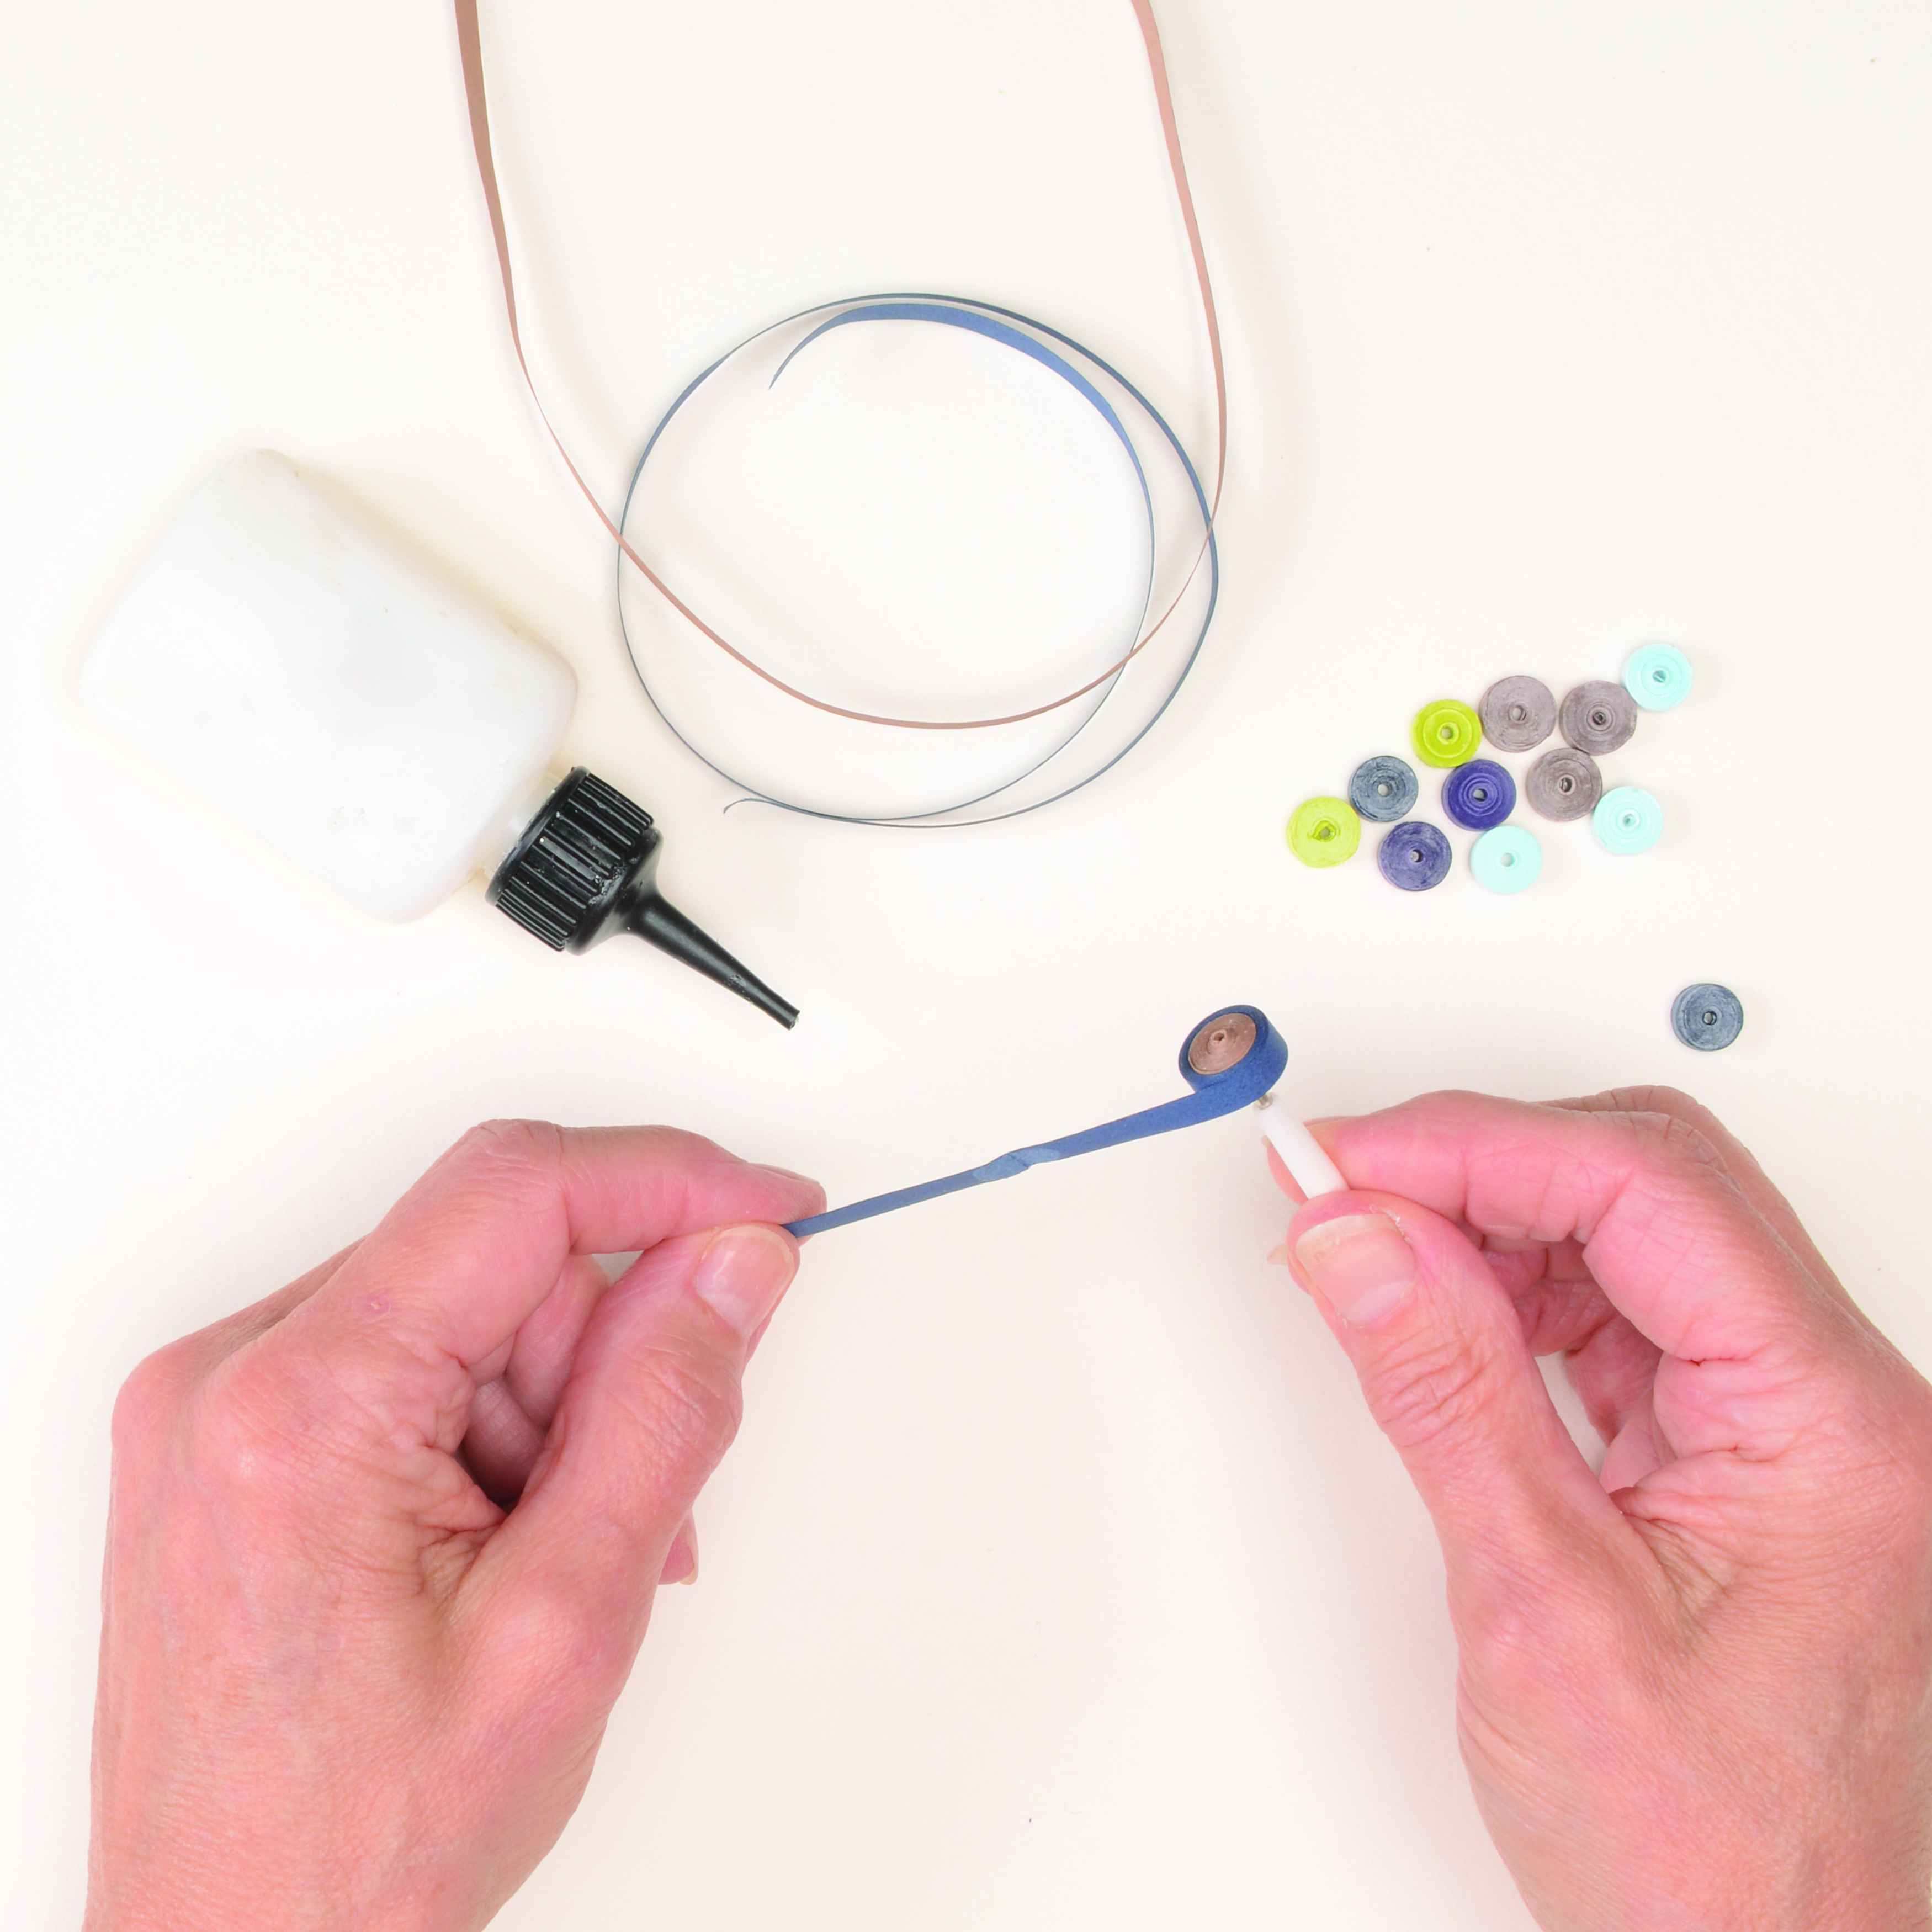
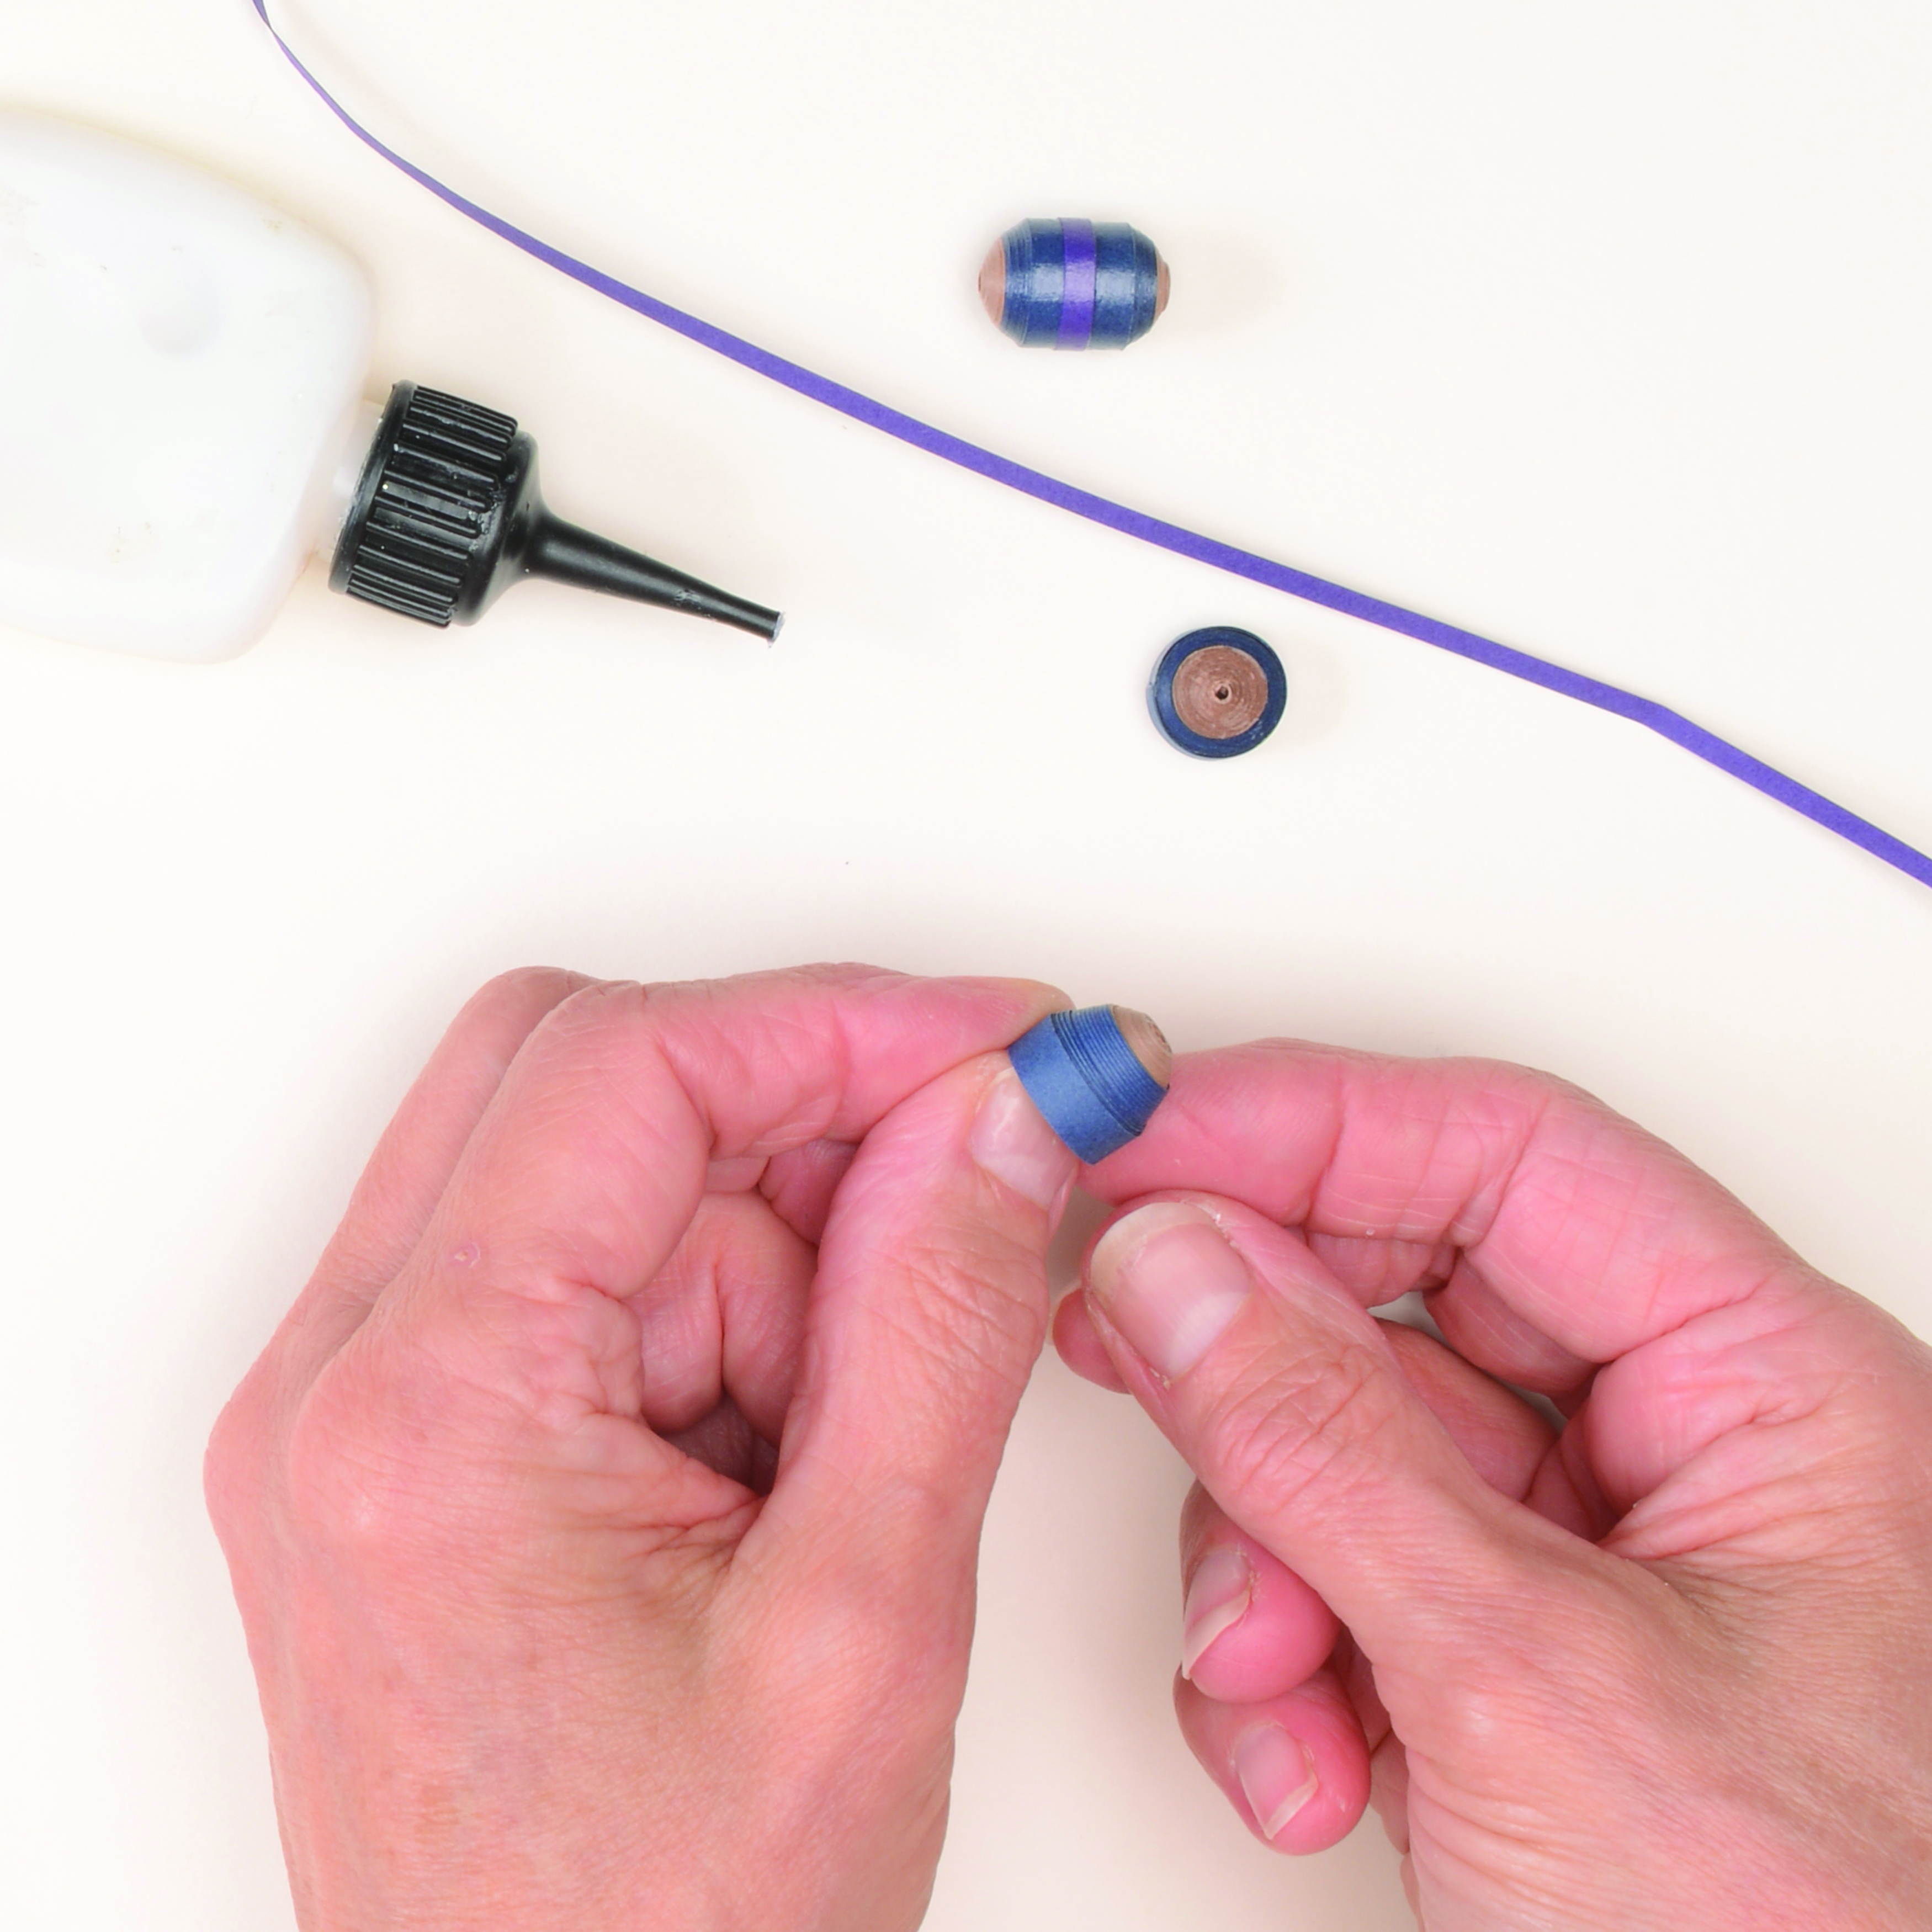
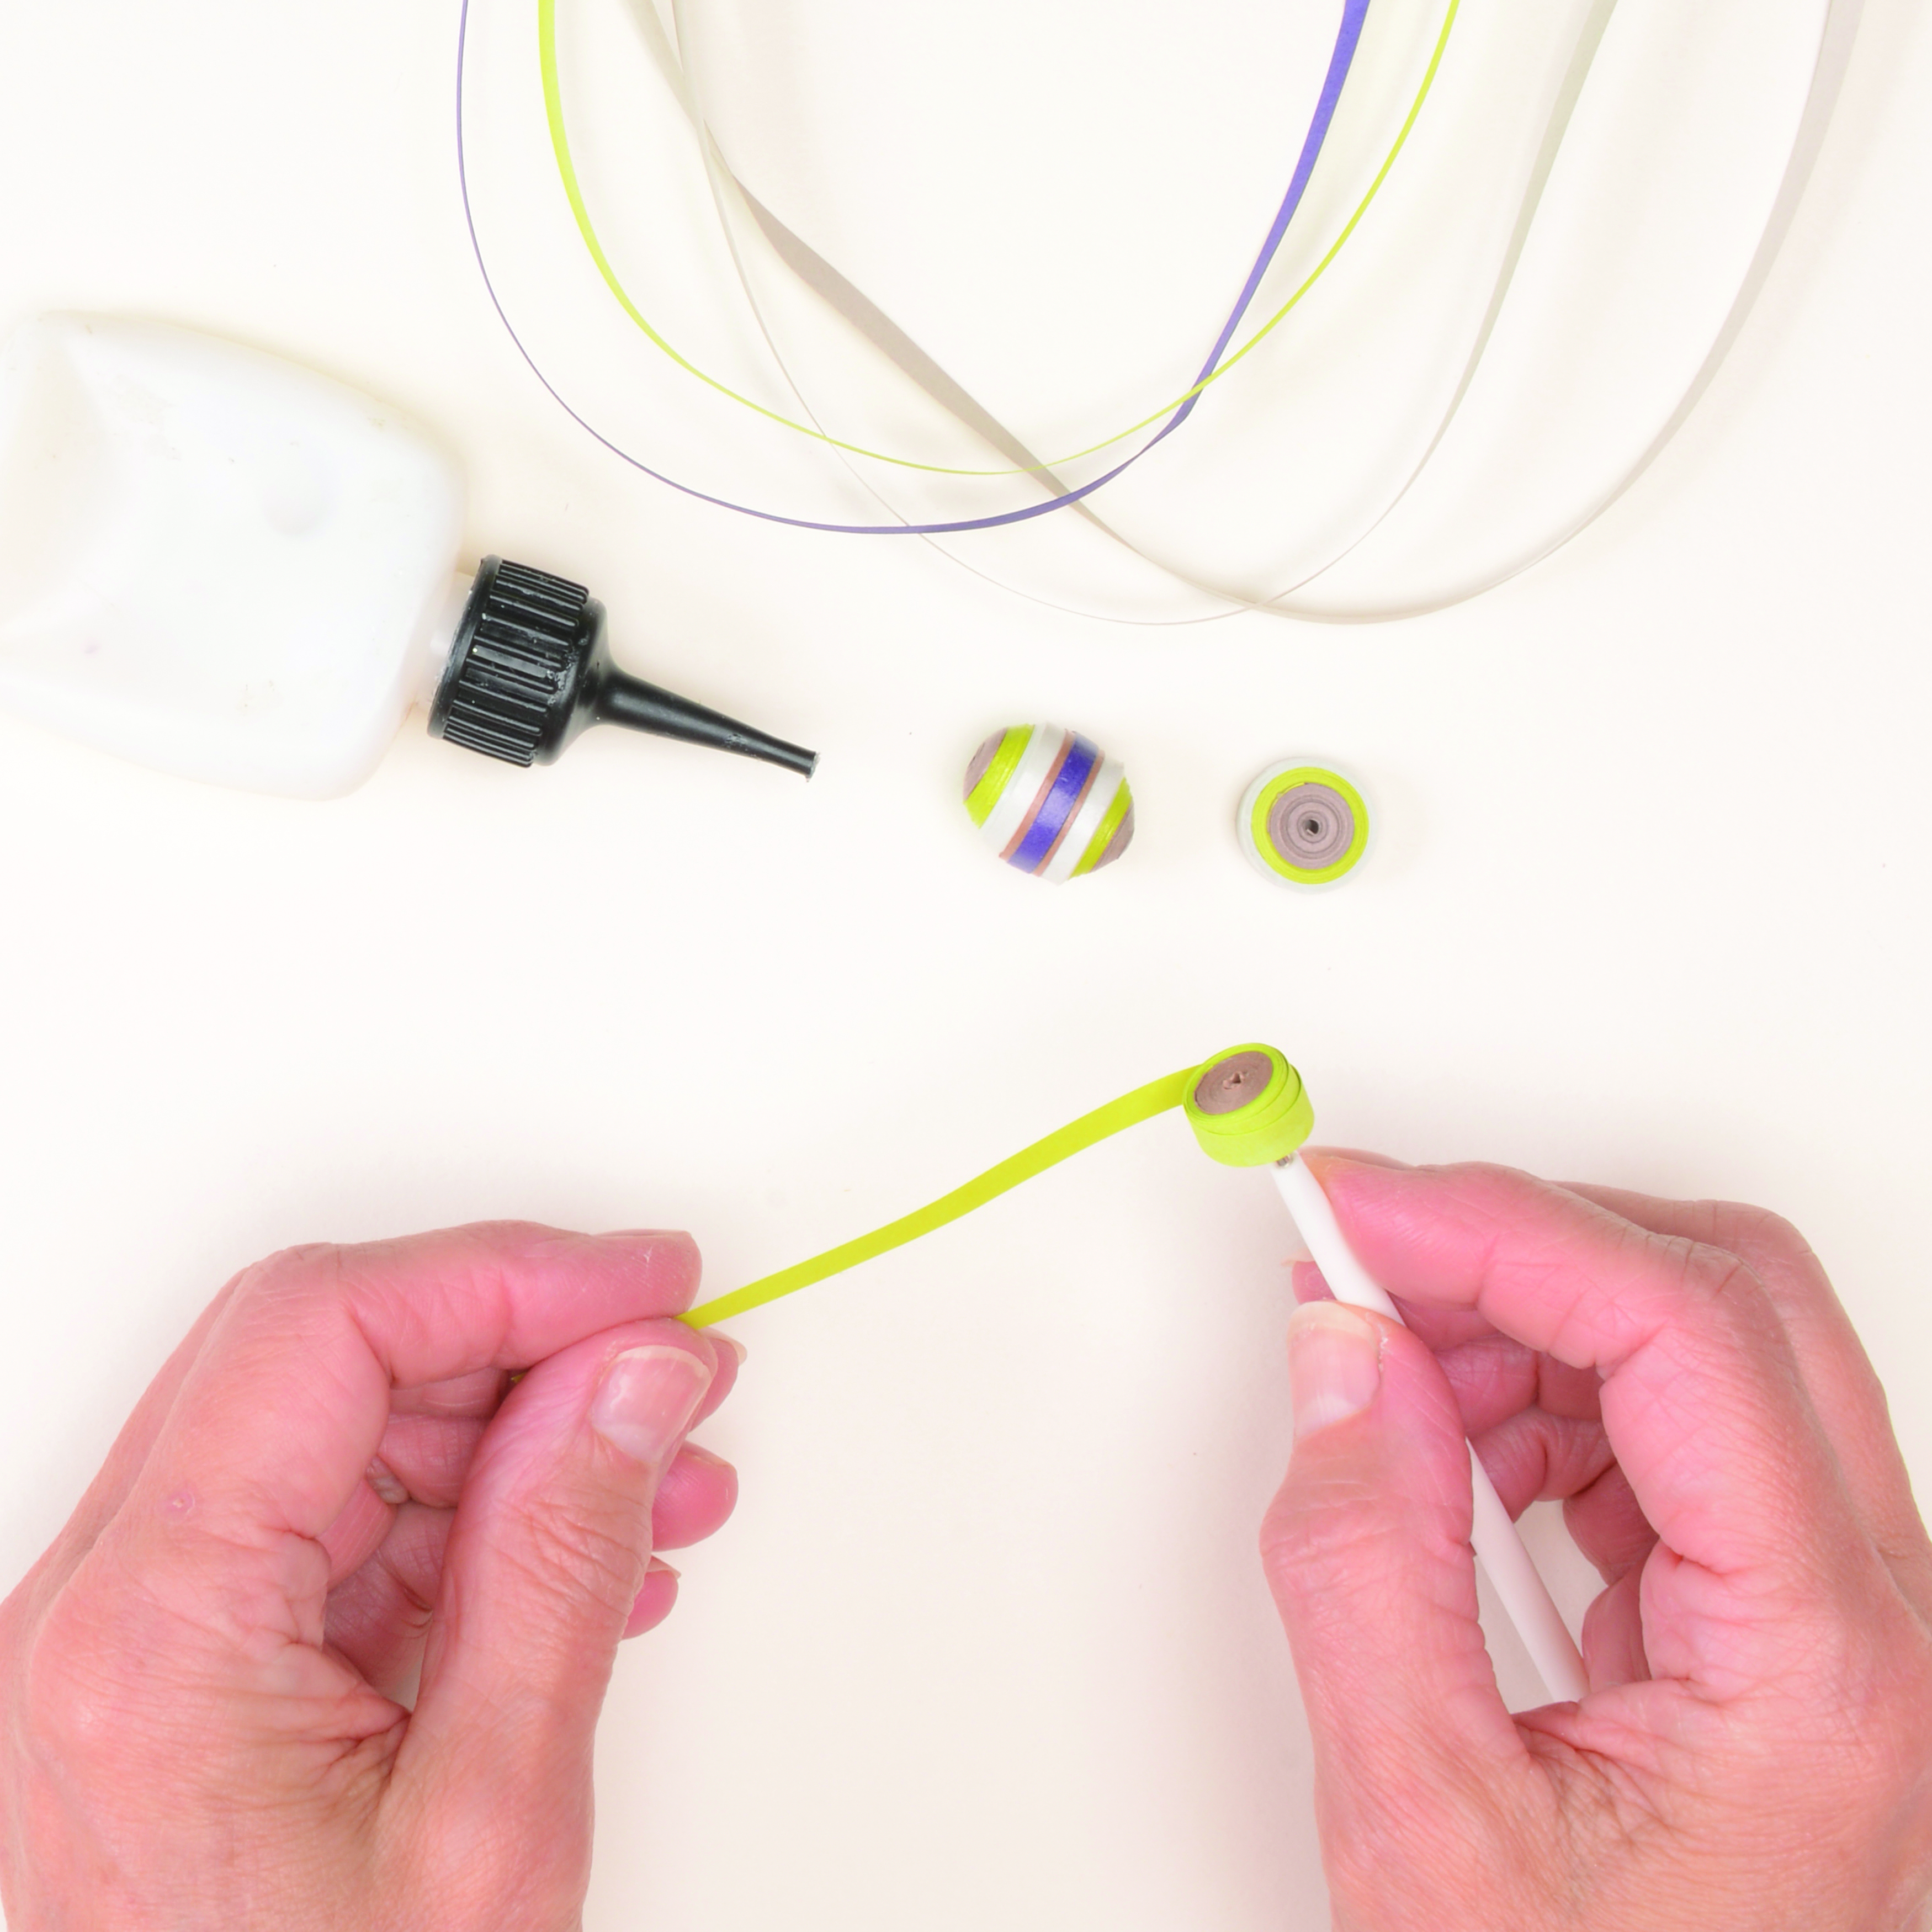
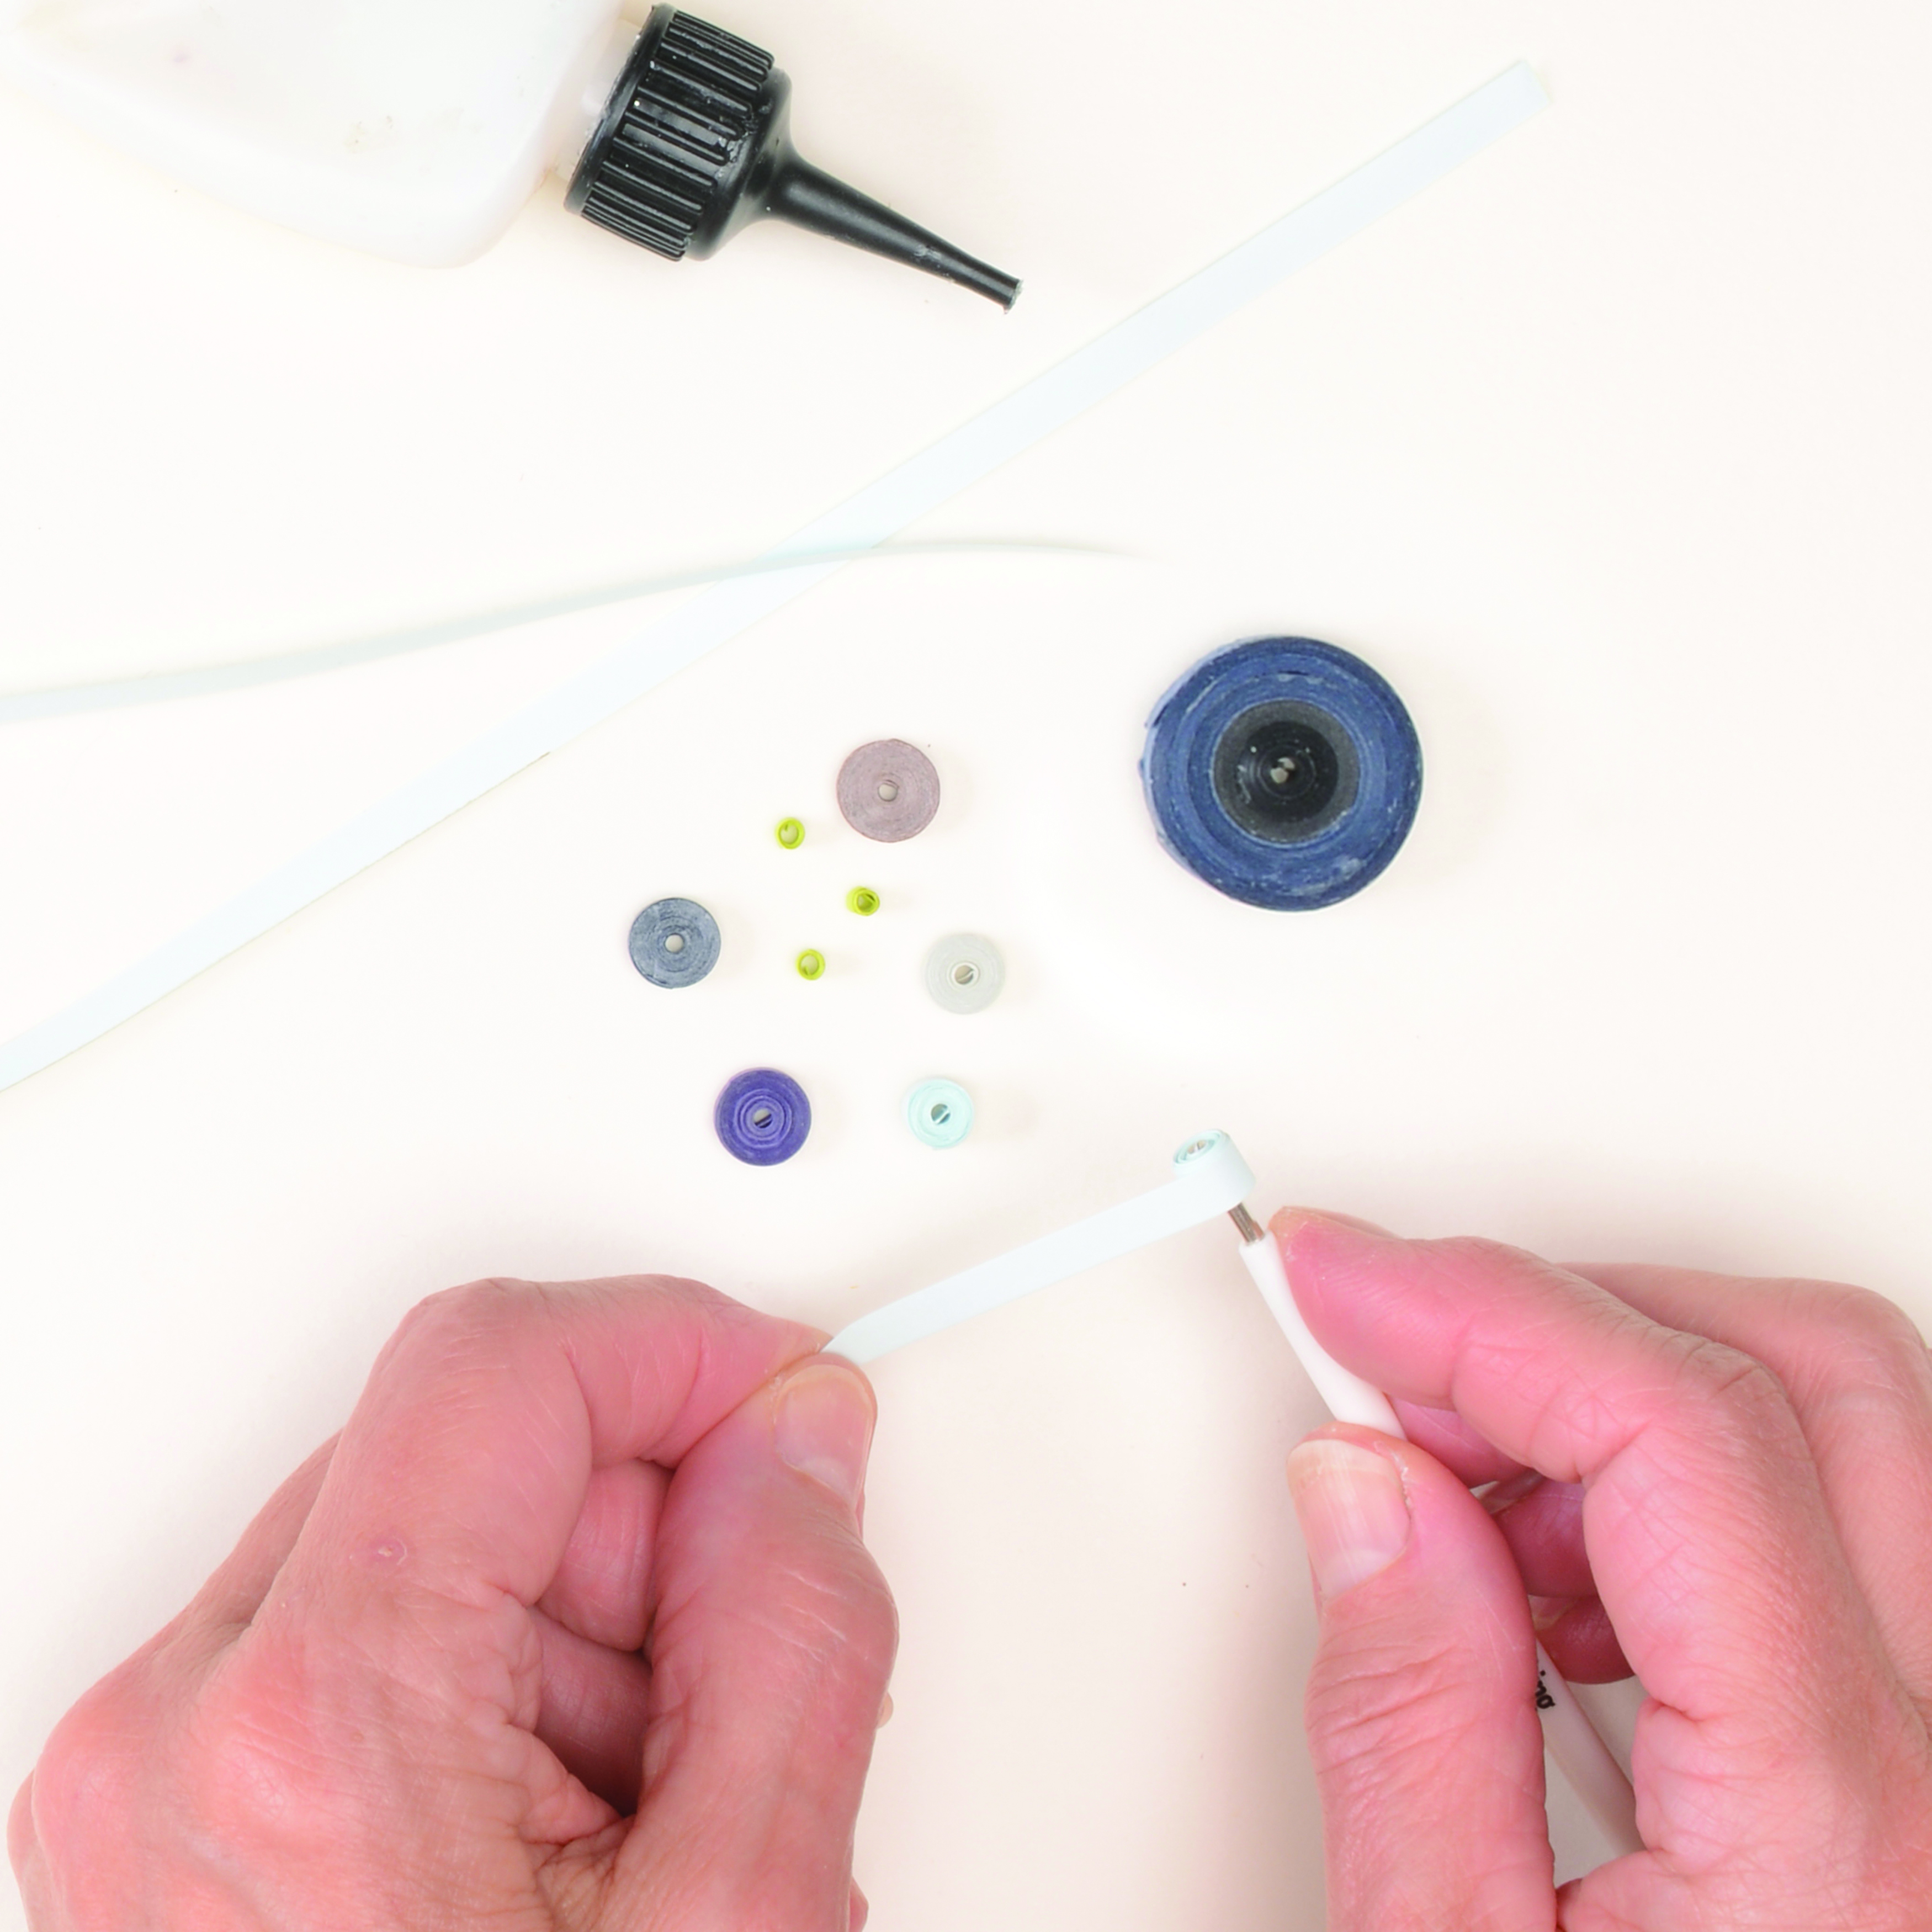
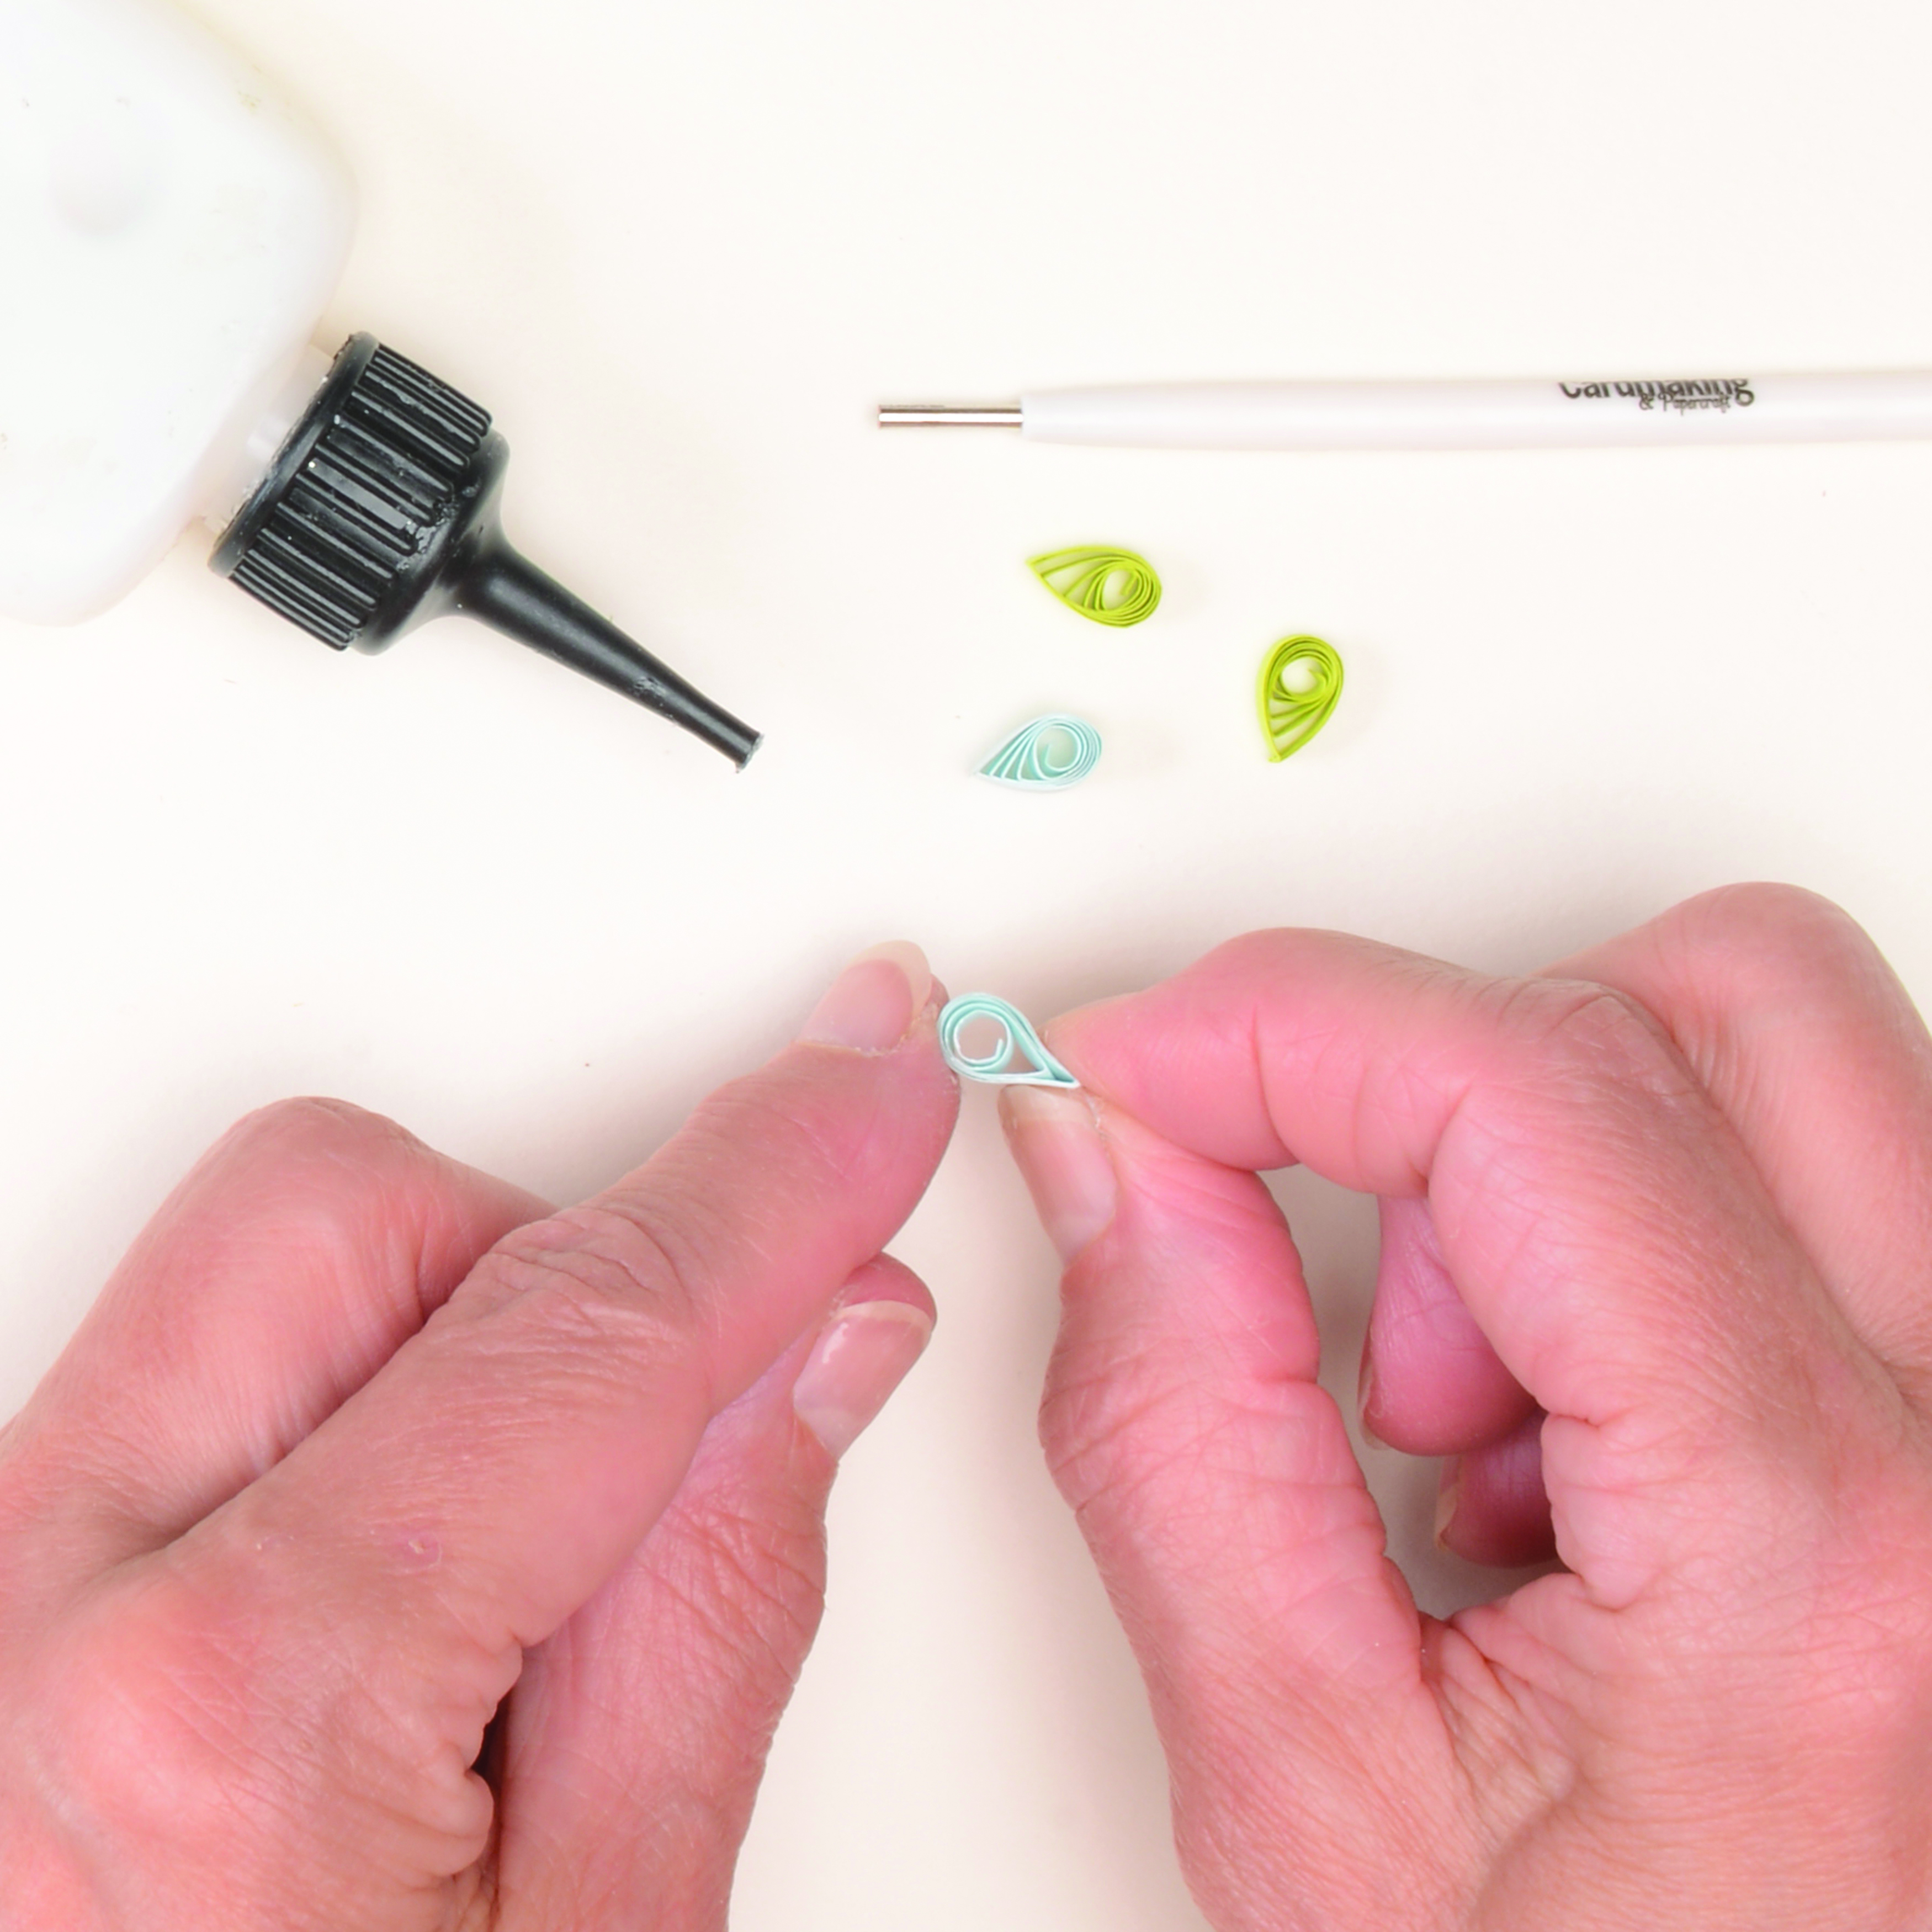
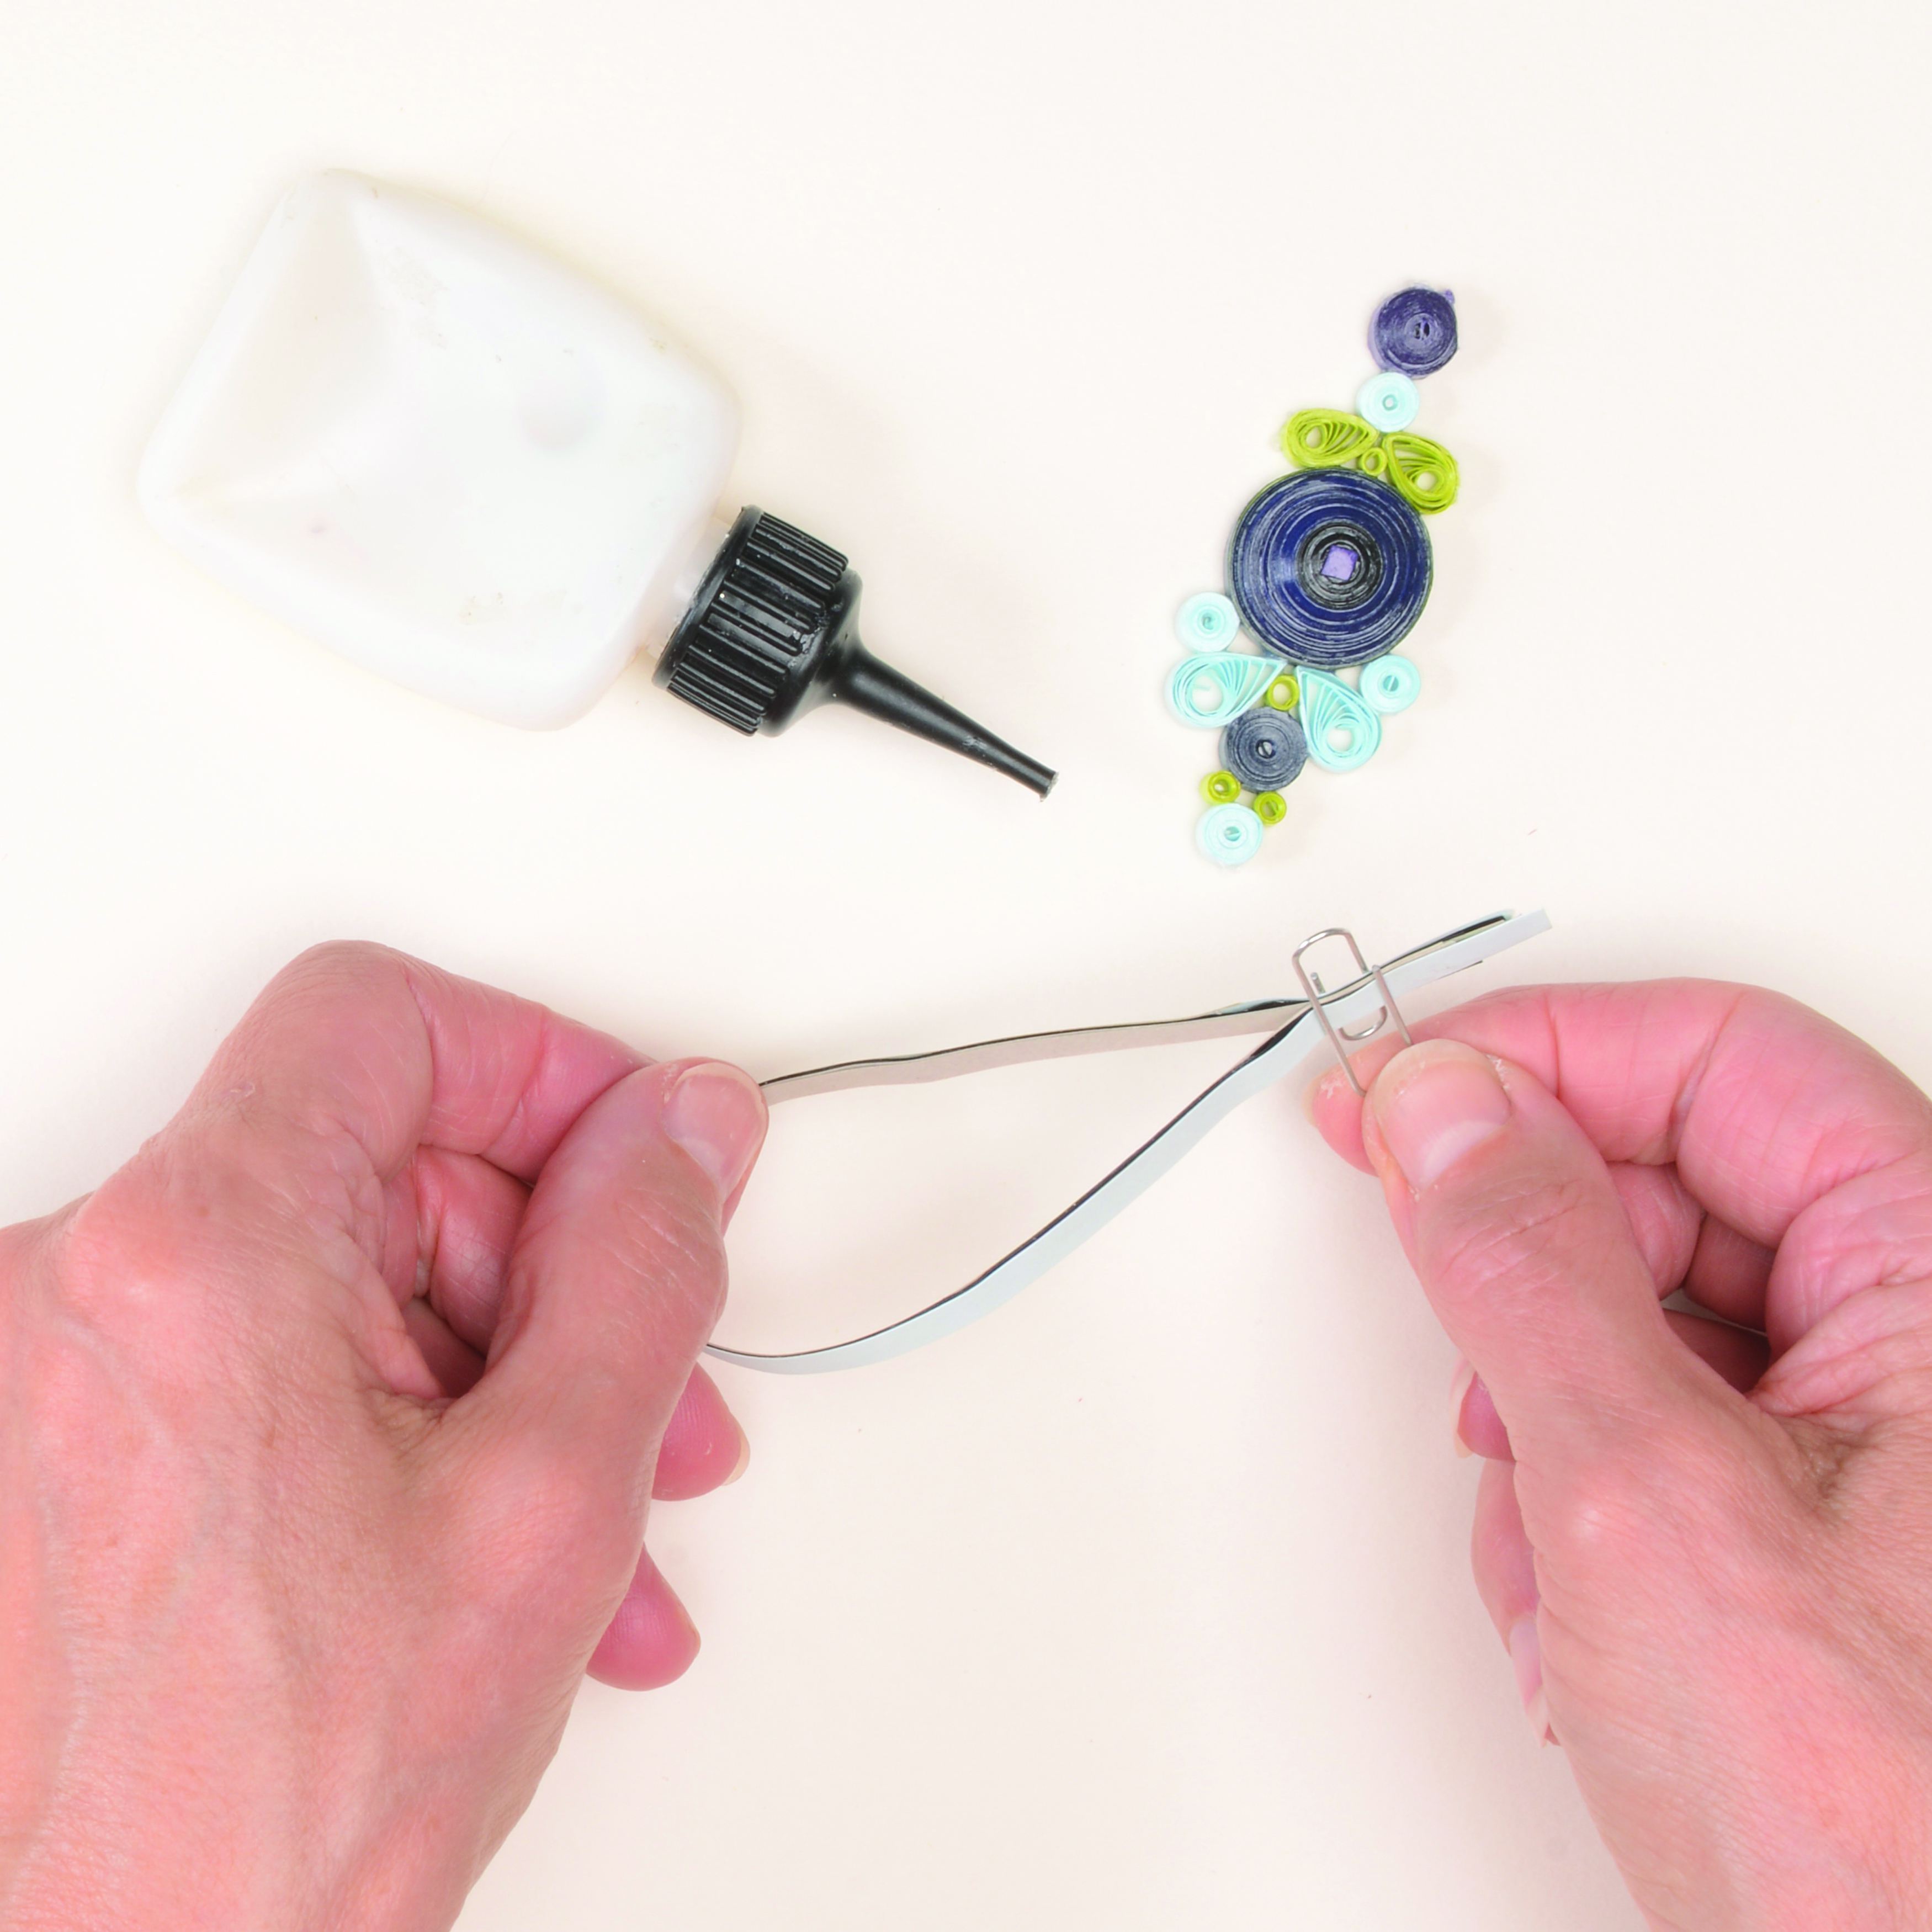
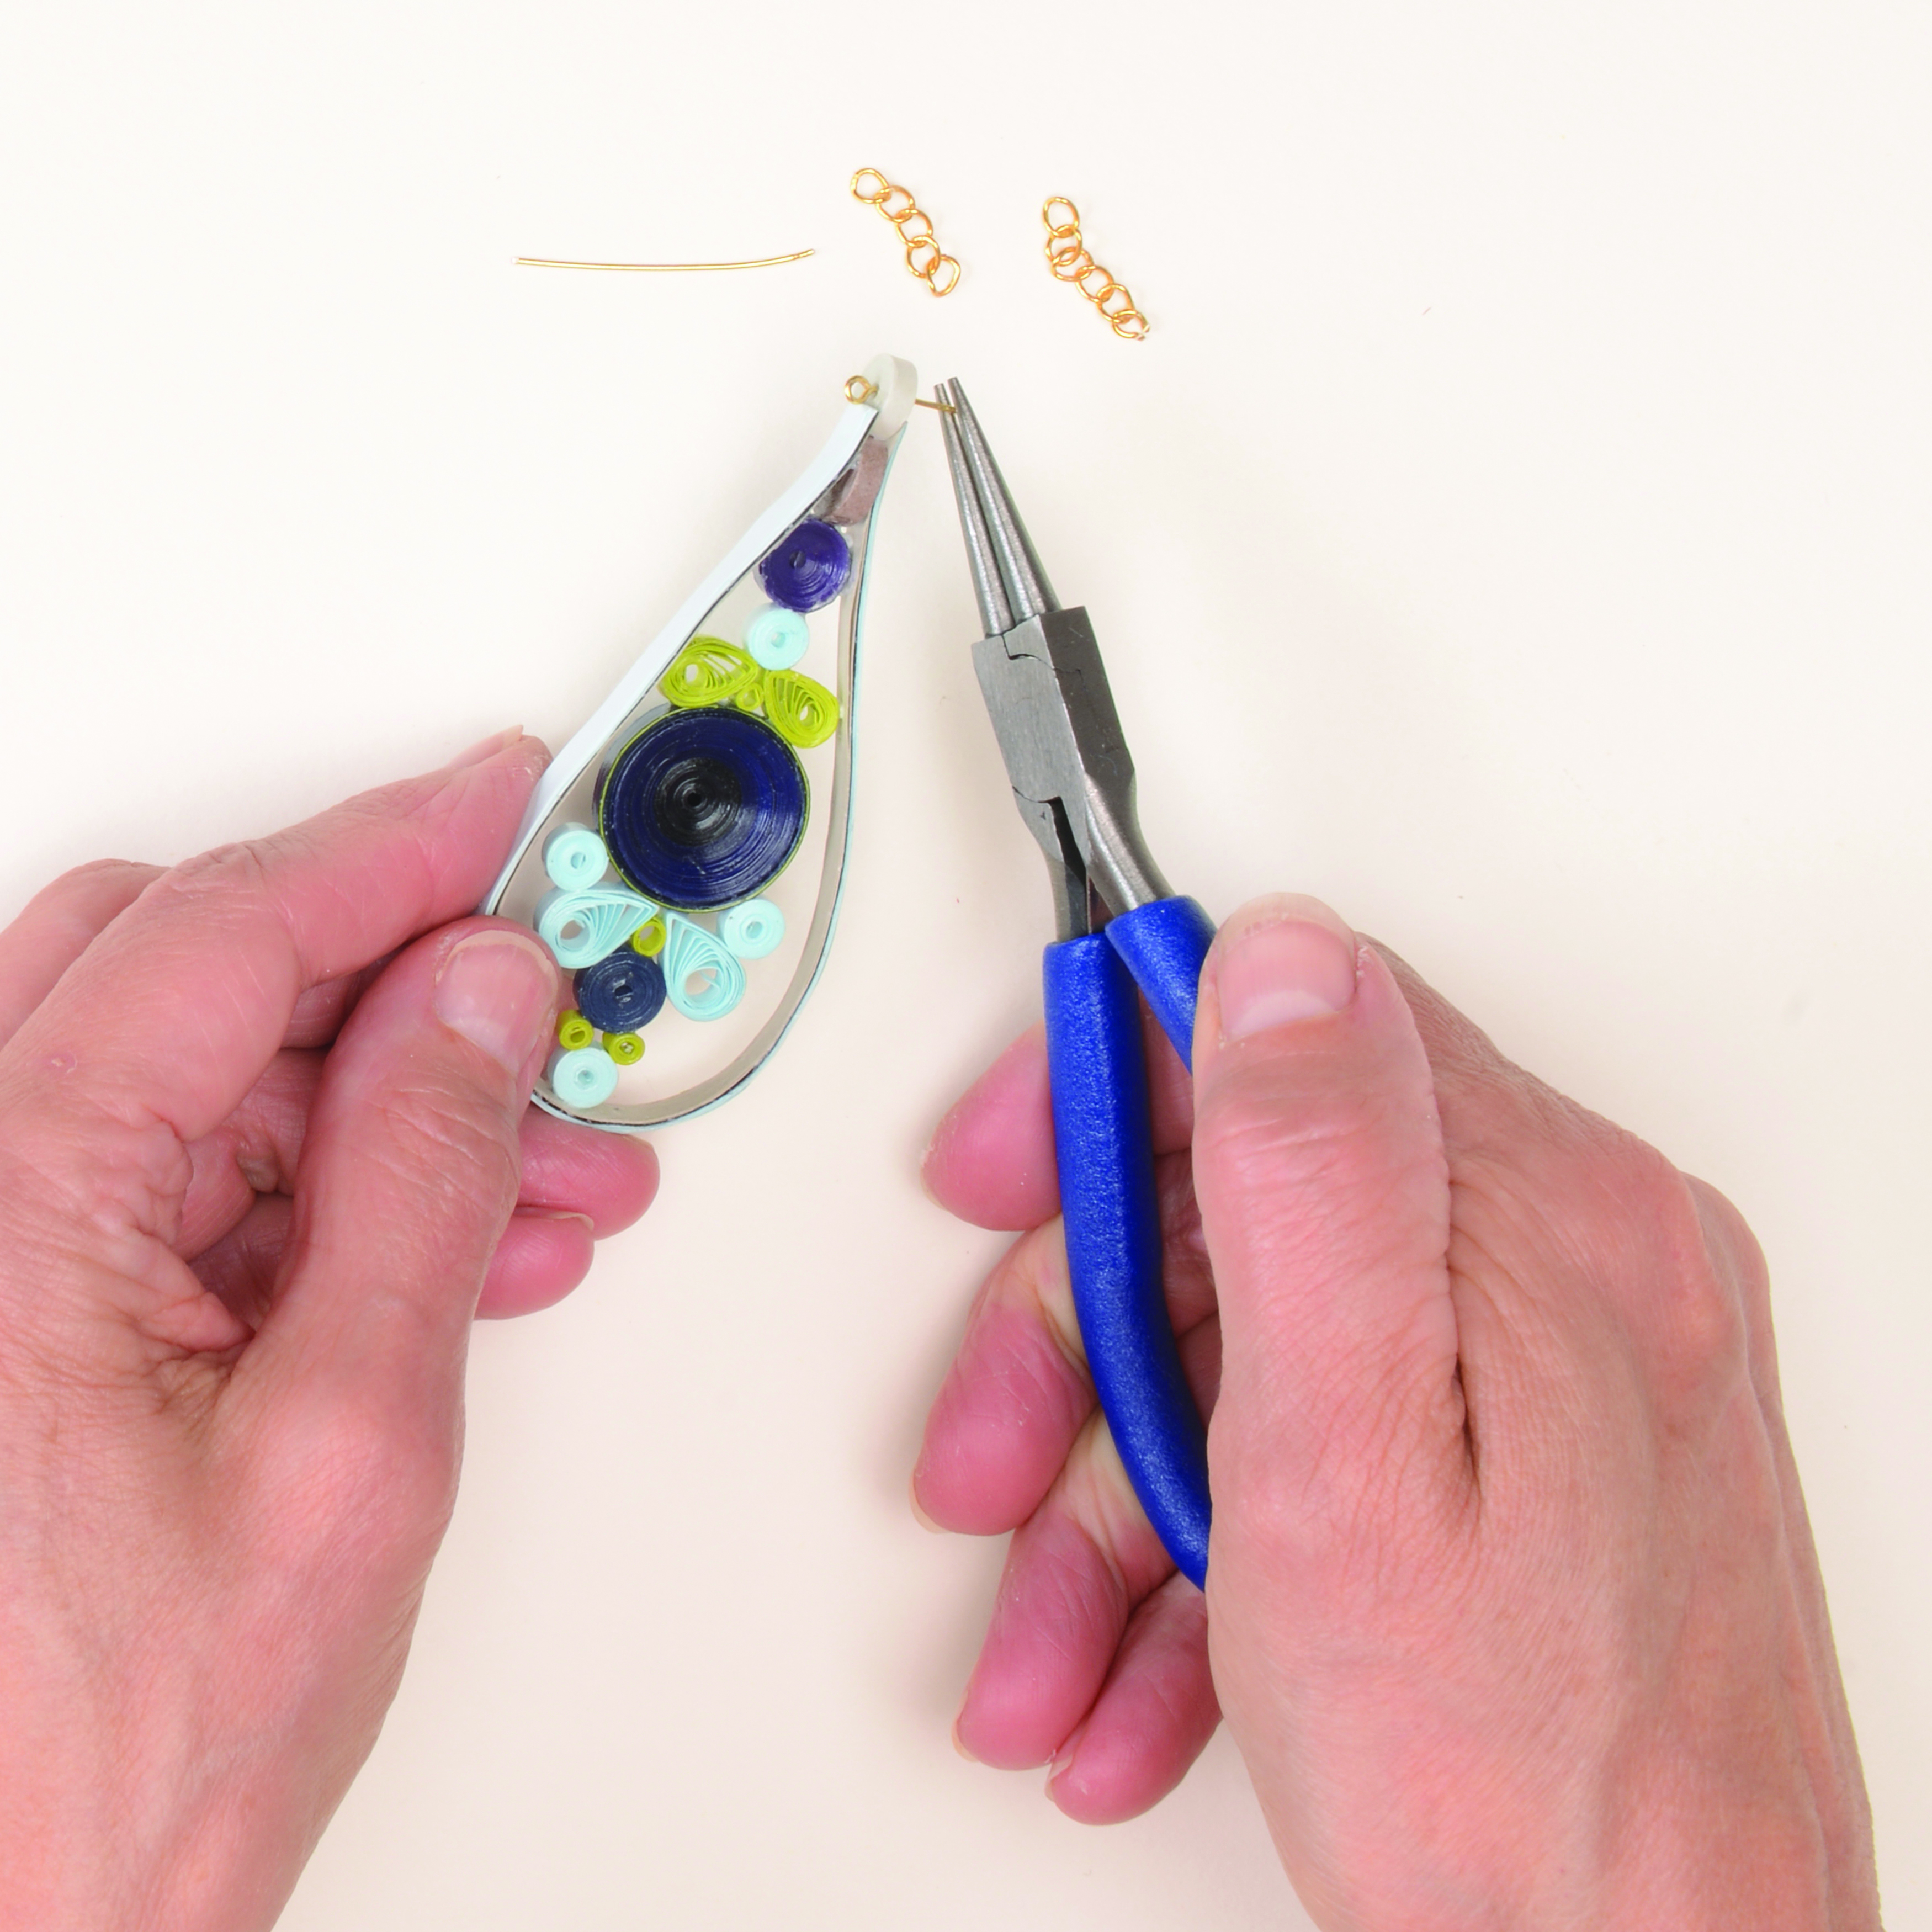
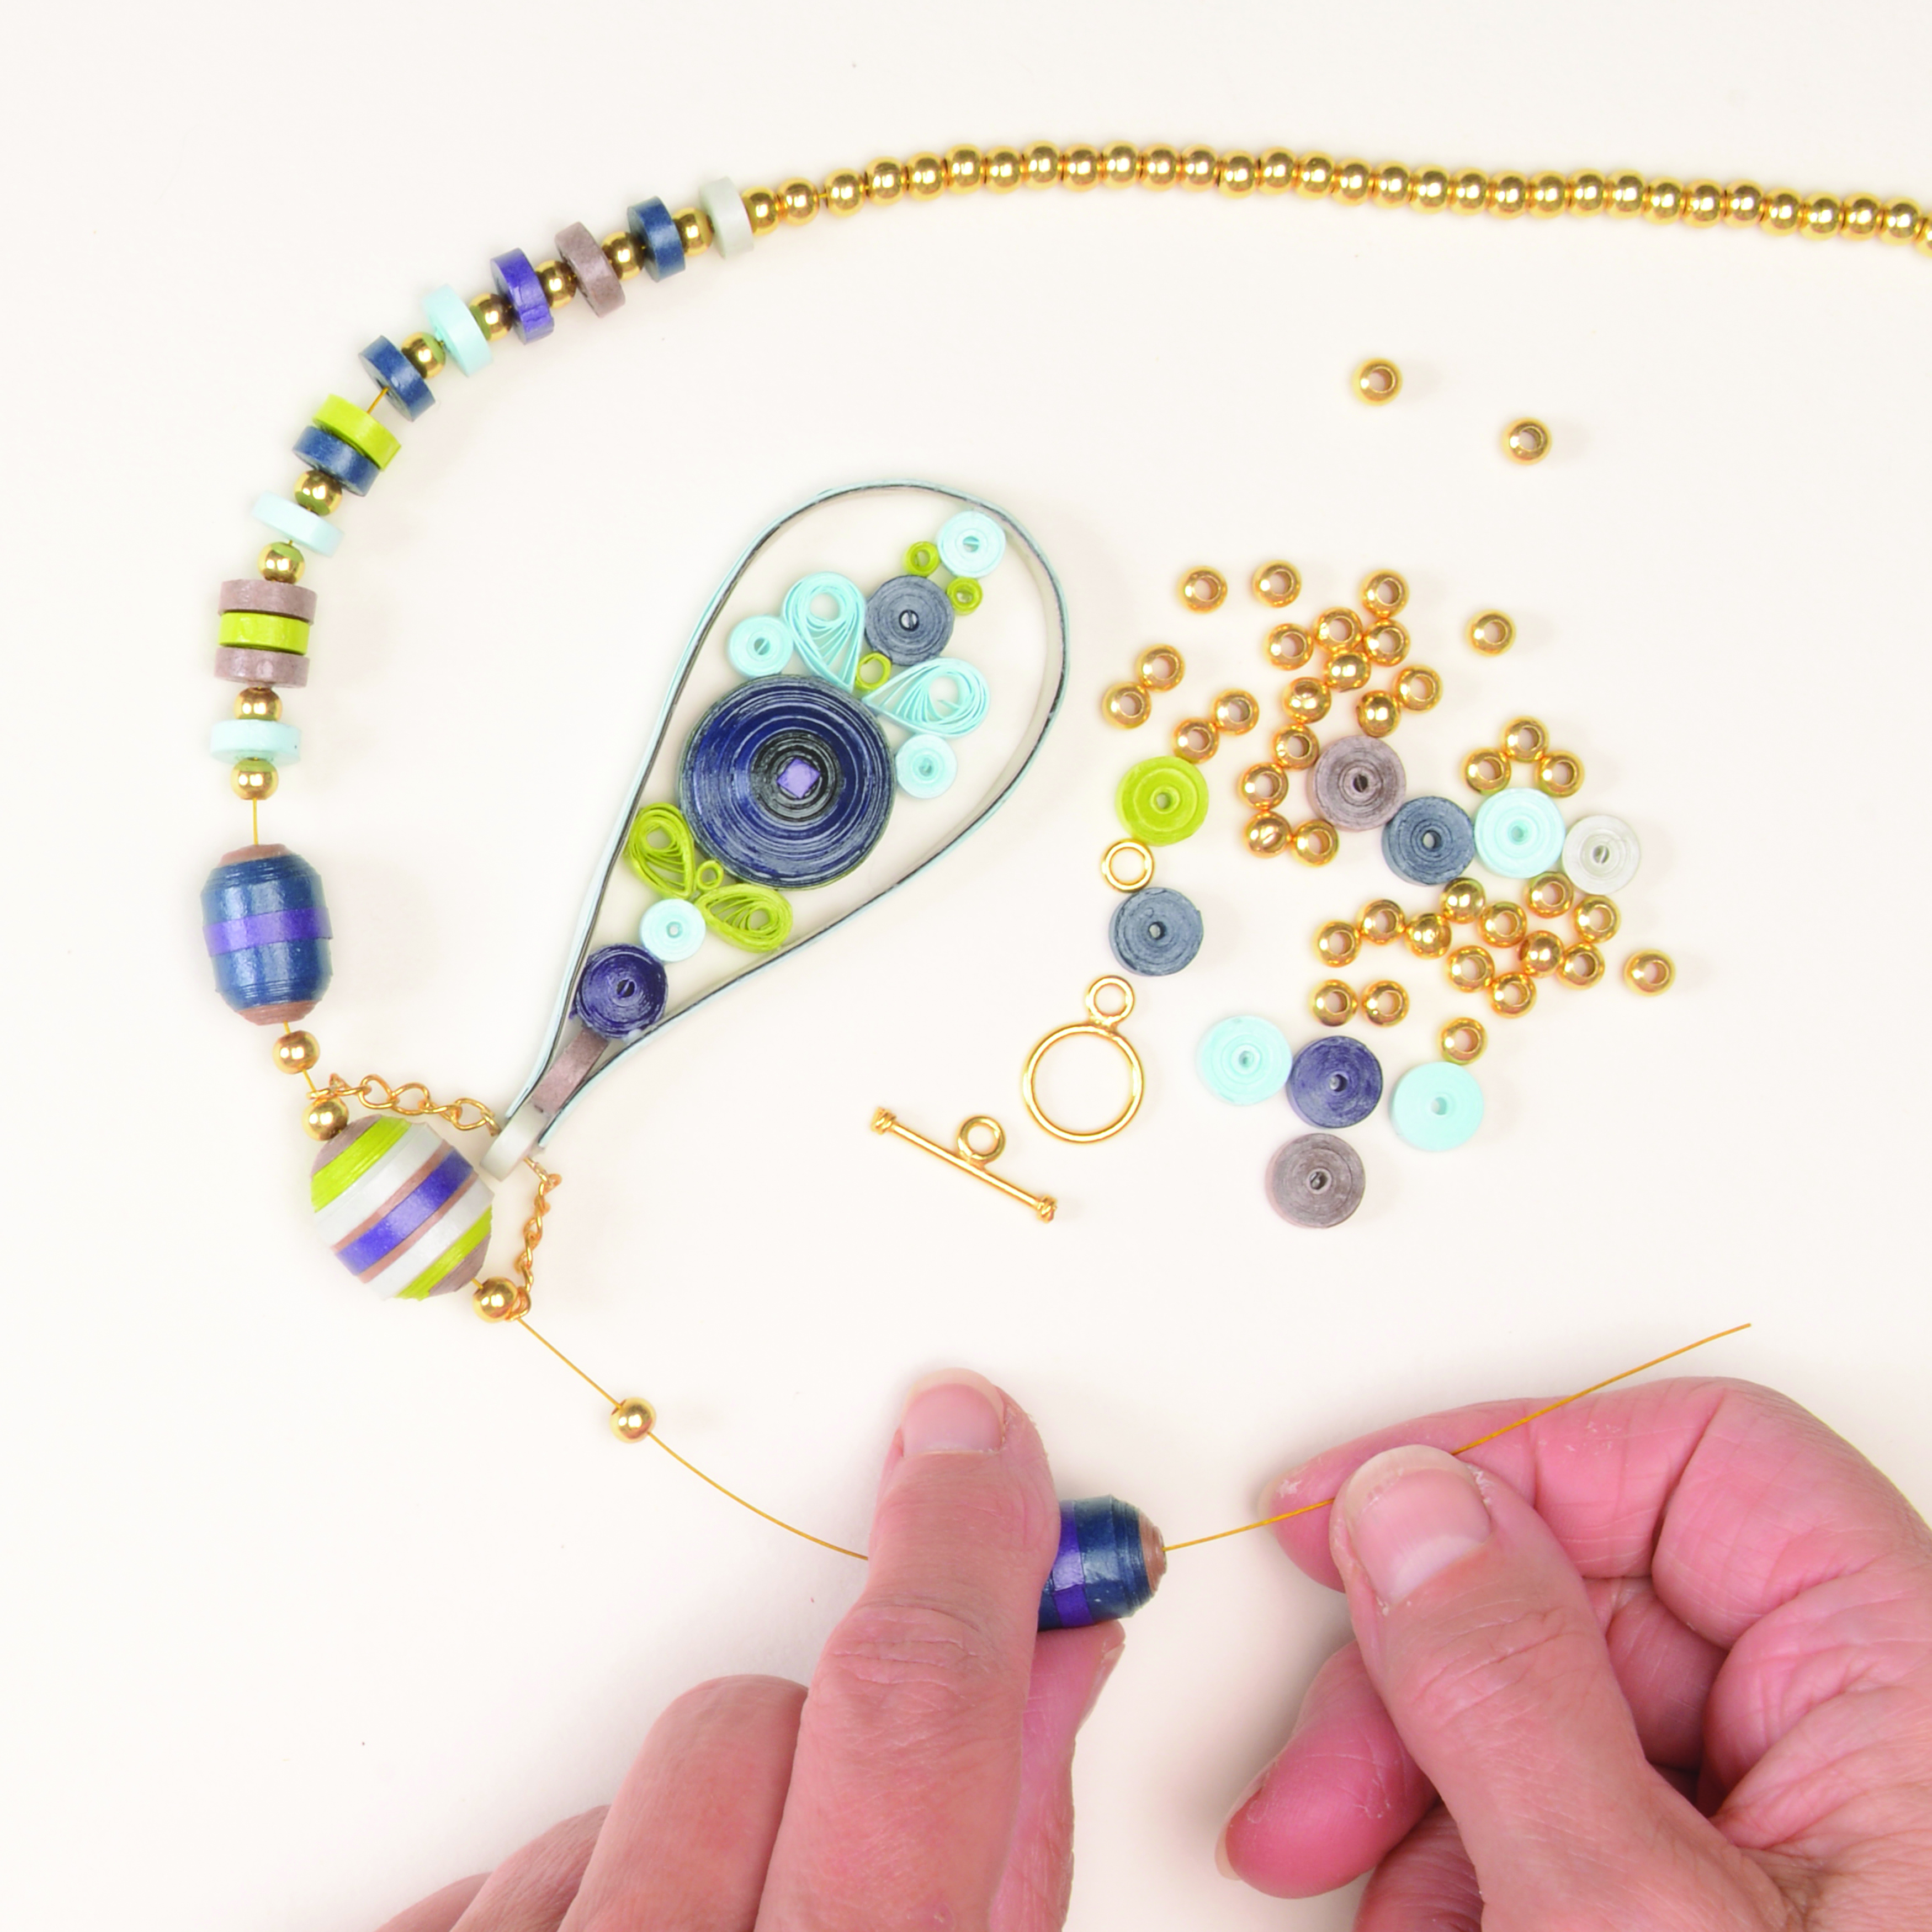
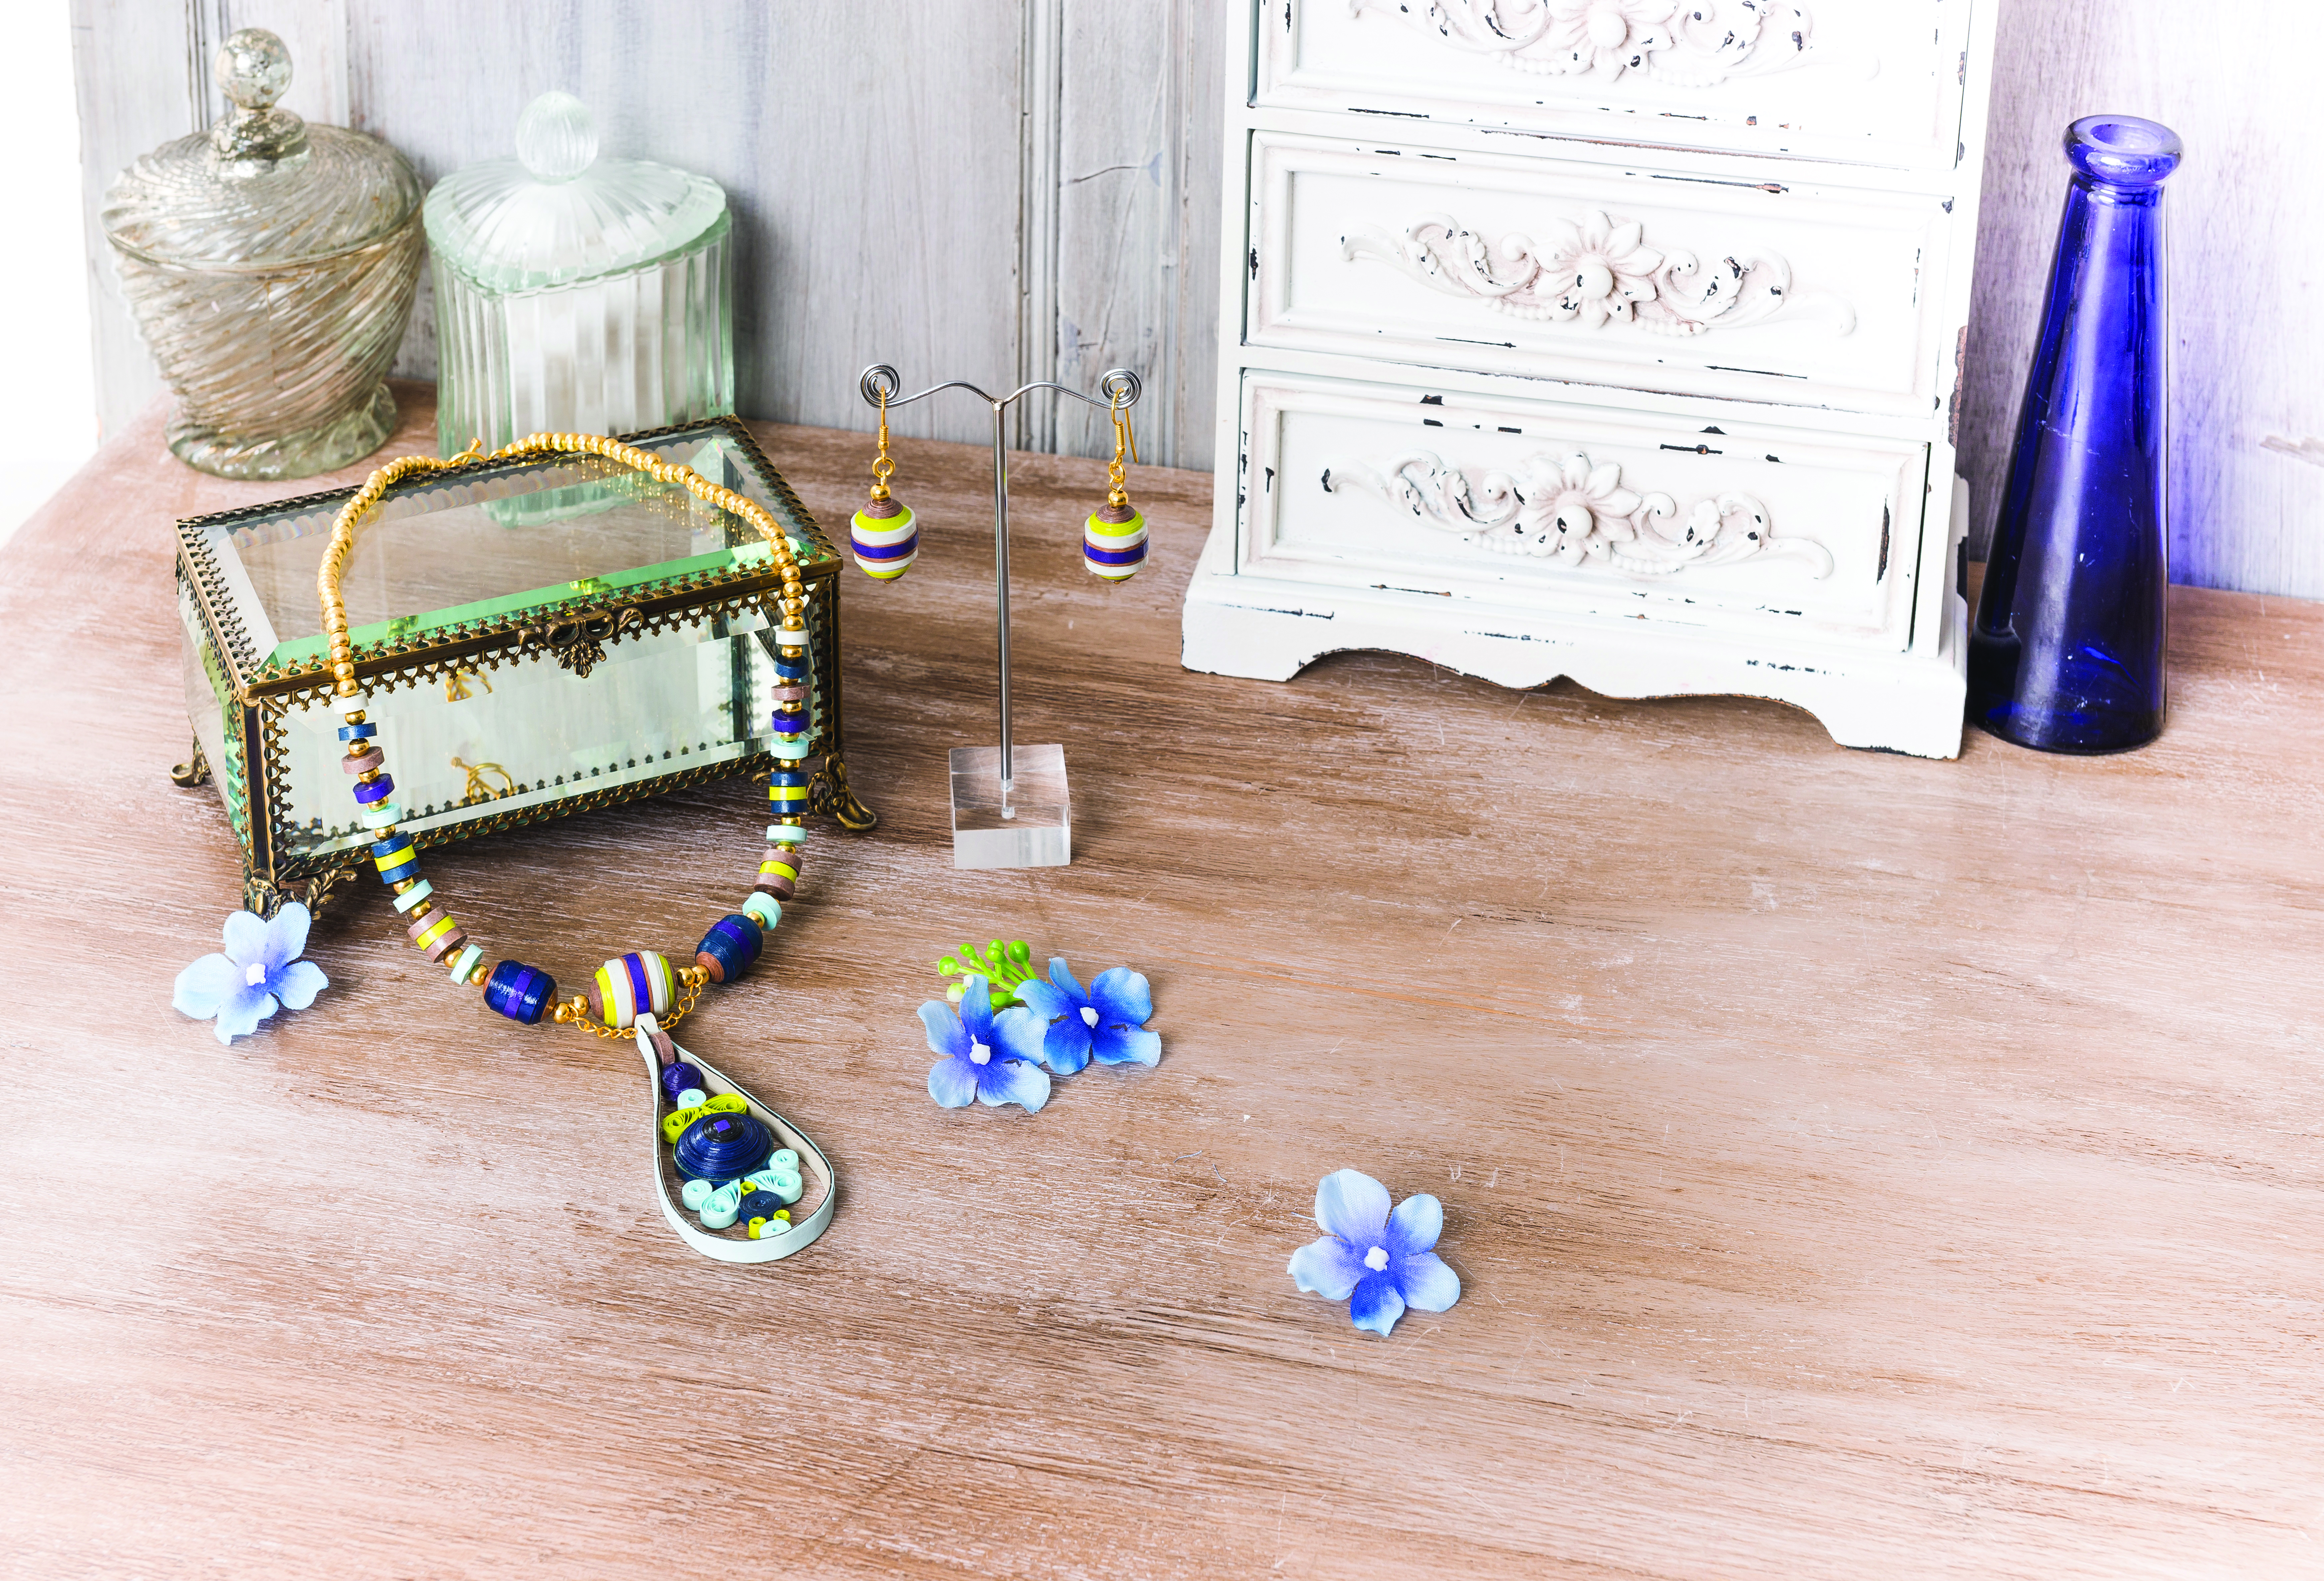
Learn how to make paper beads and a beautiful blue quilled necklace following our free guide and step-by-step tutorial with pictures! The paper beads themselves are made from strips of paper, coiled into different shapes. You can make quilled shapes by eye, or if you prefer you can buy a quilling board - then all you have to do is coil the quilling paper into the shapes in the board.
Work on a flat surface to coil your paper strips, as this will help to keep the shapes neat. Here are designer Deb Rudge's top tips for making your own paper beaded jewellery:
- Remember to only use very tiny amounts of glue to attach the ends of the paper strips to avoid mess.
- Tweezers are really useful for moving small elements into position.
- Take your time with the quilling and always work in a comfortable position with good lighting.
- You can vary the look of your beads by adding decoration. Try using inks, glitters, Liquid Pearls or gloss to colour them and make them unique.
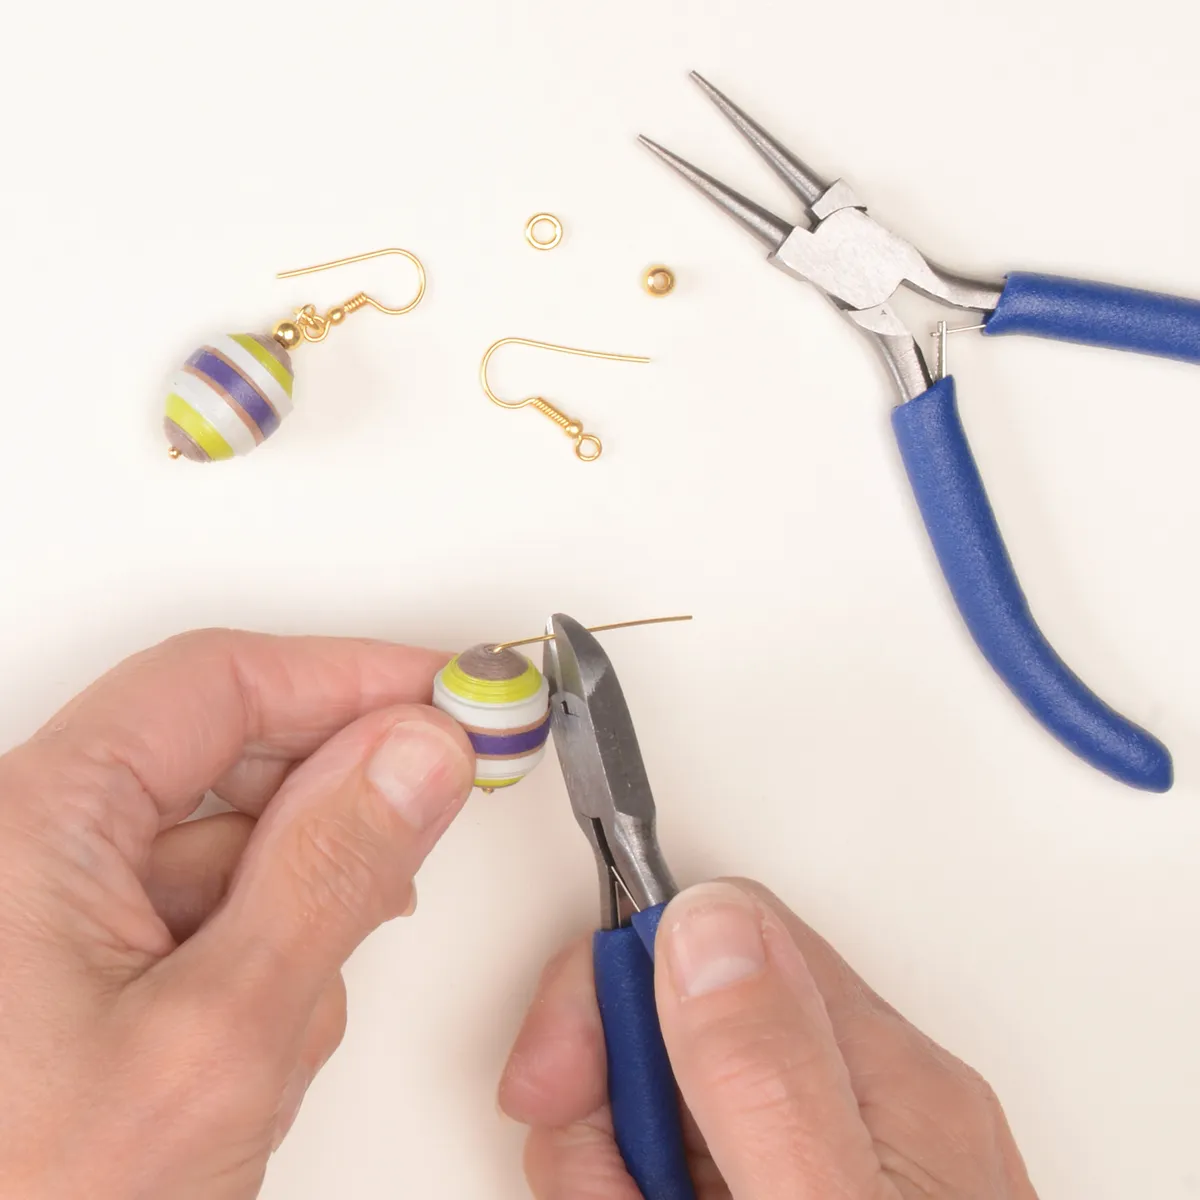
To make the earrings, make two of the largest beads as described for the necklace. Thread one of the beads onto a headpin, followed by a metal bead. Trim the headpin with flush cutters to leave 10mm above the beads. Use round nose pliers to make a loop. Attach the headpin onto an earring wire using a jump ring. Repeat to make the second earring.
Once you’ve made your paper beads be sure to tag us in a picture on Instagram, Twitter and Facebook (if you want to, of course) – we love to see when you’ve made one of our projects!
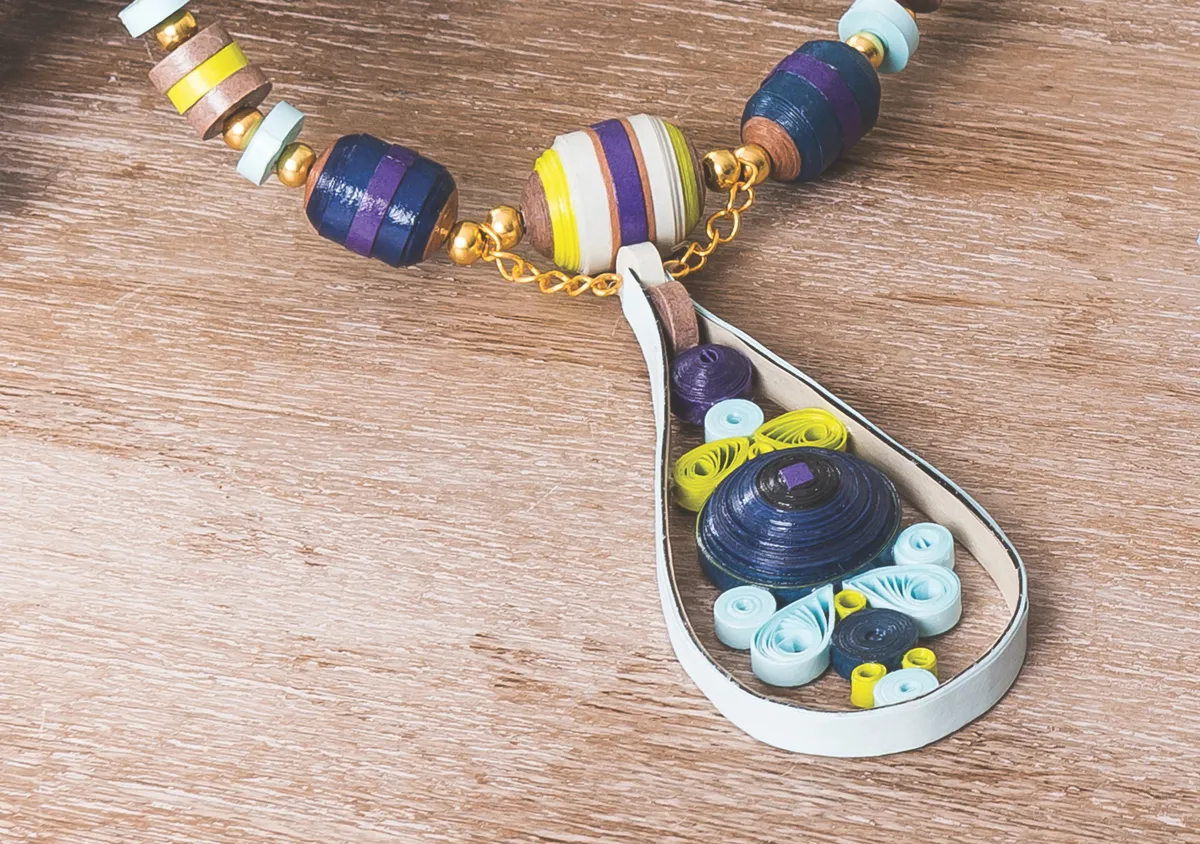
To make this quilled necklace you will need:
- Paper quilling beginner kit
- Gold plated copper essential findings kit
- Gold coloured thread
- Jewellery making tools
- Varnish
- Paintbrush
- Adhesive
