How to make a stencil

How to make a stencil

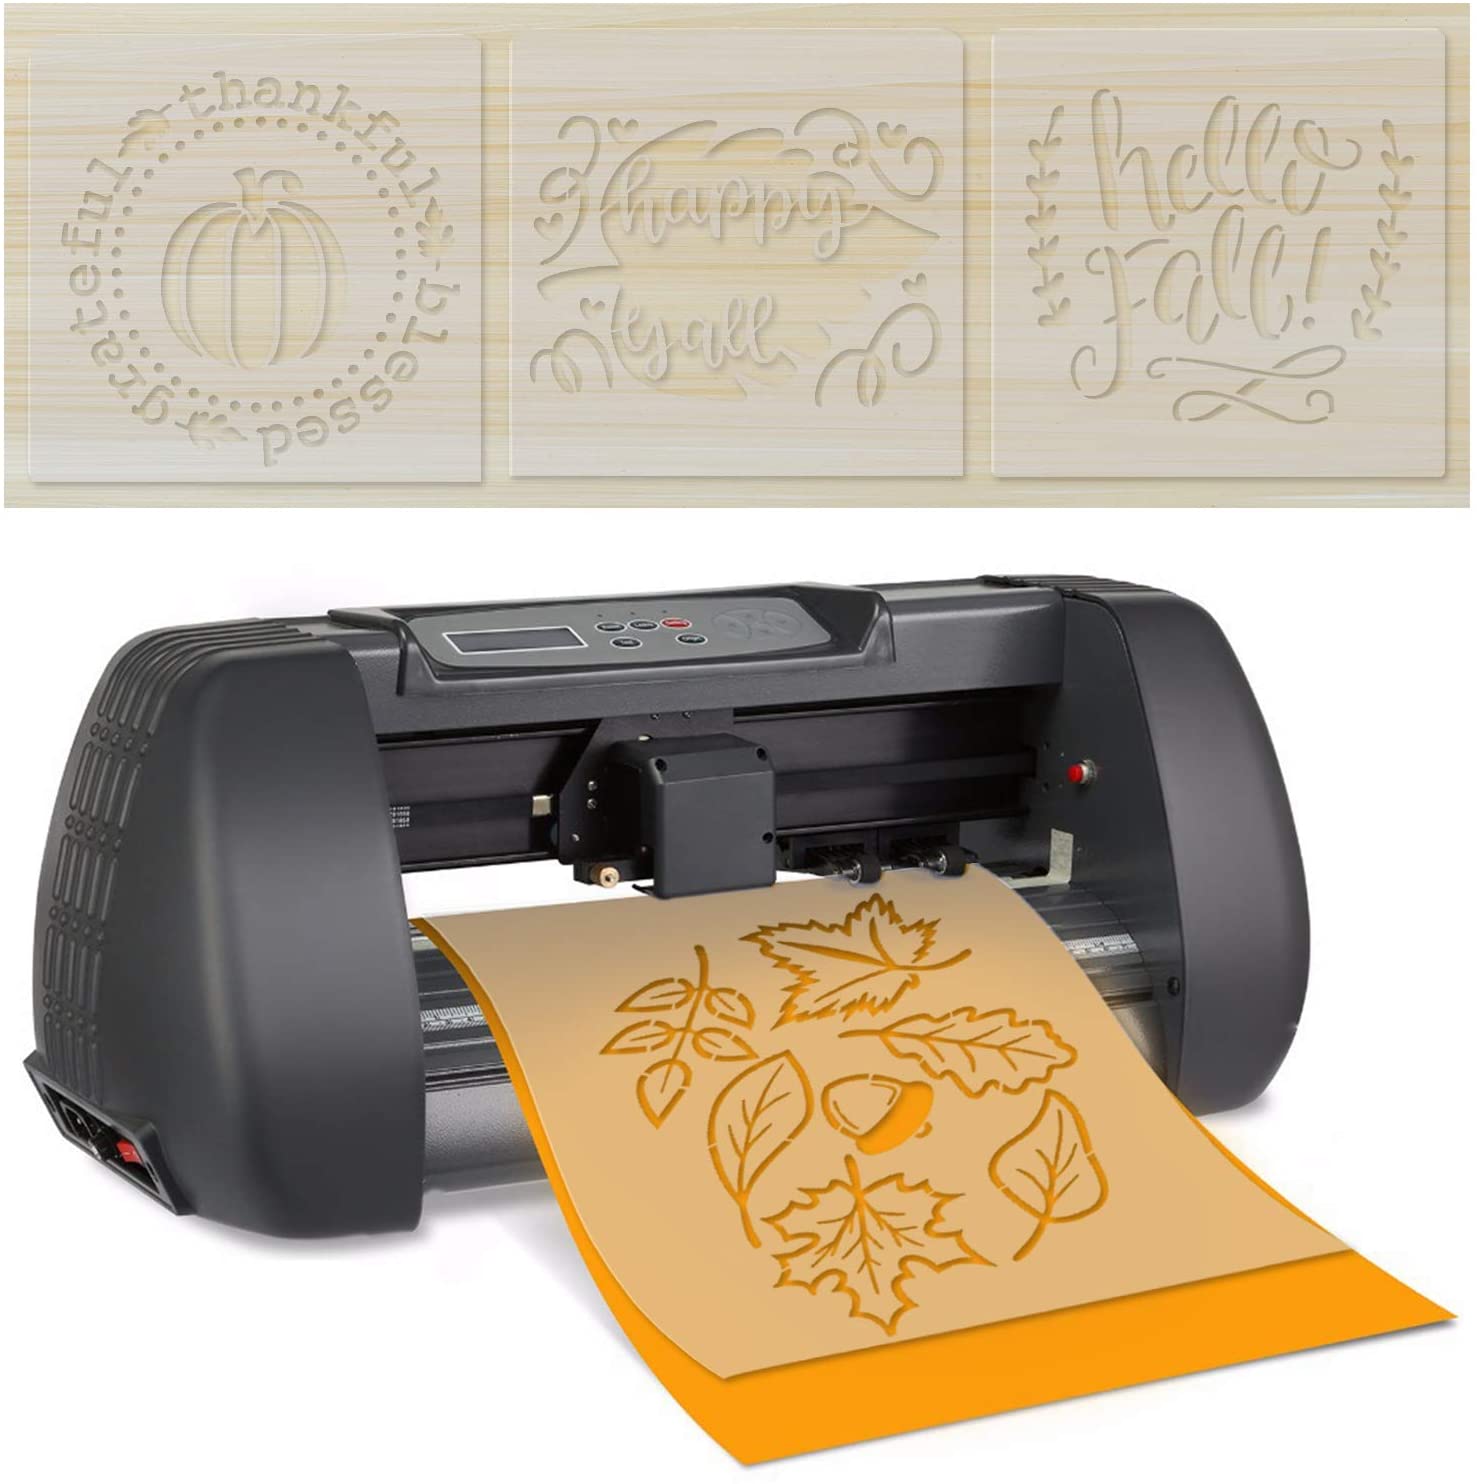
Looking to learn how to make stencils to use in your craft project? You can save a lot of money by learning how to make a stencil rather than buying one

Published: May 6, 2021 at 11:13 am

If you can learn how to make stencils, you will never need to buy another craft stencil ever again! Discovering how to make a stencil will also mean that your stencil craft will only be limited by your imagination, and not by the designs that are available to buy. You can use card and paper for your stencils, but this tends to mean they are only good for one or two uses. We're exploring how to make a stencil that you can use again and again. We asked our designer, Angela Dodson to test out all sort of different materials when she was writing this how to make stencils article.

Angela has chosen to use 4mil (0.1mm) clear mylar sheets for this project as it gave the best performance for both machine and hand cutting. She tested with 7mil mylar too, which is a thicker sheet of plastic, but found it is not user friendly for craft knifes (it snapped the tip off her blade!) and even if cutting by machine, the thicker mylar could be problematic. You can also use vellum to make your stencils, though this is slightly more prone to splits and cracks than the mylar sheets.

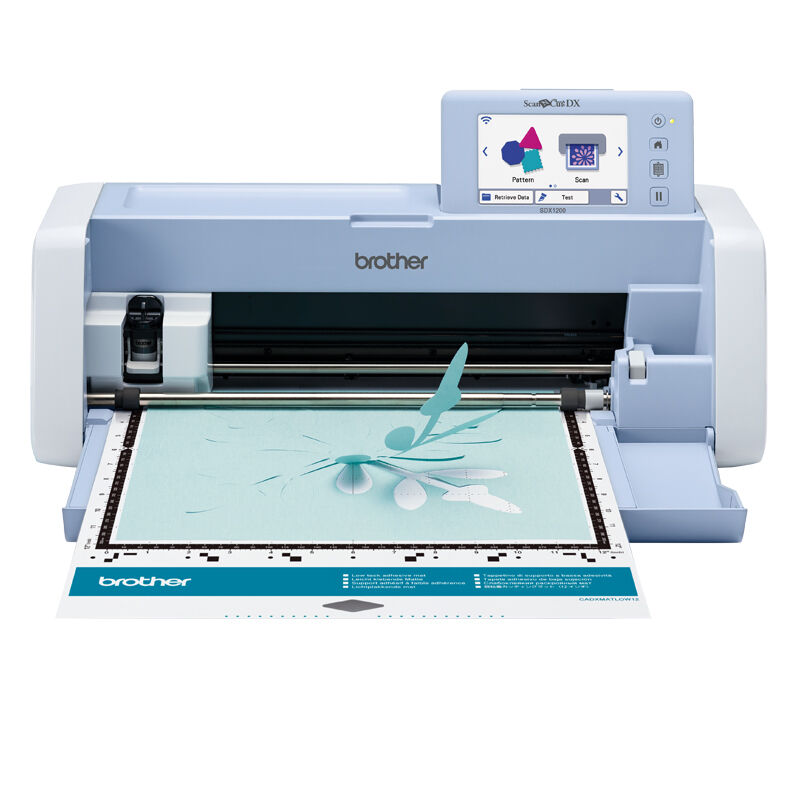
Read on to discover how to make stencils step by step, and as a bonus we're including instruction, templates and SGV files for you to make tree stencils and use them to ink a beautiful four seasons tree artwork. Download our tree stencils template to craft the shapes you need. You can cut these by hand, or save time by cutting them on a digital craft machine like the Brother ScanNCut.

To use the ScanNCut, print out the templates and scan it into your machine and select ‘Scan to Cut Data’. The machine will run the template under the scanner and once it is finished, an image will appear on the screen. Using the touchscreen on the ScanNCut, adjust the crop around the image to remove unwanted areas and press ‘OK’. Then select the picture of the ScanNCut to save the template to your machine’s memory. If you would prefer the SVG file, click the link below! You can save it onto USB which you can plug into your machine, or you can import it into Canvas Workspace and send via wireless to your machine if you prefer. You can also use these files if you have a Cricut or a Silhouette machine.

How to make stencils – free SVG file 1

How to make stencils – free SVG file 2

Once you have cut out the shapes you need, we’ll guide you through the steps and stages you need to put them together in our tree stencil project step by step tutorial. You can watch our how to make a stencil video, to show you the process in action, or if you prefer written instructions, you’ll find our how to make stencils and tree stencil artwork walkthrough with photos below the video.

For more video projects like this, check out our how to make a paper rose tutorial, how to make a pop up card video or discover our how to make a paper lantern project. If you are after some spring colour, you’ll enjoy our how to make an easter wreath video tutorial, too!
Watch our how to make stencils video tutorial

You will need:

  • Mylar sheet (4 mil thickness)
  • Craft knife
  • Cutting mat
  • Metal ruler
  • Template
  • Low tack tape

Step 1

how to make stencils 1

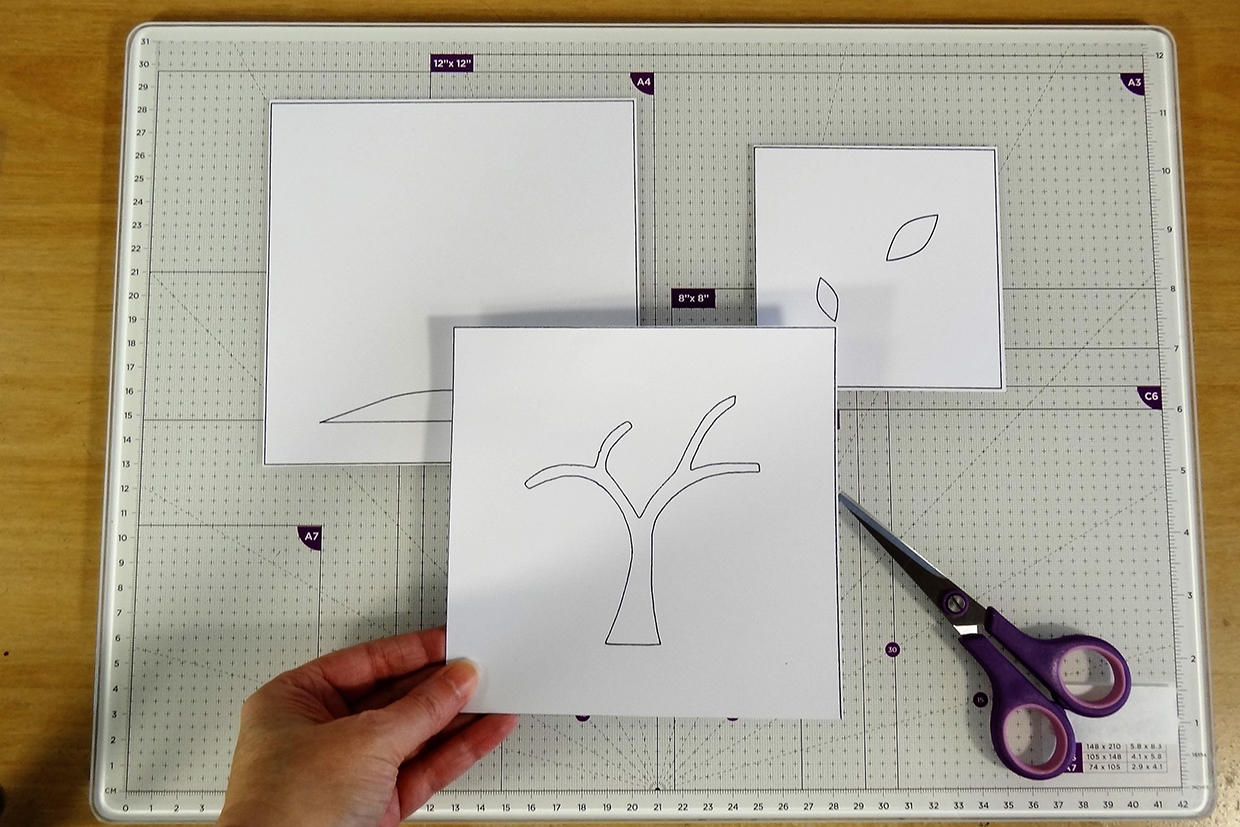
Print or draw the template of the shape you want to make into a stencil. Foe our tree stencil project, you need Trunk, Leaves and Ground templates. Trim to size using the printed square outline to guide you.

Step 2

how to make a stencil 2

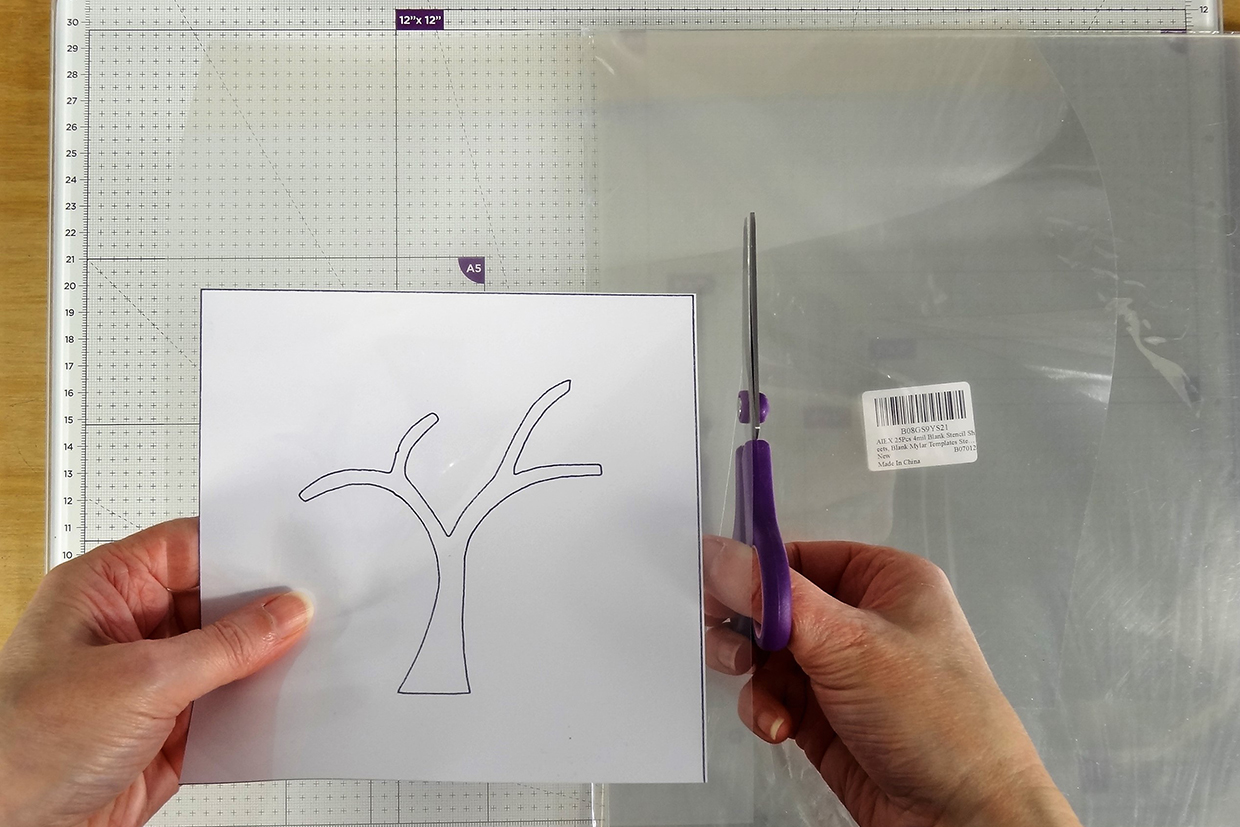
Cut 4 mil clear mylar / stencil sheet slightly larger than the template and tape over the top using stencil tape or a low tack tape to secure the edges.

Step 3

how to make stencils 3

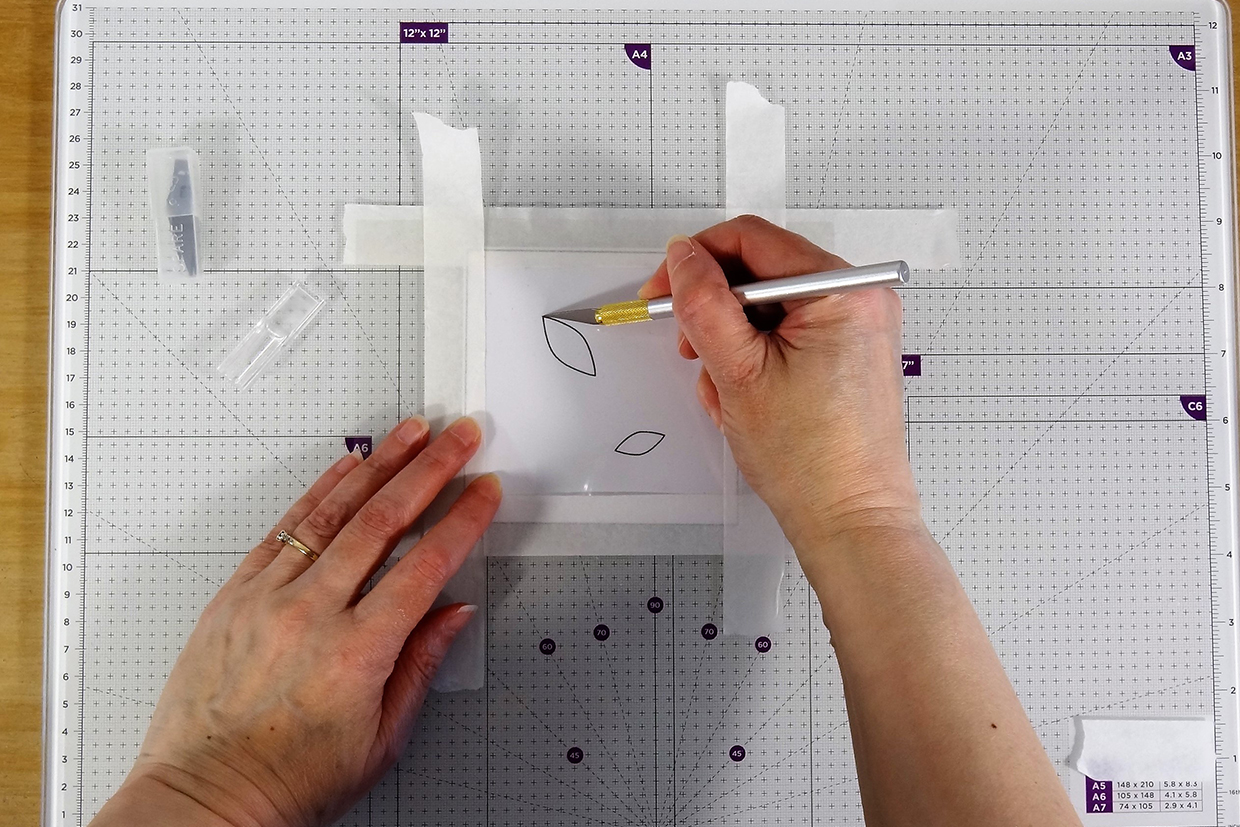
Take a craft knife and carefully cut the design into the clear stencil sheet, following the printed shape below. Start by piercing into the corner point of the shape using the point of your craft knife, then guide the blade freehand along the mylar following the curved shape of the template below.

Step 4

how to make a stencil 4

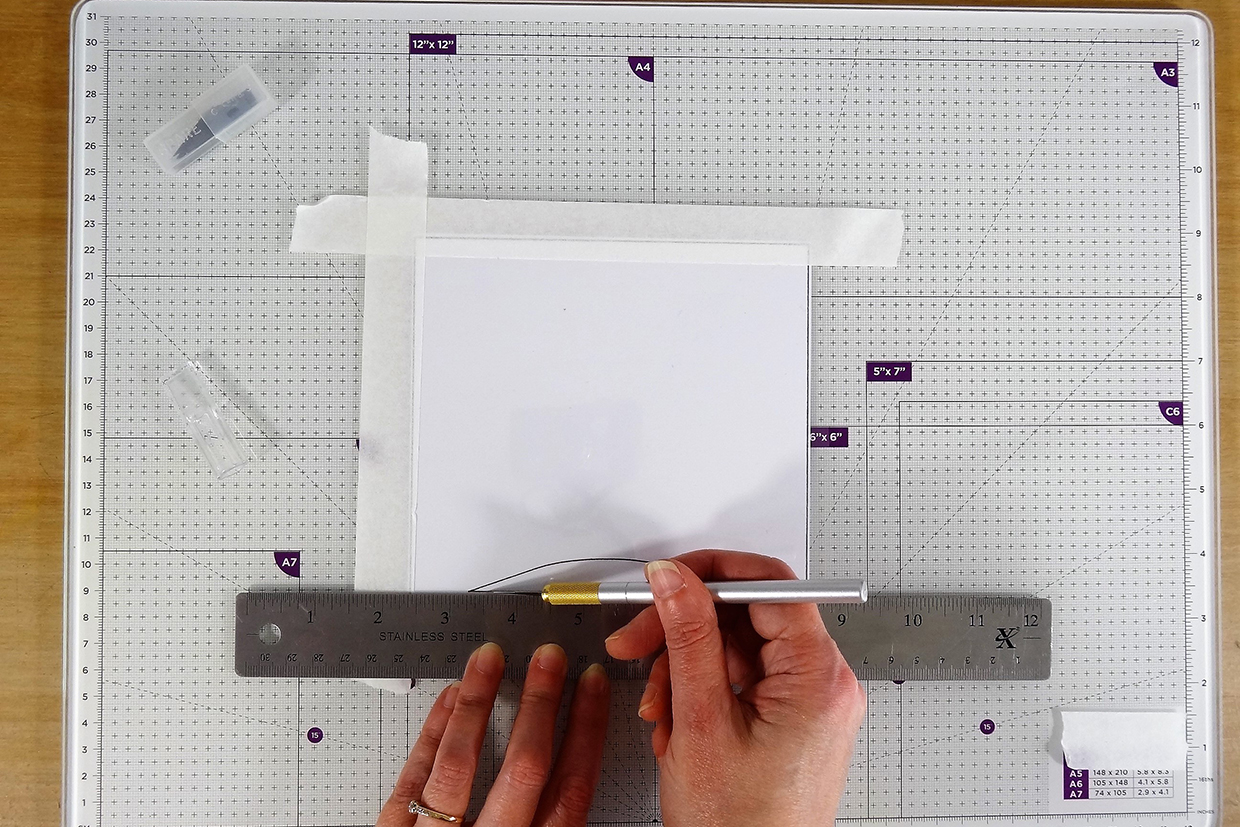
To help you with straight lines, use a metal ruler to guide your craft knife to make sure you get a good straight edge on your mylar stencil. Remove the tape, lift away the stencil sheet, and remove the waste pieces.

Step 5

how to make a stencil 5

Now you know how to make a stencil, you can use your tree stencils to ink a four seasons tree artwork.

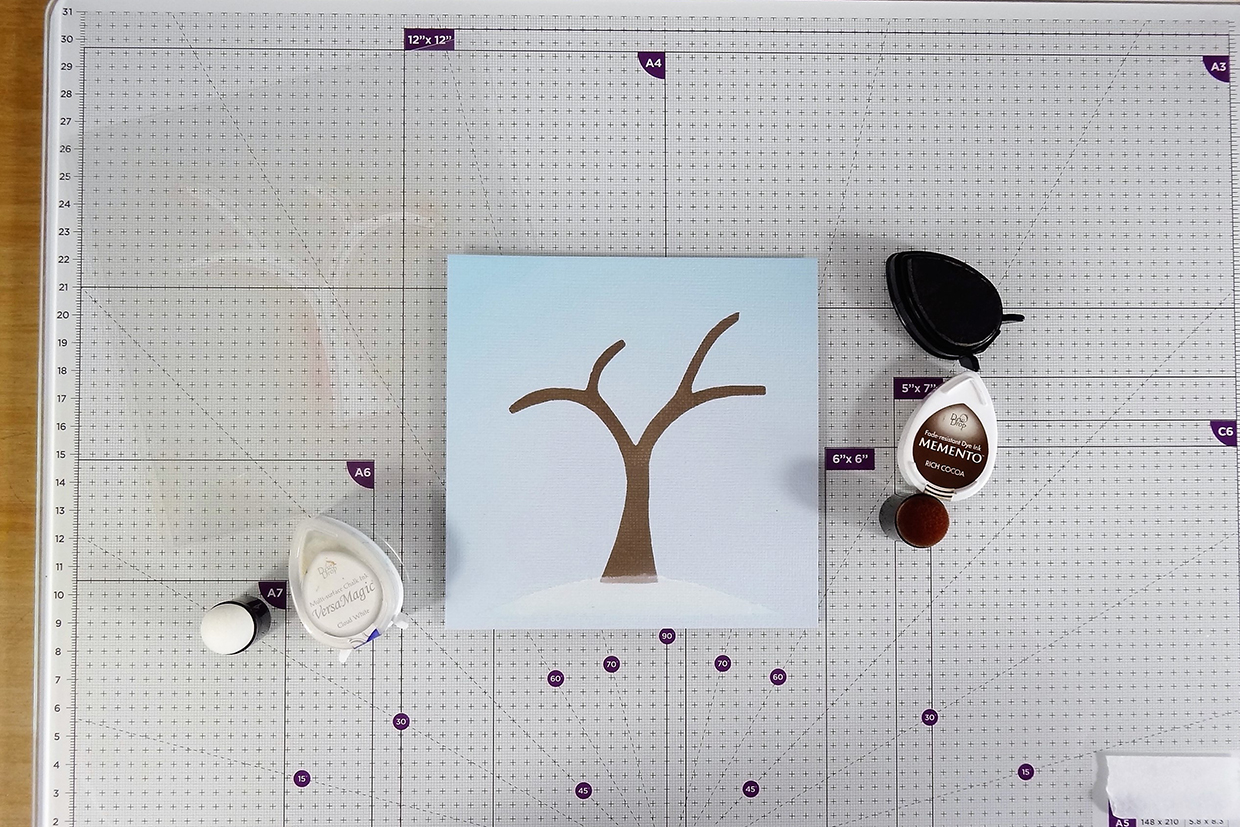
For the winter tree, create the ground by positioning the ground stencil along at the lower edge of a 5.25” (13.5cm) square of white card or pale blue card. Tape stencil in place using low tack tape and gently apply white ink through the stencil using a finger dauber or sponge.  Add a small amount of blue or grey to give the impression of a snowy ground. Lift stencil and gently wipe it clean.

To add the tree, position the tree stencil so it sits on the ground in the centre of the card panel and secure in place using low tack tape. Apply brown ink using a finger dauber or sponge, lift stencil and clean all as before.

Don’t add any leaves on the winter tree. For extra detail, use a white gel pen to add ‘snow’ to the branches.

Step 6

how to make a stencil 6

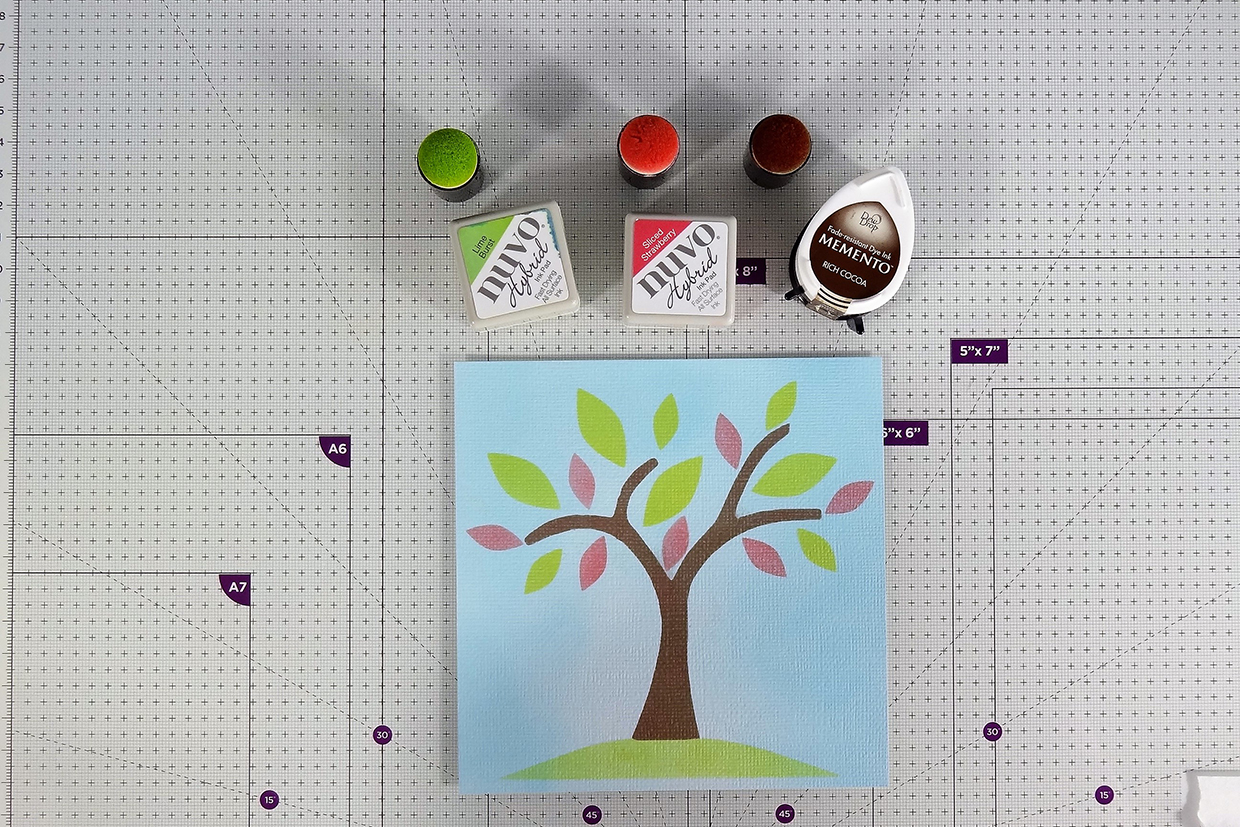
To make the spring tree, add the ground by positioning the tree stencil and applying ink as with the winter tree, but using a green colour. To add the tree, position the tree stencil so it sits on the ground in the centre of the card panel and secure in place using low tack tape. Apply brown ink using a finger dauber or sponge, lift stencil and clean all as before. To add the leaves, there is no need to tape down the leaves stencil, just position the larger and smaller leaves around the branches as desired and apply bright green inks, moving the stencil as you go to create leaves in different directions. A light colouring of pink can also be used to give the effect of blossom. For extra detail, add small flowers to the ground using adhesive gems as desired.

Step 7

how to make stencils 7

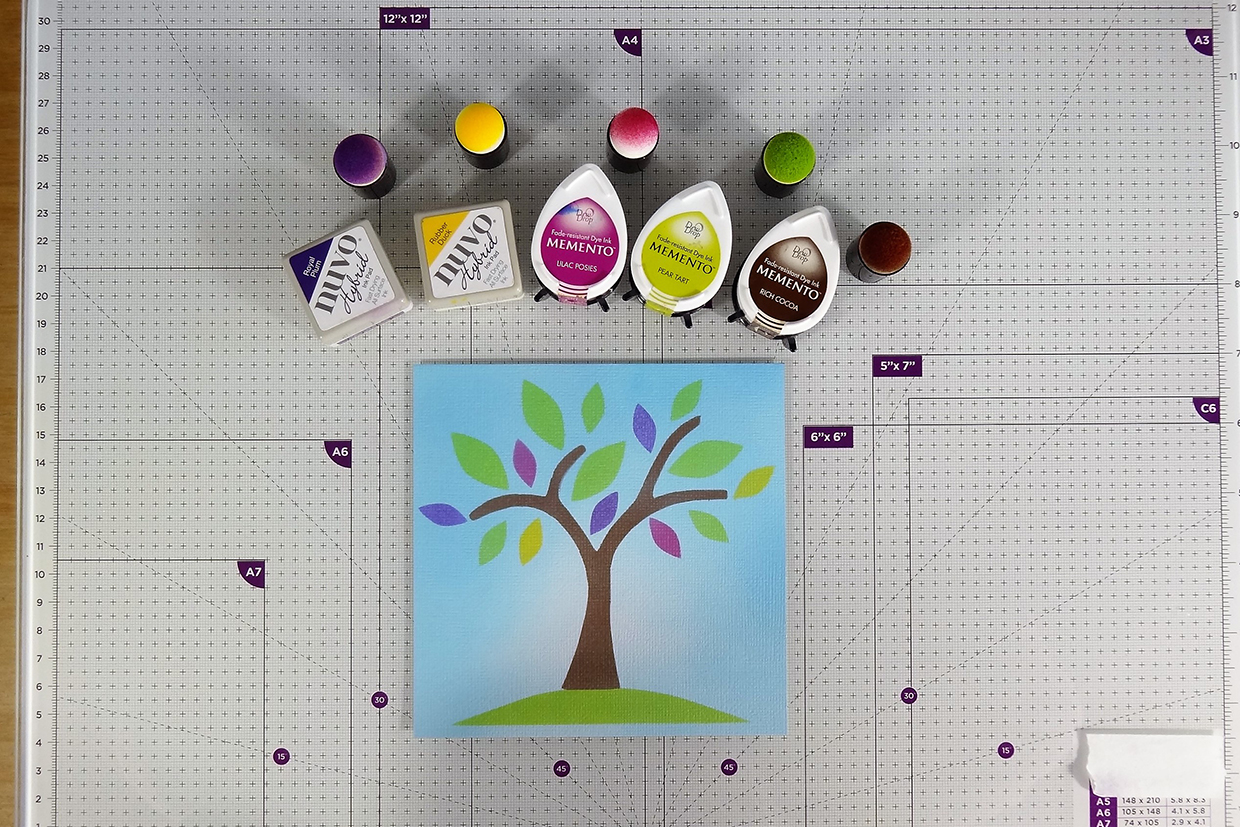
To make the summer tree, add the ground by positioning the tree stencil and applying ink as with the winter tree, but using a green colour. To add the tree, position the tree stencil so it sits on the ground in the centre of the card panel and secure in place using low tack tape. Apply brown ink using a finger dauber or sponge, lift stencil and clean all as before. To add the leaves, there is no need to tape down the leaves stencil, just position the larger and smaller leaves around the branches as desired and apply bright green inks, moving the stencil as you go to create leaves in different directions, and including some brighter colours of ink in some leaves to represent blossom.

Step 8

how to make a stencil 8

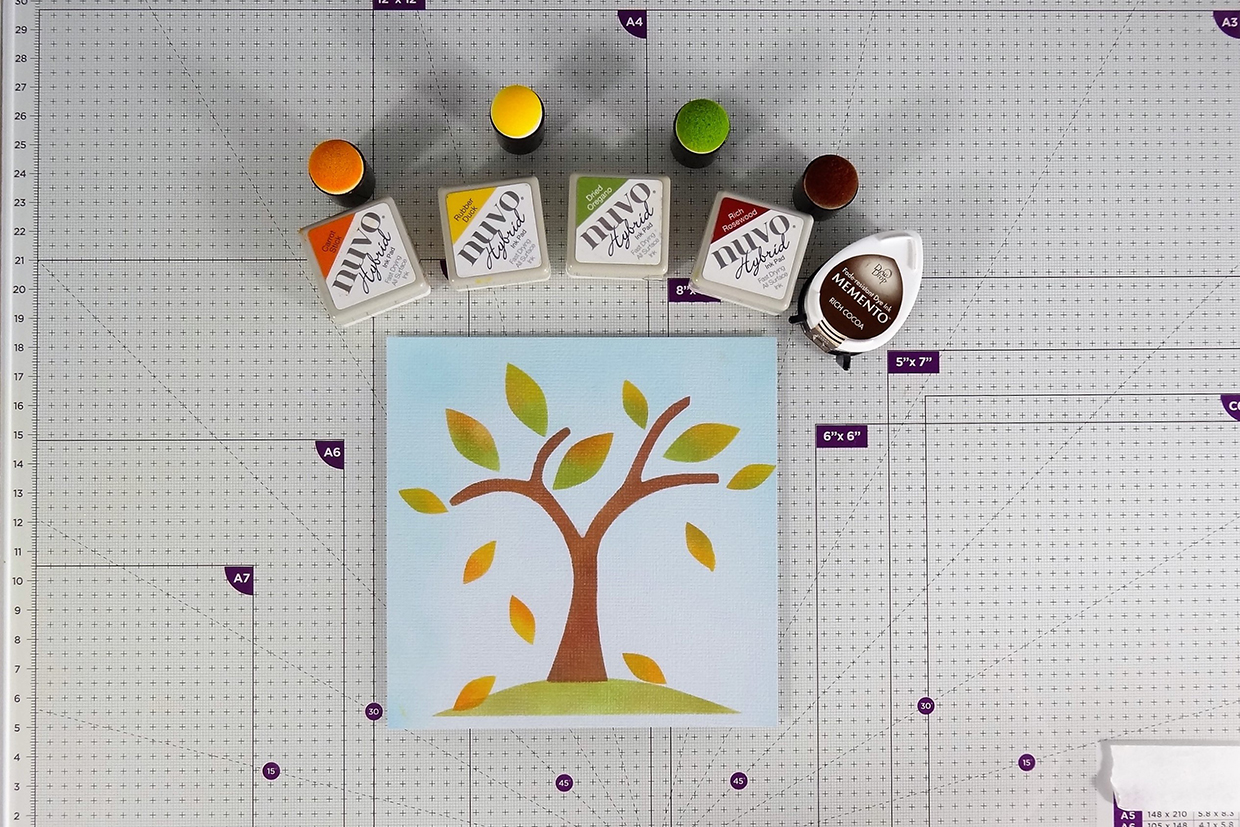
To make the autumn tree, add the ground by positioning the tree stencil and applying ink as with the winter tree, but using a green colour. To add the tree, position the tree stencil so it sits on the ground in the centre of the card panel and secure in place using low tack tape. Apply brown ink using a finger dauber or sponge, lift stencil and clean all as before. To add the leaves, there is no need to tape down the leaves stencil, just position the larger and smaller leaves around the branches, but inking fewer leaves on the beaches using using browns, orange and yellow inks, and show some falling off the tree. For extra detail, add some of the leaves to the ground.

Step 9

how to make a stencil 9

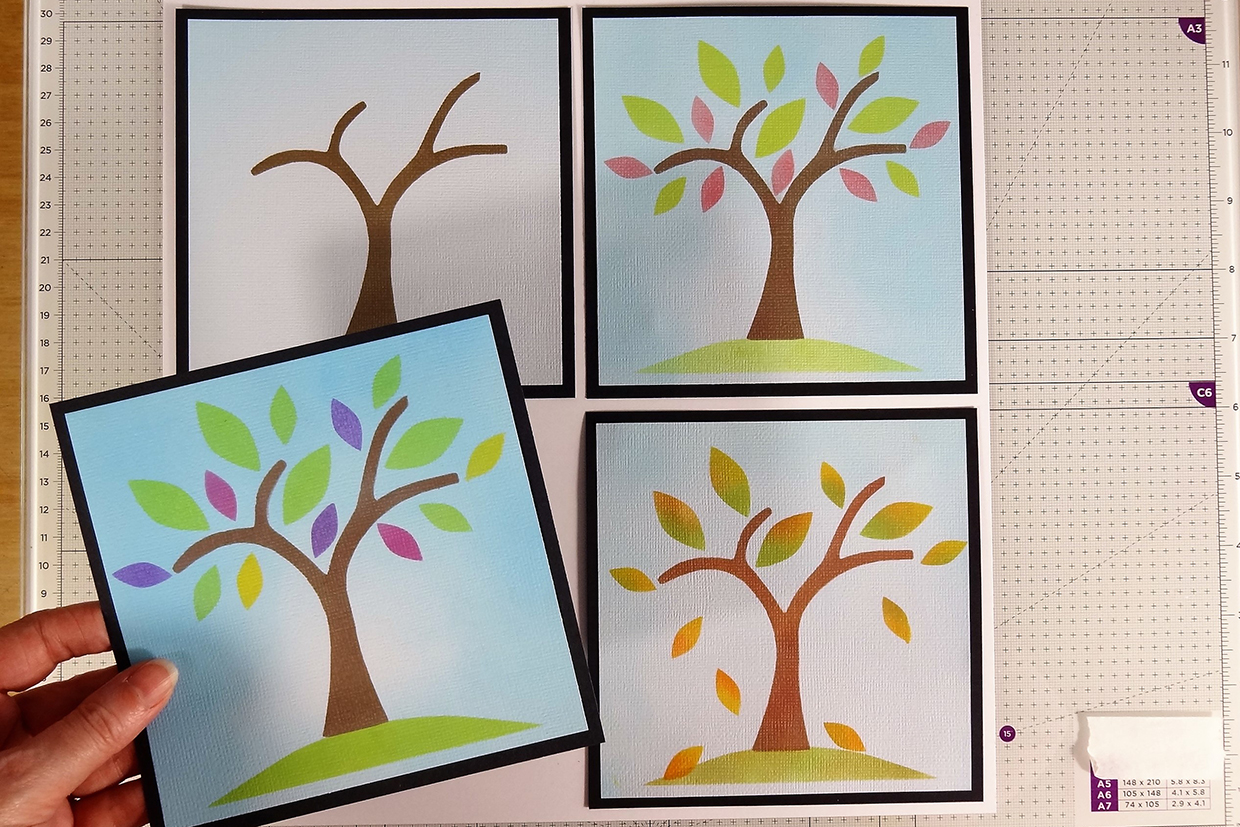
Apply double sided tape or glue to the backs of the four tree images and adhere them to 5 58 in squares of black card. You can extra embellishments such as gems and glitter if you like. The four tree designs can be arranged and displayed separately as individual pictures.

Step 10

how to make a stencil 10

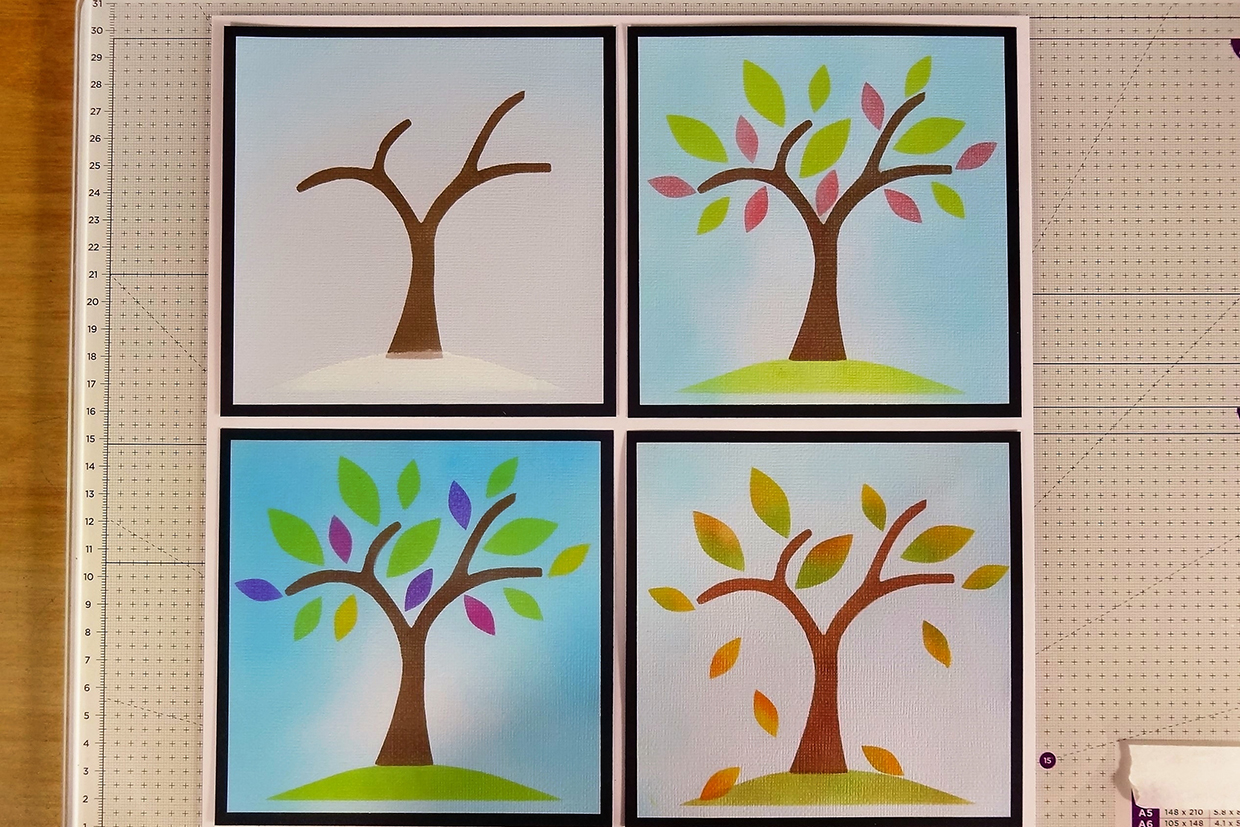
Alternatively attach all four completed pictures to a 30cm square of white card. Start with the Winter at top left, spring at top right and follow through the seasons.  The finished design will fit into a 12 x 12 frame if desired.

How to make stencils materials

Here’s where to buy the crafty essentials that will help you learn how to make a stencil

1. Mylar 4 mil clear blank stencil sheets, 12x12in

Buy now: Amazon (12.99)

how to make a stencil mylar

2. ScanNCut SDX1200

how to make a stencil