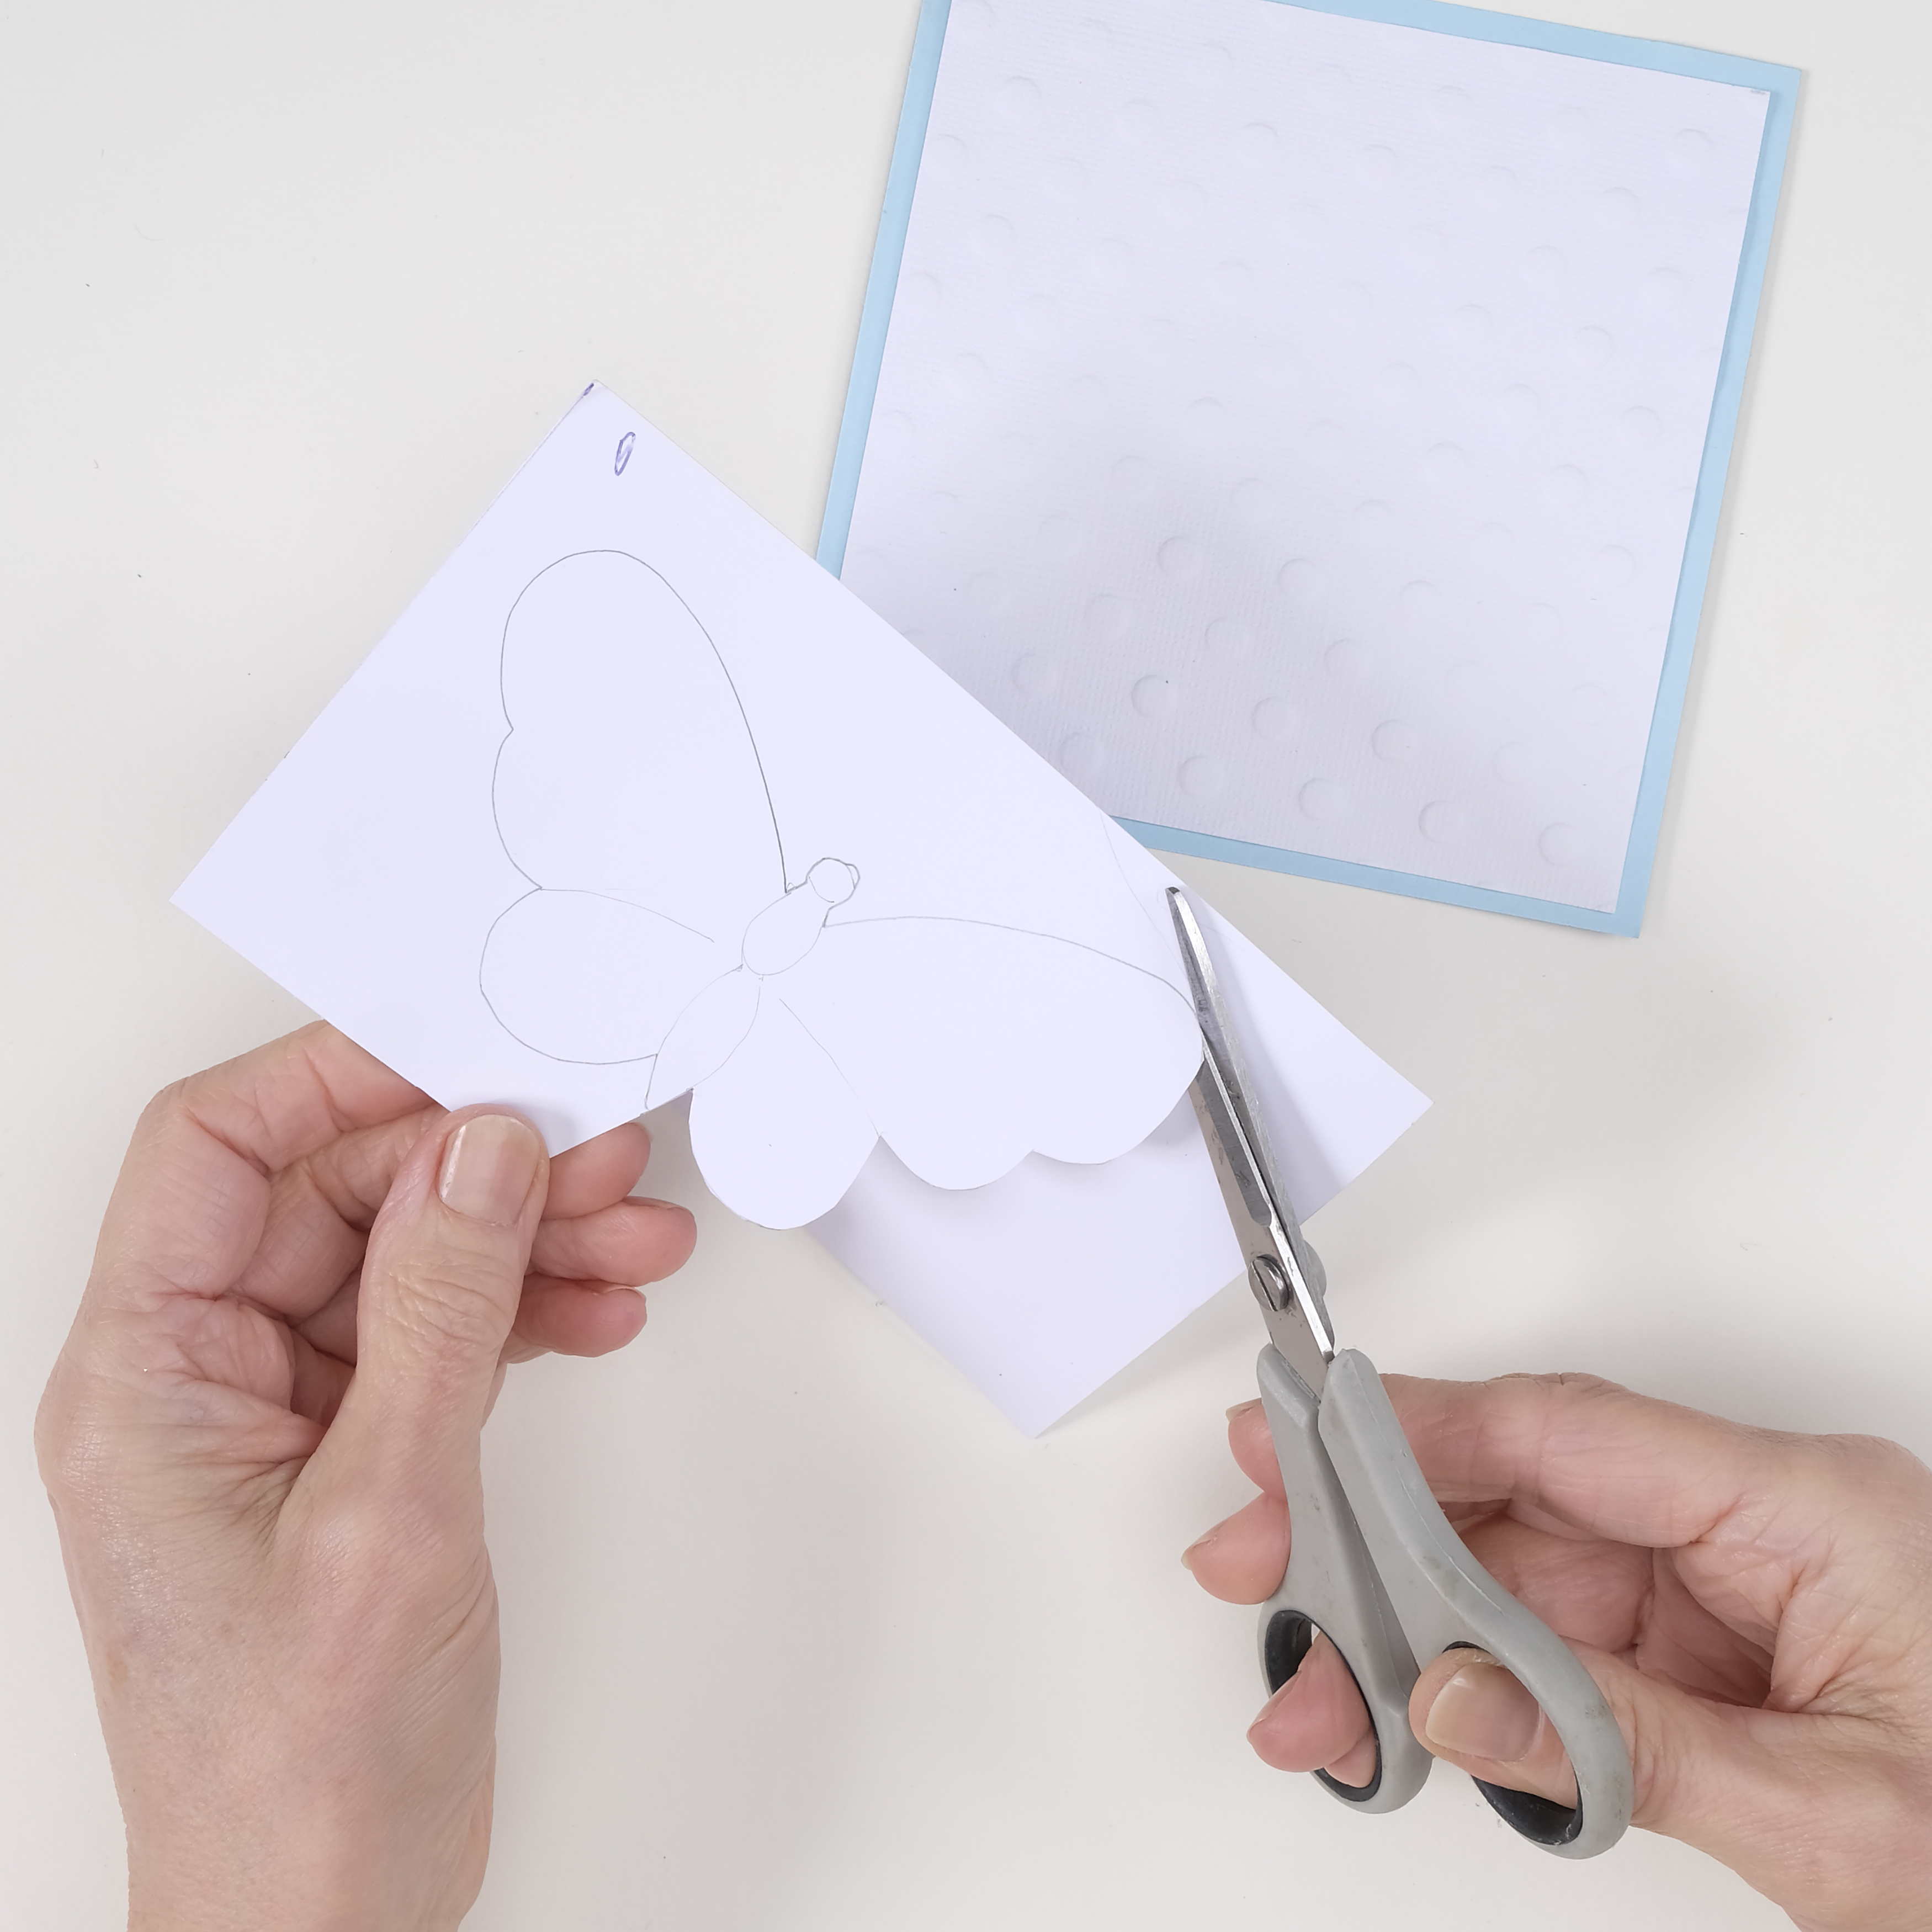
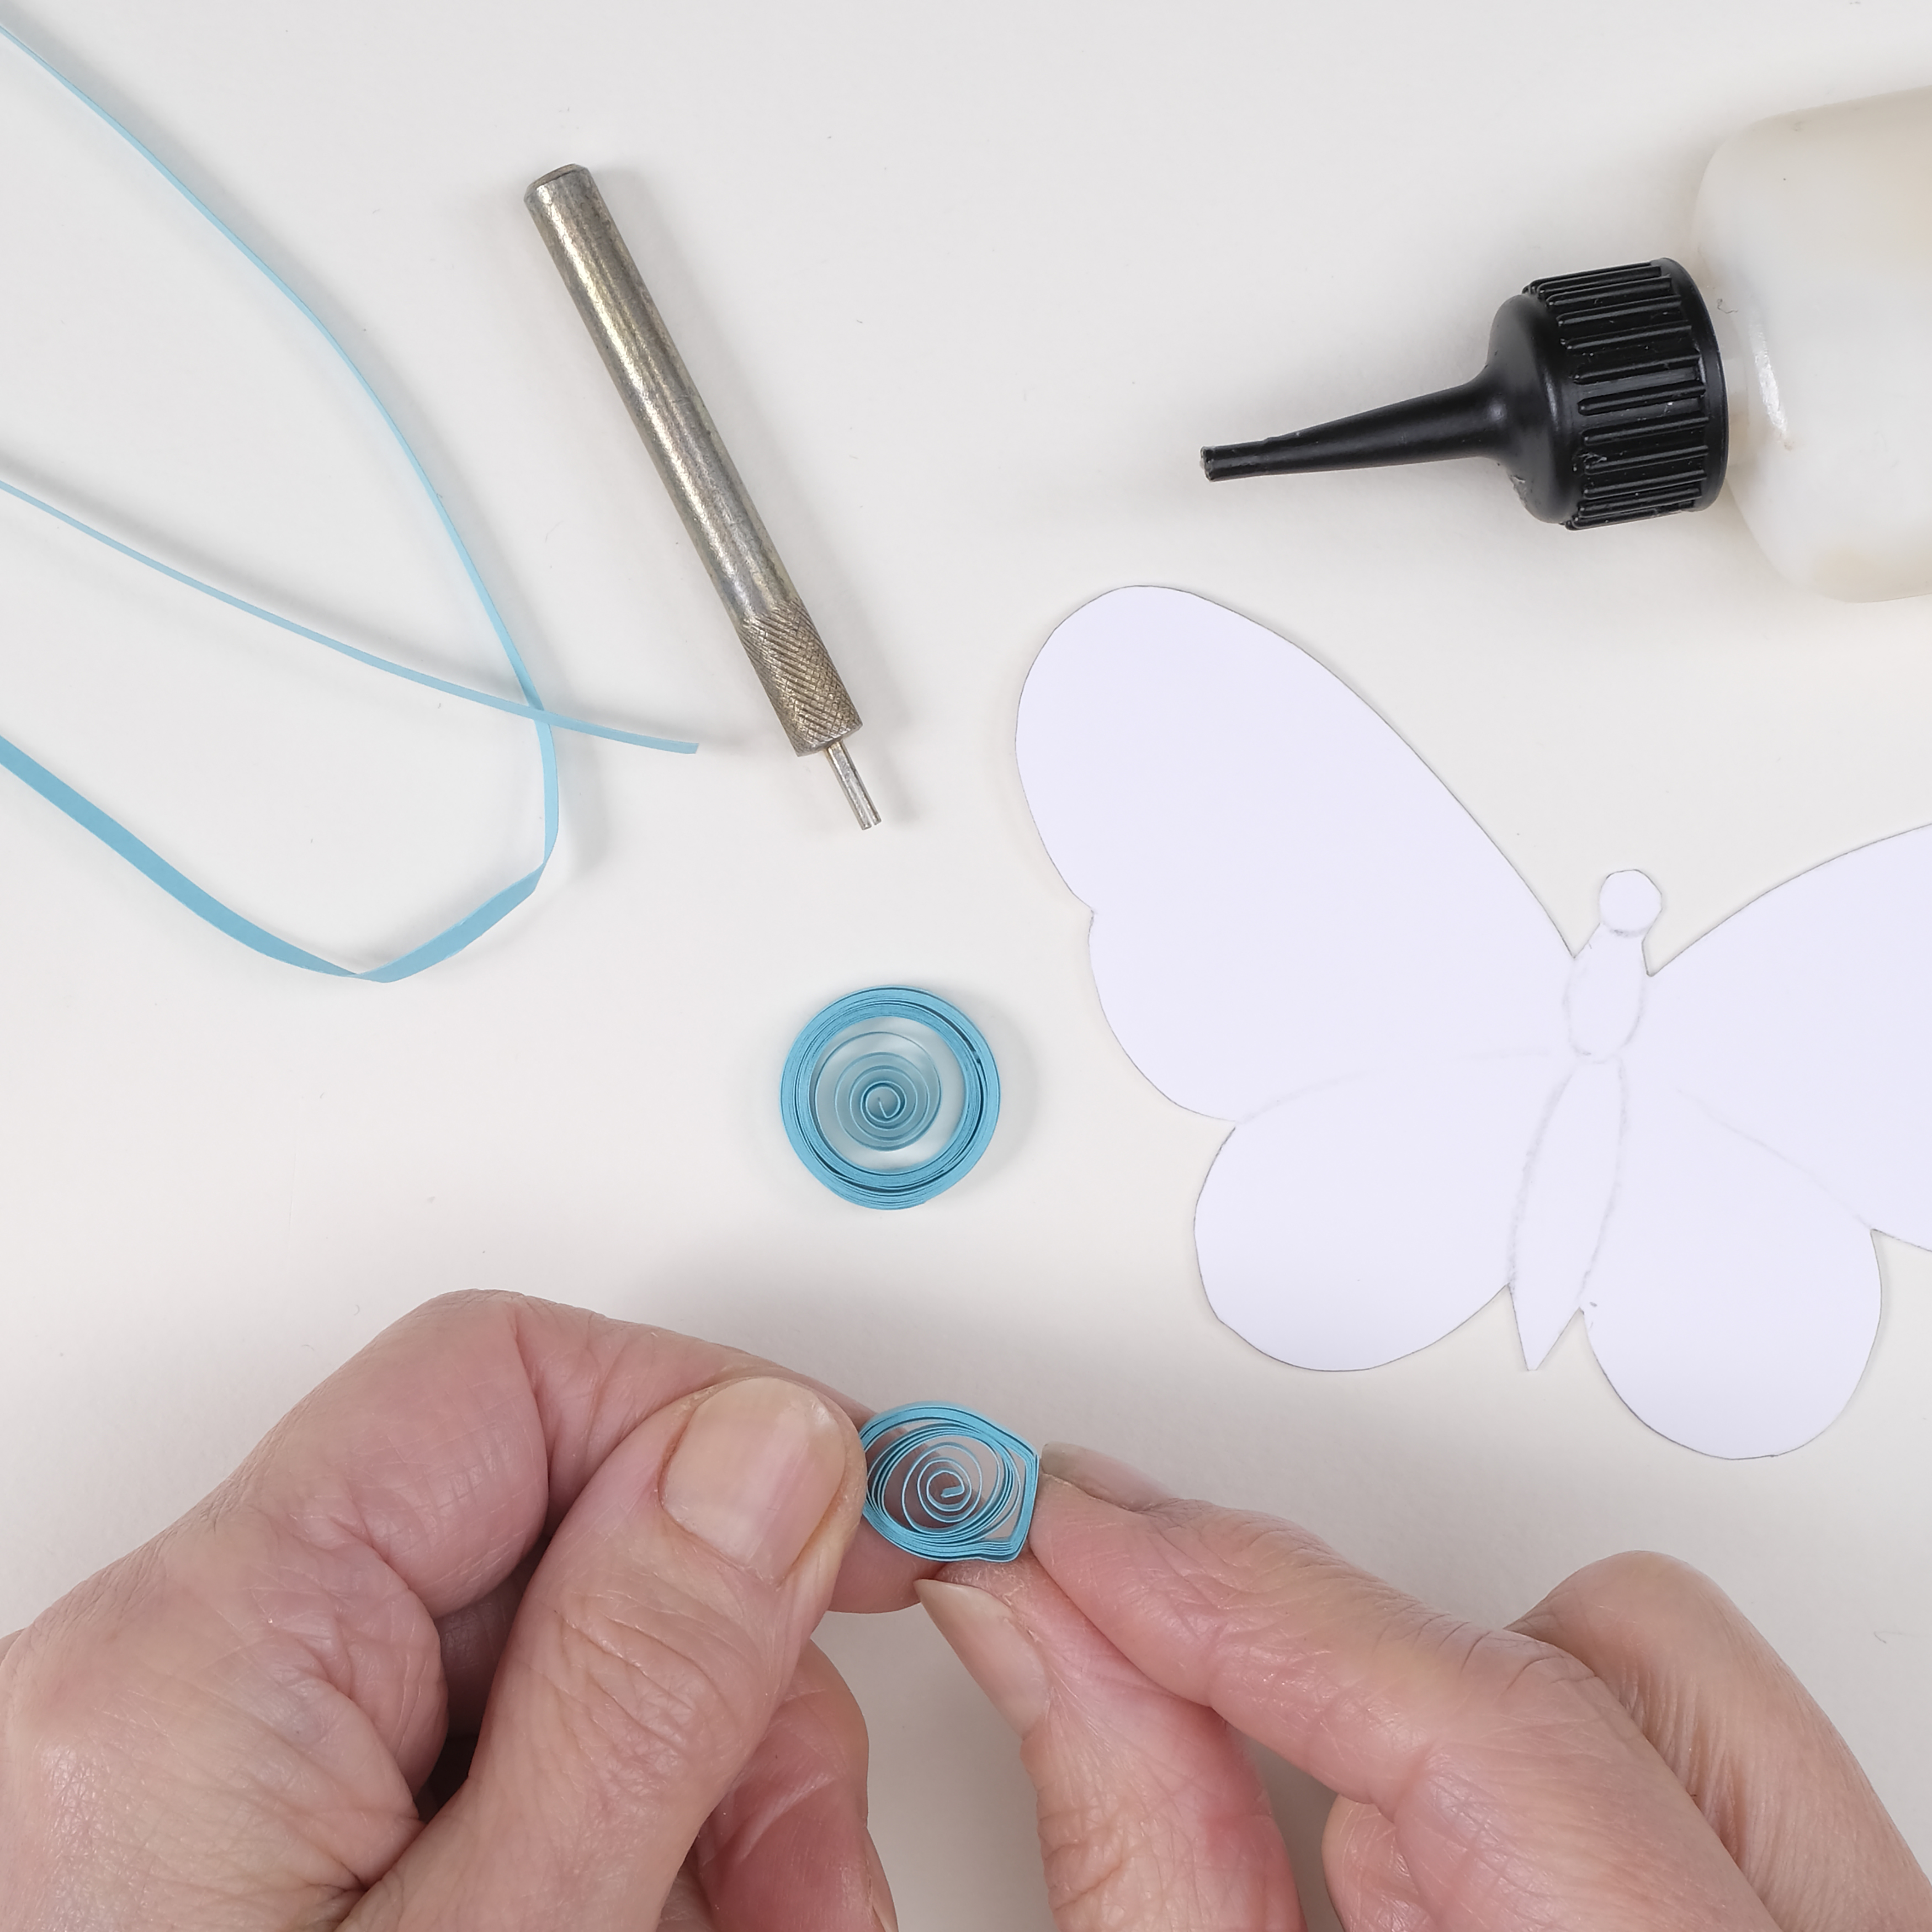
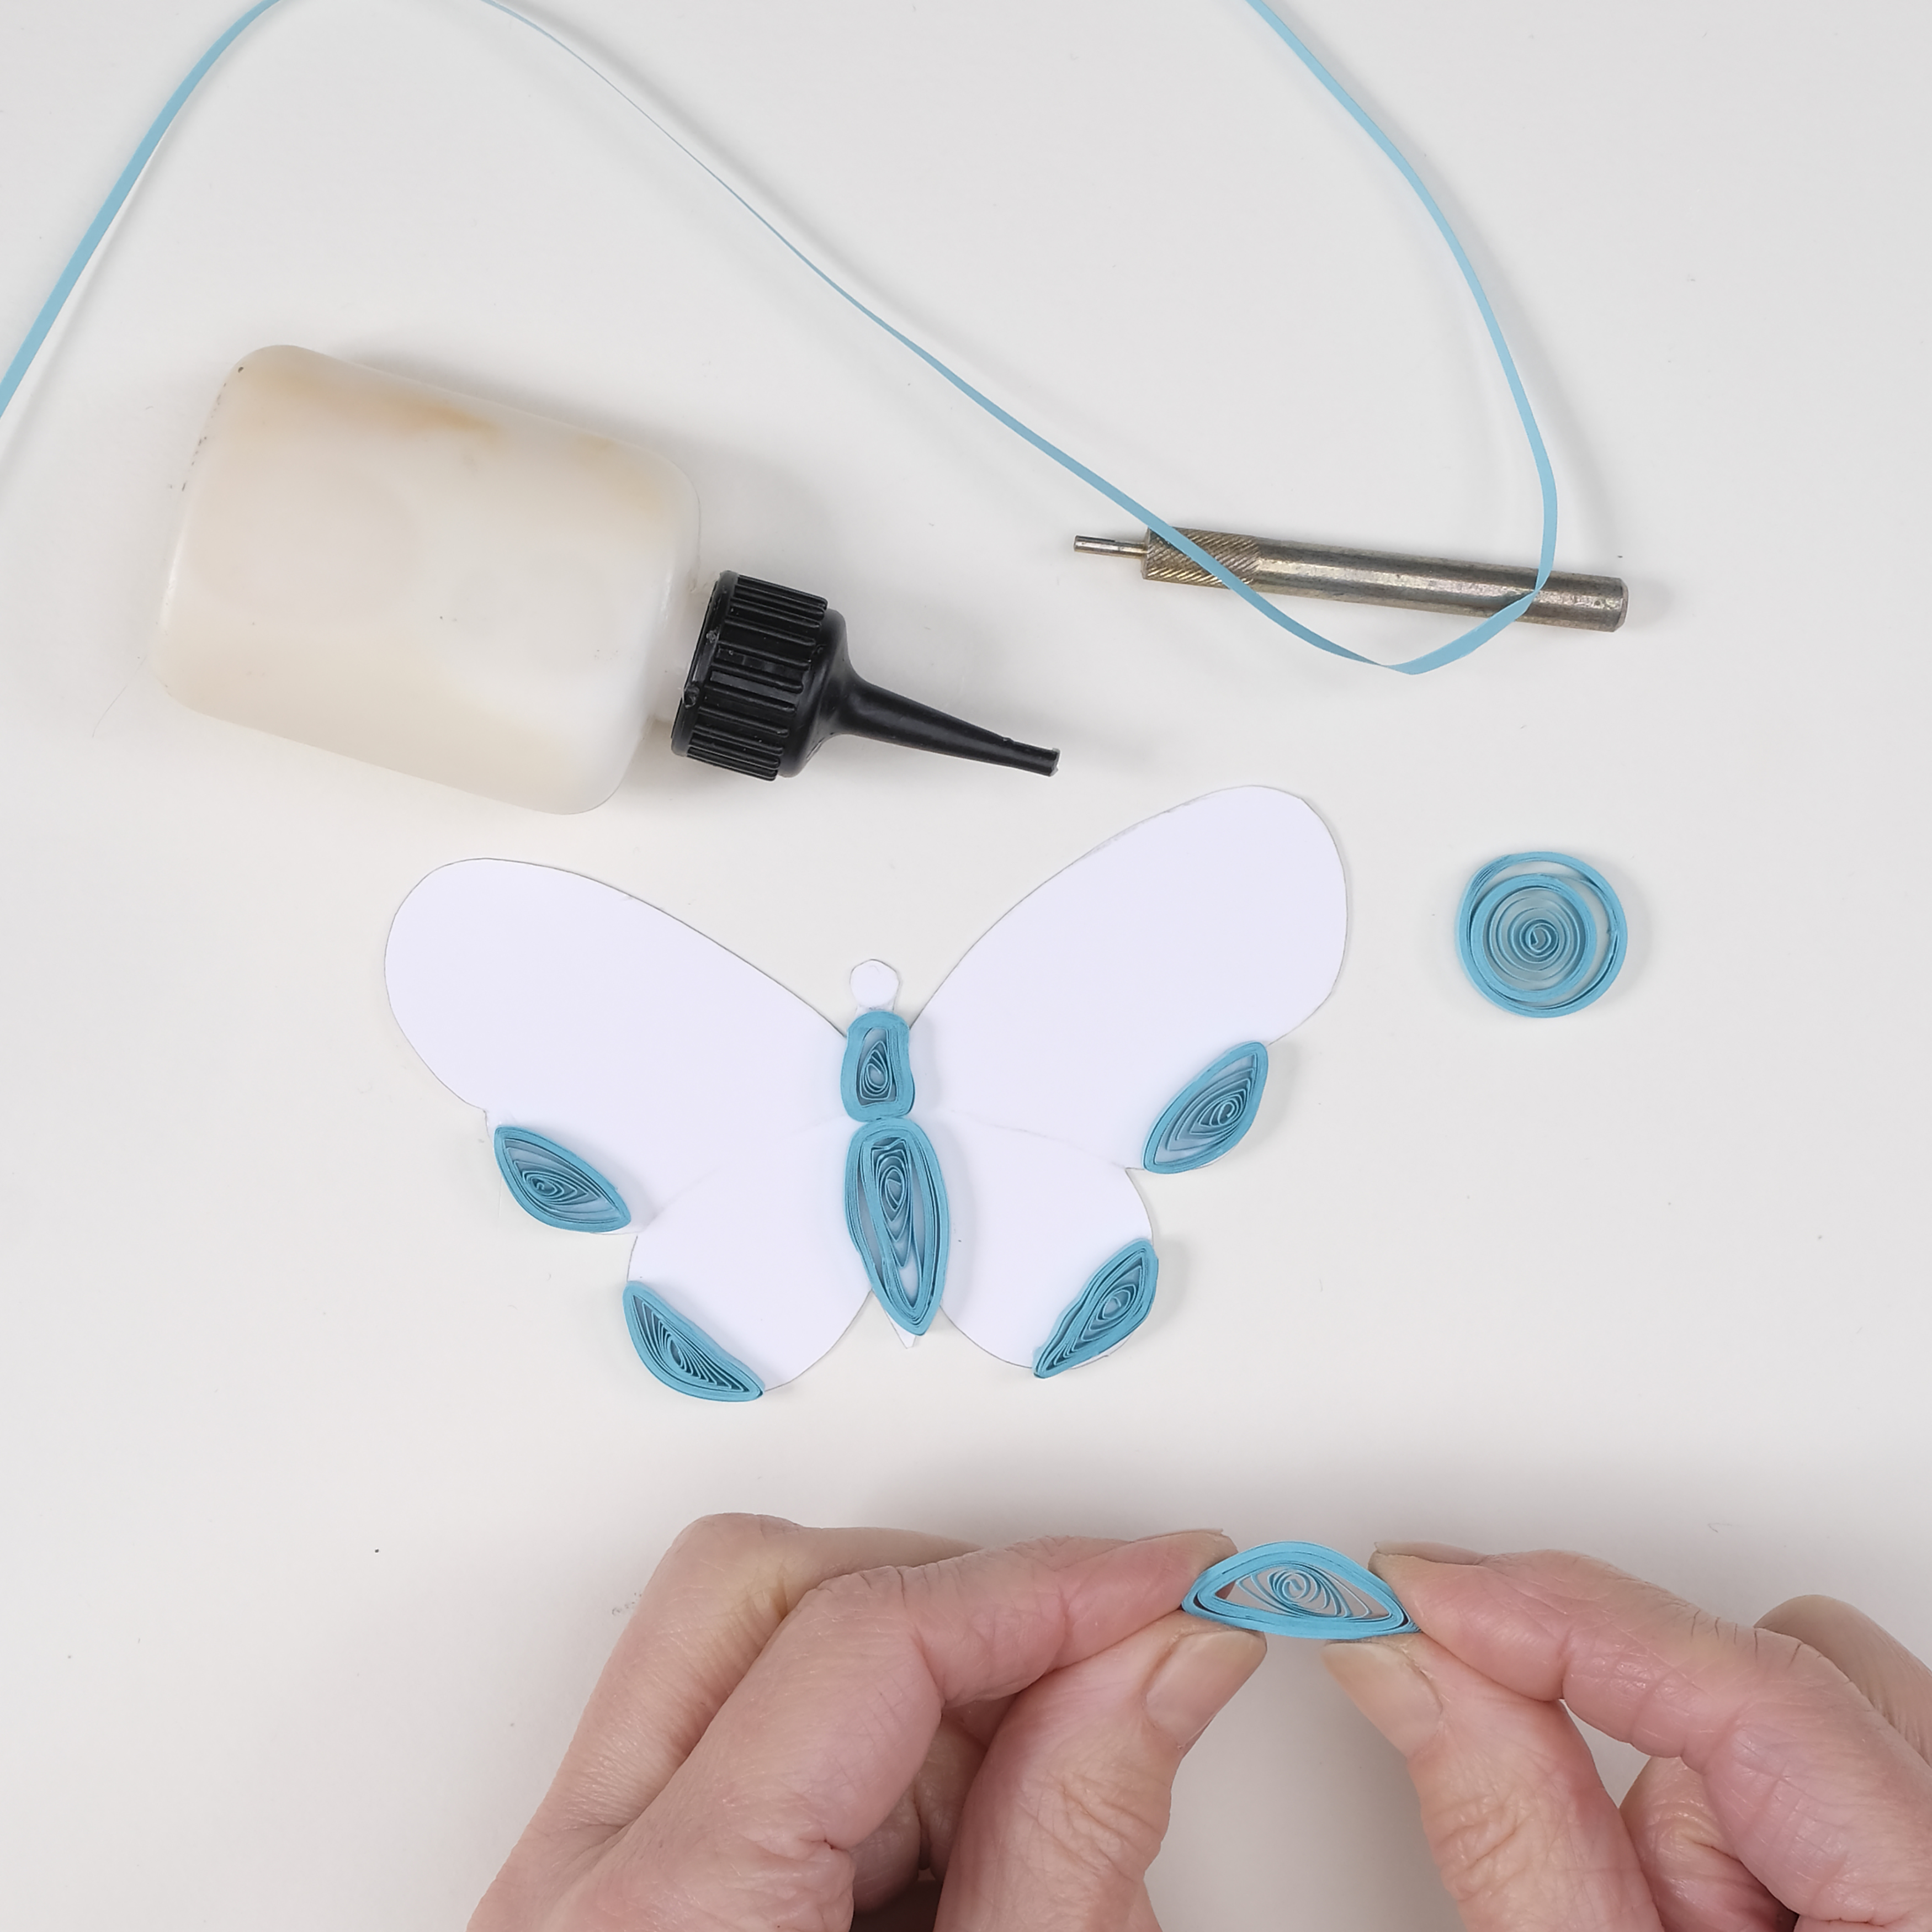
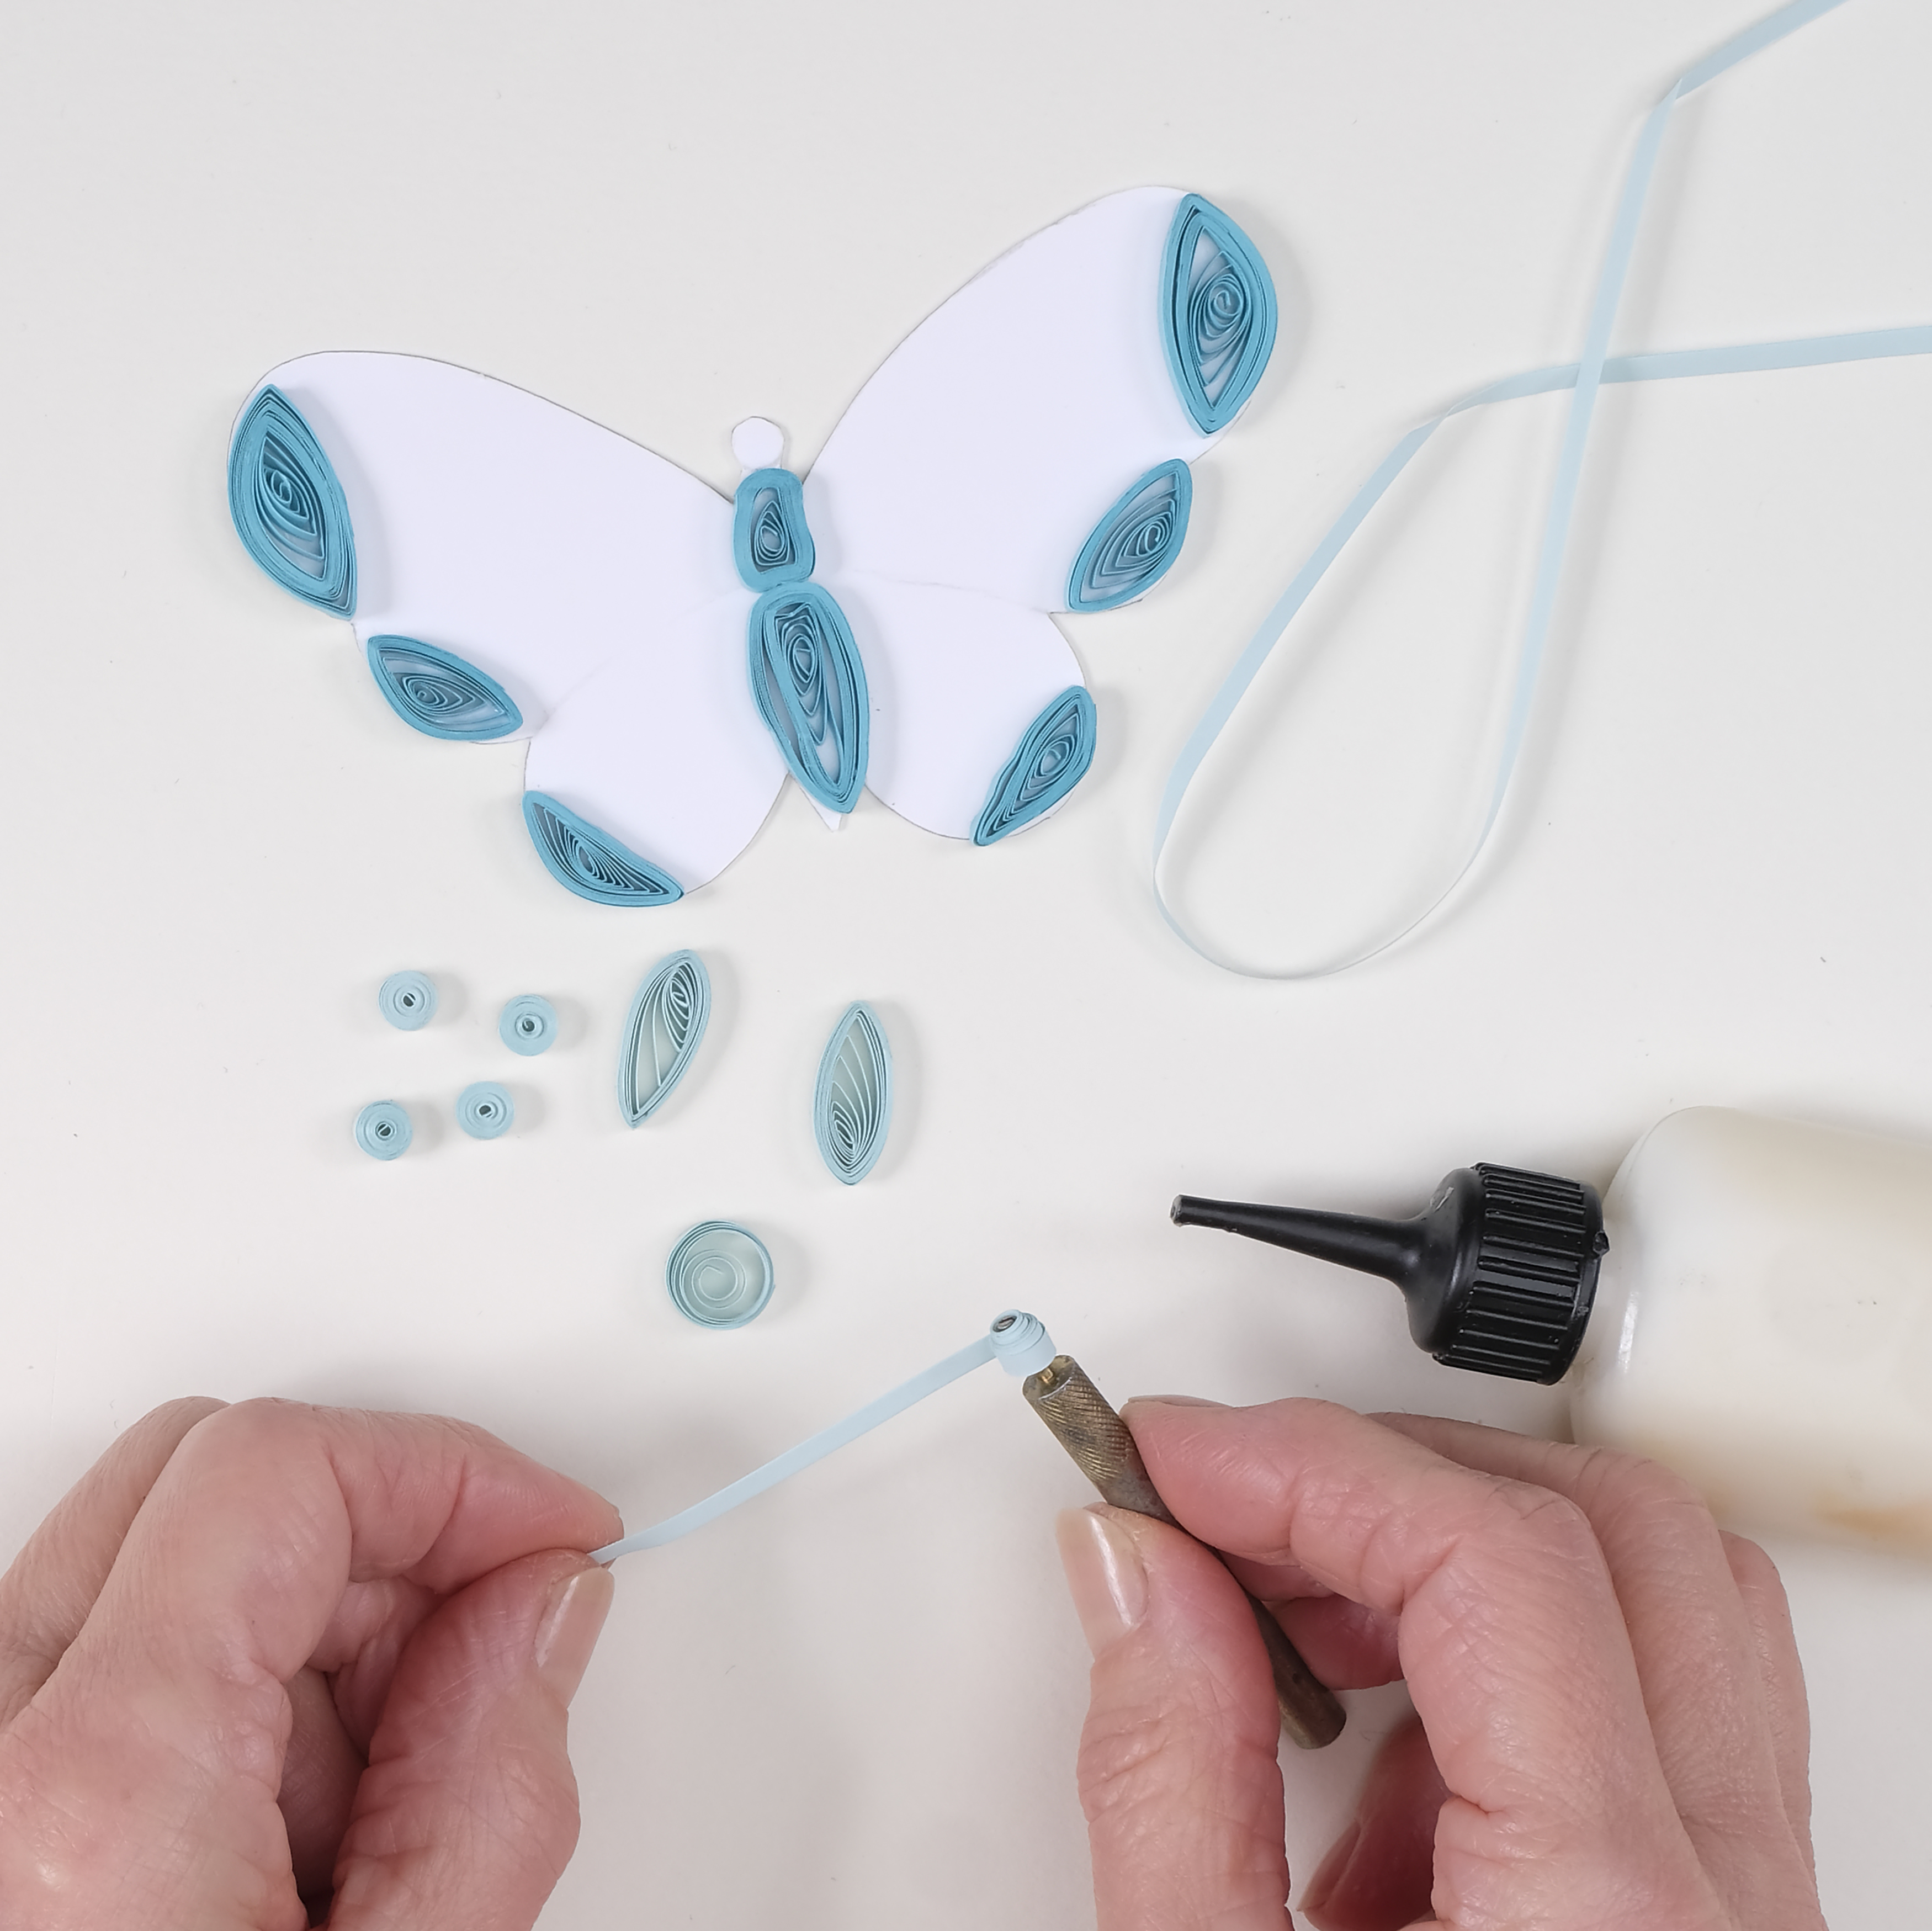
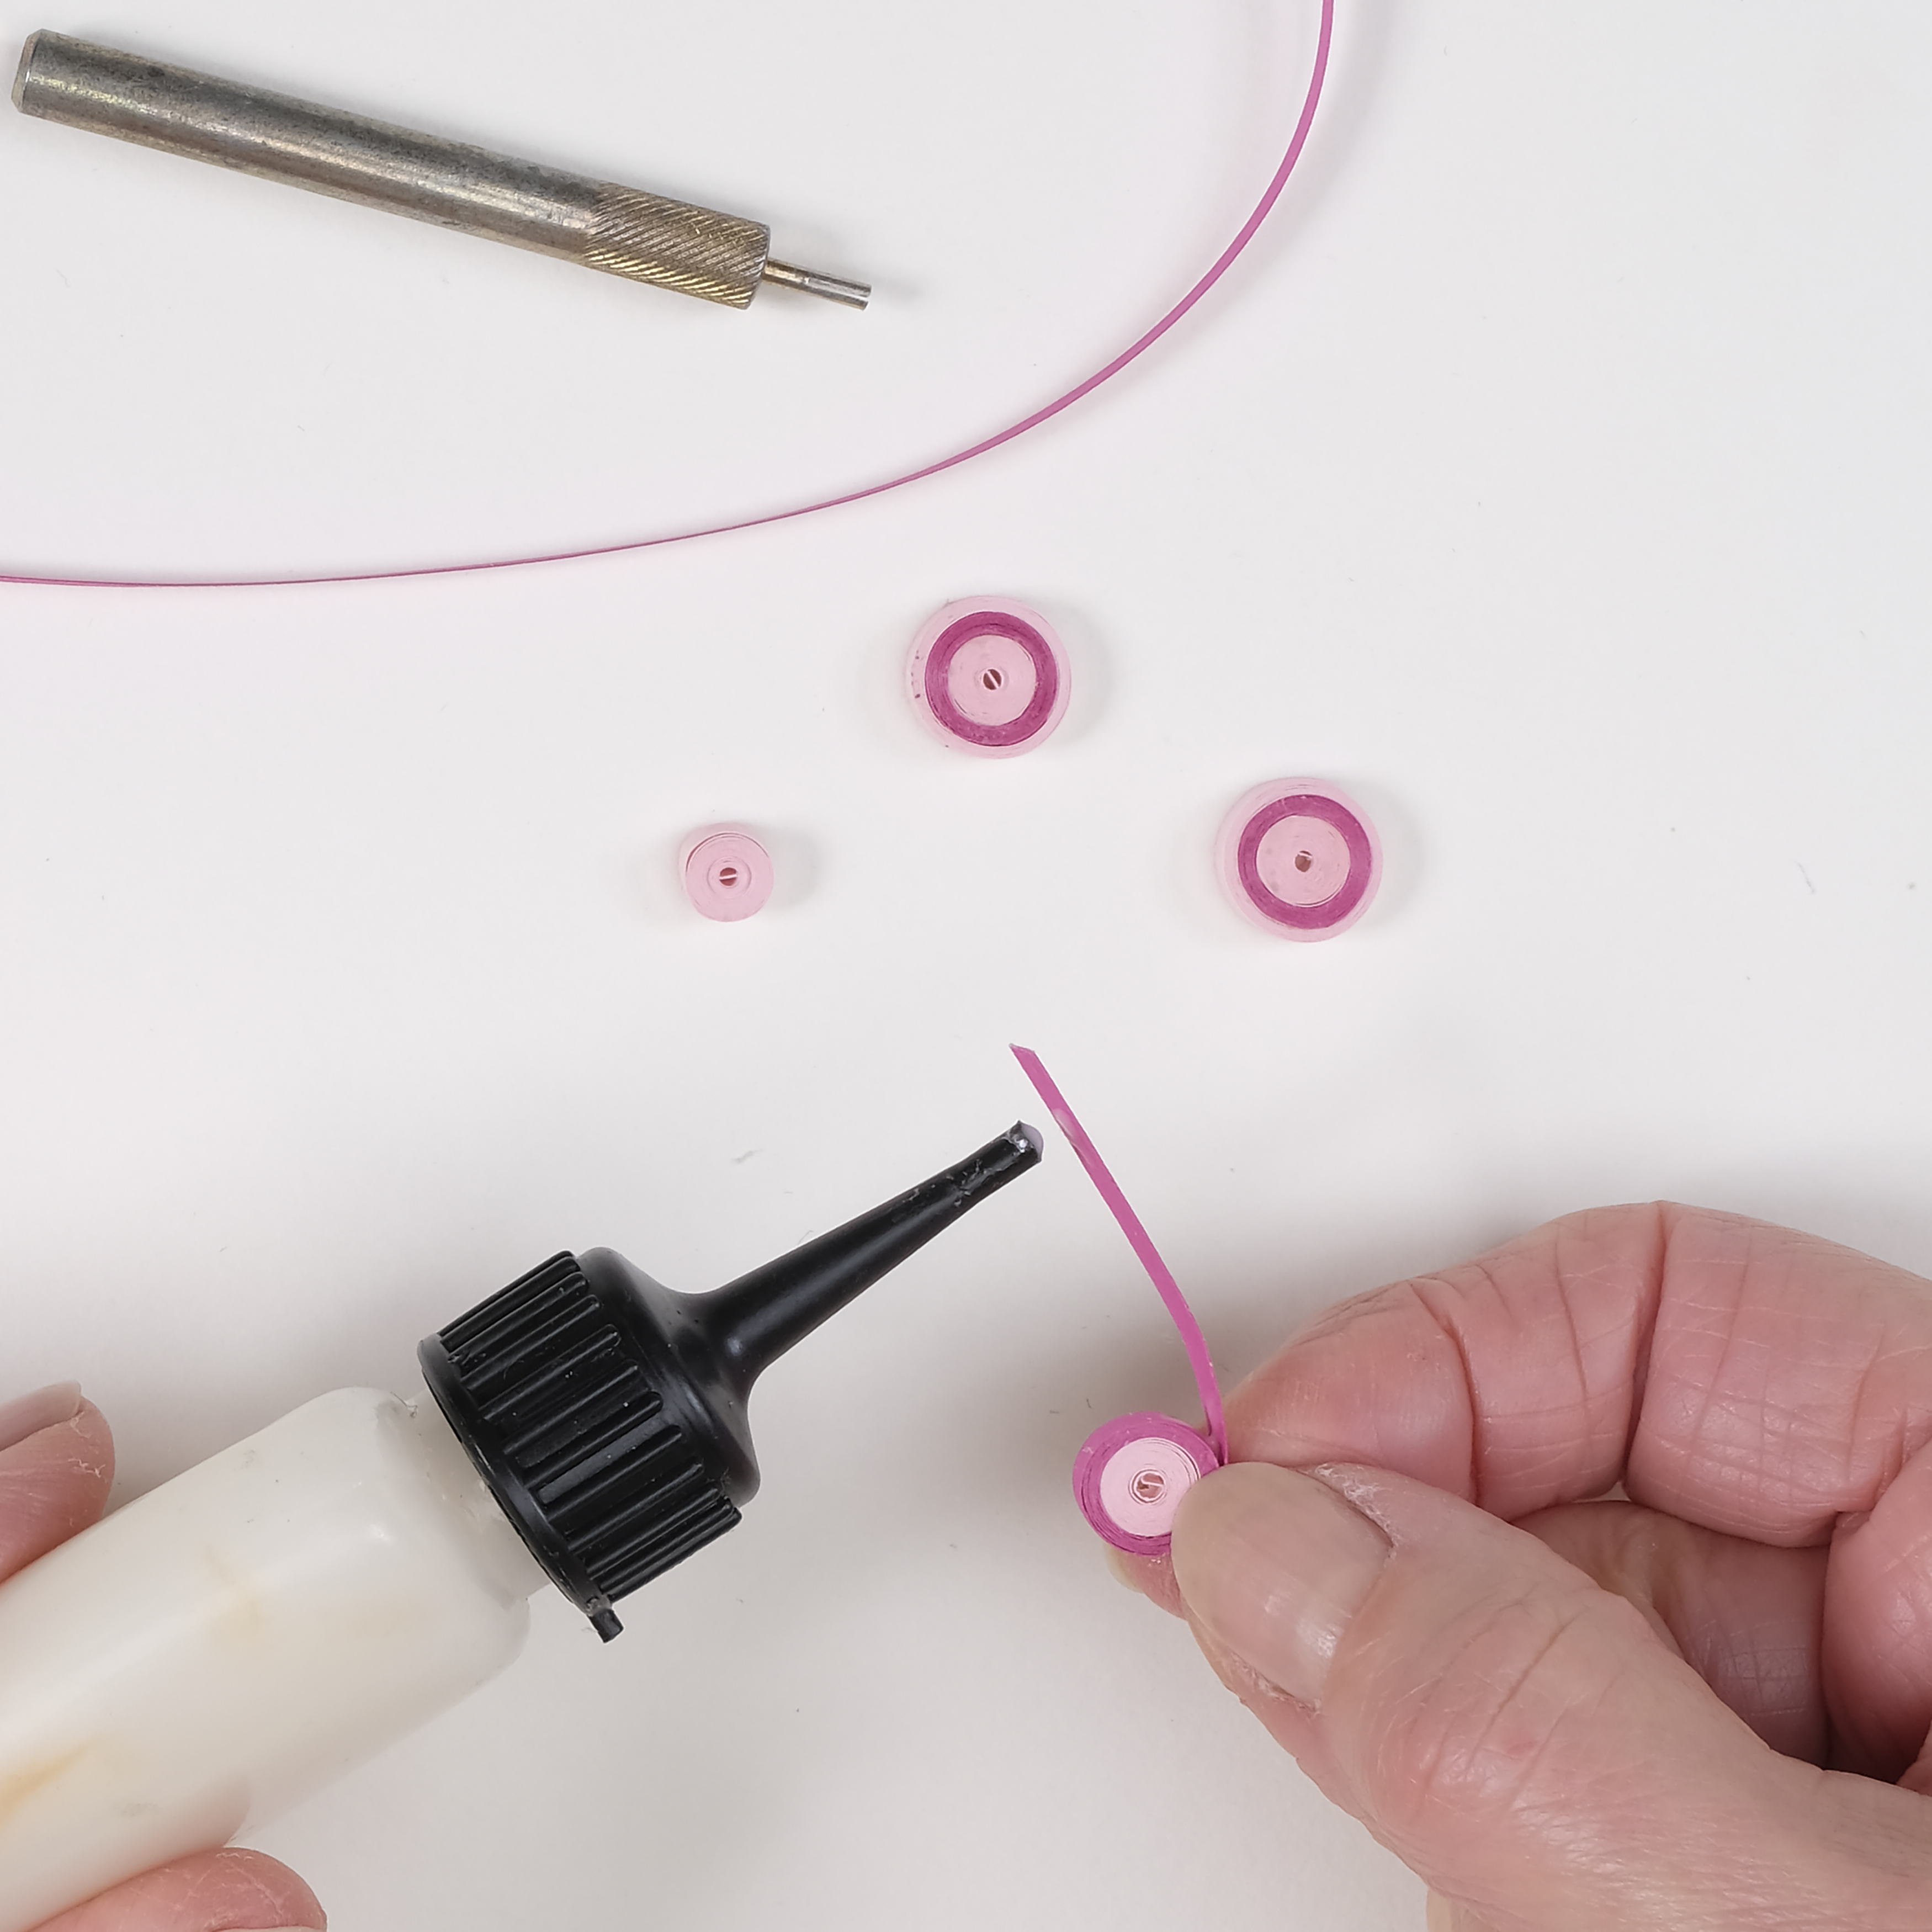
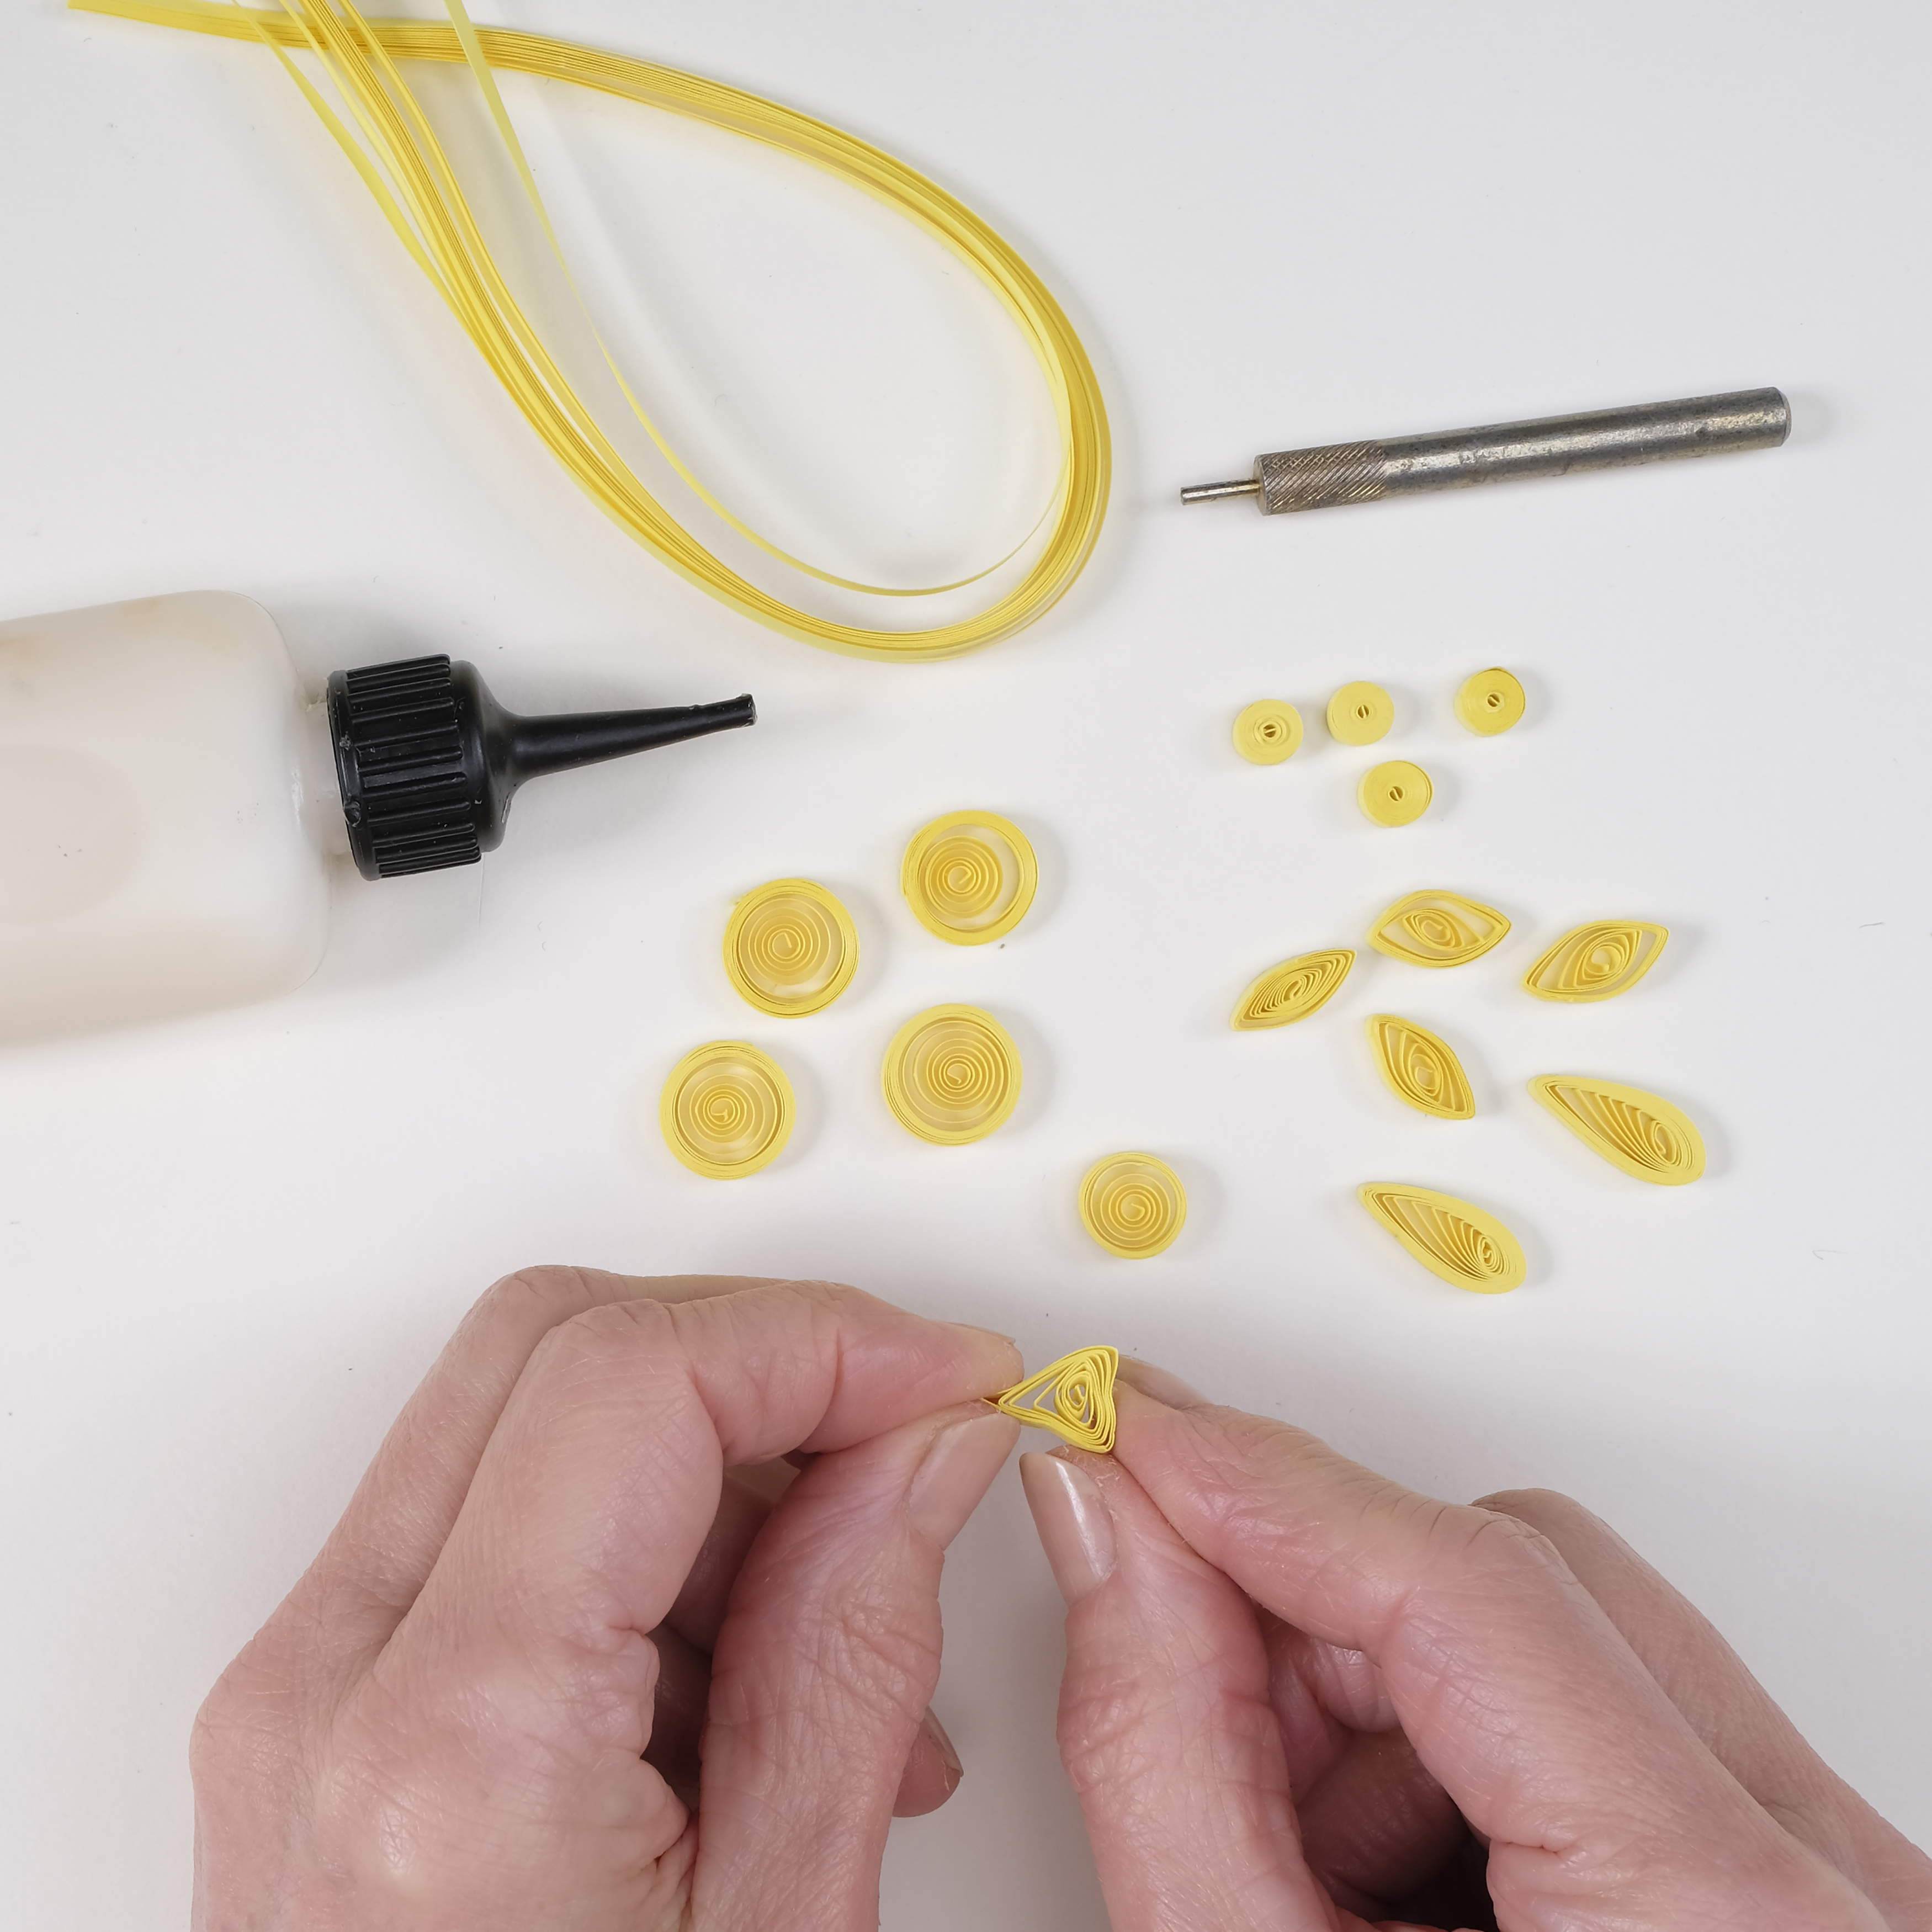
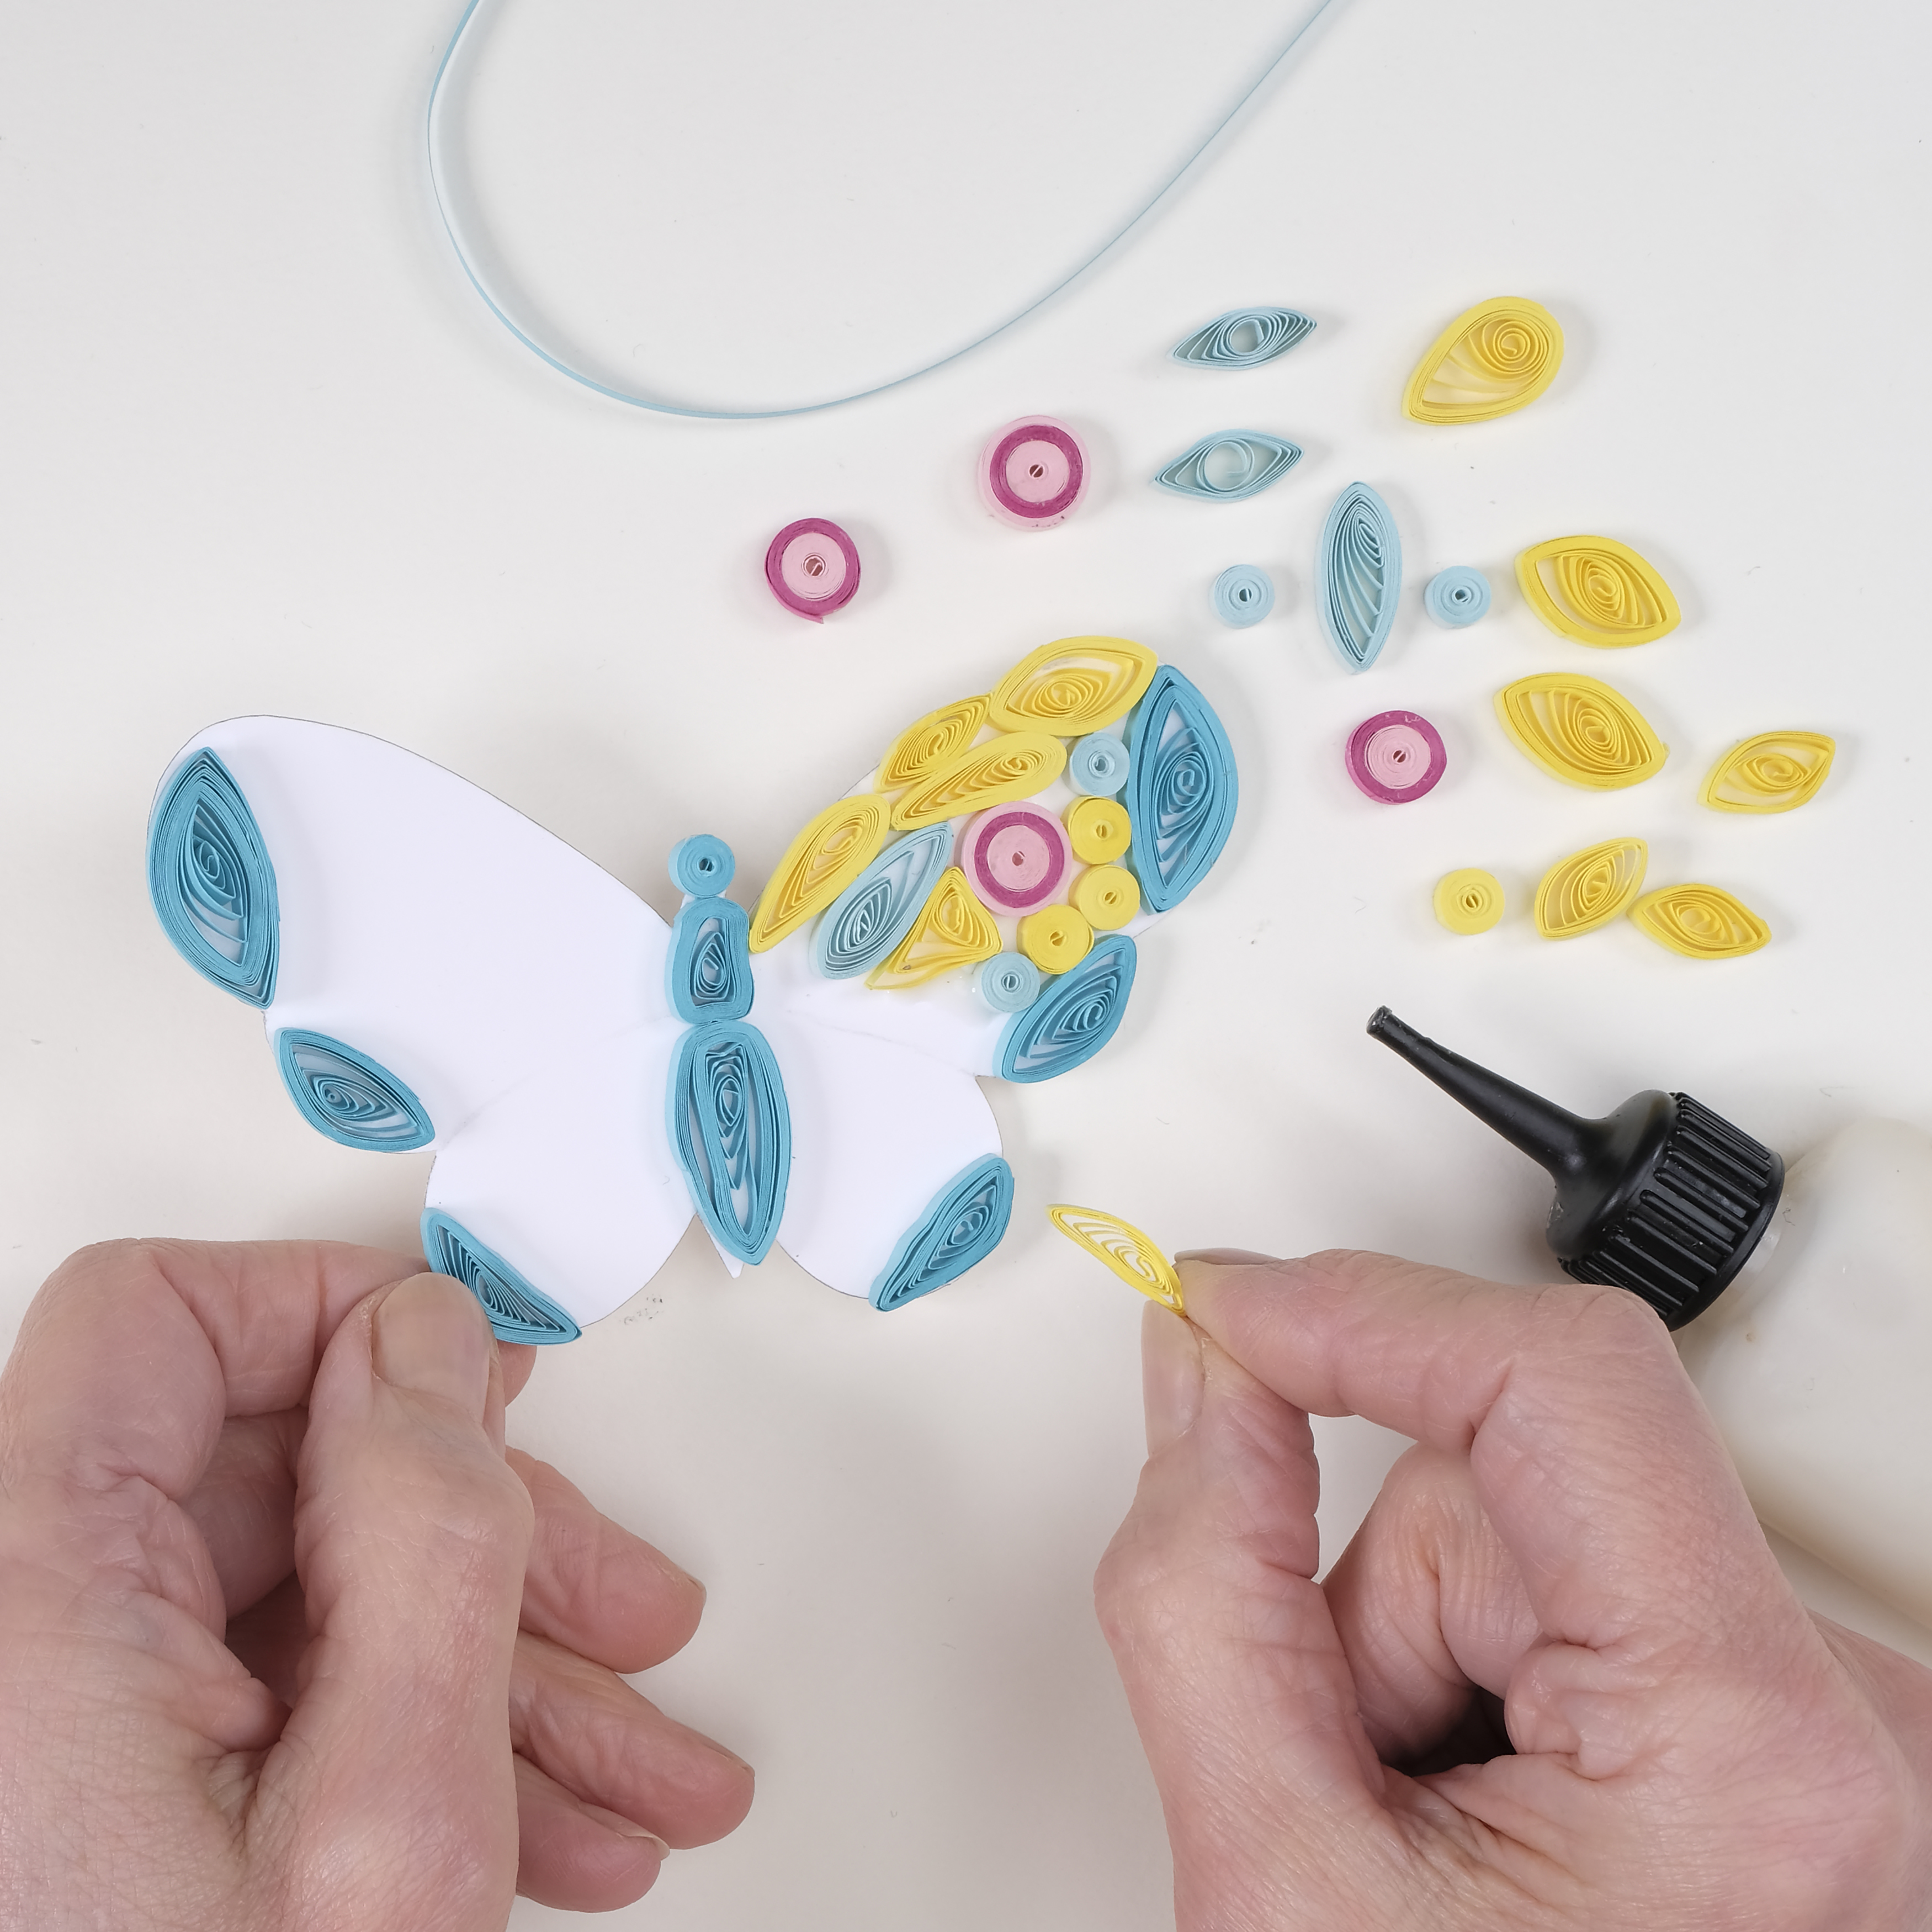
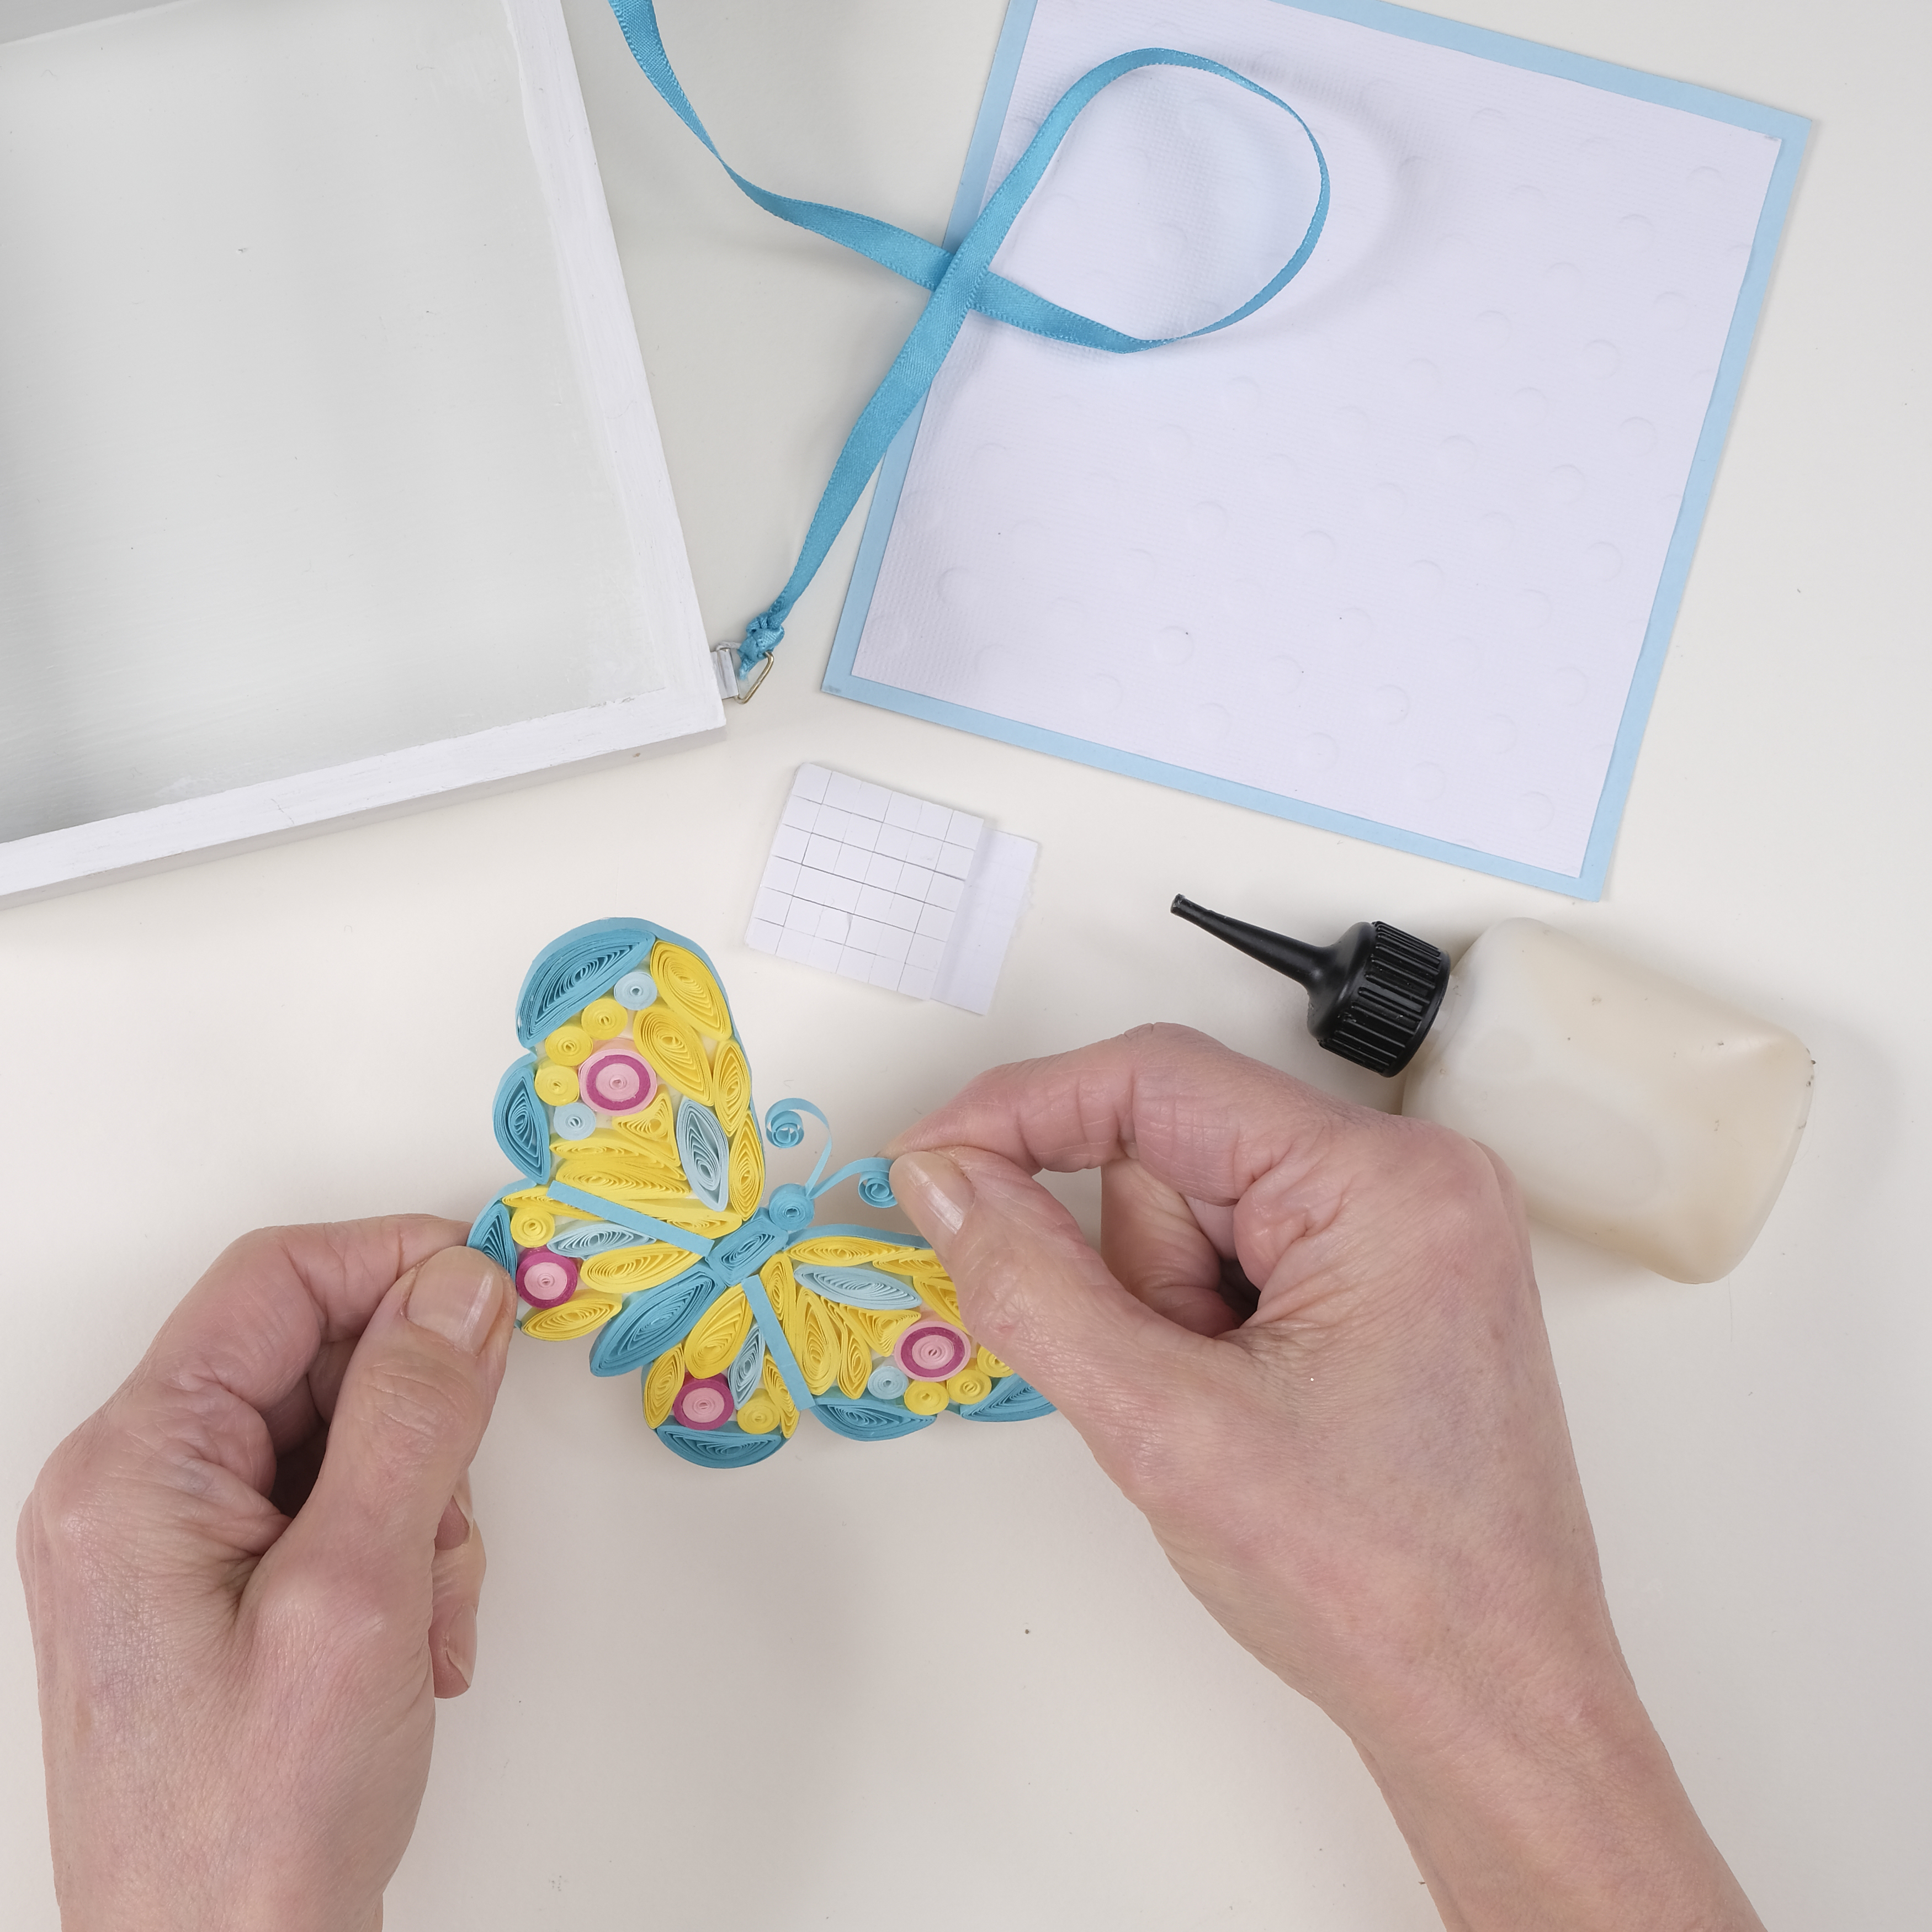
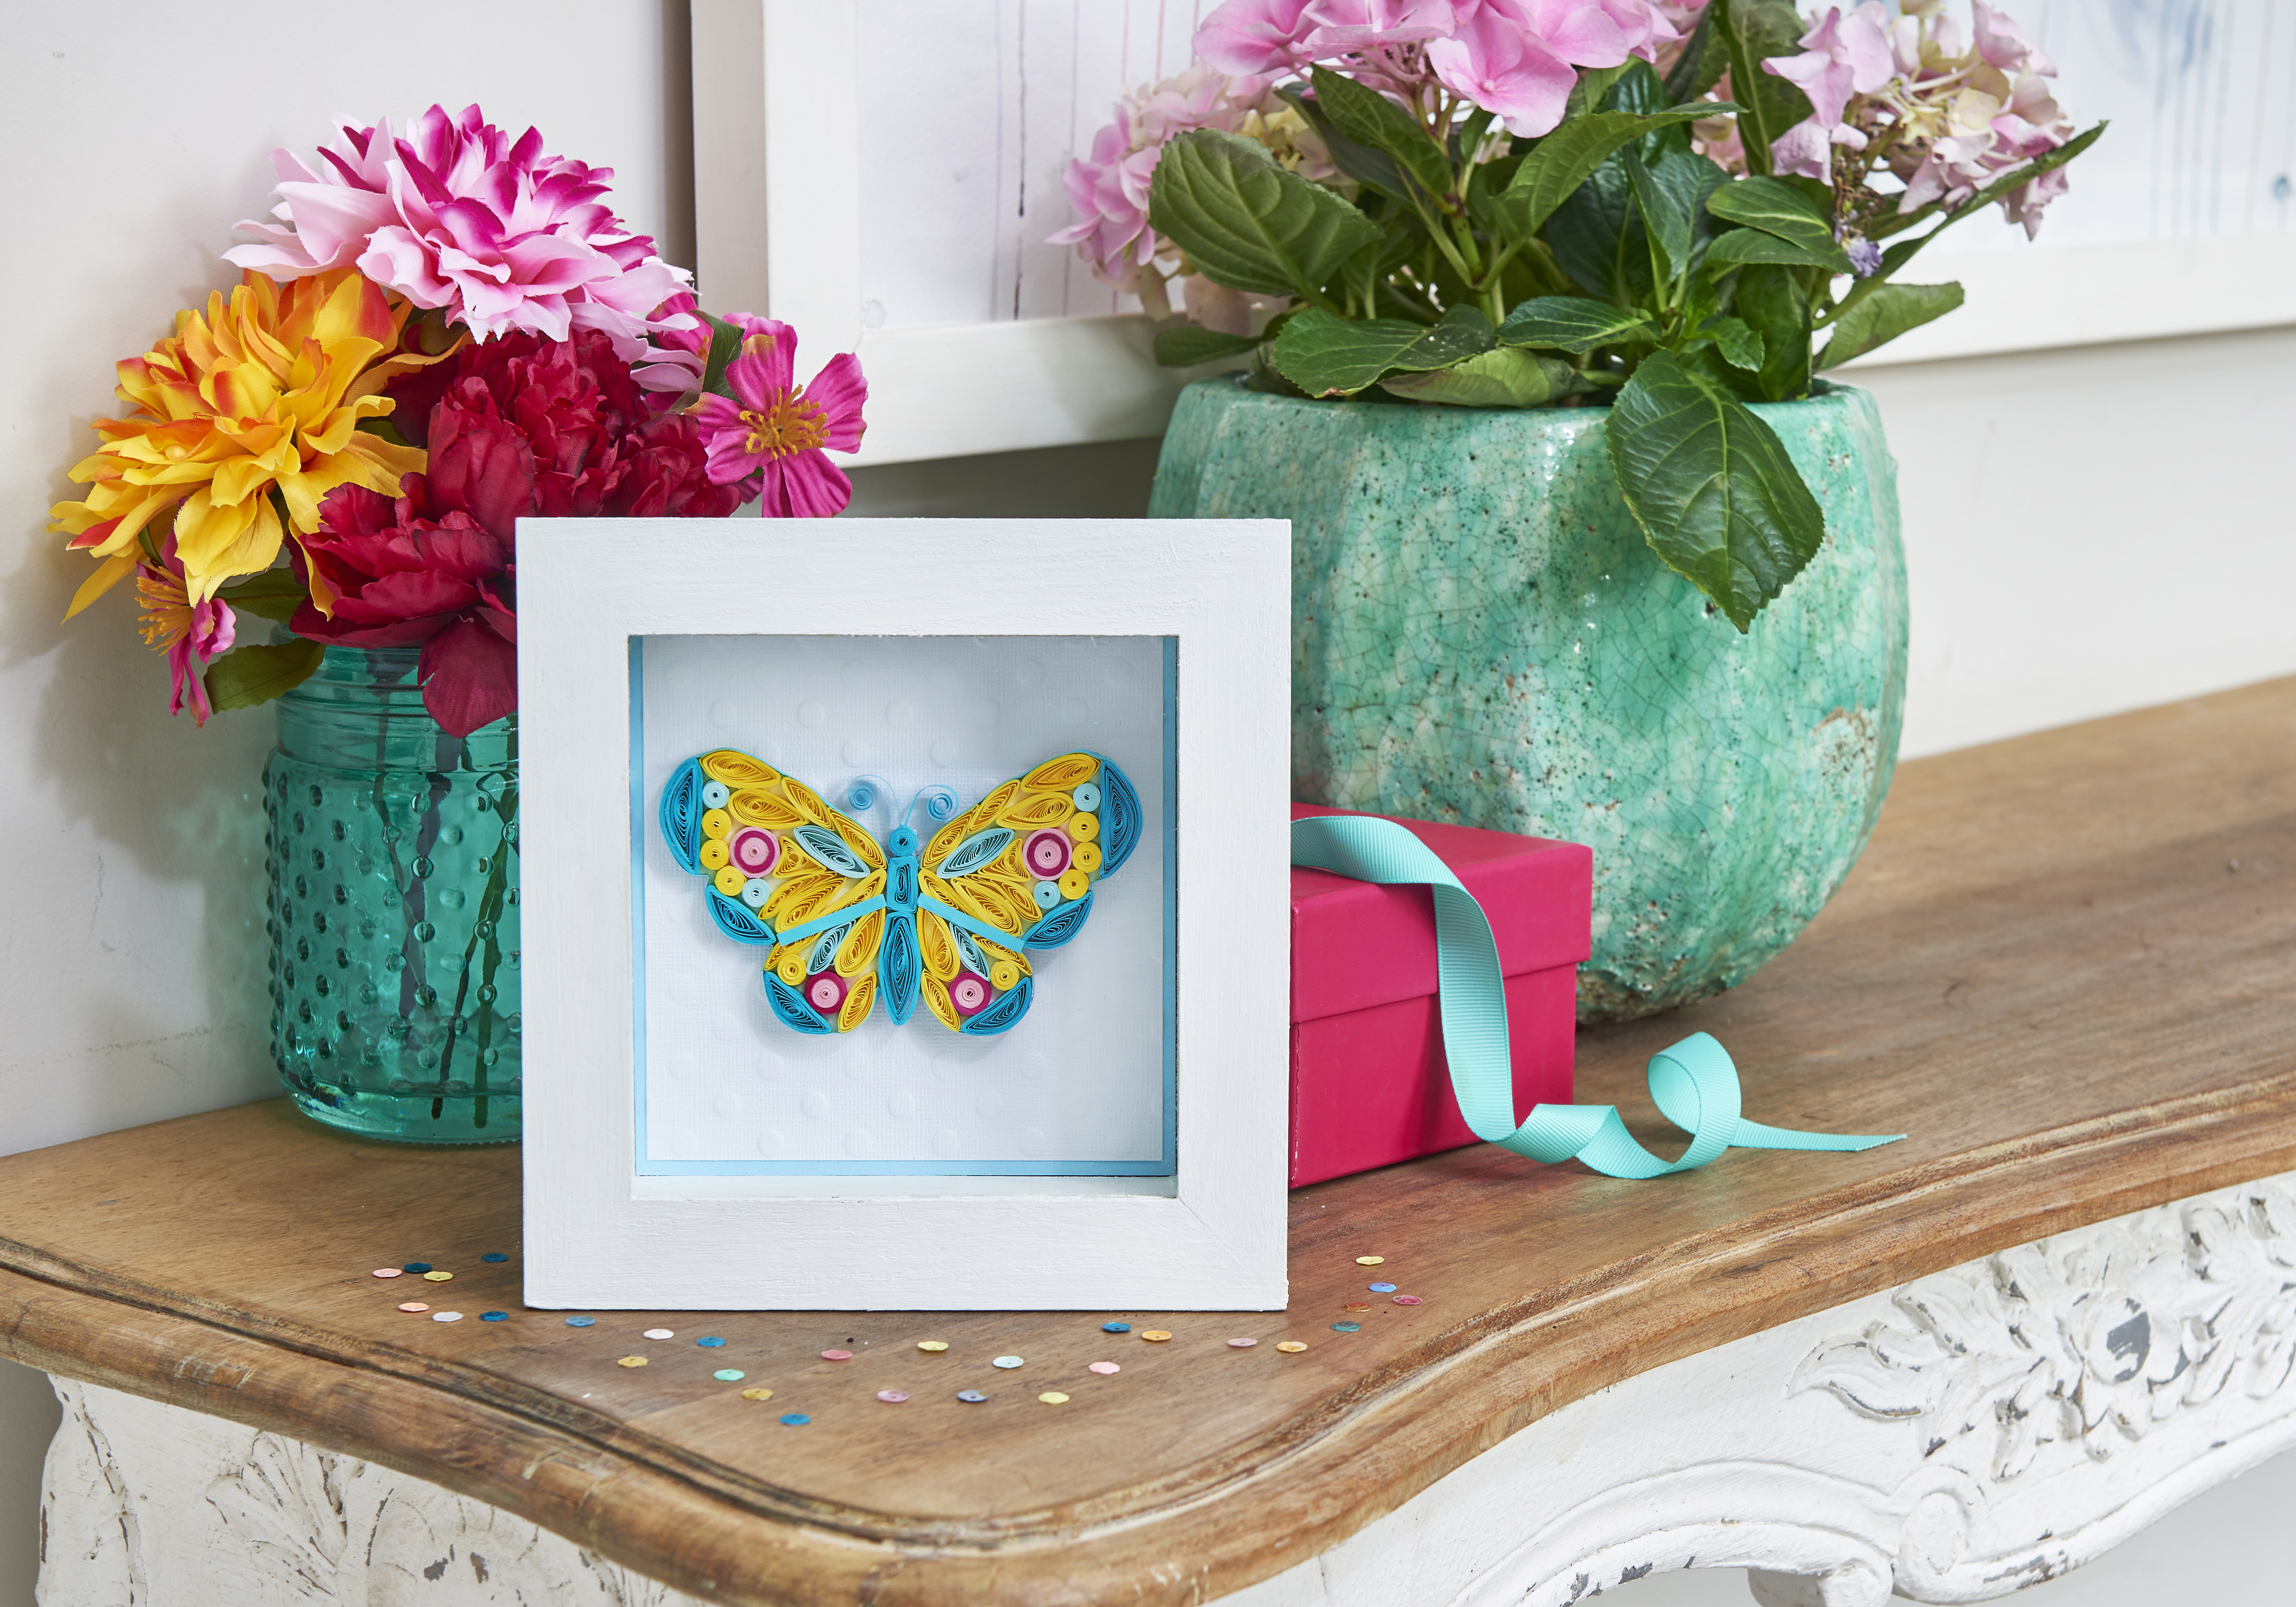
Learn how to make this quilled butterfly with our easy step-by-step tutorial! Have fun experimenting with different colours and patterns but make sure the wings are the same on each side or it will look unbalanced. If giving as a gift, why not personalise the shades of the butterfly for the recipient's favourite colour?
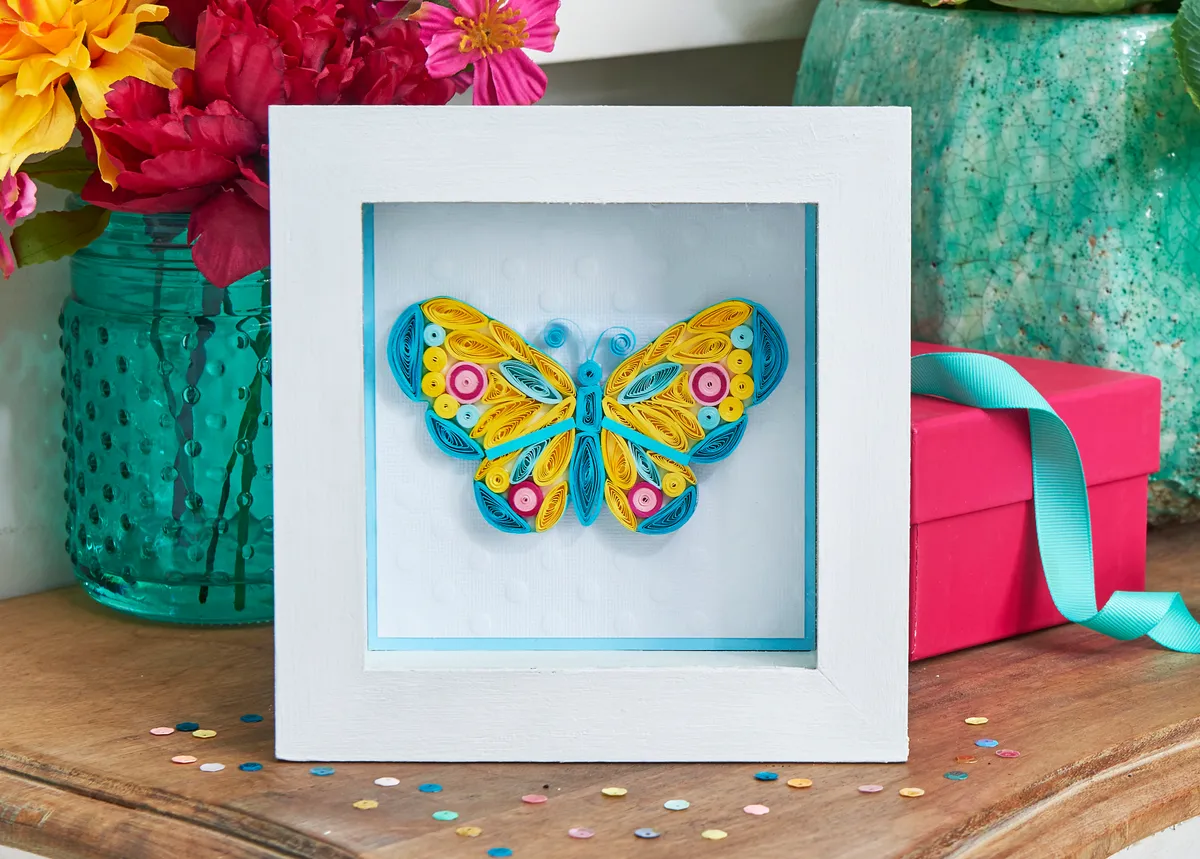
Here are some top tips for making your own quilled butterfly:
- Depending on how tightly you roll your strips, you may need more or less quilled shapes to fill the butterfly.
- Use needle-nosed tweezers to arrange the quilled pieces, ensuring that you are happy with the placement before securing in place.
- Squeeze some tacky glue onto a plate and use a toothpick to add glue to each quilled piece.
If you like this article how to make a quilled butterfly, why not check out some of our other quilling tutorials, right here on Gathered? Learn how to make quilled flowers, or browse our brilliant quilling ideas for beginners.
If you’re in a crafty mood, why not check out the best glue gun and best die-cutting machine. Thinking about buying a craft printer for all your digi papers and printable cards? Check out our review of the best printer for card making.
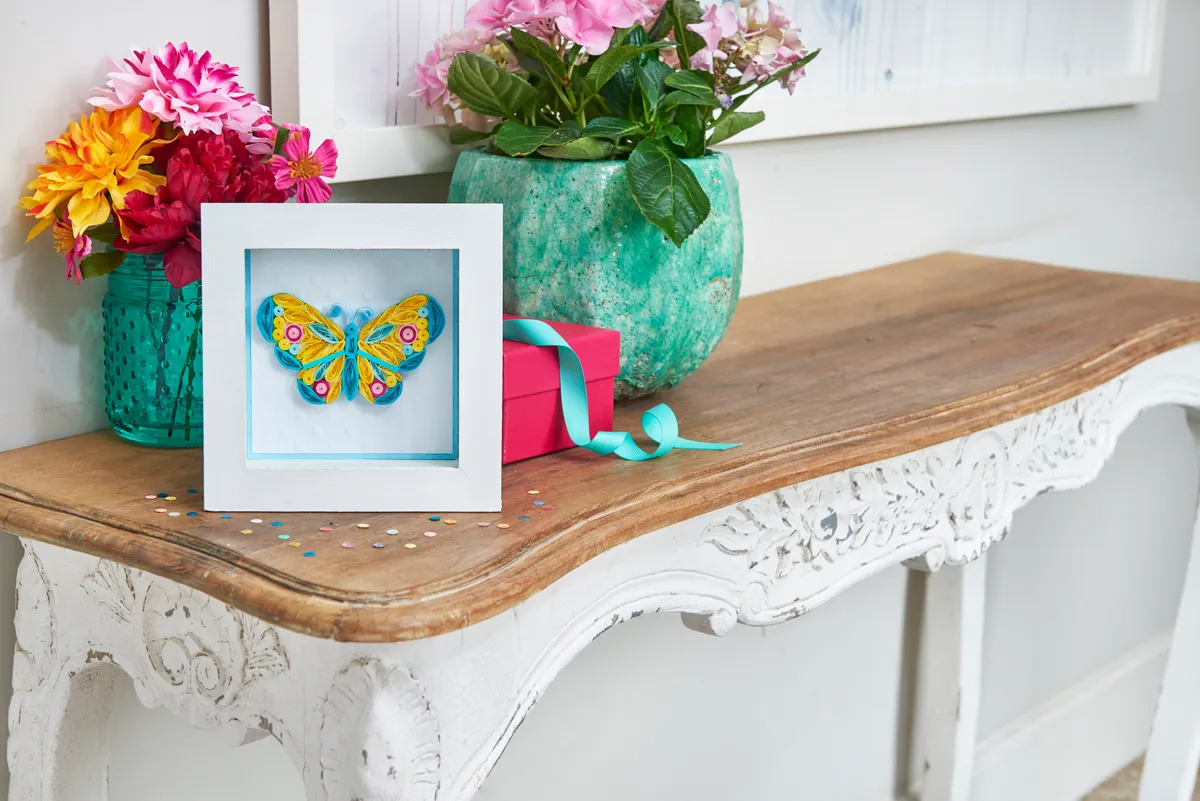
How to make a quilled butterfly
You will need
- Tweezers
- Standard Needle Tool
- Quilling Strips
- White box frame
- Embossing folder (optional)
- Coloured card
- Ribbon
