Step 1
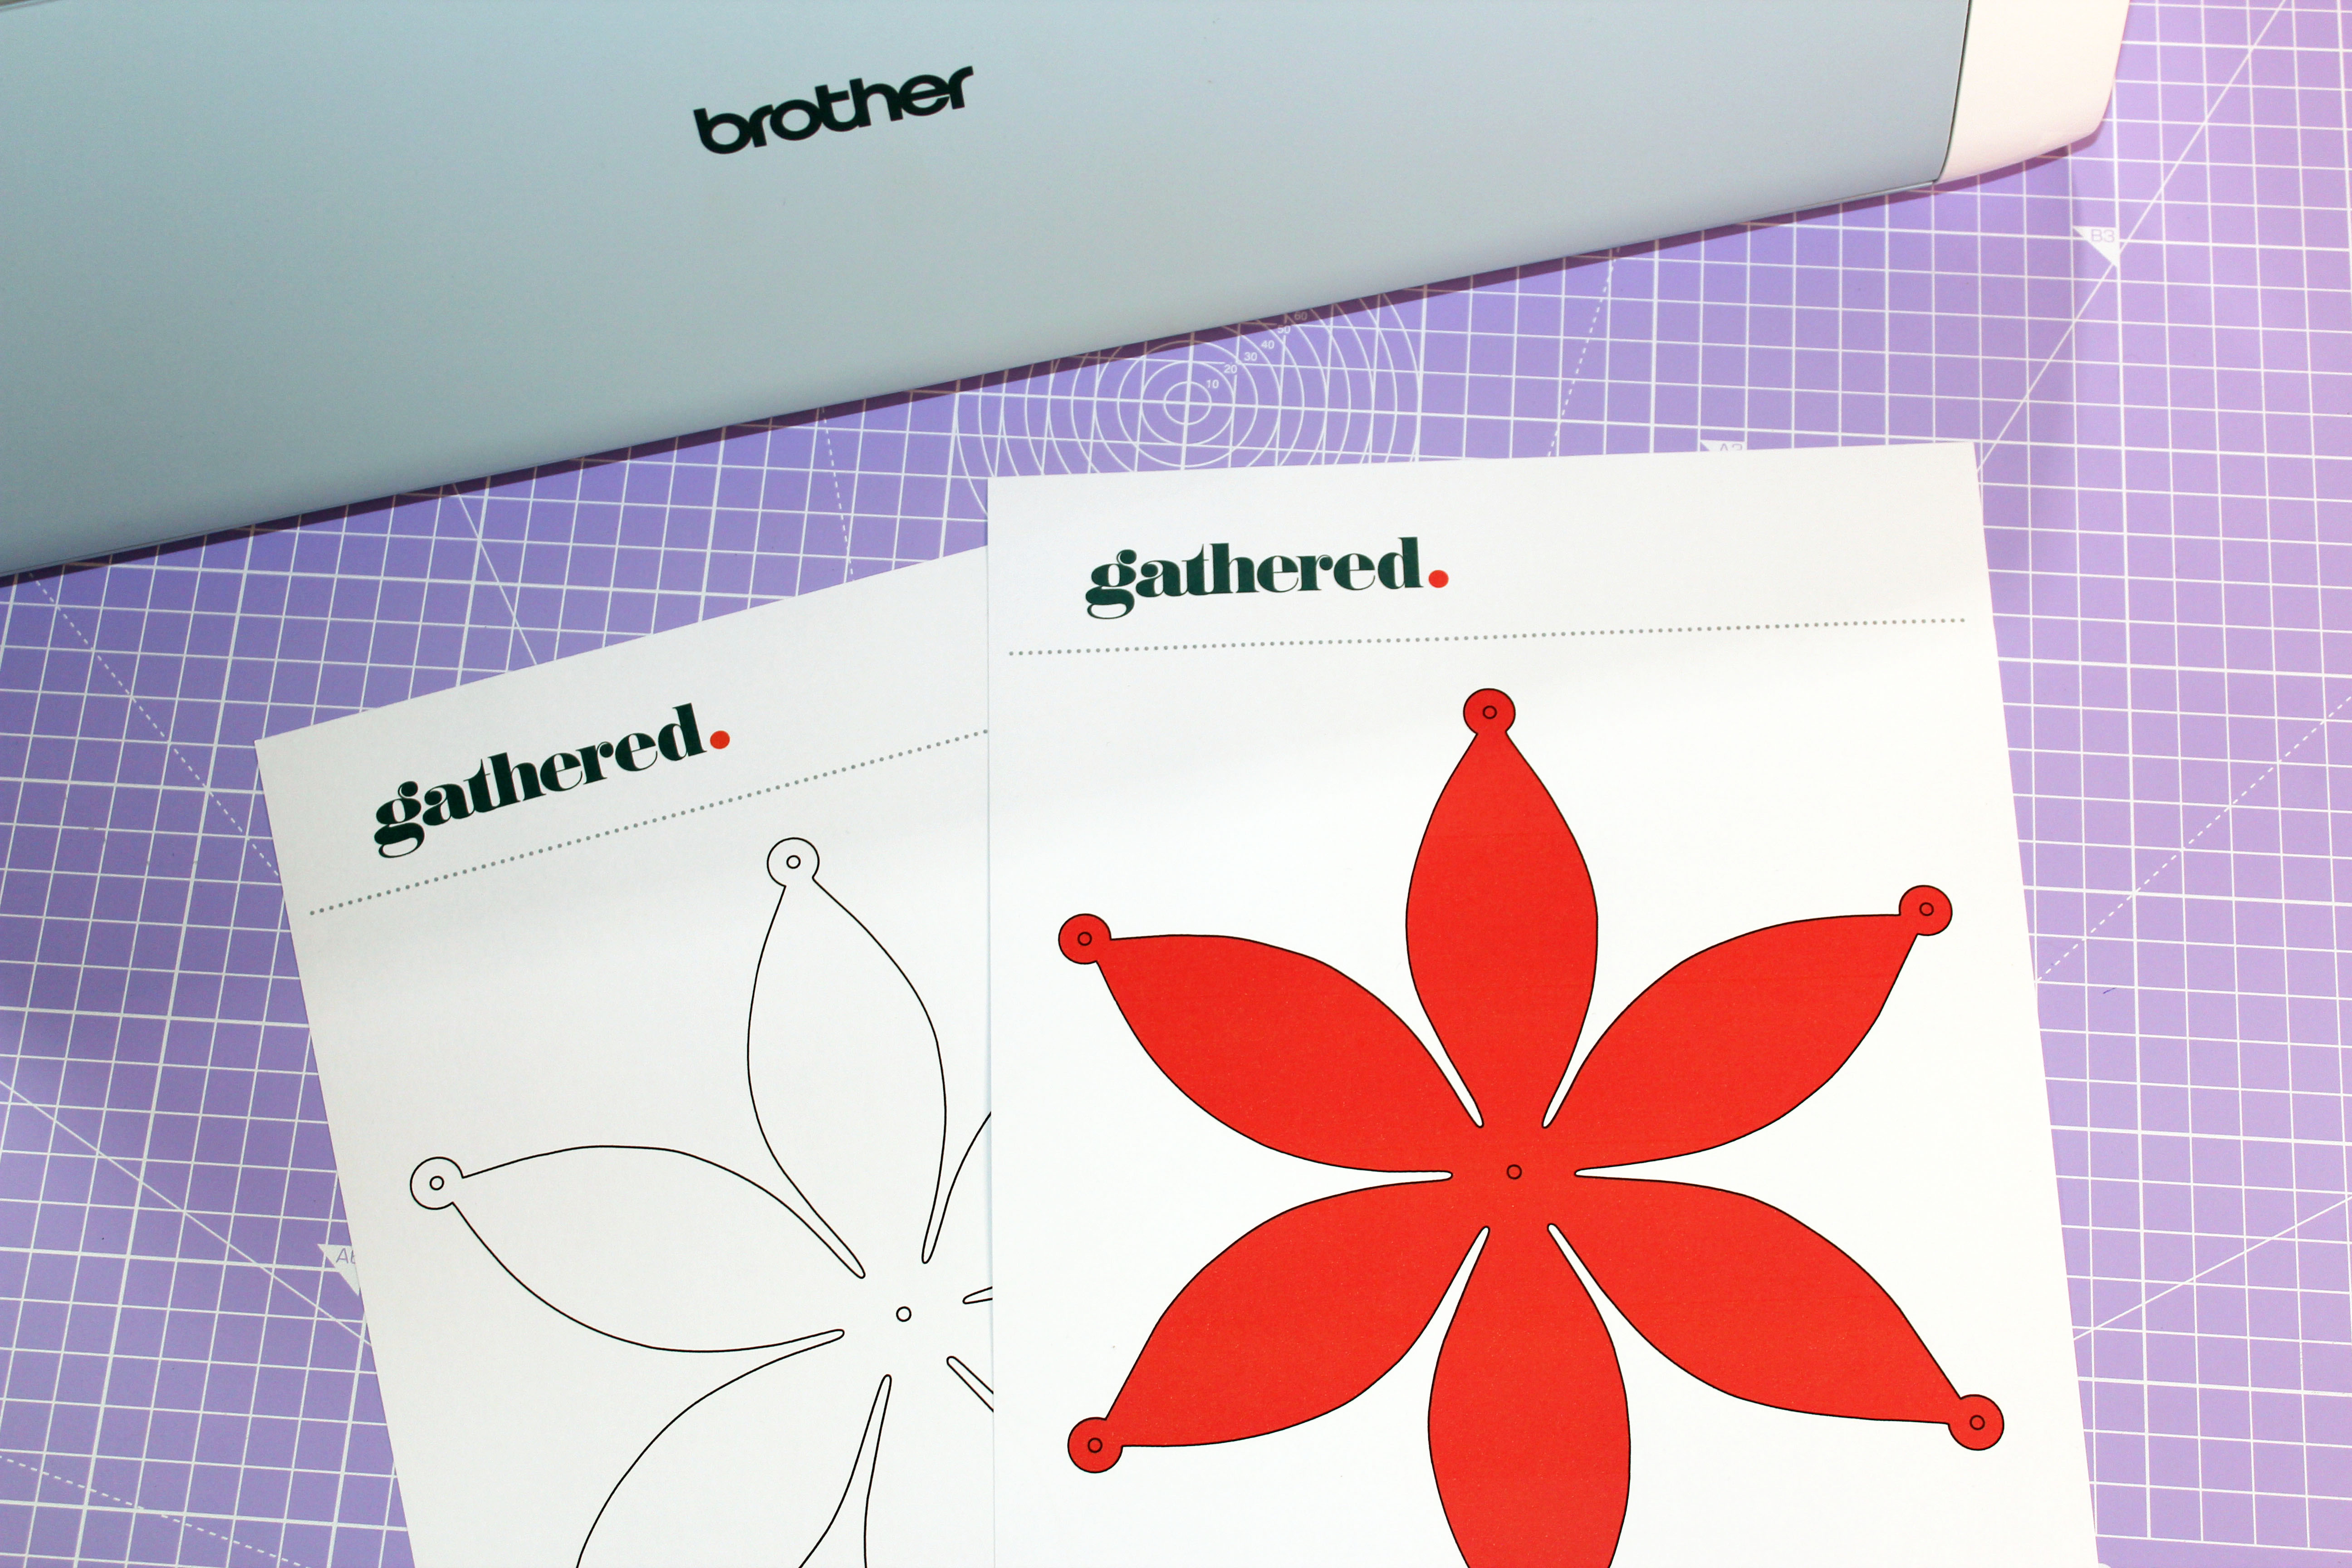
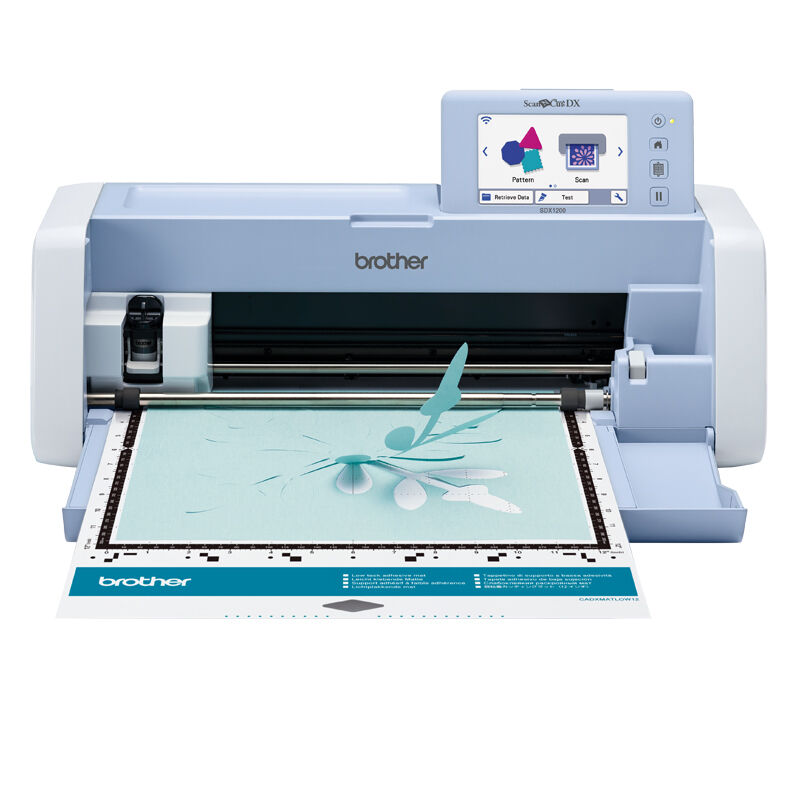
First, download and print your exclusive paper lantern template. If you have a Brother ScanNCut, print out the black and white version and scan it into your machine and select ‘Scan to Cut Data’. Make sure you have some red paper or card handy. The machine will run the template under the scanner and once it is finished, an image will appear on the screen.
If you would prefer the SVG file, click the link below! You can save it onto USB which you can plug into your ScanNCut machine, or you can import it into Canvas Workspace and send via wireless to your machine if you prefer.
Paper lantern – SVG file
Alternatively, if you don’t have any red paper or card or don’t want to dip into your stash, simply print out the colour version of the paper lantern template and stick this down onto your Low Tack or Standard Tack Adhesive Mat instead. Scan using the ScanNCut and select ‘Direct Cut’ on your ScanNCut machine to cut out the template. Now skip ahead to step 4.
If a ScanNCut is still on your wishlist, just print out the colour version, cut it out using a pair of scissors and skip ahead to step 5.
Step 2
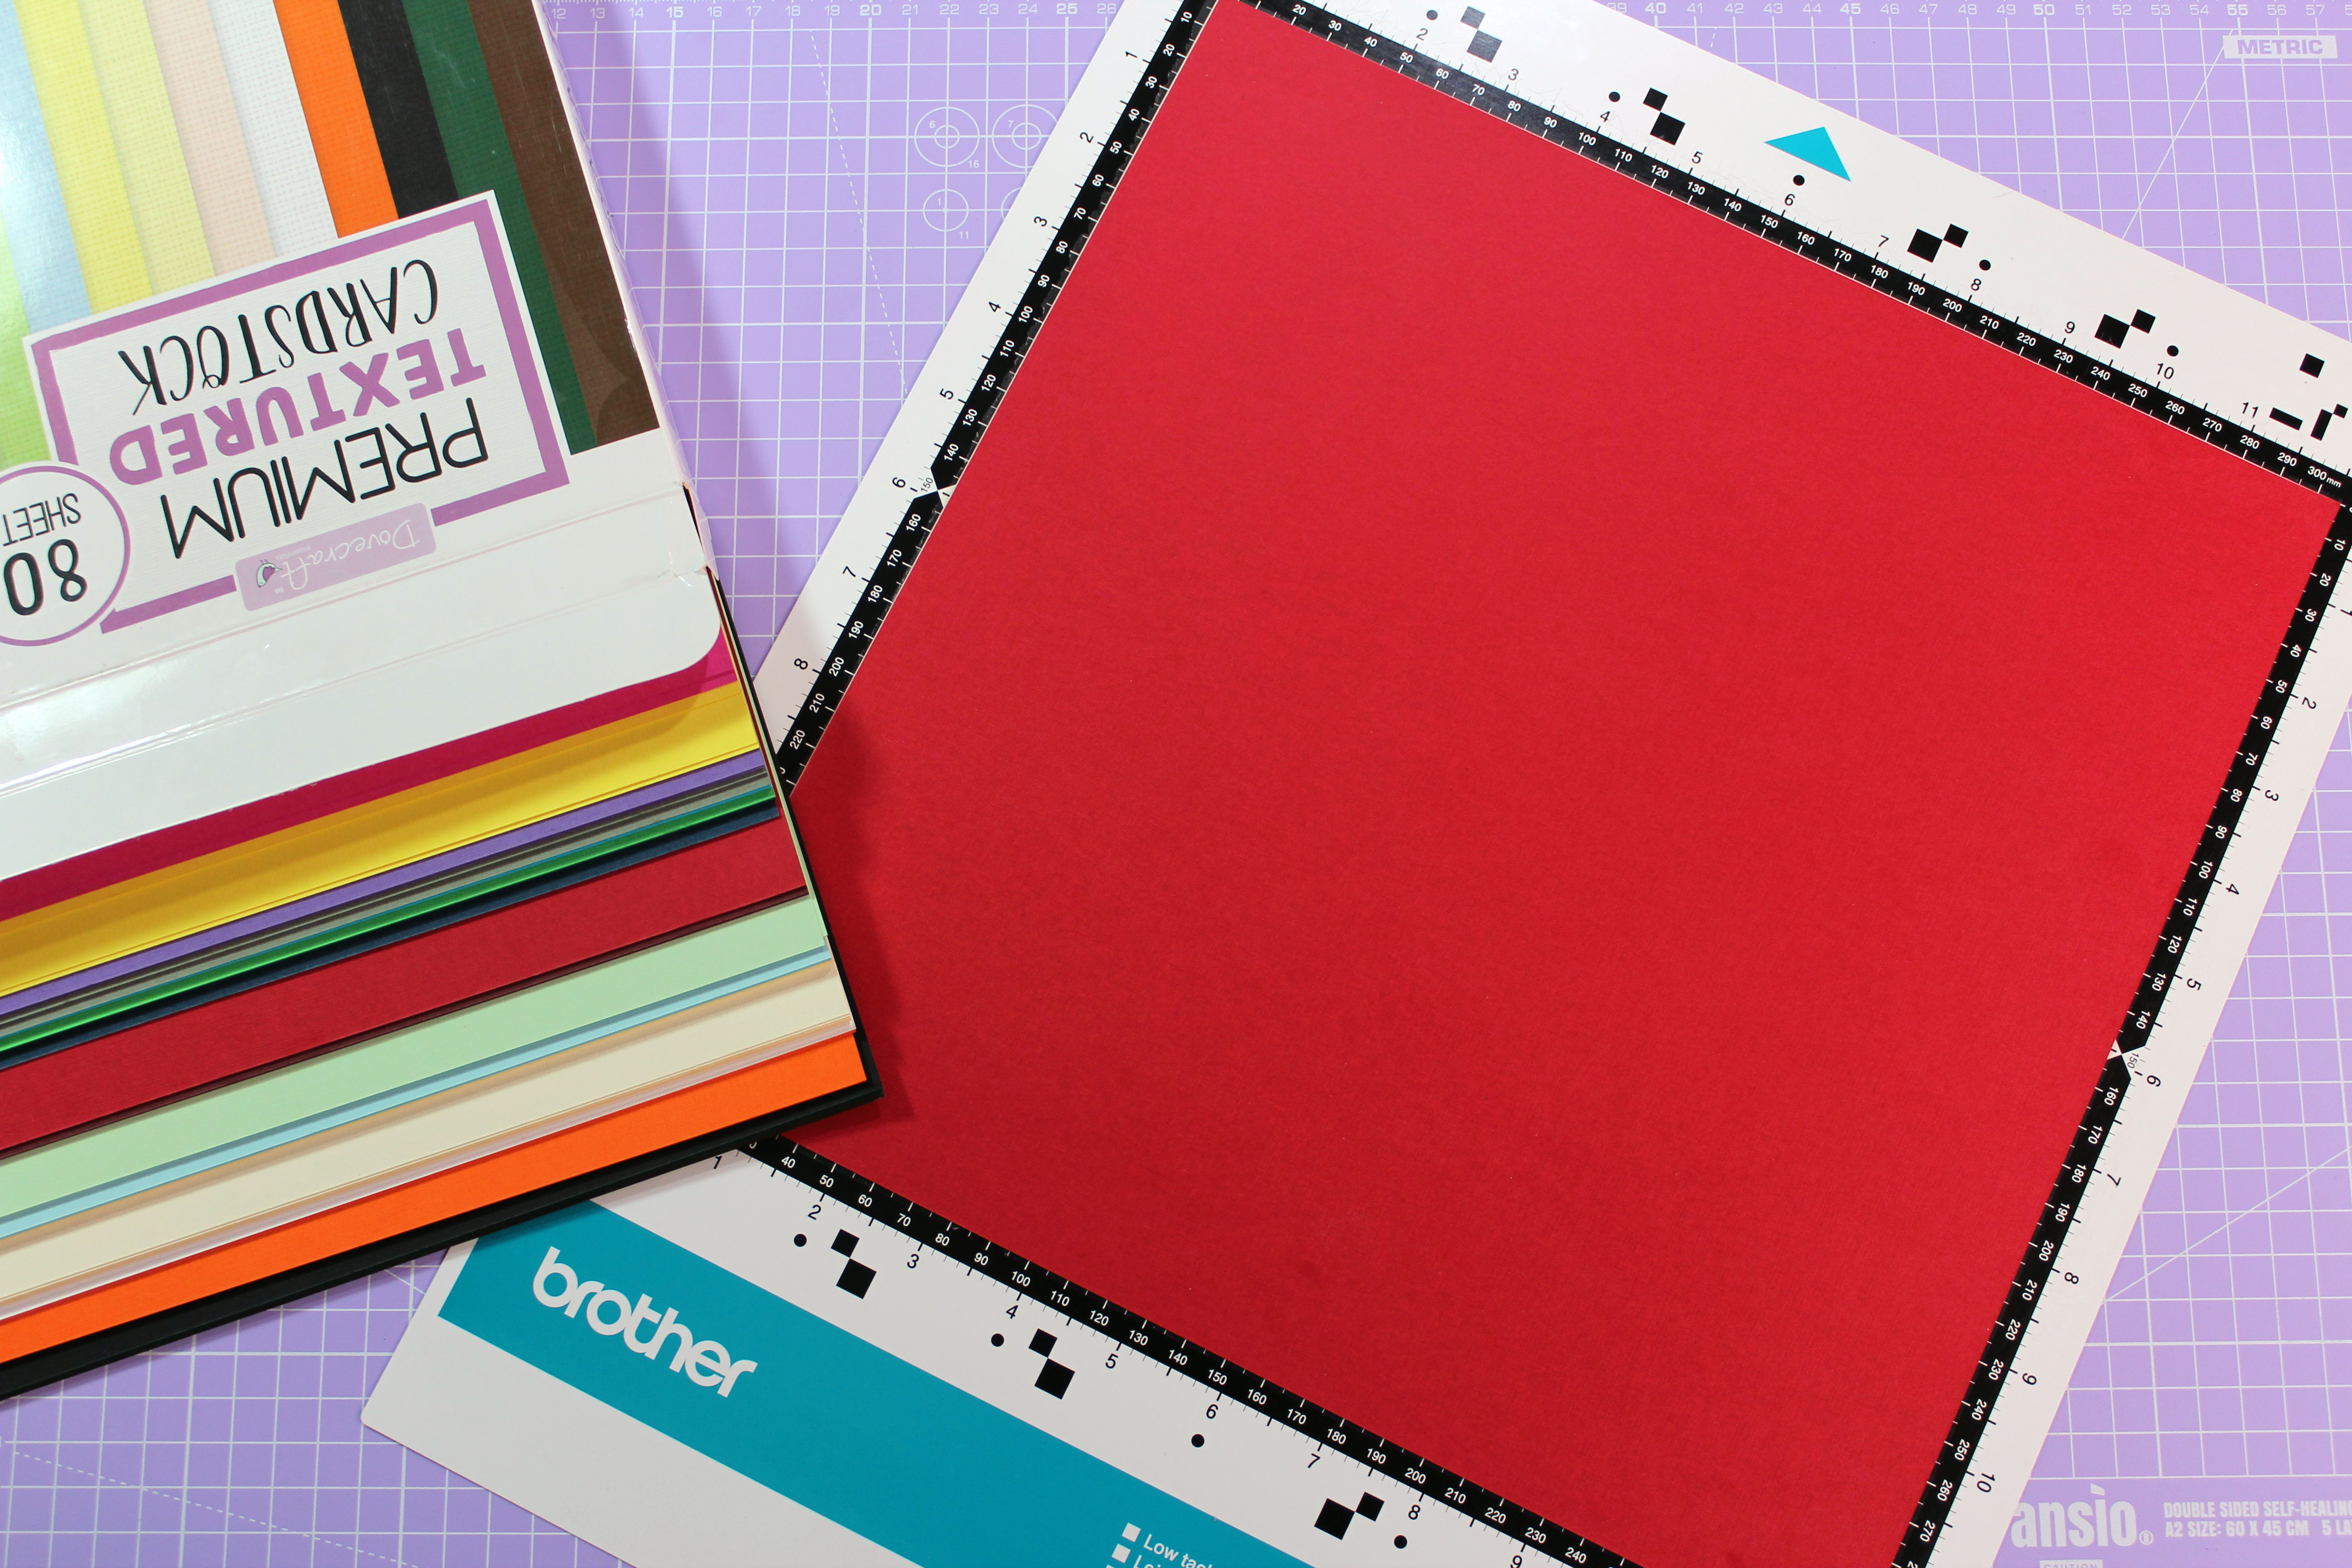
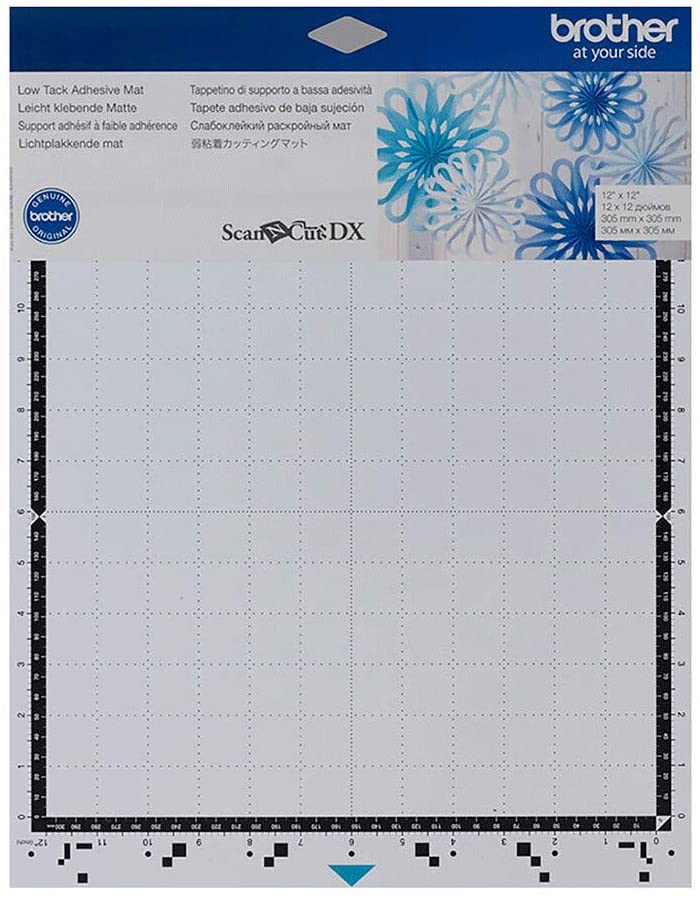
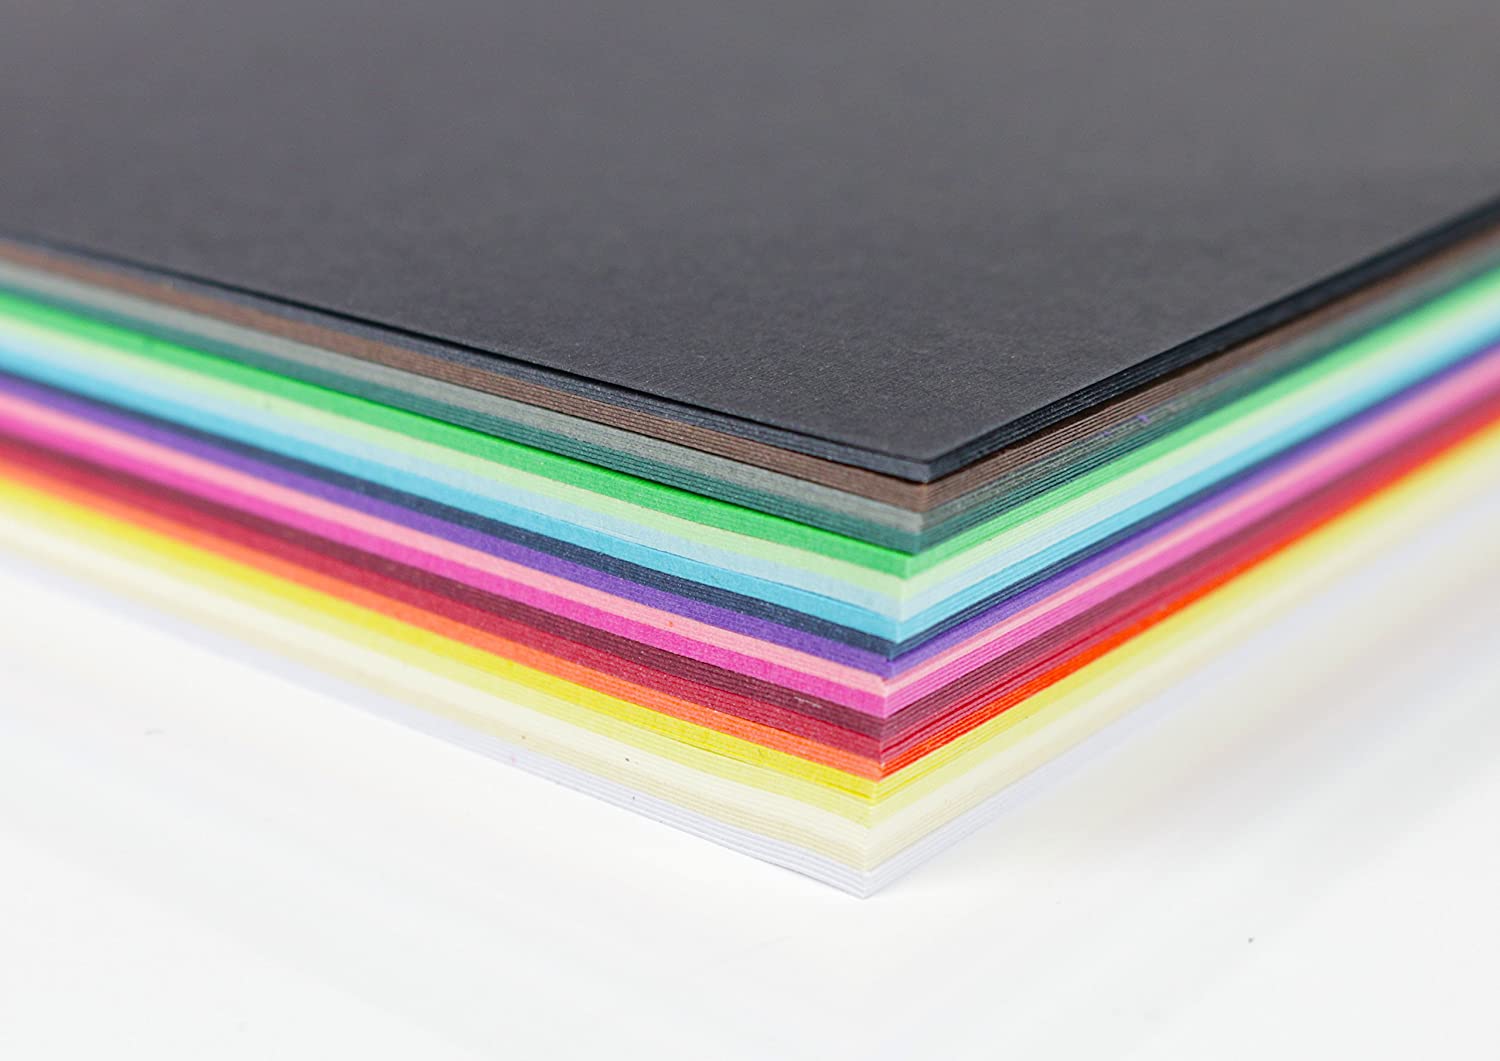
Stick some red paper or card onto your Brother cutting mat. We’re using the Low Tack mat here, but the Standard Tack is better for card. Burnish the paper or card down well. We’re using the Dovecraft Premium Textured Cardstock from Trimcraft for this project.
We’re using the SDX1200, so make sure you’re using the right mat for your machine.
Buy it now: Dovecraft Premium Textured Cardstock, £19.99, Amazon
Step 3
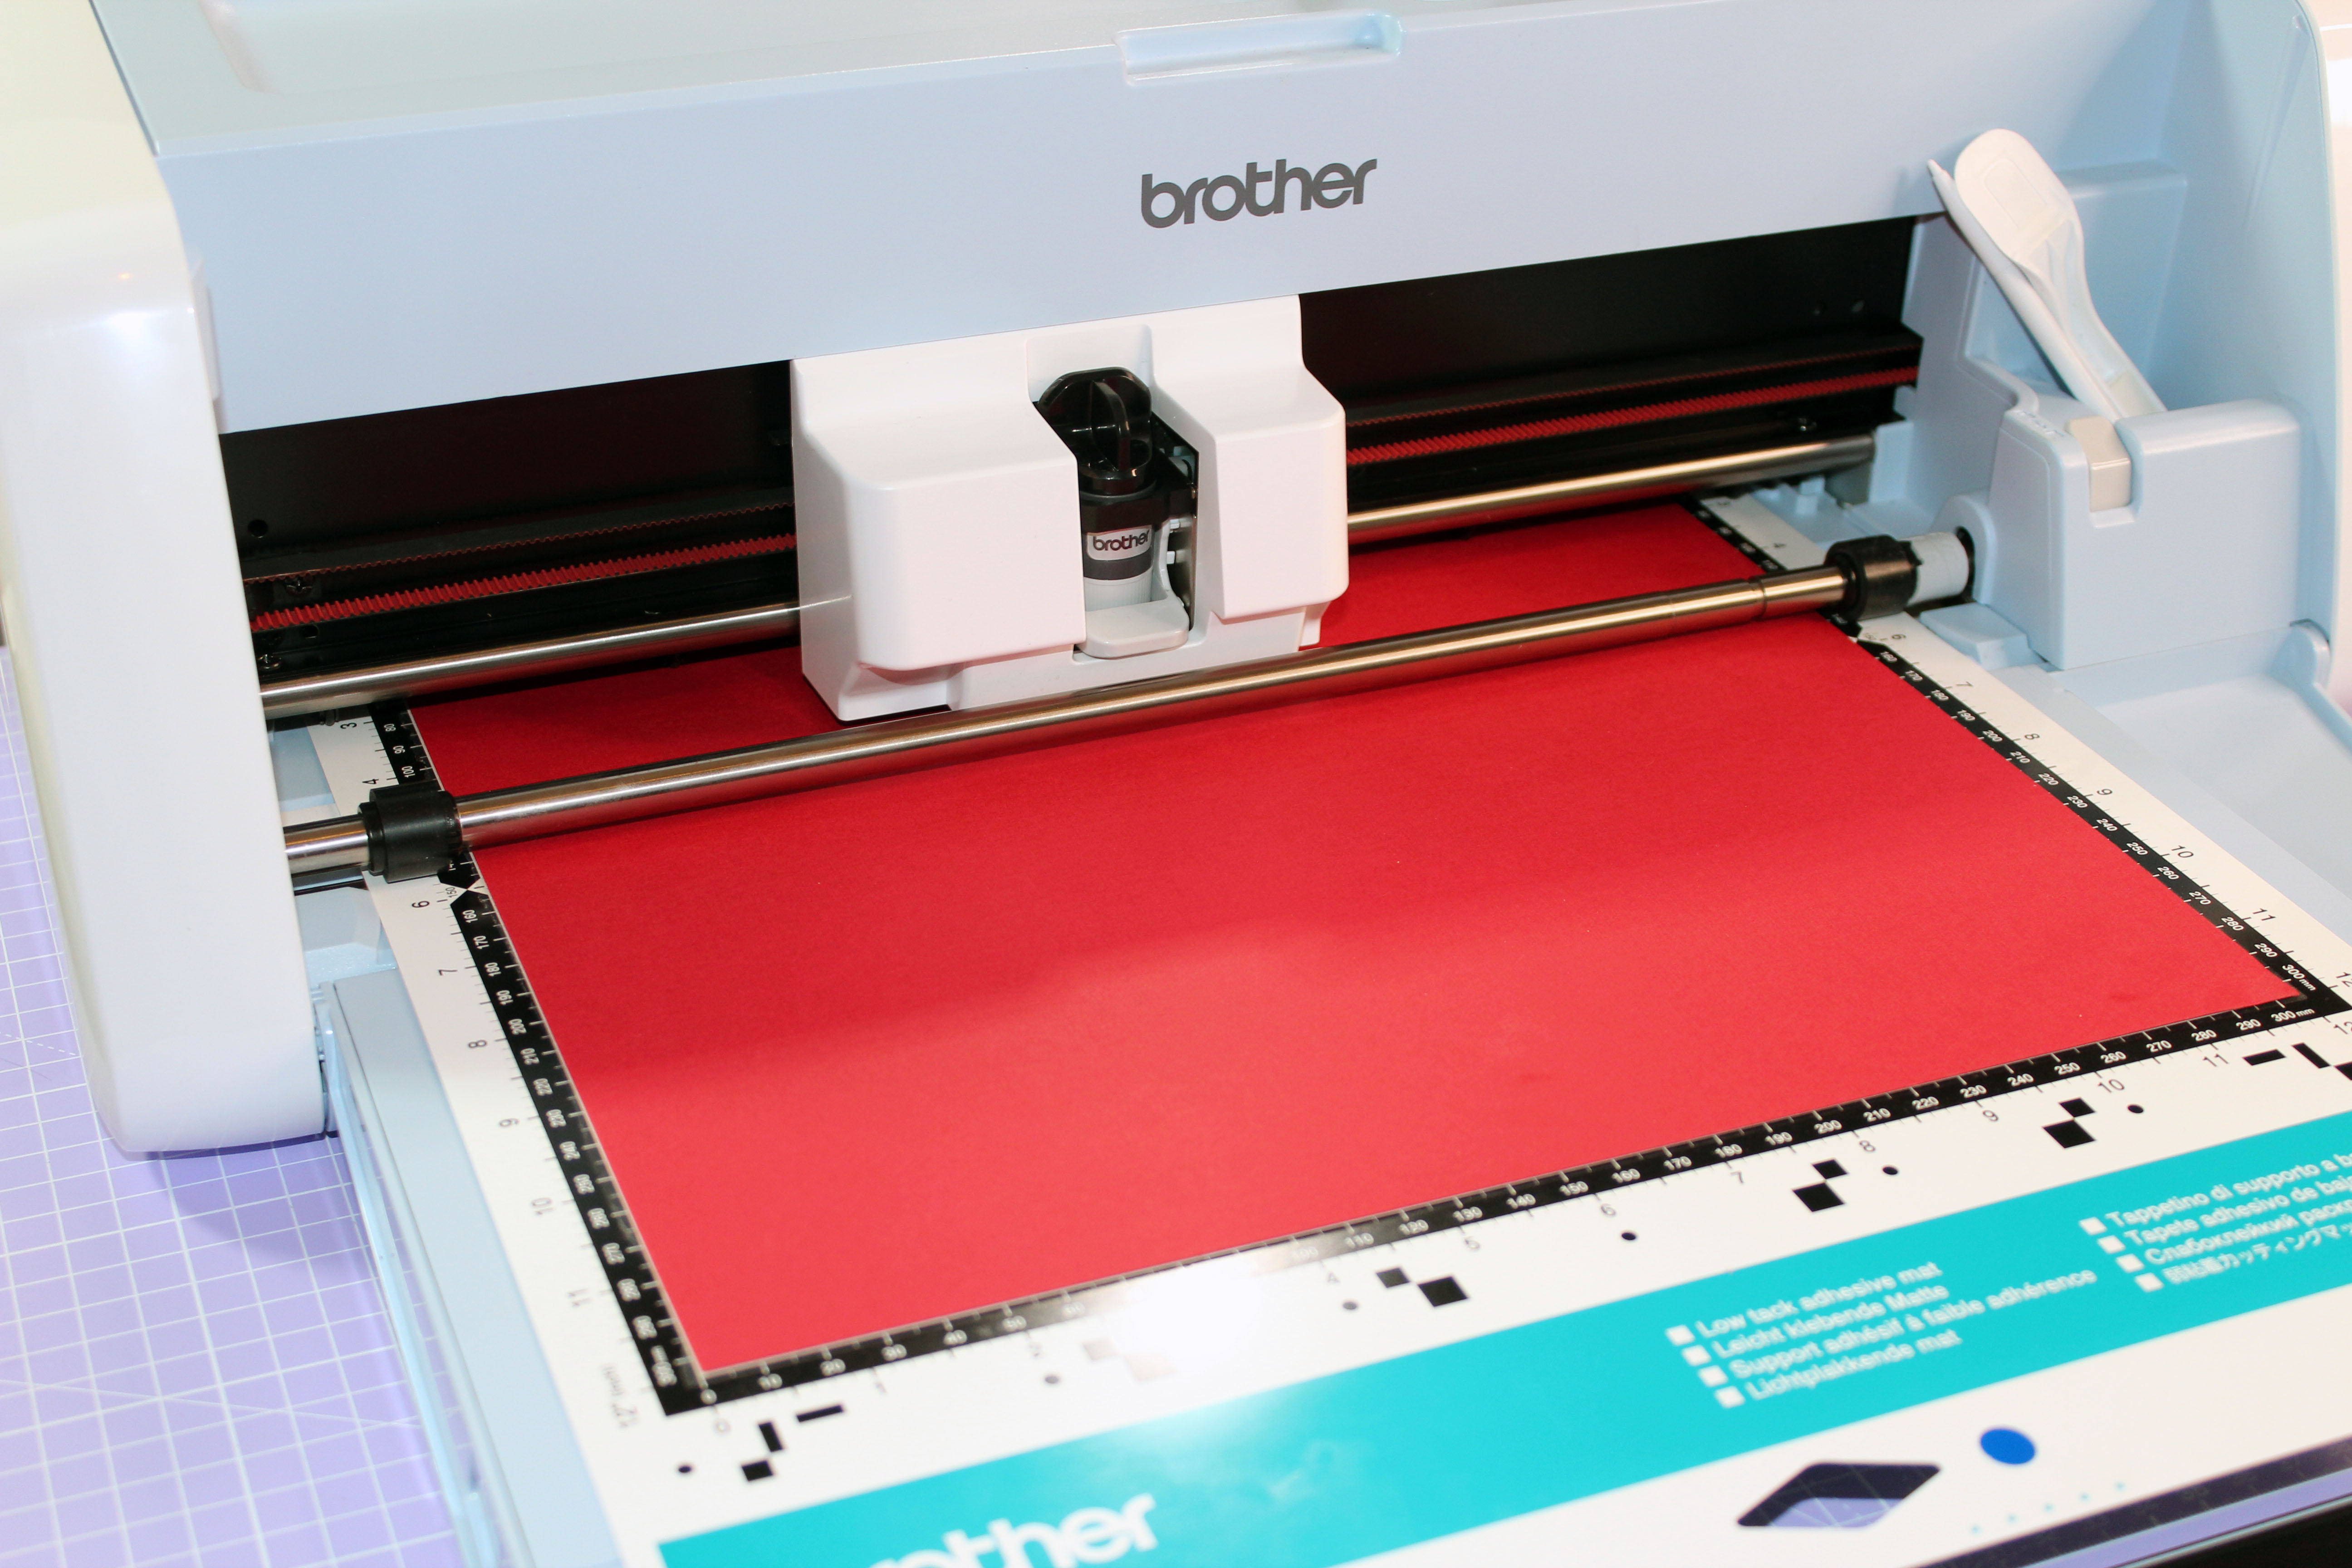
Using the touchscreen on the ScanNCut, adjust the crop around the image to remove unwanted areas and press ‘OK’. Then select the picture of the ScanNCut to save the template to your machine’s memory. Now you have a paper lantern you can cut any time! Load your mat into your machine if you haven’t done so already, and instruct it to cut out your paper lantern.
Check out our video tutorial above to see how to retrieve a saved pattern from your machine!
Step 4
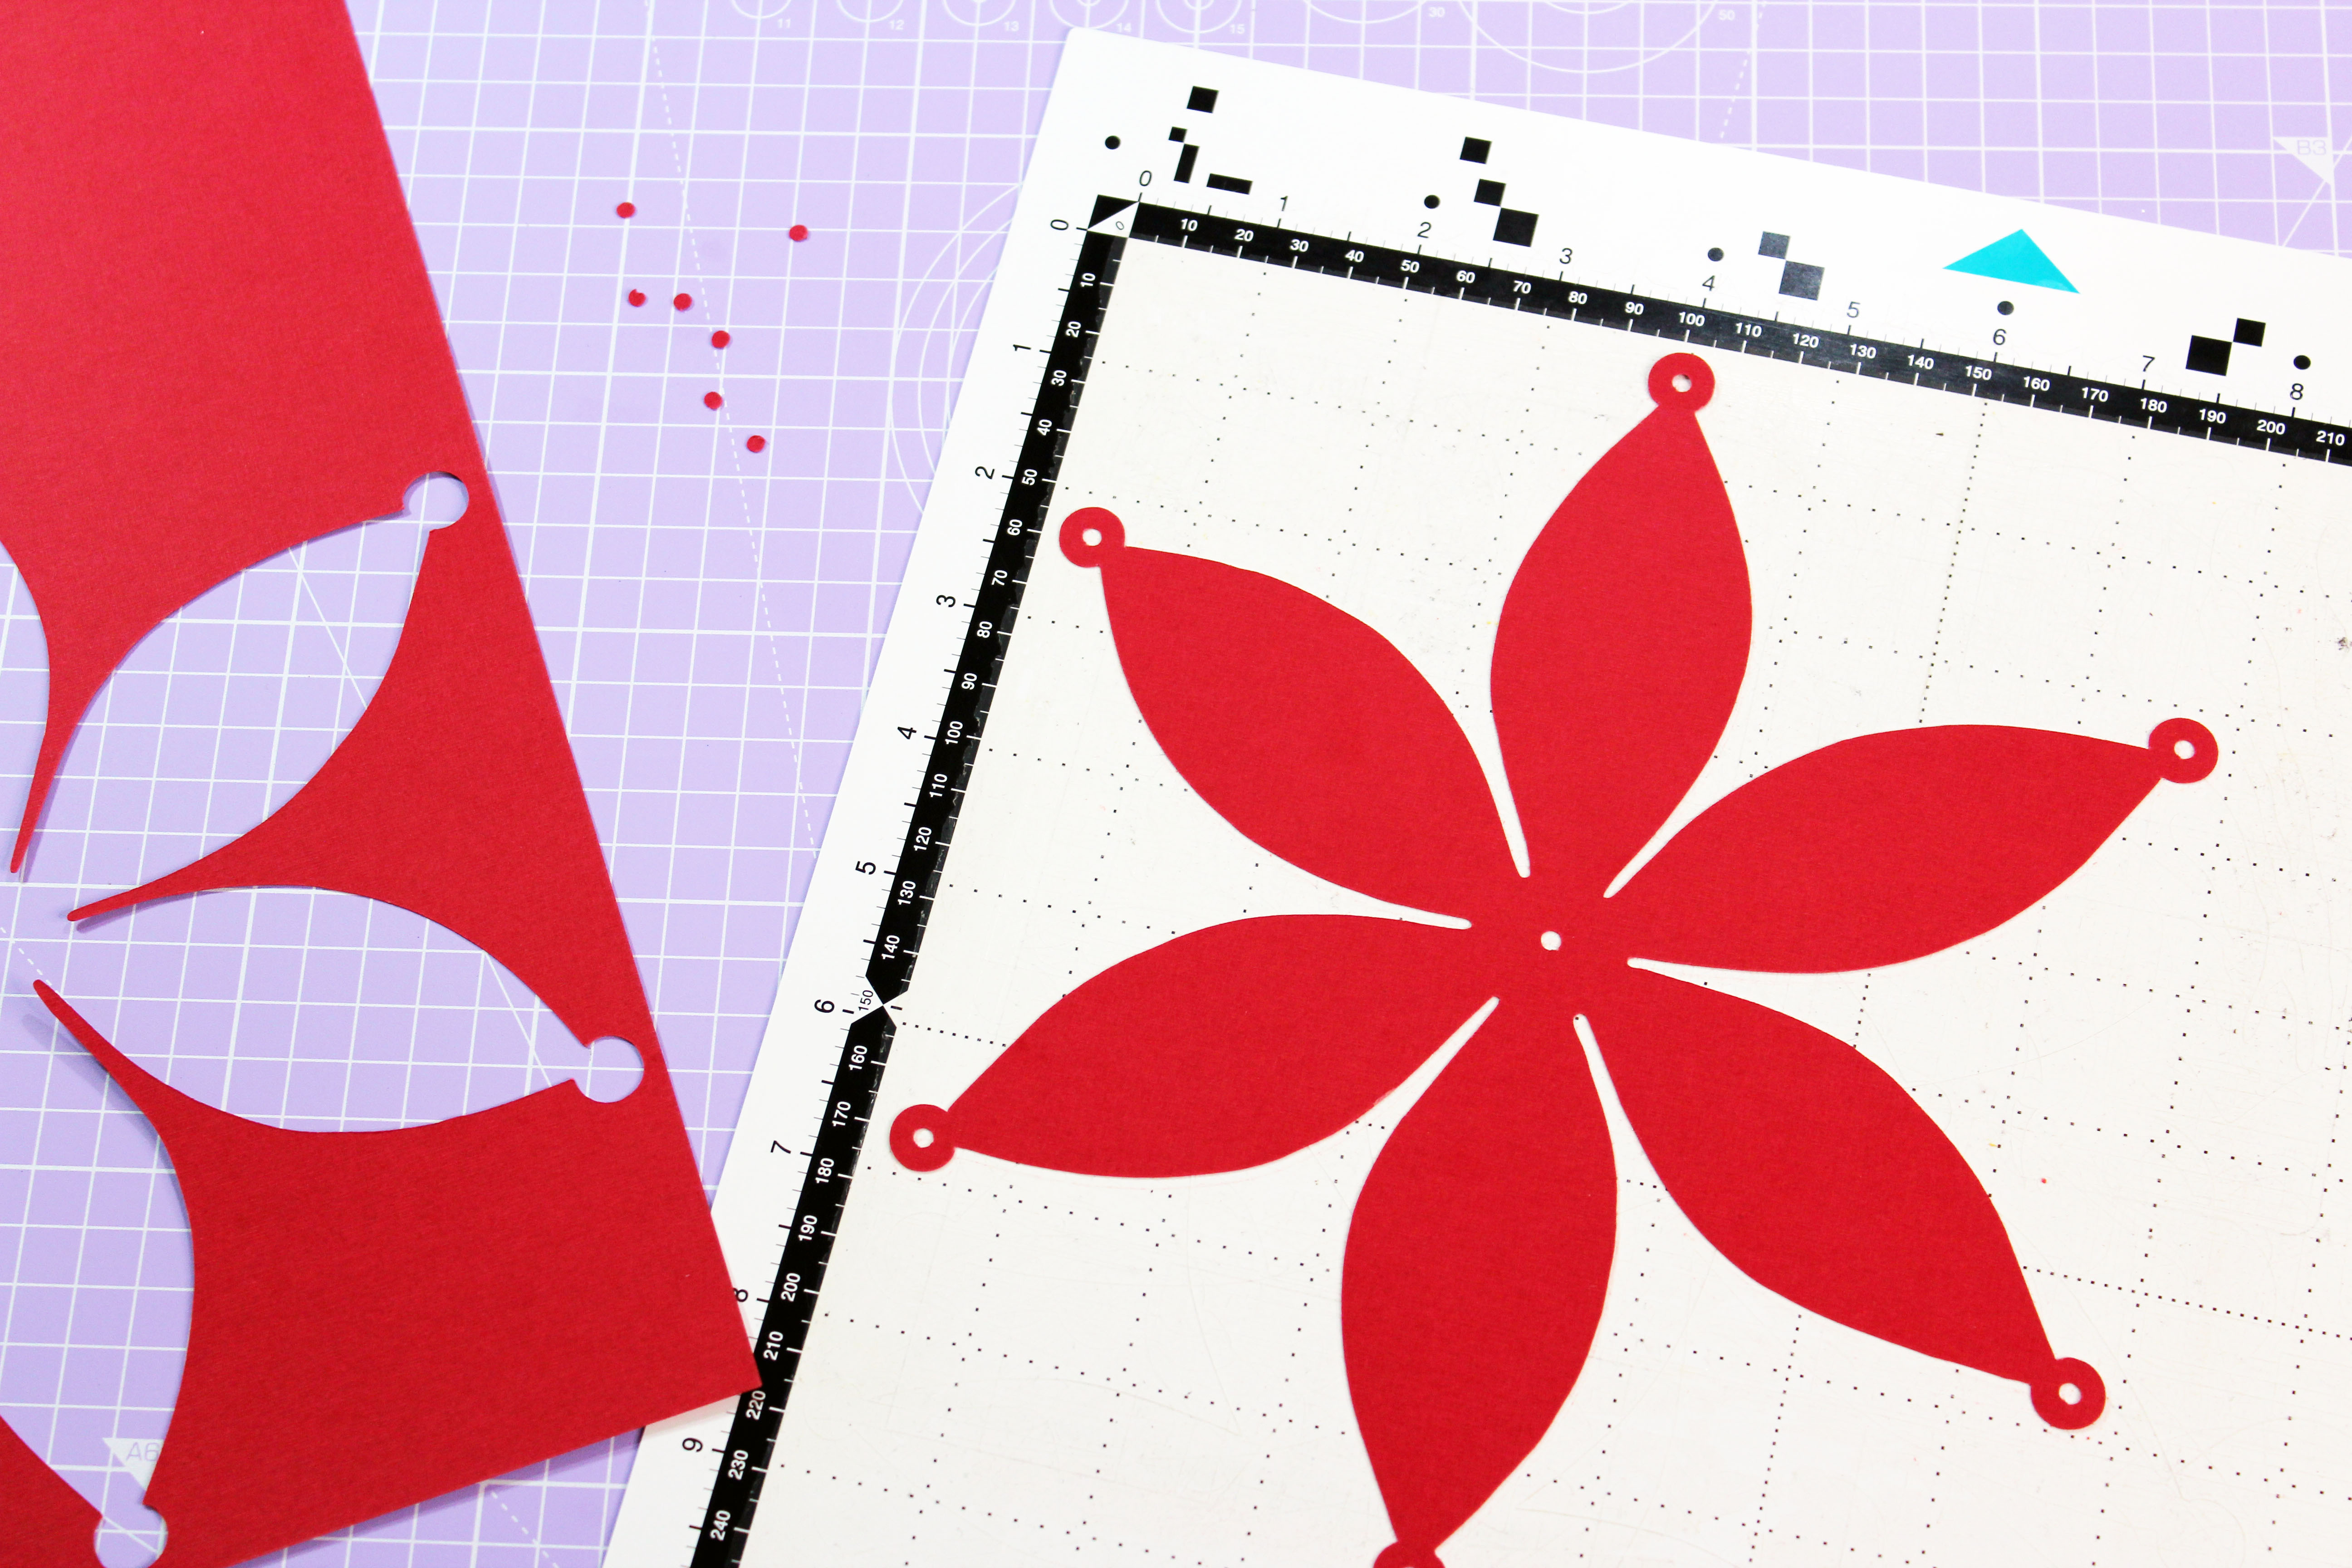
Once the machine has finished cutting, press the unload button on your machine to safely unload the mat. Carefully peel off the waste around the ‘flower’ to reveal your paper lantern!
Step 5
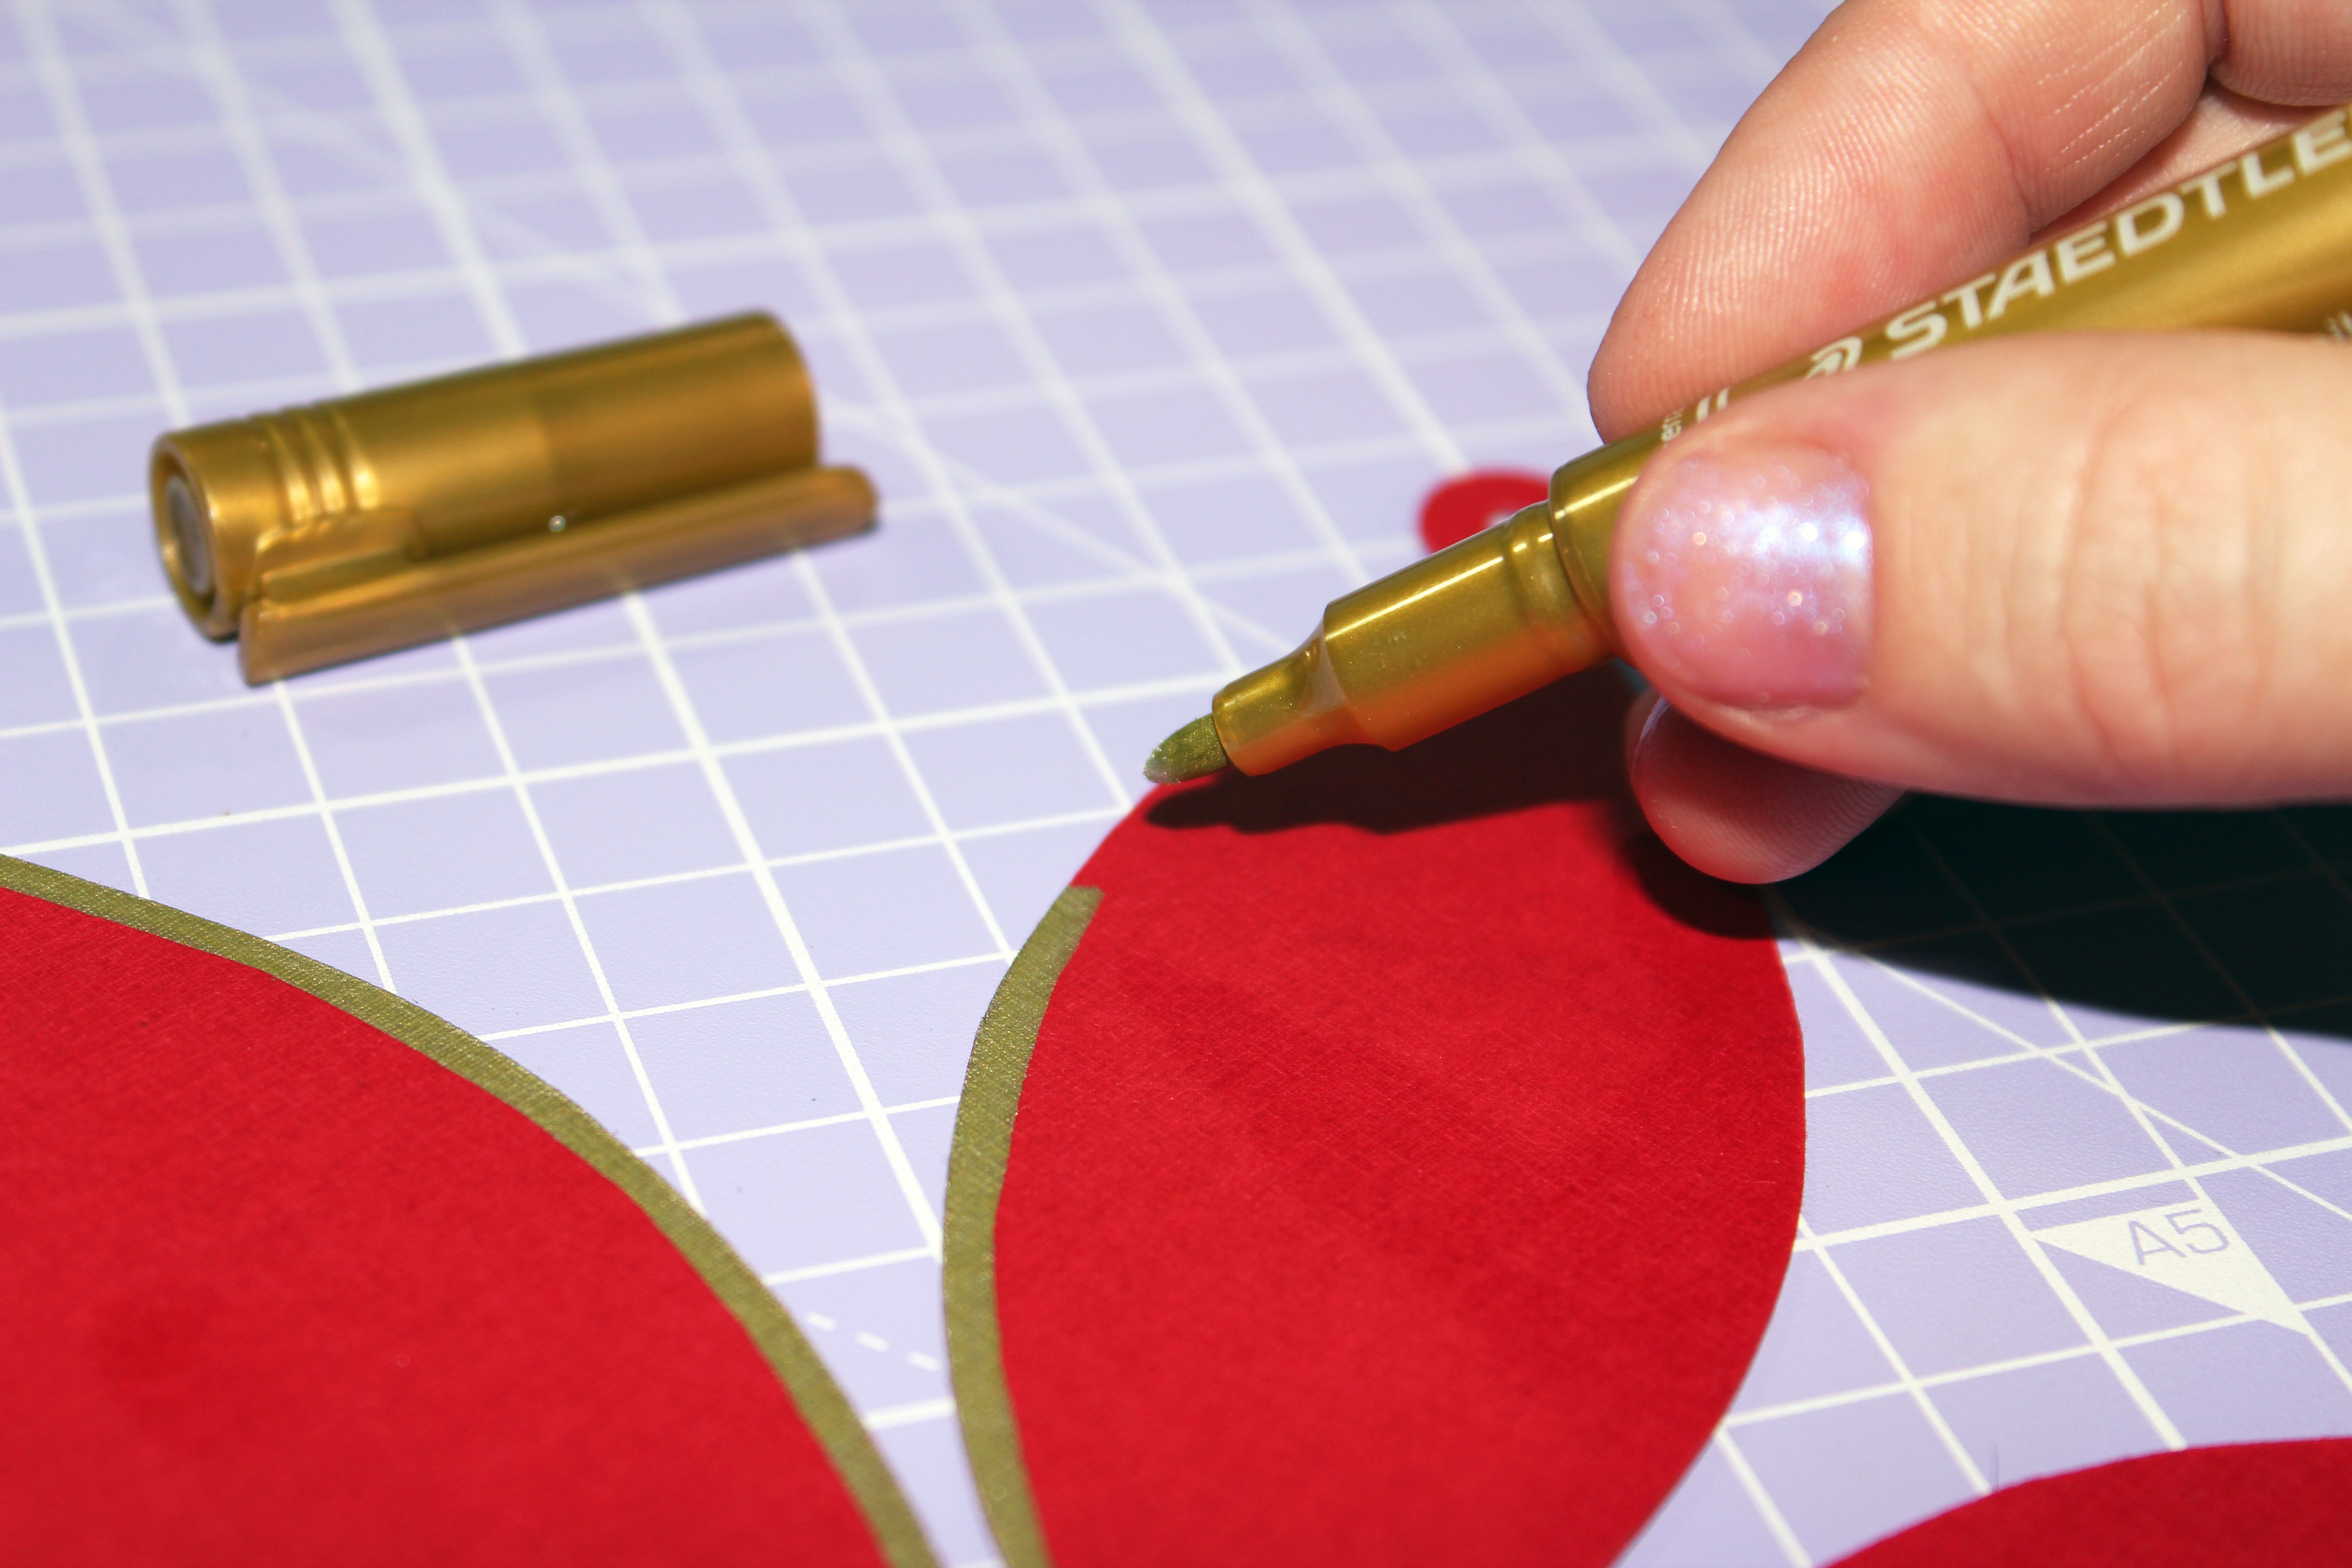
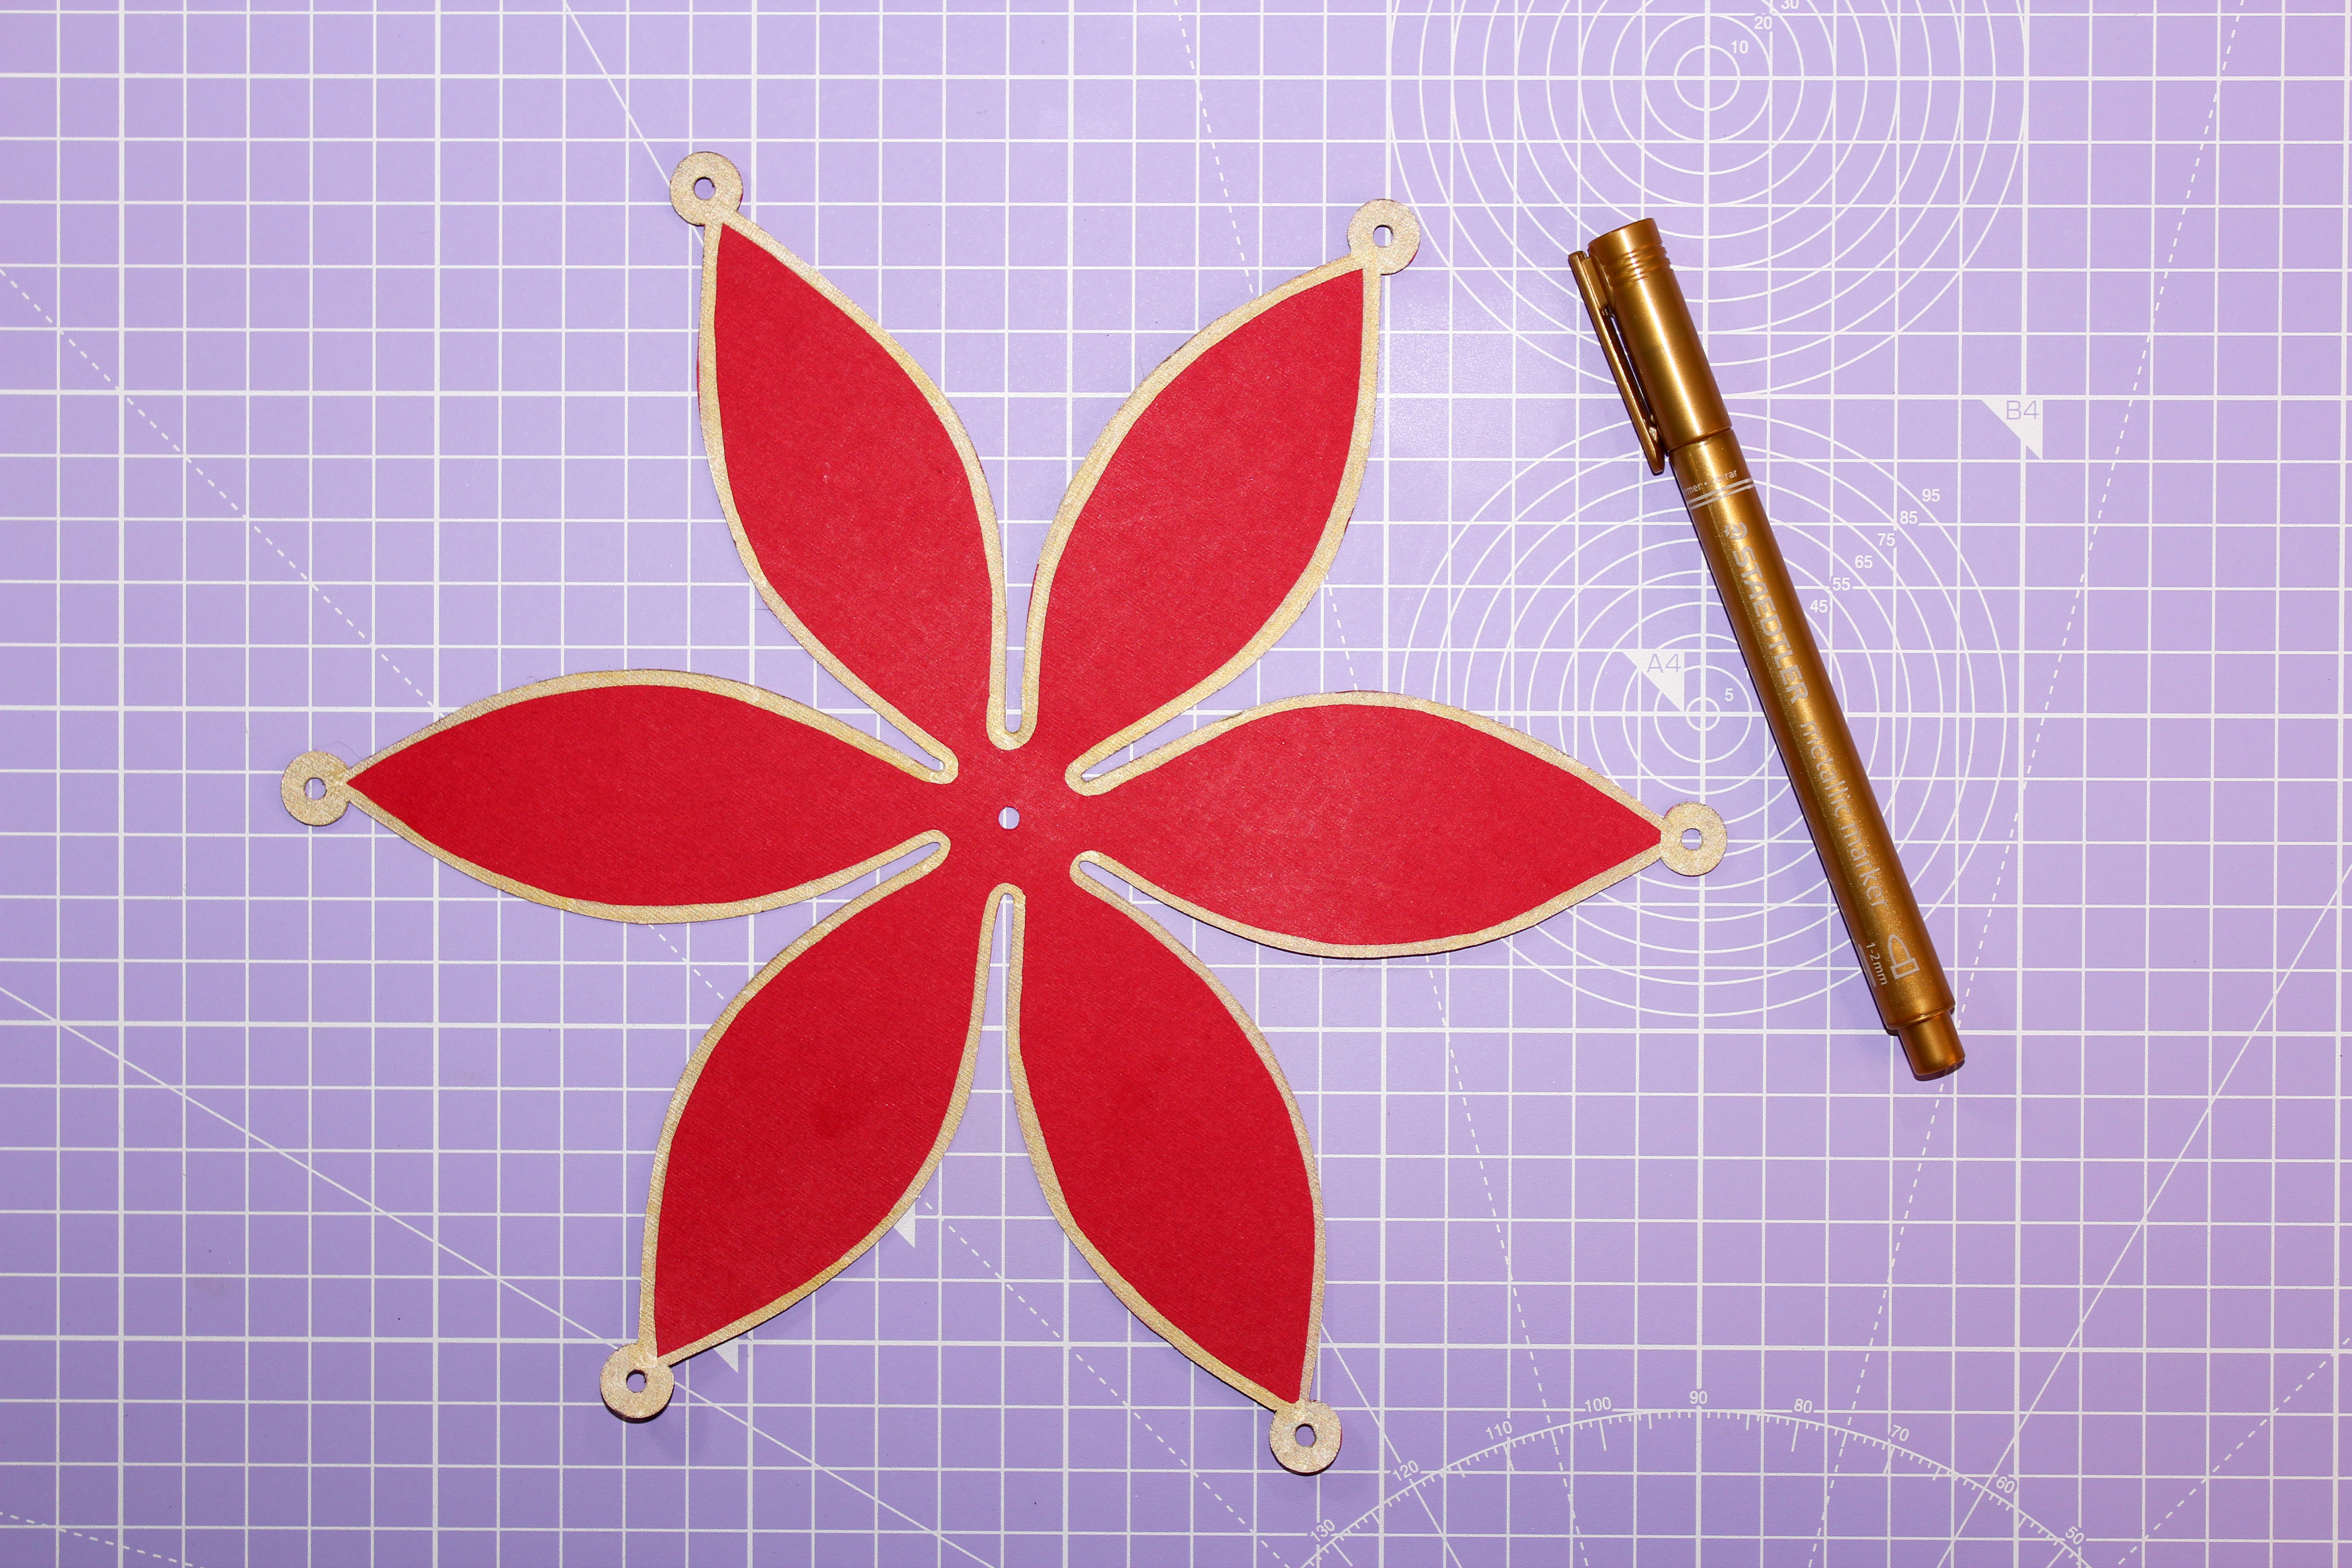
Using a metallic gold paint marker pen, edge around the perimeter of your shape to add some detail. A pen with a thick nib is ideal (like a chisel nib) as this will ensure a nice, even line. If you don’t have a gold pen, you could use a yellow pen or even some gold paint.
Set aside and wait for the ink or paint to dry.
Buy it now: Staedtler Metallic Markers gold/silver (2 pack) £2.69, Amazon
Step 6
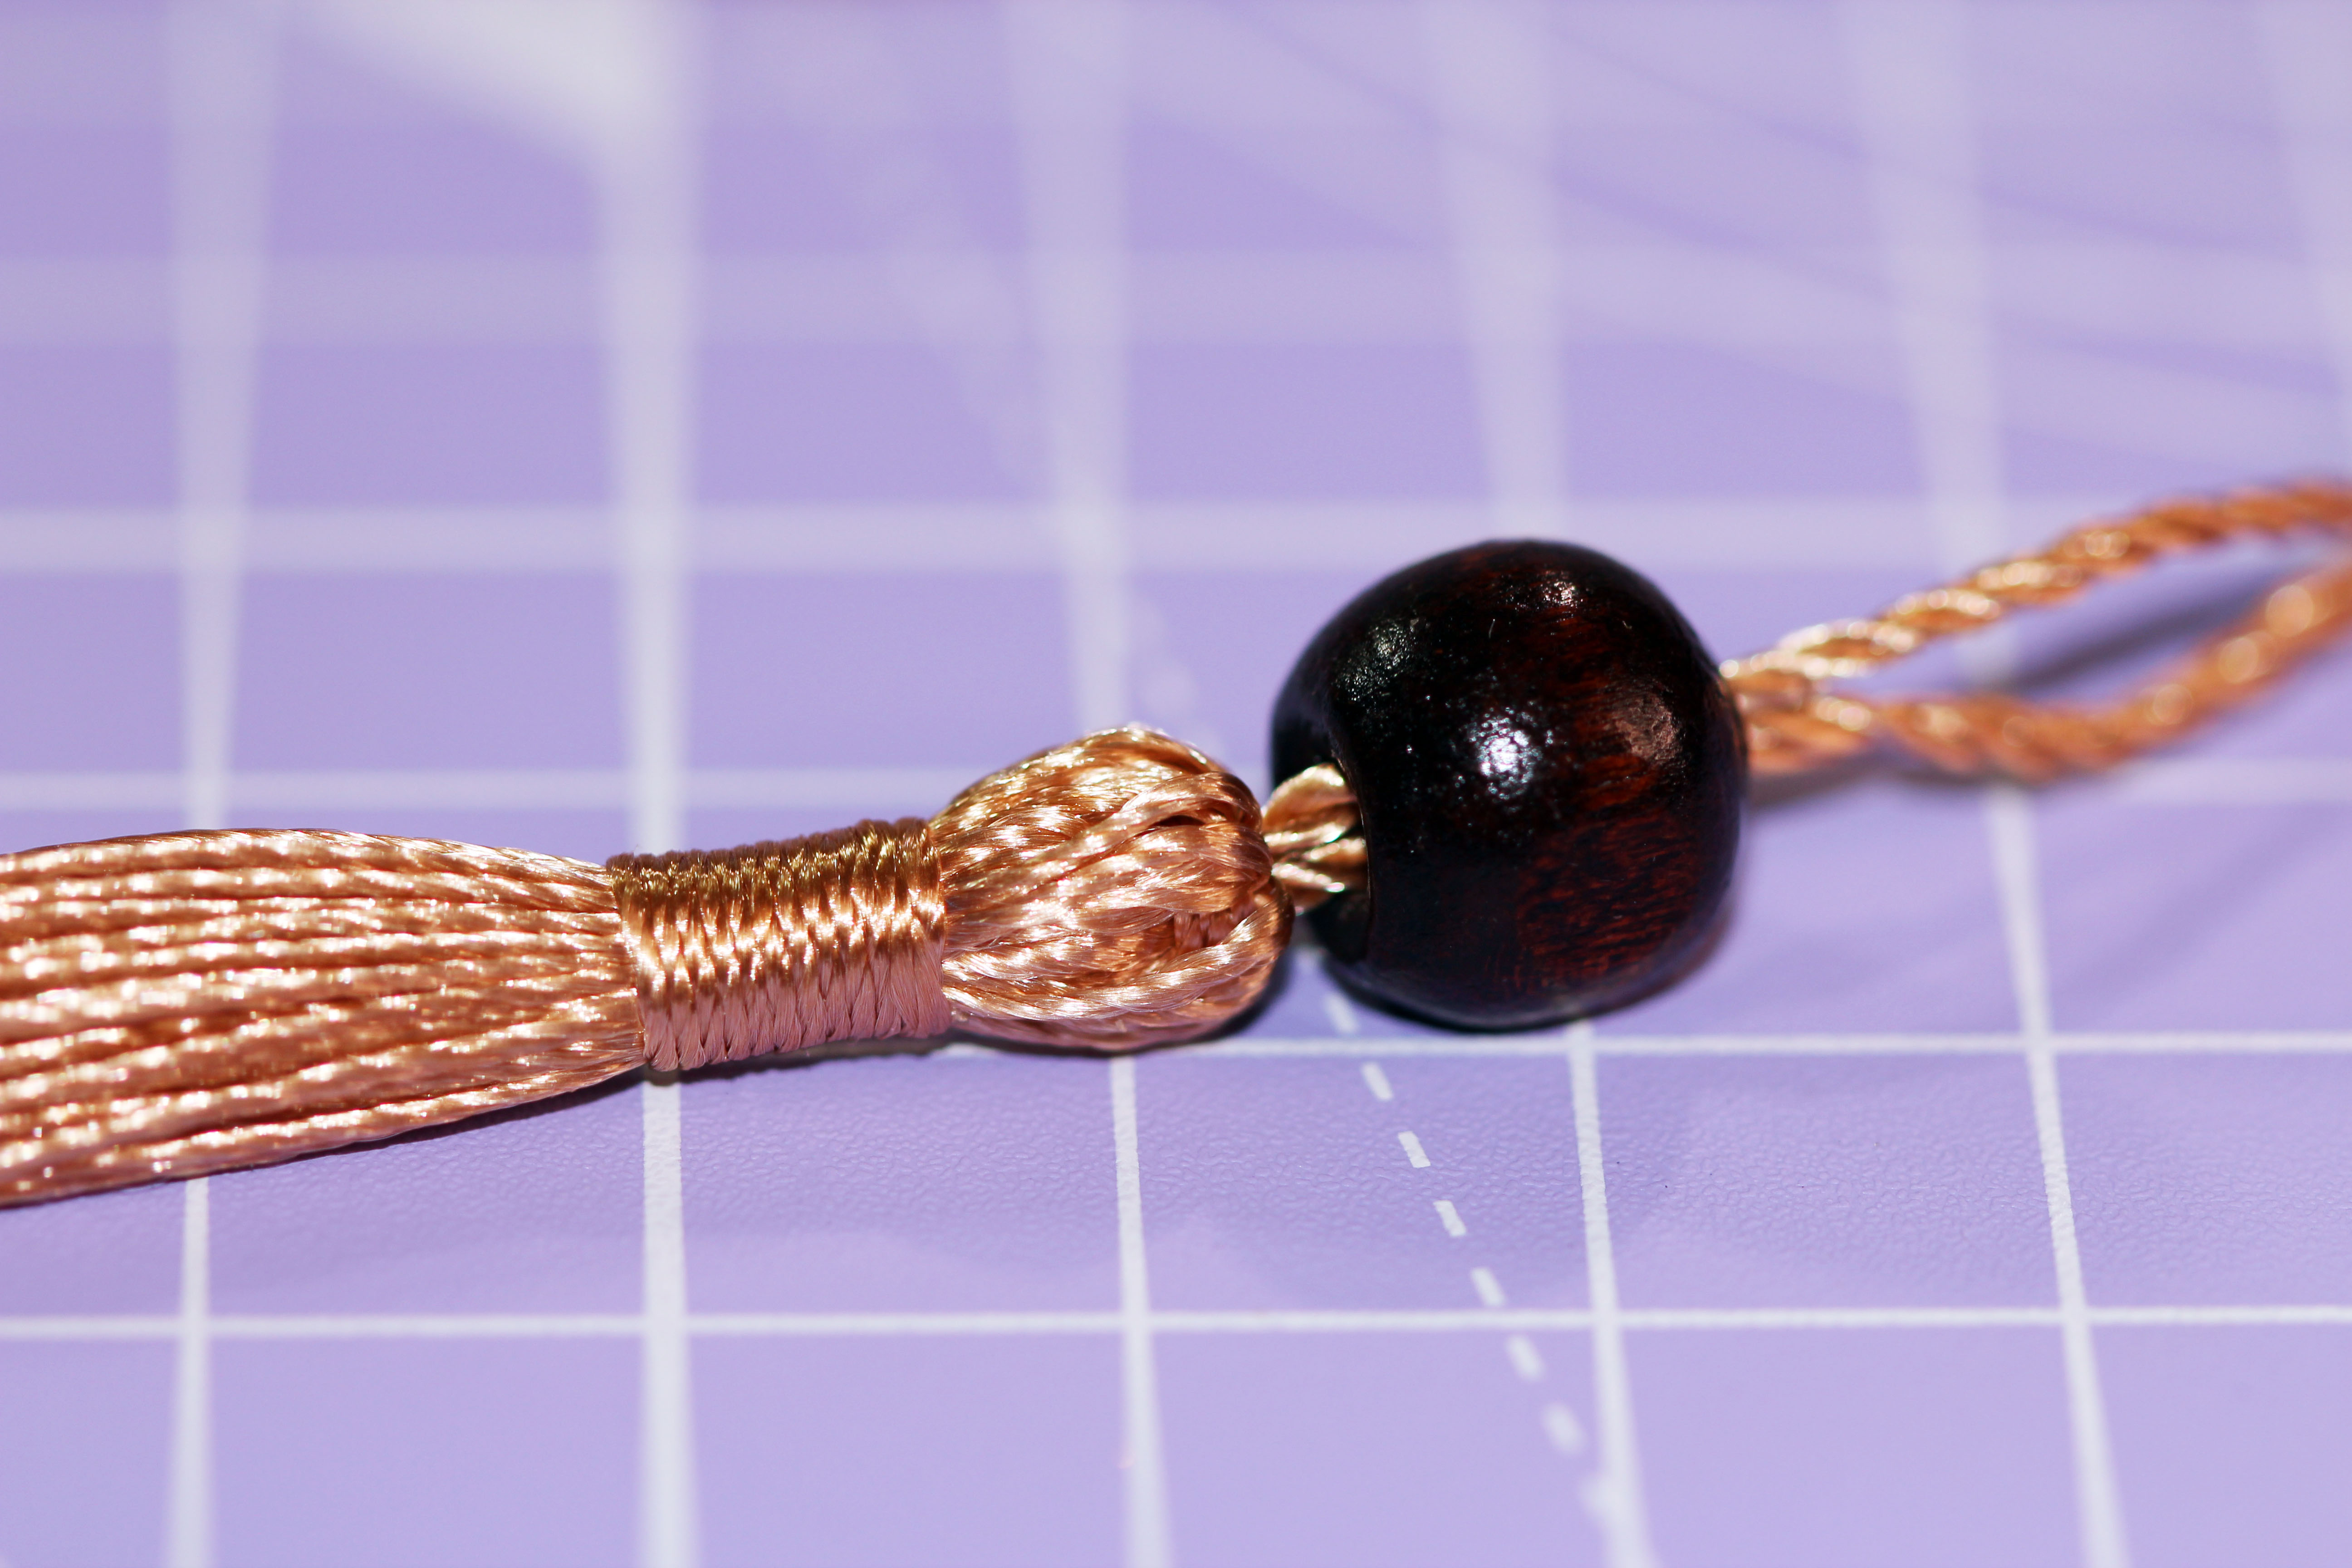
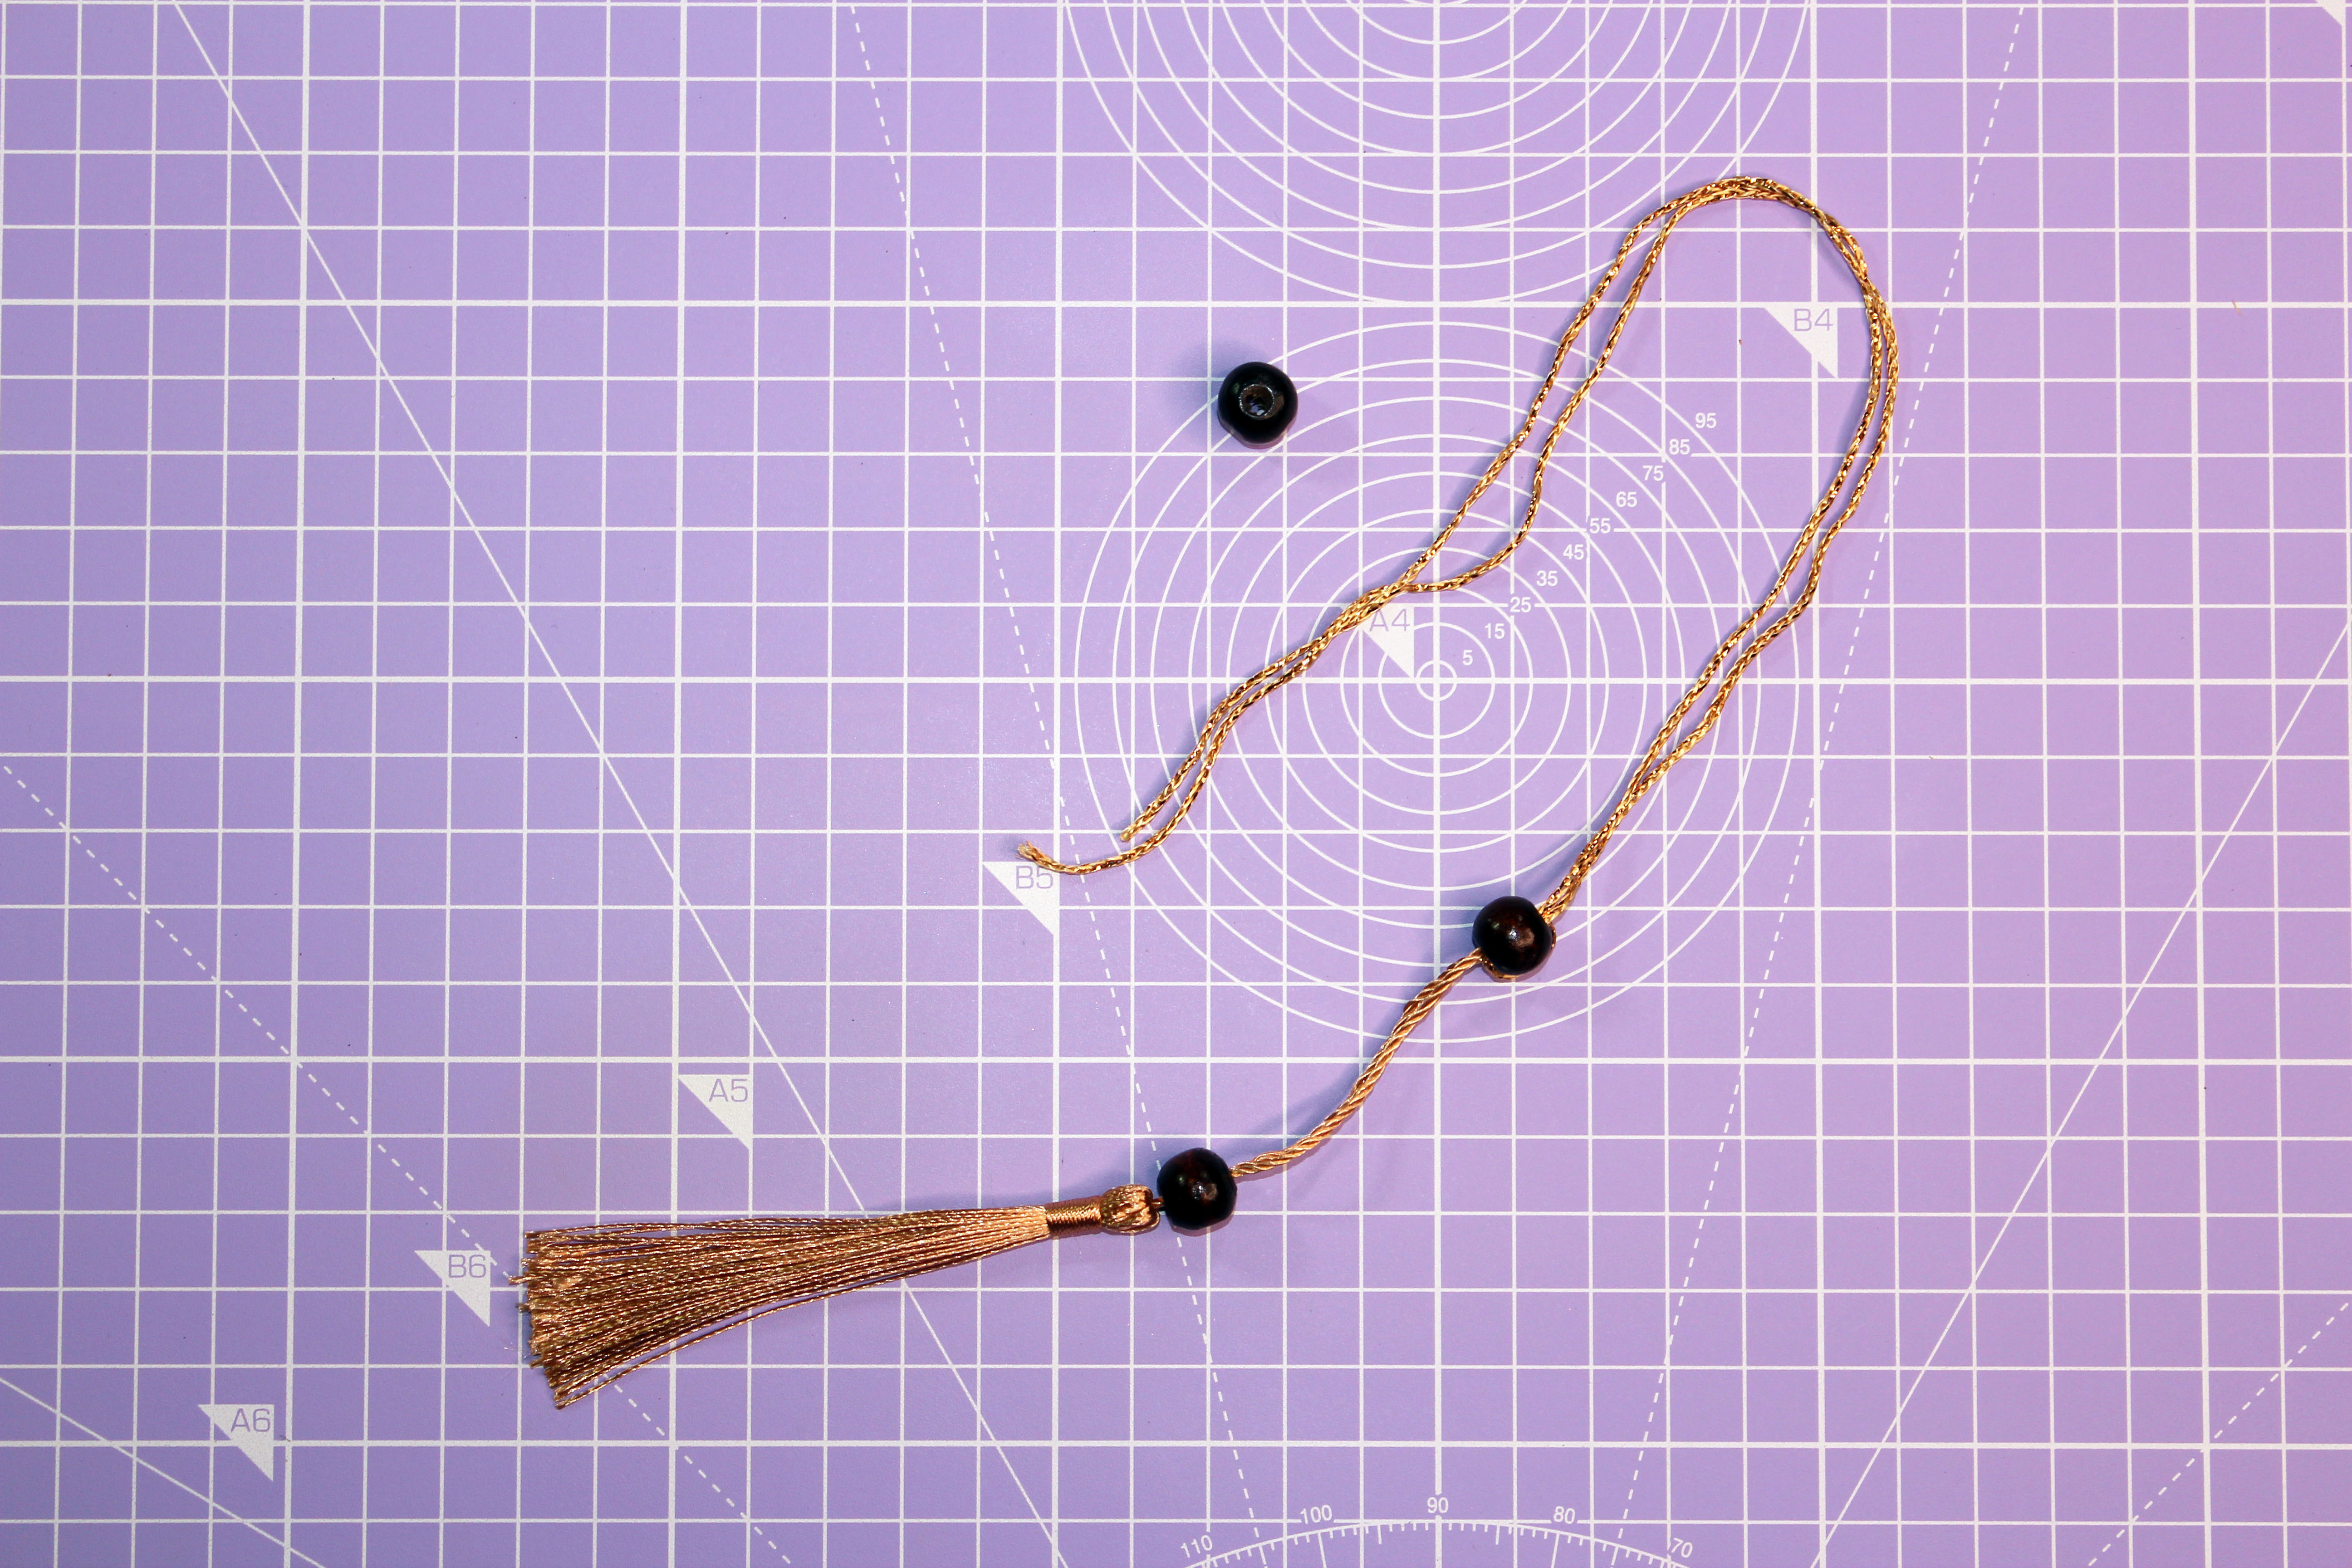
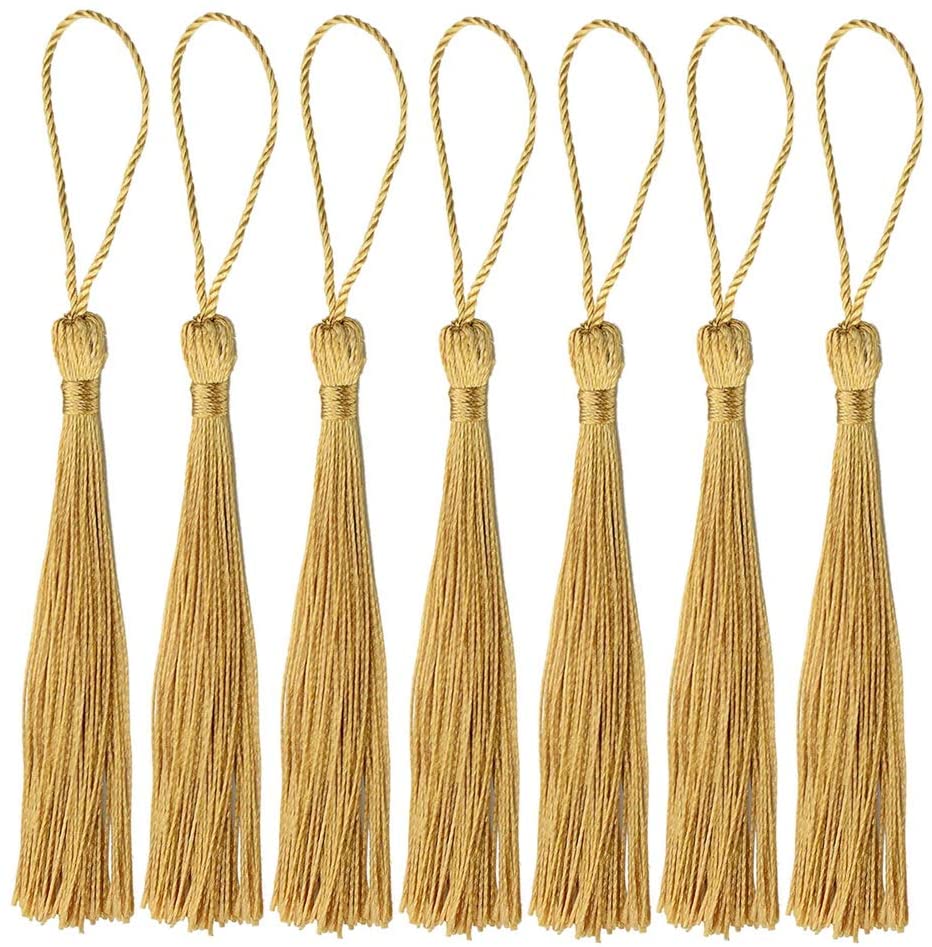
While the ink is drying, let’s grab a tassel! You can make your own using some gold thread, or you can buy ready-made tassels.
Tie the tassel to a long loop and thread on a bead. Make sure the loop is long enough to go through the paper lantern with enough to hang the lantern up with. Tie a second bead onto the loop, approximately 2cm above the loose bead at the top of the tassel. This tied bead will create a ‘seat’ for the paper lantern, and also prevent the tassel from being pulled up.
Buy it now: Nuoshen gold tassels (100 pack) £6.99, Amazon
Dark brown beads (100 pack) £2.69, Amazon
Step 7
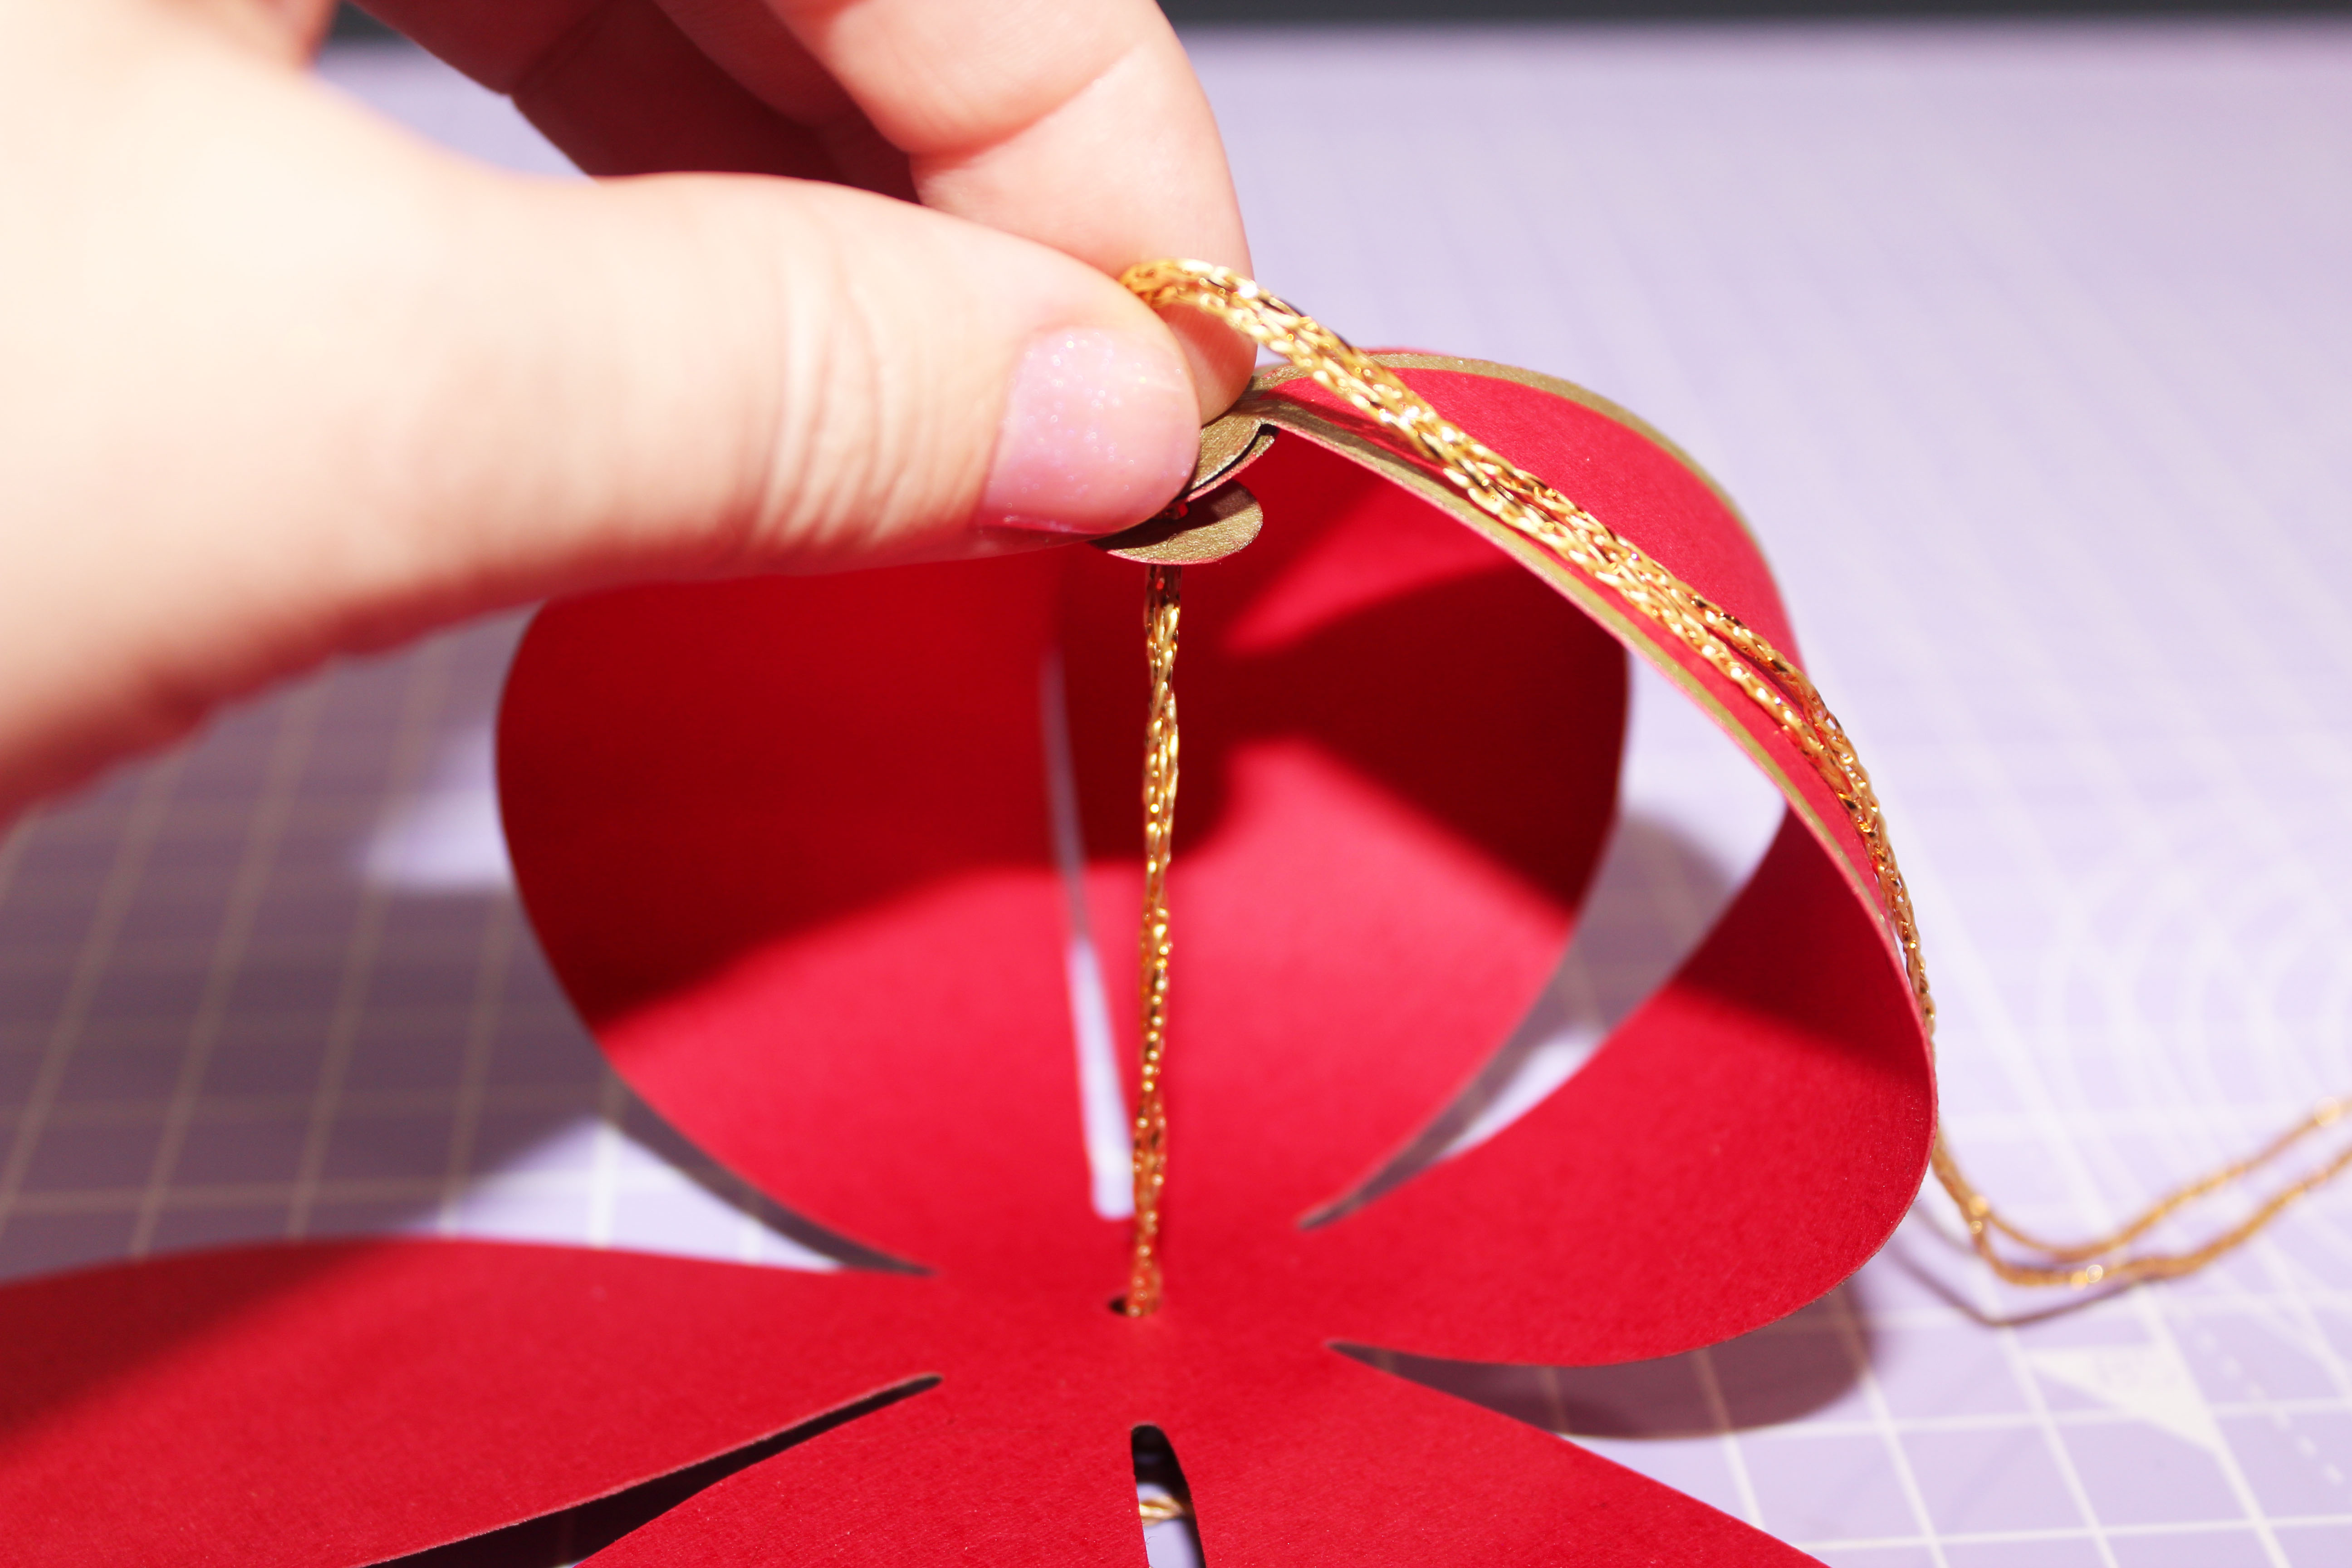
Thread the long loop at the top of the tassel through the hole at the bottom of your lantern. Then, thread it through the holes in each of the ‘petals’ one at a time. Use a needle to help if needed.
Step 8

Once you’re happy with the shape of your paper lantern, tie a third bead above the lantern. The tension of the thread running from the tied bead at the bottom, through the lantern to the tied bead at the top, will allow it to hold the ‘ball’ shape.
Step 9
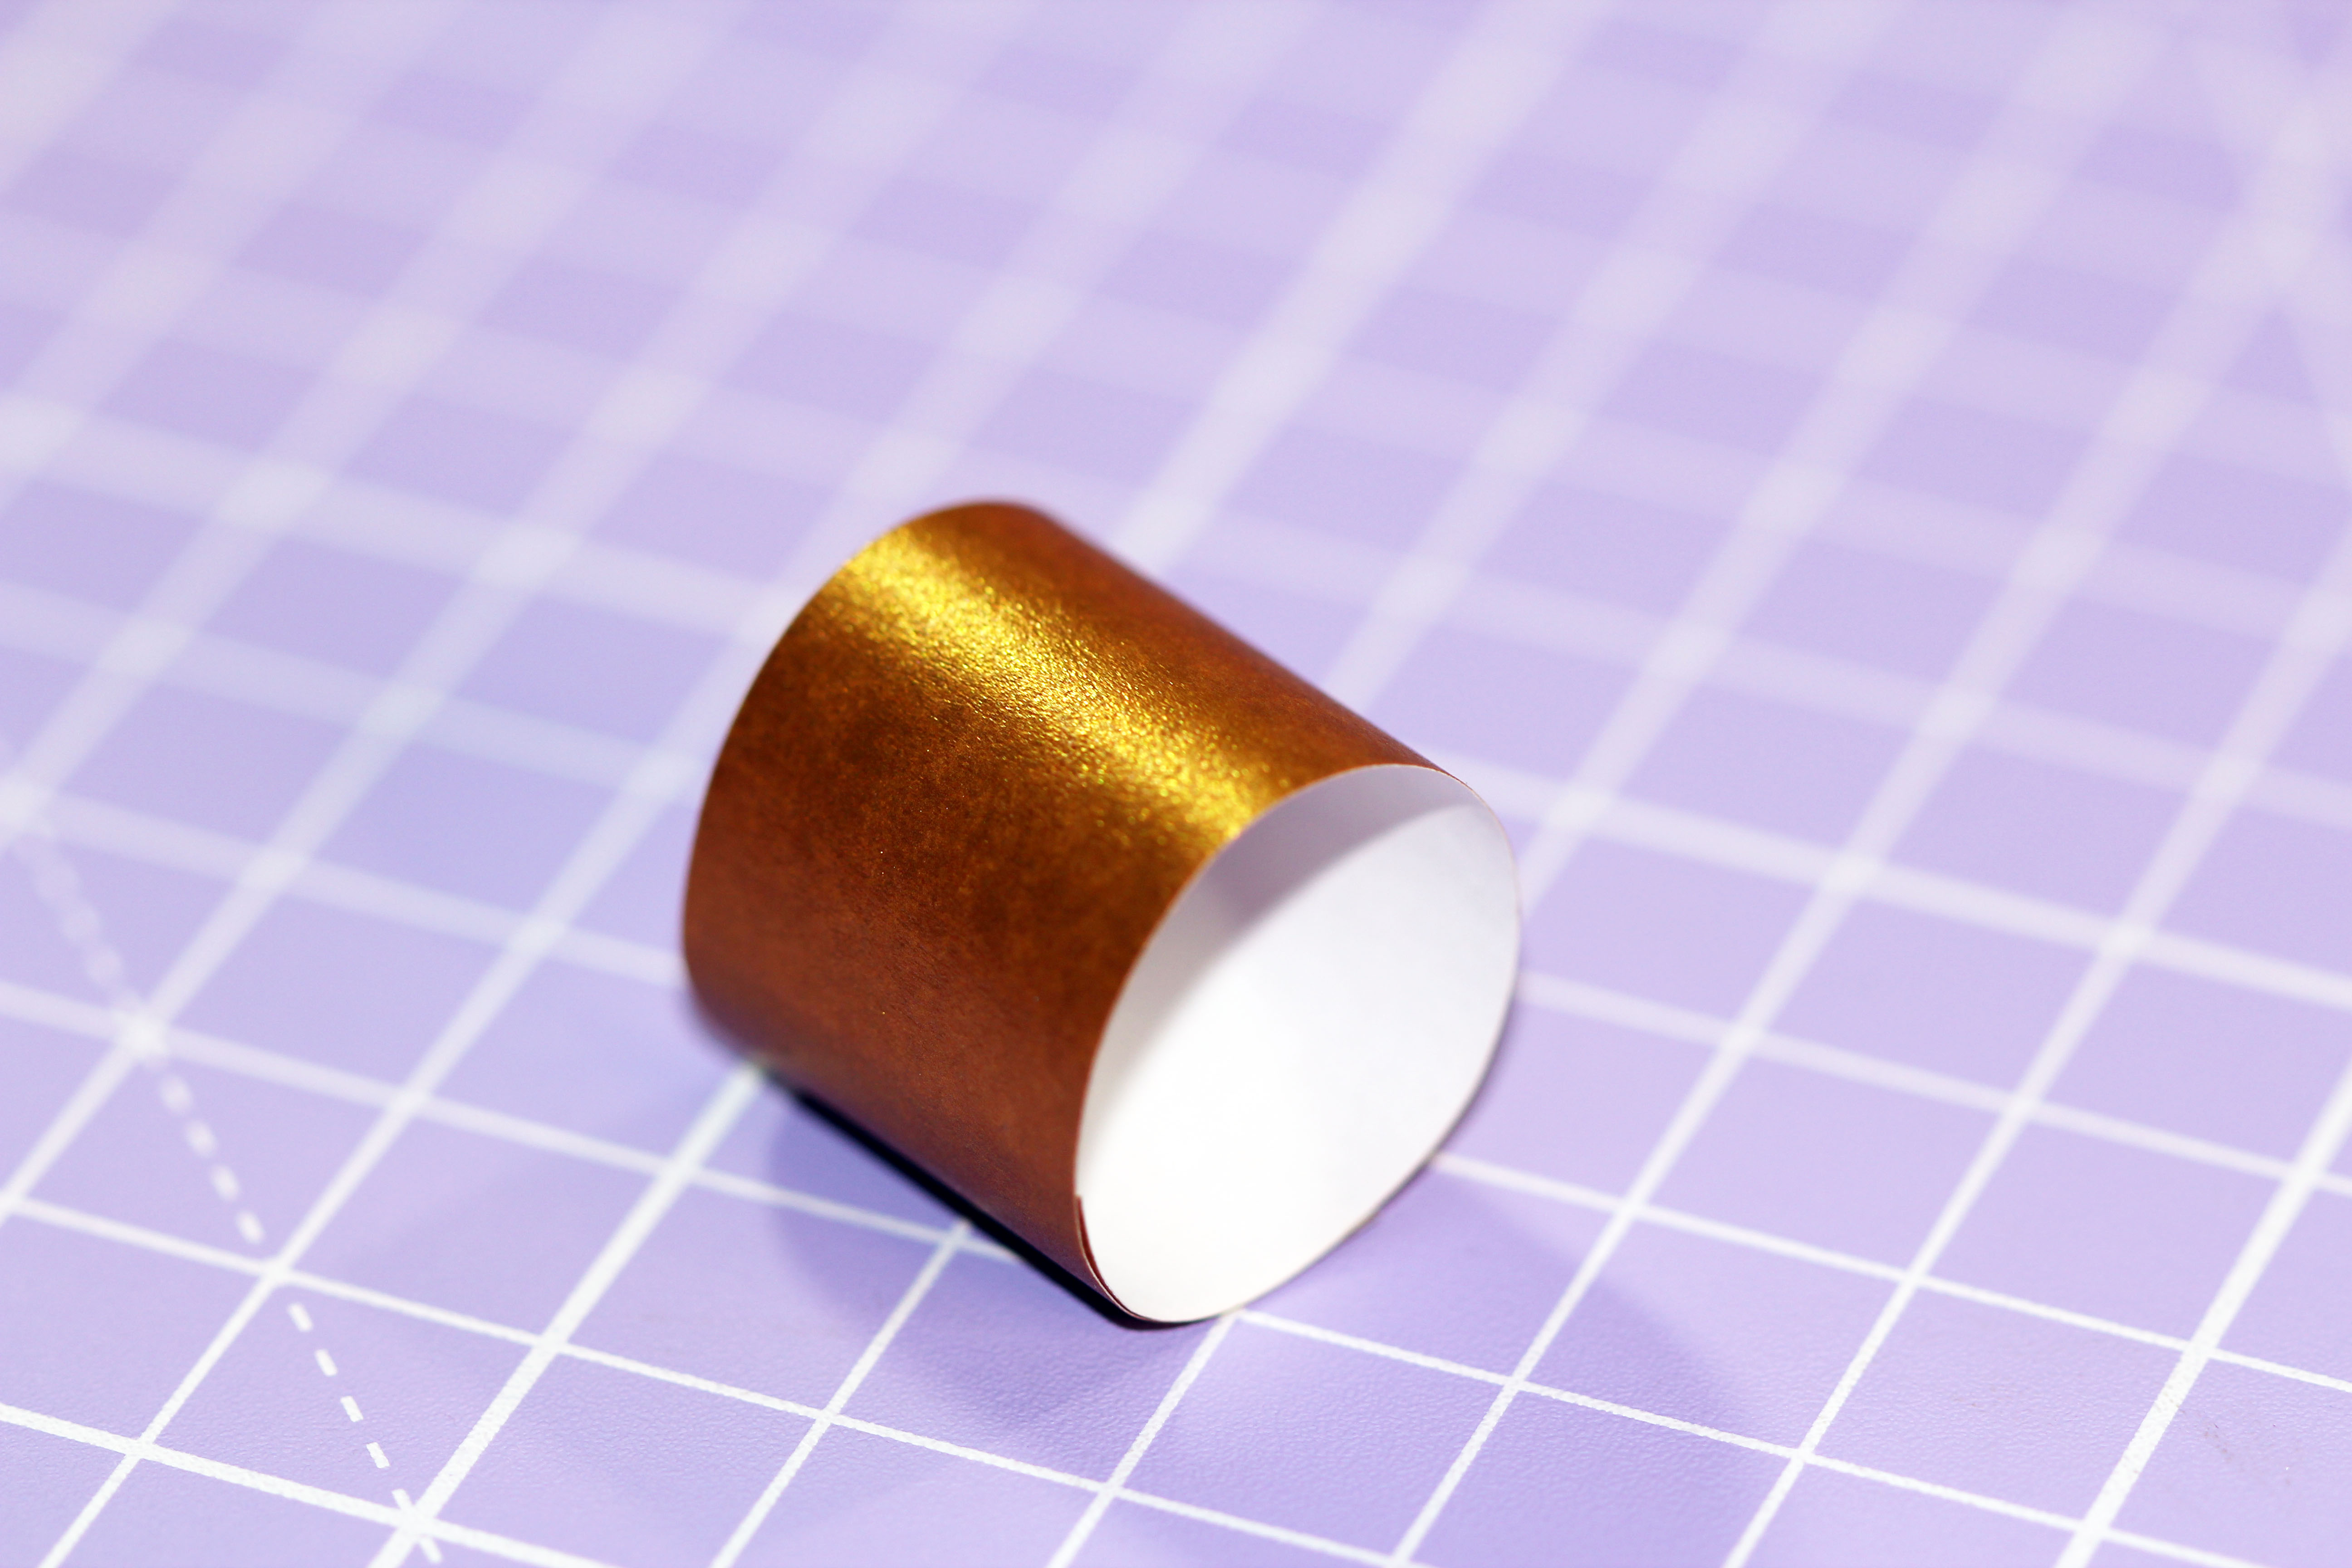
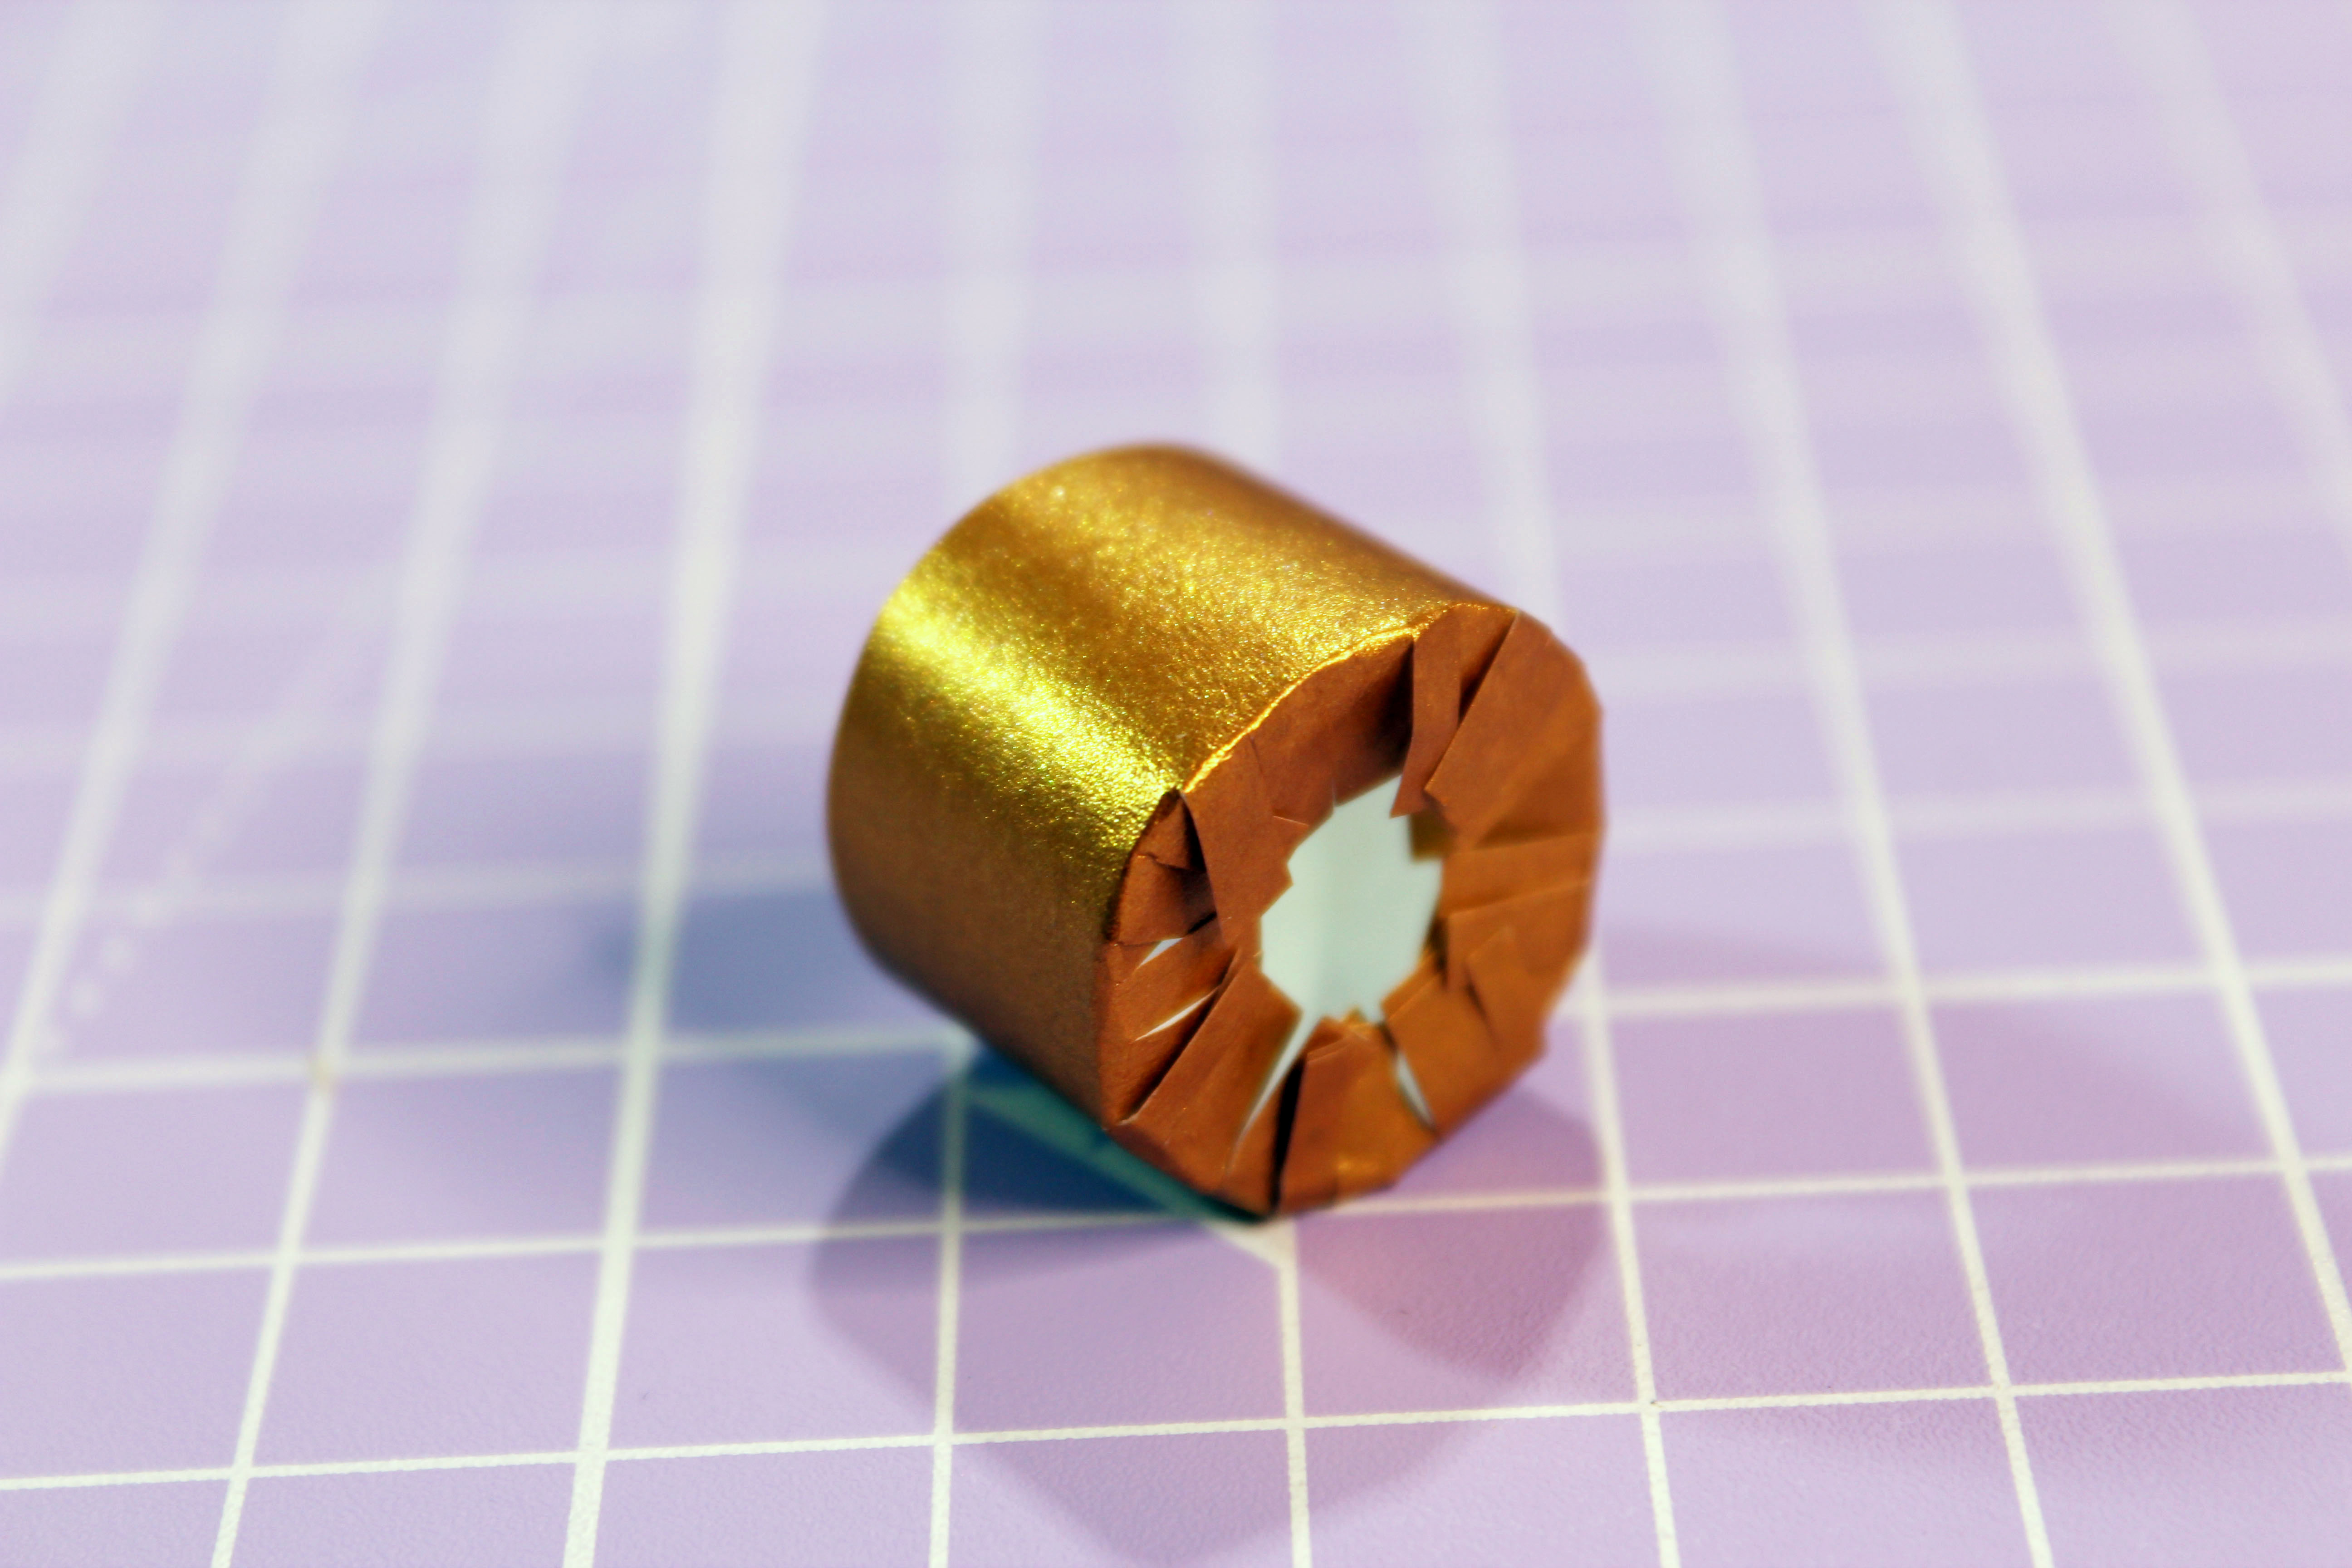
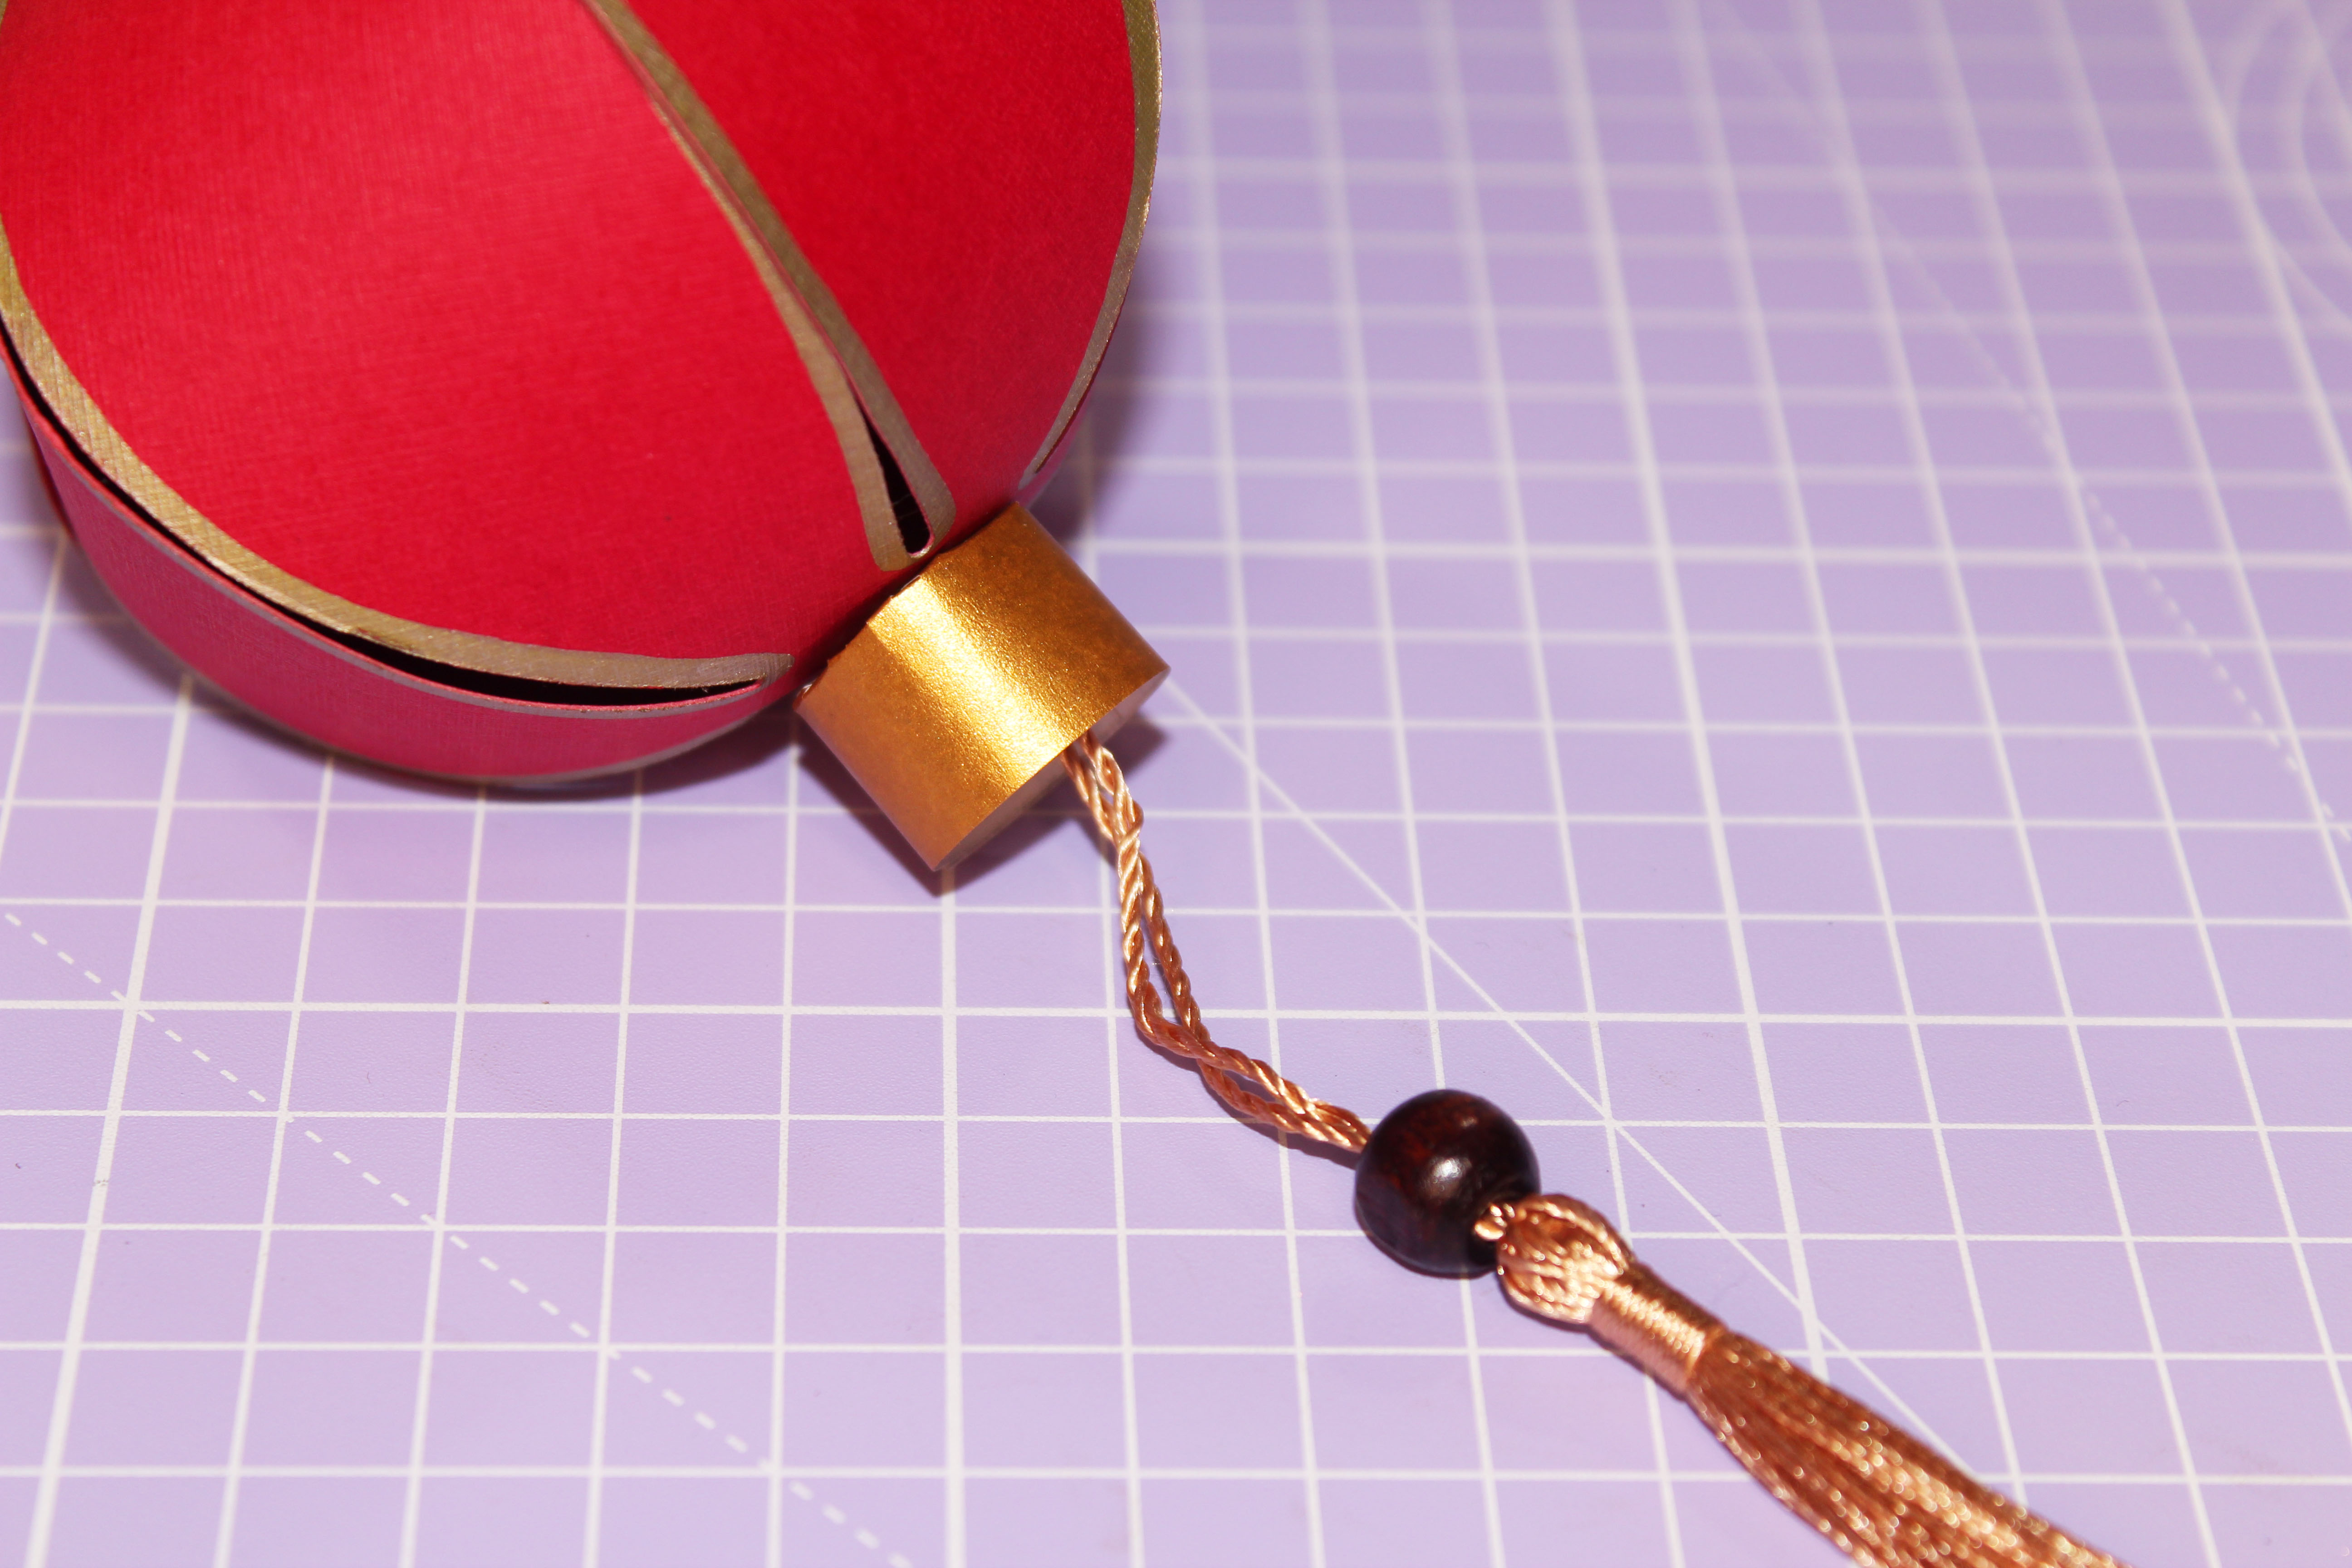
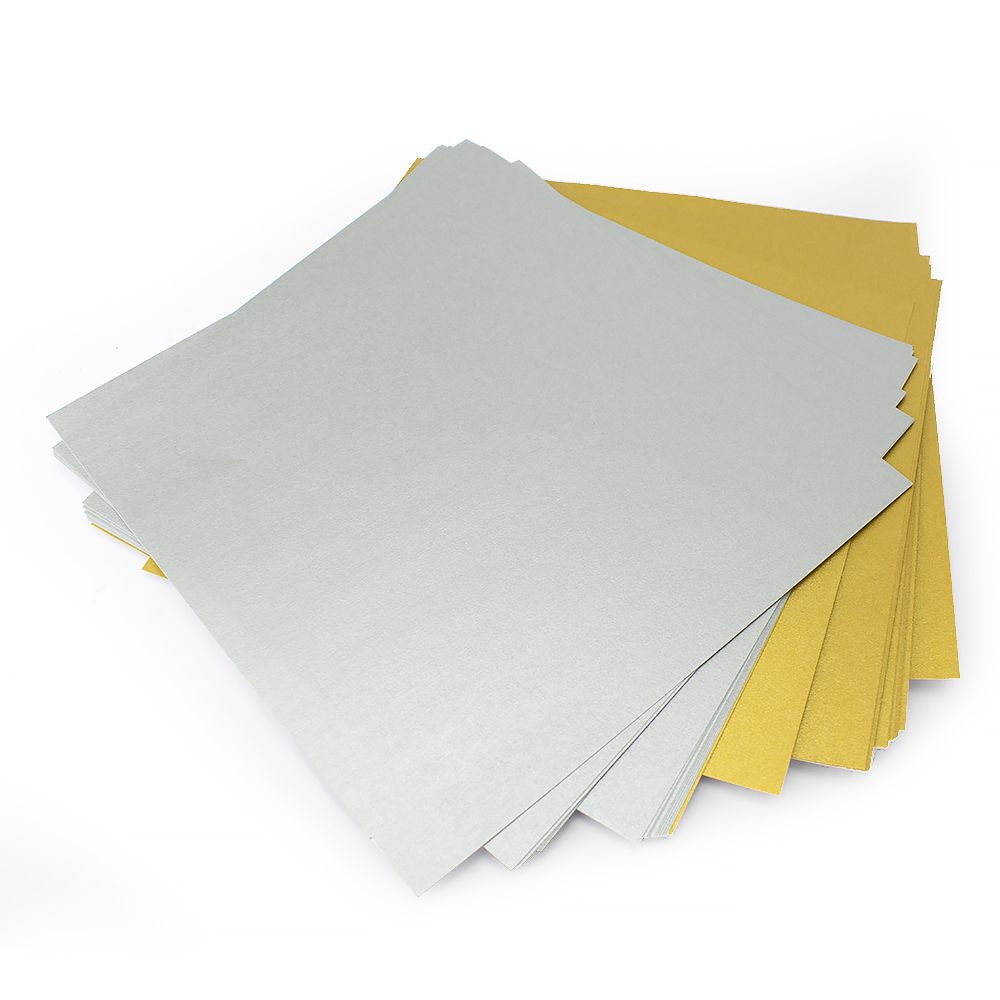
Cut a strip of gold paper 2 x 8cm. Using your preferred adhesive (we used a Pritt Stick), glue this into a loop.
Cut a ‘fringe’ around one side of the loop, approximately 0.5cm deep. Fold the fringe inwards, and with the fringe side facing the bottom of the lantern, thread onto the tassel and up to the lantern. Carefully tease the fringe around to the back of the tied bead so that it sits flat on the lantern. Add a spot of glue to hold it in place (we’re using a glue dot). Here’s a top tip: the closer you trim the bits on your fringe, the ’rounder’ the gold loop will sit on the lantern.
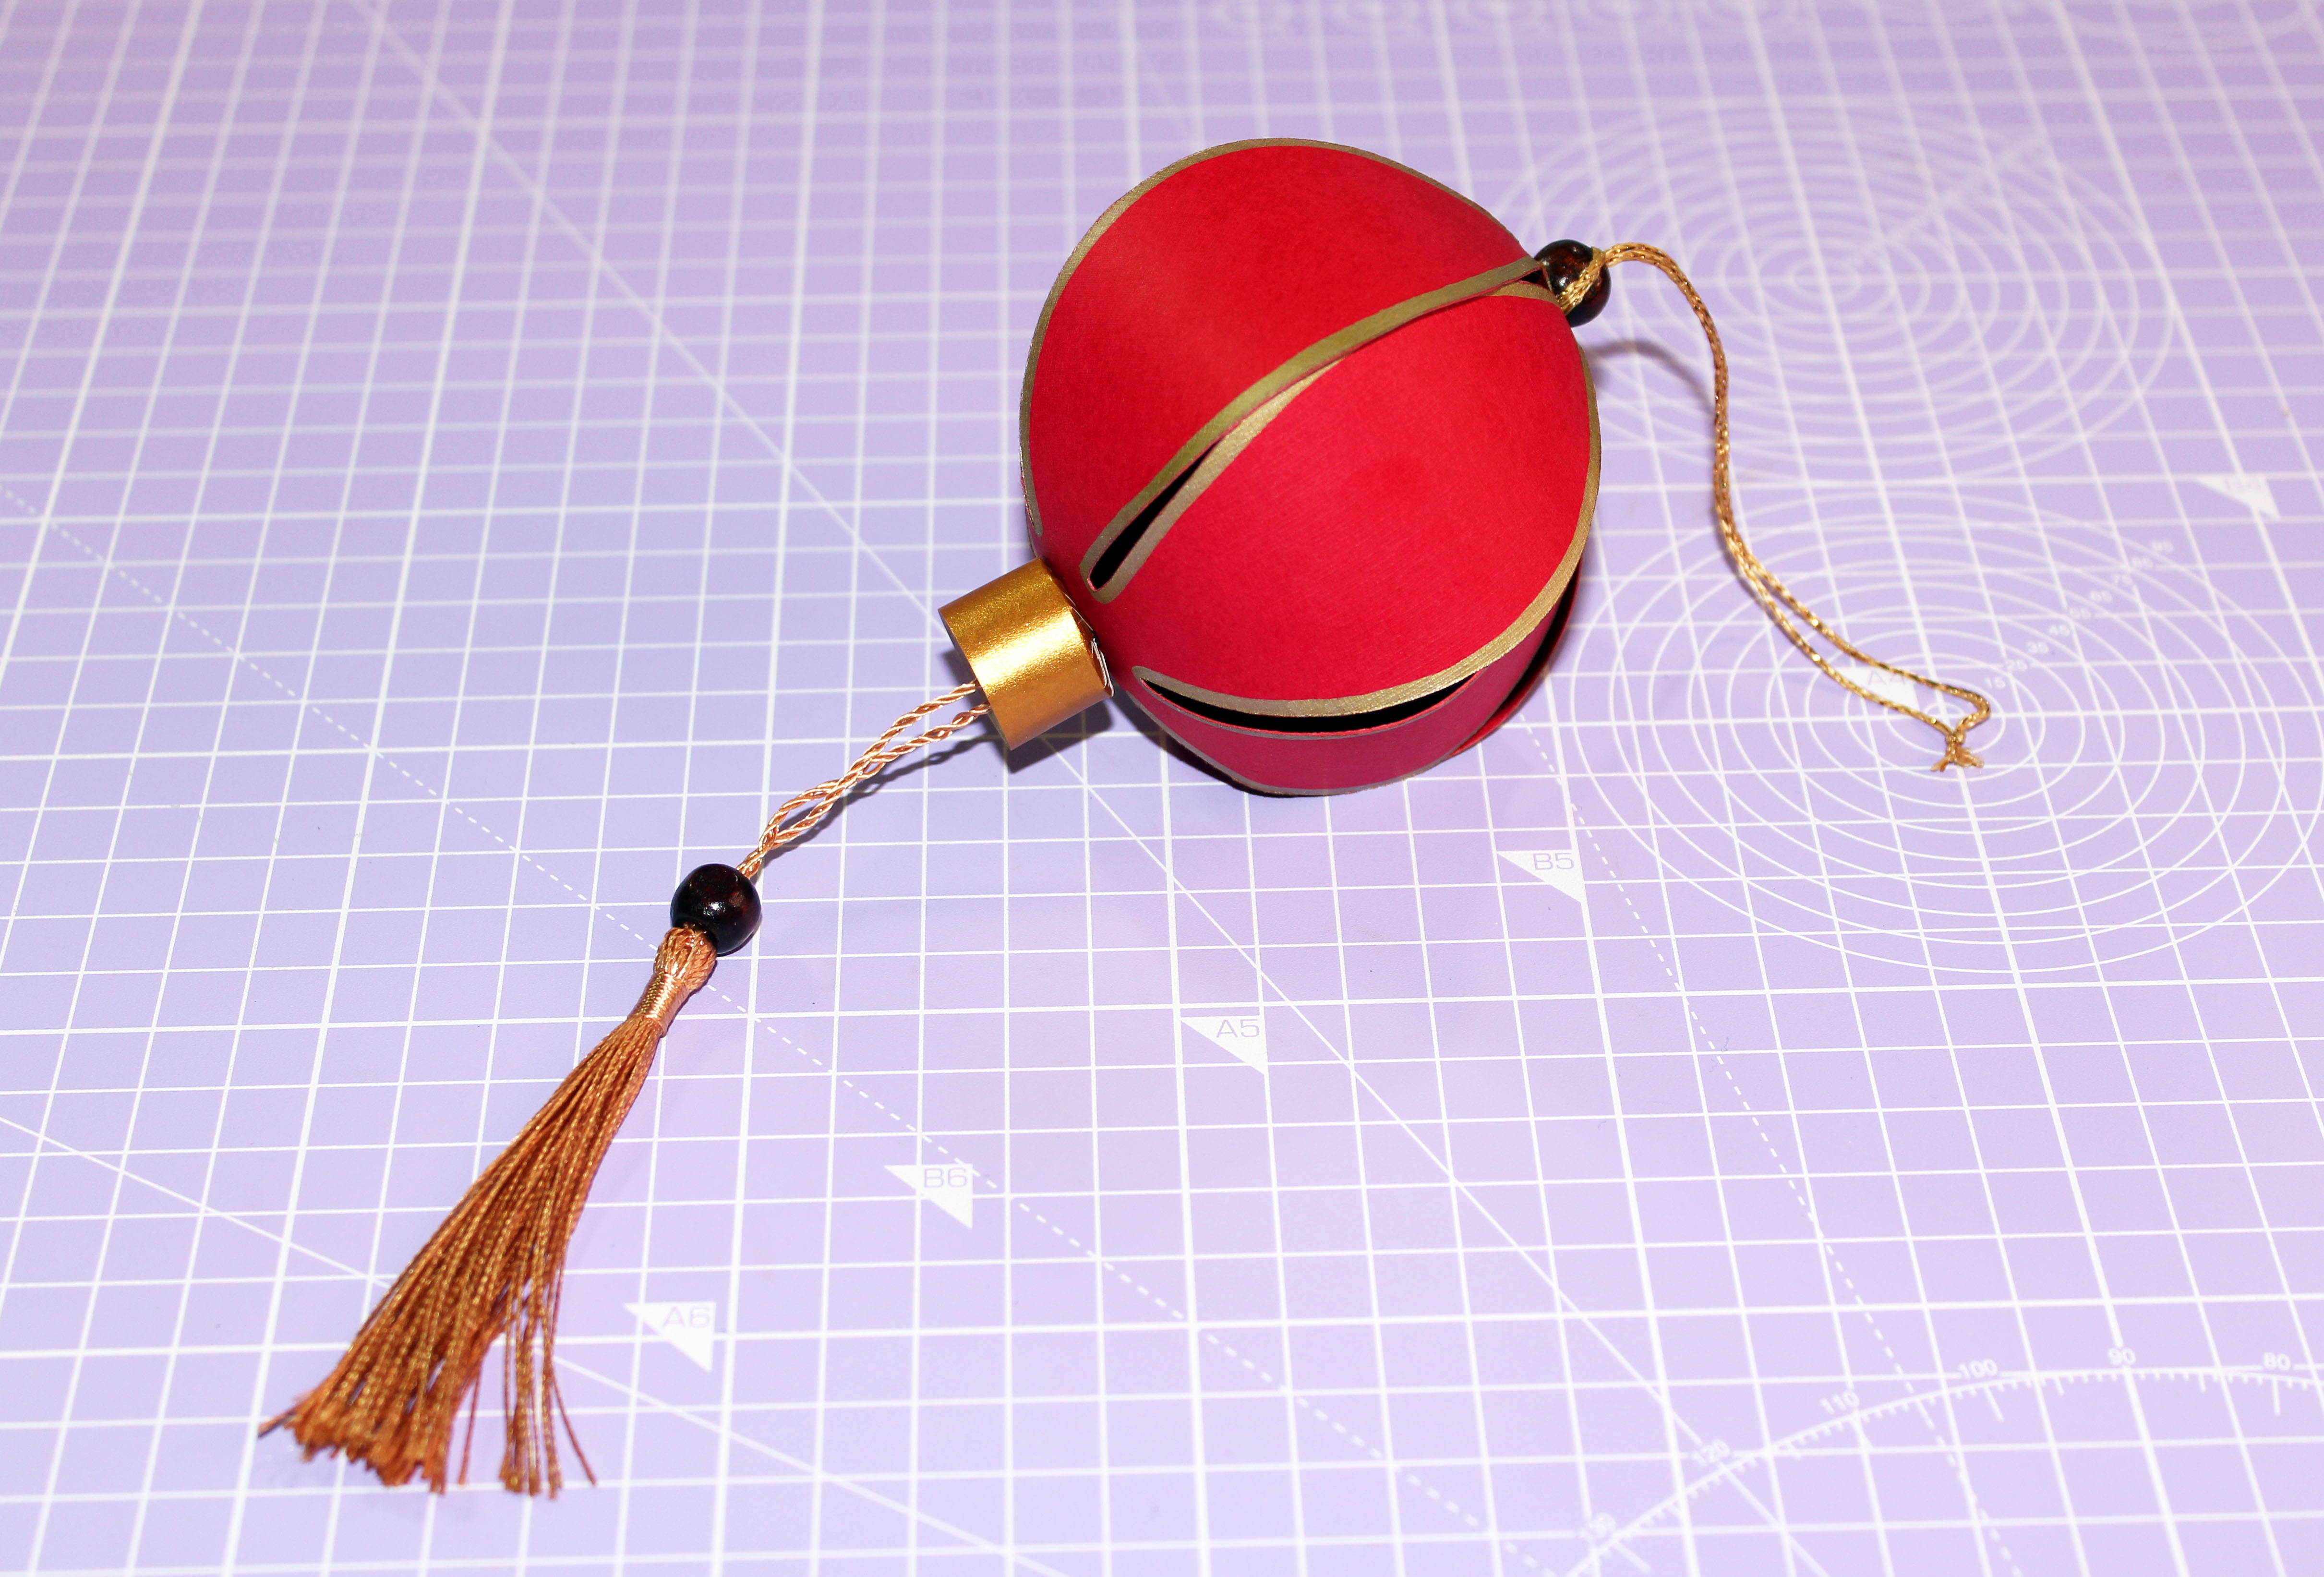
And that’s it! Find somewhere to hang up your lantern, or make several and string them together.
Buy it now: Silver & Gold origami paper £3.58, Little Crafty Bugs
