How to make a gift box: Gingerbread design
Step 1
Trace and cut out the templates + assemble
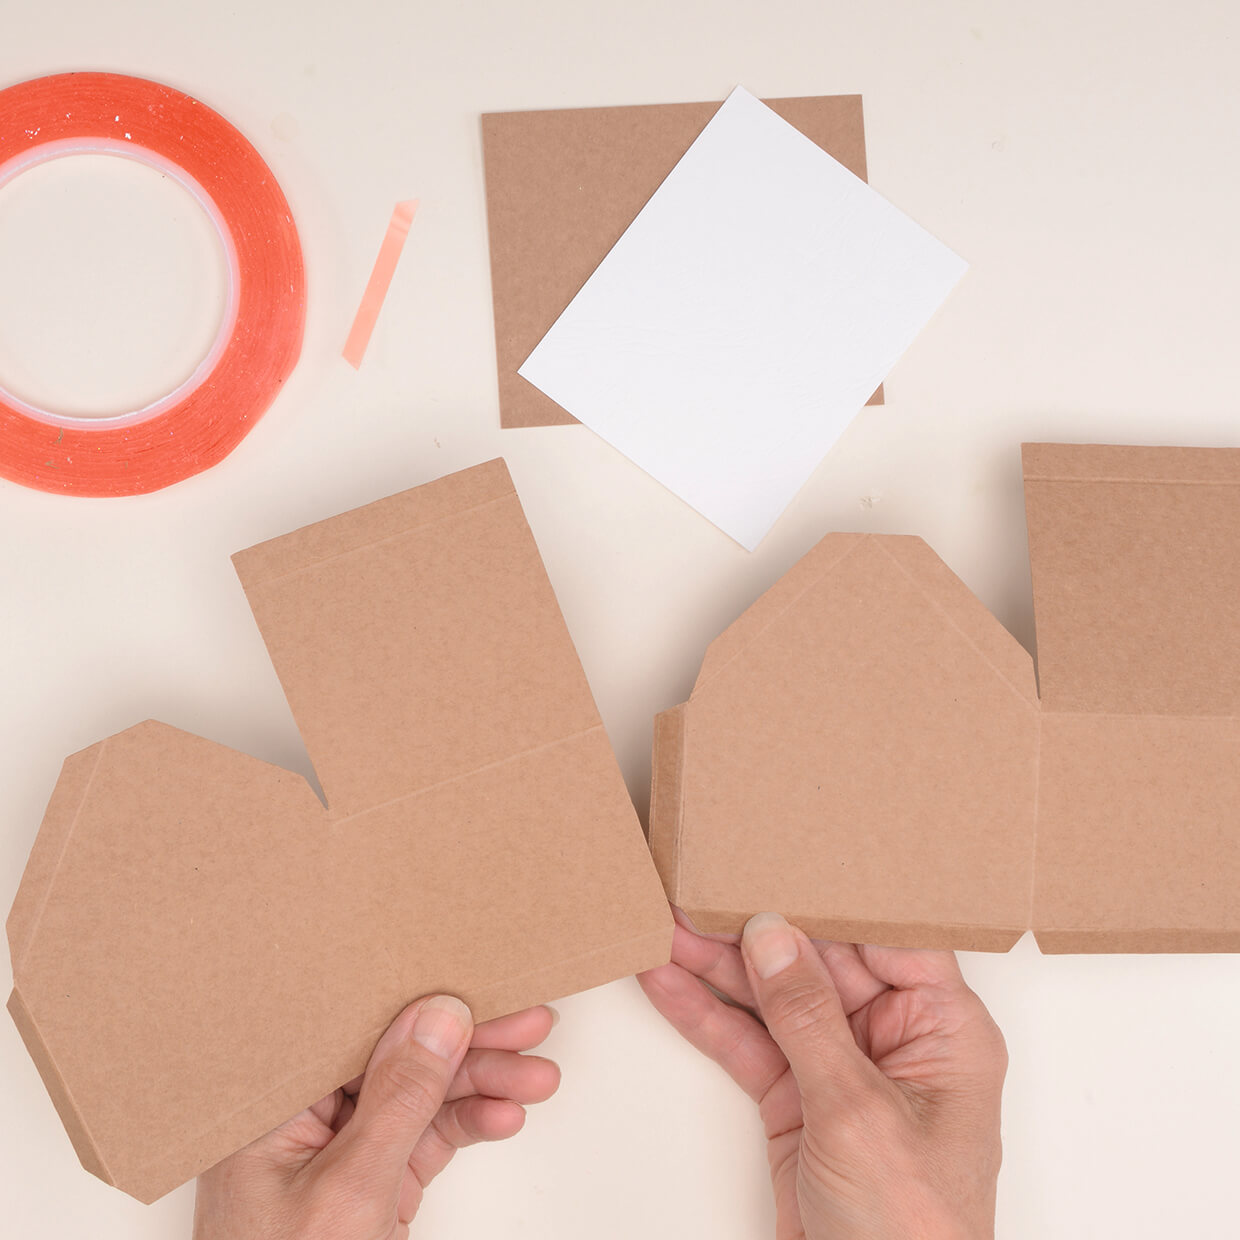
Trace the template onto your Kraft card. Cut out, score where indicated and stick the side flaps to assemble.
Layer a 105mm square of white card onto a 110mm square of Kraft card, then glue it to the base of the house.
Step 2
For the roof of your gingerbread house
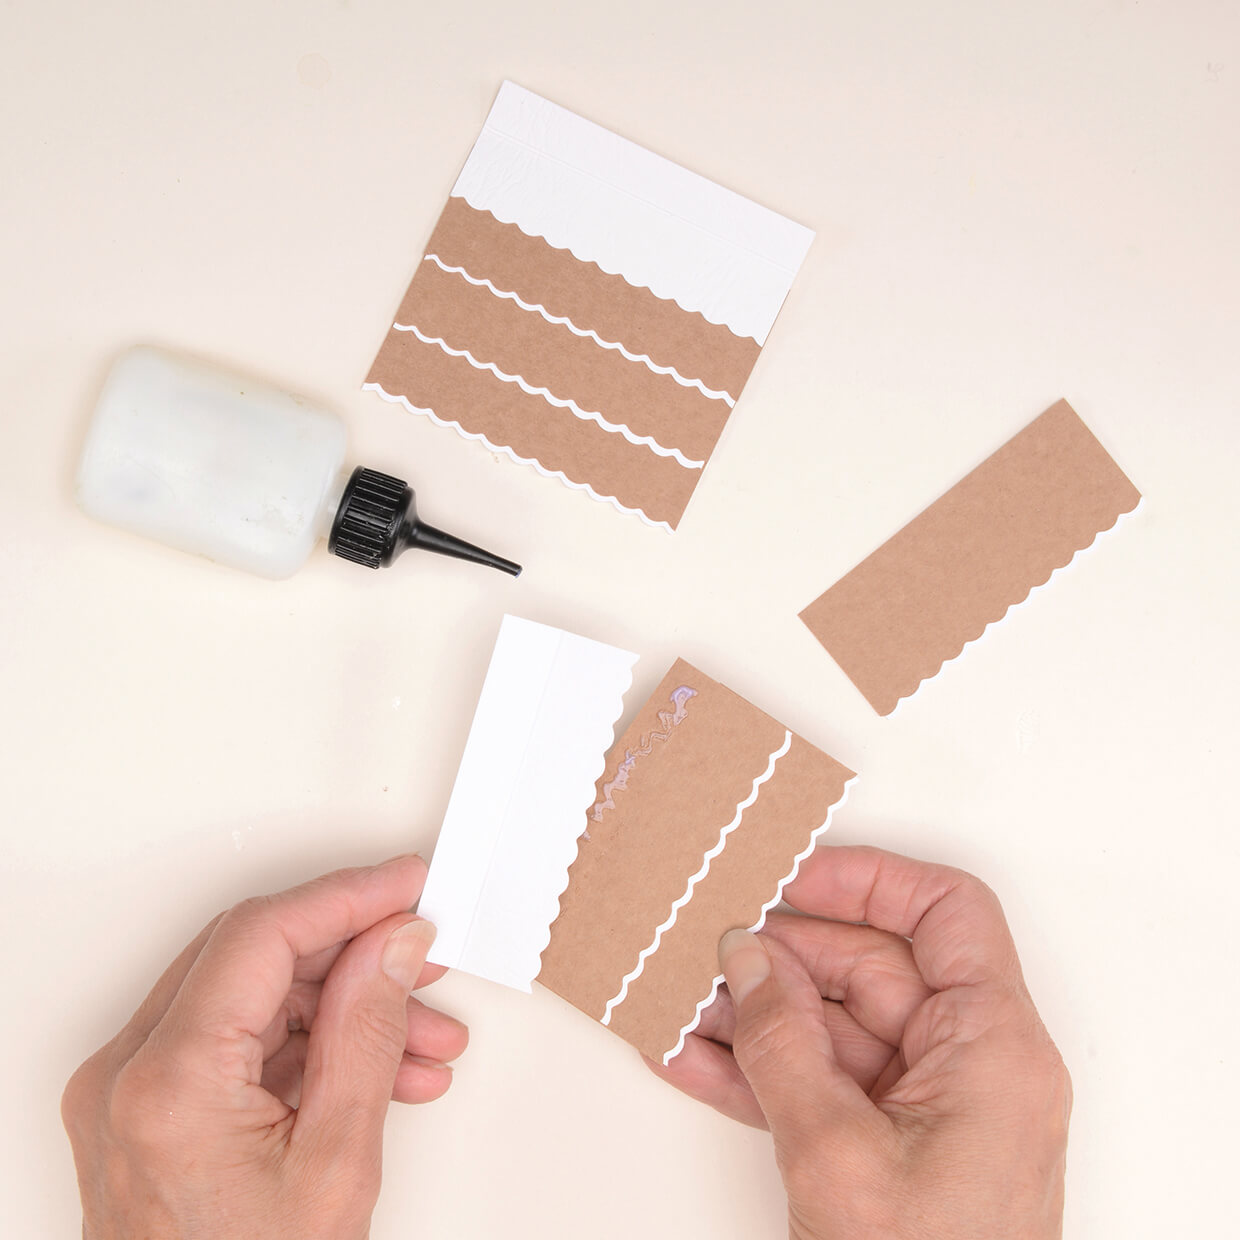
Cut six 80x20mm pieces each of Kraft and white card. Cut two 80x30mm pieces of white card, all with a scalloped edge on one side.
Alternately layer the 20mm Kraft and white pieces of card.
Top tip: If you don’t have scalloped-edge scissors to use for the gingerbread roof tiles, then torn edges will also work well.
Step 3
Finish the roof of your gingerbread house
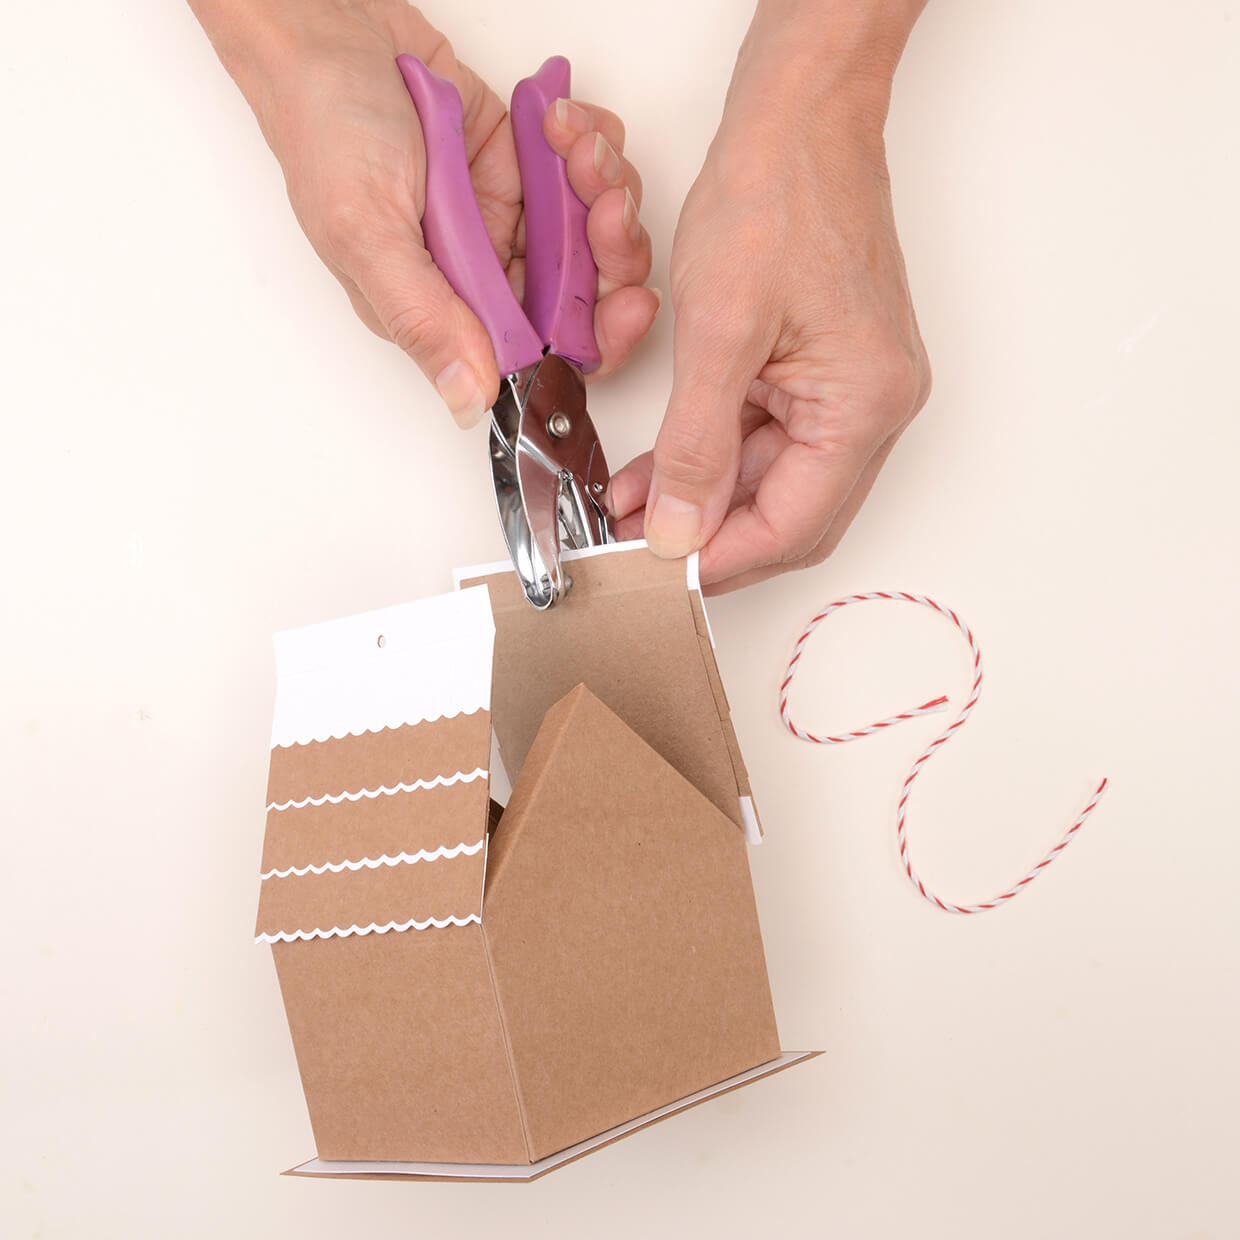
Score across the 80x30mm pieces of white card and stick to the layered panels, then add these to the roof so they meet in the middle.
Punch a hole in the centre of each one and tie it together with a baker’s twine bow.
Step 4
Decorate your gingerbread house
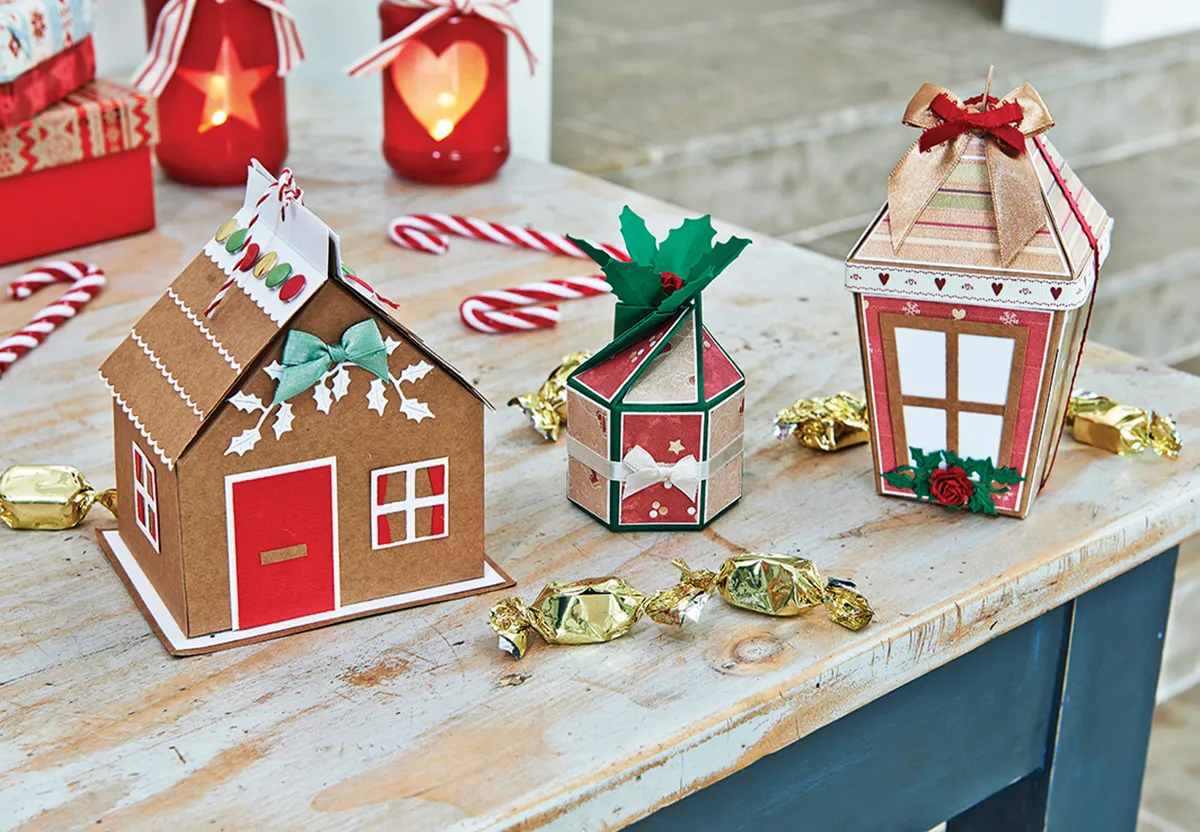
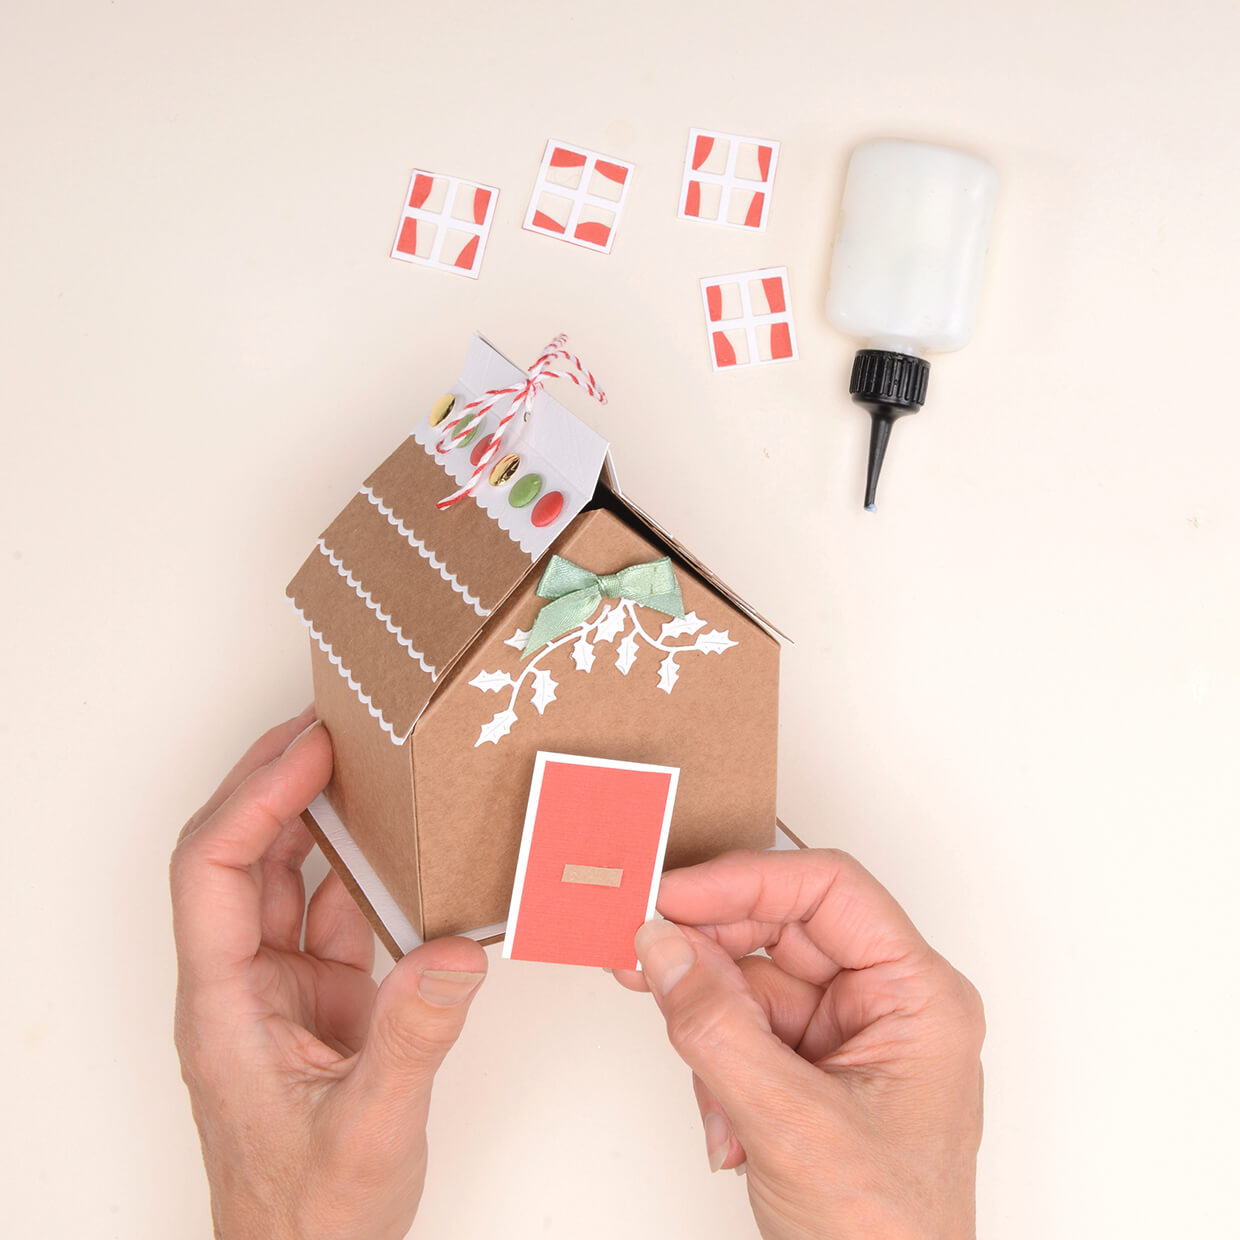
Using the photo as a guide, decorate the house with card candy, die-cut holly, window, door and curtain shapes cut from white and red card using a craft knife.
Attach to the house and finish with a green ribbon bow.
How to make the gift box: Holly design
Step 1
Trace the template and cut out
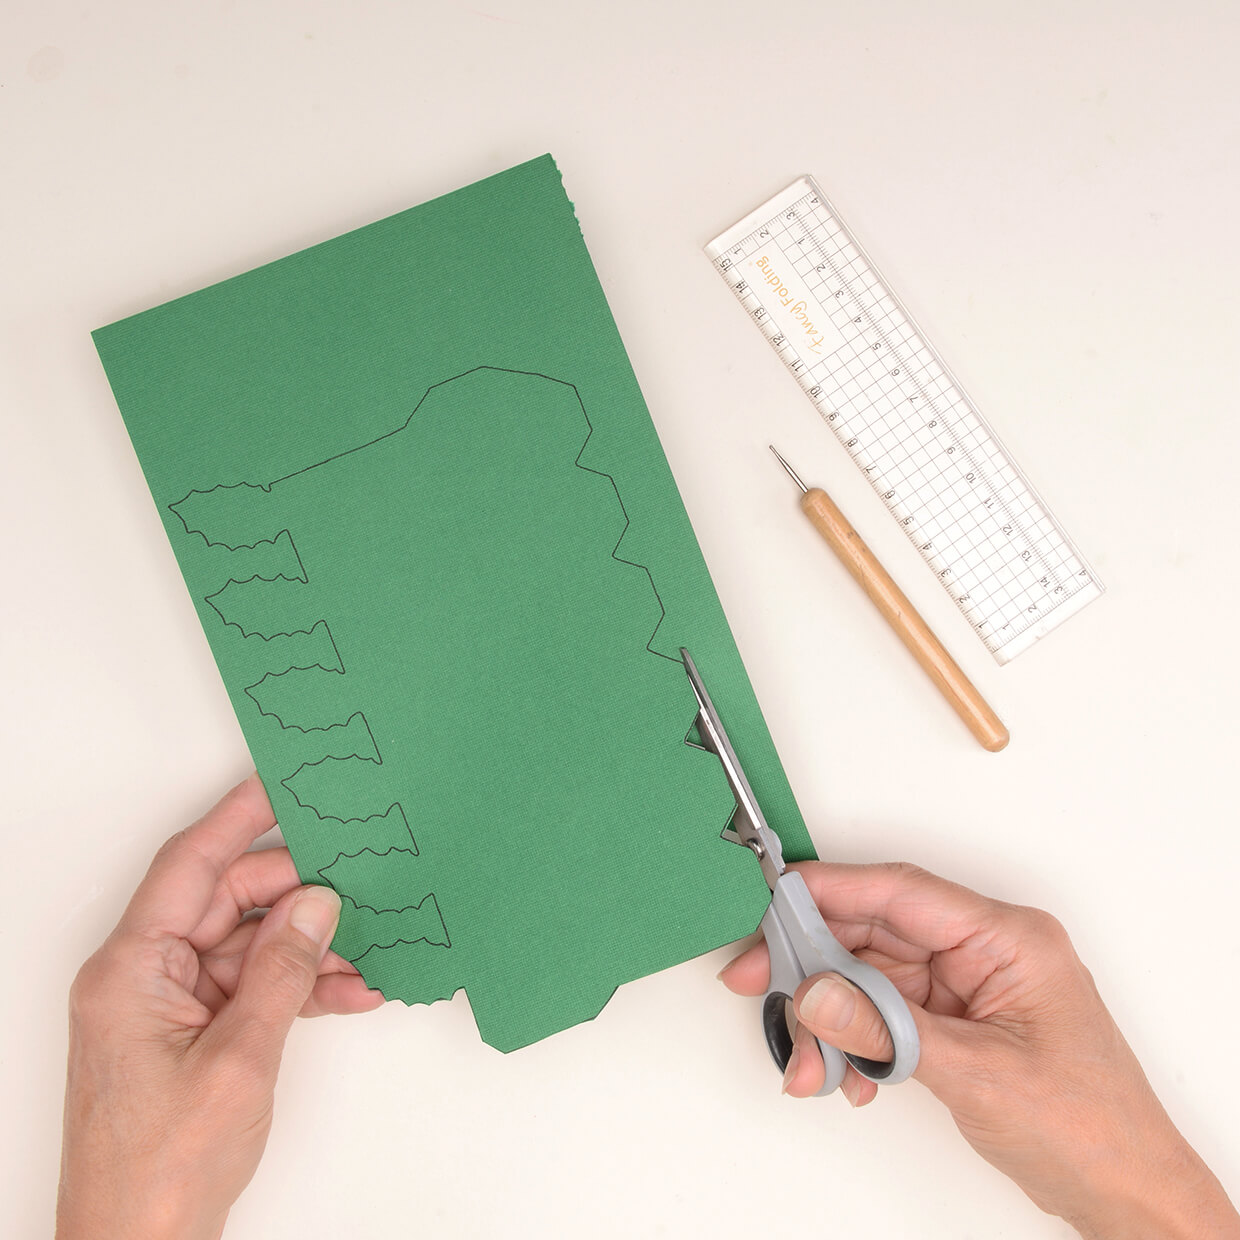
Trace the holly box template onto a piece of green card, then carefully cut out the box base and score along the dotted score lines that are marked on the template.
Step 2
Add your patterned paper
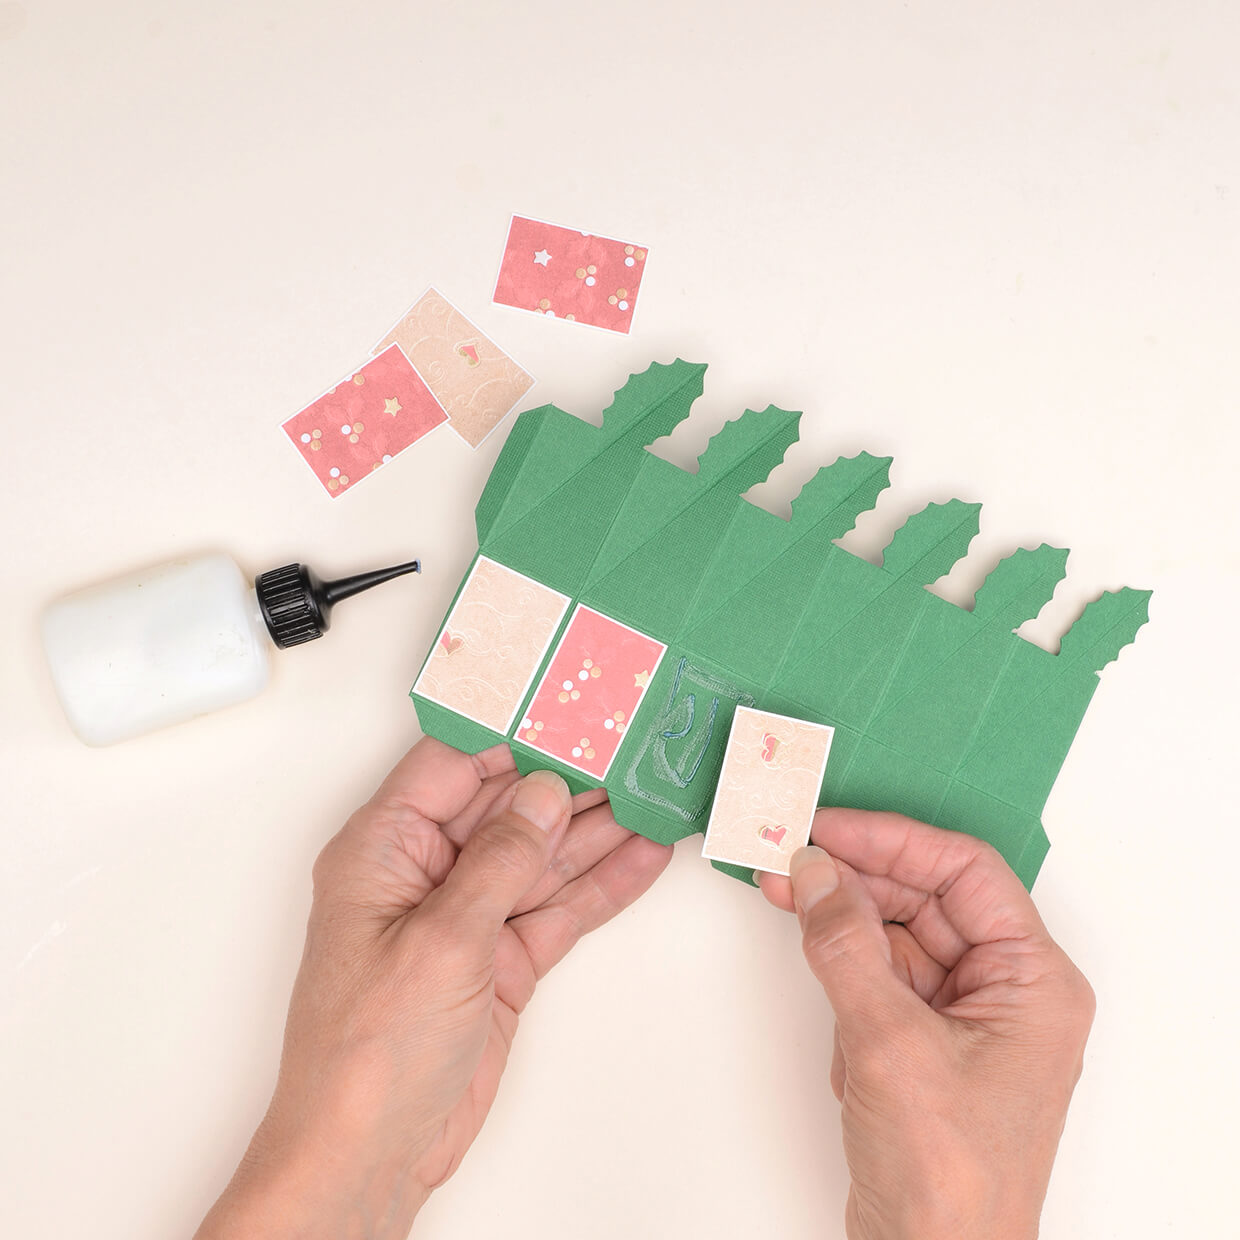
Cut out 12 pieces of contrasting patterned papers, each measuring 25x40mm. Layer six of the patterned papers onto a white card, trimming to leave a very narrow border.
Attach one patterned paper panel to each of the bottom panels of the box base.
Step 3
Add your patterned paper to the top panels
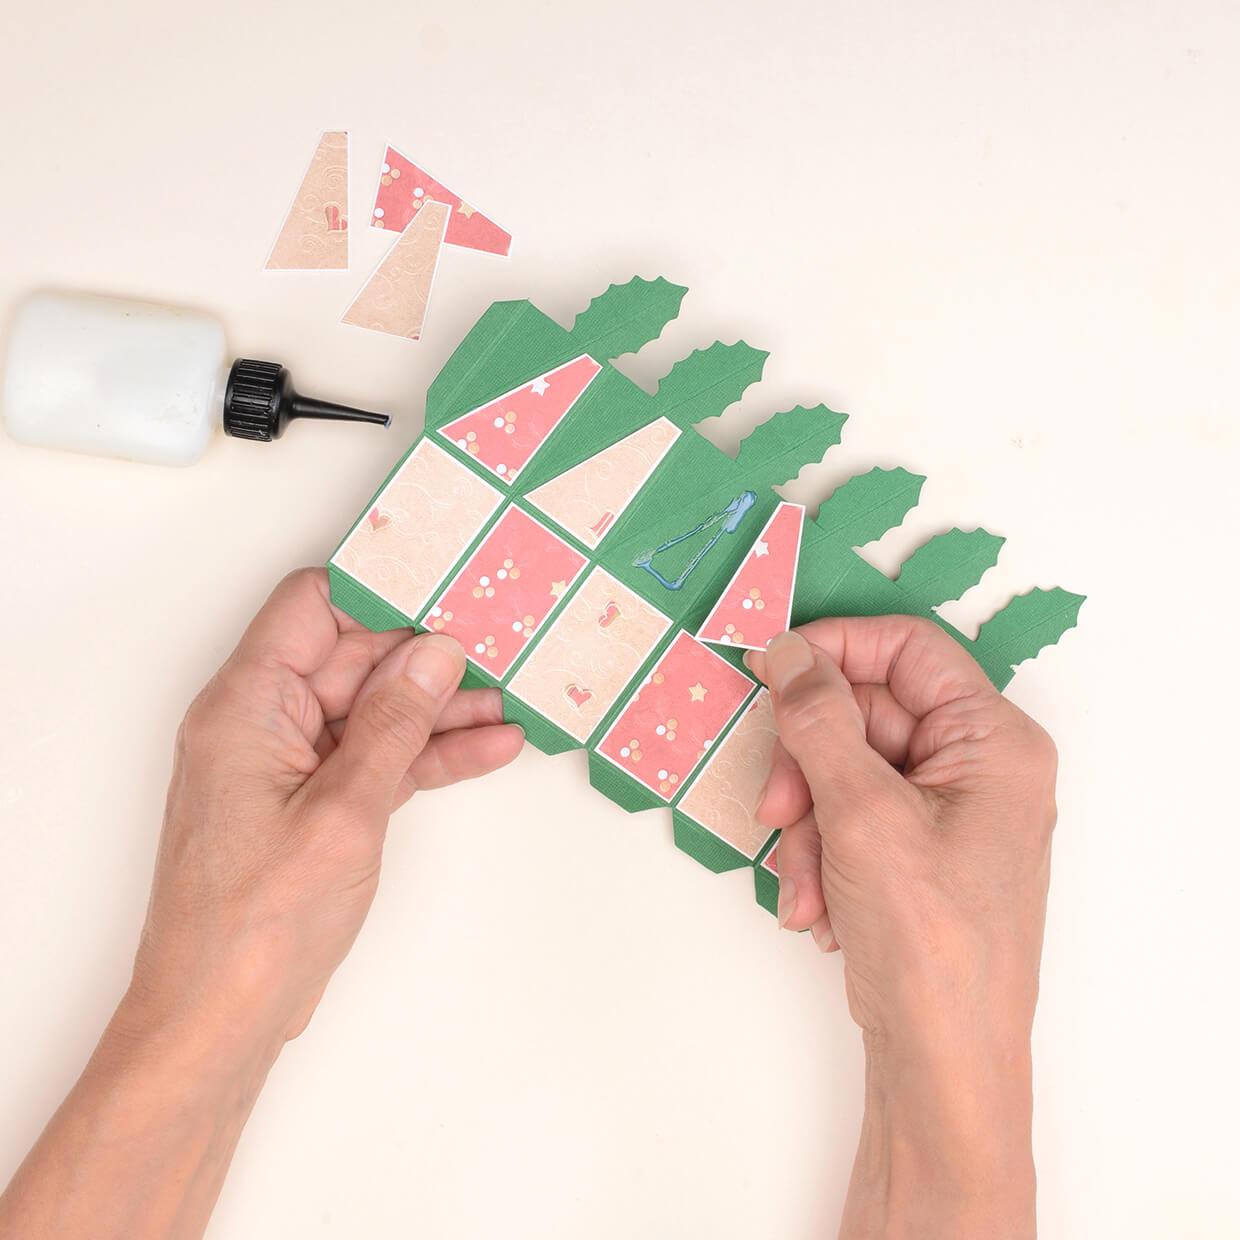
Trim away the top left corners from the remaining pieces of patterned paper so that they fit the top panels of the box.
Layer onto white card, again trimming to leave a very narrow border.
Stick one to each of the top panels of the box, as shown.
Step 4
Assemble your box and finish
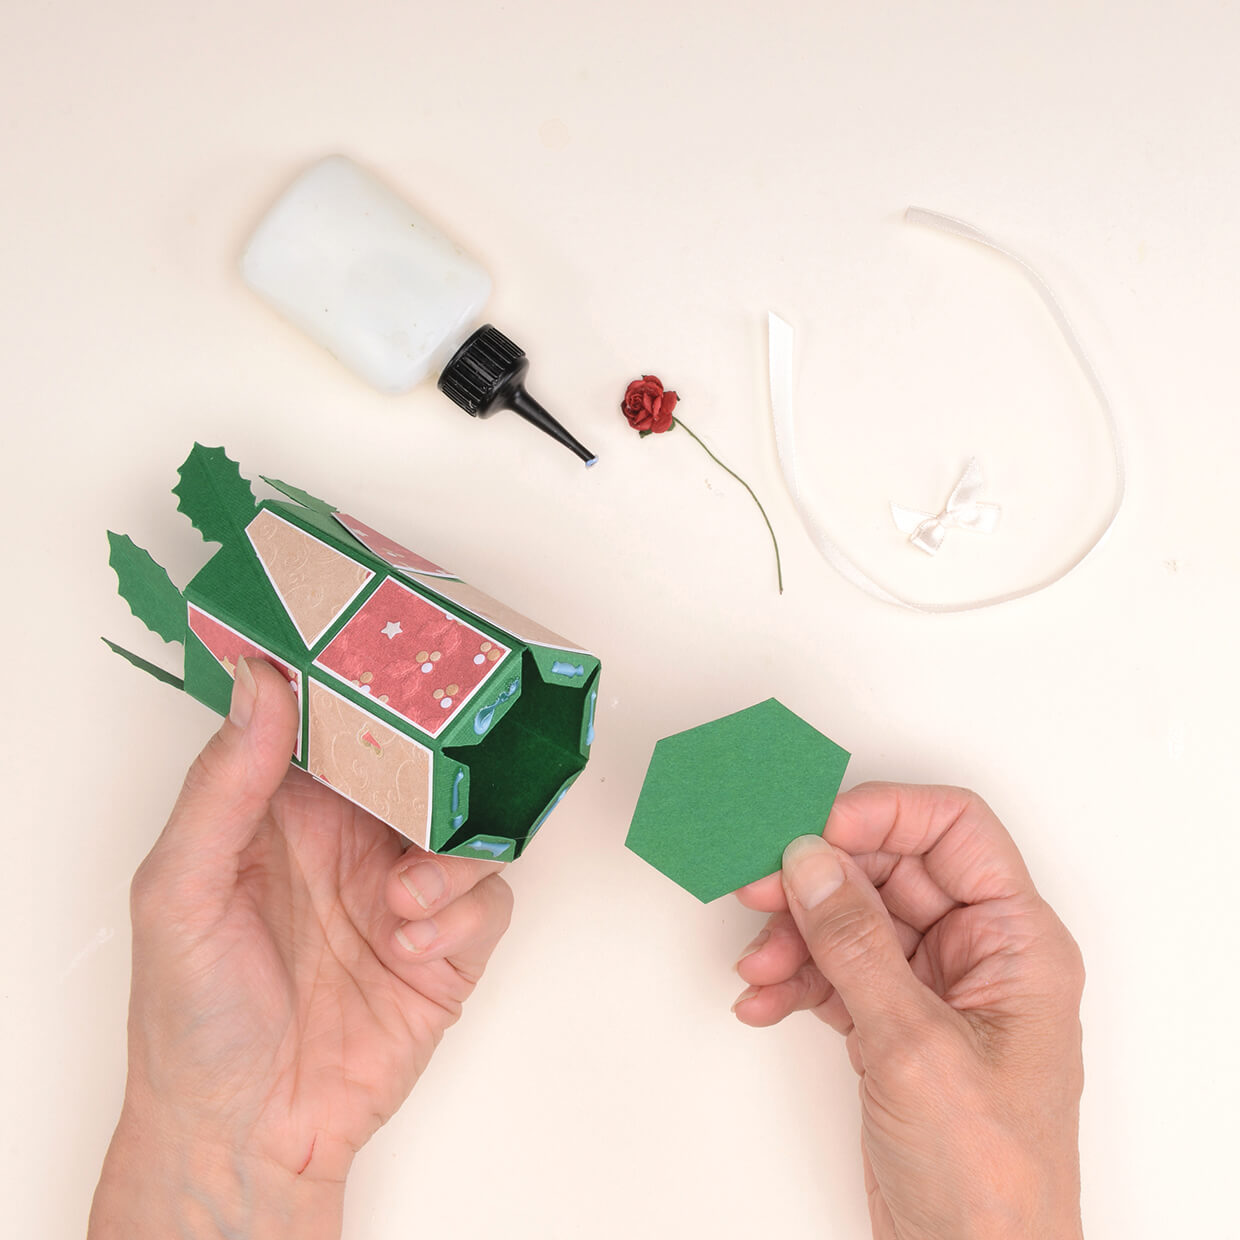
Assemble the box and stick down the side flap to secure it in place. Attach the hexagon base to the bottom of the box using glue.
Twist the box lid to close it, and add a rose to the centre of the top.
Wrap a ribbon around the centre of the box and finish with a bow.
How to make a gift box: Lantern design
Step 1
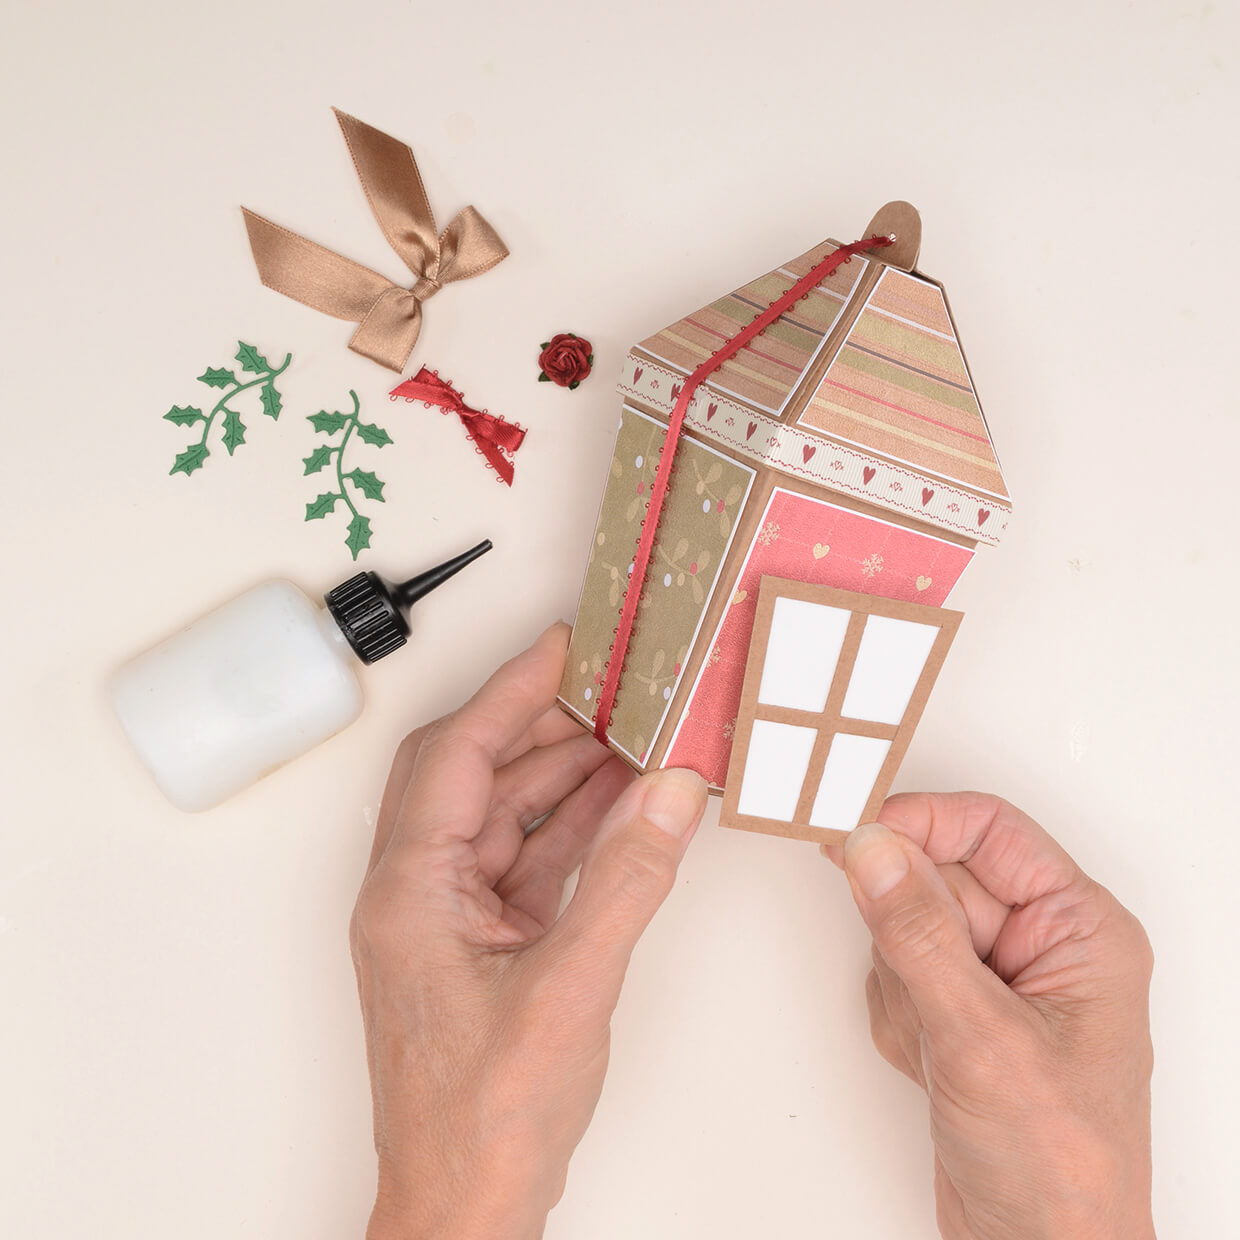
Trace the template and cut out
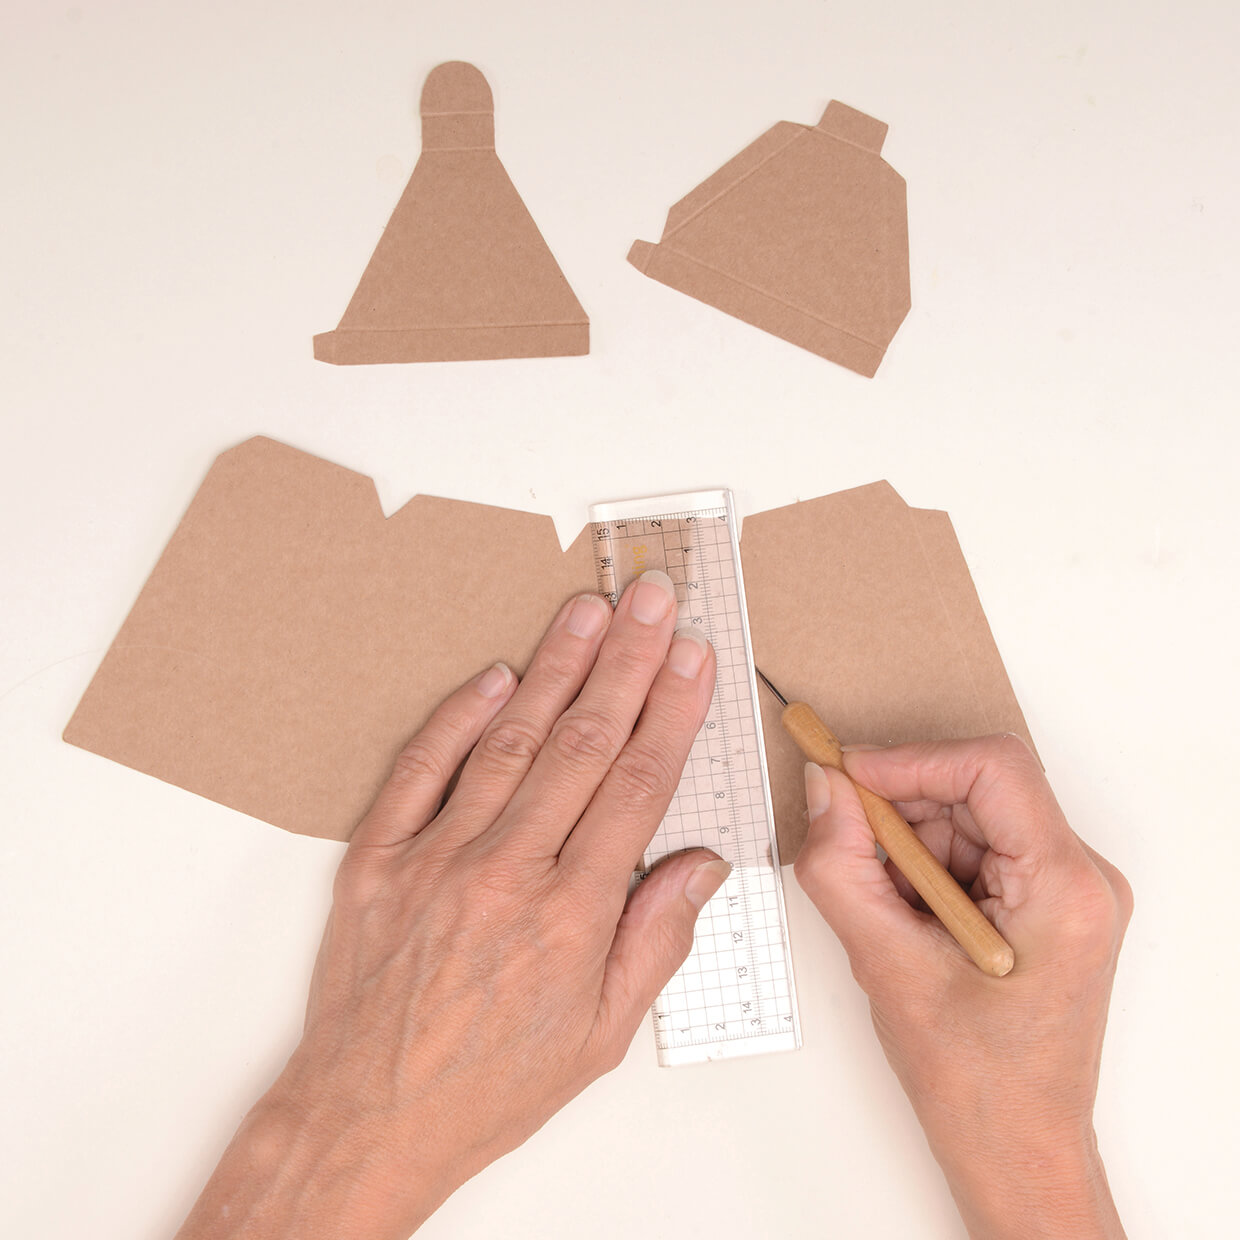
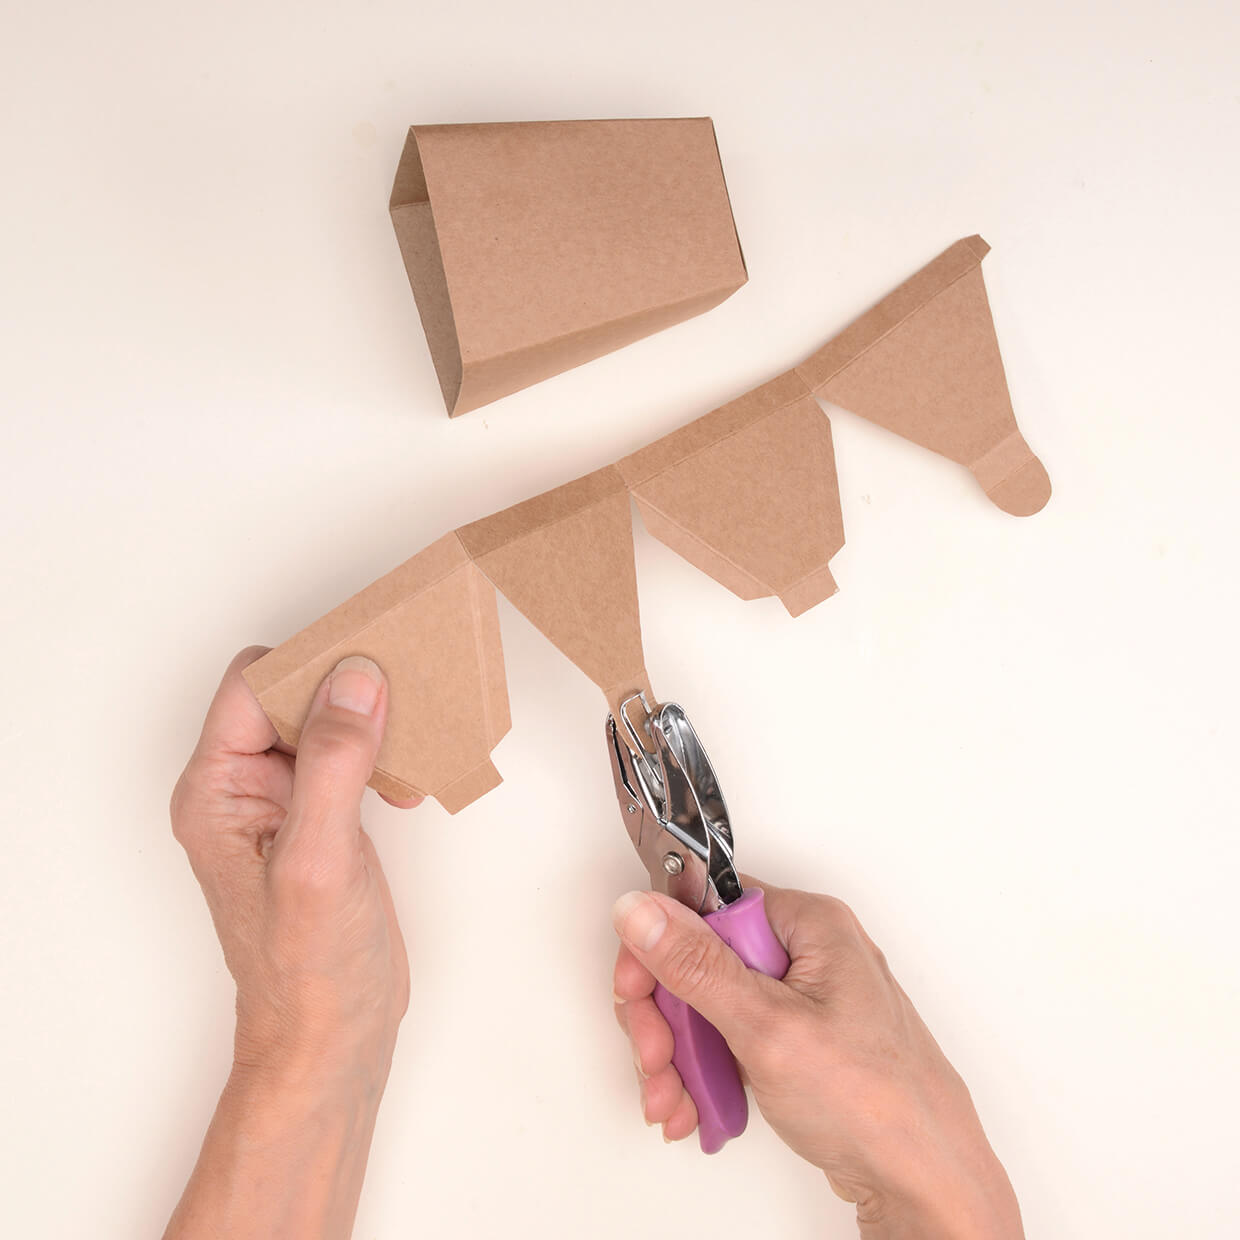
Trace two of each of the sides and lid of the lantern box template onto Kraft card. Carefully cut out and score along the dotted lines that are marked on the template.
Step 2
Assemble the box and stick with glue
Attach the sides of the base of the box together using glue, then add a 50mm square of Kraft card as the base.
Stick the four pieces of the lid together and then punch a hole in the two tabs at the top.
Step 3
The lid of the lantern
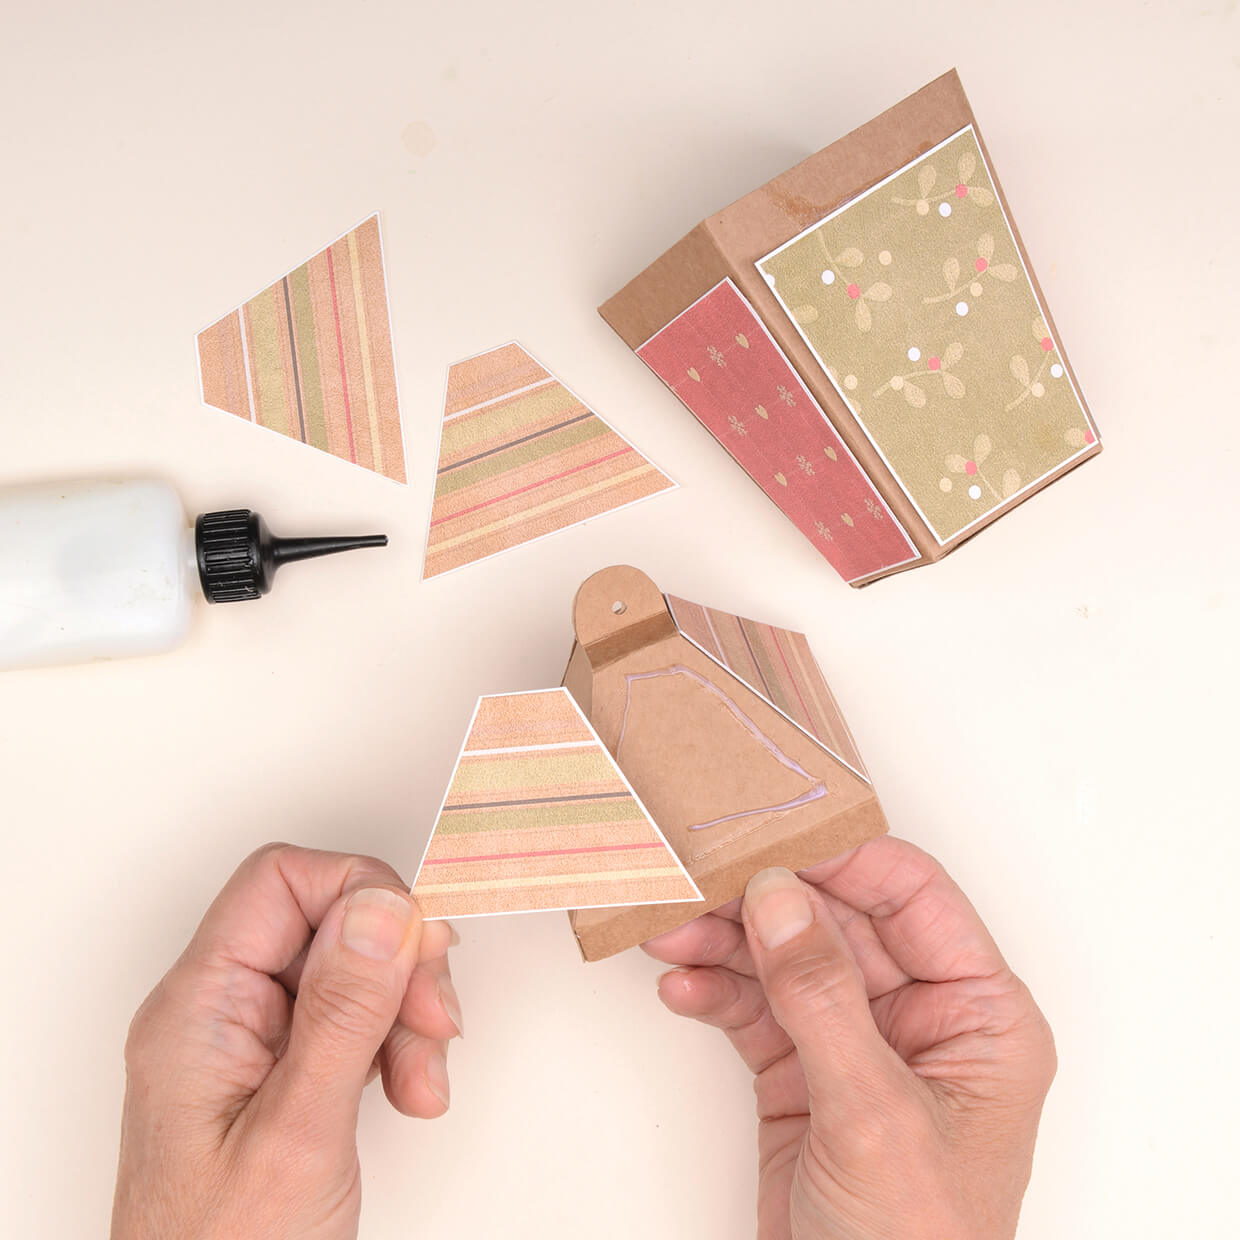
Cut eight pieces of patterned paper slightly smaller than the side and lid of the box.
Layer onto white card, trimming to leave a very narrow border.
Stick in place.
Glue ribbon around the bottom of the lid.
Step 4
Cut the windows and finish the box
Cut a window frame from Kraft card, back with white card and stick in place. Add die-cut holly and a paper rose to the bottom of the window.
Wrap ribbon around the box, threading through the hole at the top.
Add two bows, to finish.
Top tip: Finish off by lining your boxes with tissue paper to give your Christmas gifts an extra luxurious touch.
