Step 1
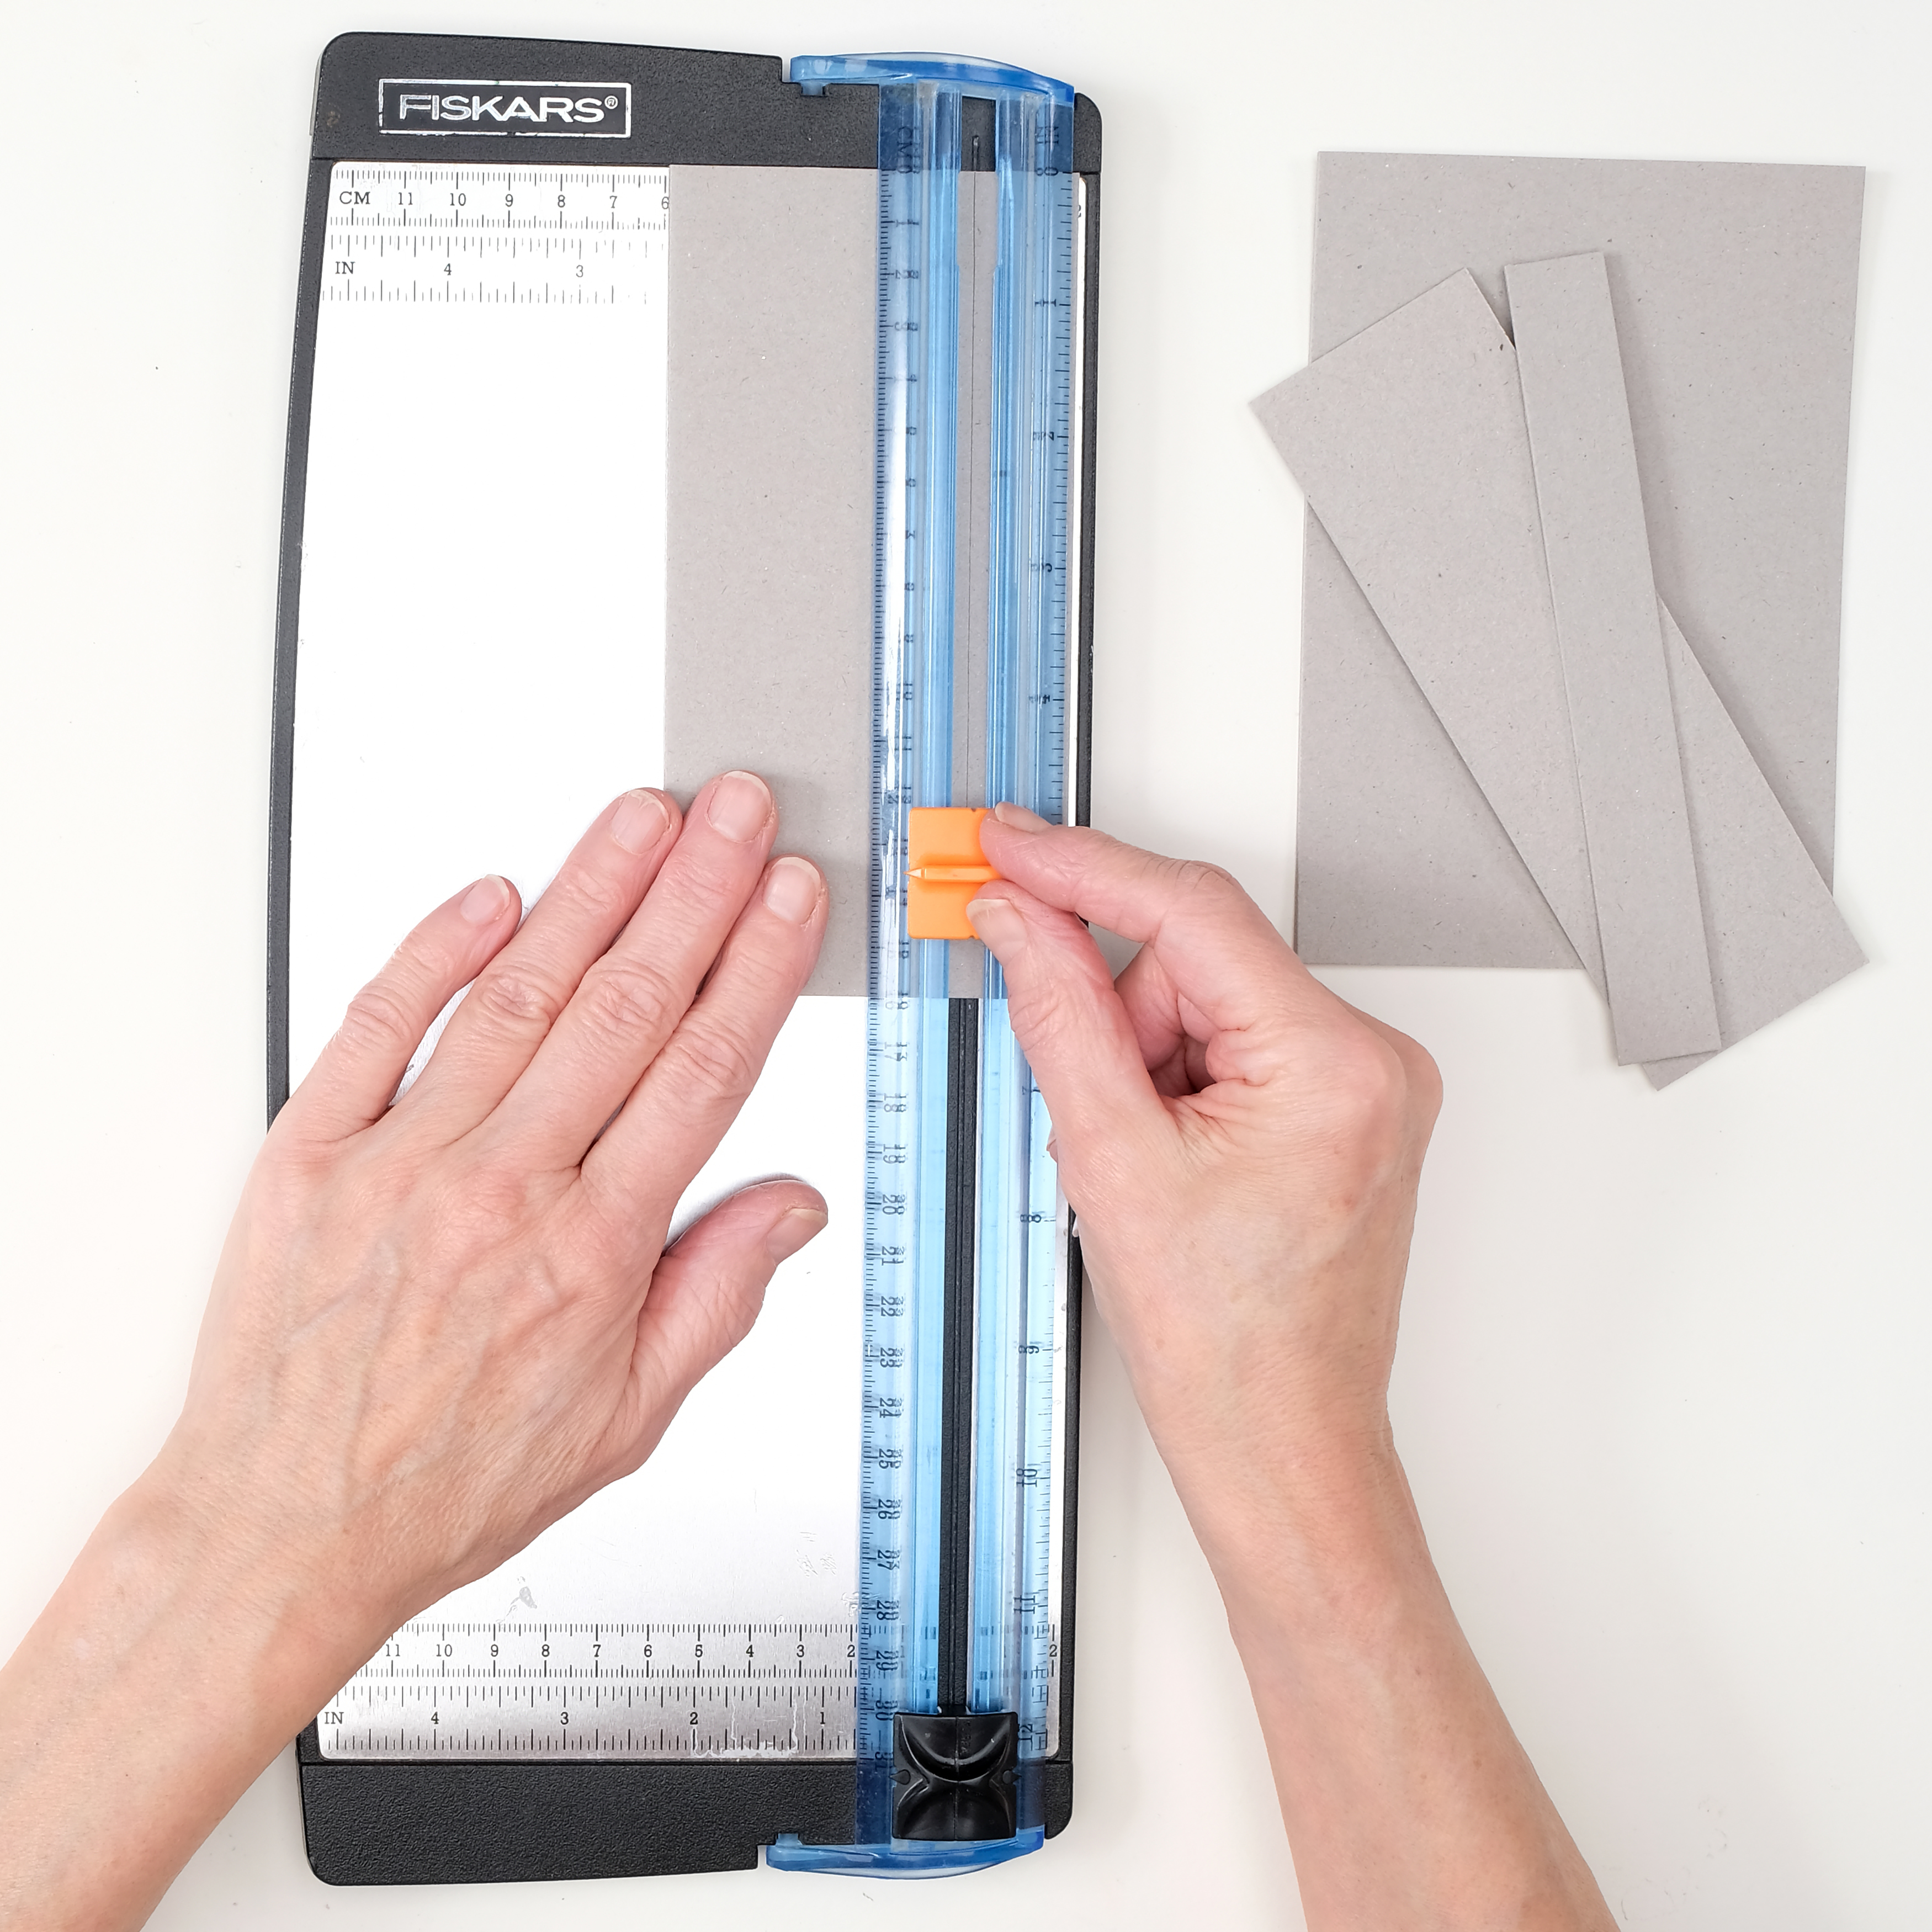
Cut a piece of mountboard to 28.5 x 16cm, then cut it into five pieces with the following measurements: 8 x 16cm, 2 x 16cm, 11.5 x 16cm, 2 x 16cm and 5 x 16cm. If you don’t have mountboard, thick card works just as well – try using the back panel of a sketchbook or corrugated card from an old cardboard box. You could even cut up an old cereal box and glue pieces together to double the thickness. This is the backbone of your DIY photo album.
Step 2
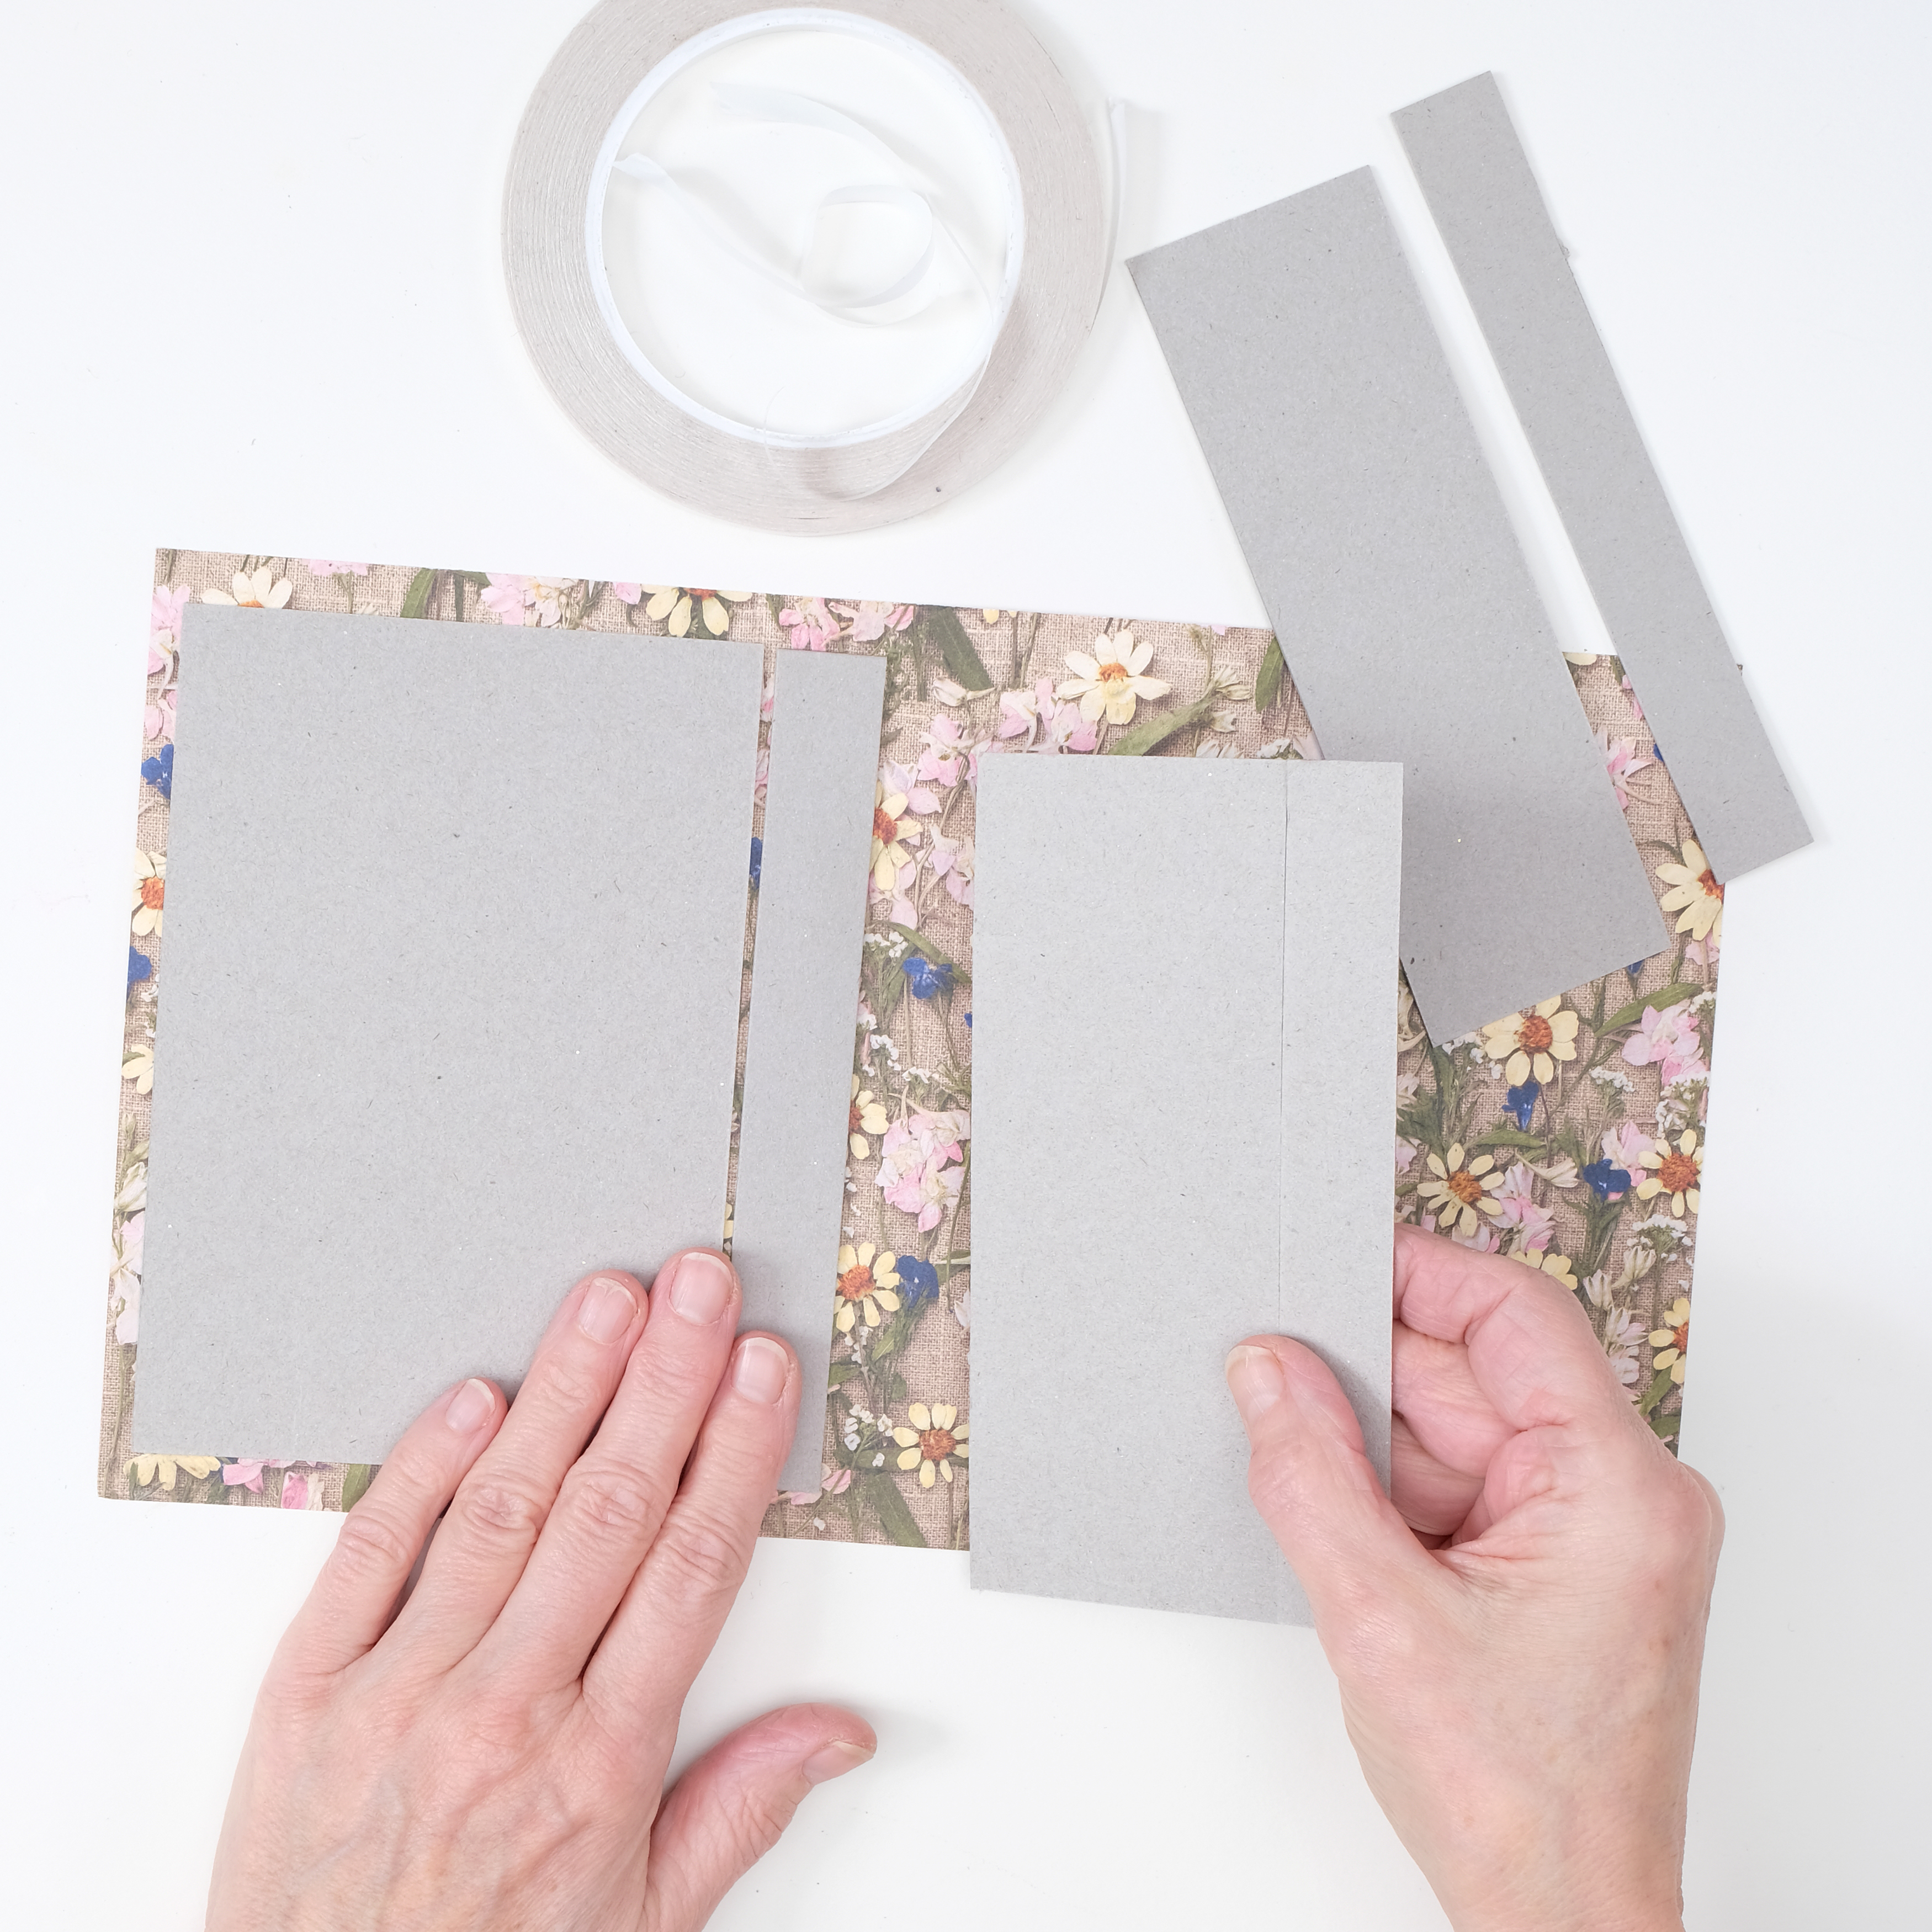
Attach the pieces to a 30 x 18cm piece of paper, leaving a 3mm gap between each panel and a narrow border around the edge. Fold the edges over to conceal the edges of your mountboard or thick card.
Position the pieces as follows, starting from the left-hand side of the paper:
1: 8 x 16cm (front cover, left edge)
2: 2 x 16cm (first spine)
3: 11.5 x 16cm (back cover)
4: 2 x 16cm (second spine)
5: 5 x 16cm, (front cover, right edge)
Step 3
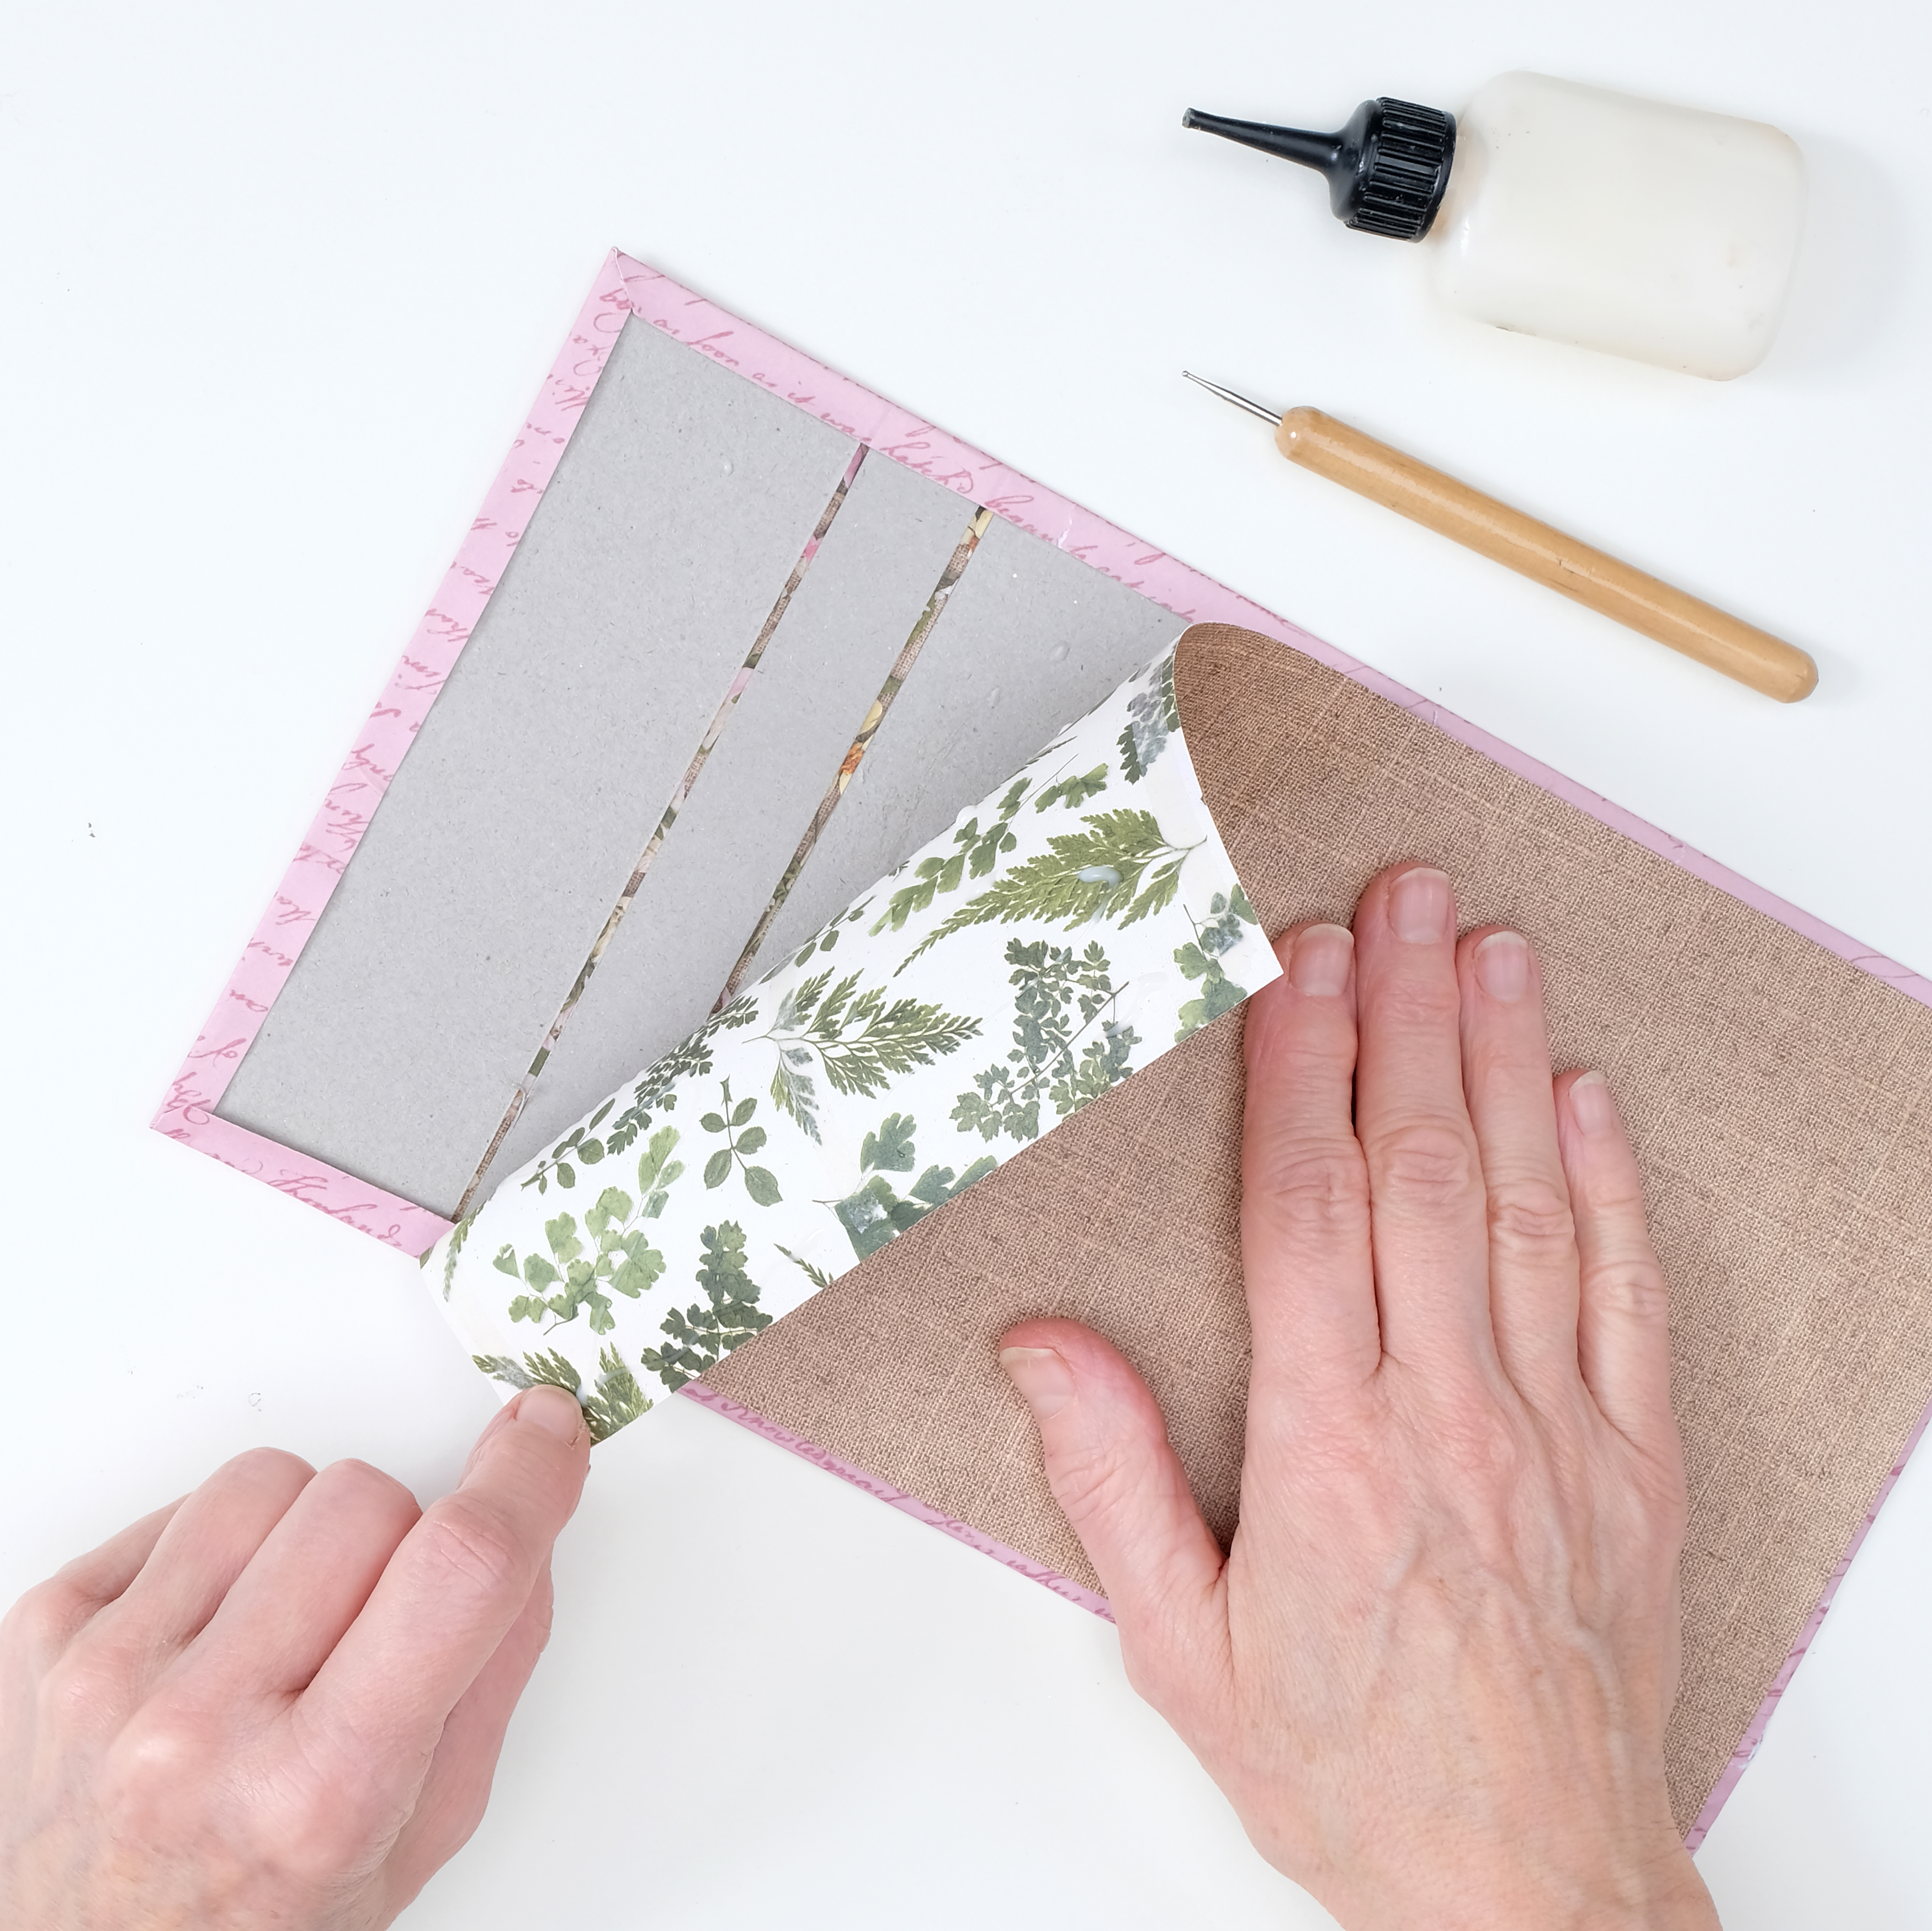
Cover the inside of the photo album with a 28 x 15cm piece of paper (we’re using hessian patterned paper), then score and fold between each of the mount board panels. This will allow the album to fold nicely.
Step 4
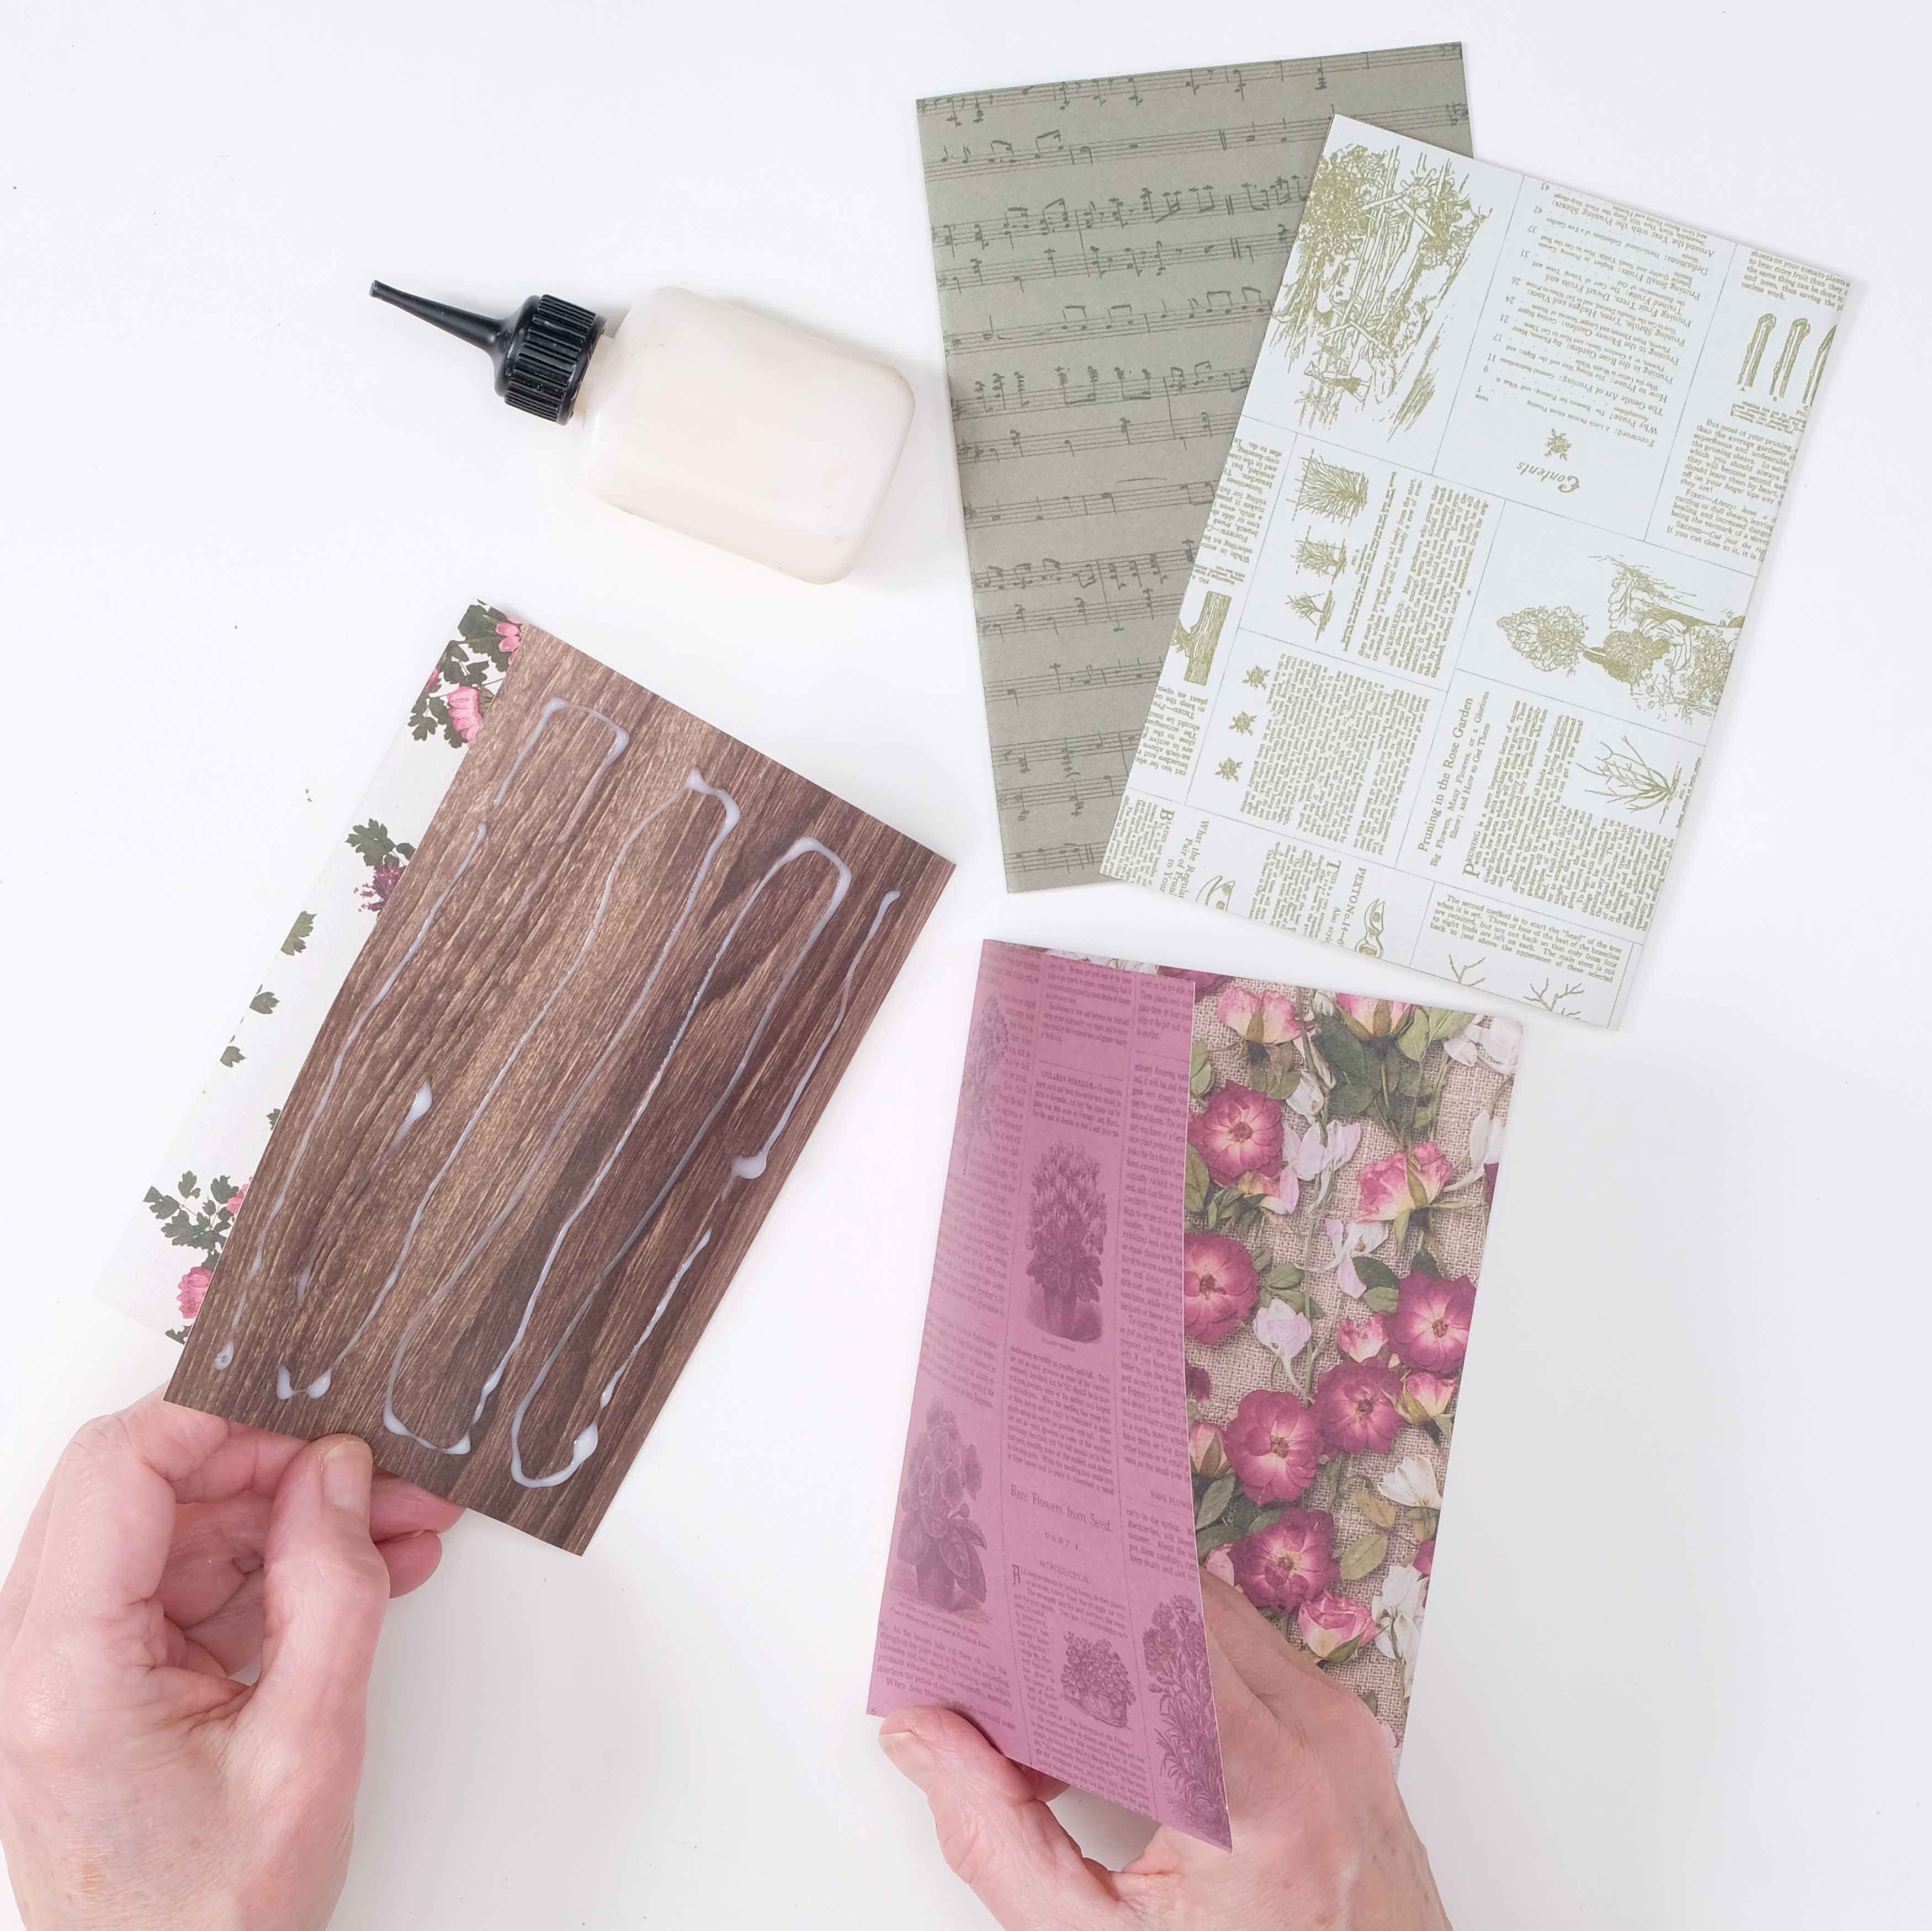
To make the pages for the album. Cut 10 pieces of paper (or more if you want more pages!), each measuring 21 x 15cm. Fold each piece in half and stick the folded pages together front to back to create a book.
Step 5
Punch a scalloped edge along a 7 x 15cm piece of ivory card, and along the long edge score at 2.5cm and 3.5cm to create a binding for your pages. Add to the front and back pages of the album. Attach to the centre panel of the cover.
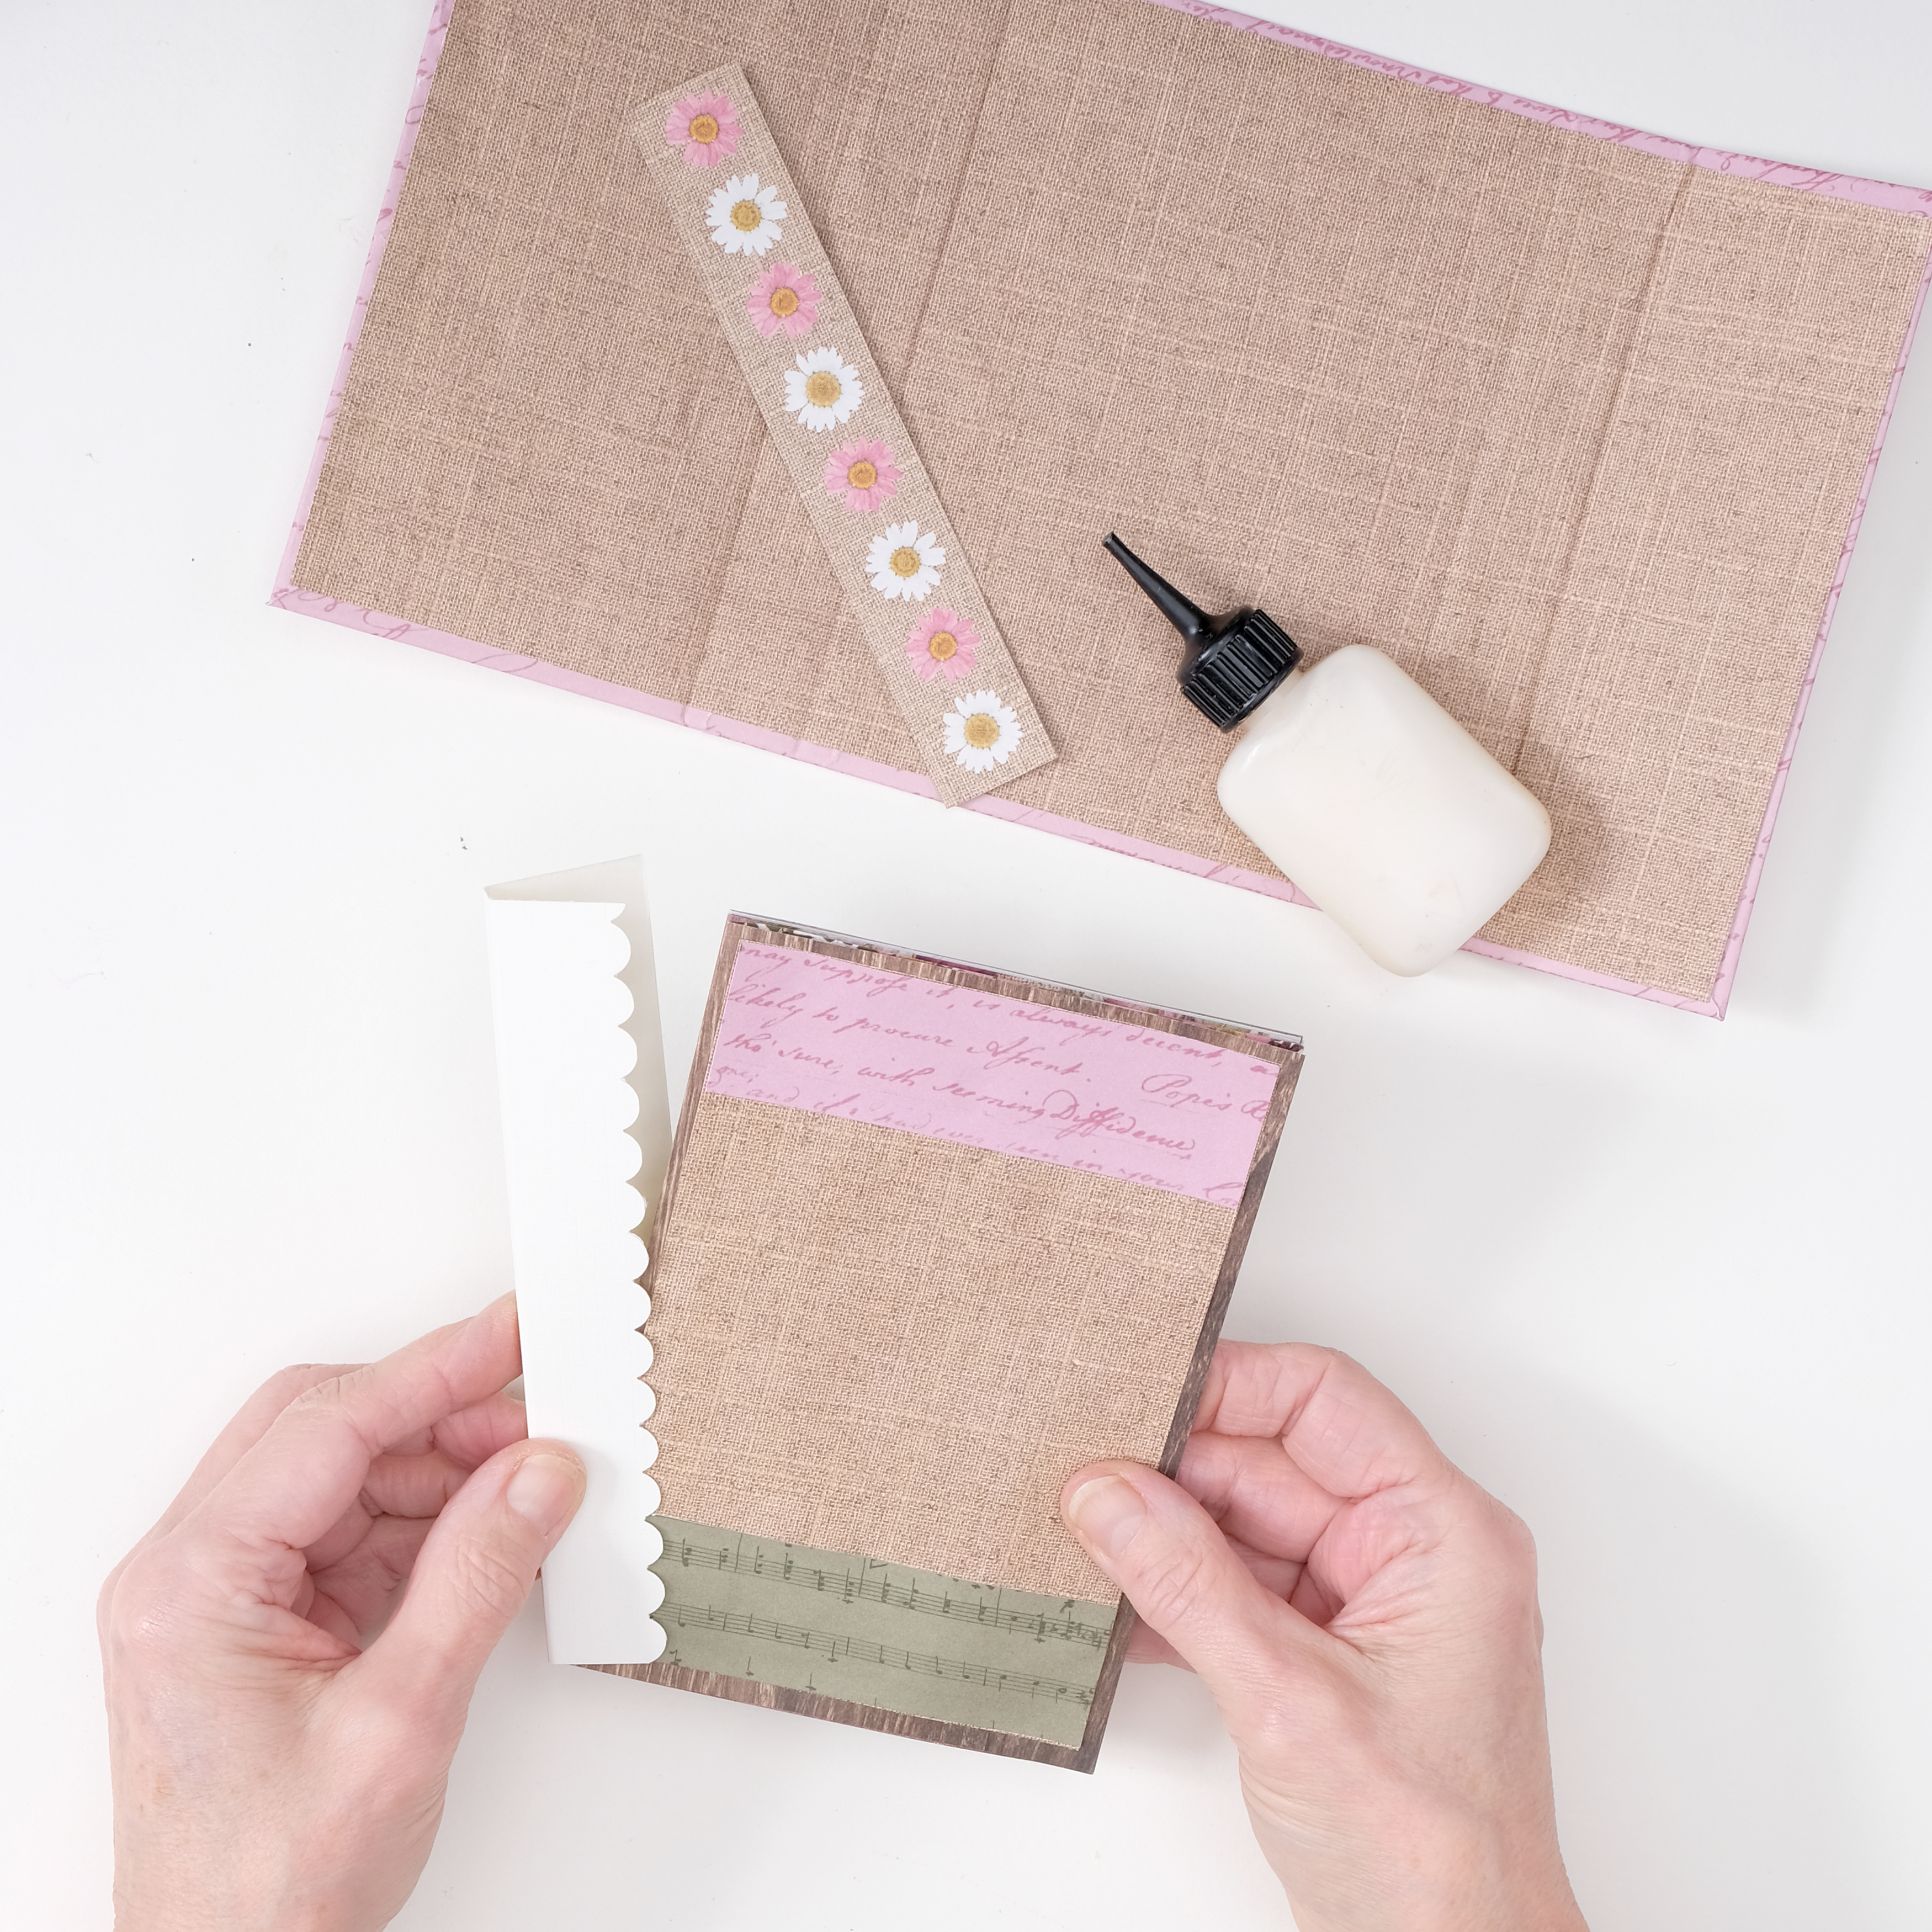
Step 6
Cover a 10 x 14.5cm piece of card with paper and decorate. We’ve added a pressed flower topper to ours! Attach to the front page and add the finishing touches to your decoration (or leave it blank if you would prefer). We’ve added fussy cut flowers and a die-cut petal label, and left space for a name.
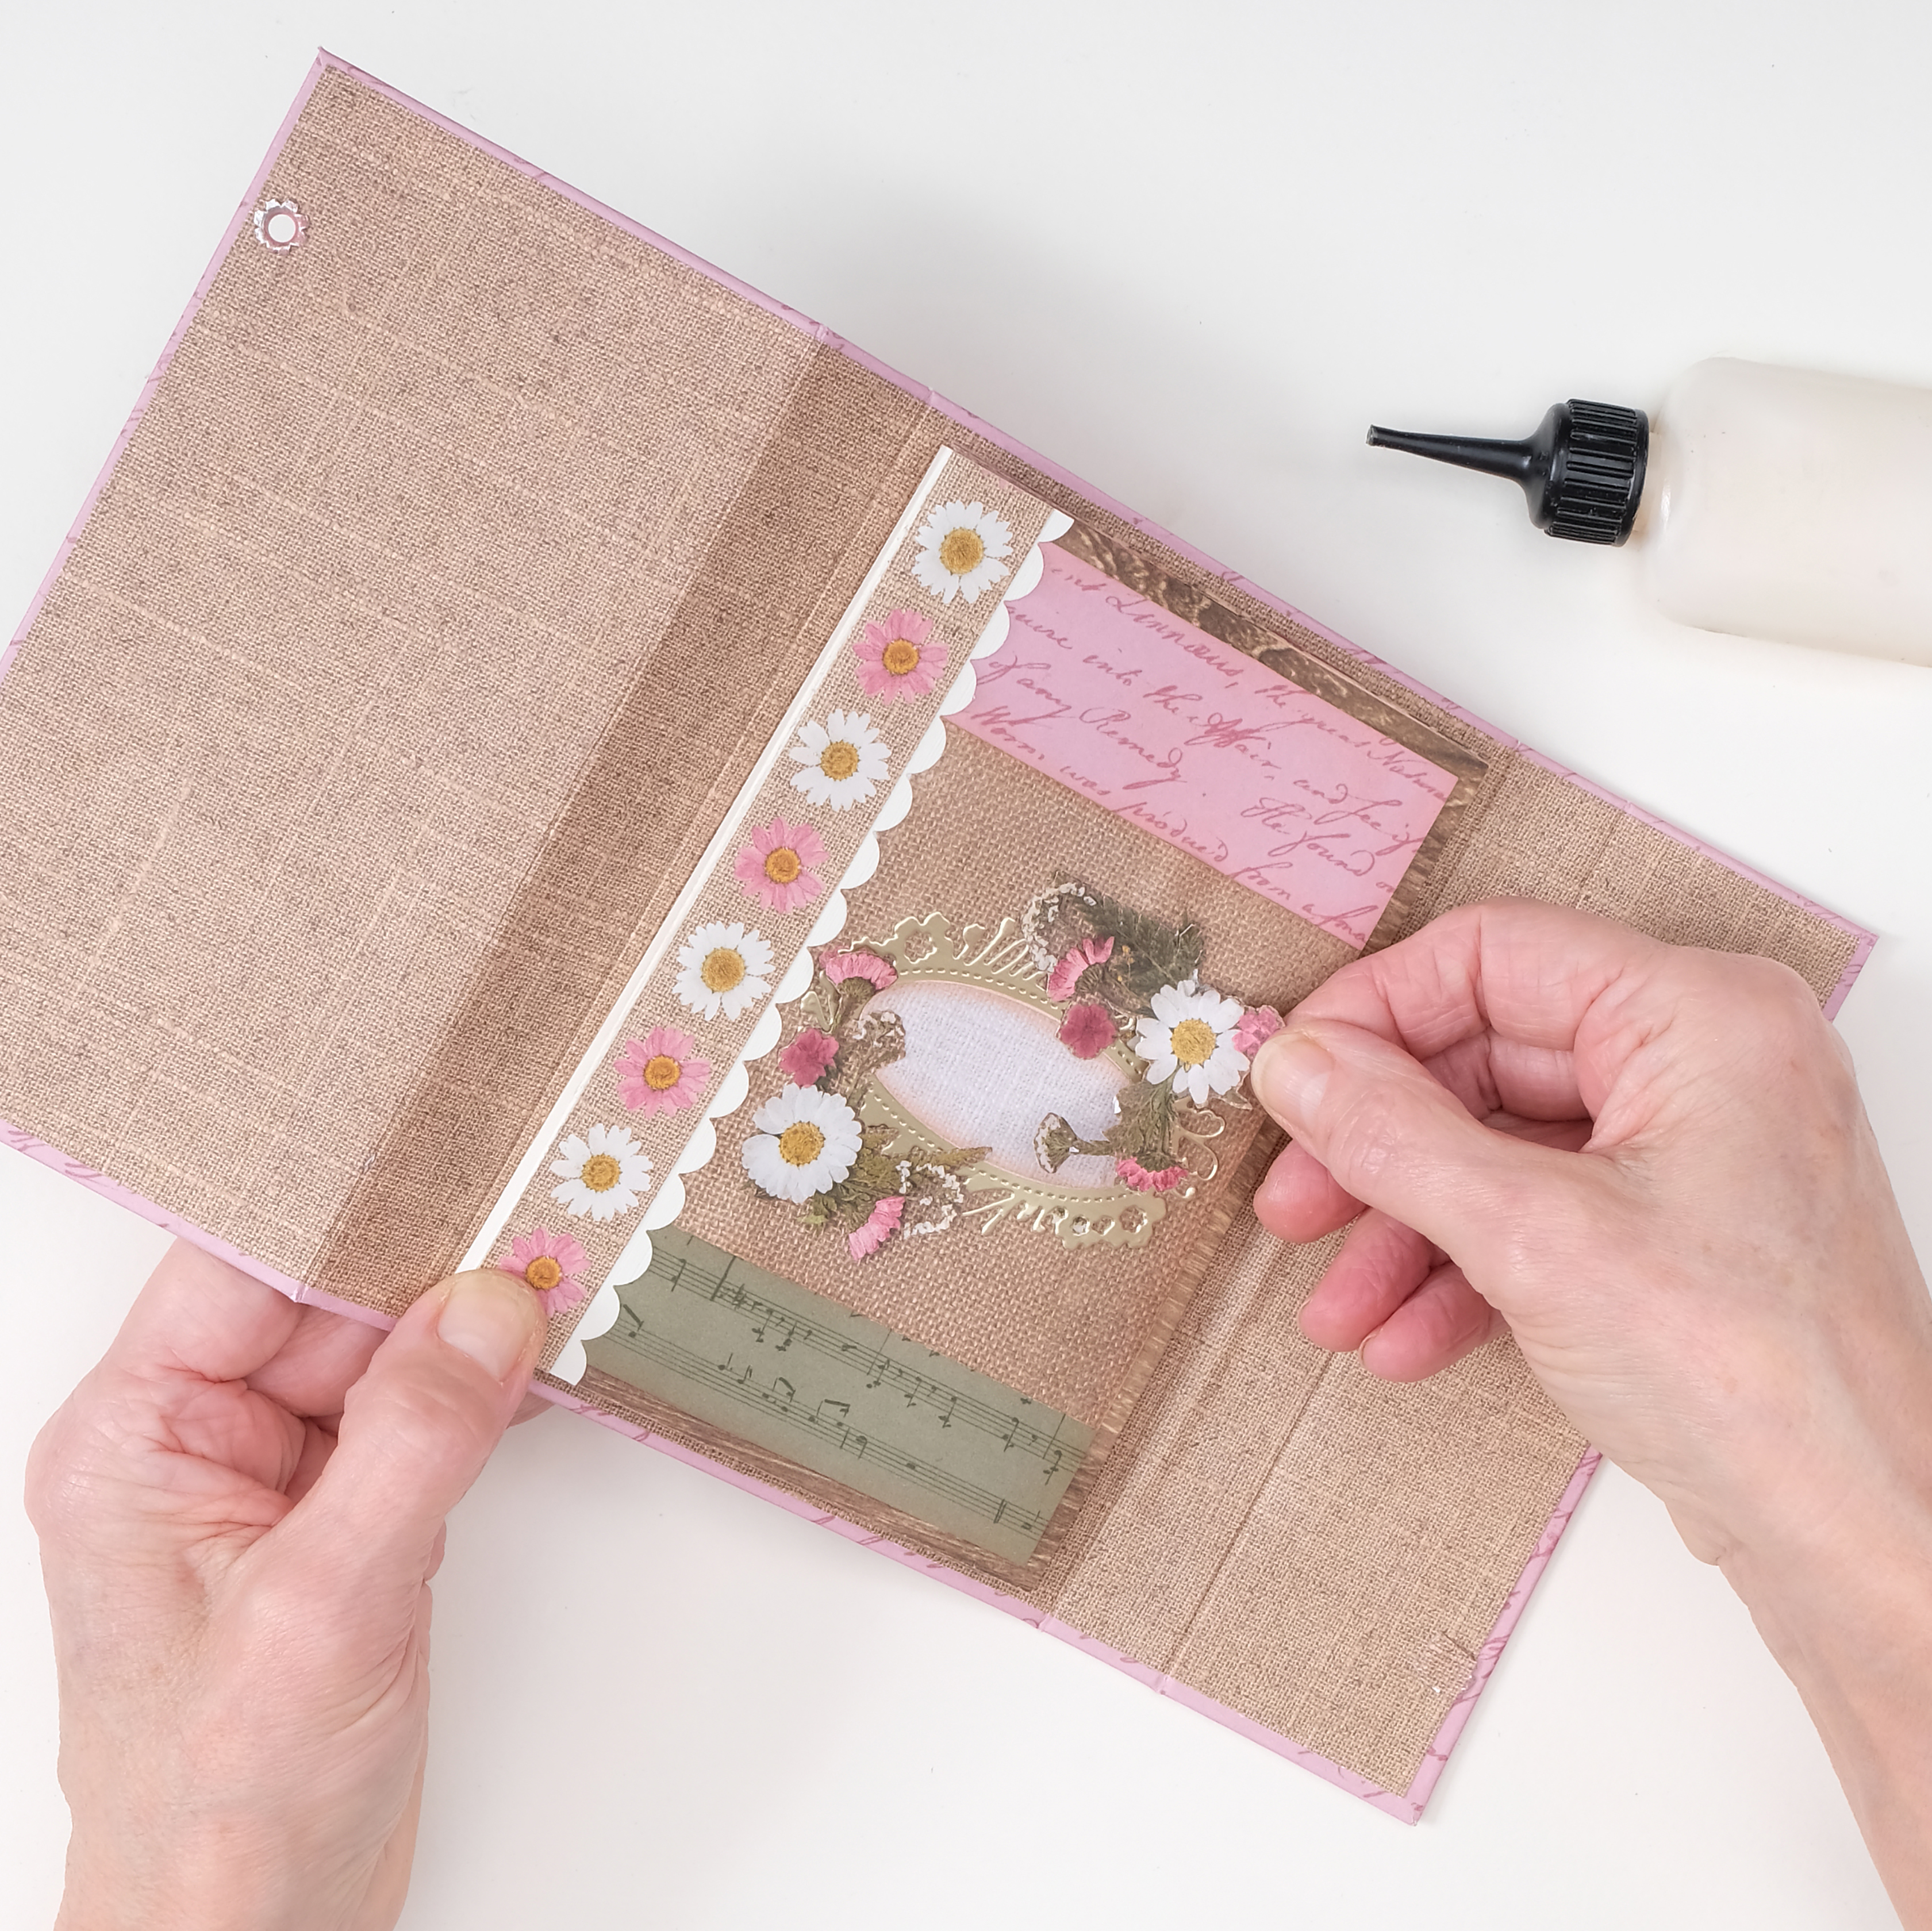
Step 7
Use a hole punch to cut two holes into each of the front covers (the 8 x 16cm and 5 x 16cm pieces). Make the sure holes on the two front covers are aligned, and add an eyelet to each with an eyelet setter. Thread with ribbon through them both, securing the album and tie in a bow.
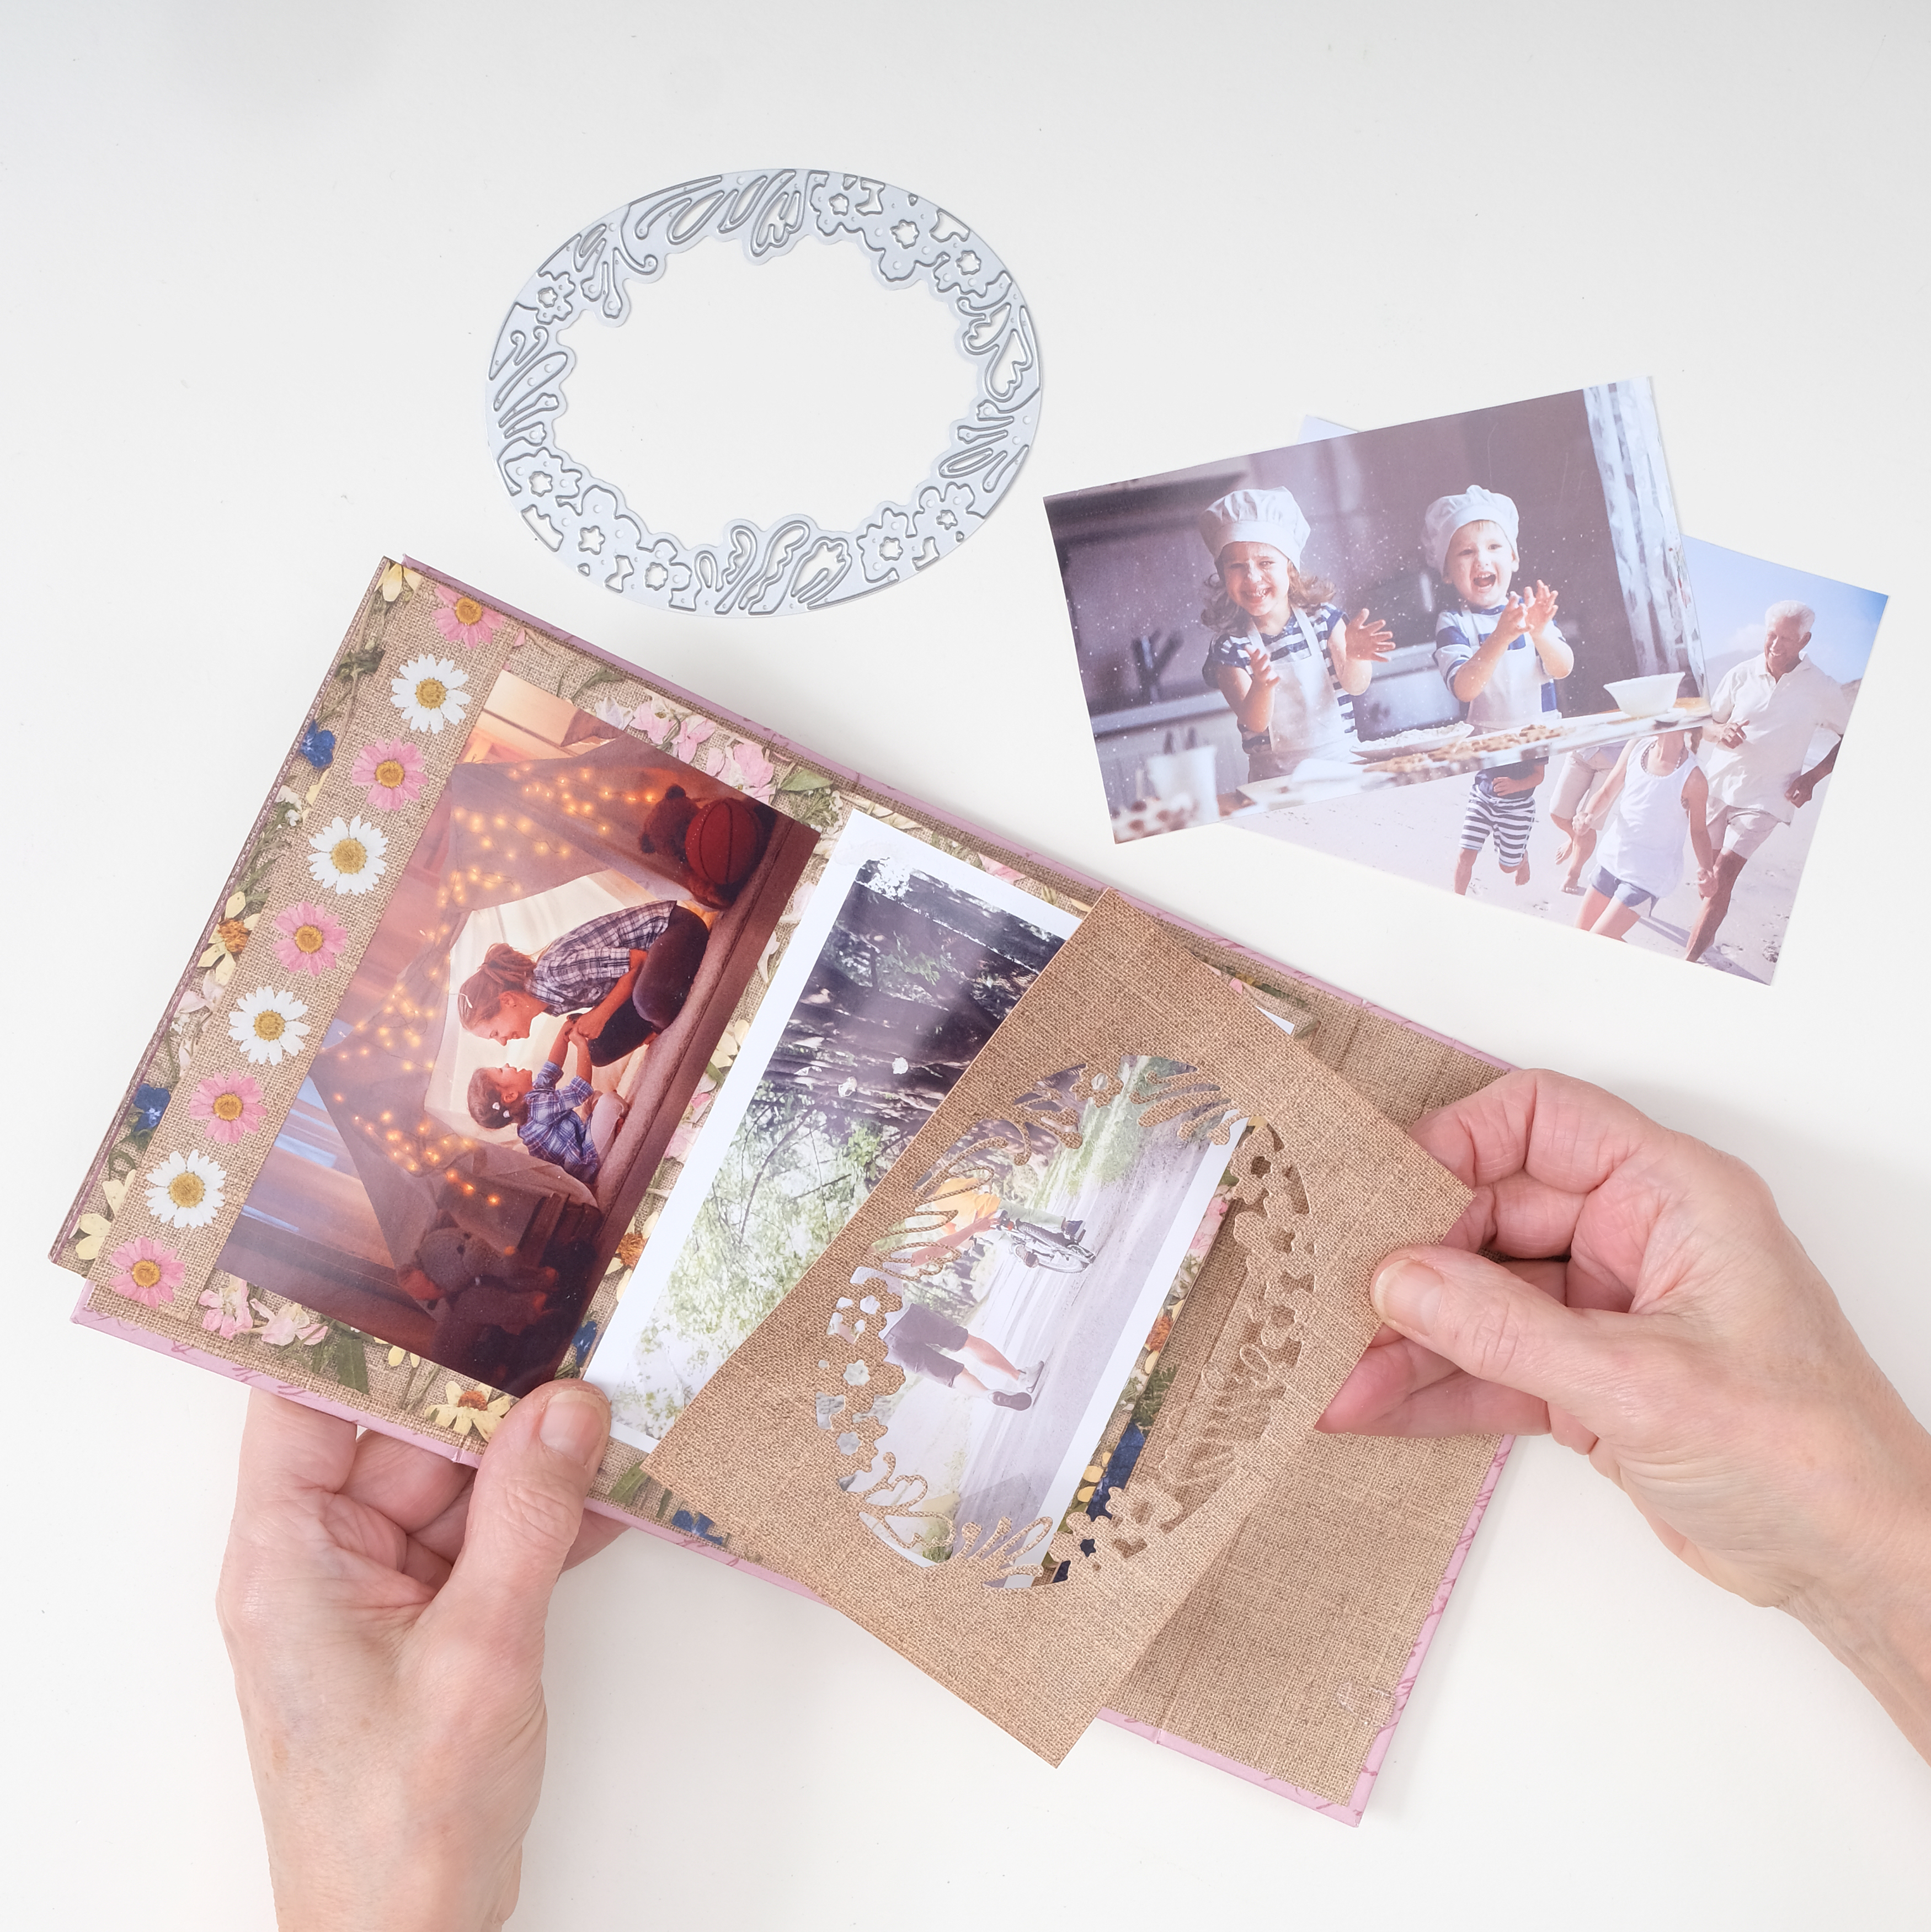
Step 8
Now decorate your cover! We’ve die cut a small ornate frame from beige card and added an oval of pink text paper to give the impression of a photo frame. Add embellishments as the finishing touch.
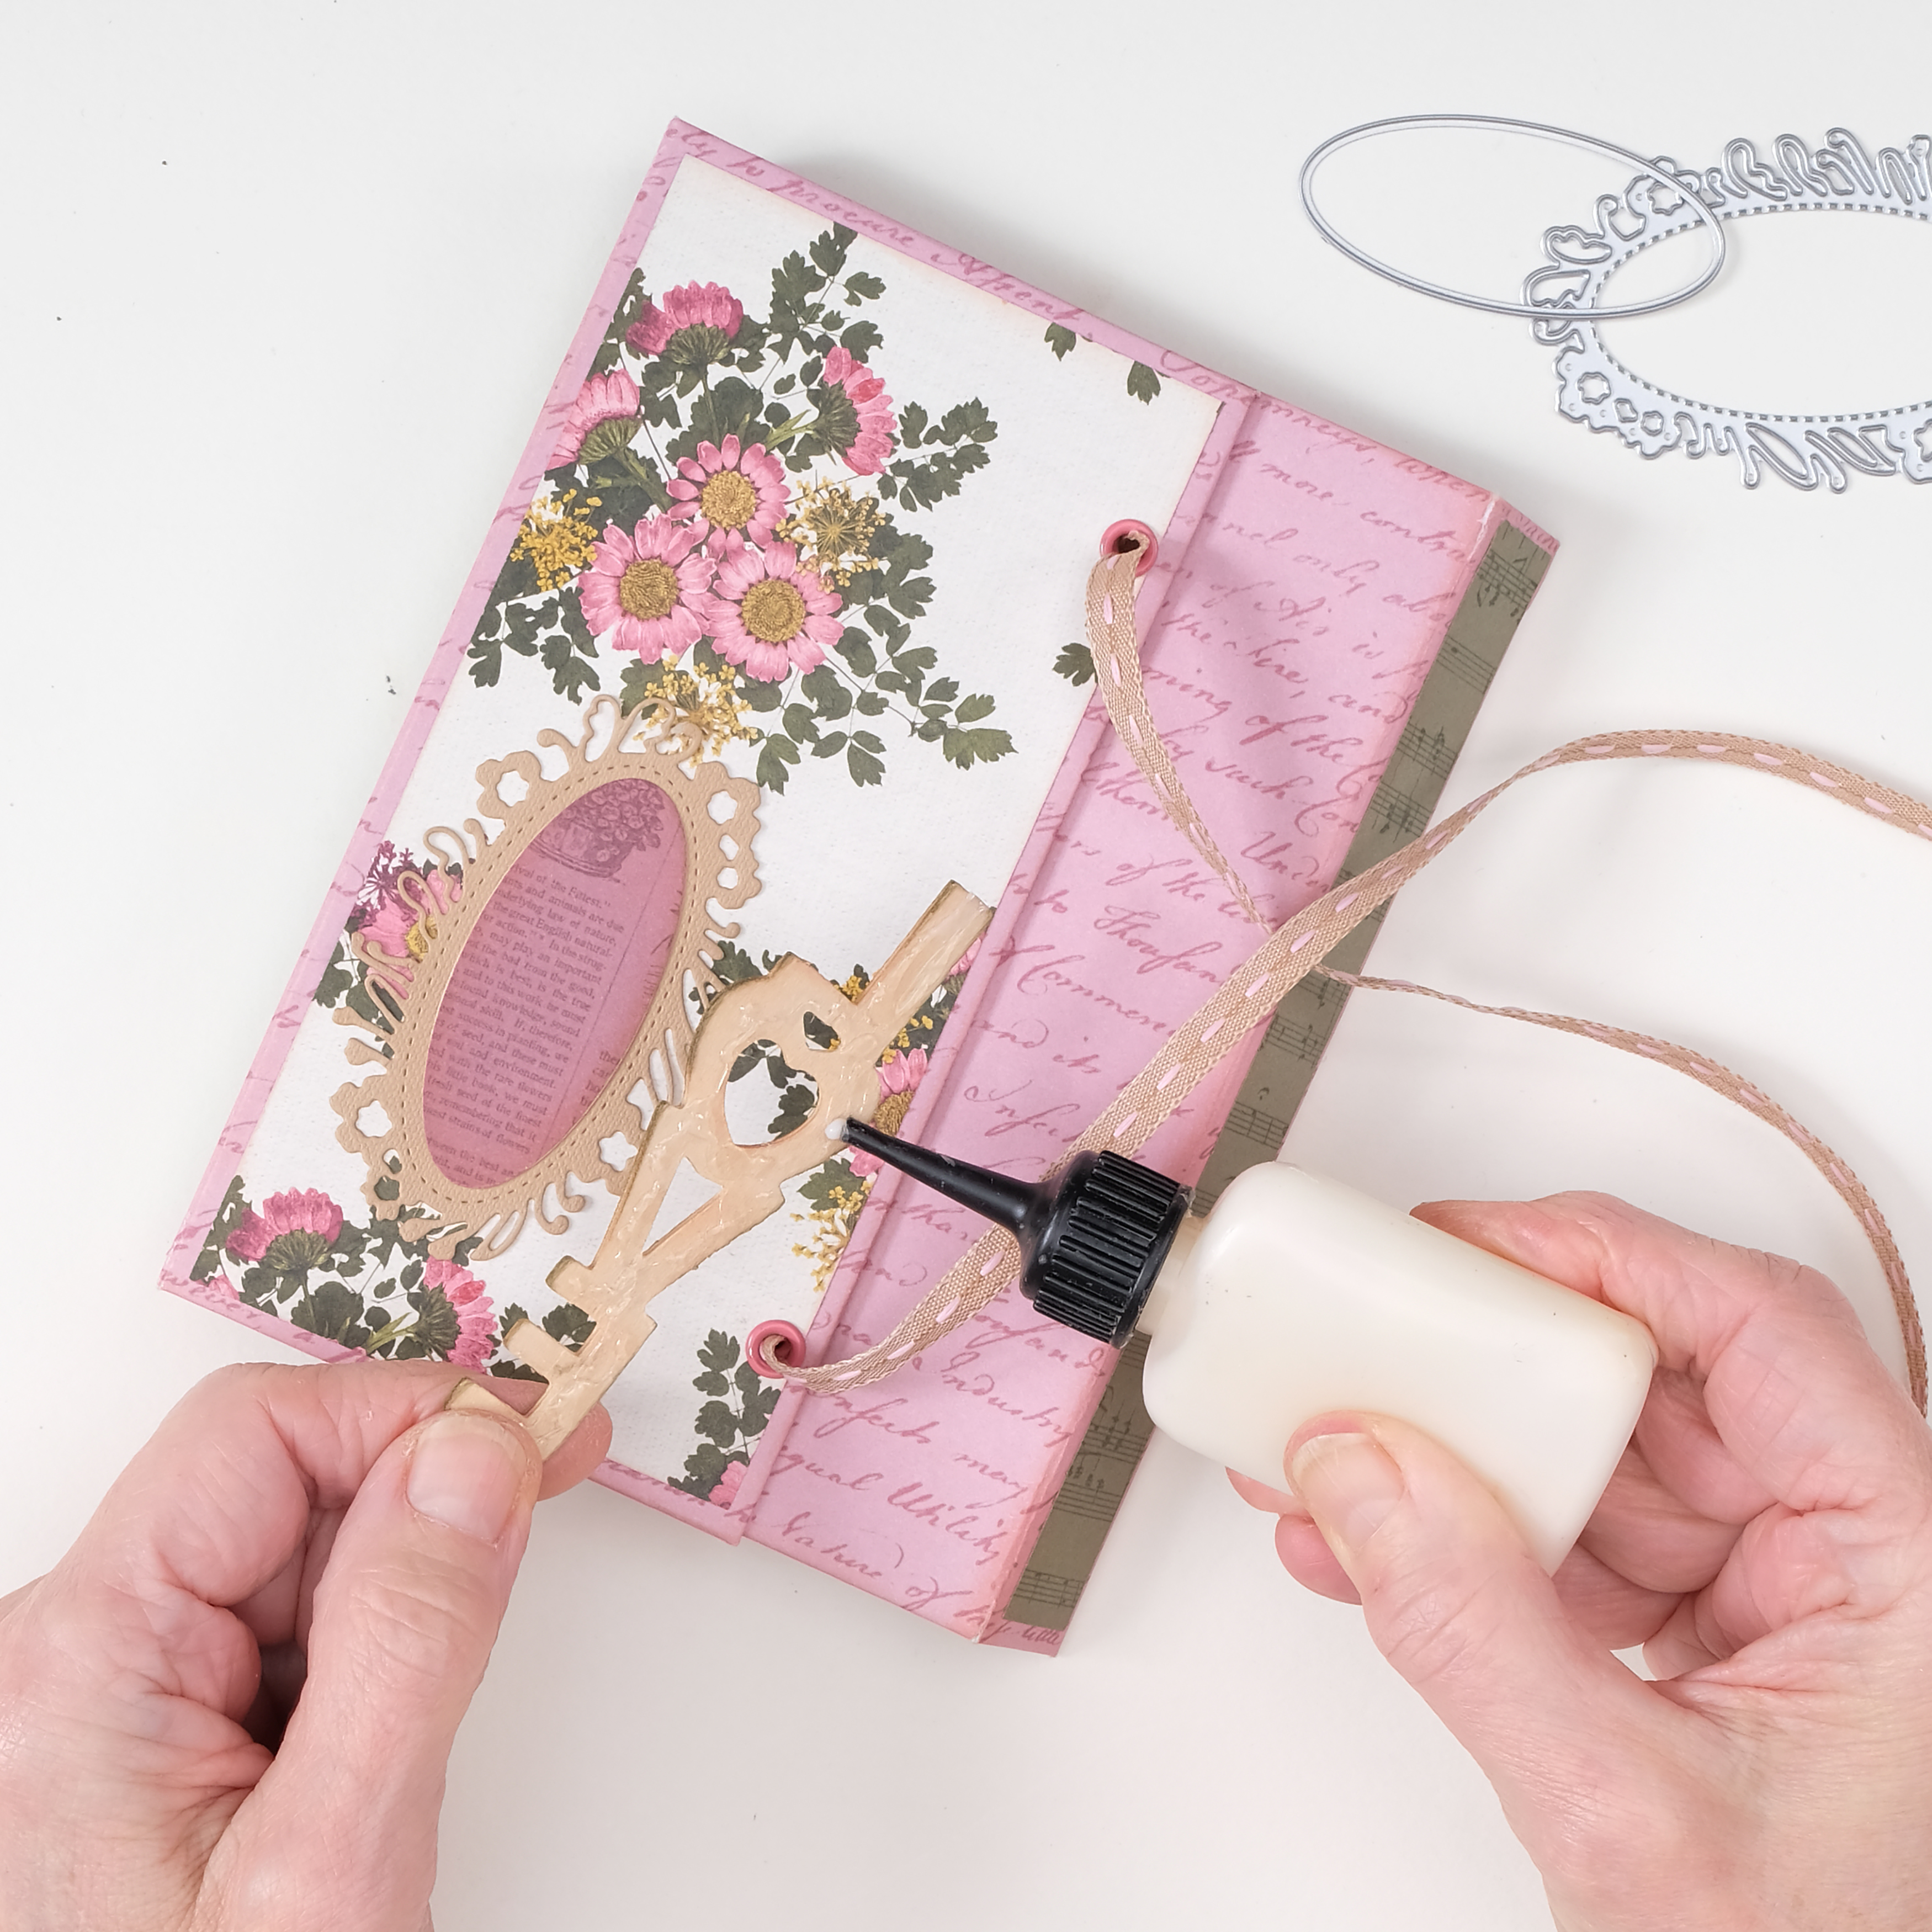
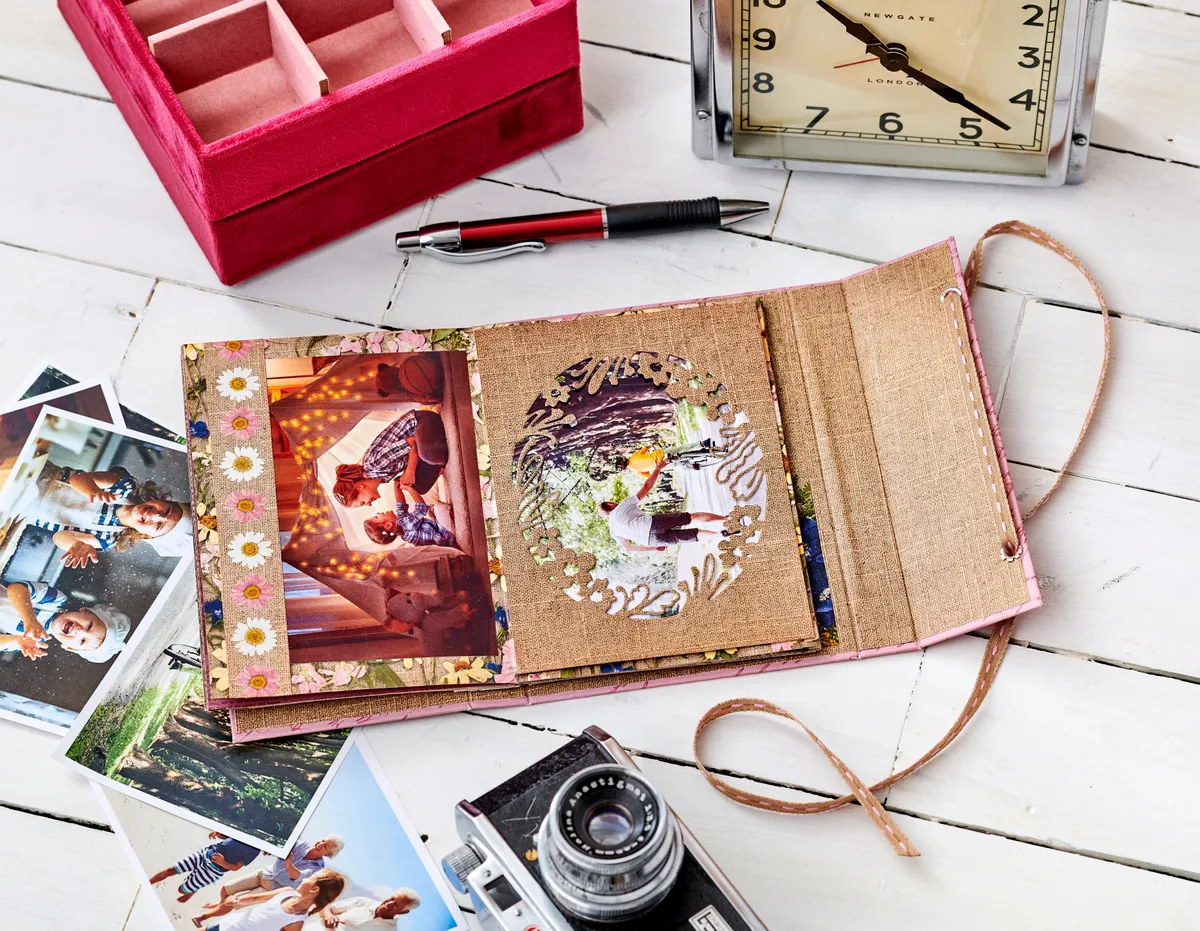


 How about decorating your mini album with stationary-themed pattern papers? Take a look at our gorgeous
