Six easy DIY wedding table decorations

Six easy DIY wedding table decorations

Our quick and easy wedding makes are perfect for vintage-themed receptions and wedding tableware for those who want the DIY touch!

Try our magazines – get 6 issues from just £9.99!

Published: July 15, 2021 at 5:33 am

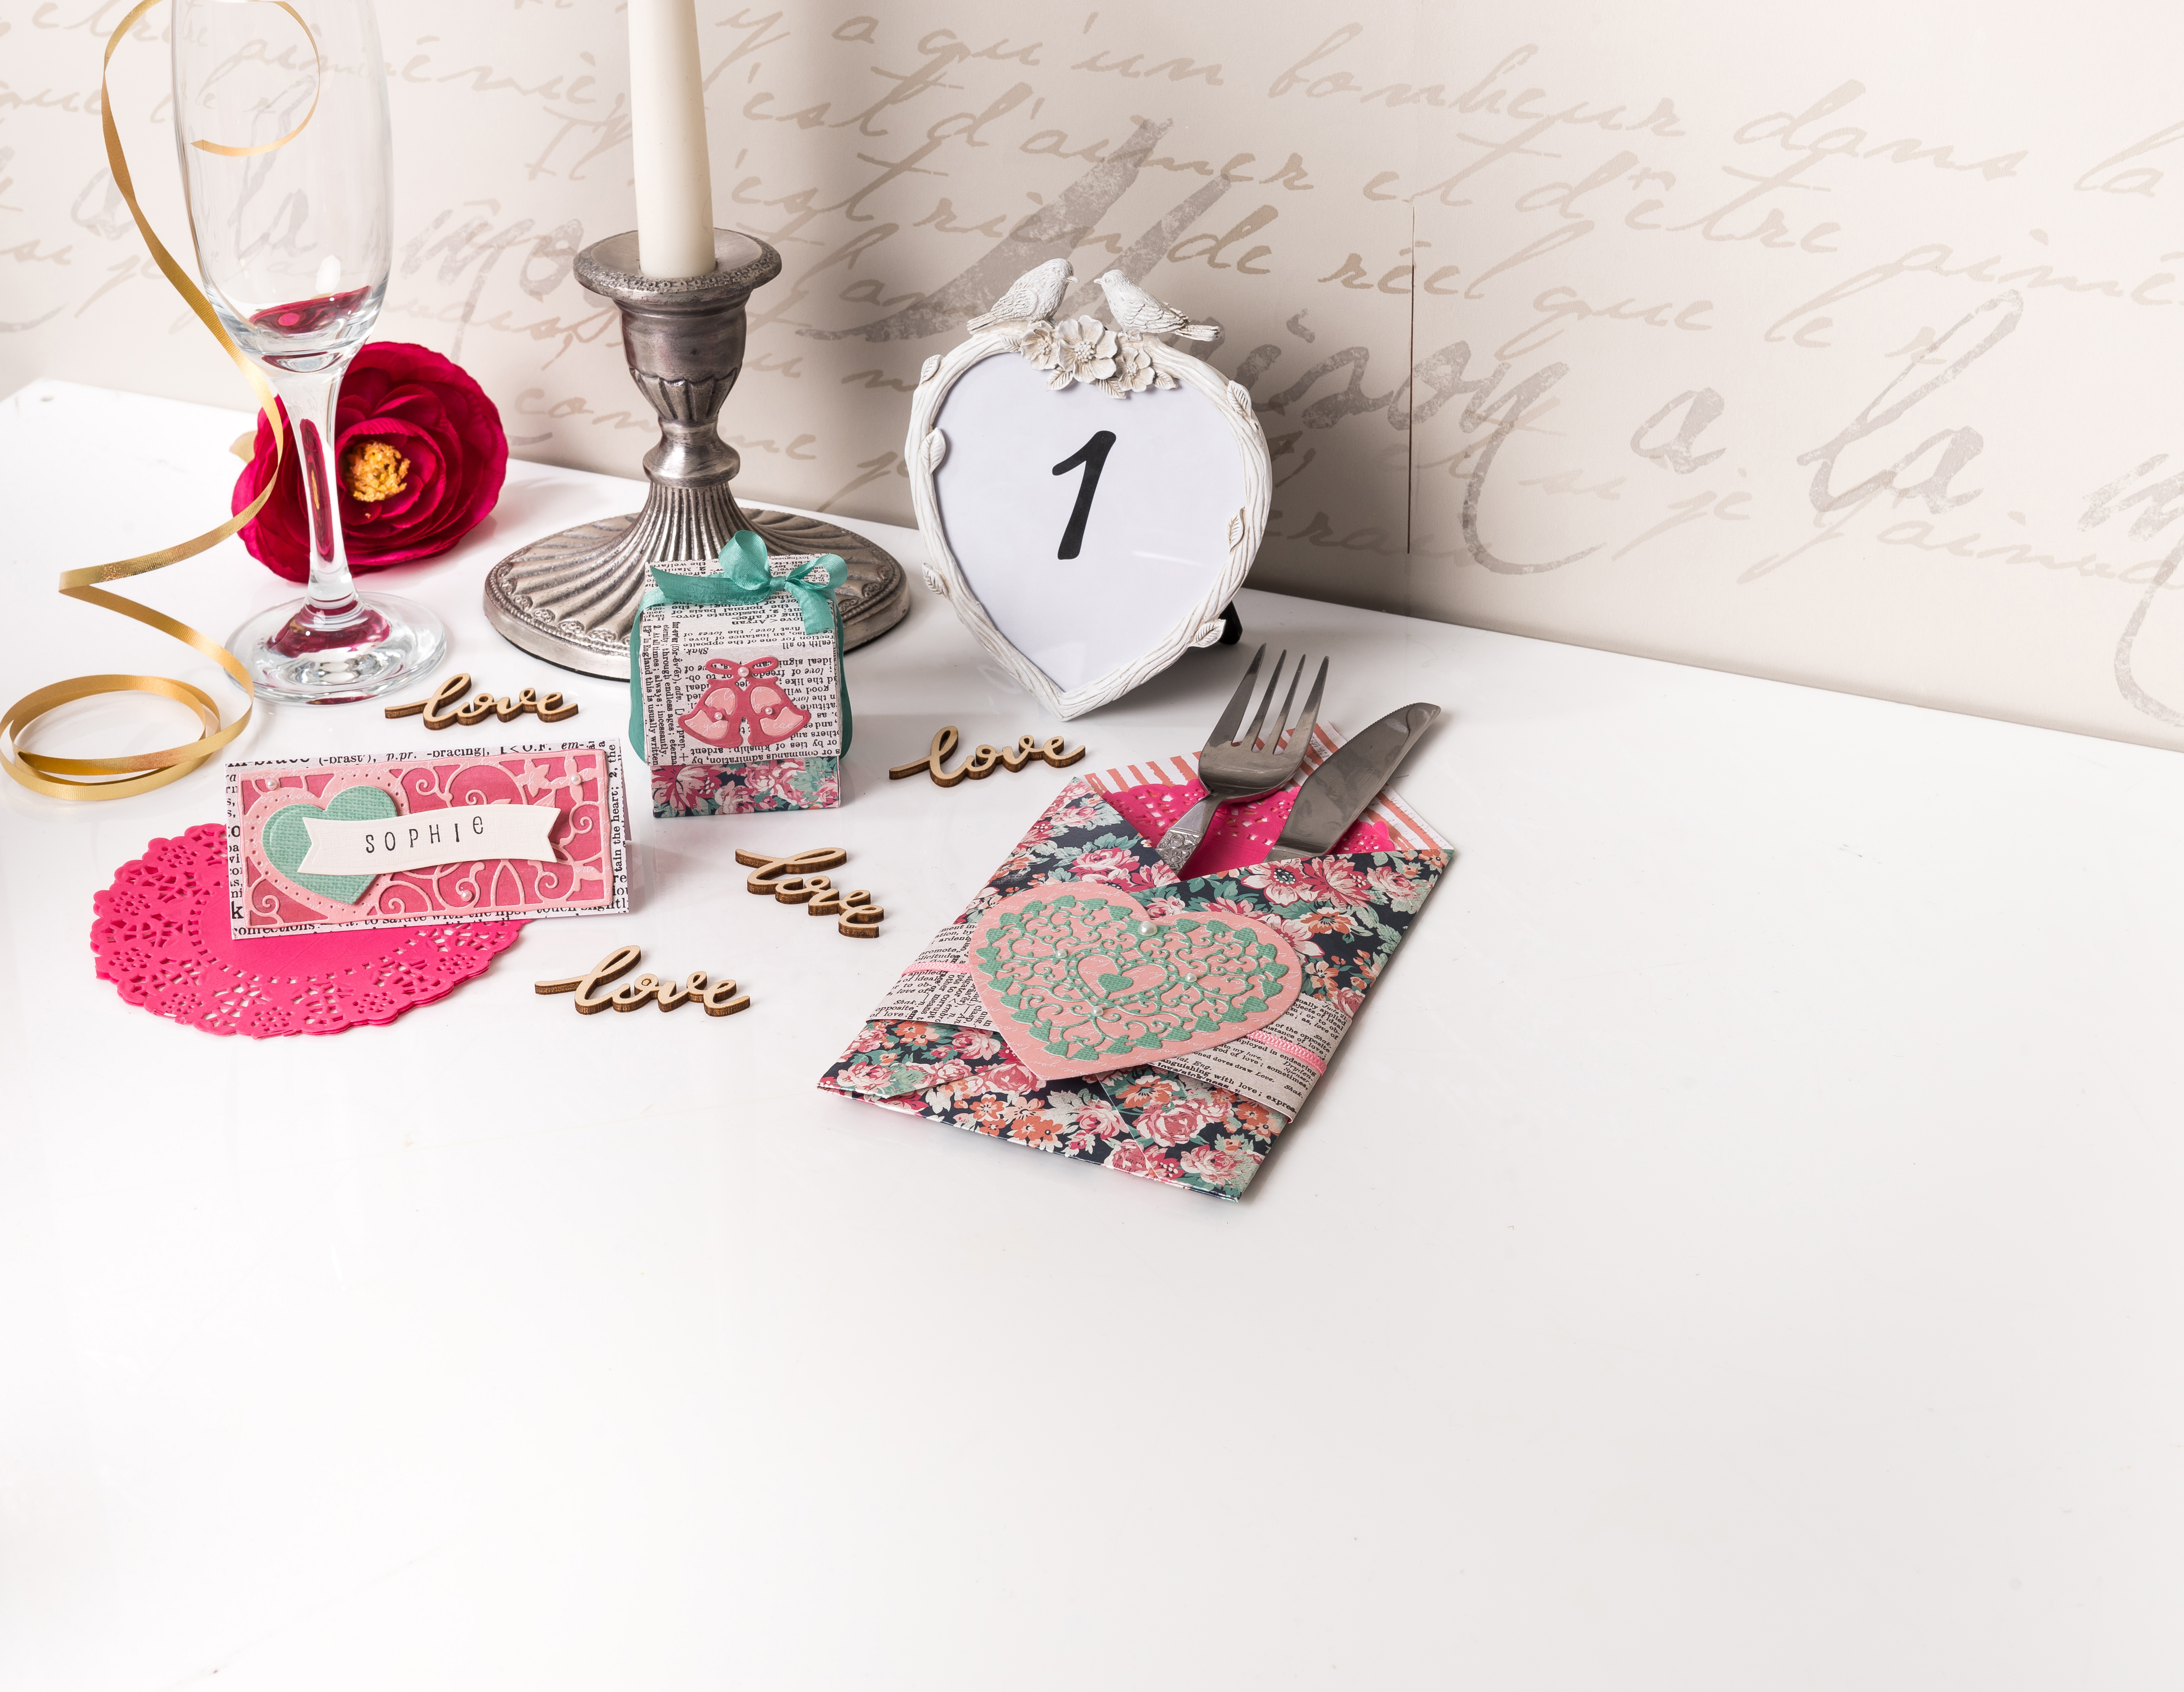
Handmade weddings are all the rage, and it’s easy to add your own personal touches to your special day with our easy DIY wedding table decorations. Our ’Just married’ cake bunting is a lovely way to dress your wedding cake and the windmills are perfect for venue decorations or favours. The name cards will add the perfect finishing touch to your tables – we’ve kept the design of these DIY wedding table decorations simple but effective so they won’t take too long to make!

Handmade table decorations are a great way to personalise a wedding, whether you are crafting for your own big day or for loved ones. Dies are always a popular choice when you need to make lots of the same item as they help to cut down on prep time, which is essential when you have a wedding to plan for! Guests will love their bespoke place settings and favours, too.

Use different patterned papers to suit the recipient, and if you want to boost your stash – we’ve got you covered with our extensive library of free patterned papers, we love these free flower printables! If you like this project, why not check out some of our other wedding crafts - like this stunning DIY Scrapbook album tutorial, or how about getting your glue gun and making this realistic paper rose?

We love seeing what you make, so if you make any of our projects, don’t forget to share your makes with us on Facebook and Twitter, too!
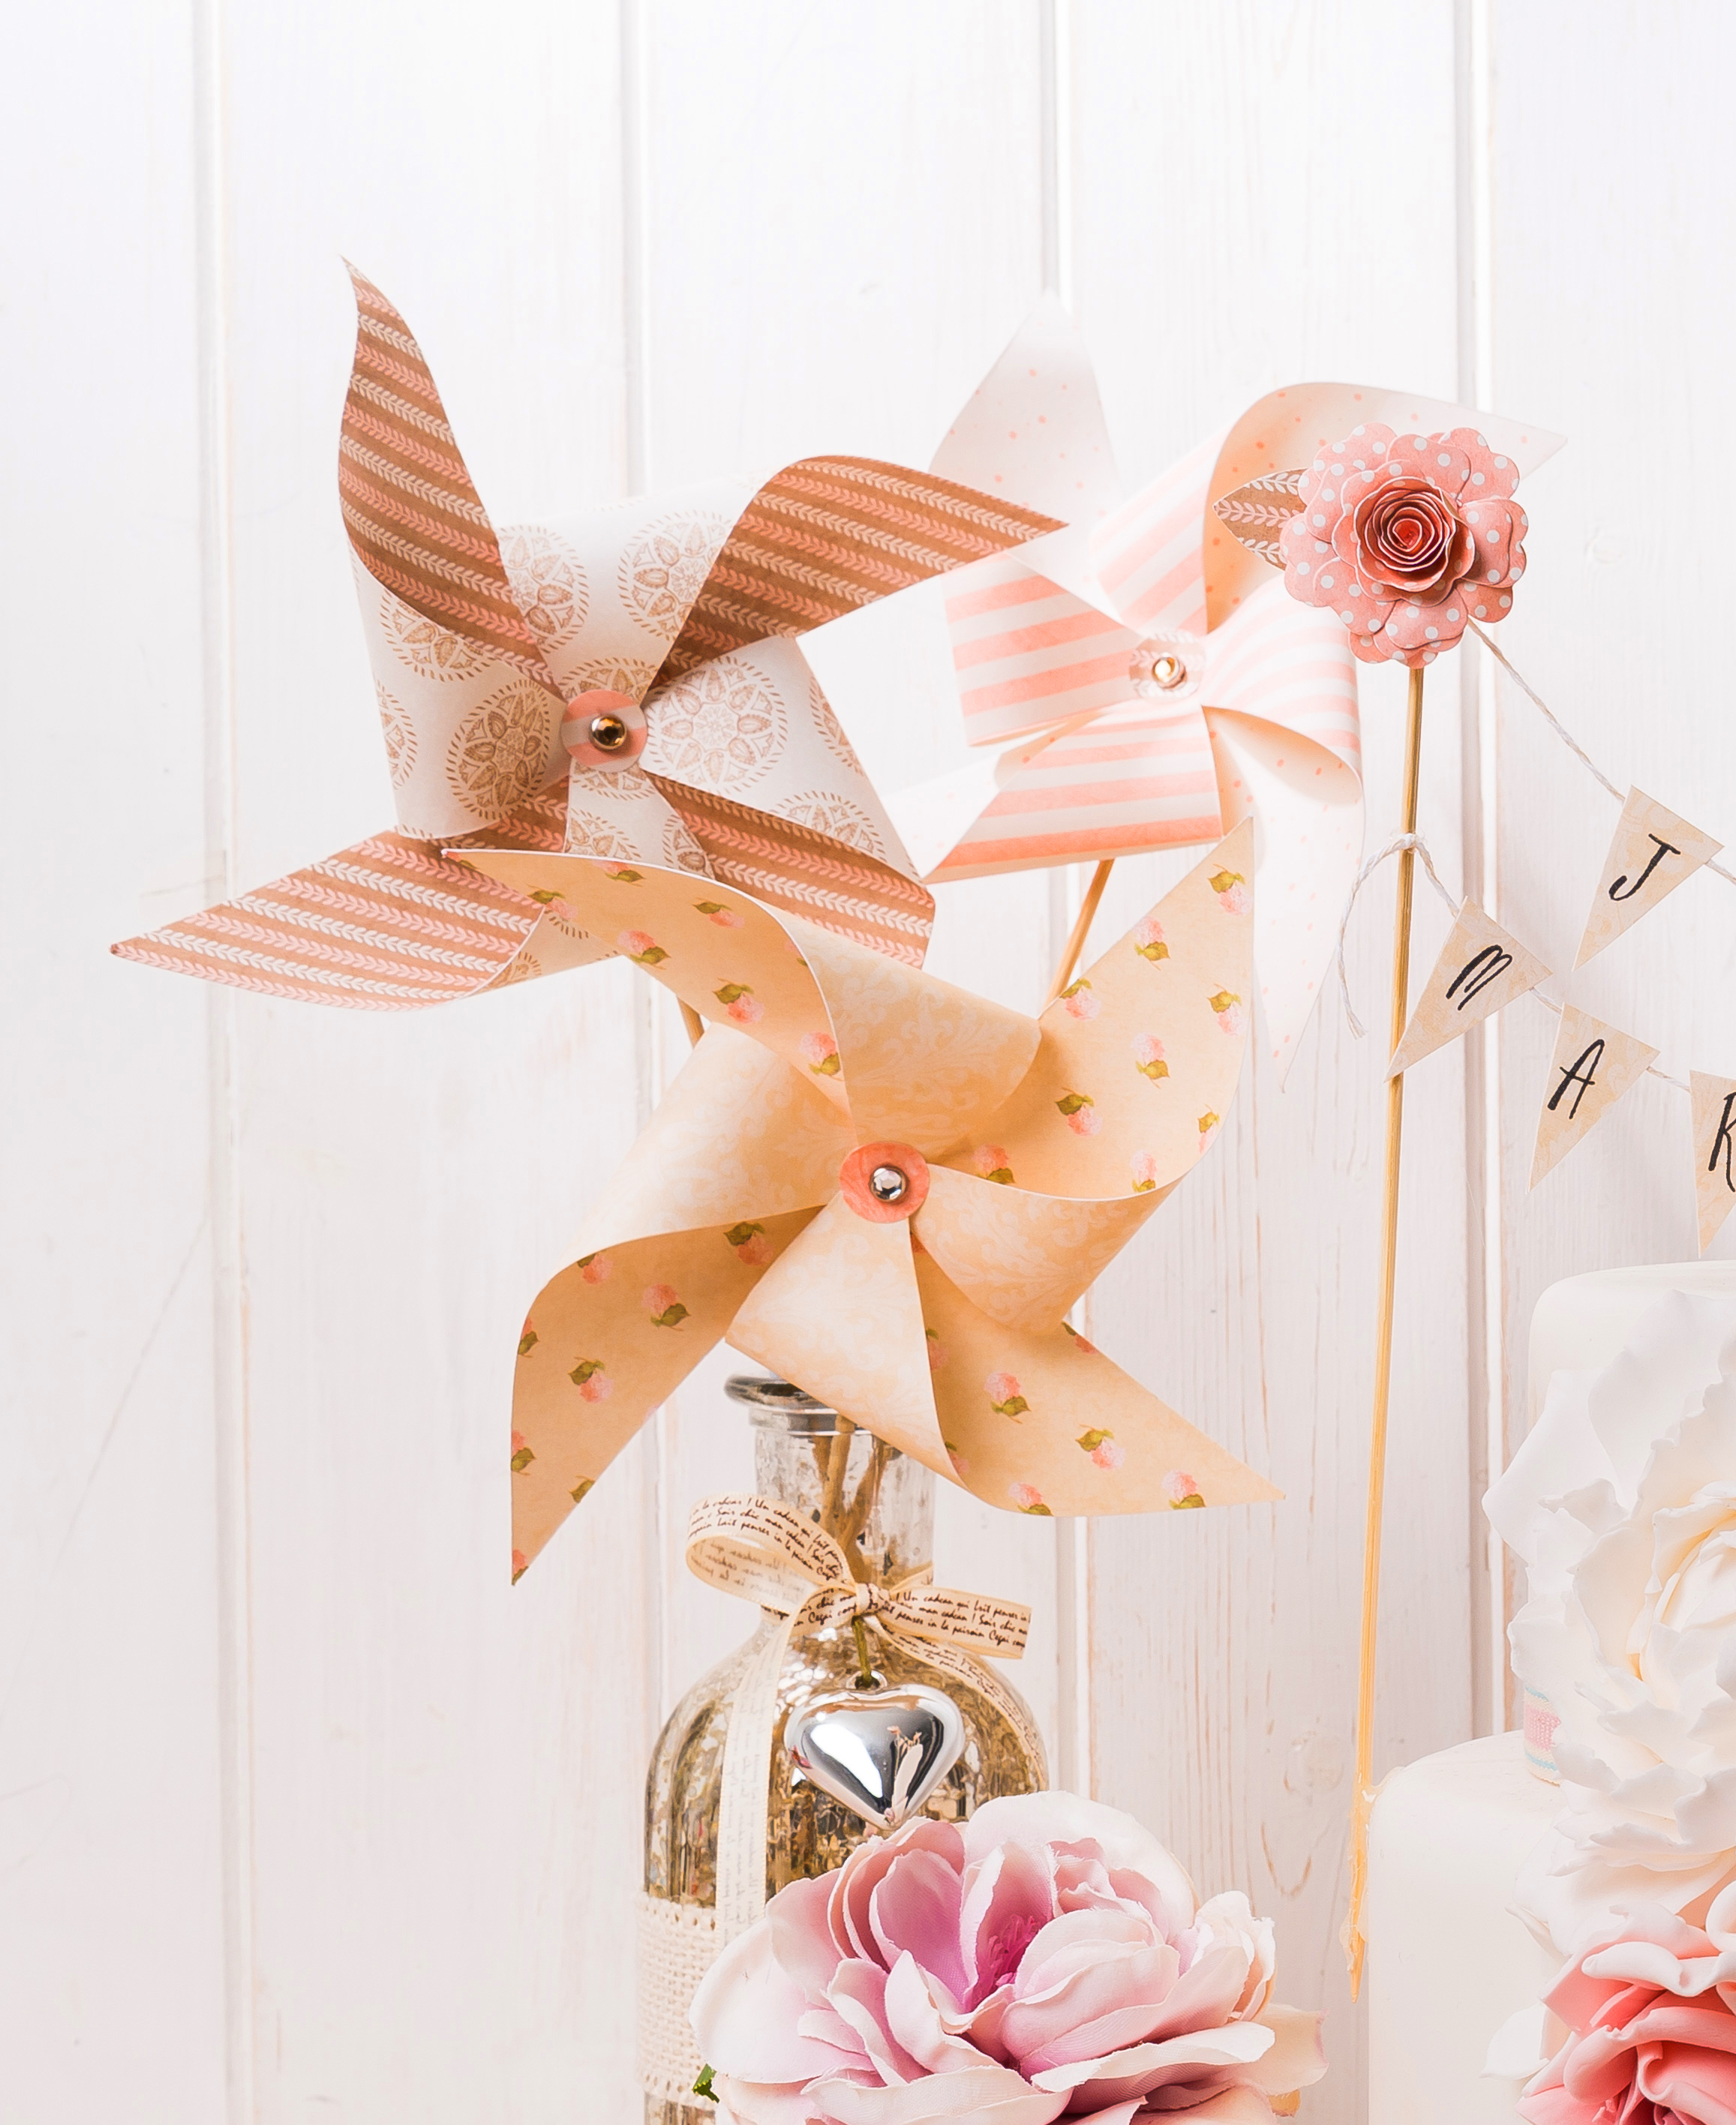
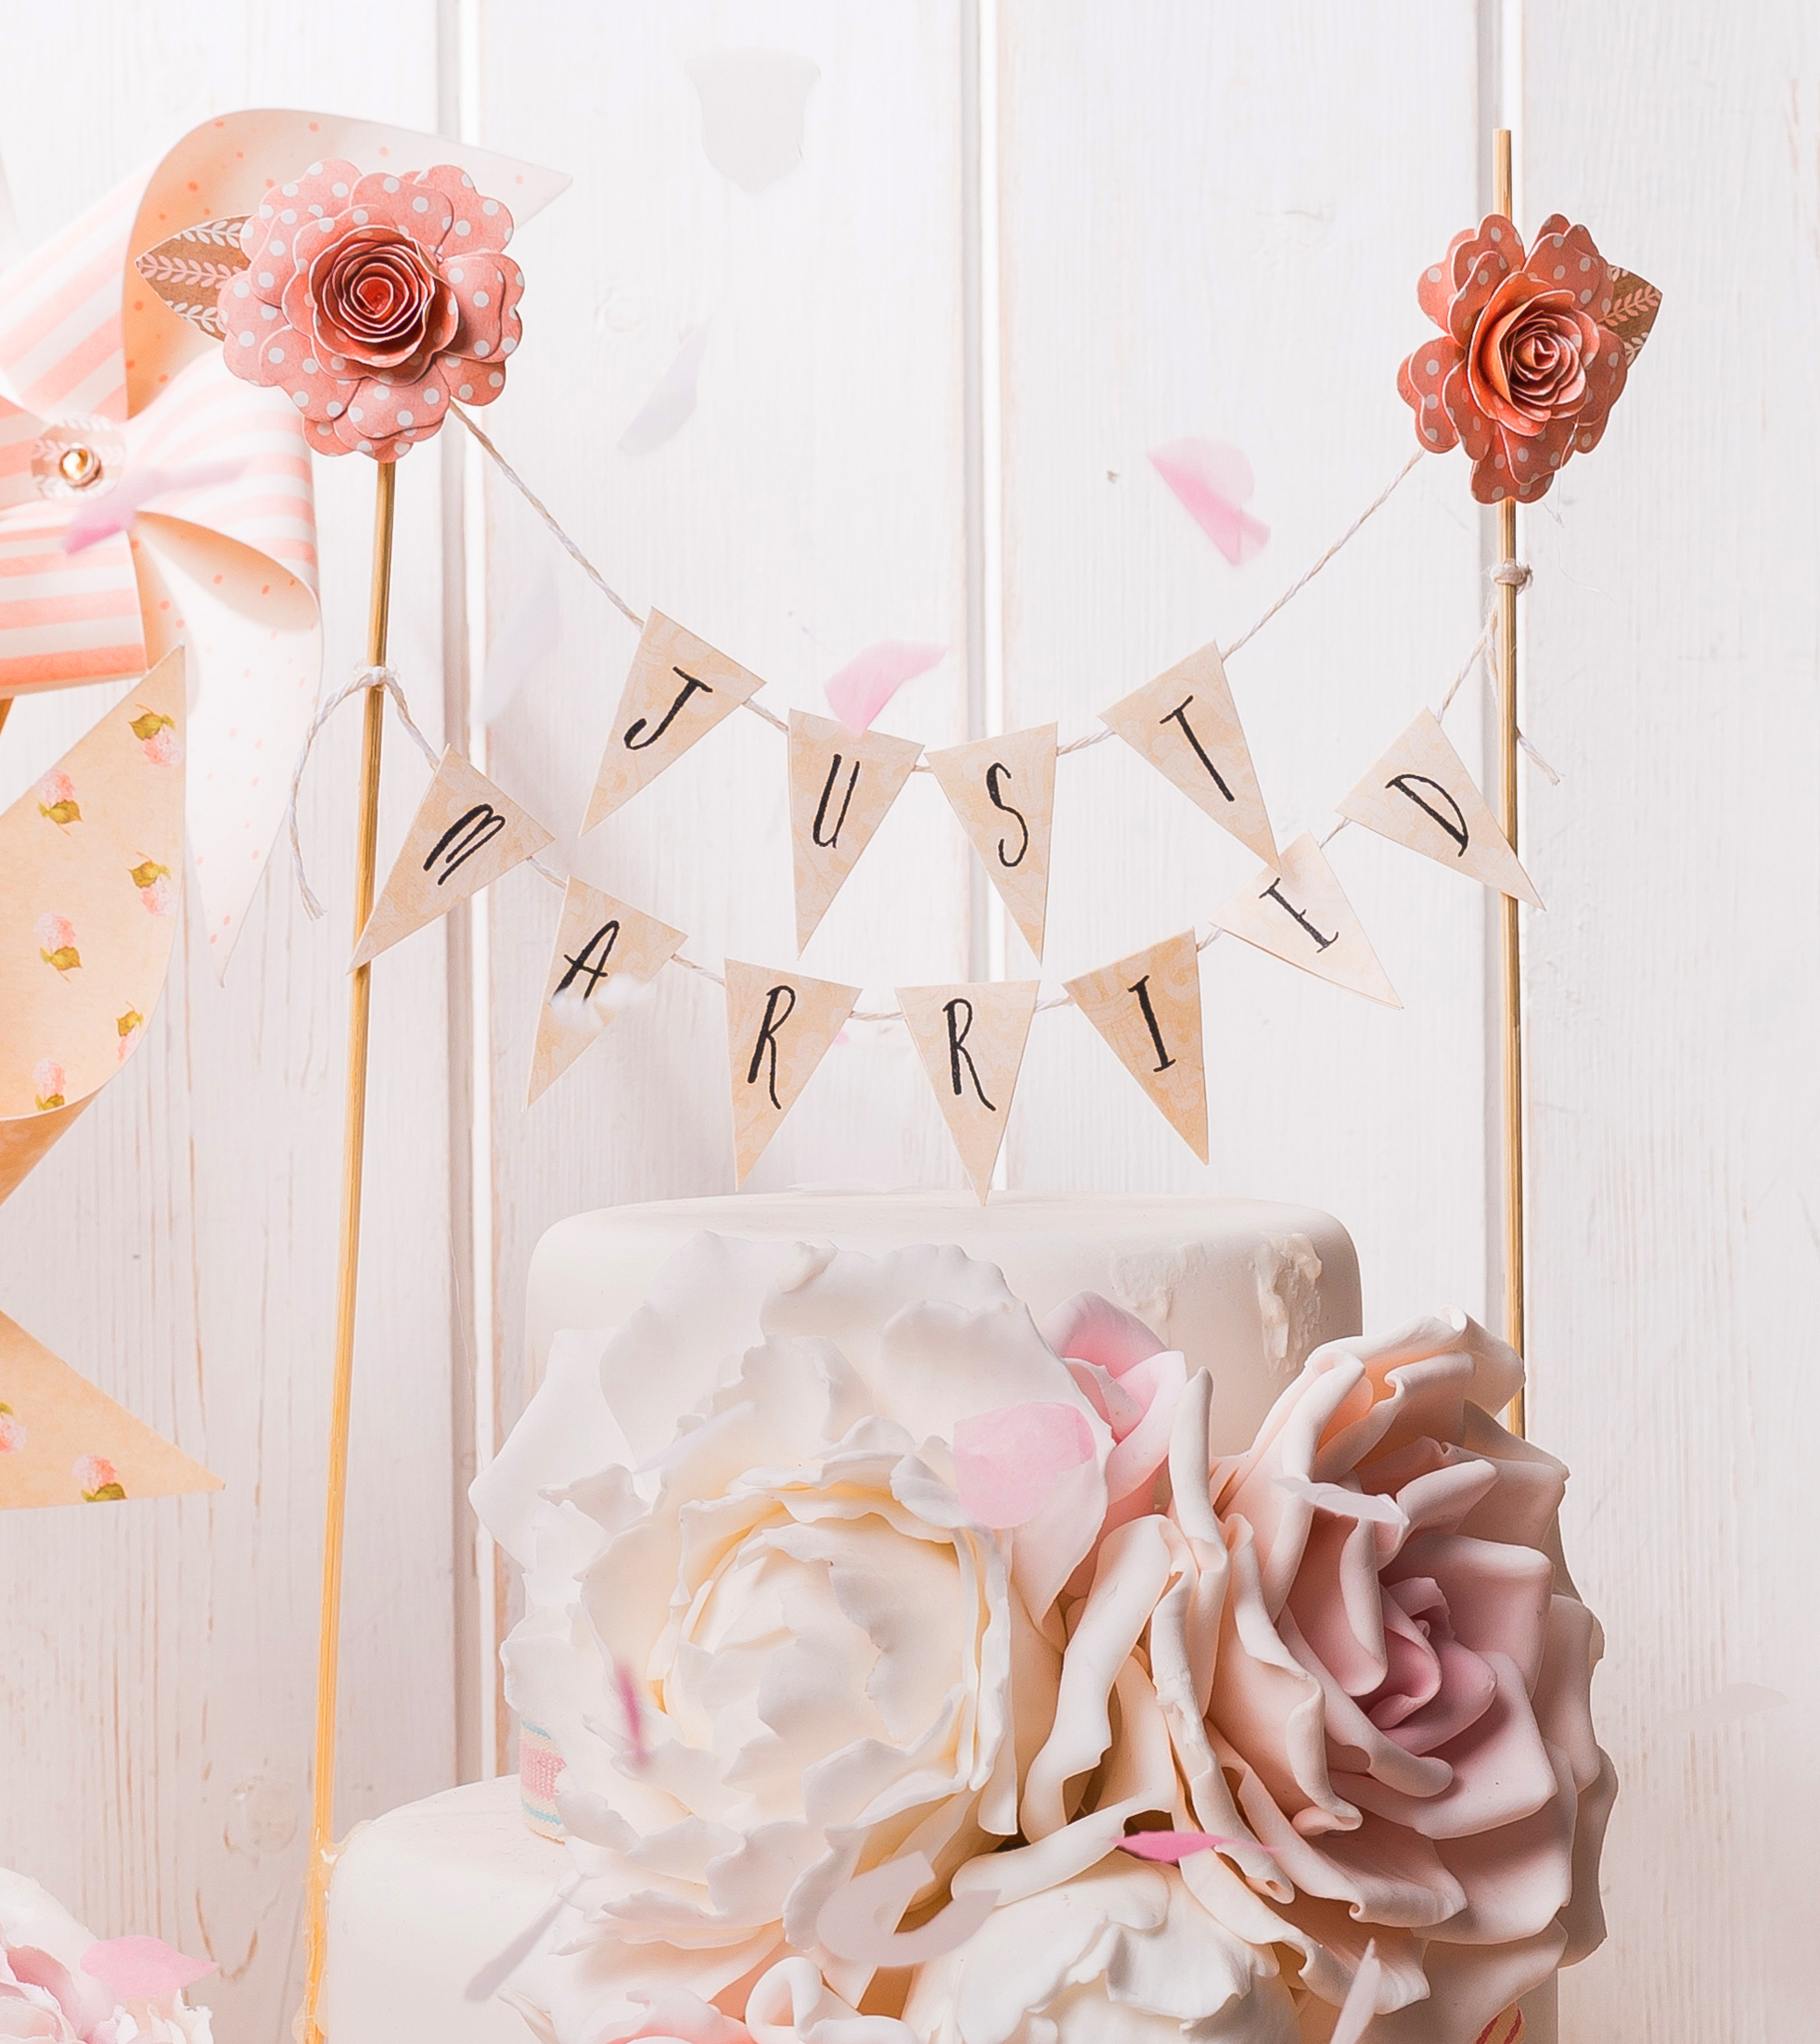
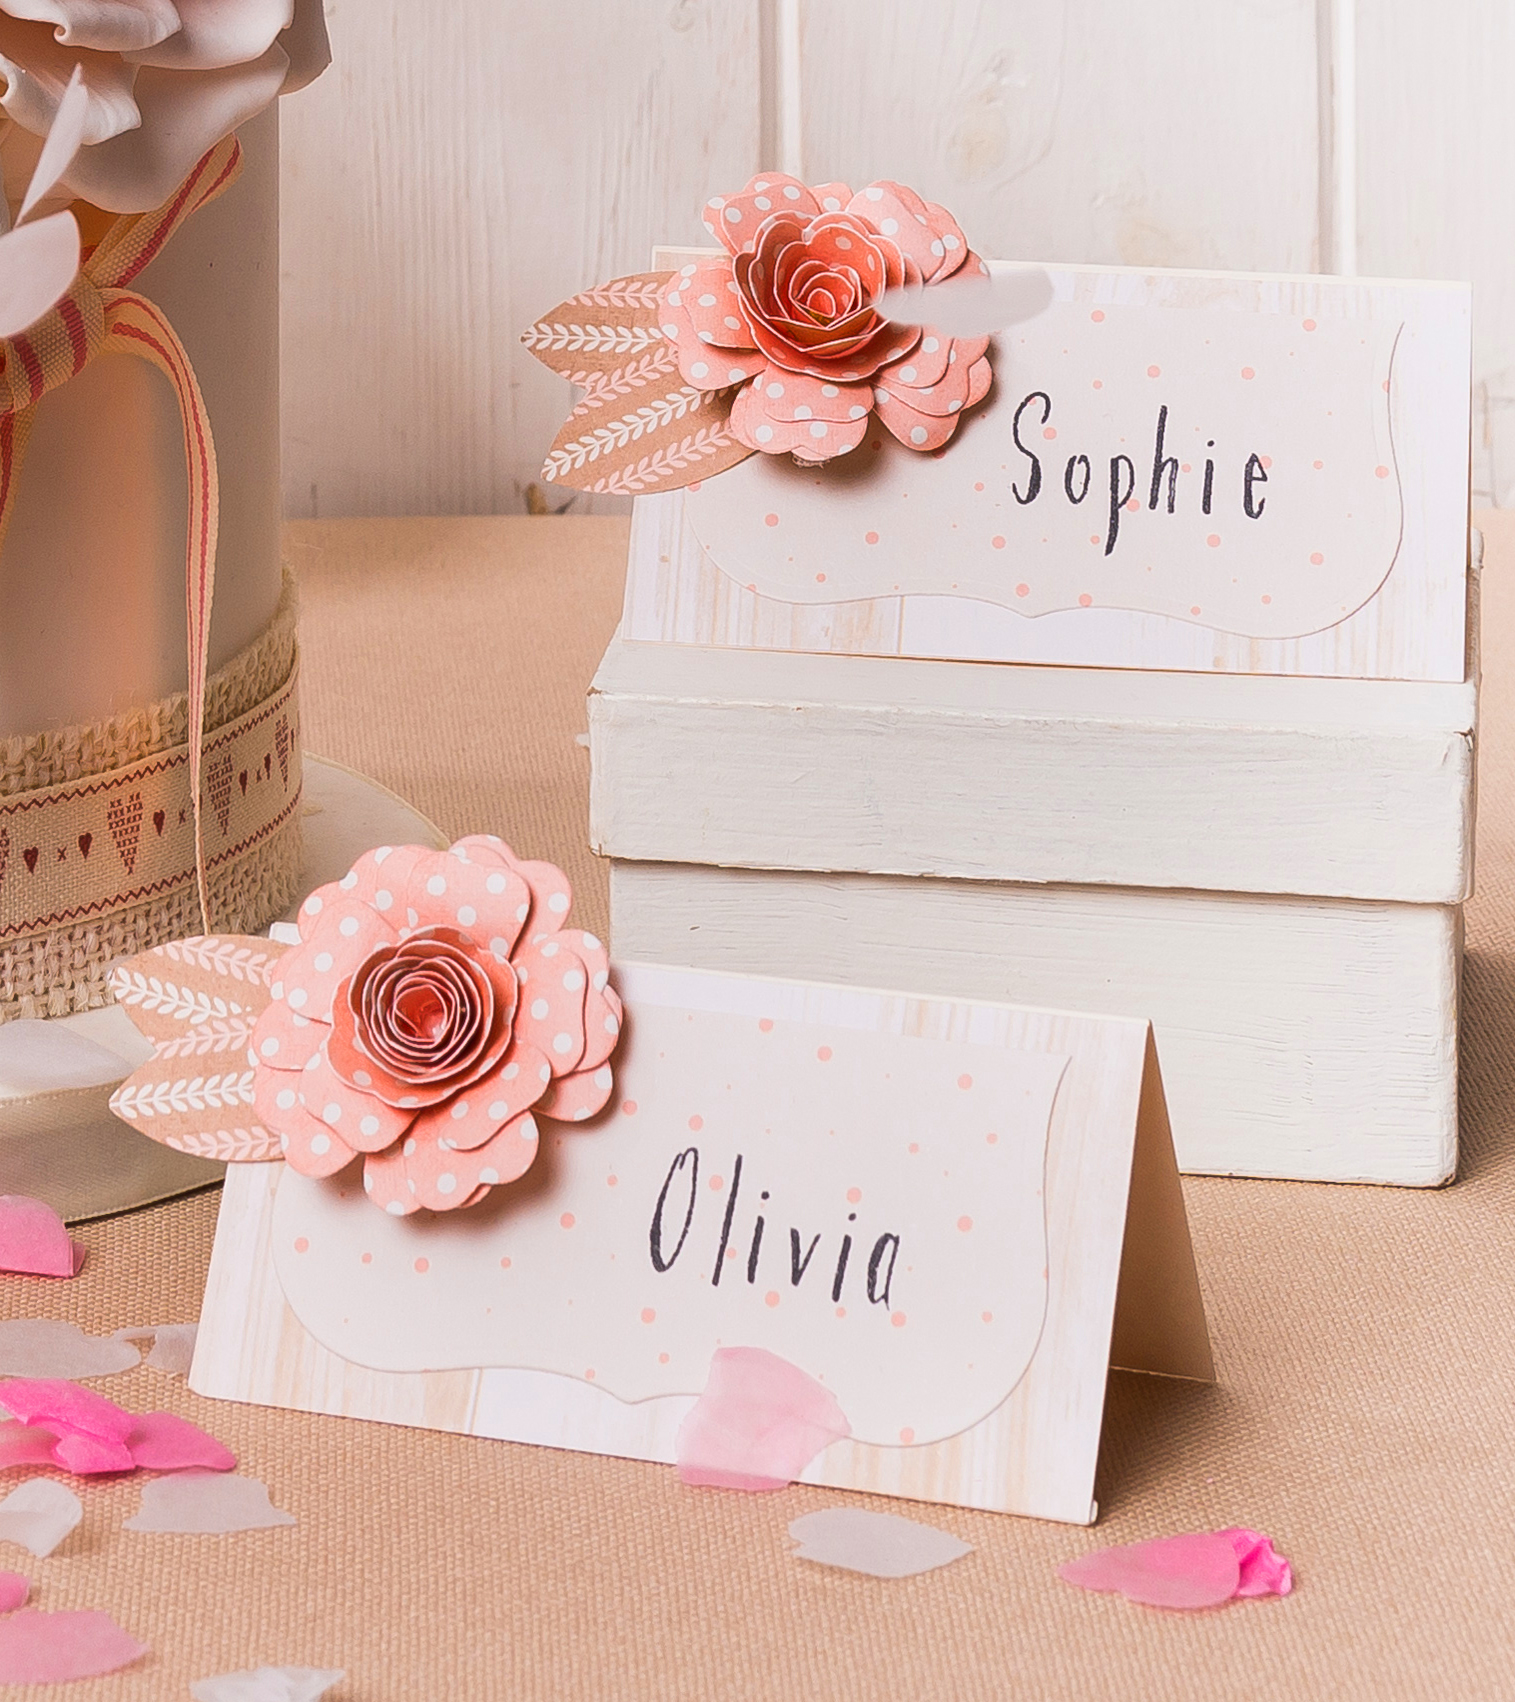
DIY wedding table decorations: Windmill

You Will Need

  • Patterned paper
  • Bamboo skewer
  • Brad (split pin)
  • Scissors

DIY wedding table decorations

Step 1

Paper windmills make excellent DIY wedding table decorations. Cut a 14 x 14cm piece of patterned paper. Double-sided paper is ideal if you have some, or why not check out our free patterned paper collection? Fold it in half diagonally and open it out. Repeat on the opposite diagonal and open out.

Step 2

Cut along the fold lines, starting from each corner and stopping at around 2cm from the centre. Fold alternate points into the centre and punch a small hole in each one. Thread a brad through the punched holes and then through to the back of the windmill.

Step 3

Secure the paper windmill to the top part of a bamboo skewer using a hot glue gun.


DIY wedding table decorations: Bunting

You Will Need

  • Patterned paper
  • Card
  • Bamboo skewer
  • Bakers twine
  • Scissors
  • Pen
  • Optional: Alphabet stamps (if you don’t want to write the letters yourself)

DIY wedding table decorations

Step 1

Draw a diamond shape onto some white card and cut it out. Using this as a template, draw around the shape onto some patterned paper. Cut out.

Step 2

Draw, or use alphabet stamps to stamp the lettering onto the bottom half of each diamond shape, then fold each one in half over a length of baker’s twine. Secure with glue. Tie each end of the baker’s twine to a bamboo skewer.

Step 3

Cut some flowers from patterned paper and assemble. Stick one to the top of each bamboo skewer, to finish. You can use a die for this, or you can also add premade paper flowers – or even use some of our free flower printables!


DIY wedding table decorations: Place card design #1

You Will Need

  • Patterned paper
  • Pen
  • Optional: Alphabet stamps (if you don’t want to write)
  • Flower dies, flower punch, or flower templates

DIY wedding table decorations

Step 1

Cut a piece of card measuring 10 x 5cm. Score across the middle and fold in half to make the place card. Cover the front of the card with some patterned paper of your choice.

Step 2

Cut a square label from patterned paper. Fold in half and write or stamp the guest’s name onto it using alphabet stamps. Stick to the centre of the place card.

Step 3

Cut a flower and leaves from patterned paper. If you have a die set this is the ideal time to use it – otherwise, you could use a flower punch or even some of our free 3d flower templates. You could also just add fake flowers! Assemble, then stick to the top left corner of the place card to complete your DIY wedding table decorations.


DIY wedding table decorations: Place card design #2

You Will Need

  • White card
  • Newsprint paper, or newspaper
  • Patterned paper
  • Pen
  • Nesting heart dies, heart punches (or draw yourself)
  • Optional: Alphabet stamps (or write yourself)

DIY wedding table decorations

Step 1

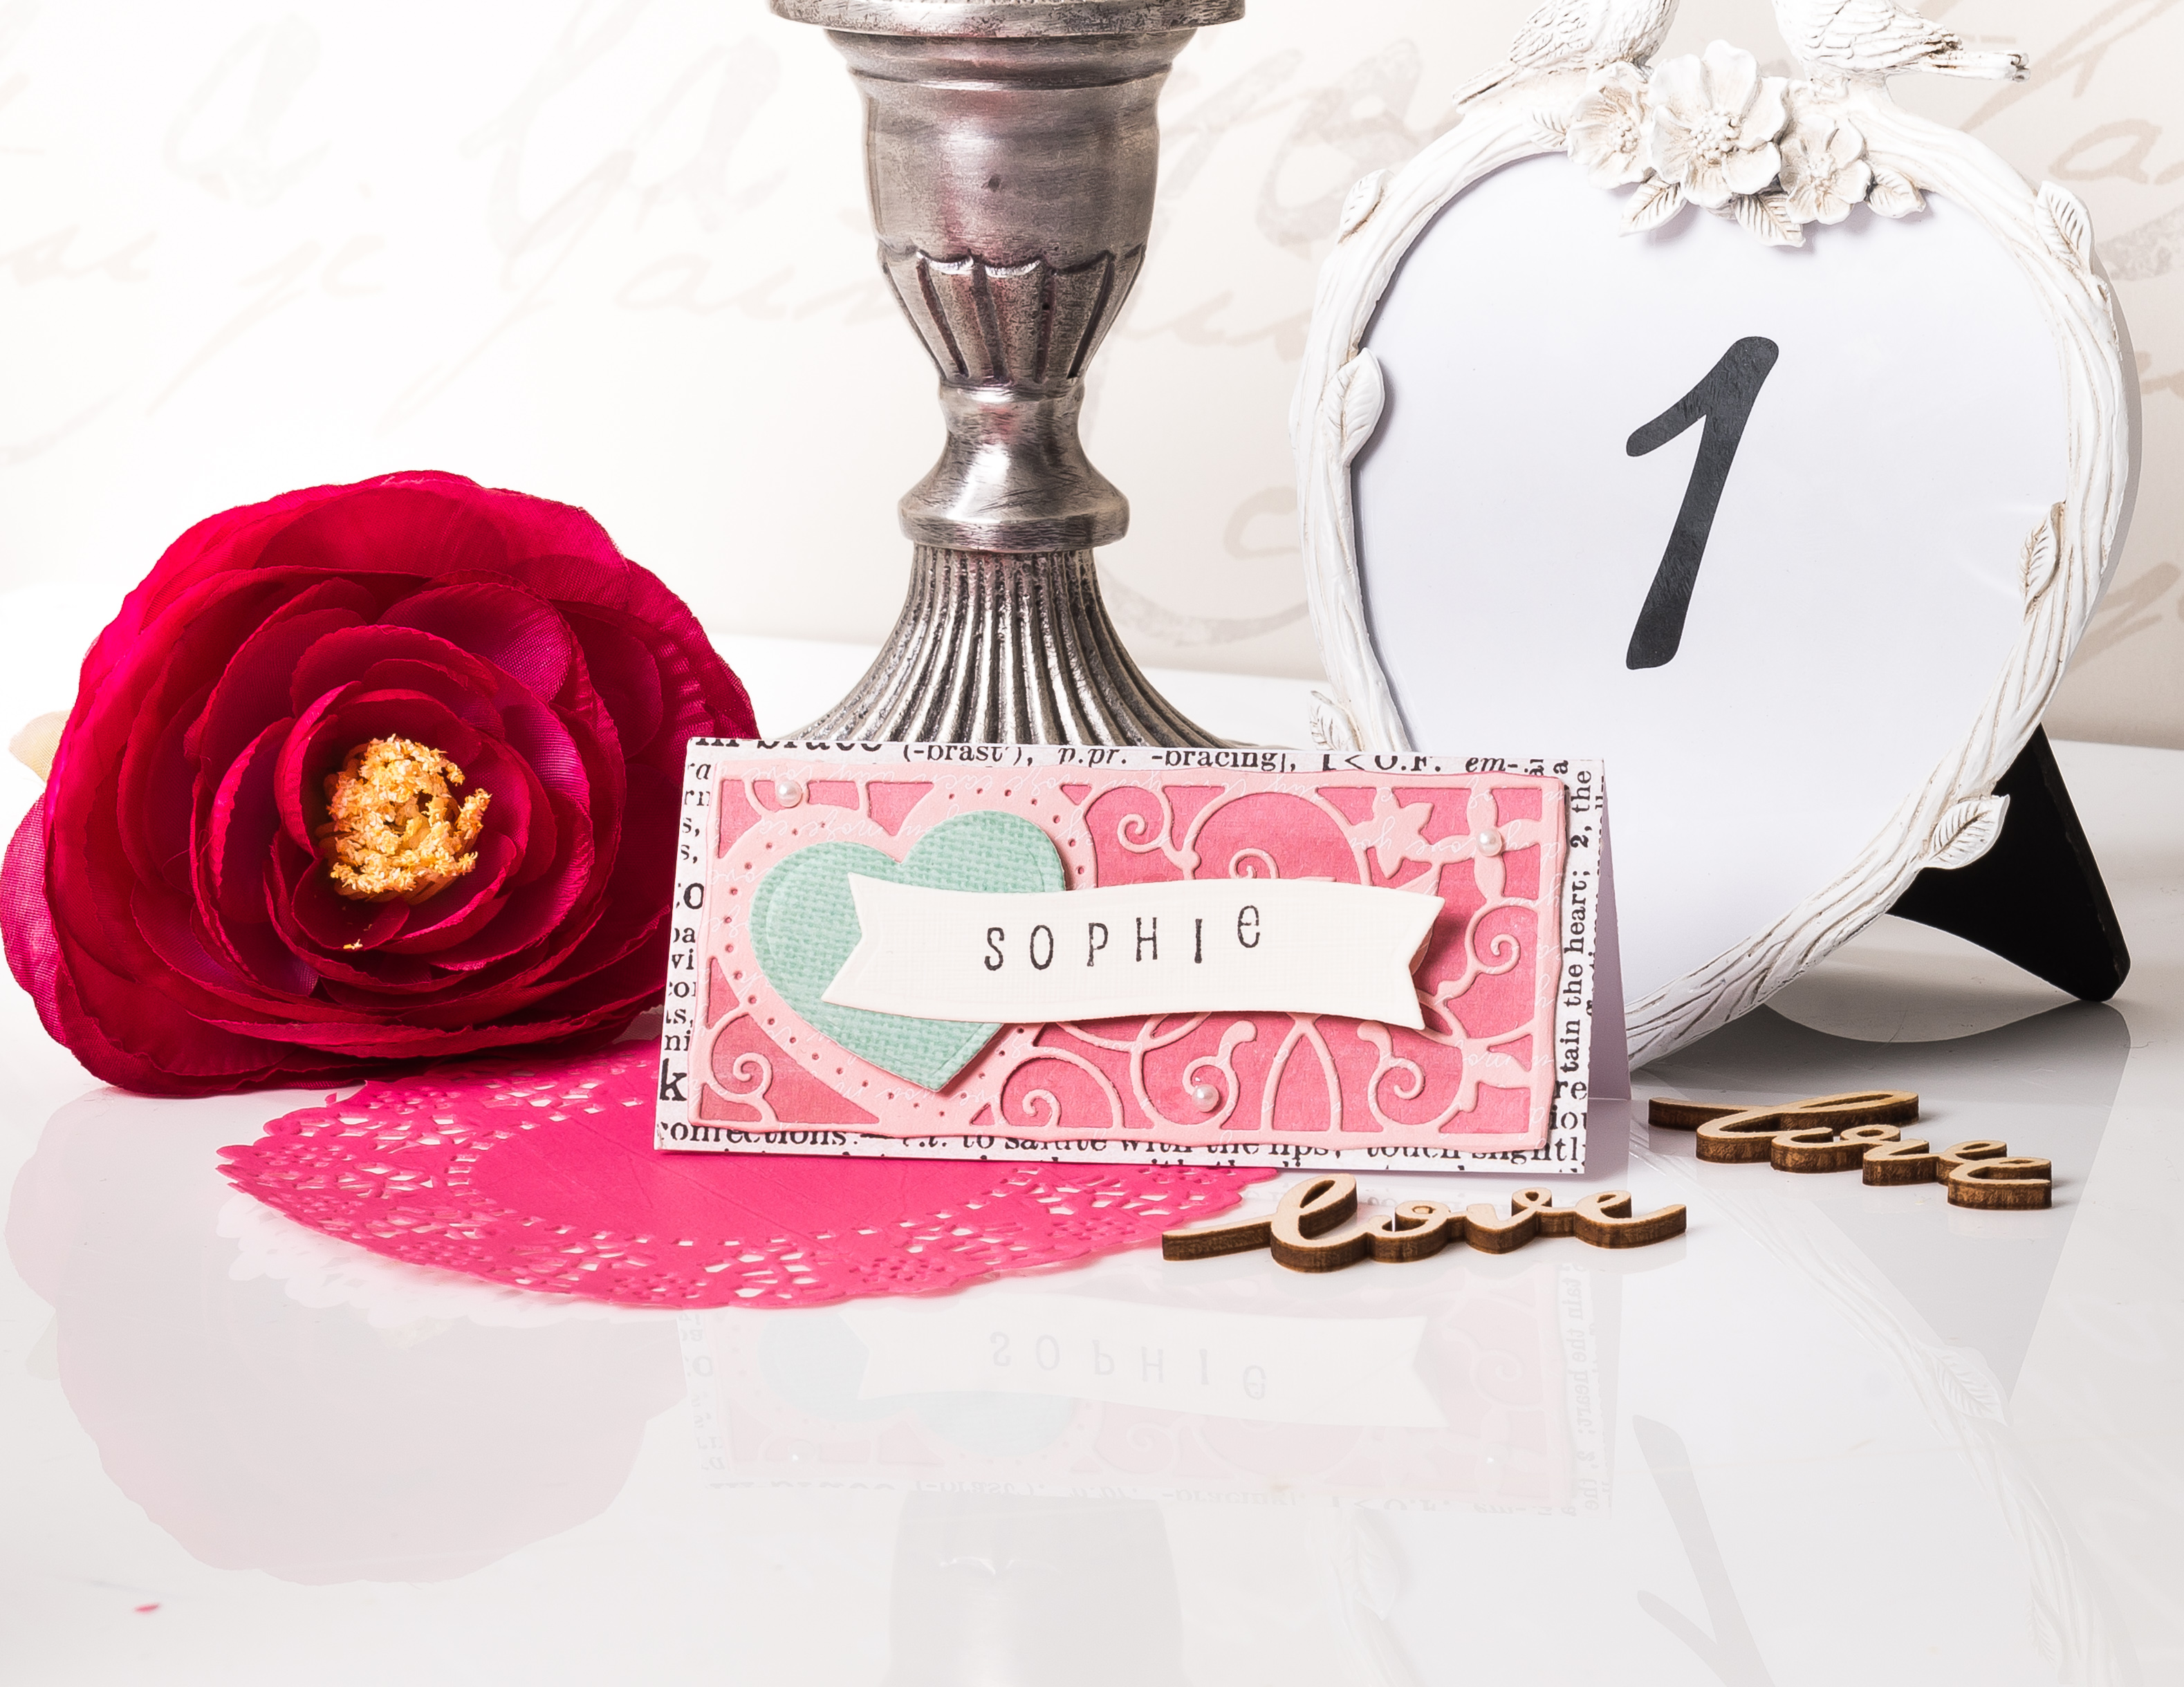
Cut a 10 x 9cm piece of white card and score and fold the short side in half. Cover the front with newsprint paper (or newspaper).

Step 2

Die-cut a lacy design from some light pink card, layer onto some darker pink card – we’re using the Lovebird and Heart invite insert set from Tonic Studios! Cut a heart from green patterned paper and add using foam pads. Stick the topper to the front of the place card.

Step 3

Cut a banner from some cream card. Write the guests names, or use alphabet stamps and grey ink to stamp the guest’s name and stick to the place card. Decorate the card with adhesive pearls, to finish.


DIY wedding table decorations: Cutlery pocket

You Will Need

  • Patterned paper
  • Newsprint paper, or newspaper
  • Ribbon
  • Adhesive pearls
  • Heart die

DIY wedding table decorations

Step 1

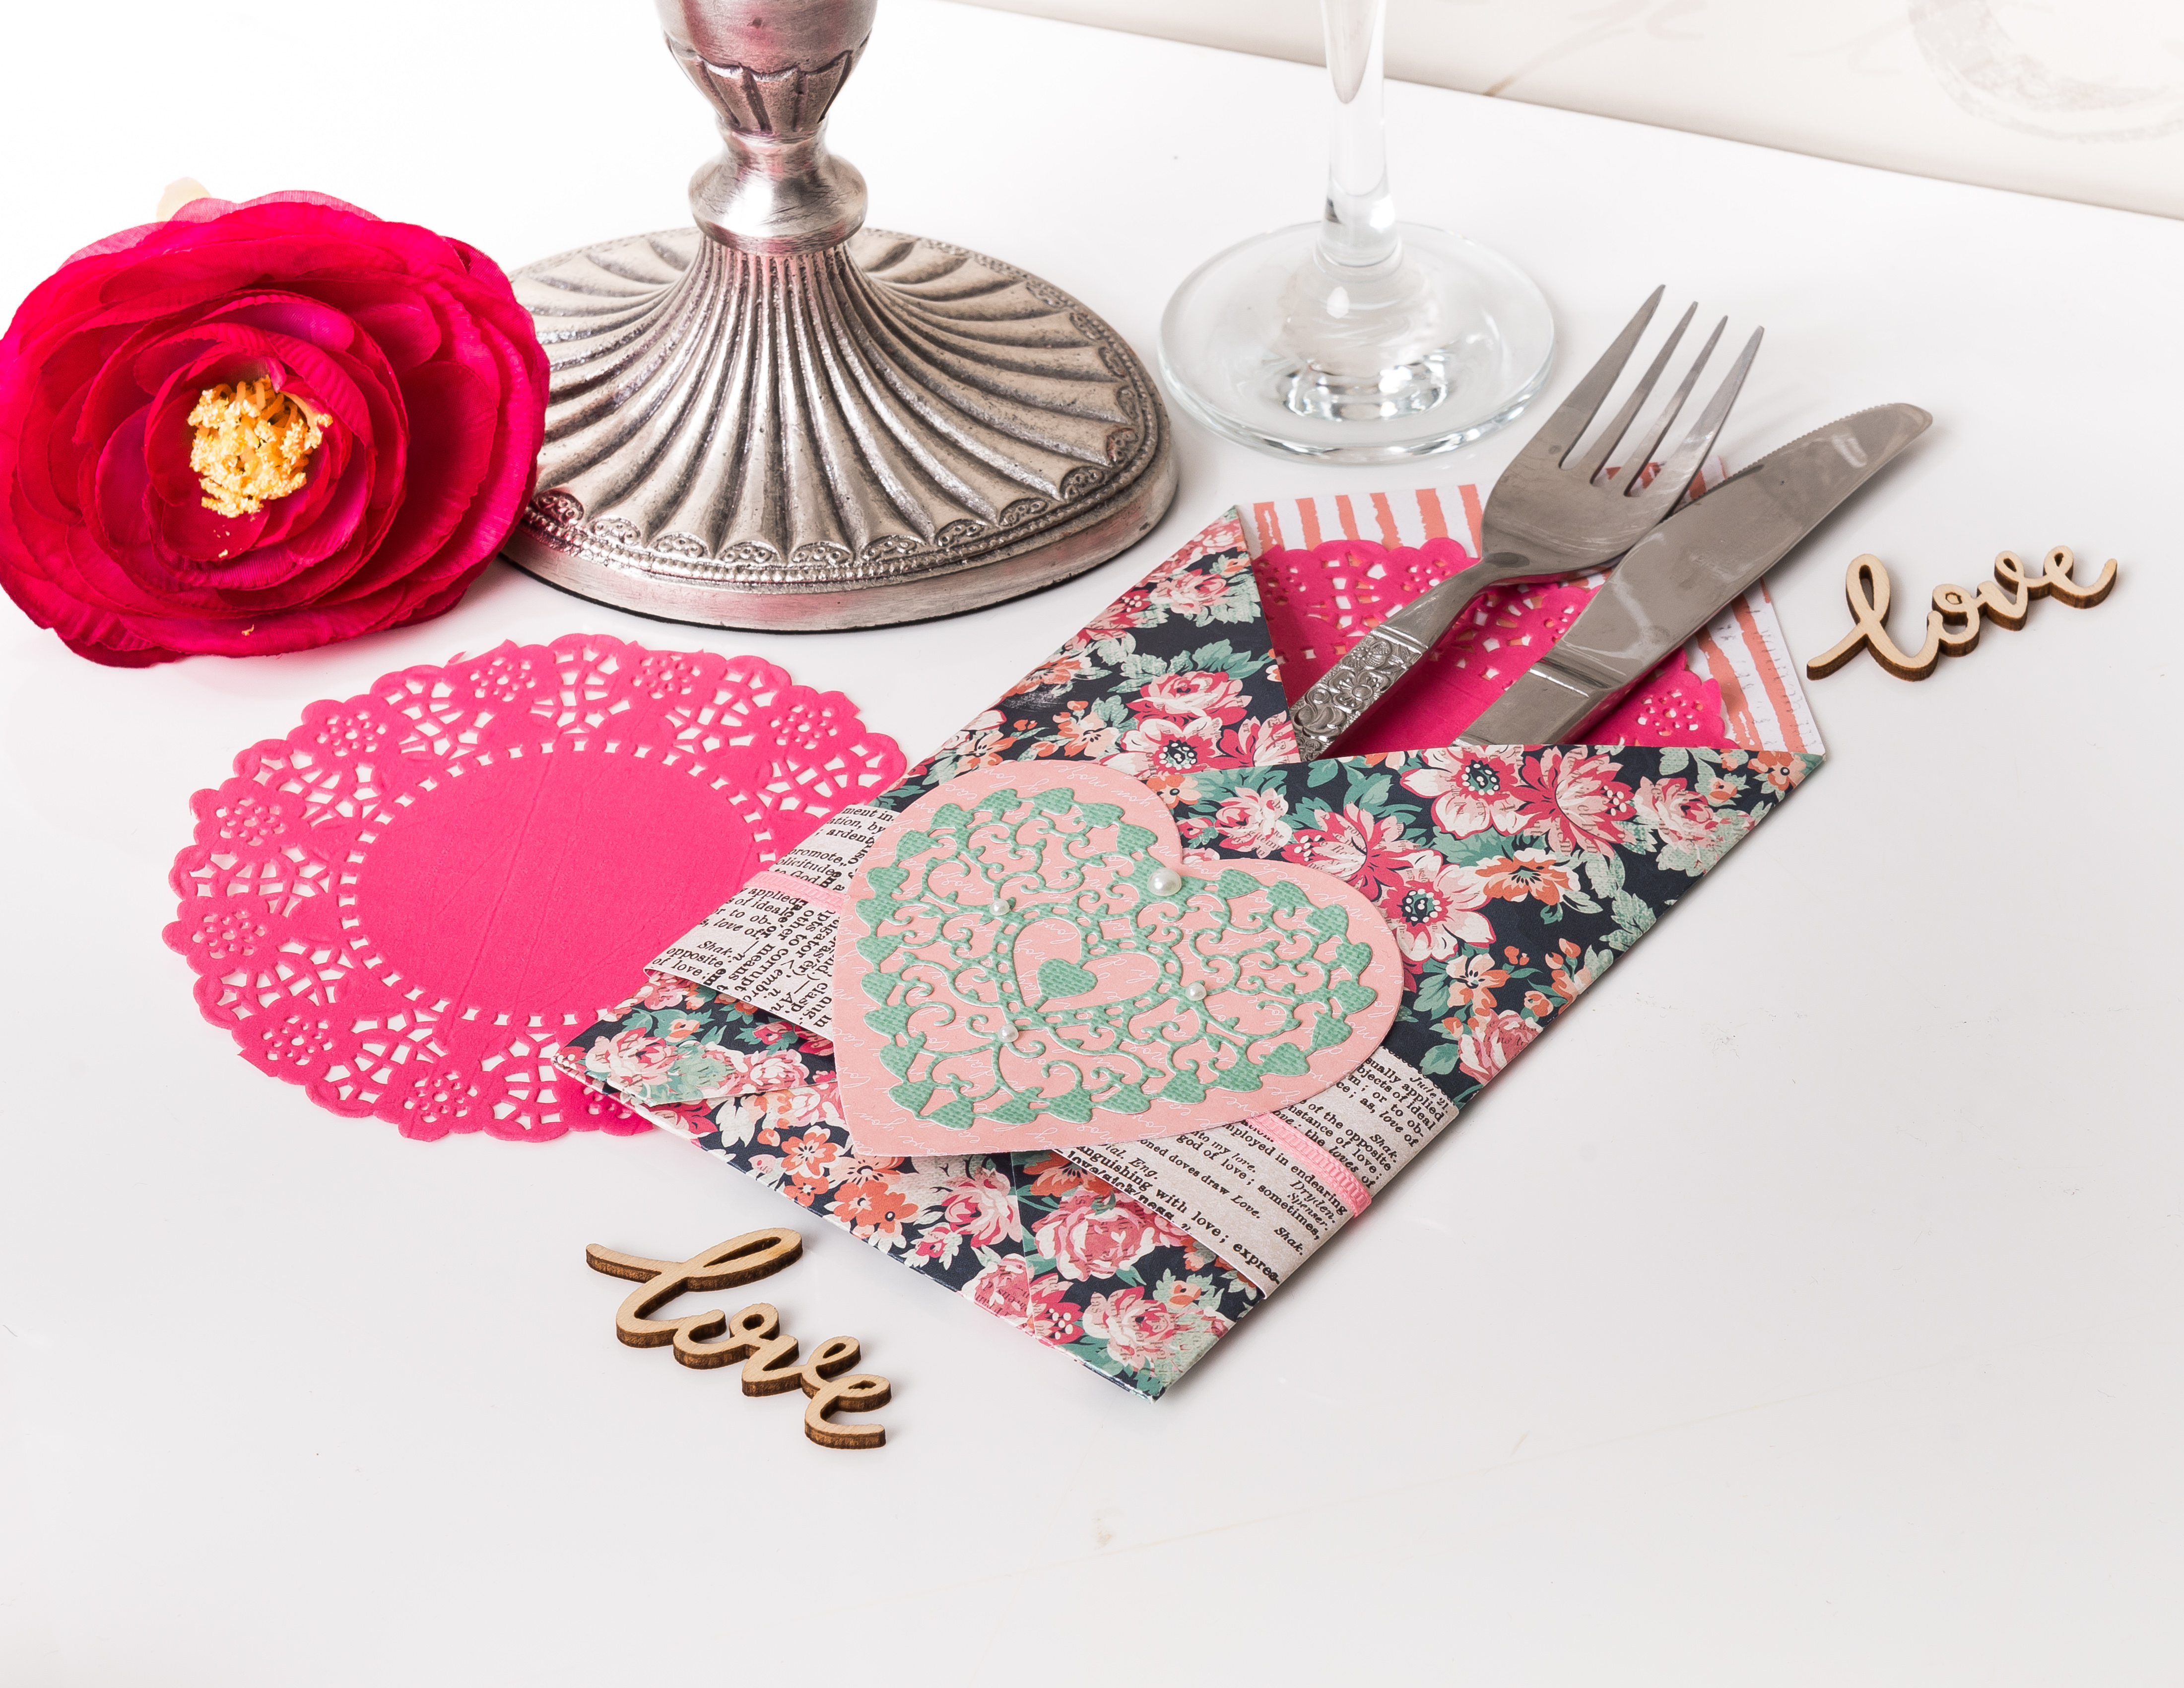
Place a 10.5 x 18cm piece of scrap card diagonally in the centre of a piece of some patterned paper – we’re using an 8×8" paper pad here. Fold up the bottom corner, then the left and right sides to make a pocket. Remove the card, cut some patterned paper to fit inside the pocket and glue everything in place.

Step 2

Cut a 21 x 4.5cm strip of newsprint paper (if you don’t have newsprint paper – why not simply use newspaper!). Fold the band around the pocket with the ends at the front and add some ribbon – we’ve gone with pink to match our theme.

Step 3

Die-cut a green intricate heart and a larger, plain heart from pink paper. Layer up and glue over the ends of the band. Add adhesive pearls.


DIY wedding table decorations: DIY wedding favour box

You Will Need

  • Patterned paper
  • Ribbon
  • Adhesive pearls
  • Wedding bells die, wedding bells clip art or other toppers

DIY wedding table decorations

Step 1

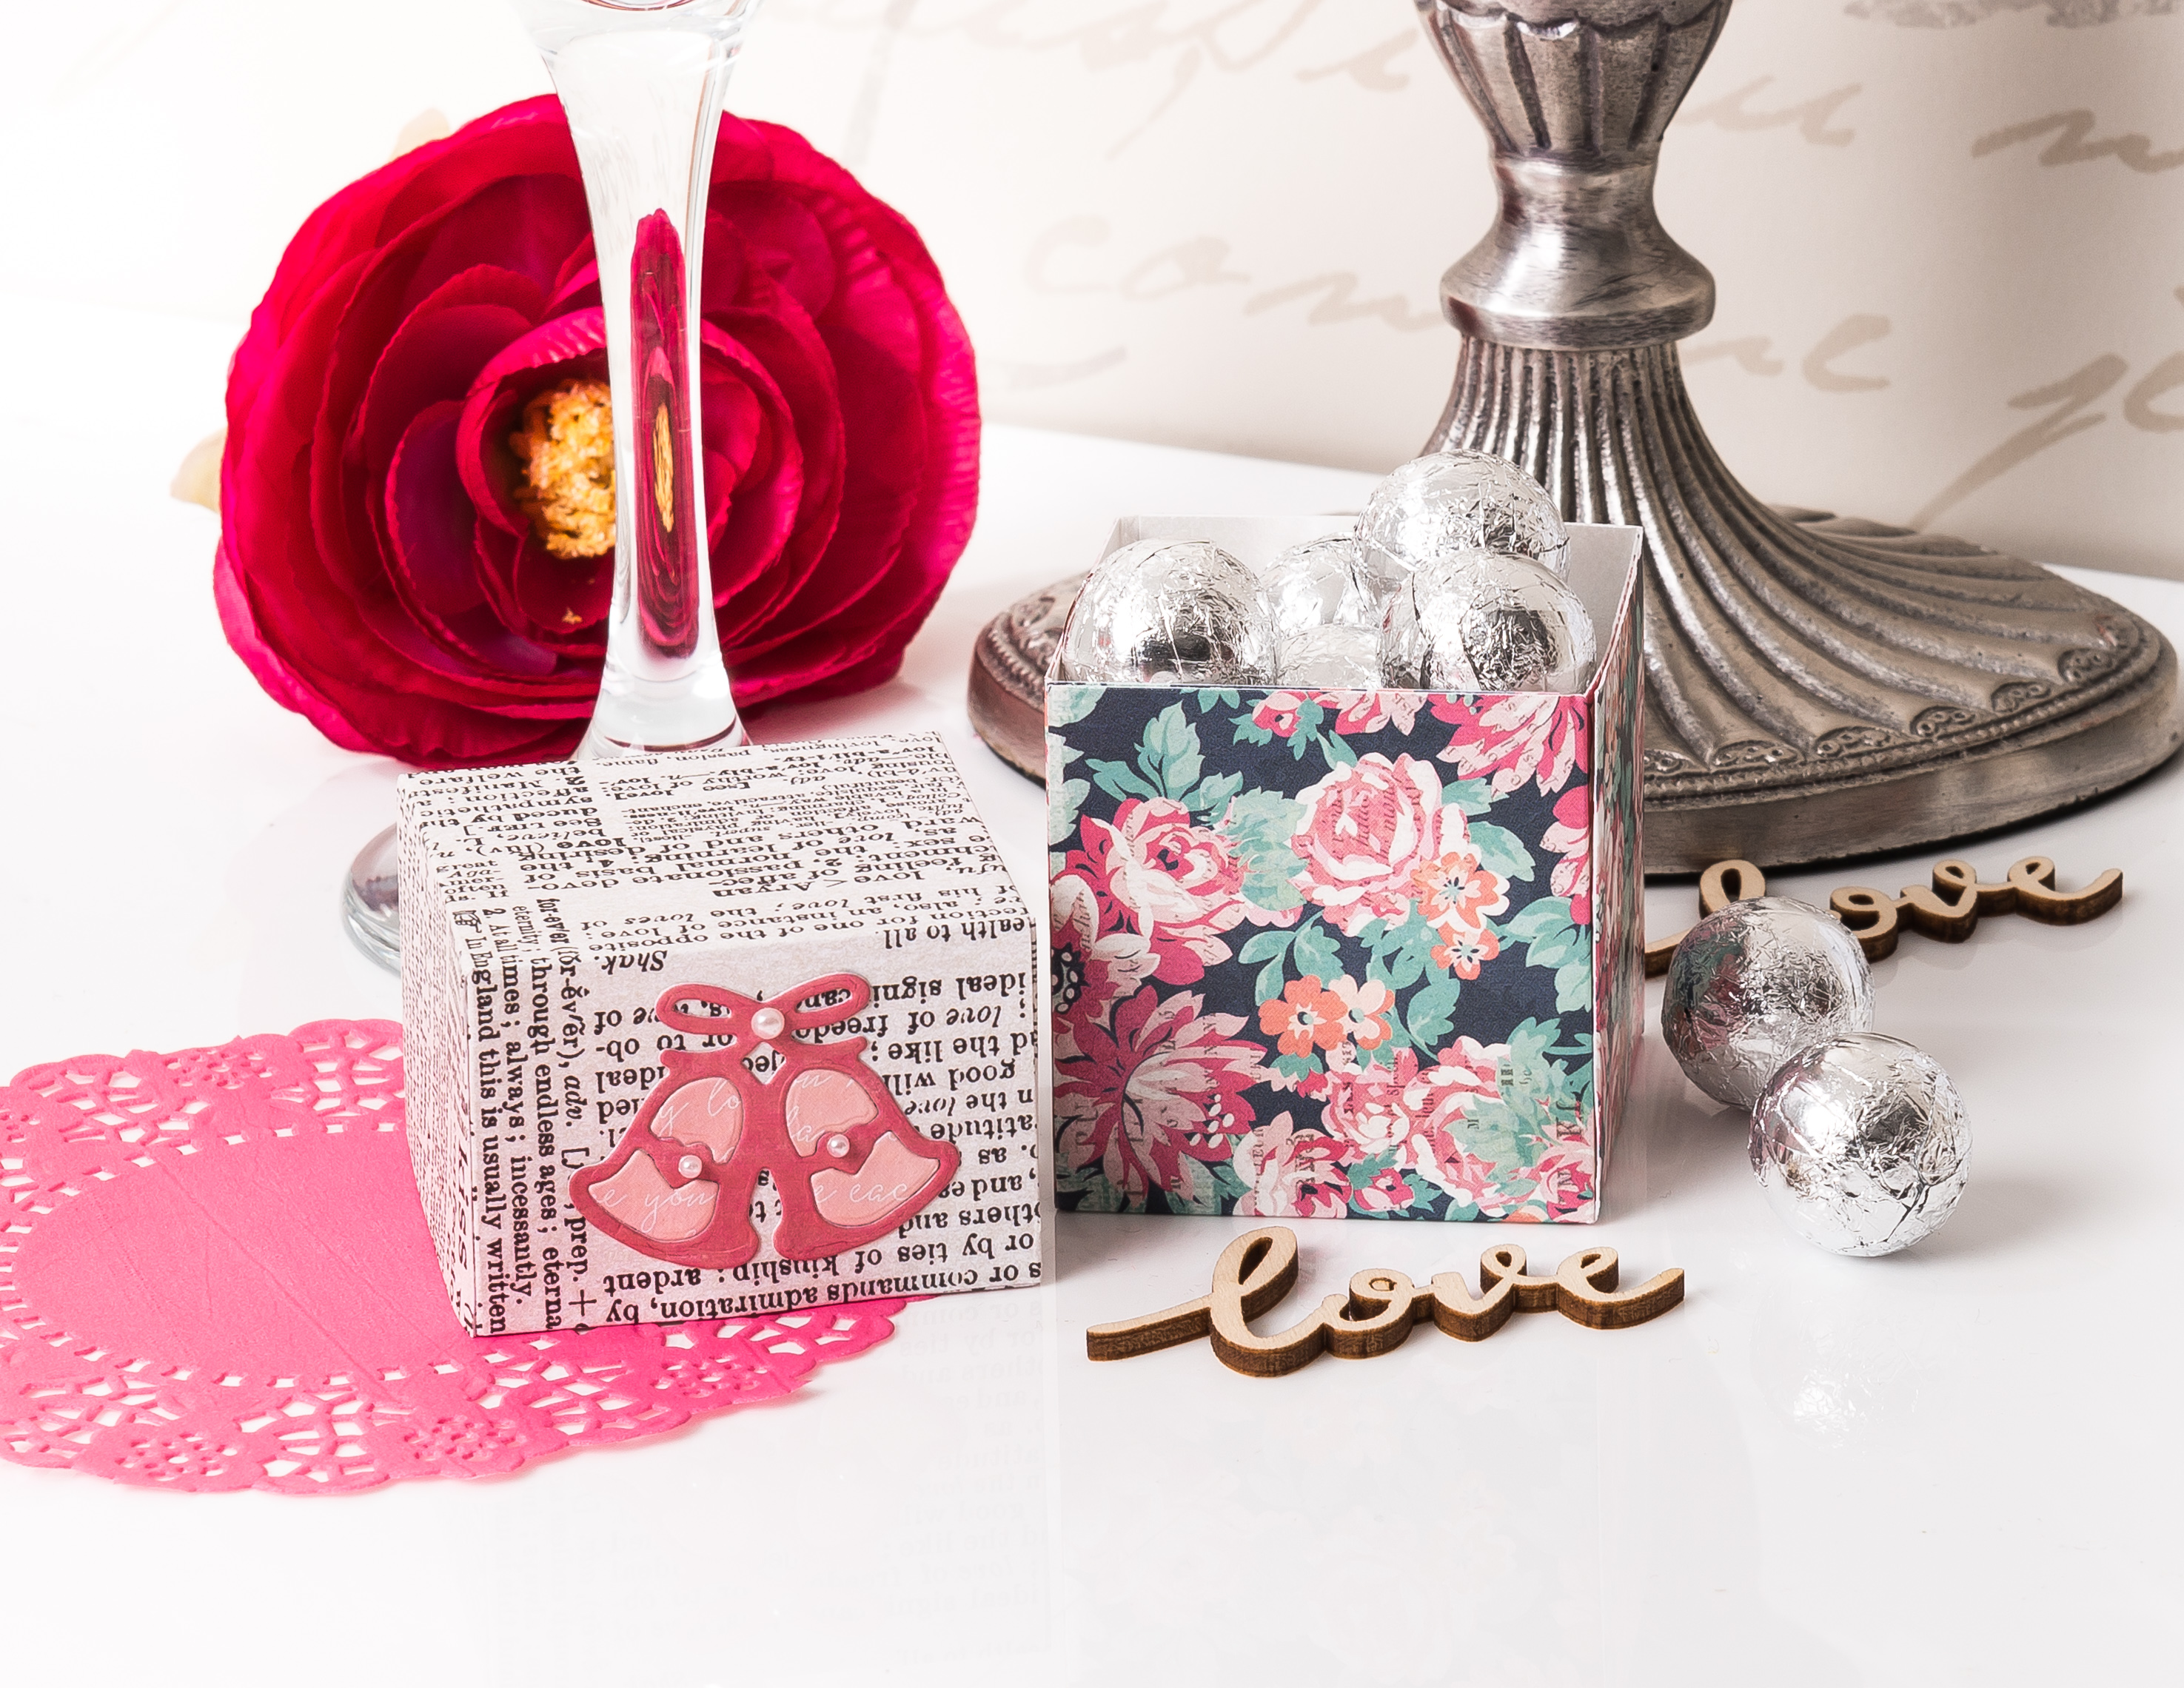
Cut a 15cm square of patterned paper and score at 5cm on all of the sides. Cut along one of the score lines at each corner, up to the point where the score lines meet, then add glue to each flap and assemble the box.

Step 2

Repeat for the lid, starting with a 12.2cm square of paper and coring at 3.5cm on all of the sides.

Step 3

Cut or die-cut some wedding bells from light and rose pink papers and stick the two parts together. If you don’t have a wedding bells die (it’s quite niche!), why not download some wedding bells clip art – or use any other topper/ die from your stash. Stick to the box lid and add some adhesive pearls. Once you have filled your favour boxes you can tie them closed with a length of coordinating ribbon.

DIY wedding table decorations


We hope you have enjoyed these easy DIY wedding table decorations. If you’re looking for more DIY wedding inspiration, check out this beautiful bridal hair vine, or why not make the most of your empty wine bottles with these stunning (and super easy) wine bottle lights. Or how about celebrating the happy couple with these homemade wedding cards.