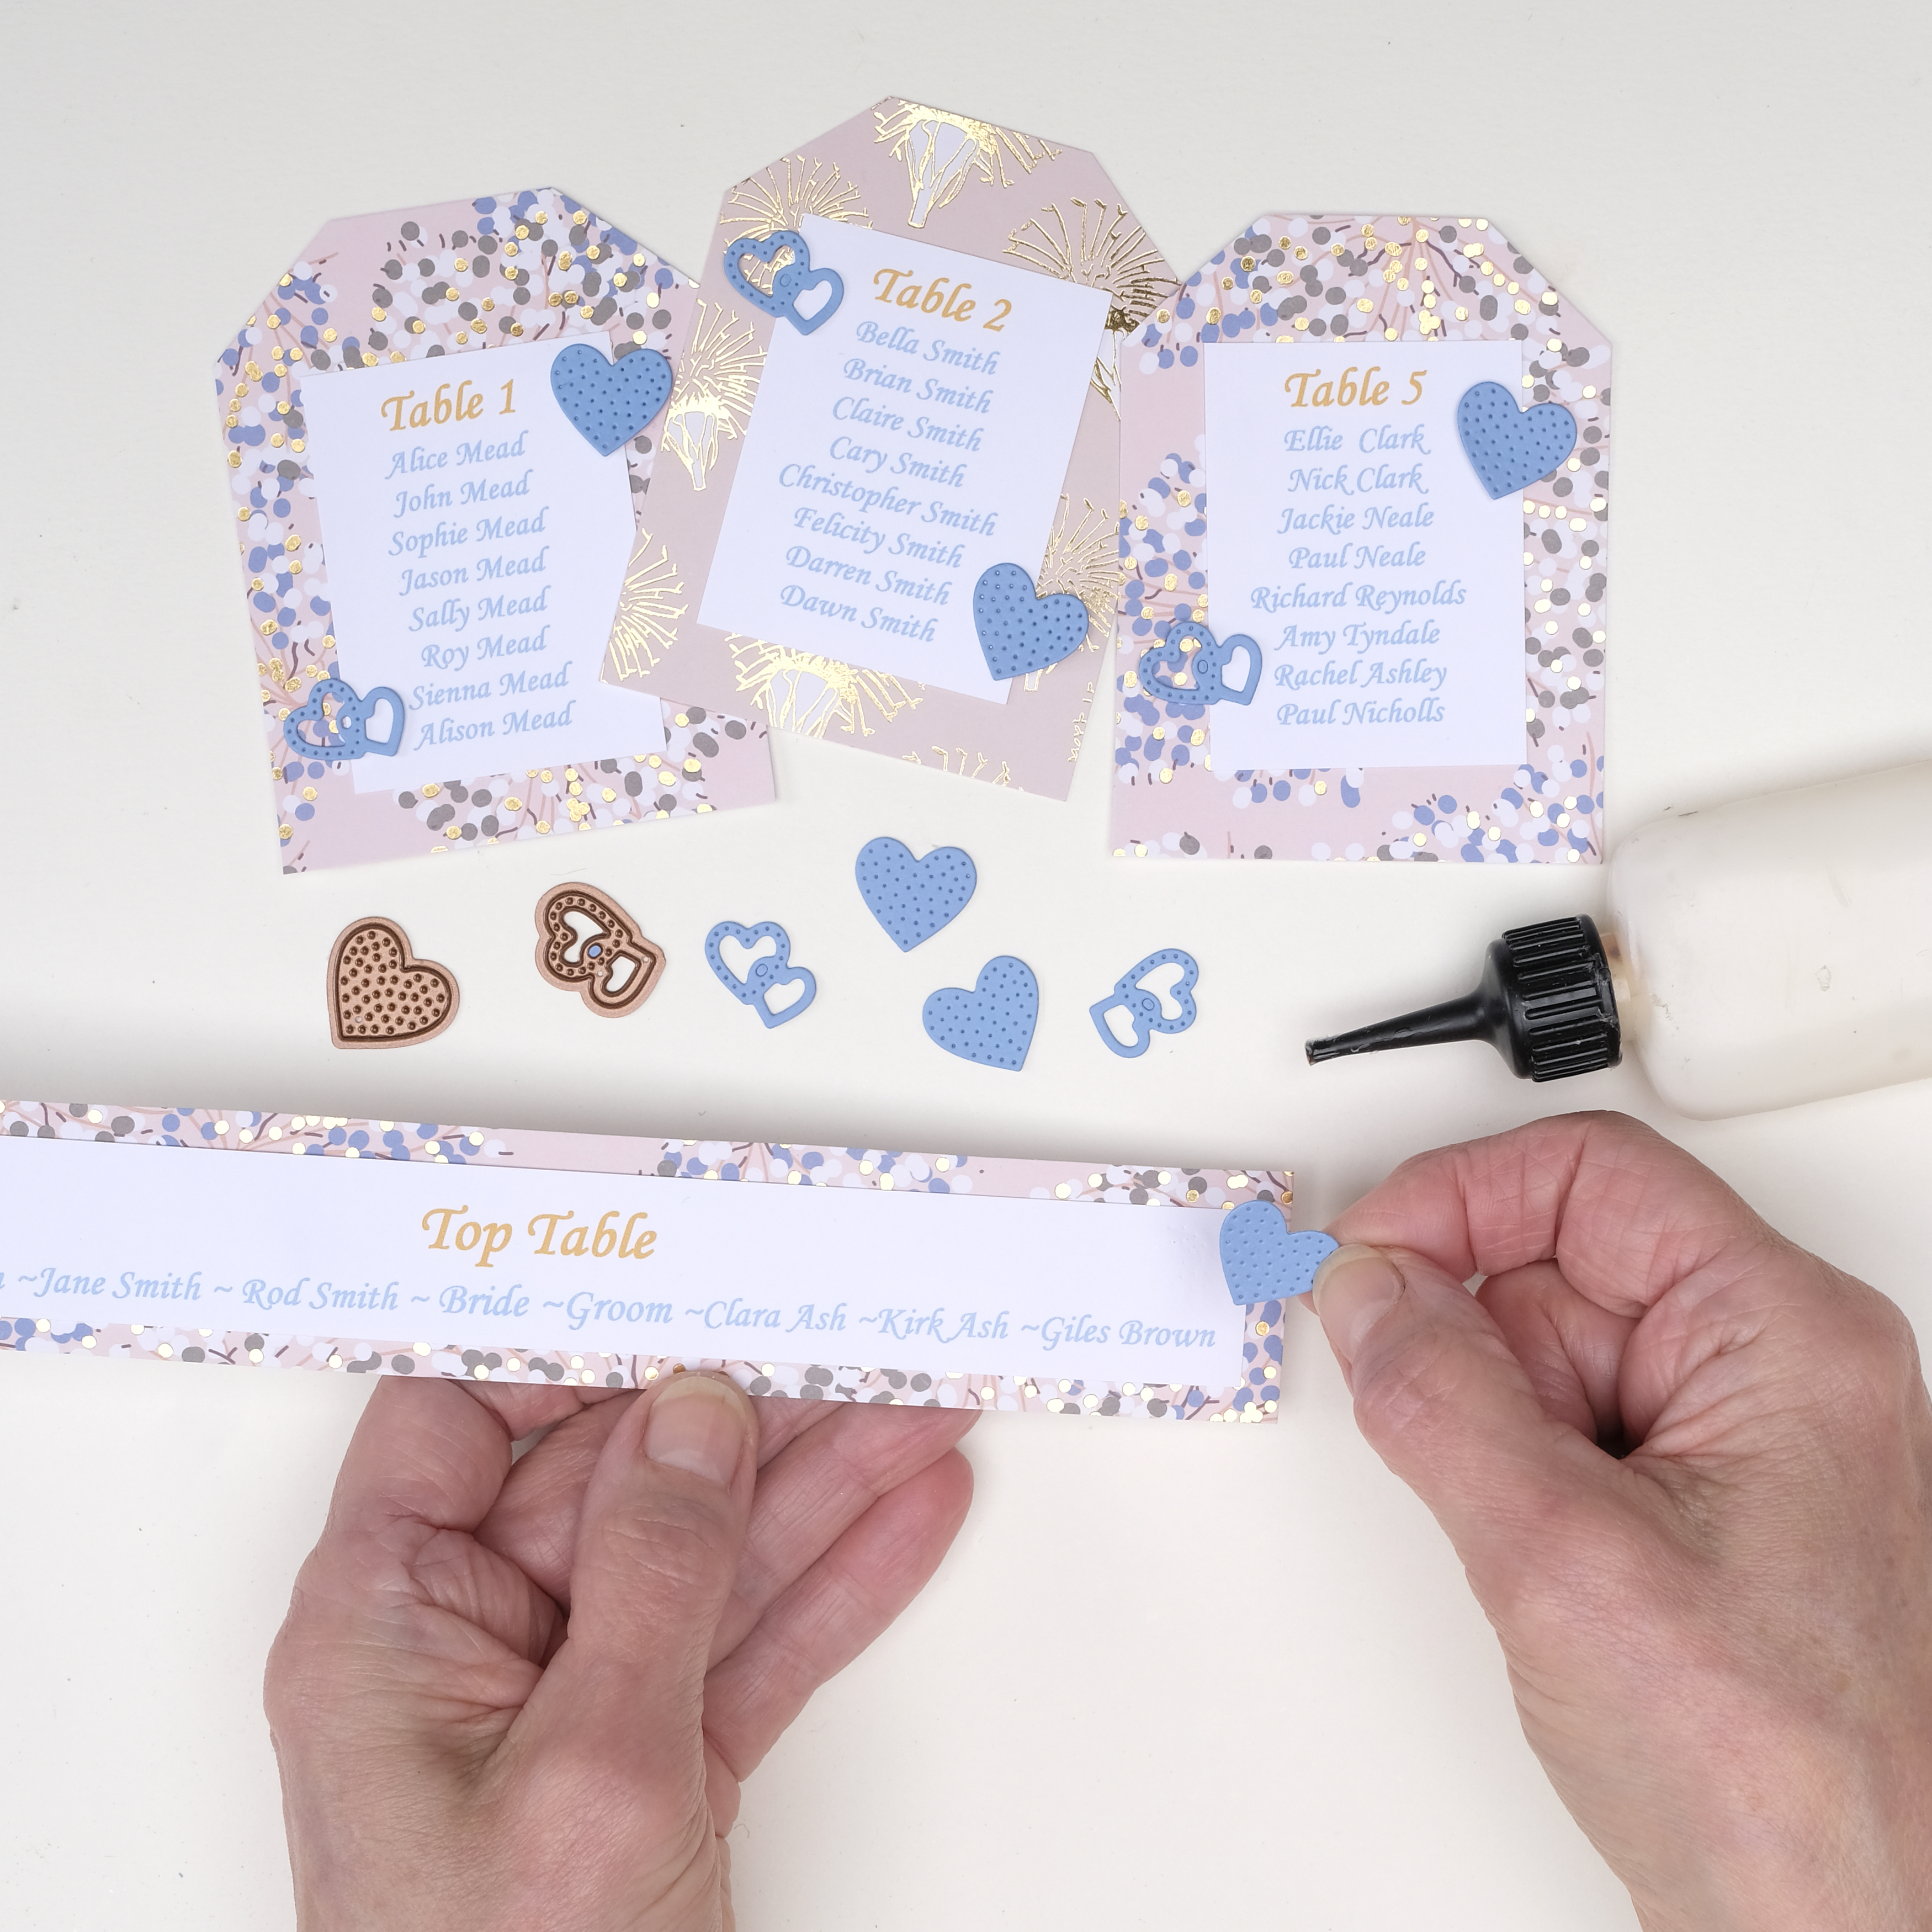
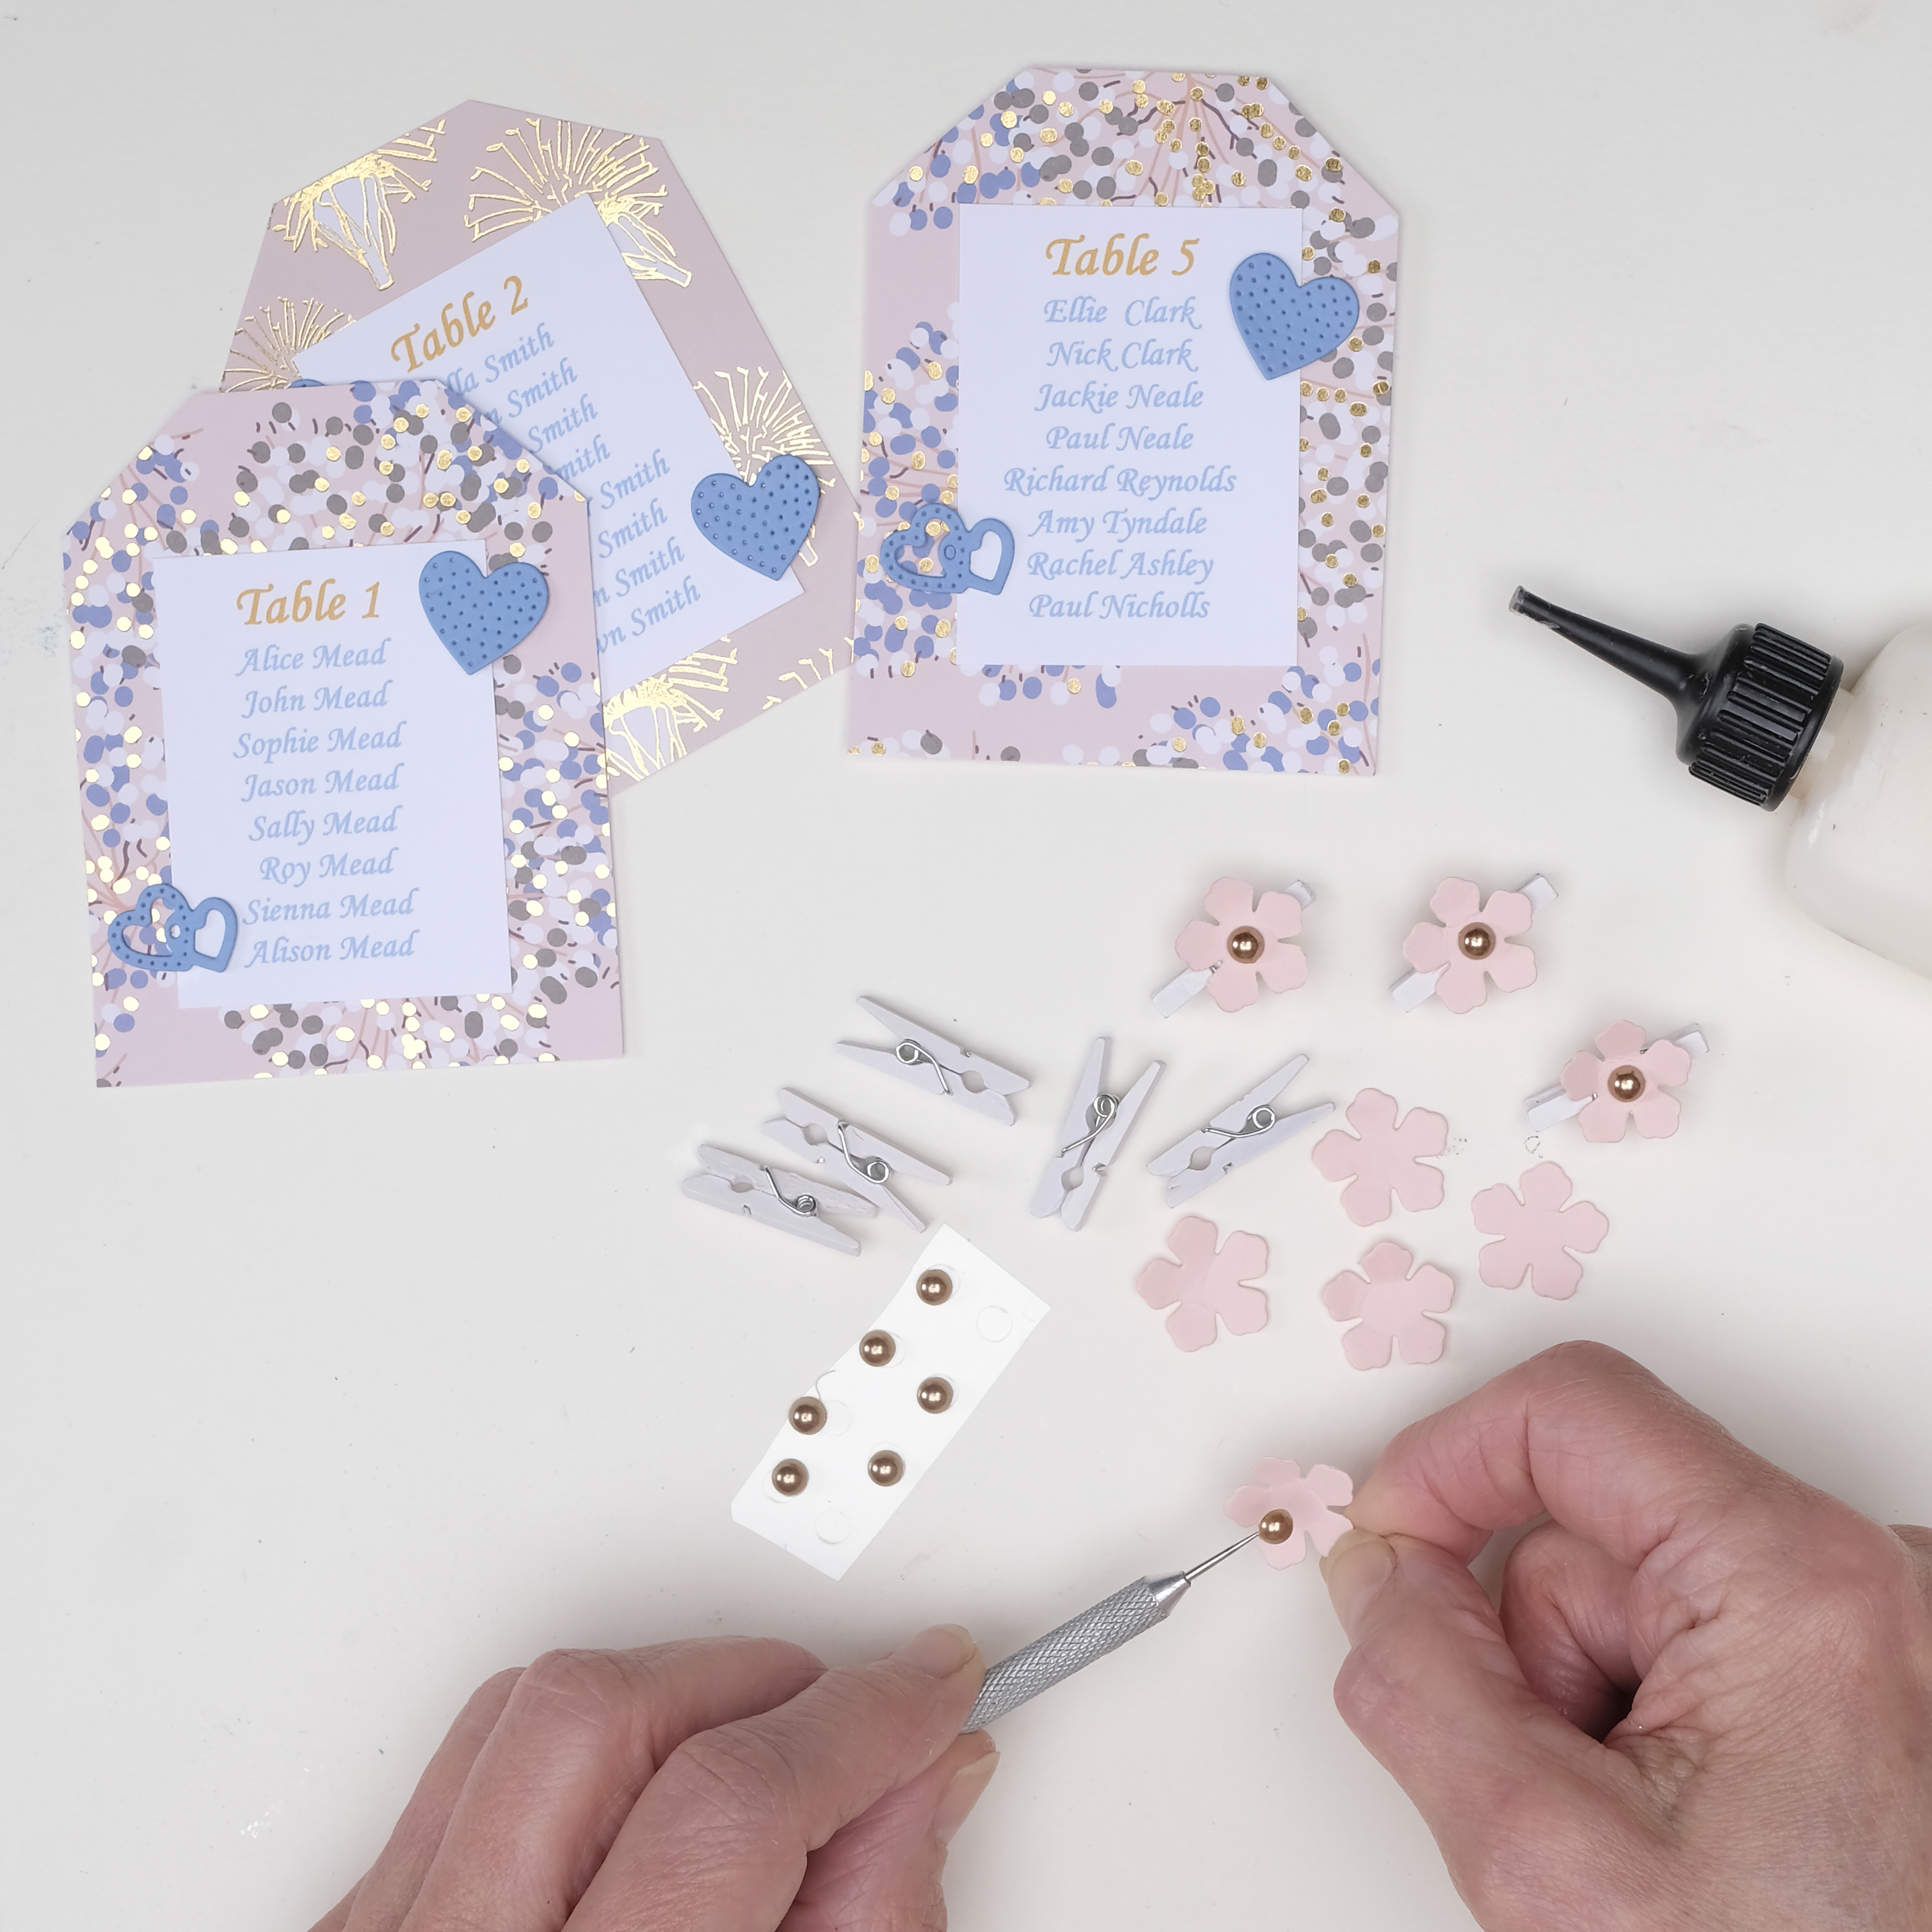
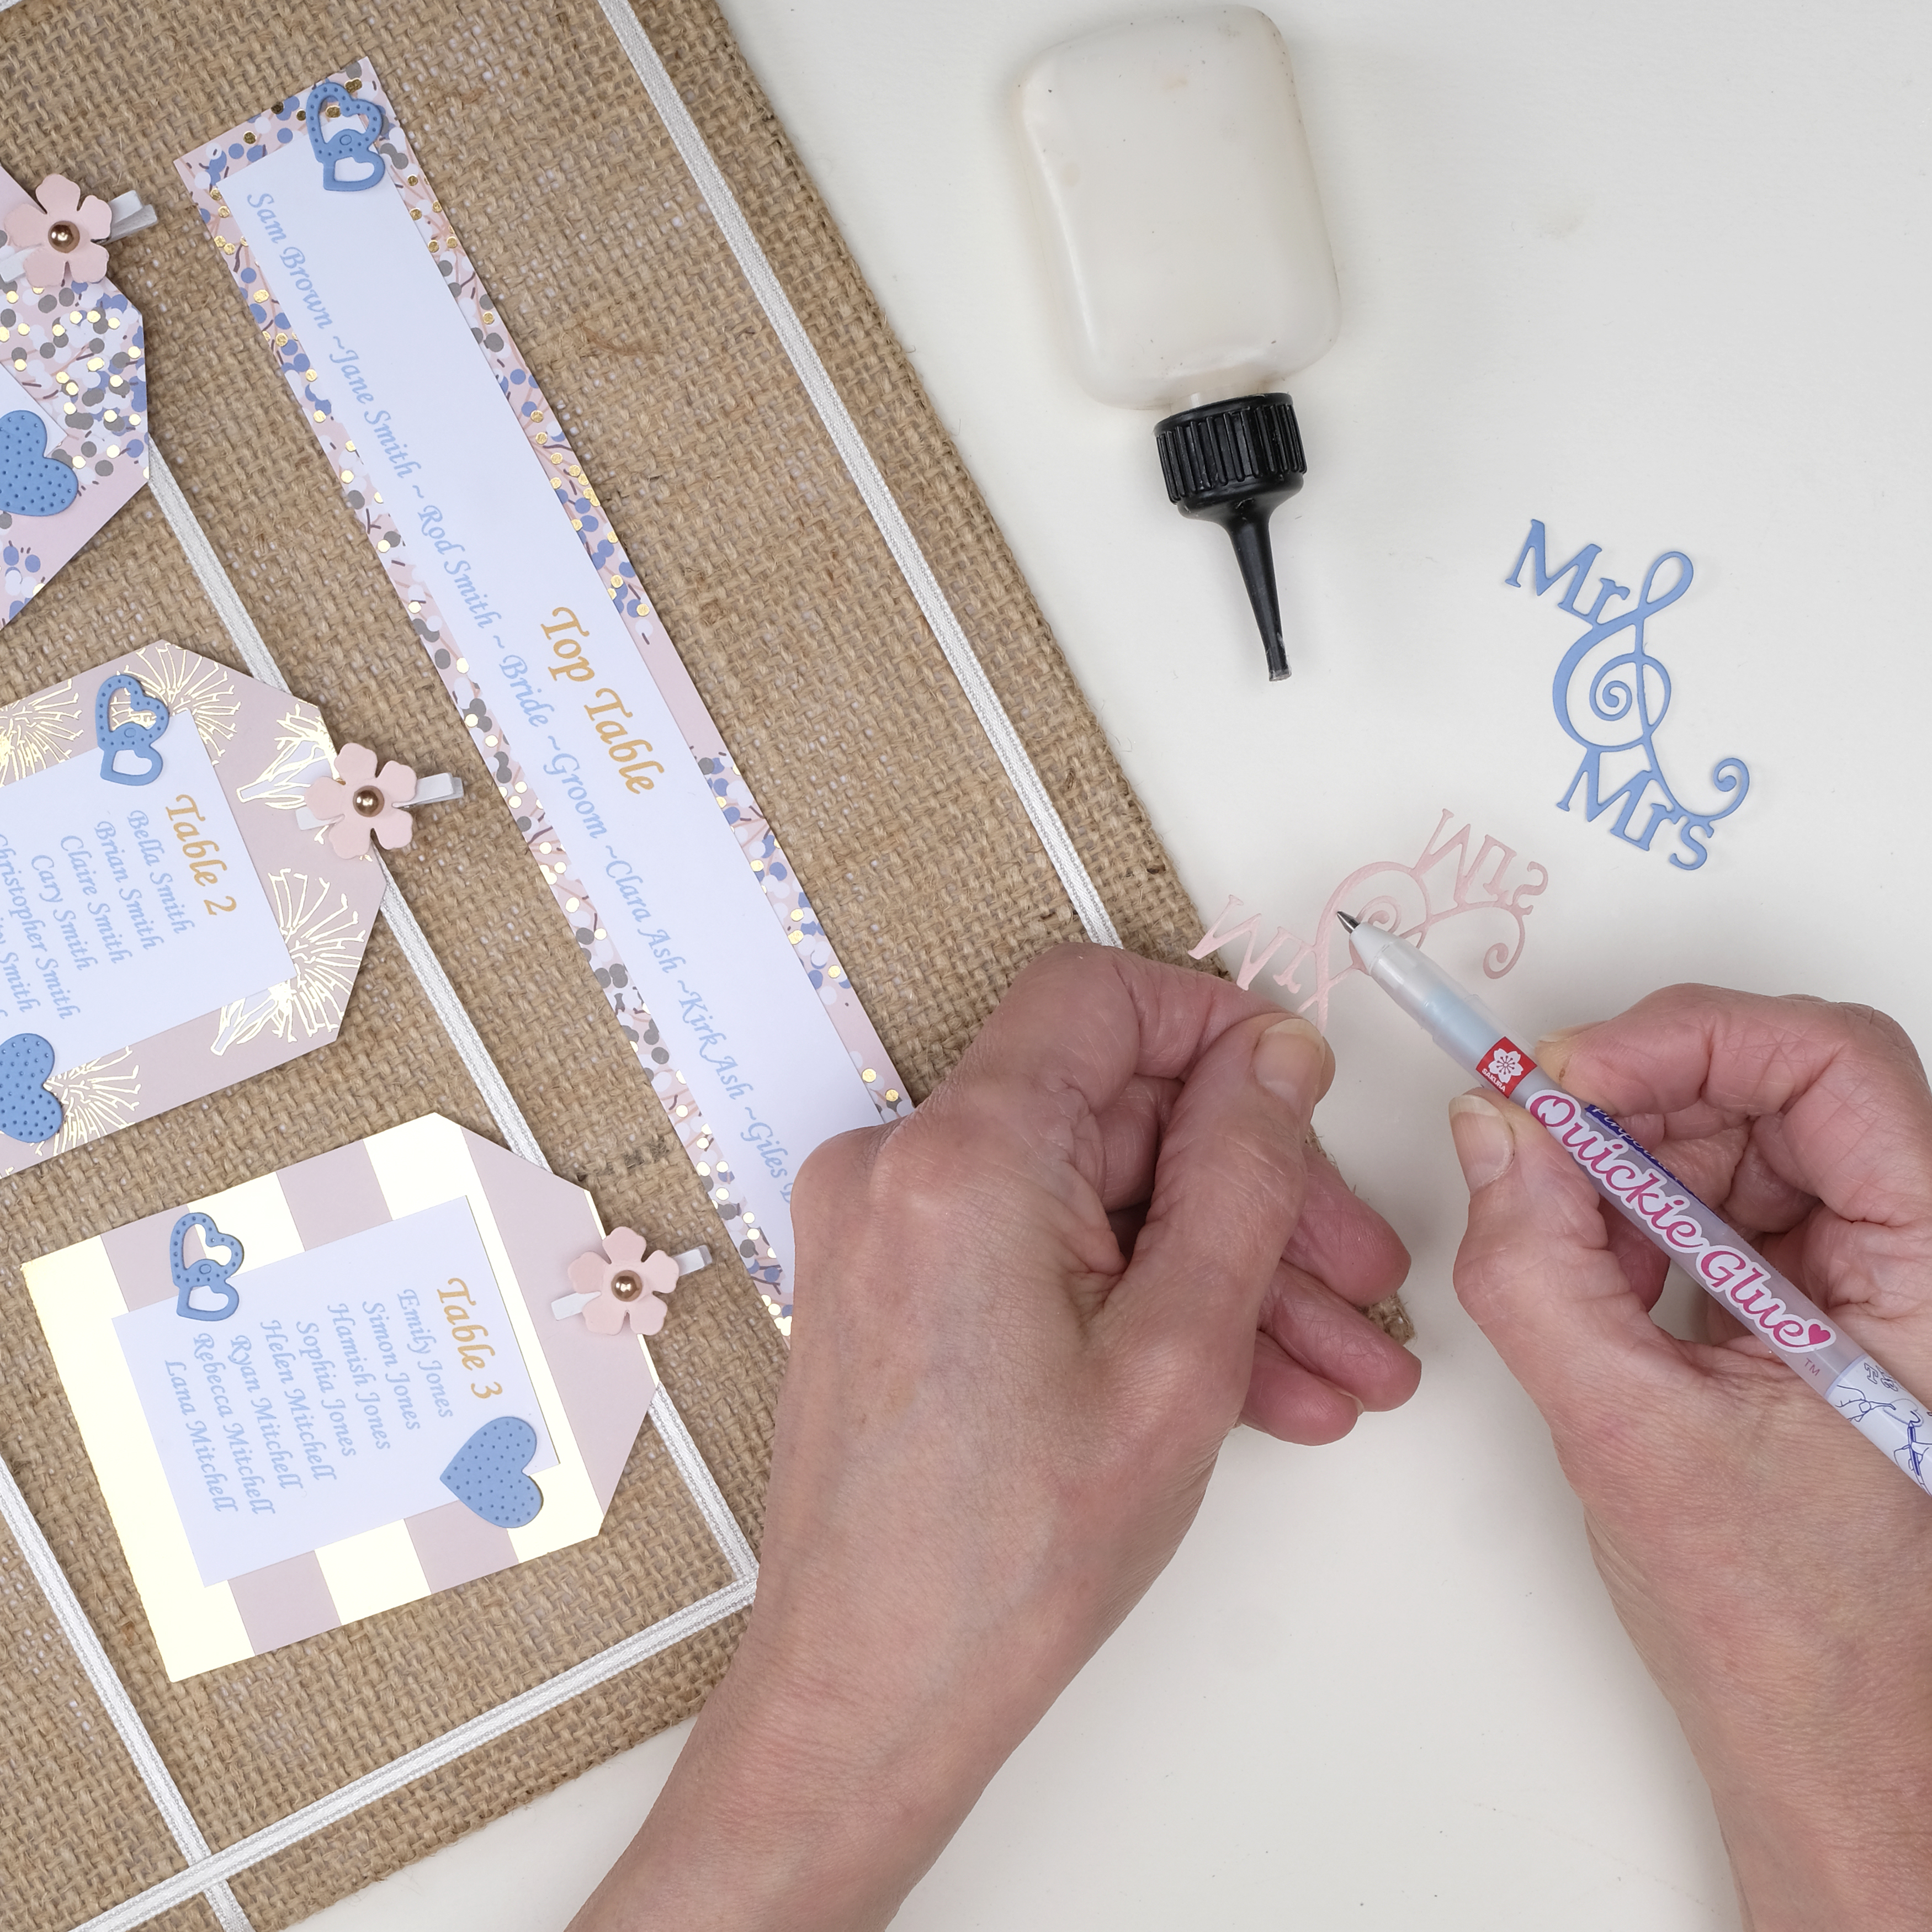
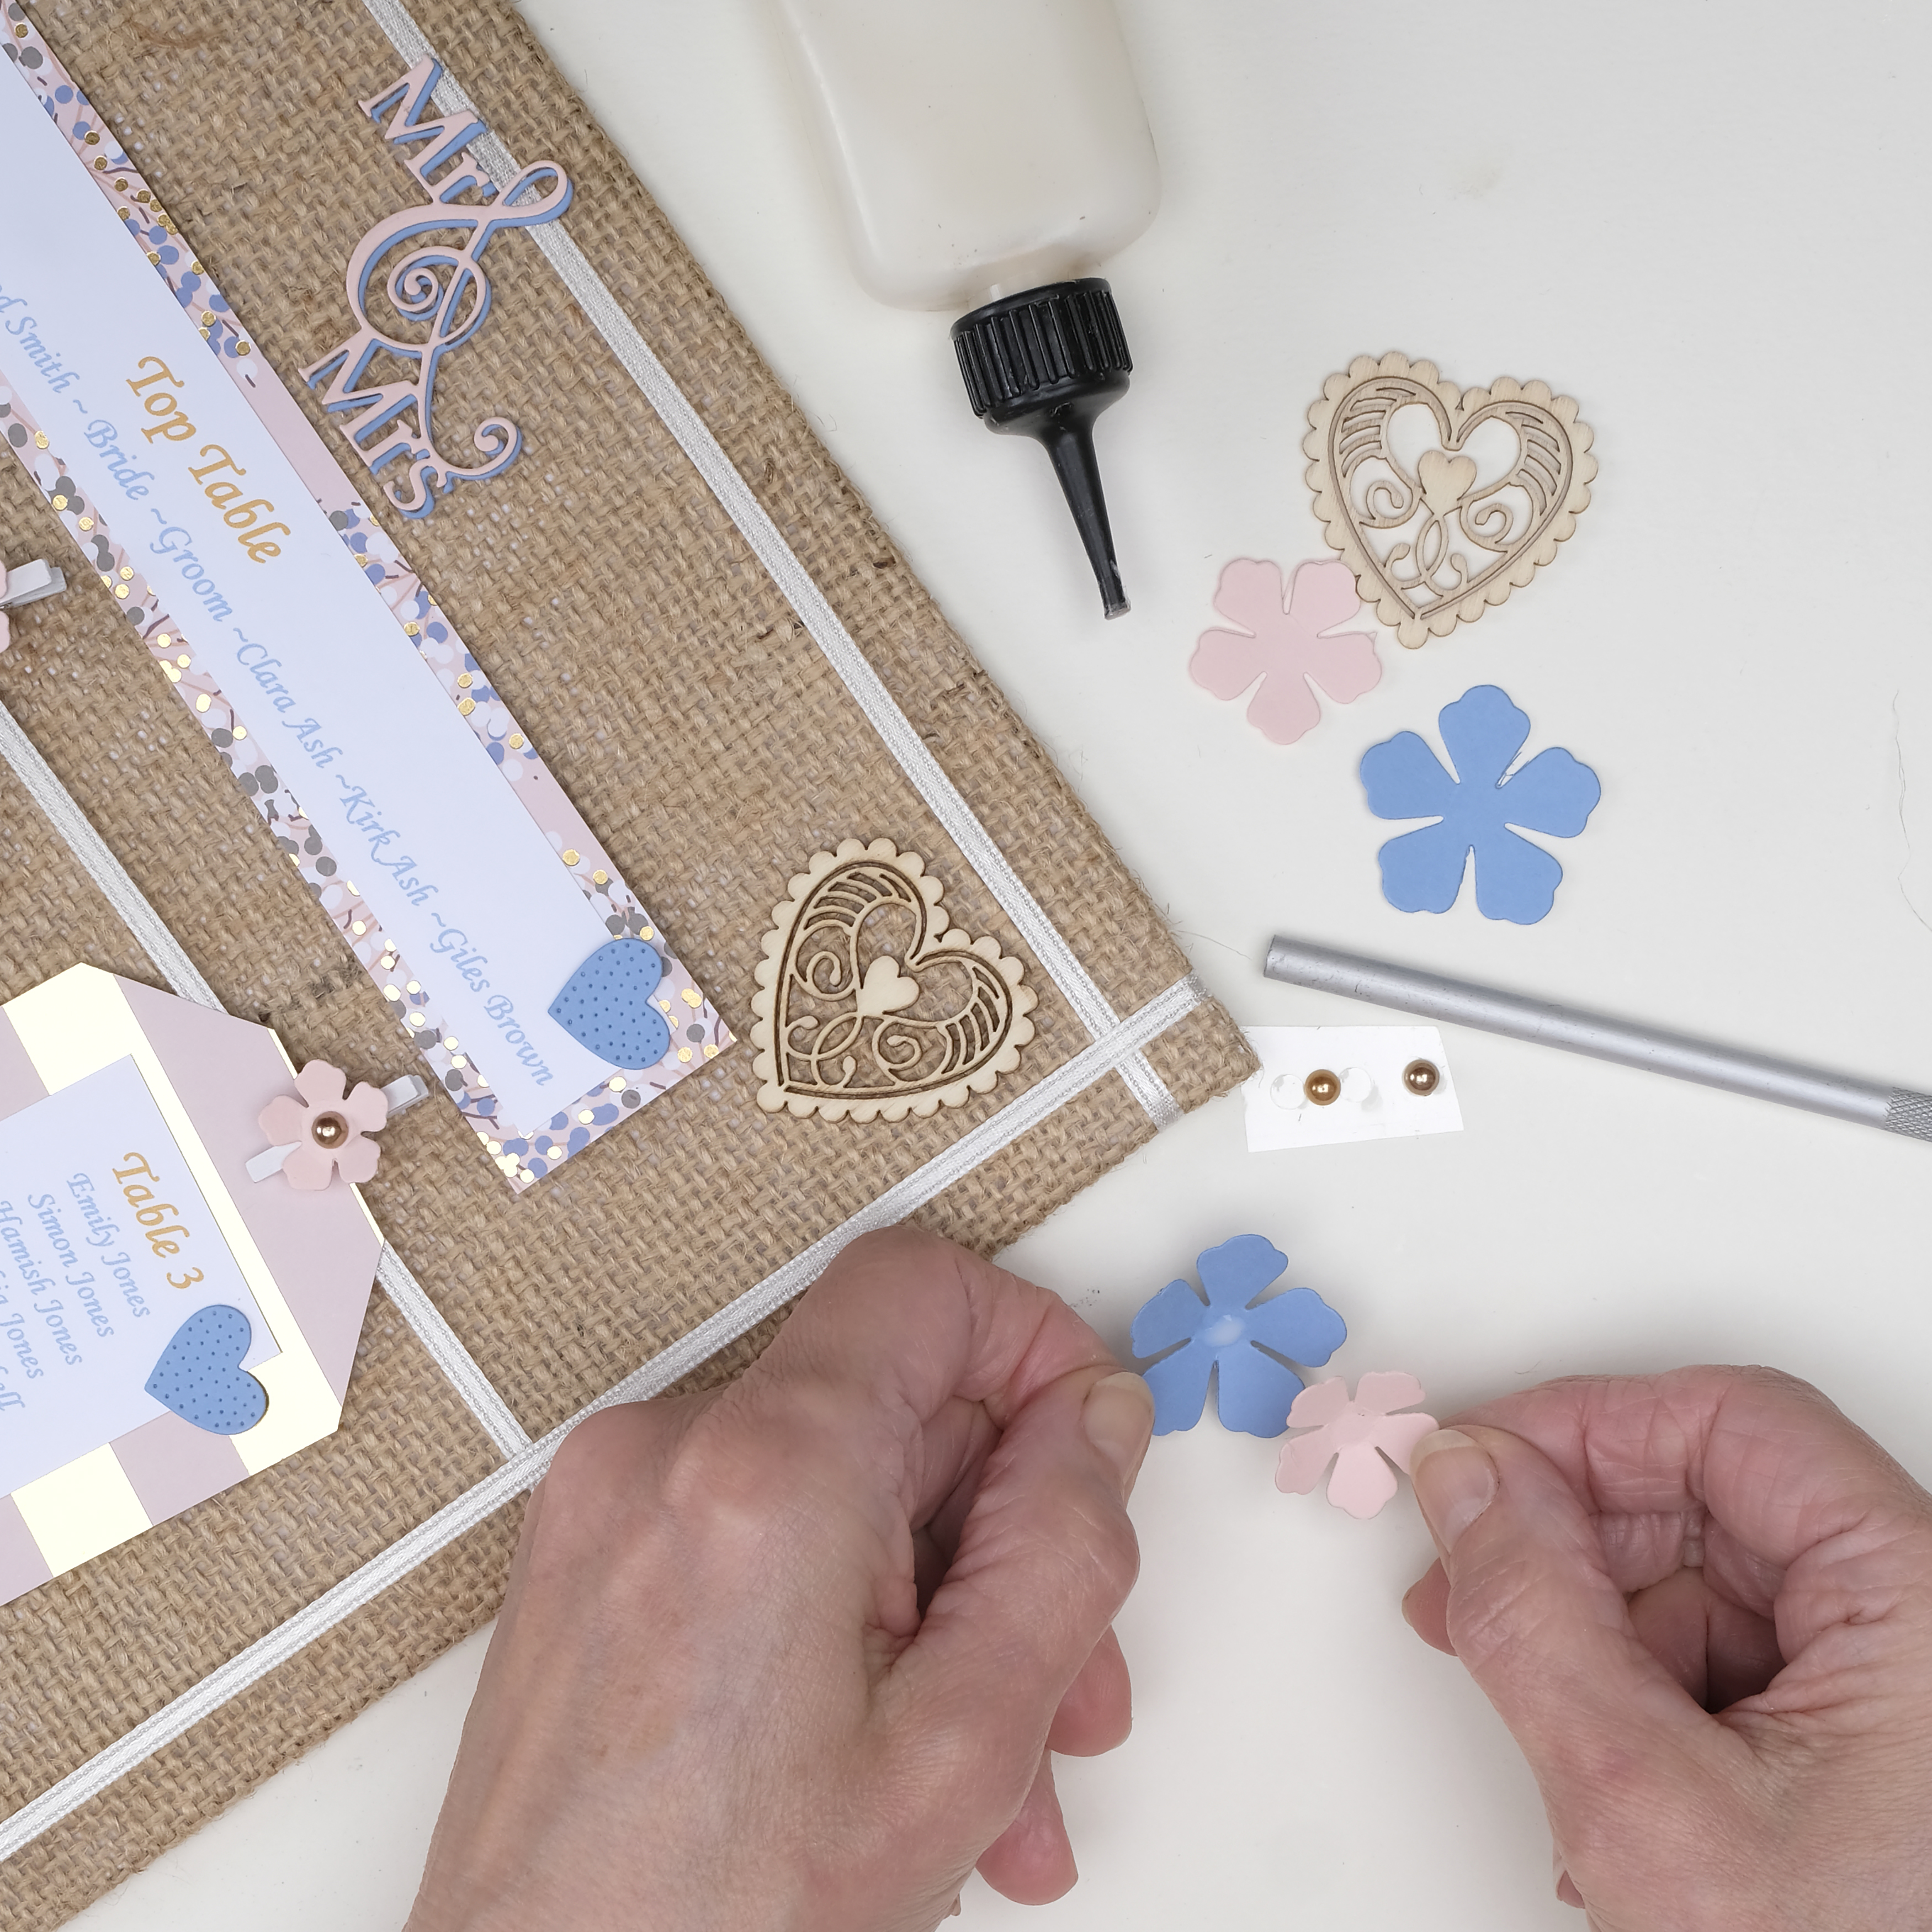
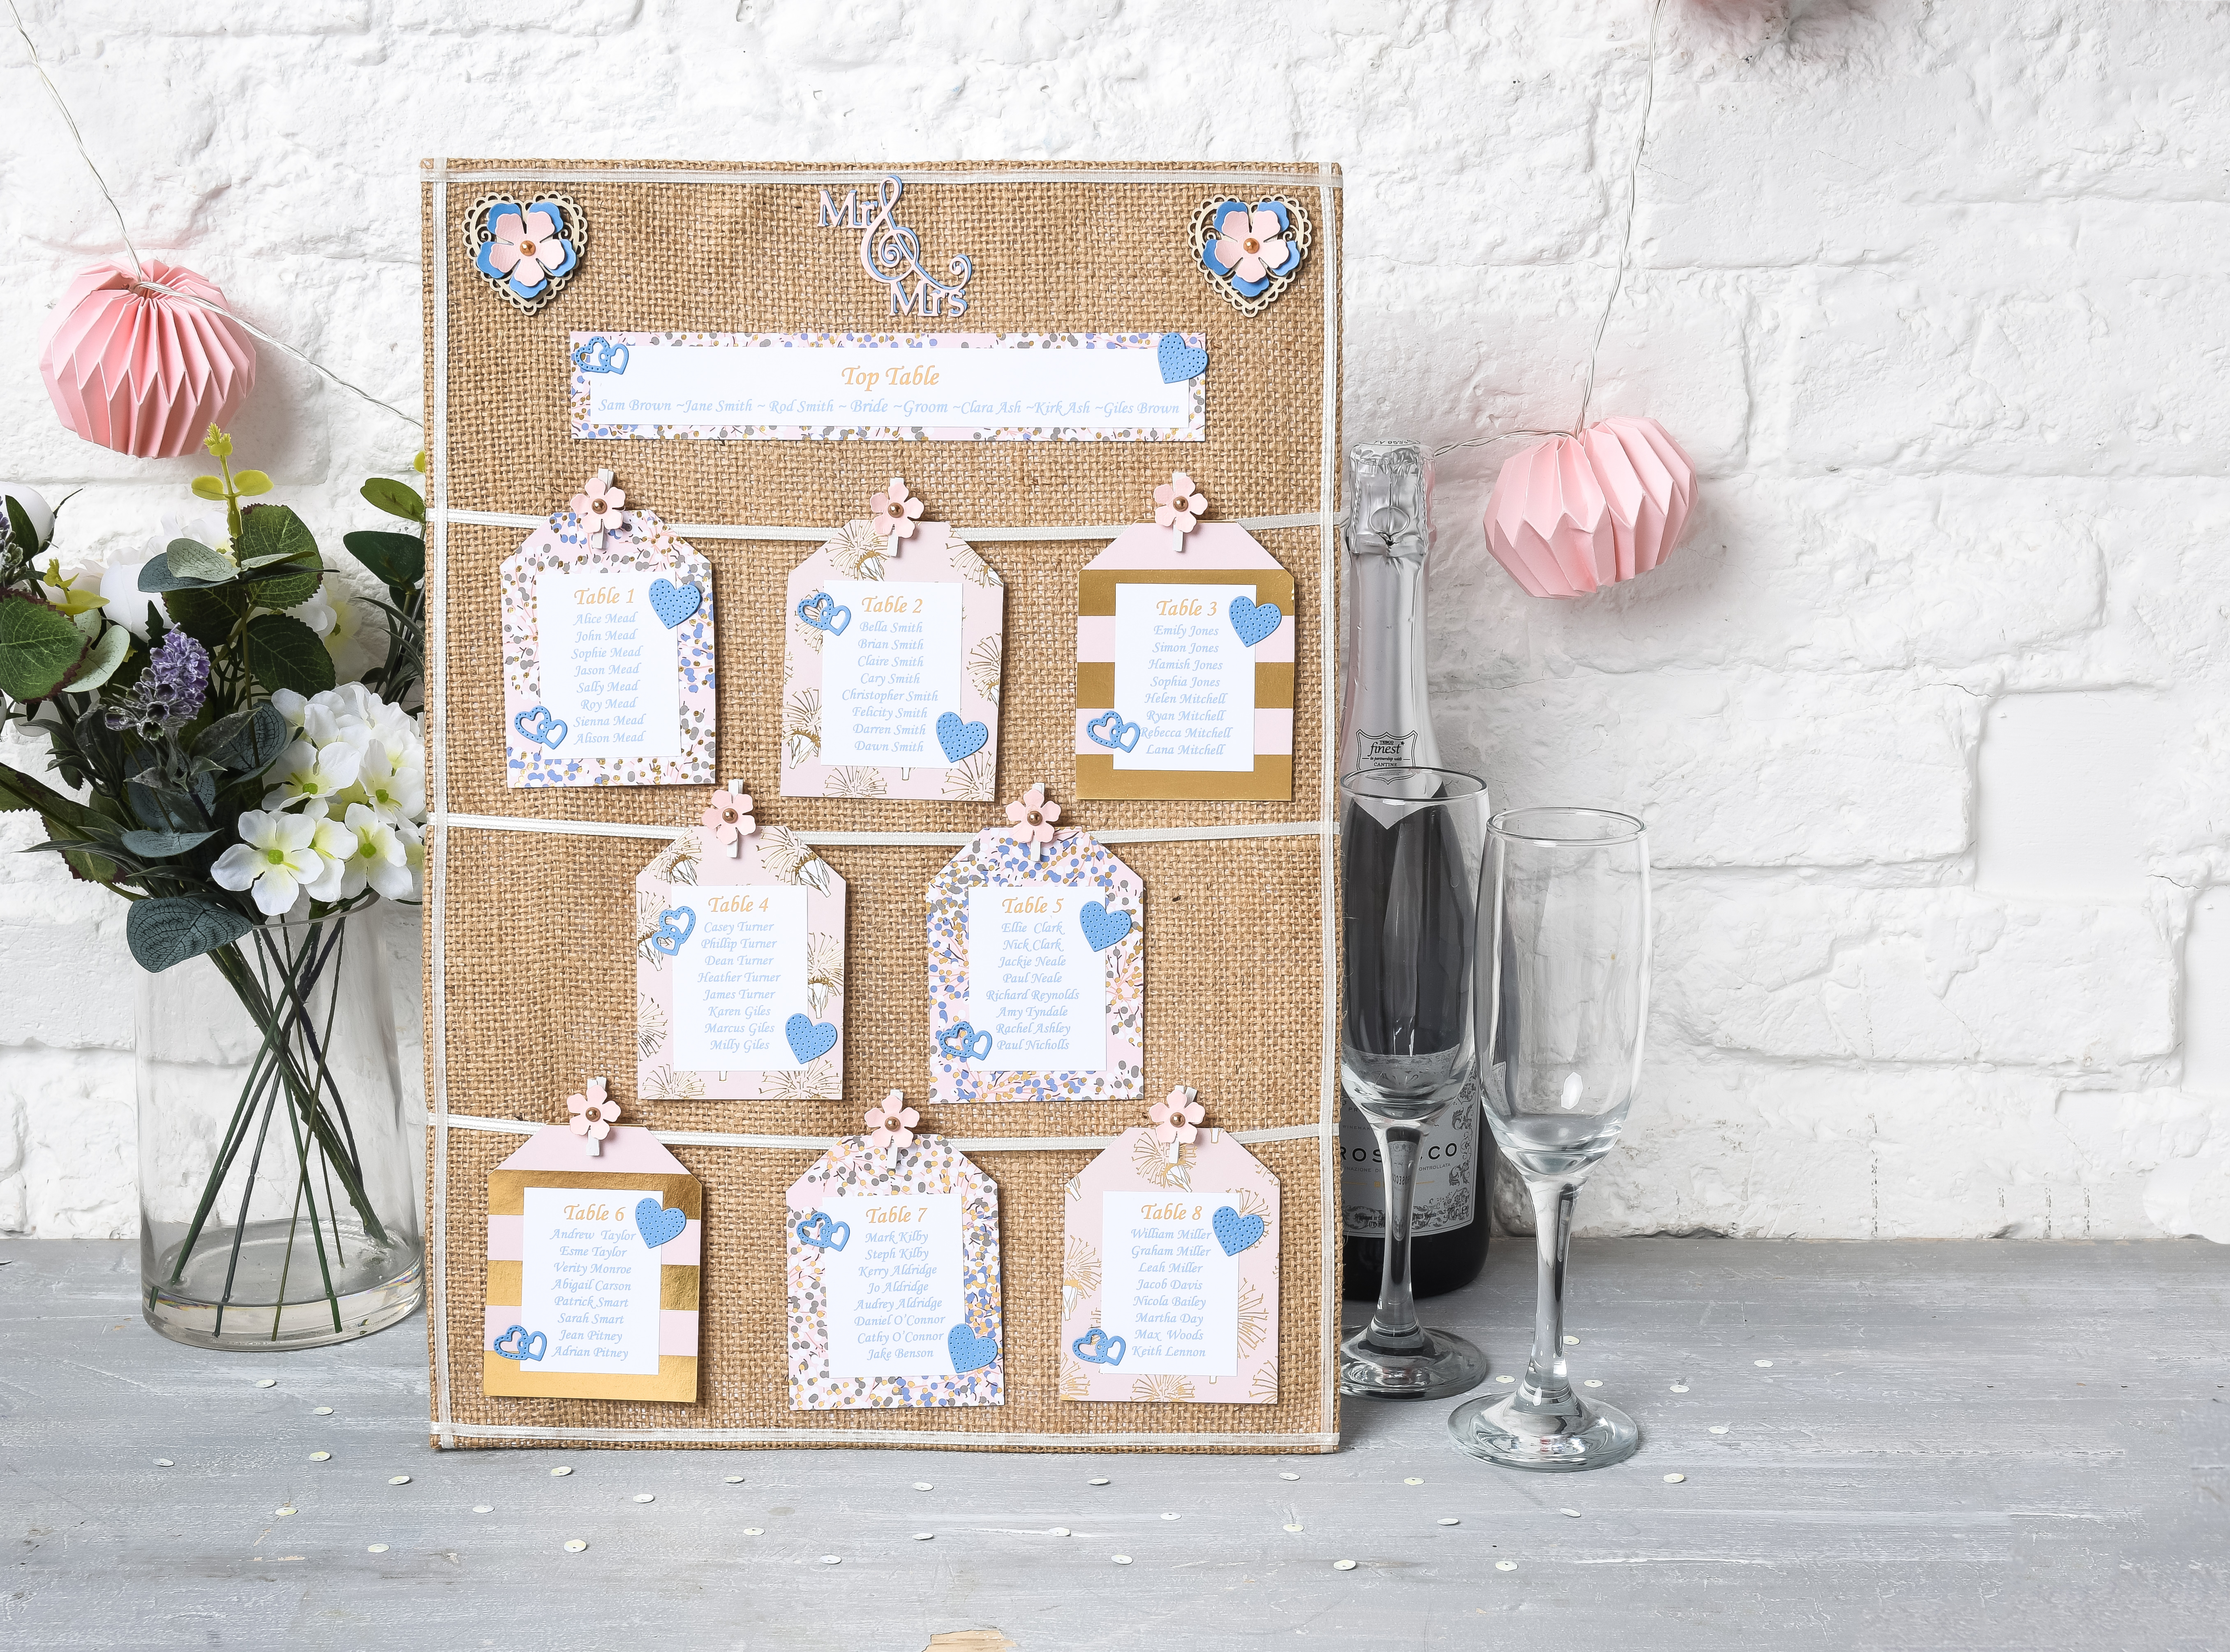
Bring the homemade touch to your wedding with this delightful DIY wedding seating plan! We've used hessian as the backing for our DIY wedding seating plan, but you can switch up the fabric to suit your wedding decor.
Here are designer Sue Hughes' top tips for how to create your own DIY wedding seating plan for the big day:
- Layer at least three pieces of card together to create a sturdy base for the seating planner board.
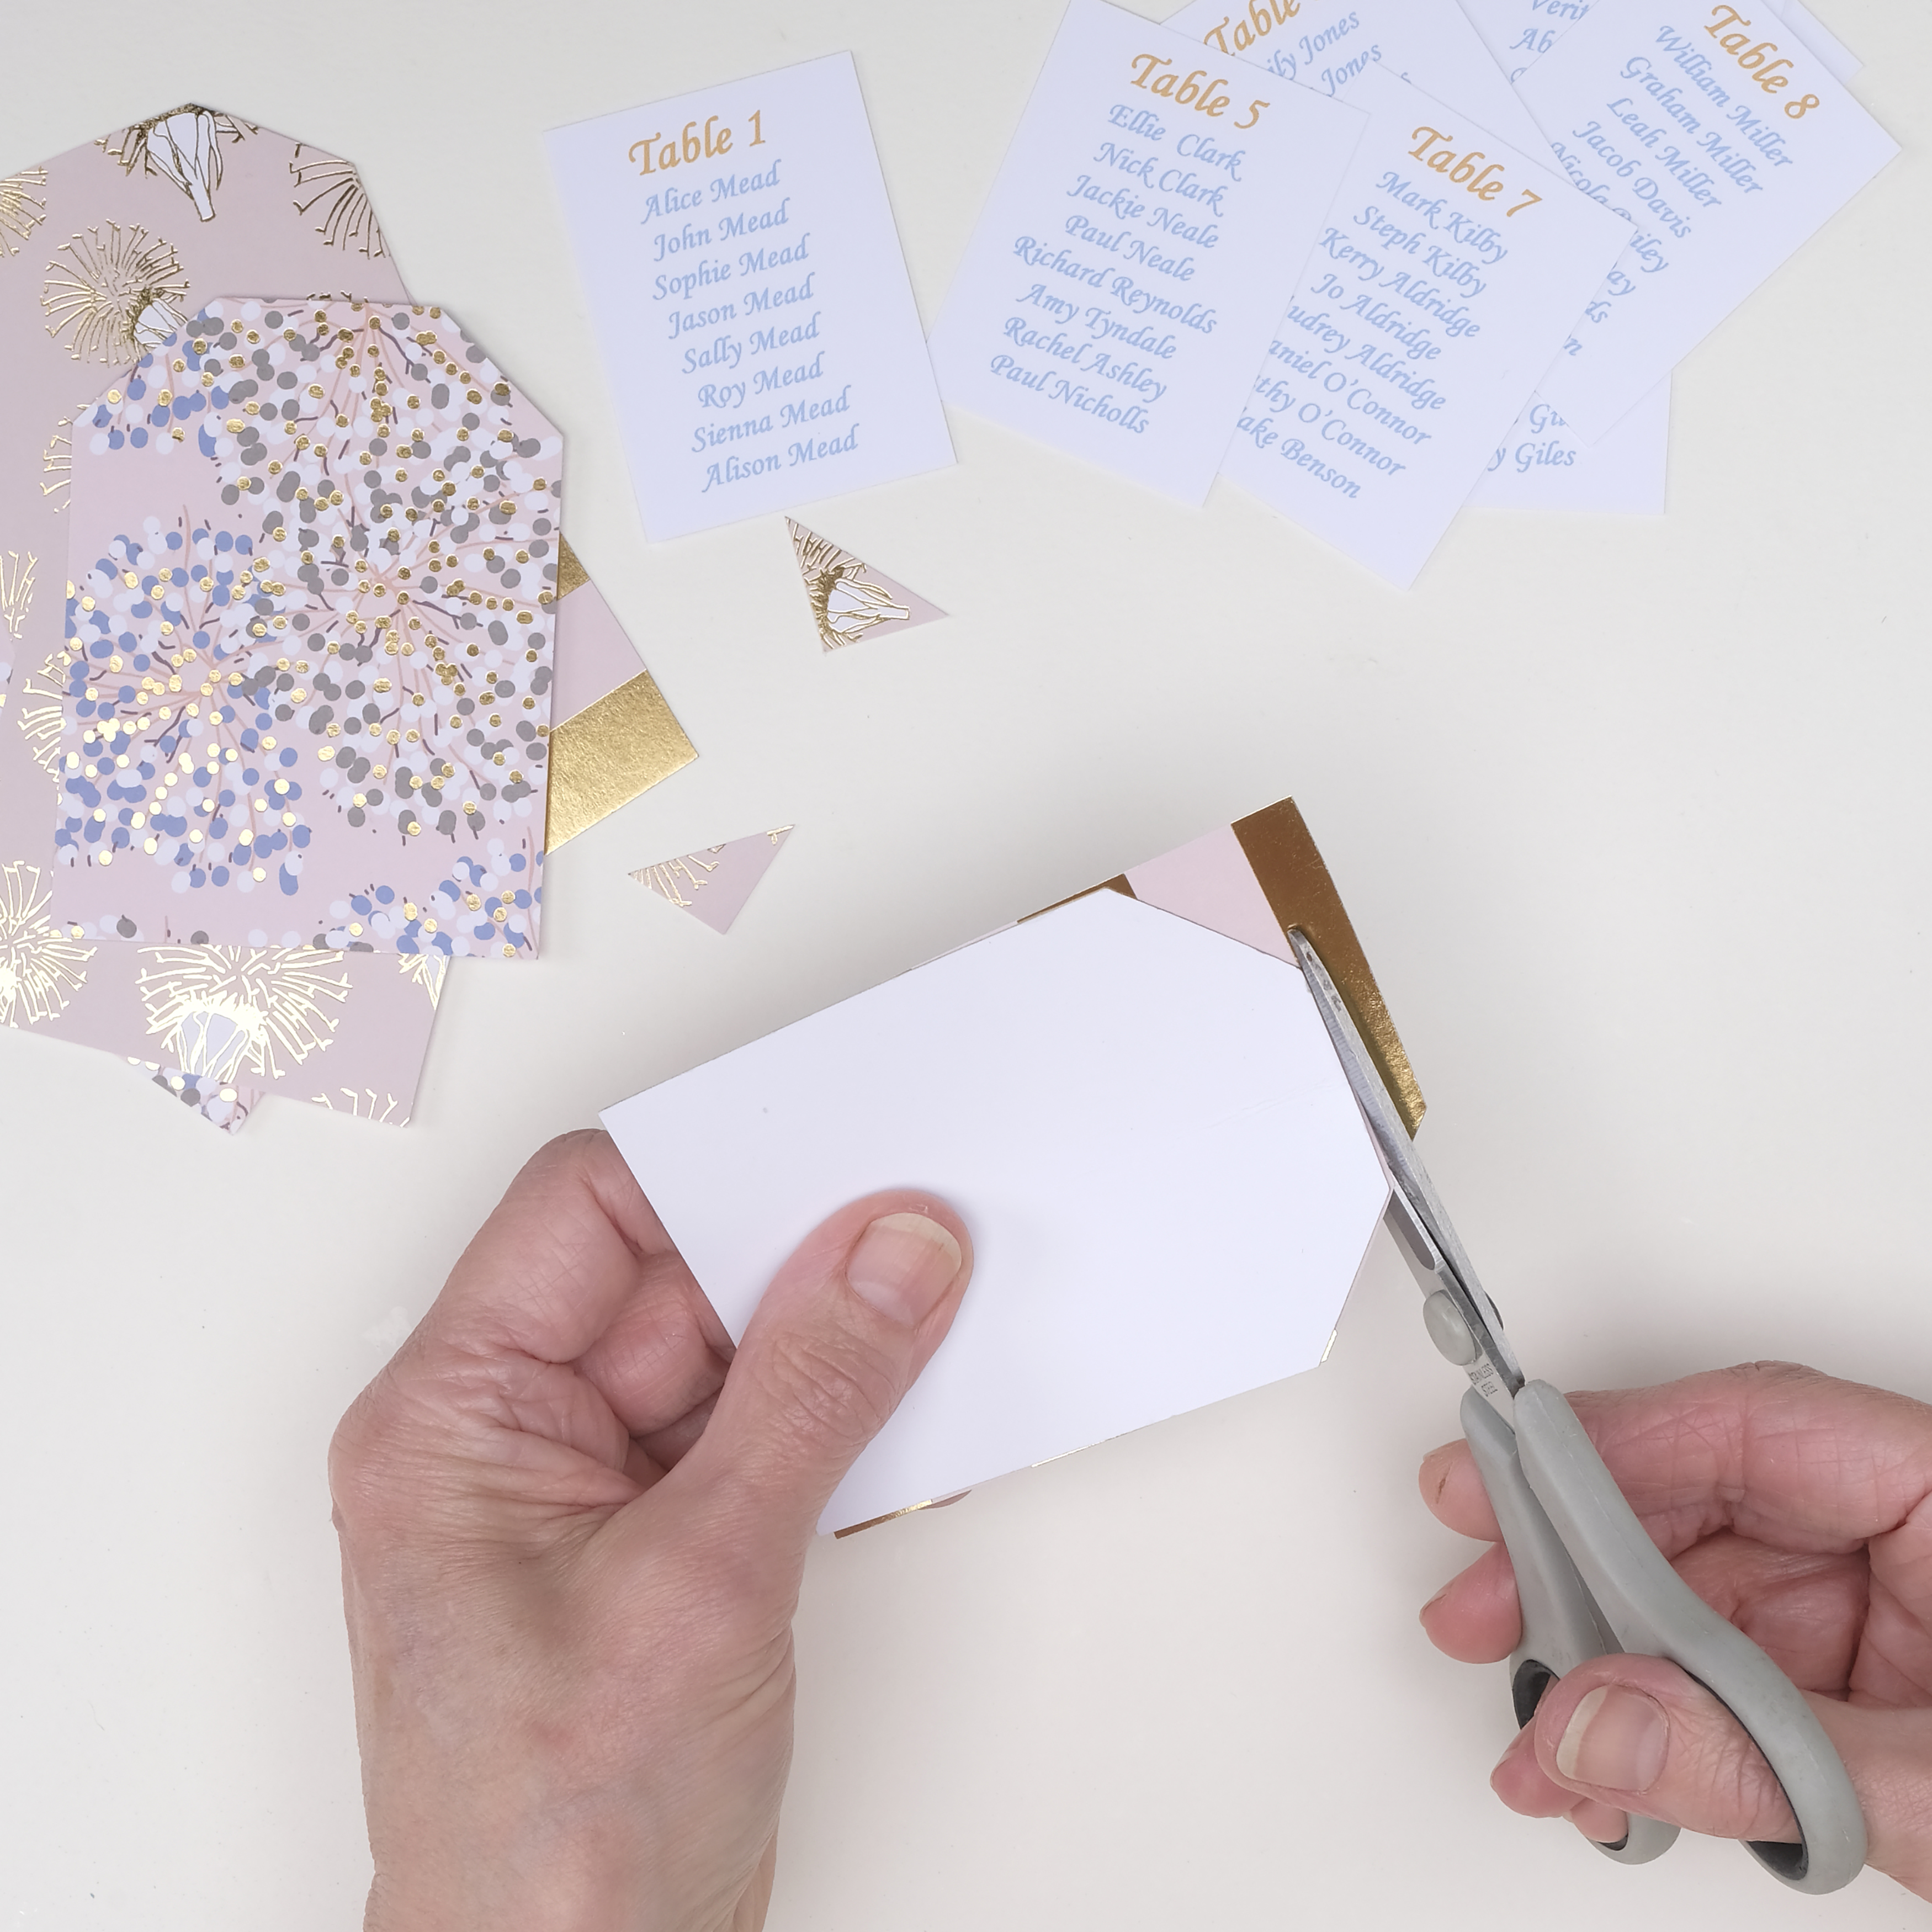
- You can easily change the colour scheme to match your wedding theme – alter the shade of card, patterned papers and embellishments to harmonise with your wedding colours.
- For a stylish look match the printed font colours with your patterned paper and card. To achieve a gold font, change the RGB custom colours to Red 218, Green 165 and Blue 32.
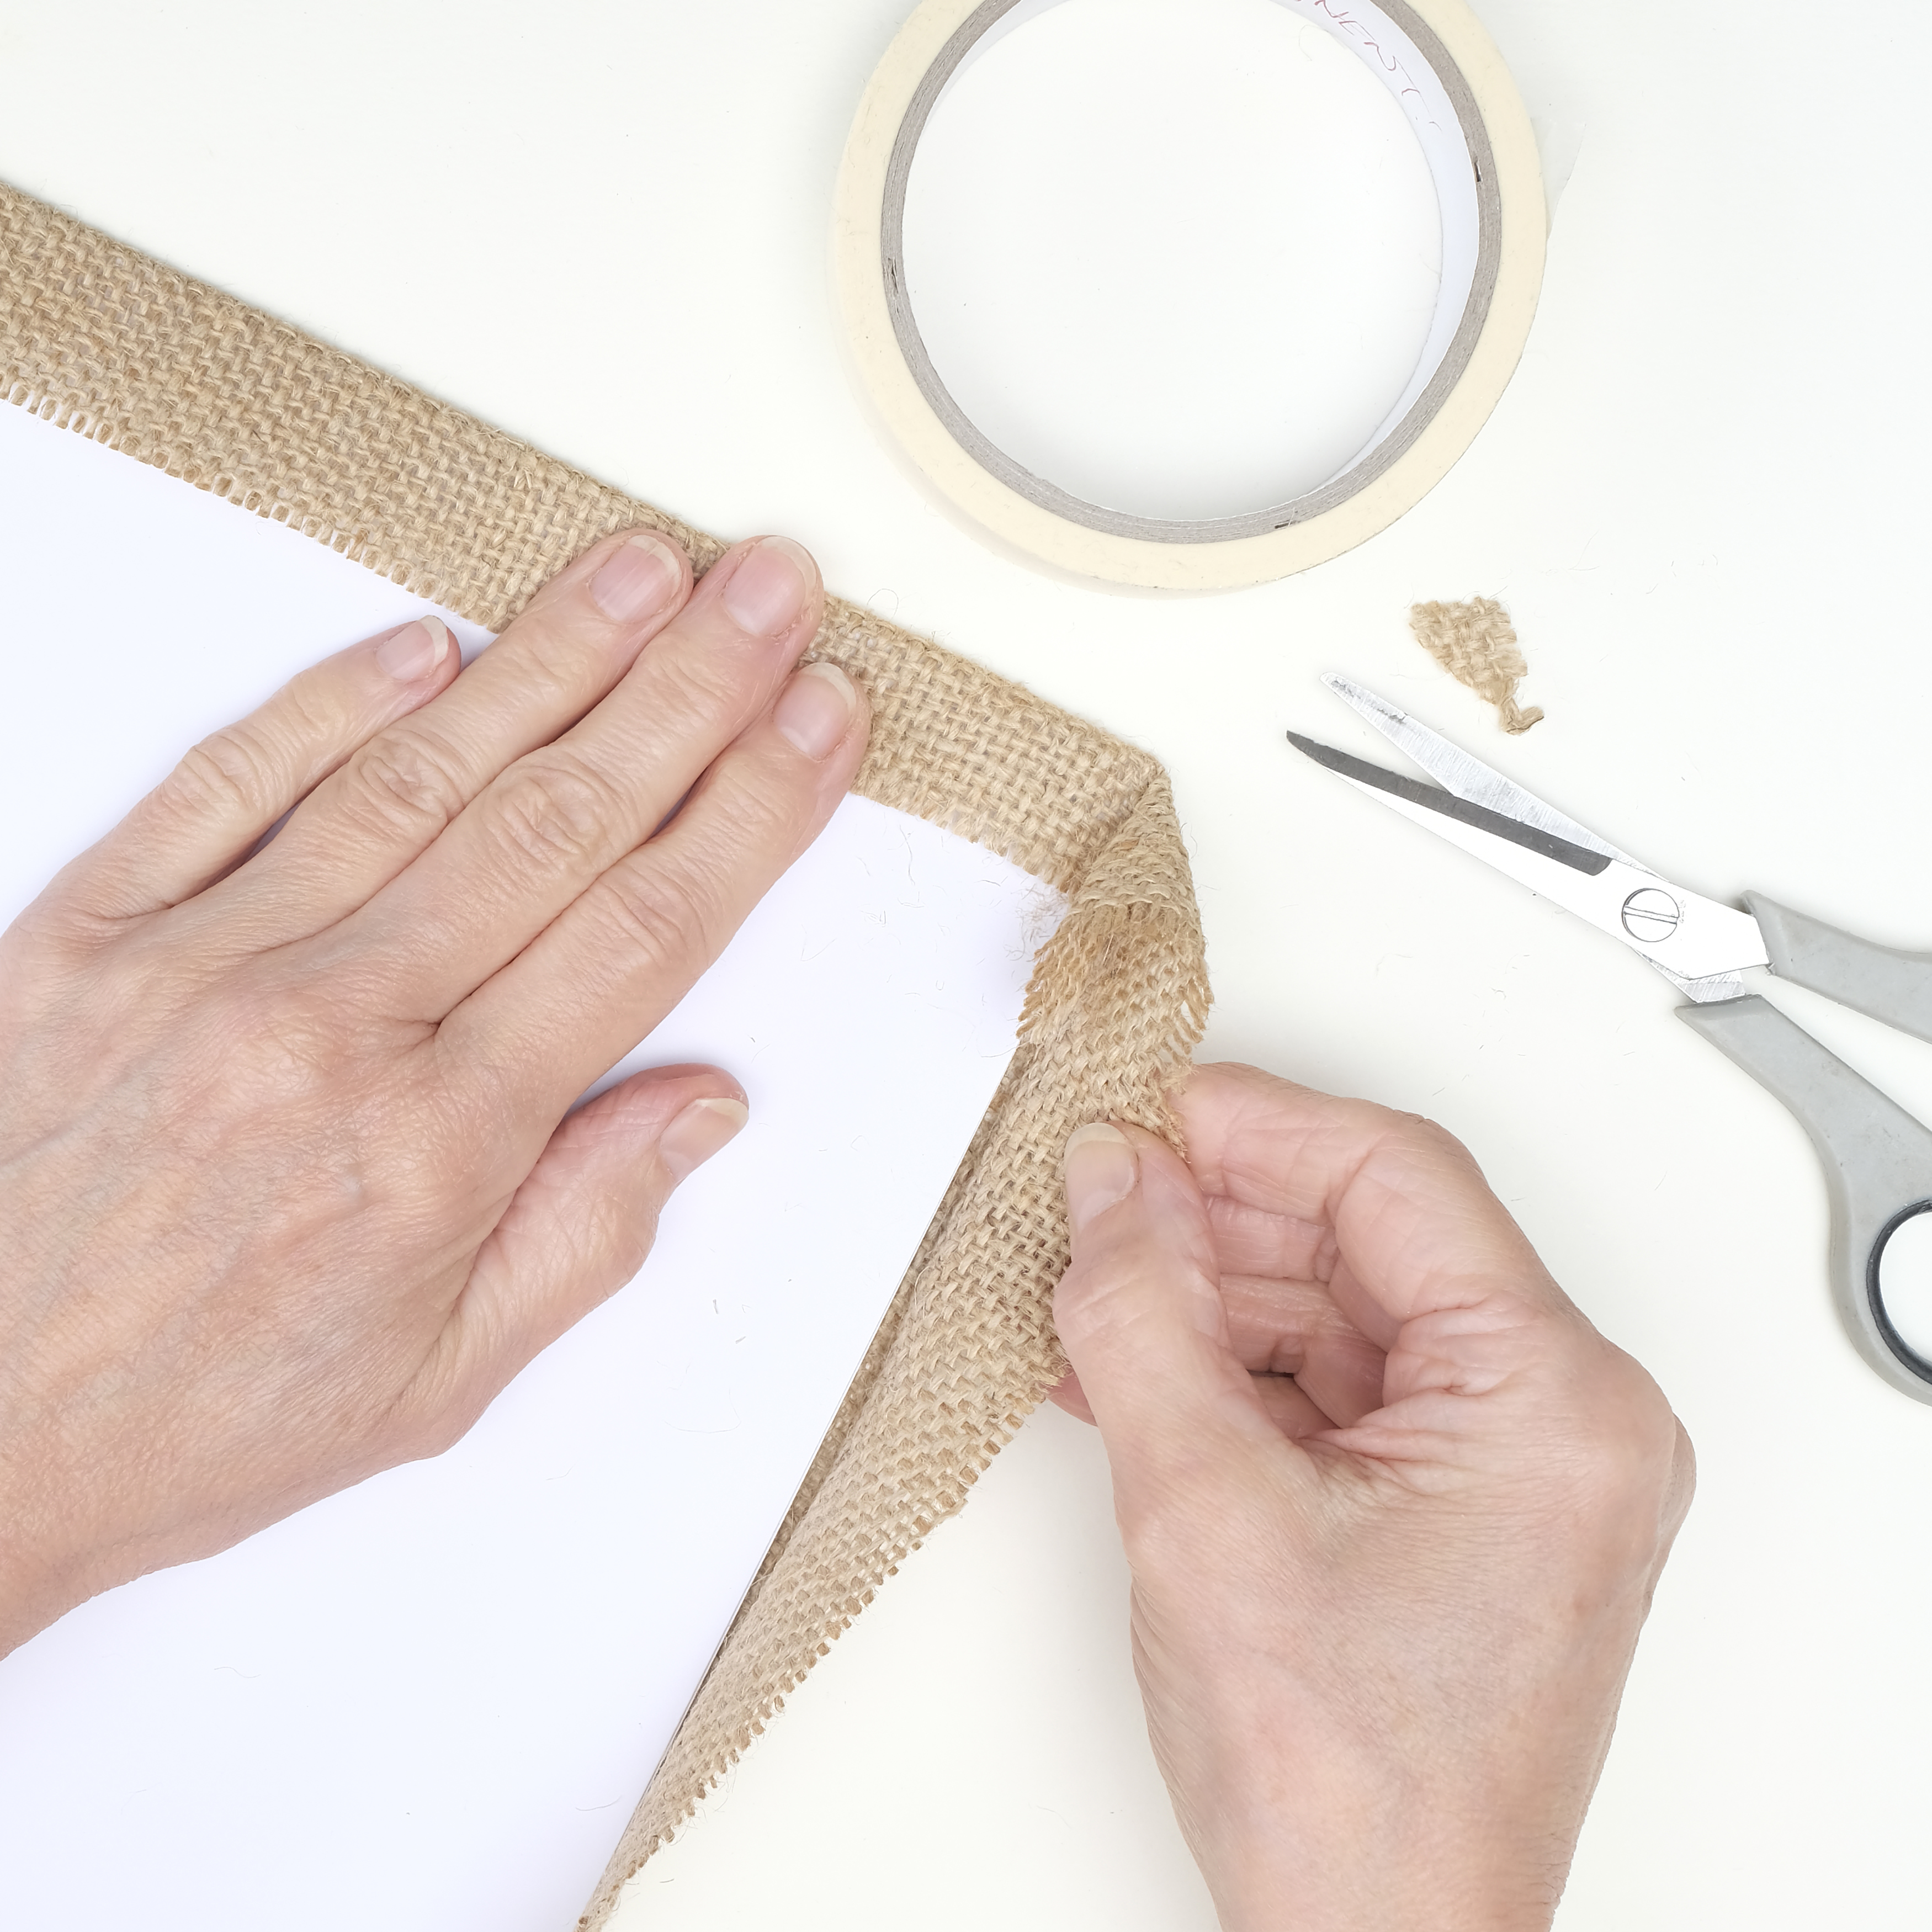
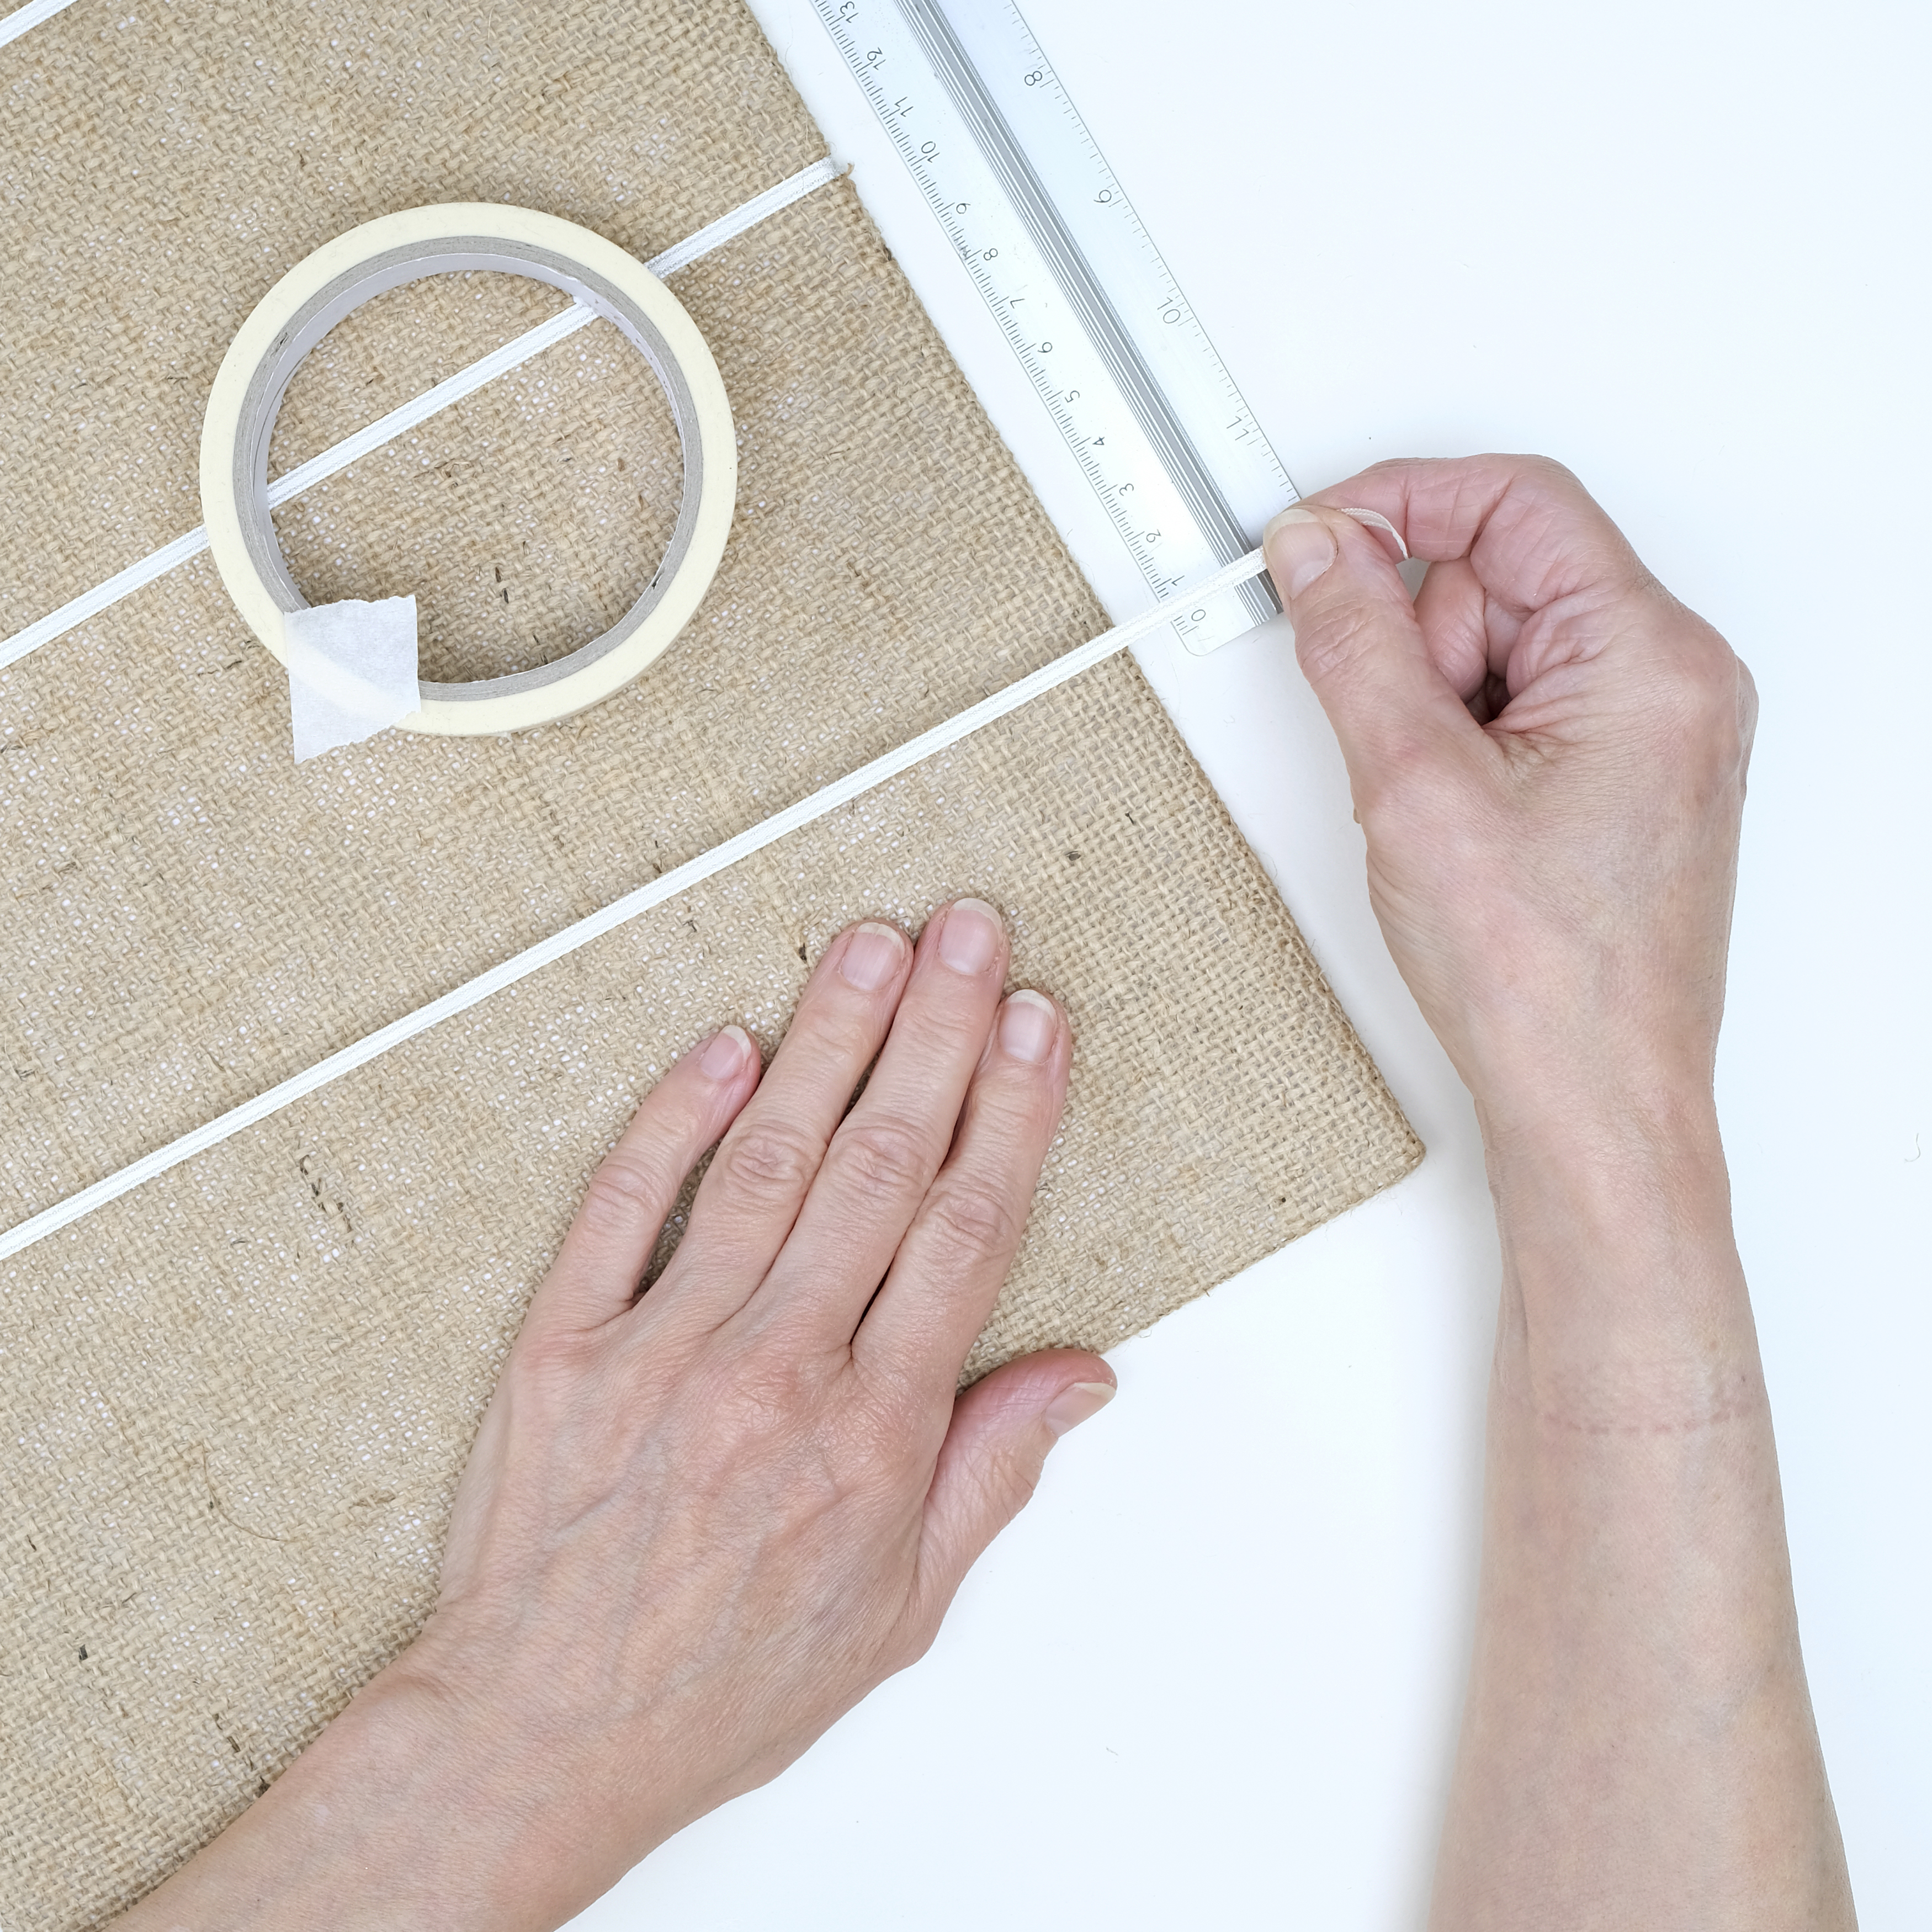
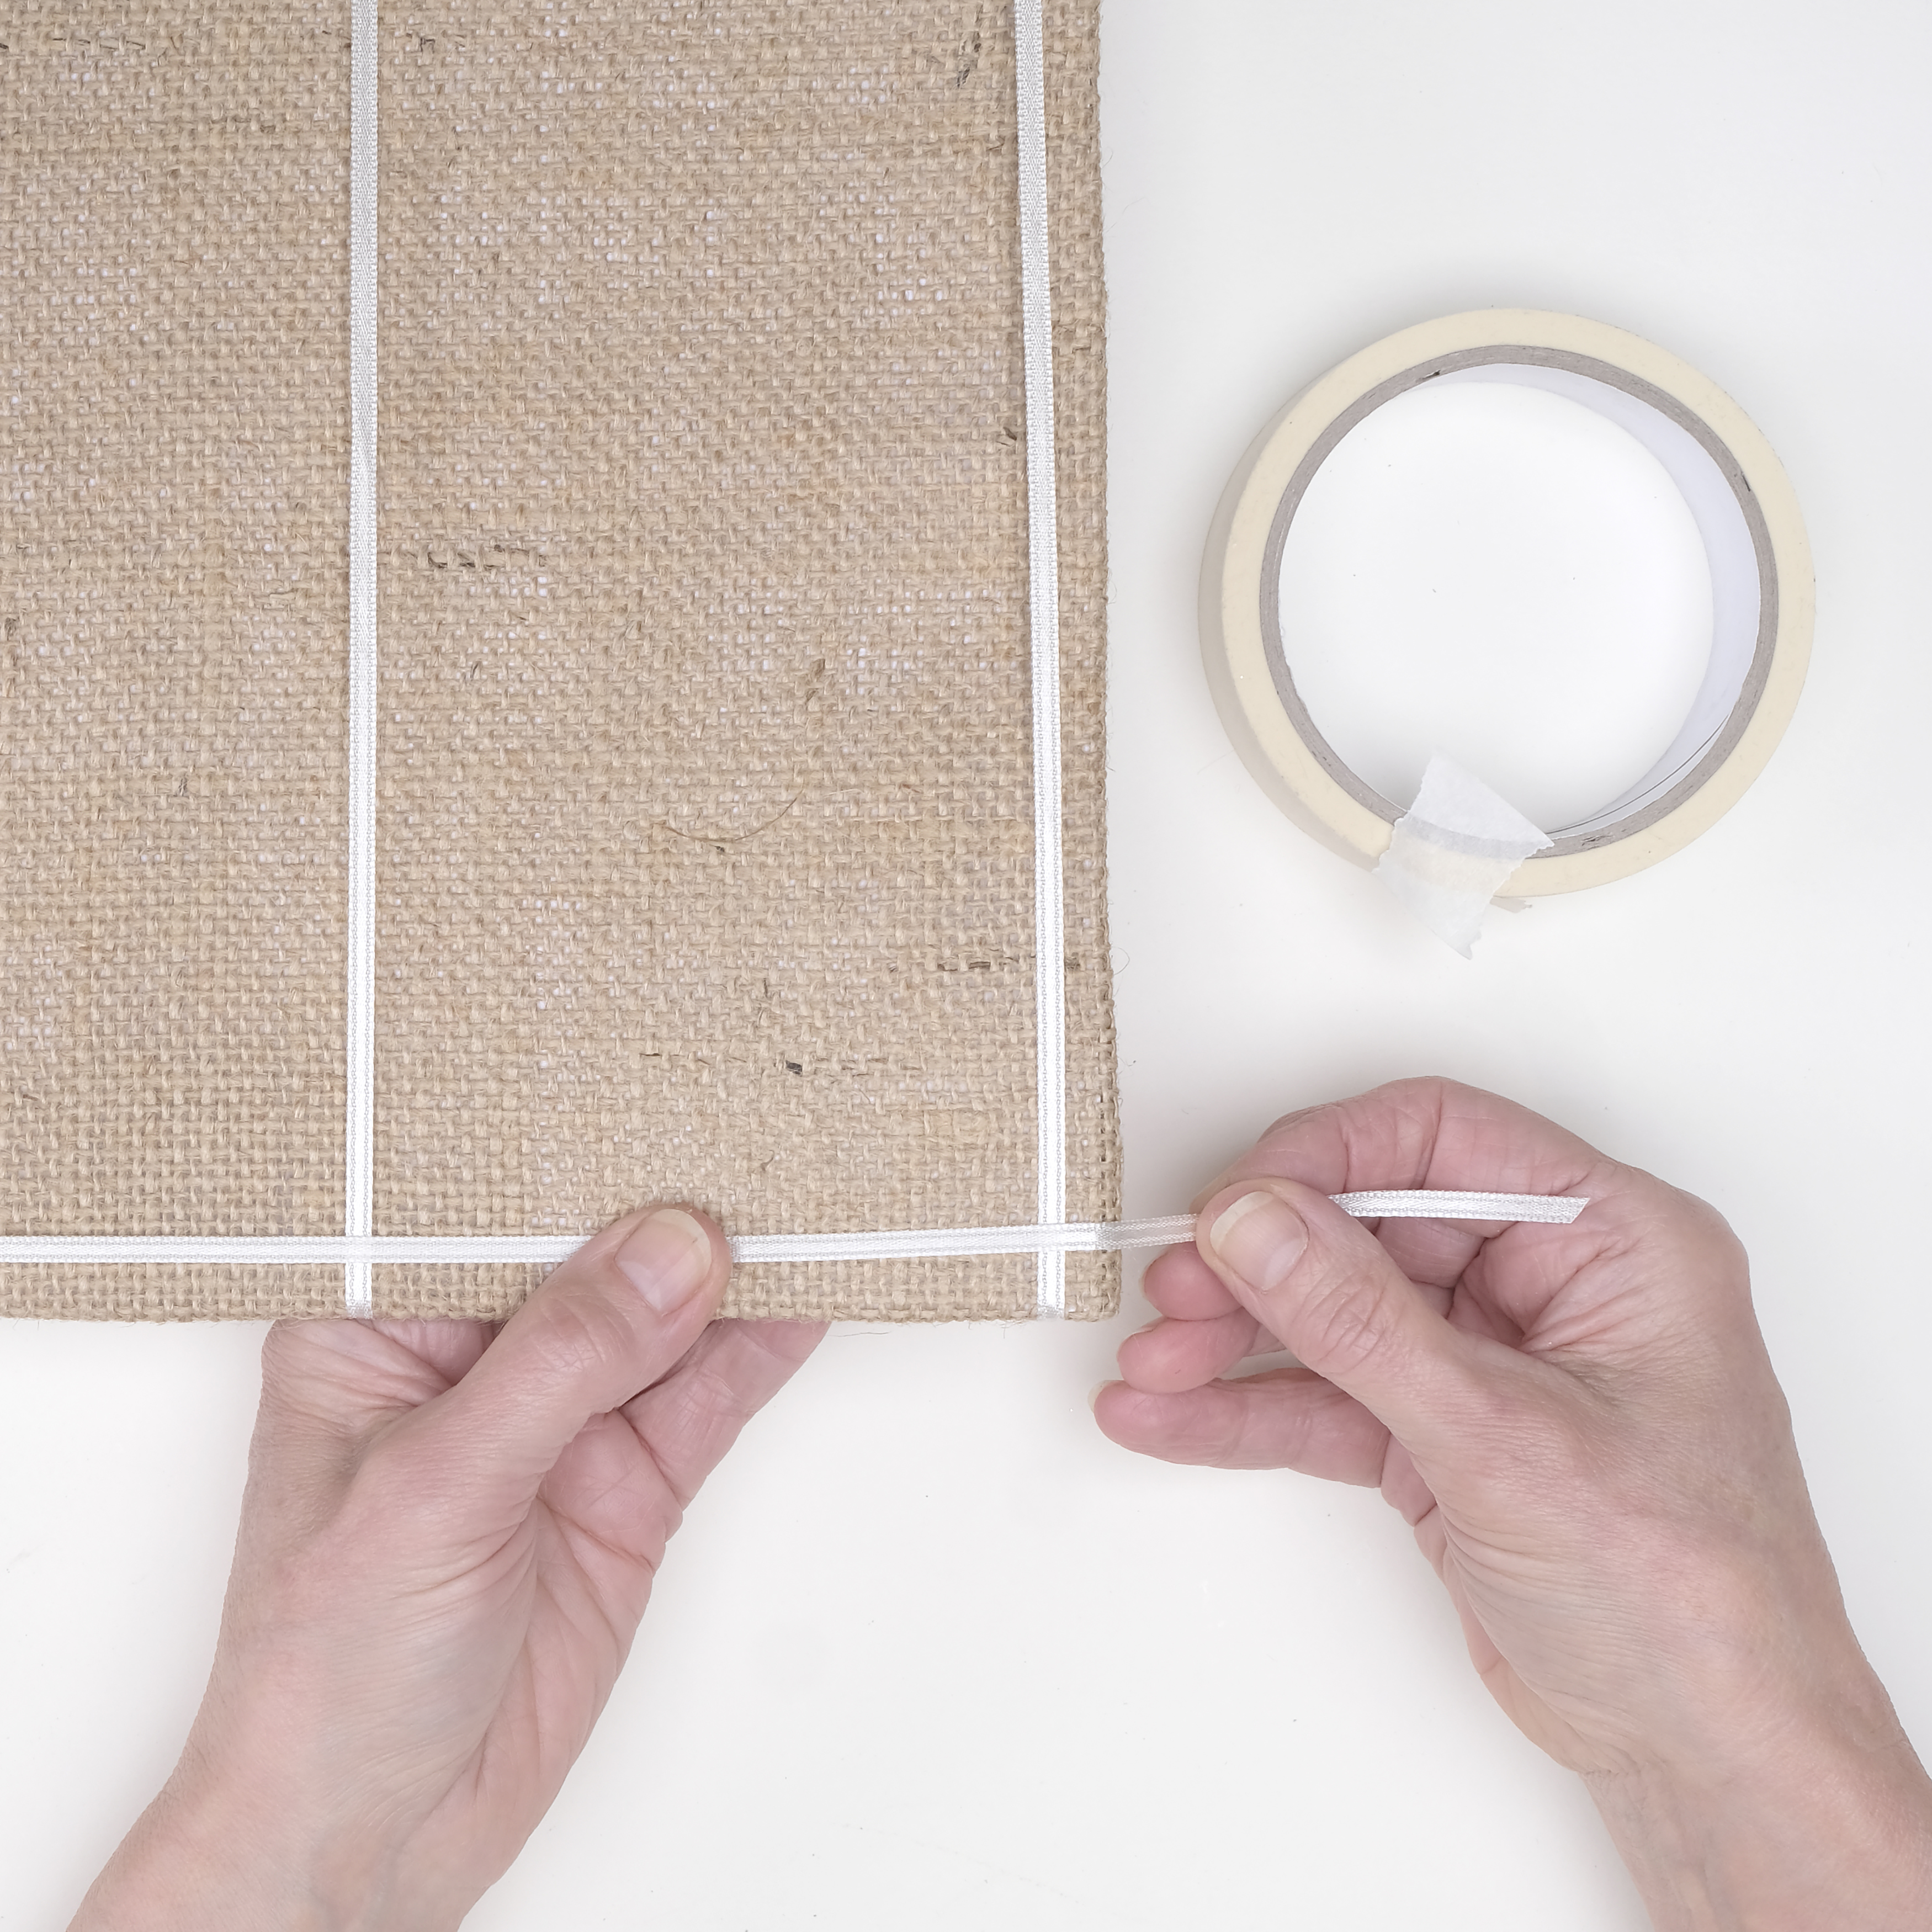
- White acrylic glue works well when attaching the ribbon frame to the hessian. It will dry clear and ensure a strong bond to hang your tags from.
If you like this article, how to make a DIY wedding seating plan, why not check out some of our wedding crafts – like these DIY wedding table decorations, or browse our comprehensive list of DIY wedding craft ideas, or how about getting your glue gun and making this realistic paper rose? If you’re in a crafty mood, why not check out the best glue gun and best die-cutting machine. Thinking about buying a craft printer? Check out our review of the best printer for card making.
We love seeing what you make, so don’t forget to share your origami projects with us on Instagram, Facebook or Twitter, too!
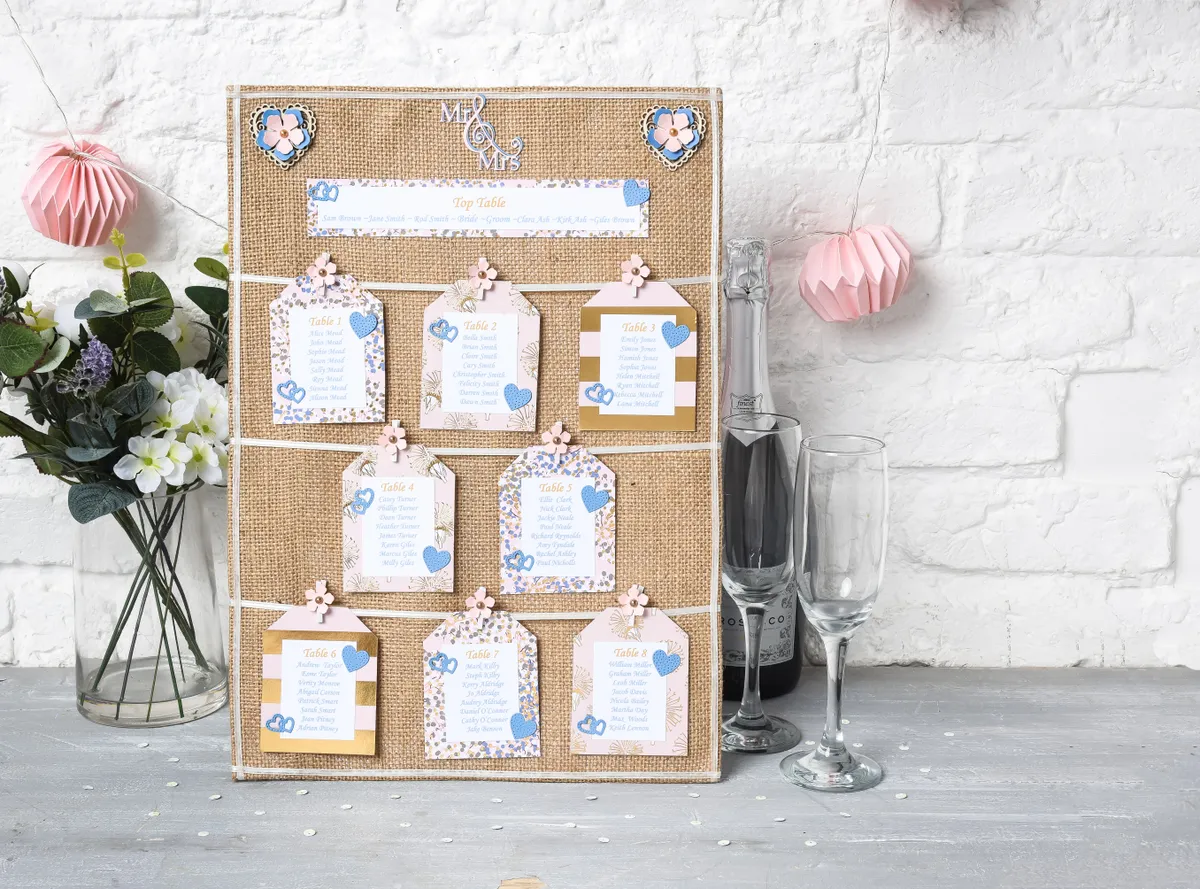
How to make a DIY wedding seating plan
You will need
- Patterned paper
- Creative Expressions Shadow Box Accessory Collection Mr & Mrs die set (optional)
- Finishing Touches Collection Perfect Peony Complete Petals die set (optional)
- Cosmic Shimmer acrylic glue
- White A3 card
- Hessian
- Ribbon
- Coloured card
- Wooden pegs
- Wooden hearts
- Adhesive pearls
