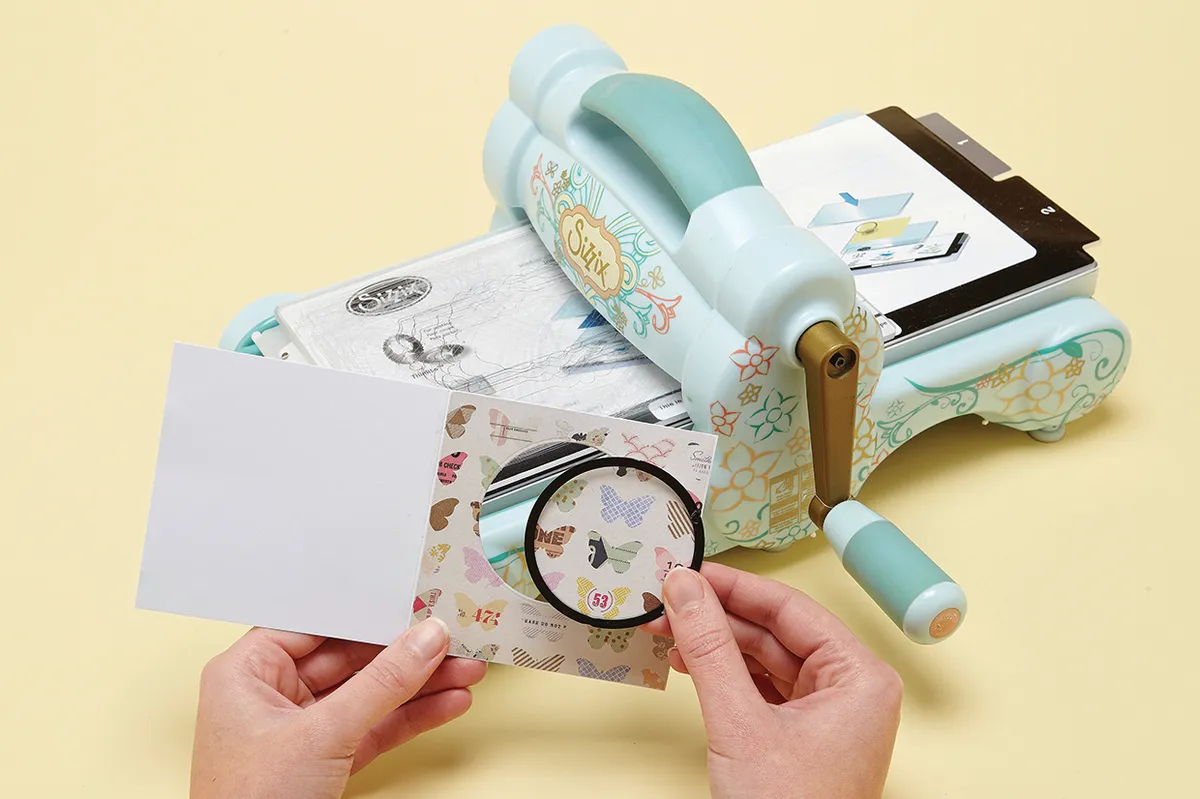
Food, glorious food! These papercraft food card creations are a fantastically fun card set that’s sure to be a hit with all your family and friends, whatever their tastes!
“Everyone likes to indulge in a favourite food from time to time, whether sweet or savoury, so I made these cards for recipients of all ages to enjoy,” says Jo Kill, who created the burger, ice cream, pizza and doughnut card we've got on show here on Gathered. “From birthday greetings, sending best wishes, or just to say ‘how’s it going?’, these cards are a fab way to send a treat that’s calorie-free!”
Click to download the papercraft food card templates you need to get you started – let’s get cooking!
1. Papercraft food burger card
by Jo Kill
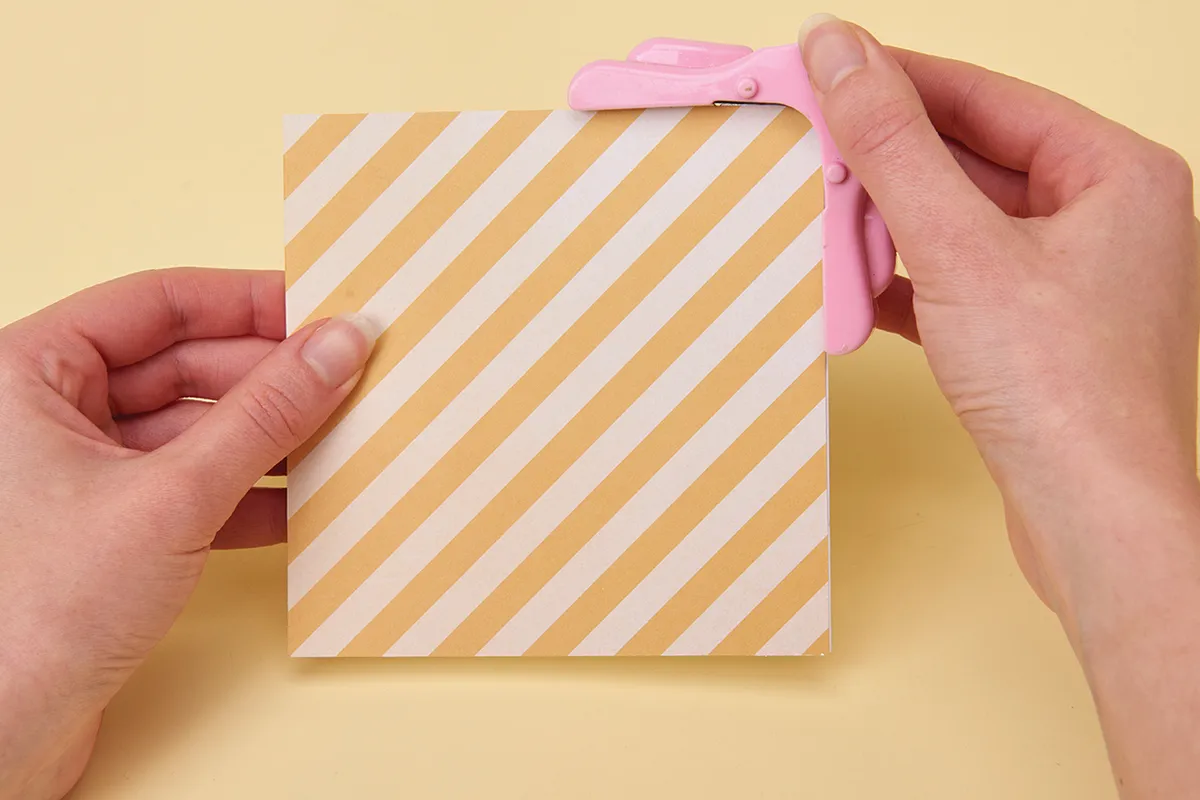
Cover the front of a square card blank with yellow and white striped paper. Round the top-right corner of the card blank with a corner rounder punch for a neater finish. You can do this by hand, or leave the corners square if you prefer.
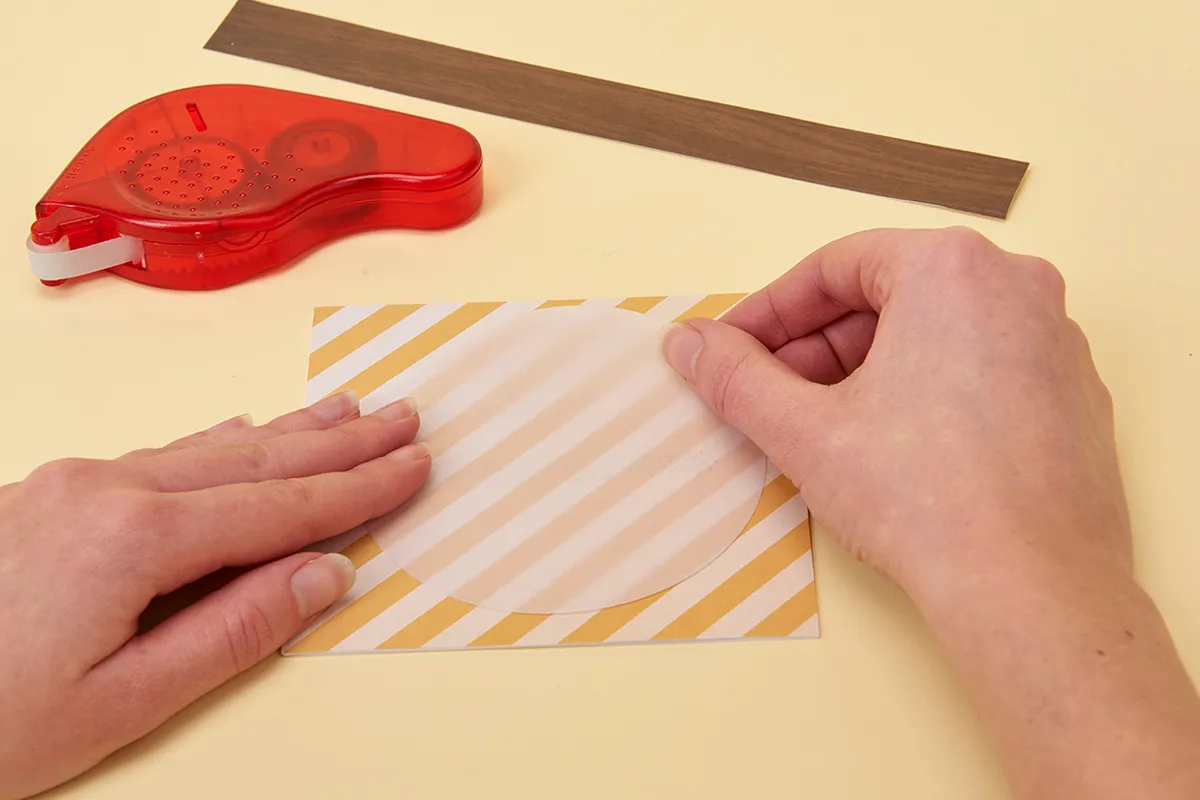
Add a die-cut vellum circle to the middle of the card front. Trim a 1in-wide strip of wood-patterned paper and stick it to the left edge of the card front. You can cut the circle by hand if you prefer, of course! Draw around a jar lid or similar to help give you a nice circle shape
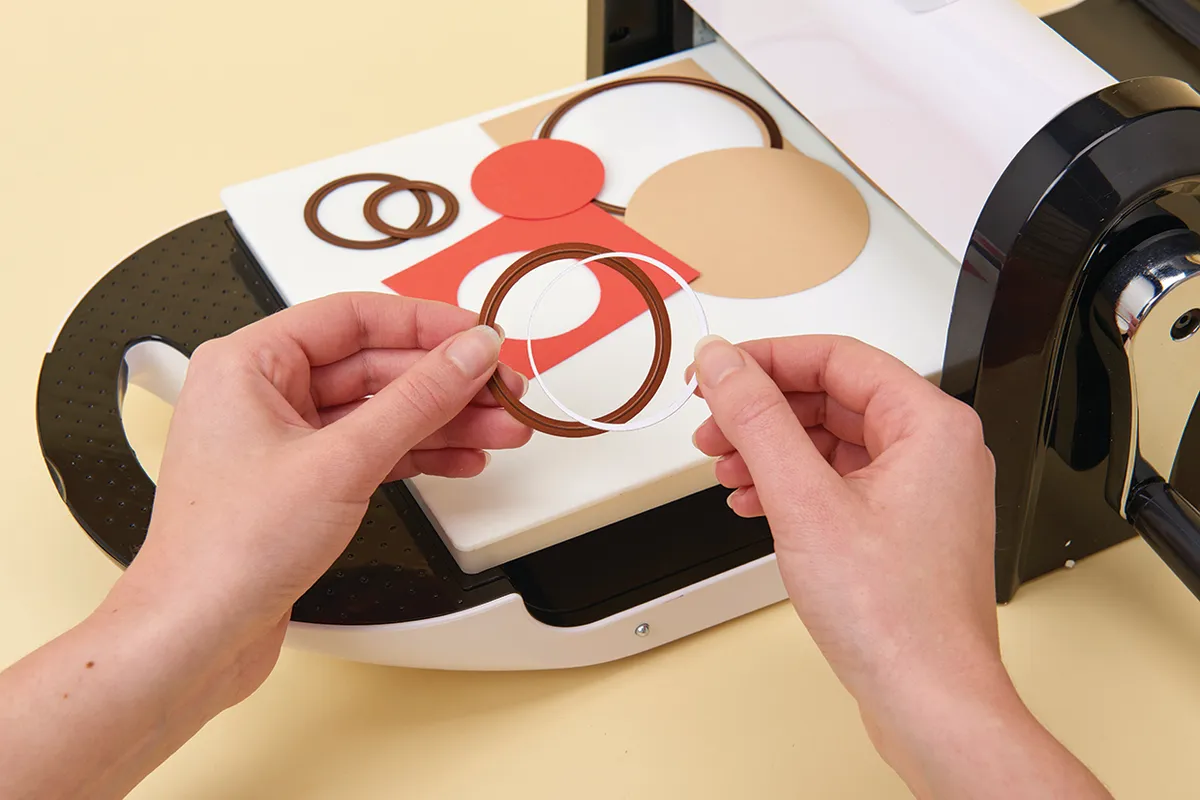
Die-cut and punch circles from coloured card to create the basic burger components – you’ll need circles for the bun, tomato, pickle and circles-within-circles for the onion rings. You can cut the circle by hand if you prefer, of course!
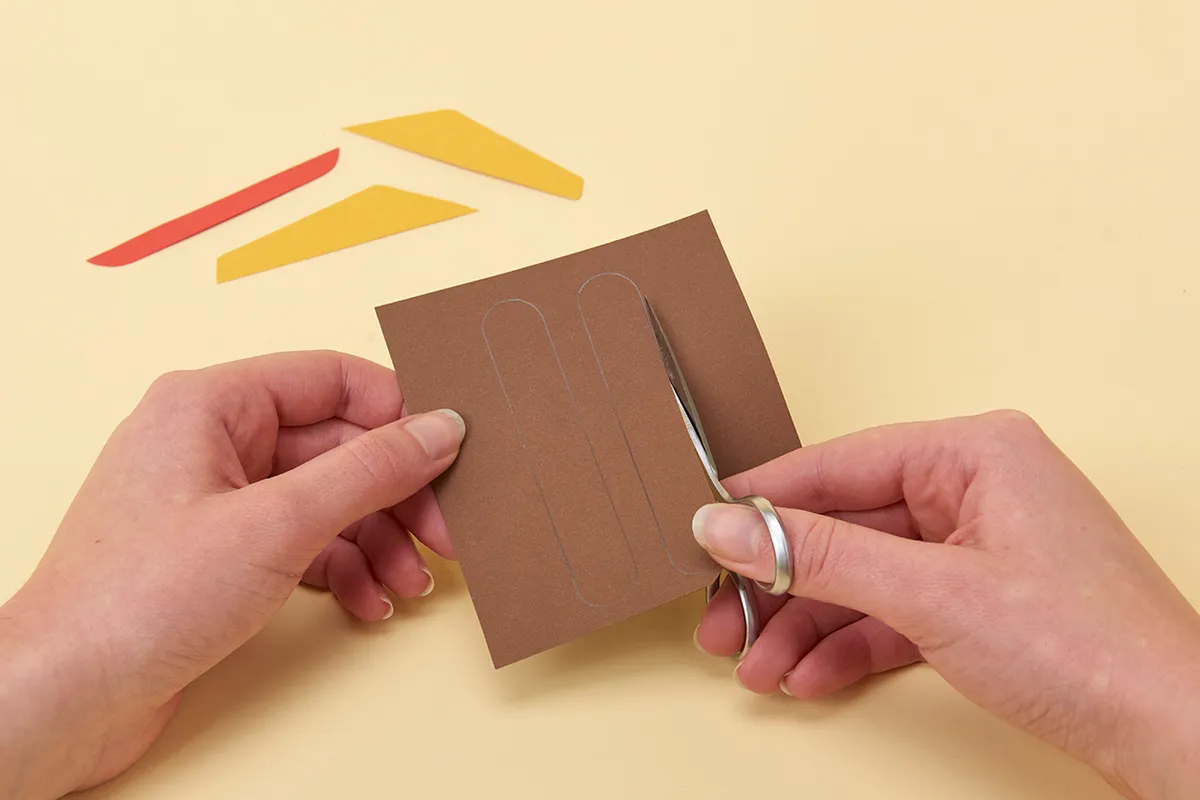
Cut the shapes for the cheese, ketchup and burgers from coloured card, using the papercraft food card templates. Use a small pair of scissors or a craft knife and mat.

Edge each of the paper shapes with coloured pens in a slightly darker shade of the shape colour. This helps to give them some added definition.
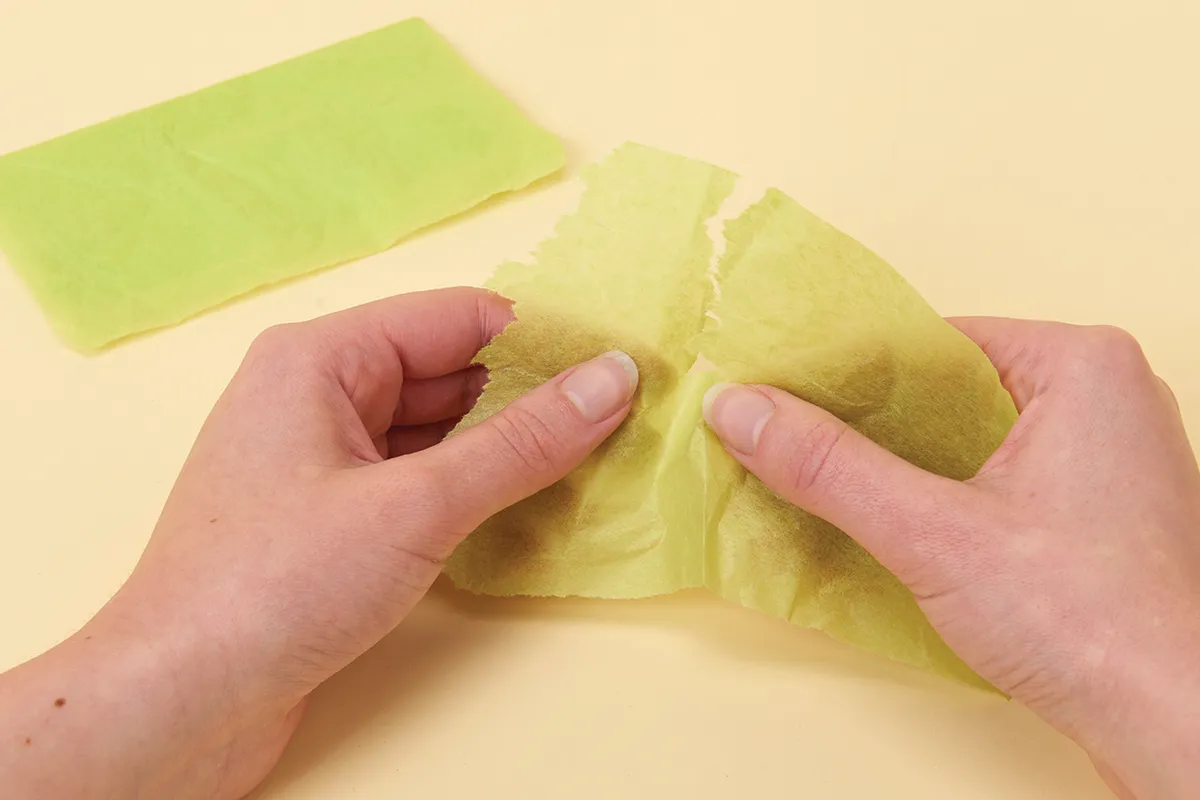
Tear rough lettuce shapes from green tissue paper. Don’t worry if the shapes are slightly too large – you can crinkle them to fit, which also creates some realistic lettuce texture.
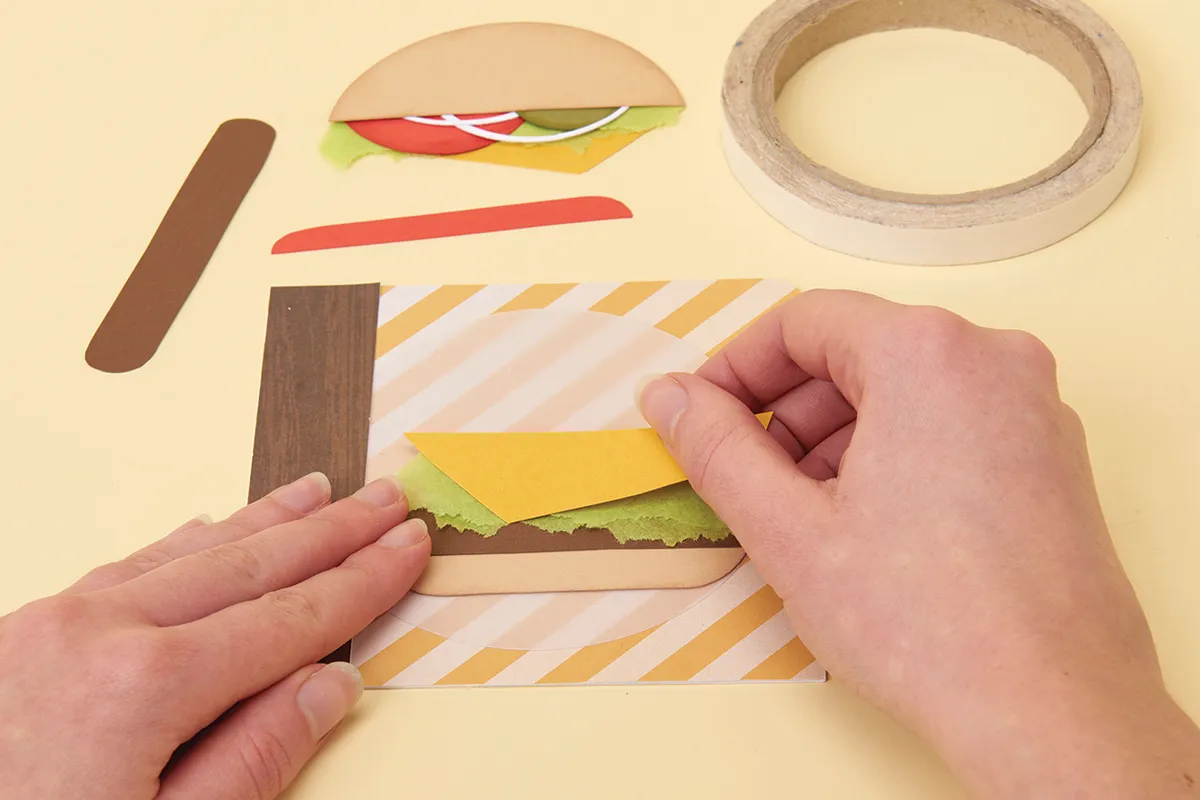
Stick all the paper pieces onto your card front to complete the burger! Work from the bottom to the top, overlapping each layer, using double-sided tape to secure the pieces.

Snip little bits of white card to be sesame seeds, or use the waste bits from a fancy doily die cut if you have one.Use your home computer to print a foodie sentiment onto white card, eg. ‘What’s the beef?’ or ‘Fancy a bite?’. You can write this by hand too, of course! Trim into a simple banner shape and add it to the card front.
2. Papercraft food chocolate card
by Jo Austin
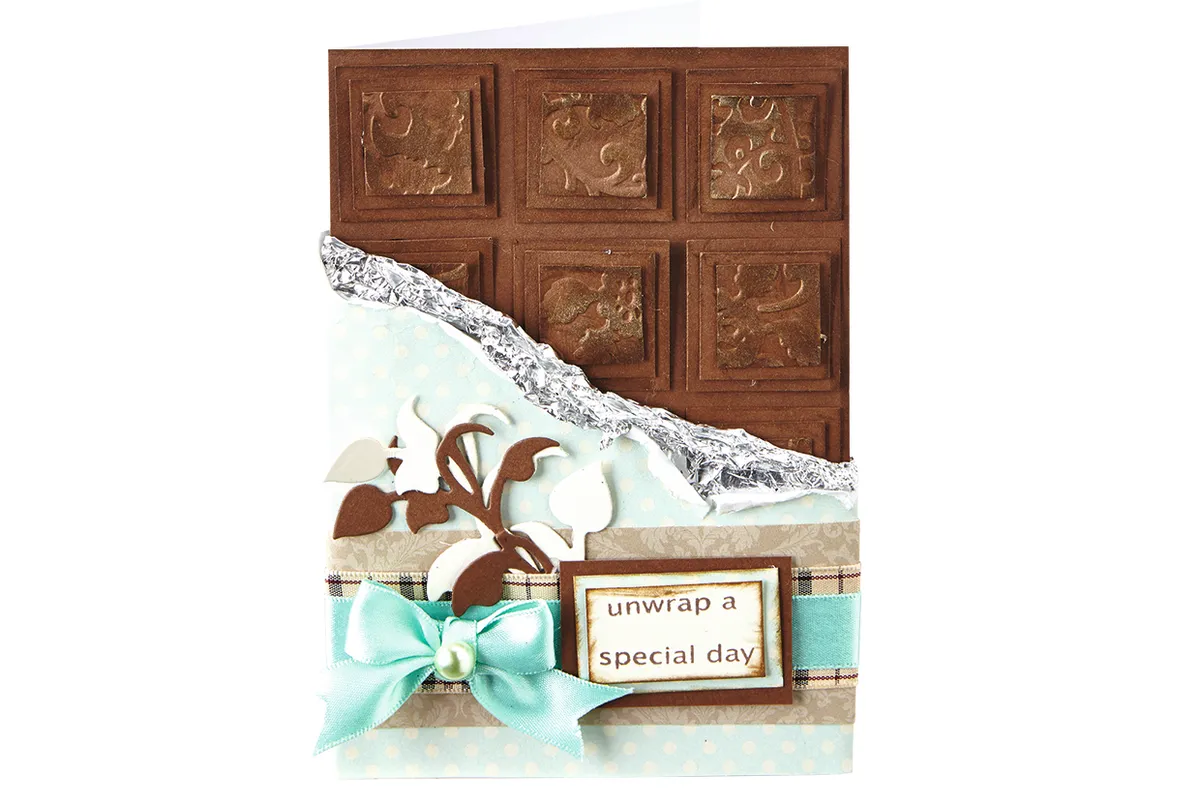
- Cut a piece of brown card that’s the same size as your card front. Ink the edges lightly with brown ink.
- Cut out some squares of brown card – nine 2cm squares, nine 1.75cm squares and nine 1.5cm squares. Ink the edges and layer the 1.75cm squares on top of the 2cm squares.
- Emboss the smaller squares with a decorative embossing folder. Ink to highlight the pattern. Stick these smaller squares on top of the larger squares, then add to the large brown panel to look like a chocolate bar.
- Wrap tin foil around the layered brown card and roll down the top edge. Repeat with a piece of patterned paper.
- Add layers of paper to the card front, then top with die-cut vines and a stamped sentiment. Finish with a ribbon bow and pearl.
3. Papercraft food pizza card
by Jo Kill
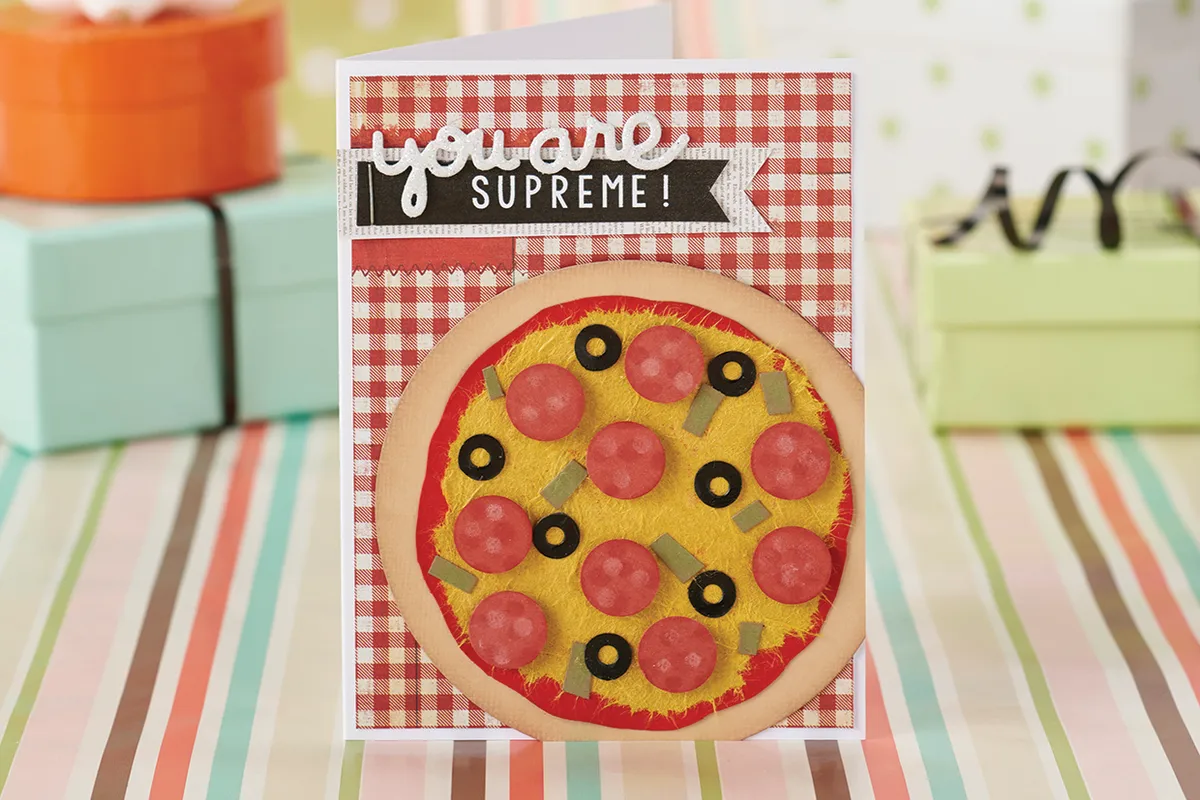
Use die cut or hand cut circles to make this fun paper pizza! Ink the edges of your paper pizza base and the pepperoni circles to make them look perfectly baked. Torn mulberry paper makes a fantastic melted cheese layer because of the rough edge of this torn paper.
4. Papercraft food doughnut card
by Jo Kill
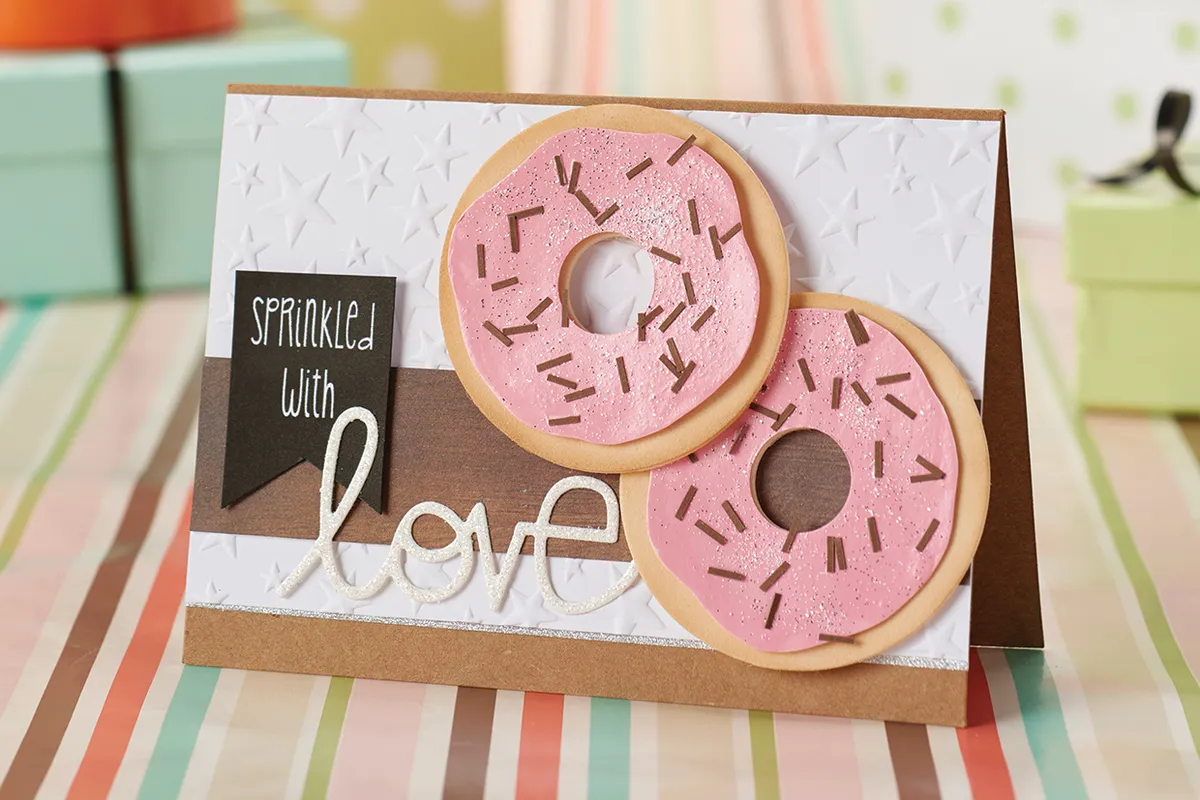
Use our papercraft food card templates and die cut circles to ice some pretty tasty looking donuts to top your card. Use pink craft foam to ice a pair of plain card doughnuts – top with paper sprinkles and silver glitter for an irresistible finish!
5. Papercraft food ice cream card
by Jo Kill
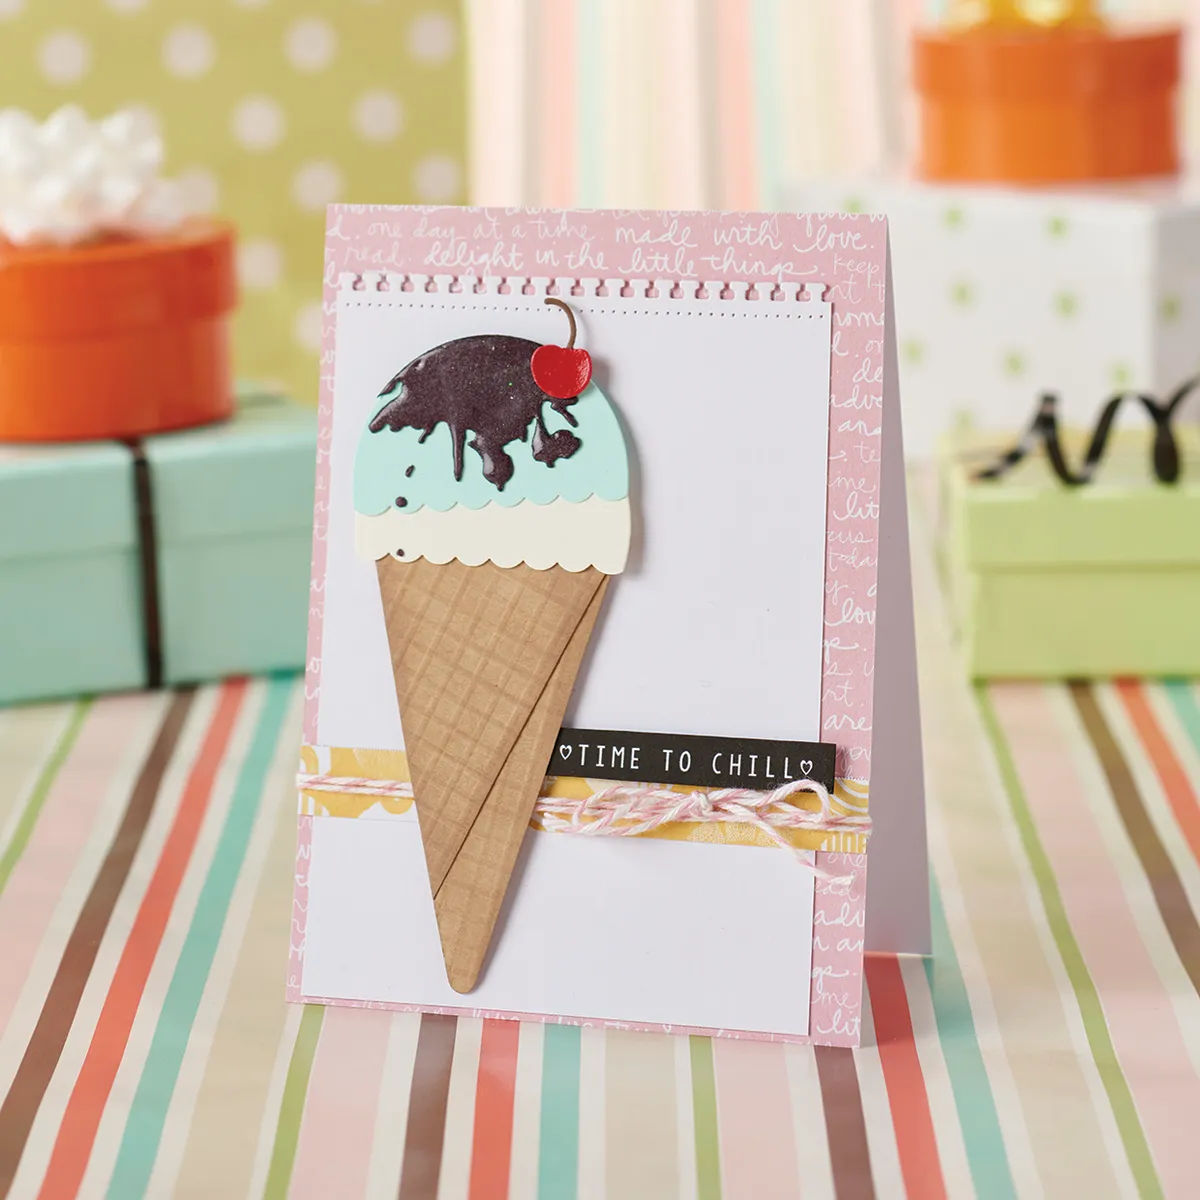
Use our papercraft food card templates to make an ice cream cone for your card. Place card triangles on a score board and emboss ‘waffle cone’ lines with an embossing tool! You can ink or chalk lightly to enhance the texture.
Dreaming of die cut circles?
These food cards make great use of circles, which are easy to cut time and time again using a die cutting machine and a set of circle nesting dies. Take a look at our best diecutting machines guide to choose the right one for you.
