How to make a swing card

How to make a swing card

Download our free Santa Claus printables and use circles to create this fun reversible card design!

Try 6 issues of any craft magazine for just £9.99

Published: November 7, 2020 at 8:00 am

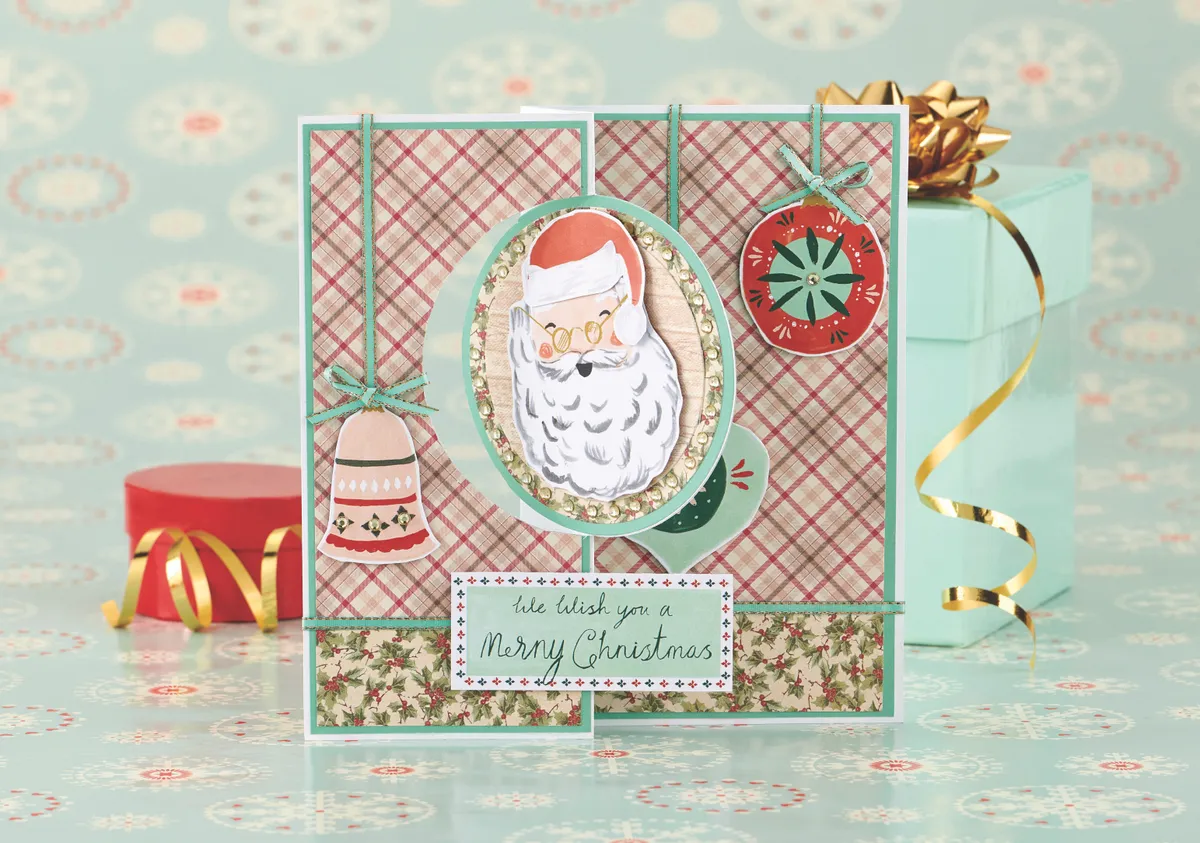
Swing cards are great fun. The image in the centre will flip-flop as you open the card! In this tutorial, we will show you how to make a swing card using our free Santa Claus printable downloads.

Download your free Santa Claus printables to get started, then why not check out more inspiration and how to make a pop-up Christmas tree card.

If you like these free papers, check out our other free patterned papers, there are lots to choose from and there are lots of different festive themes. We love these Nativity characters, or for non-traditional free papers, how about these free sloth downloads for making your own sloth Christmas cards? Or, for more general card making, let us show you how to make cards.

We love seeing what you make with our free printable papers, so don’t forget to share your cards and papercraft projects with us on Facebook and Twitter, too!
How to make a swing card

You will need:

  • coloured paper
  • White card
  • Circle dies (or something to cut circles with)
  • Die-cutting machine
  • adhesive gems

Step 1

How to make a swing card – step 1

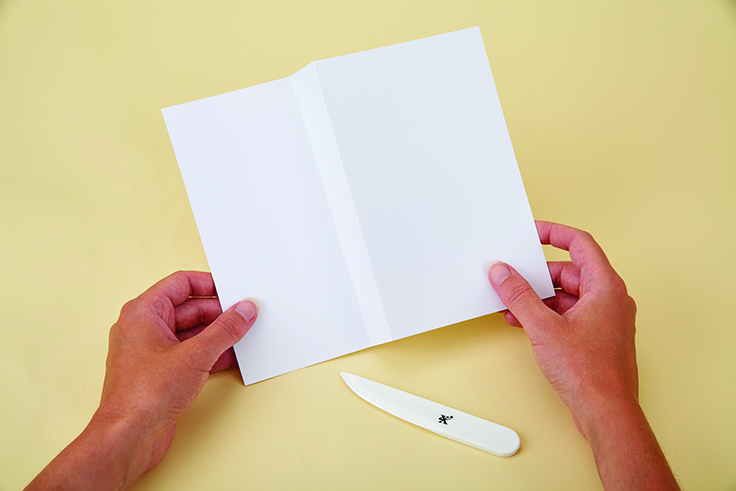
First, download your free Santa Claus printables. Next, trim a piece of white card to 19 x 23.5cm then score vertically at 9cm and 12cm from the left-hand side. Valley fold the first score line then mountain fold the second one.

Step 2

How to make a swing card – step 2

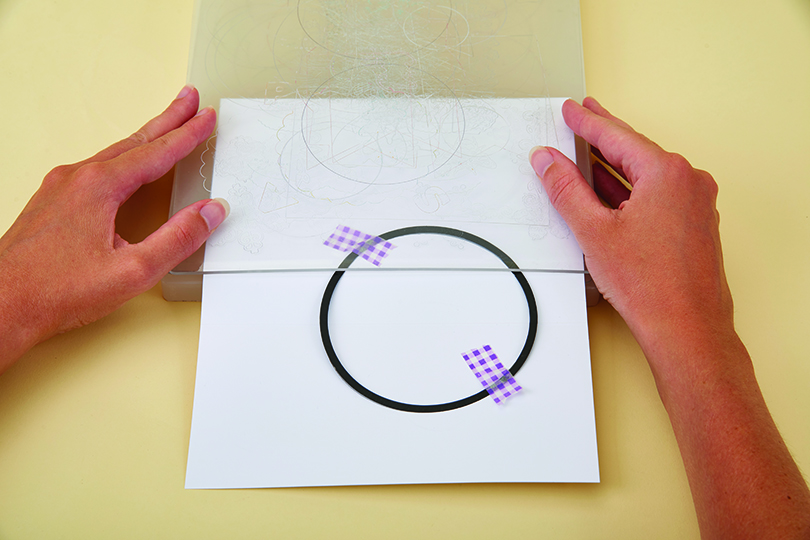
Use a 10cm-wide circle die to partially cut around the score lines. Place the die so it sits 2cm over the second score line then partially die-cut to the score lines, leaving the middle intact.

Step 3

How to make a swing card – step 3

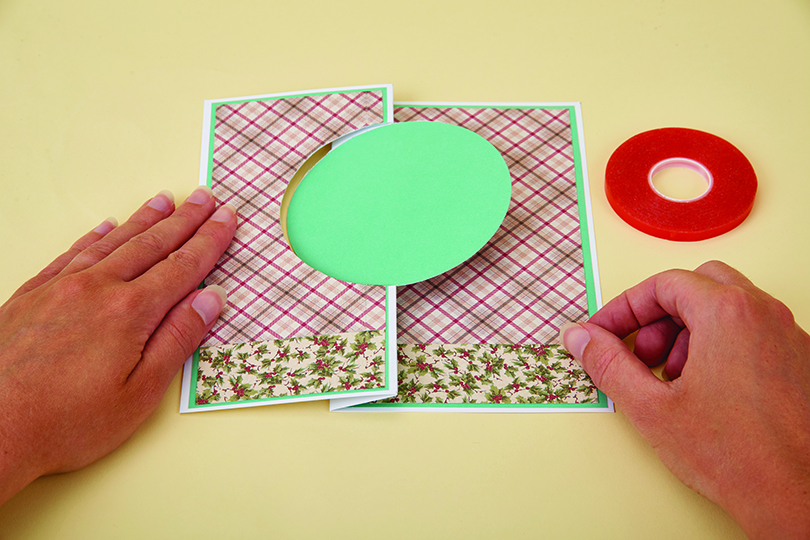
Cover the card base panels with pale-green and patterned papers. Die-cut two 10cm-wide circles of pale-green paper to cover the front and back of the circular panel, as shown.

Step 4

How to make a swing card – step 4

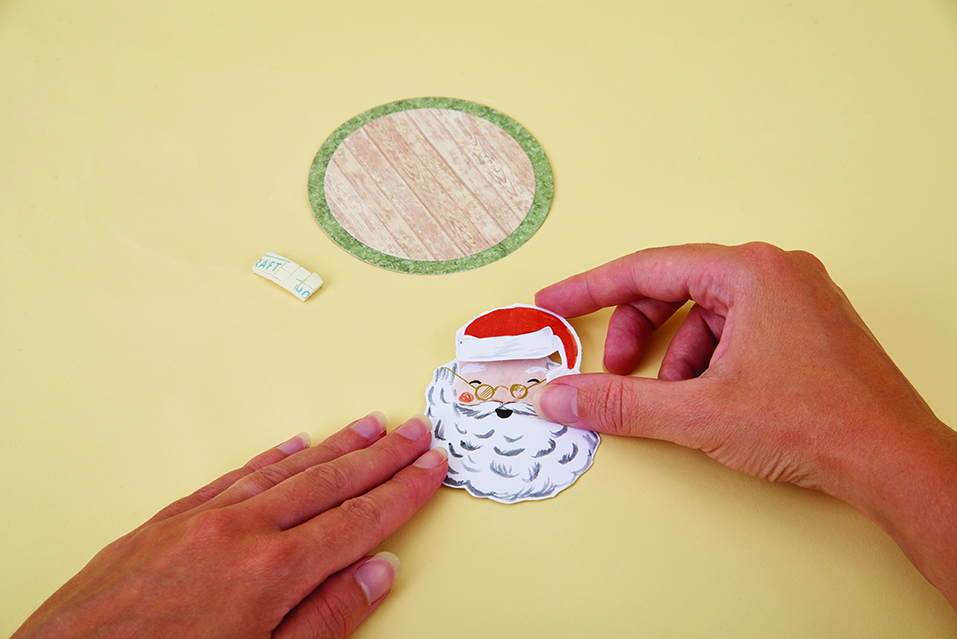
Die-cut 8cm- and 9cm-wide circles of patterned papers then layer them. Cut out Santa and his hat then use sticky foam pads to add Santa to the circles. Attach the panel to the card front.

Step 5

How to make a swing card – step 5

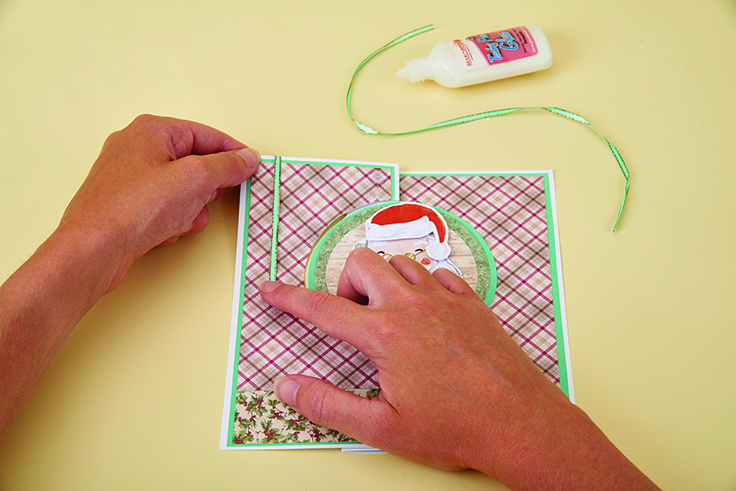
Affix three lengths of ribbon down the front of your card. Add two strips of ribbon running across the two main sections of the card, 3.5cm up from the bottom edge. Add a sentiment panel.

Step 6

How to make a swing card – step 6

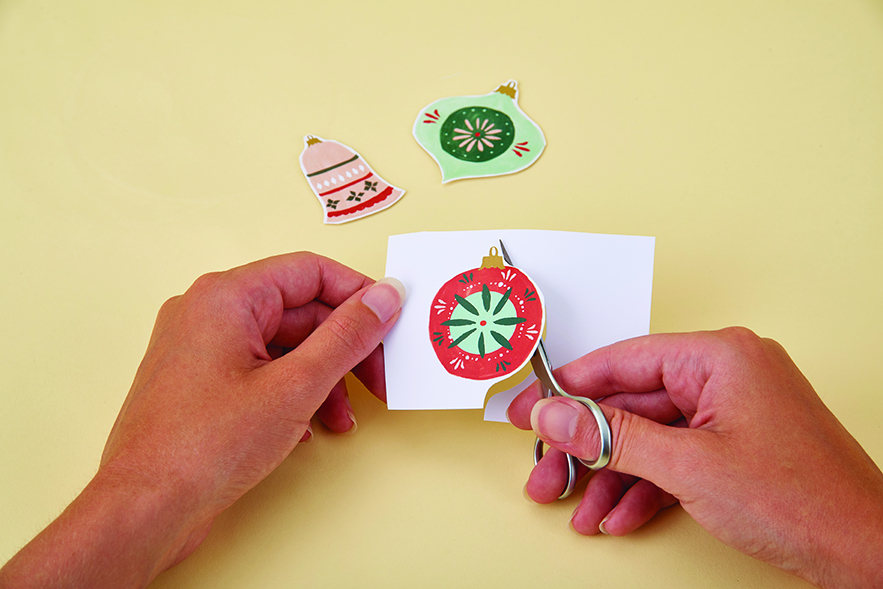
Fussy cut three bauble printables then use sticky foam pads to attach them to the vertical lengths of ribbon on your card – use small ribbon bows to cover the joins.

Step 7

How to make a swing card – step 7

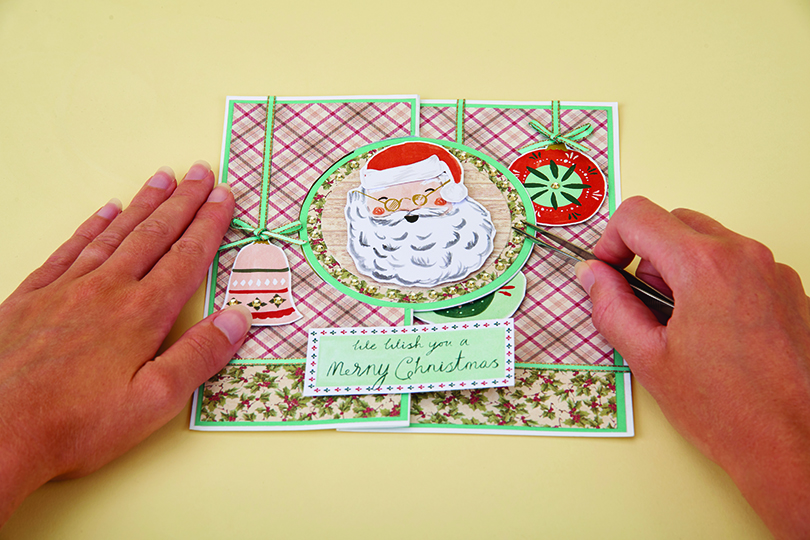
Complete your design by adding gold gems to the baubles, and around the circular panel. You may find it easier to add smaller gems with tweezers, rather than using your fingers.

Watch our video tutorial and learn how to master the partial die-cutting technique!