How to make a Z-fold card

How to make a Z-fold card

Making an alternative base shape is a simple way to add extra interest for recipients, and here we how you to create a z-fold card base to maximise the wow factor on your makes.

Try 6 issues of any craft magazine from just £9.99

Published: September 20, 2019 at 6:33 am

Before you even start picking out papers or deciding which die cuts and decorations to use, you can have great fun by getting creative with your card bases and learning how to make a z-fold card.

Here we show you how to make a z-fold card design, which our designer has decorated with floral papers and a stamped topper. These card bases can be decorated with a variety of papers and products, especially as you can create lots of different sections to show off your chosen embellishments and sentiments – the more the merrier!

We love to see what you’ve been crafting, so don’t forget to share your projects with us on Facebook and Twitter, too!

What you need to make this central stepper card:

  • Die-cutting machine
  • Scalloped circle dies
  • Glue gun
  • Patterned papers
  • White and coloured card
  • Bone folder
  • Craft knife
  • Craft mat
  • Metal ruler
  • Paper flowers
  • Ribbon
  • Glitter glue

Step 1

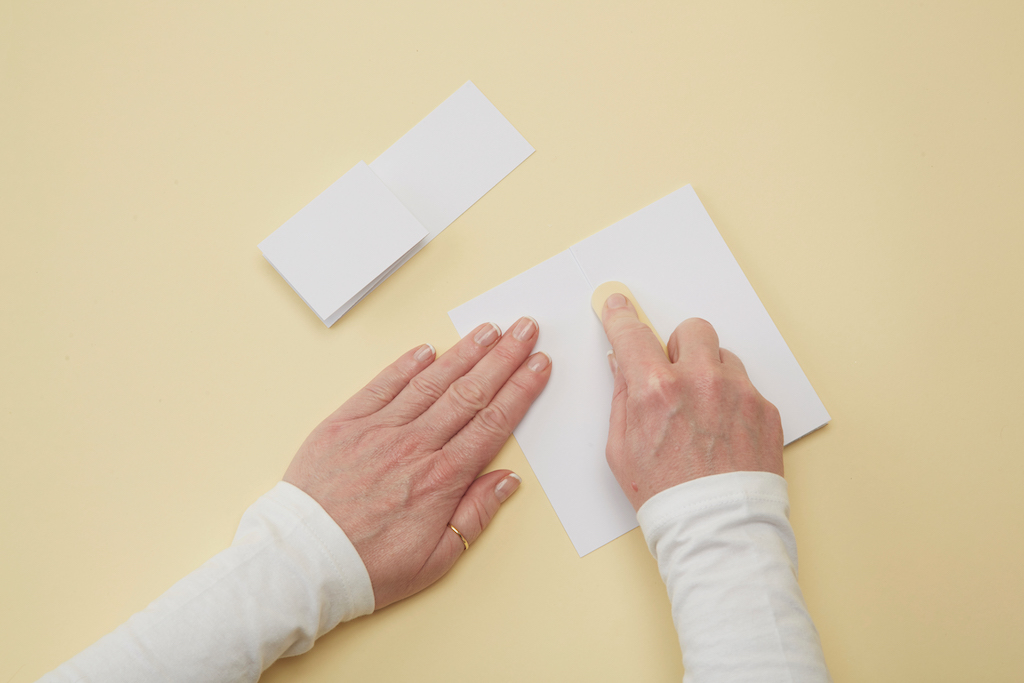
How to make a z-fold card 1

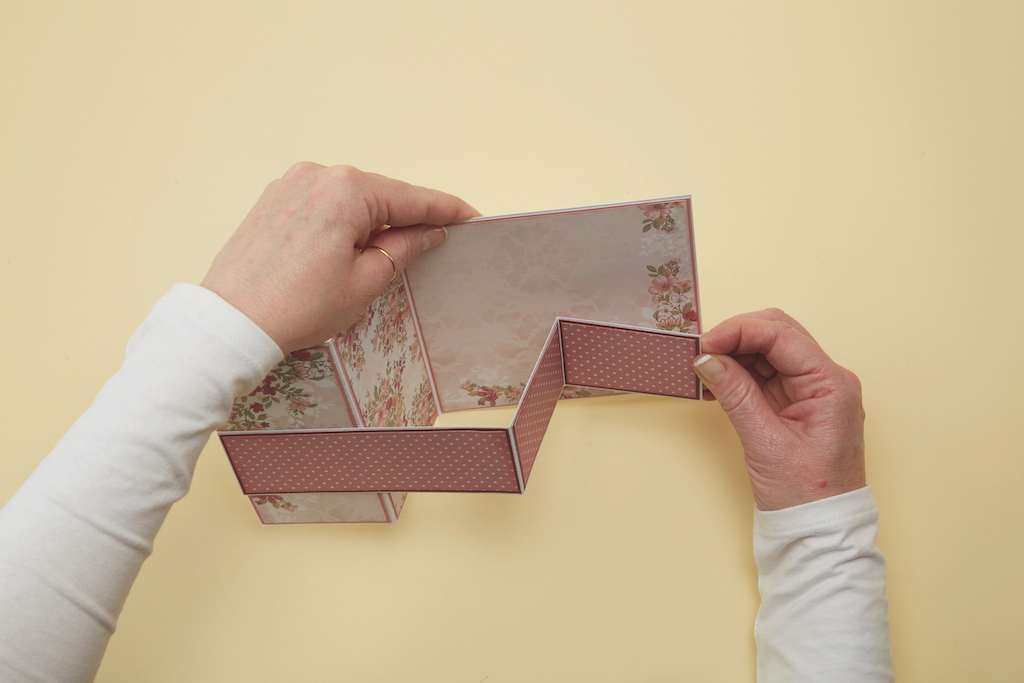
For the card base, cut A4 card into two pieces measuring 14x28cm and 5x28cm. Score each piece on the long edge at 7cm and 14cm then mountain and valley fold each piece.

Step 2

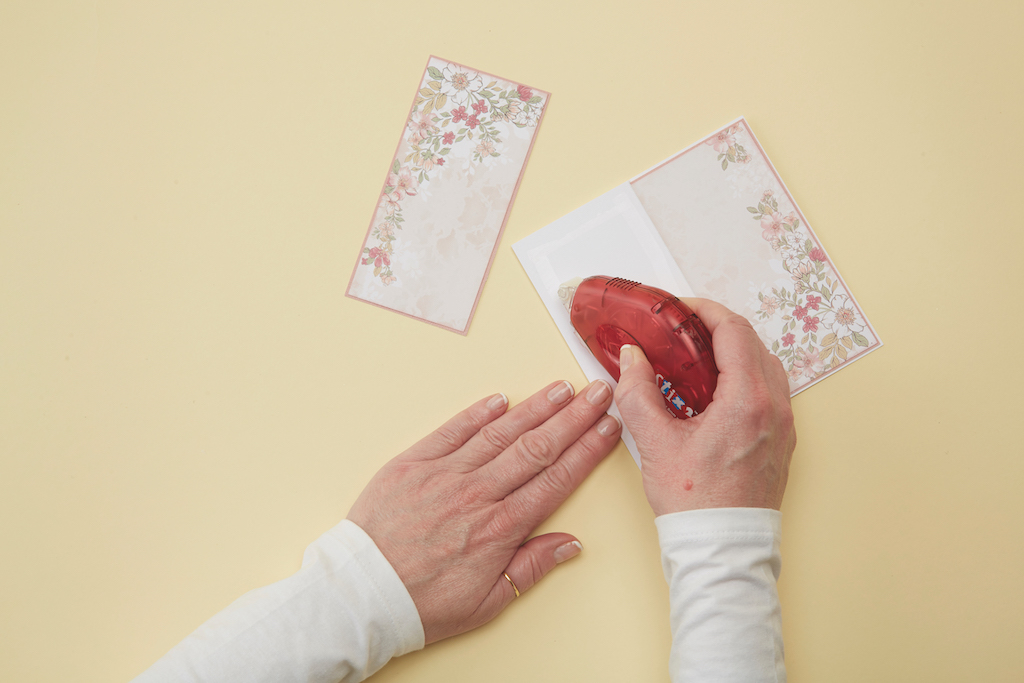
How to make a z-fold card 2

Cut one piece of patterned paper to measure 13.5×13.5cm and two pieces to measure 13.5×6.5cm. Mat and layer the paper onto coloured card then adhere onto the card base.

Step 3

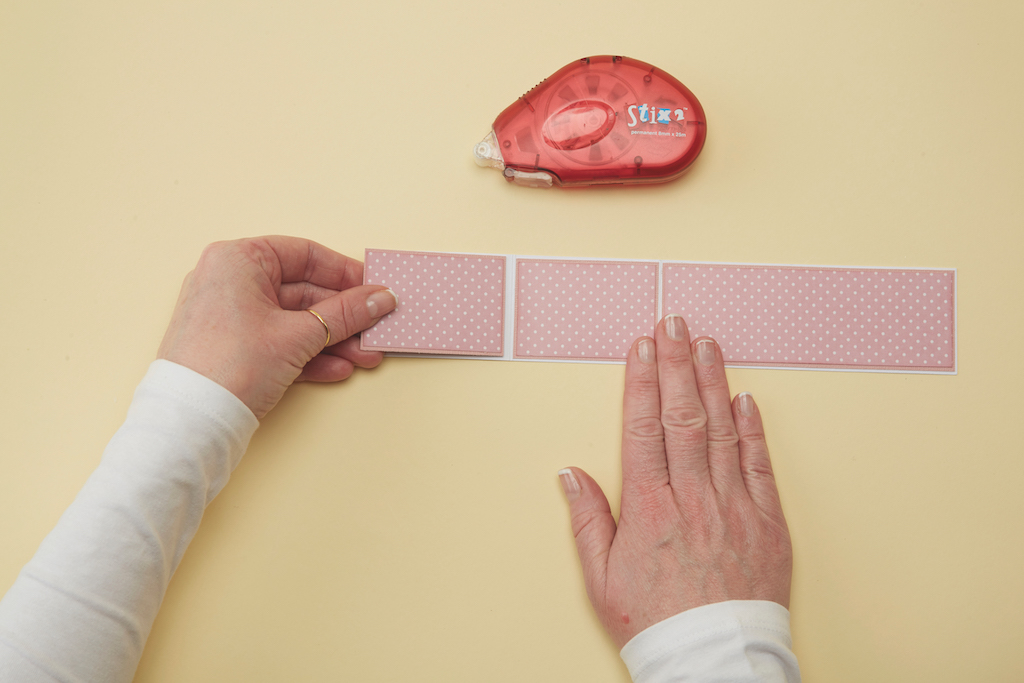
How to make a z-fold card 3

Cut a piece of patterned paper to measure 4.5×13.5cm and two pieces to measure 4.5×6.5cm. Mat and layer onto coloured card before adhering to the 5x28cm strip from step 1.

Step 4

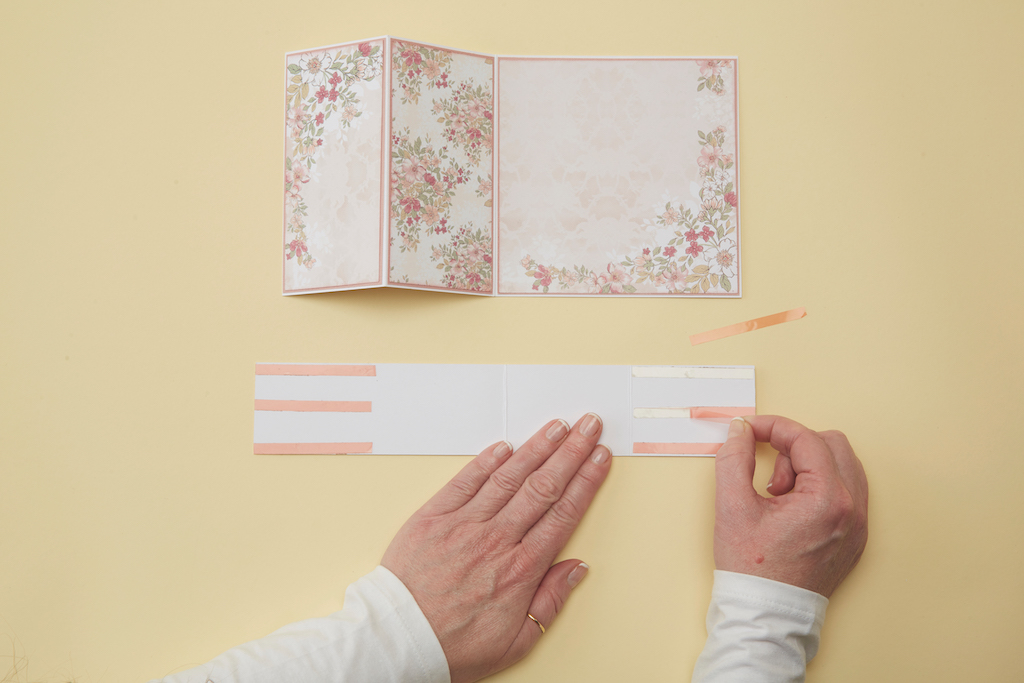
How to make a z-fold card 4

Position strong adhesive, such as Red Liner Tape or wet glue, to the reverse of the end panels of the 5x28cm strip – but only going half way along the 4.5×13.5cm panel, as shown. 

Step 5

How to make a z-fold card 5

Adhere the strip to the base card, making sure the short panel is positioned on the right-hand side. The longer panel should overhang the left-hand base panel, as shown. 

Step 6

How to make a z-fold card 6

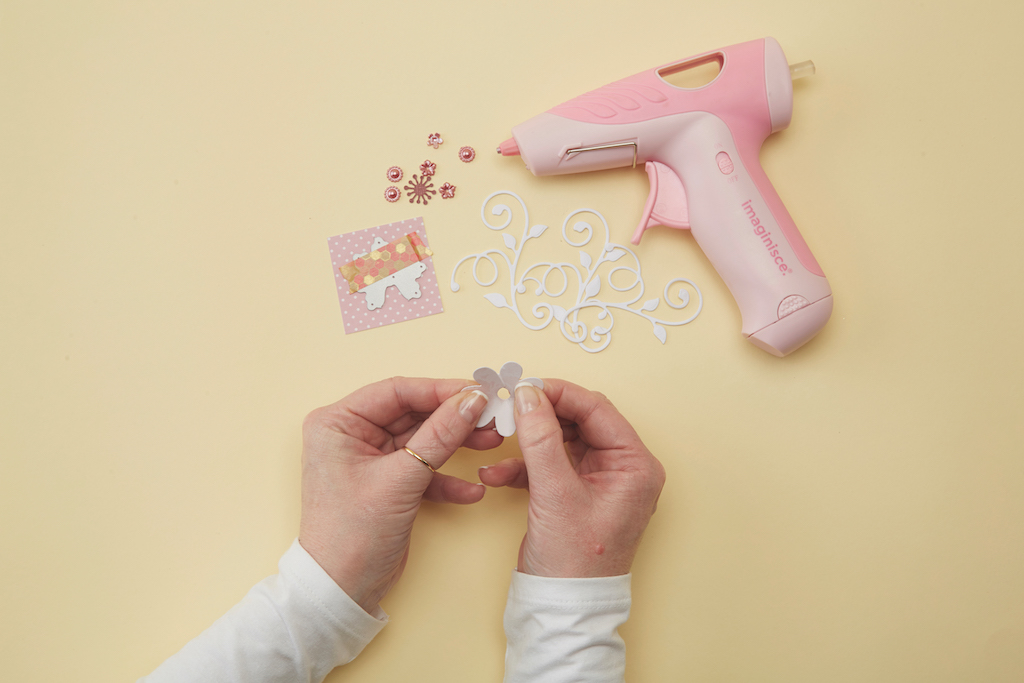
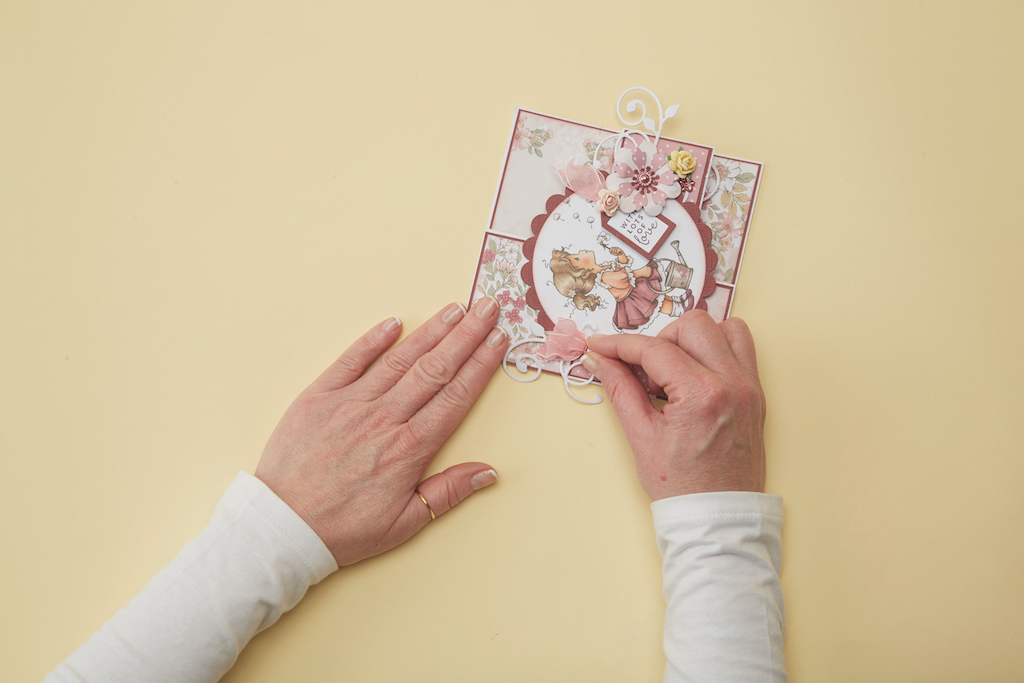
Die cut embellishments. Mat and layer a die-cut image topper onto a scalloped circle then glue it onto the card – be careful not to adhere the panels together when adding this element. 

Step 7

How to make a z-fold card 7

Add a double-ribbon bow to the left of the image and a sentiment tag to the panel. To finish, add your die-cut embellishments and a few paper flowers along the centre strip.